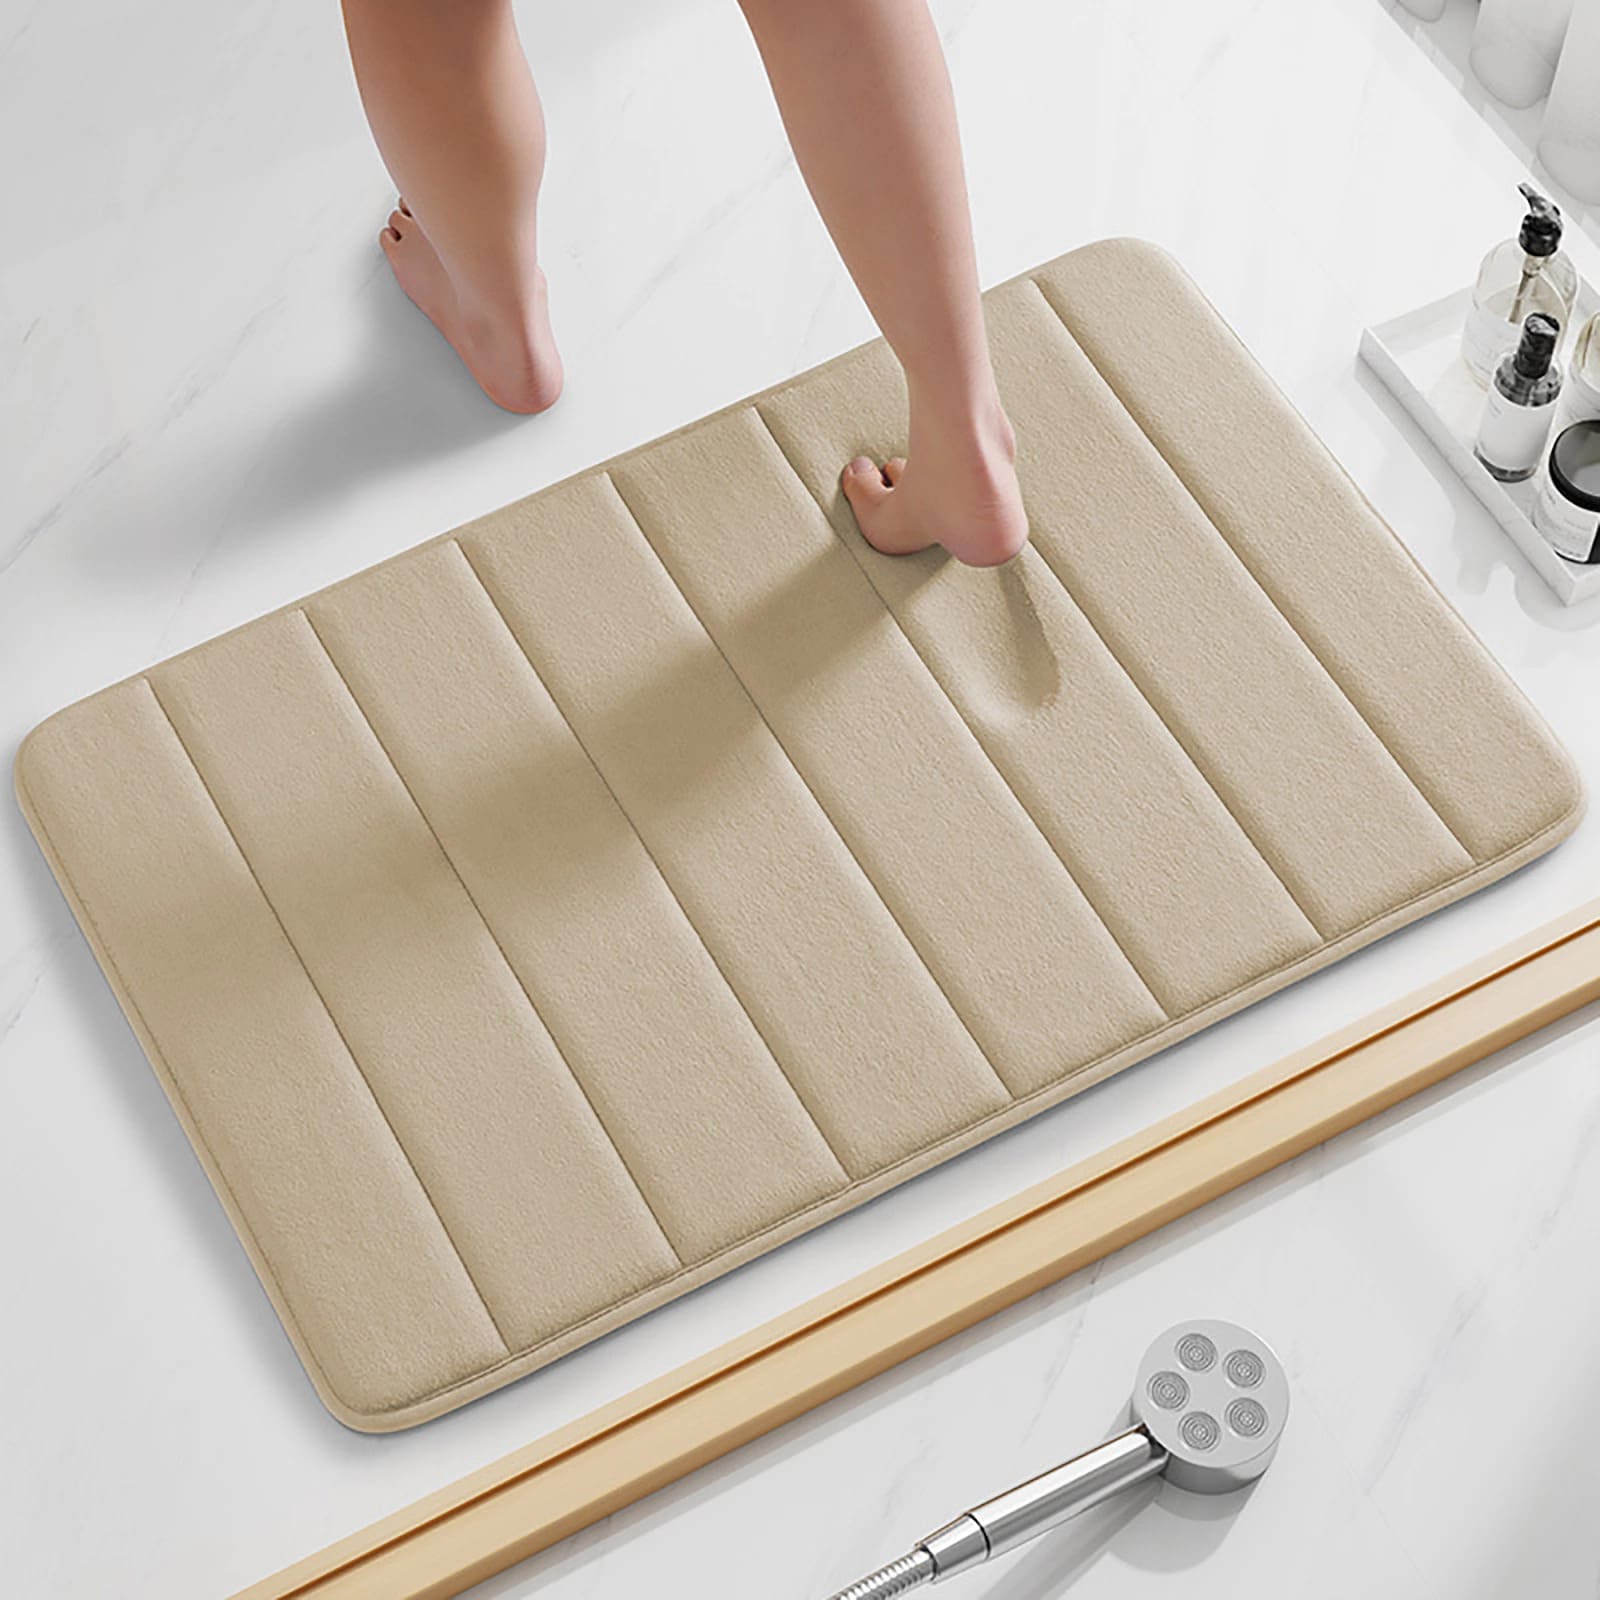
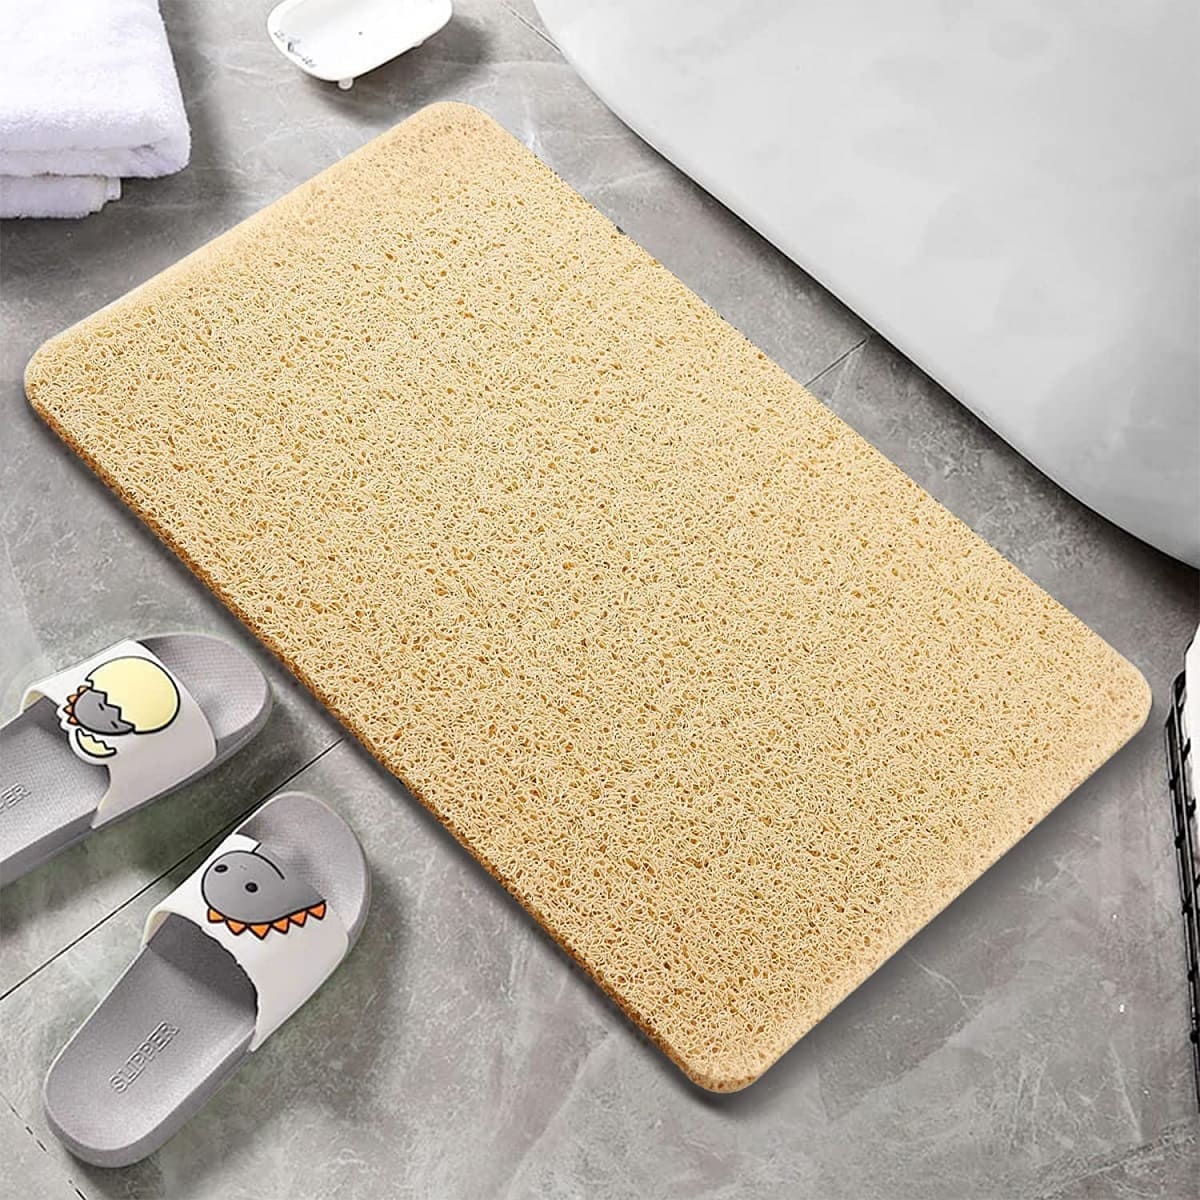
Home>Furniture & Design>Bathroom Accessories>How To Clean A Non-Slip Bath Mat
Bathroom Accessories
How To Clean A Non-Slip Bath Mat
Published: February 10, 2024
Learn how to effectively clean your non-slip bath mat and keep your bathroom accessories looking fresh and hygienic. Follow our simple tips for a spotless bath mat.
(Many of the links in this article redirect to a specific reviewed product. Your purchase of these products through affiliate links helps to generate commission for Storables.com, at no extra cost. Learn more)
Introduction
Cleaning a non-slip bath mat is an essential part of maintaining a hygienic and safe bathroom environment. Over time, these mats can accumulate soap scum, mildew, and dirt, which not only detract from their appearance but also compromise their non-slip properties. By regularly cleaning your non-slip bath mat, you can ensure that it remains both visually appealing and effective in preventing slips and falls.
Proper maintenance of your bath mat also contributes to a healthier bathroom environment by preventing the growth of mold and mildew. Additionally, a clean bath mat can enhance the overall aesthetic of your bathroom, creating a more inviting and pleasant space for your daily routines.
In this guide, we will walk you through the step-by-step process of effectively cleaning your non-slip bath mat. By following these simple yet crucial steps, you can maintain the cleanliness and functionality of your bath mat, ultimately promoting a safer and more enjoyable bathing experience for you and your family.
Now, let's gather the necessary materials and dive into the process of revitalizing your non-slip bath mat to its pristine condition.
Key Takeaways:
- Regularly cleaning your non-slip bath mat with mild detergent or vinegar and thorough rinsing helps maintain a safe and hygienic bathroom environment, preventing slips and falls.
- Implementing maintenance tips like quick spot cleaning and periodic deep cleaning prolongs the lifespan of your bath mat, ensuring a clean and inviting bathroom space.
Read more: How To Make A Bath Mat Non-Slip
Materials Needed
To effectively clean a non-slip bath mat, you will need a few basic materials that are readily available in most households. These items are essential for removing dirt, soap scum, and mildew, and for restoring the non-slip surface of the bath mat. Here's what you'll need:
-
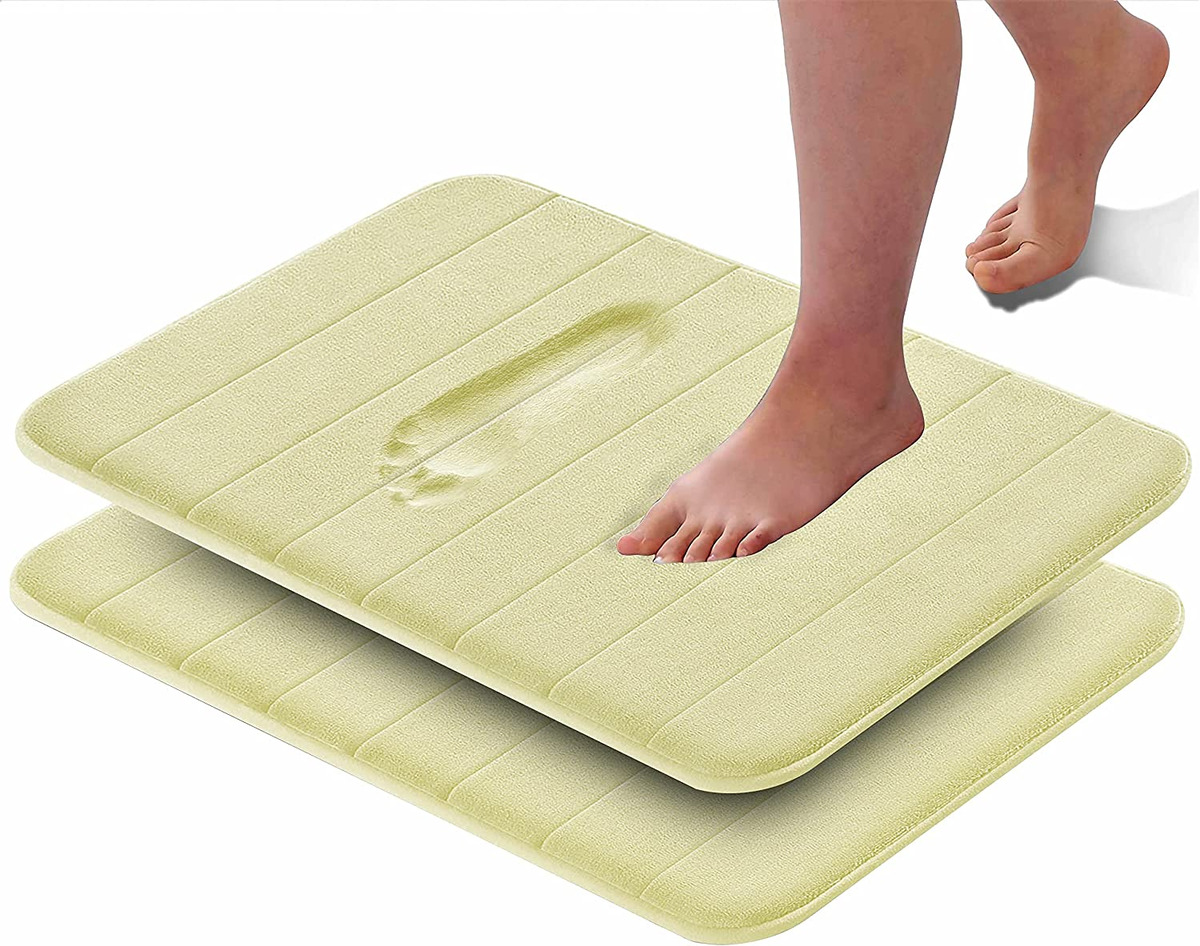
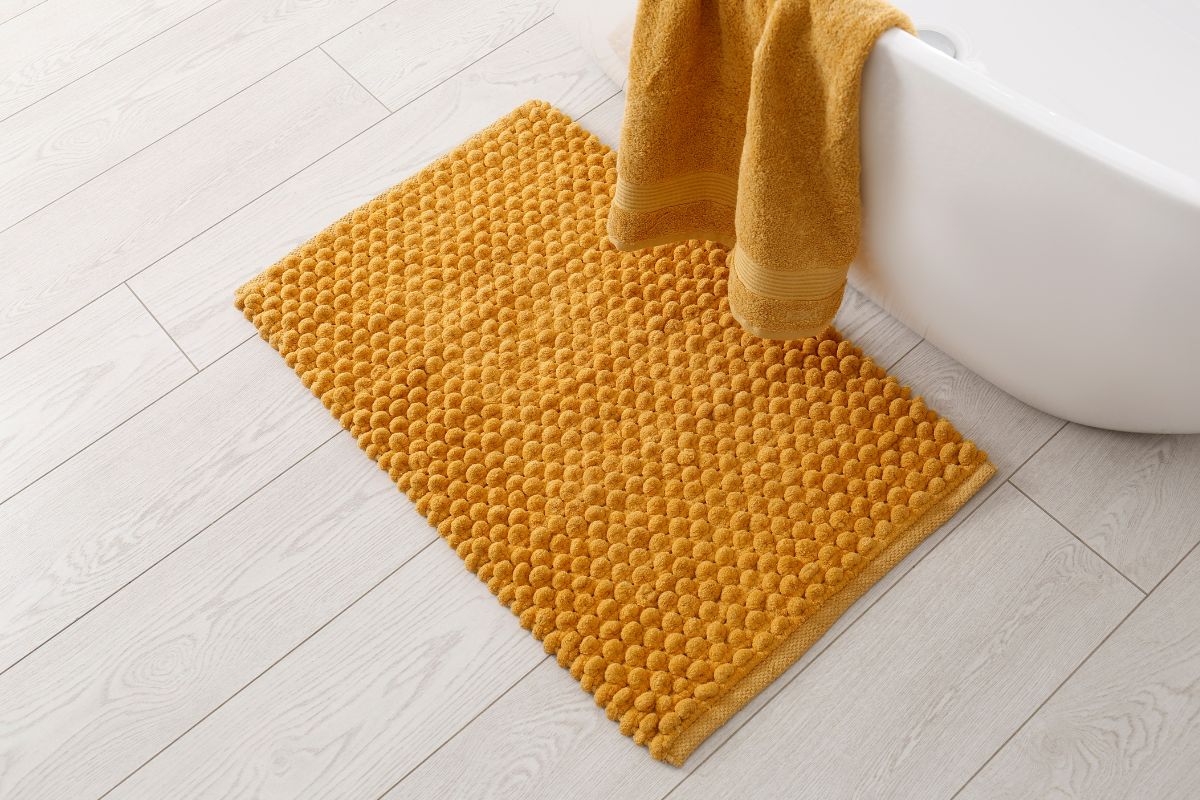
Bath Mat: The first and most crucial item you'll need is the non-slip bath mat itself. Before starting the cleaning process, remove the mat from the bathroom floor and ensure that it is ready for thorough cleaning.
-
Brush or Sponge: A durable brush or sponge is essential for scrubbing away stubborn stains, soap residue, and mildew from the surface of the bath mat. Look for a brush with sturdy bristles or a sponge with a rough texture to effectively dislodge dirt and grime.
-
Mild Detergent or Vinegar: Choose a mild detergent or white vinegar to use as a cleaning solution. These gentle yet effective cleaning agents can break down soap scum and eliminate mildew without causing damage to the bath mat's material.
-
Water: Access to water is essential for rinsing the bath mat thoroughly after cleaning. Whether you use a bathtub, sink, or hose, make sure you have a reliable water source for this step.
-
Sunlight or Ventilation: After cleaning, the bath mat needs to dry completely to prevent the growth of mold and mildew. Sunlight and good ventilation are crucial for ensuring that the mat dries thoroughly and remains fresh.
By gathering these materials, you'll be well-prepared to embark on the journey of rejuvenating your non-slip bath mat. With these simple items at your disposal, you can effectively restore the cleanliness and non-slip functionality of your bath mat, contributing to a safer and more hygienic bathroom environment.
Step 1: Shake Out the Mat
The first step in cleaning a non-slip bath mat is to thoroughly shake it out to remove loose dirt, hair, and debris. This initial action helps to dislodge surface particles that have accumulated on the mat, preparing it for deeper cleaning. Here's a detailed guide on how to effectively shake out the mat:
-
Remove the Mat: Start by carefully lifting the bath mat from the bathroom floor. It's important to handle the mat gently to prevent any loose debris from scattering around the bathroom.
-
Take It Outside: If possible, take the mat outside to shake it. This will prevent any dislodged dirt and debris from spreading inside the house. If outdoor space is not available, shaking the mat over a large garbage bin or an easily cleanable surface is a good alternative.
-
Vigorously Shake: Holding the mat firmly with both hands, vigorously shake it in an up-and-down motion. This action helps to loosen and dislodge dirt, hair, and other particles that may have accumulated on the surface and within the non-slip features of the mat.
-
Repeat as Needed: Continue shaking the mat until no more loose debris falls out. It's important to be thorough in this step to ensure that the mat is as free from loose particles as possible before proceeding to the next cleaning steps.
By shaking out the bath mat, you effectively remove the initial layer of dirt and debris, setting the stage for a more thorough cleaning process. This simple yet crucial step helps to prepare the mat for deeper cleaning, ensuring that the subsequent cleaning actions can target embedded grime and stains more effectively.
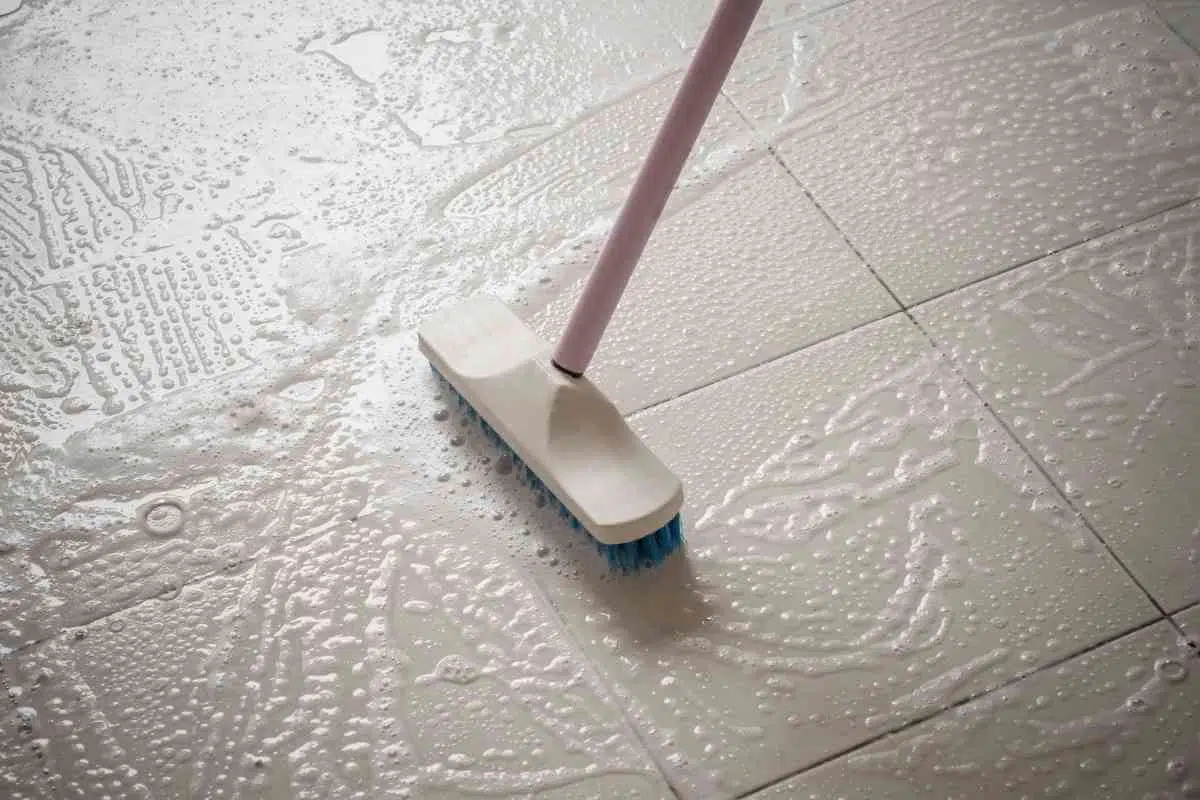
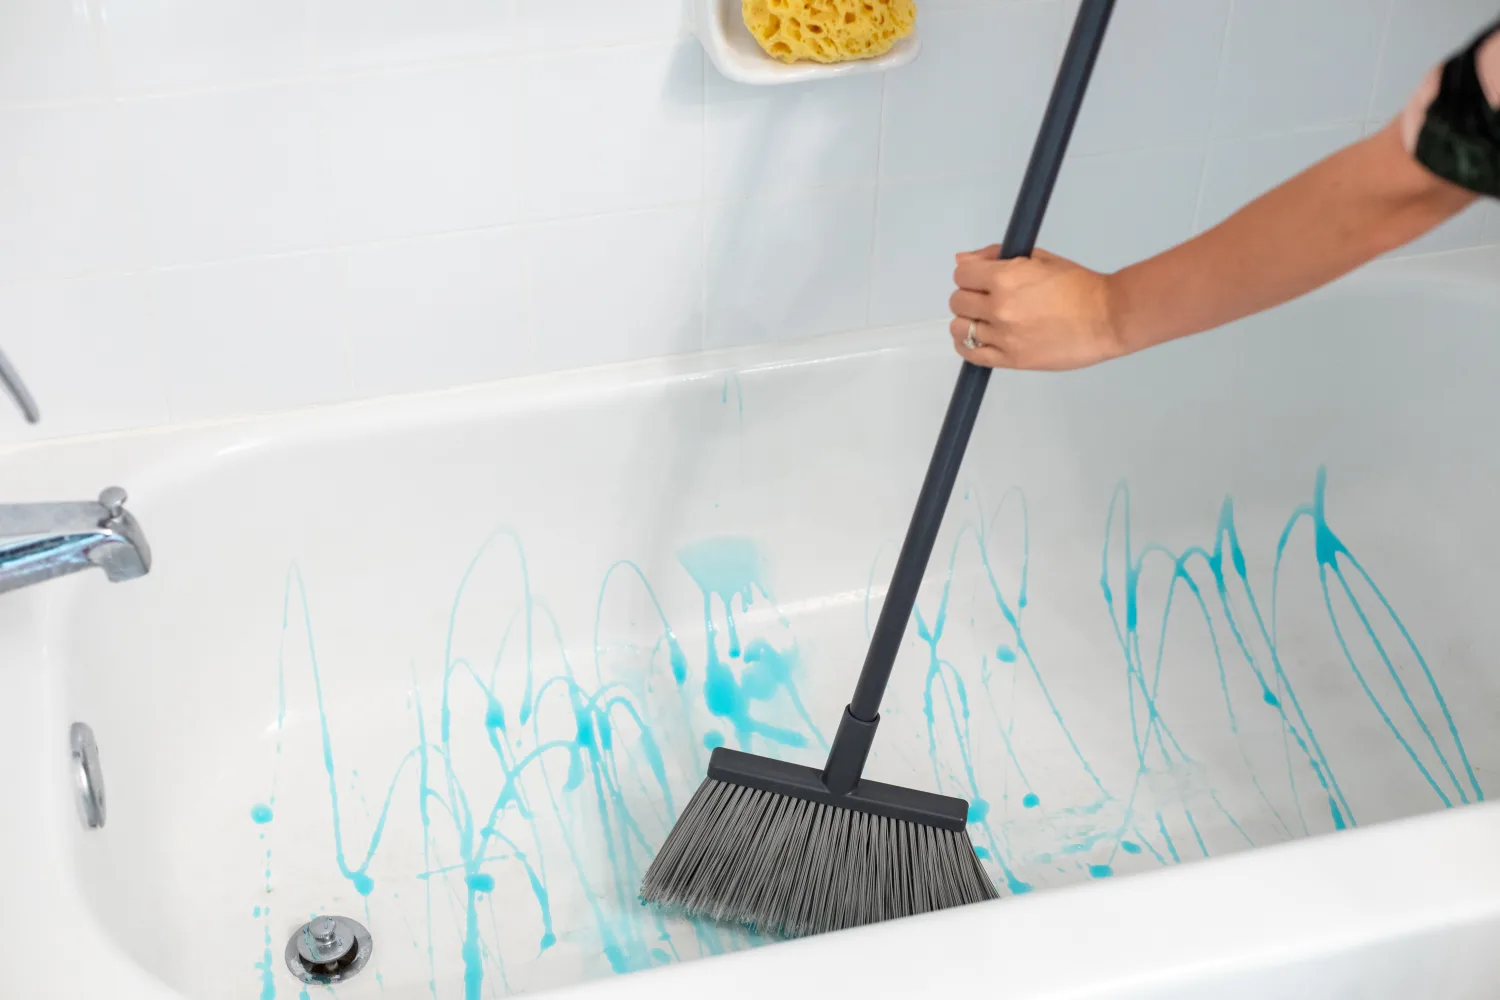
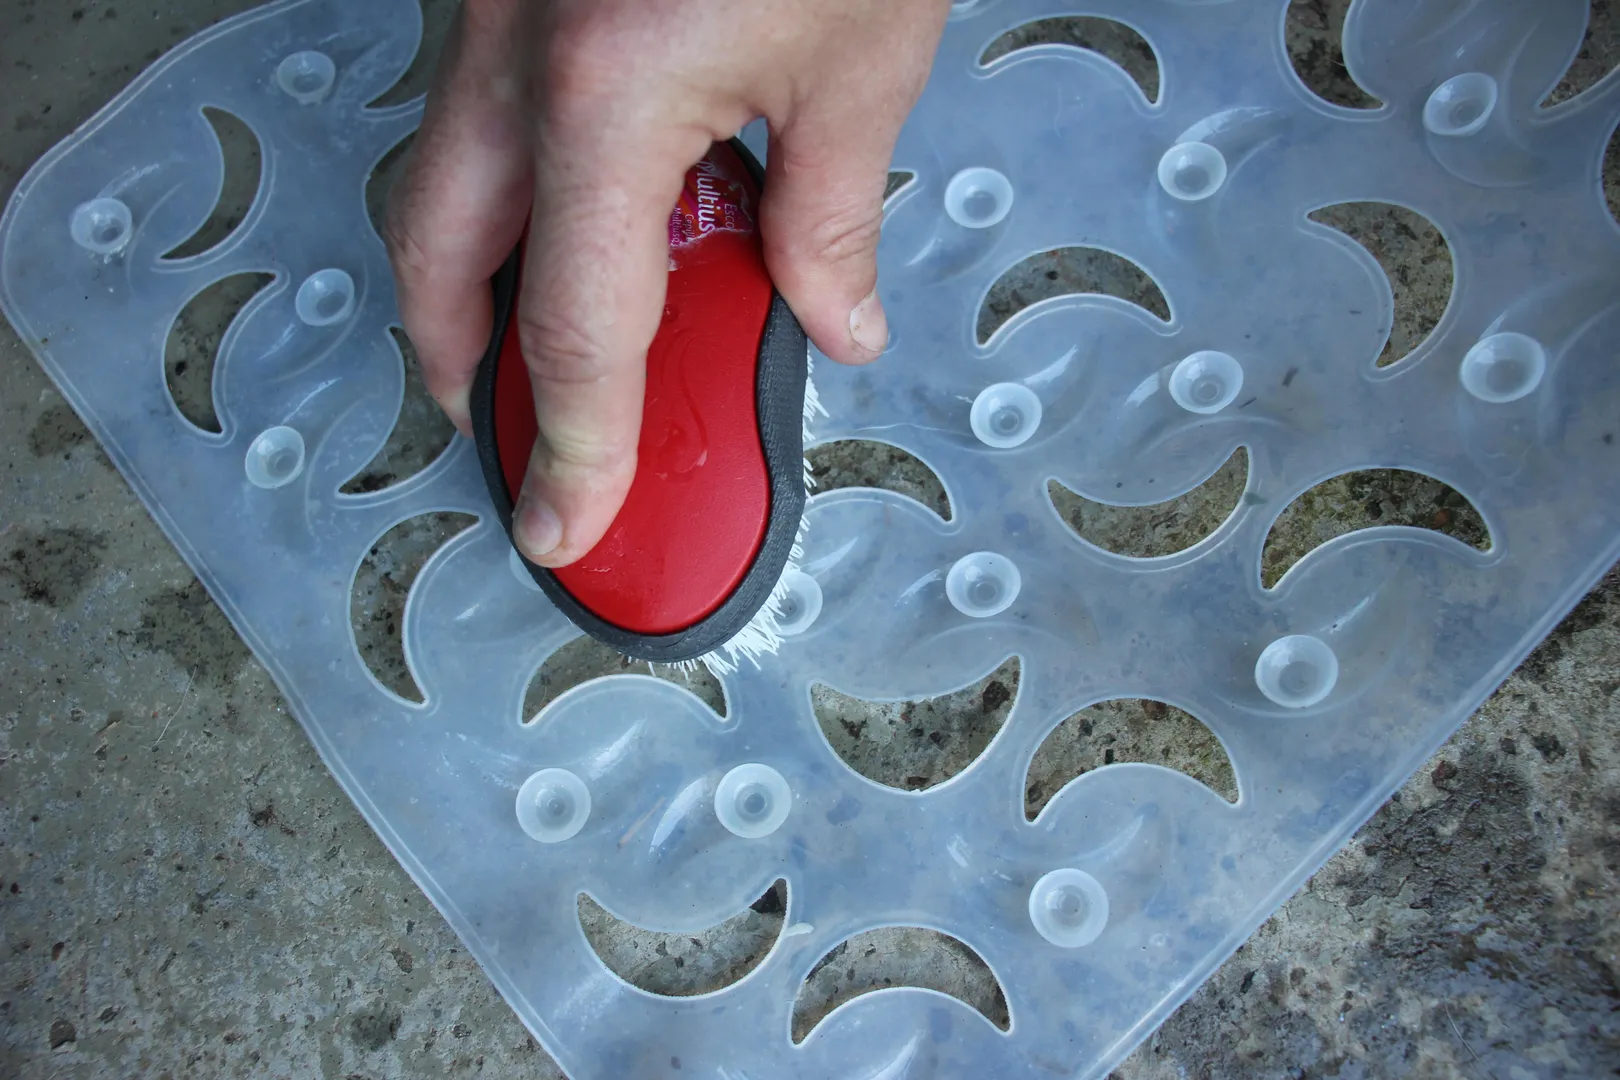
Step 2: Scrub with a Brush
Once the non-slip bath mat has been thoroughly shaken out, it's time to tackle the deeper cleaning process by scrubbing the surface with a brush or sponge. This step is crucial for removing embedded dirt, soap scum, and mildew that may have accumulated over time. Here's a detailed guide on how to effectively scrub your bath mat to restore its cleanliness and non-slip properties:
-
Prepare the Cleaning Solution: Begin by preparing a cleaning solution using mild detergent or white vinegar. Dilute the detergent or vinegar in water to create a gentle yet effective cleaning solution. This solution will help break down stubborn stains and eliminate any lingering mildew on the bath mat.
-
Apply the Cleaning Solution: Using a sponge or cloth, apply the cleaning solution generously to the surface of the bath mat. Ensure that the entire surface, including the non-slip features, is thoroughly coated with the cleaning solution. This step sets the stage for effective scrubbing and stain removal.
-
Scrub with a Brush: Take a durable brush with sturdy bristles and begin scrubbing the bath mat in a circular motion. Focus on areas with visible stains, soap residue, and mildew, applying gentle yet firm pressure to dislodge the embedded dirt. Pay special attention to the non-slip features, ensuring that they are thoroughly scrubbed to restore their effectiveness.
-
Rinse and Repeat: As you scrub, periodically rinse the brush and the bath mat to remove dislodged dirt and soap residue. This process prevents the re-deposition of dirt and ensures that the cleaning action remains effective. Repeat the scrubbing process until the entire surface of the bath mat has been thoroughly cleaned.
-
Address Stubborn Stains: For particularly stubborn stains, apply extra cleaning solution and focus additional scrubbing efforts on these areas. Persistence and thoroughness are key to effectively removing tough stains and restoring the bath mat to its pristine condition.
By following these steps, you can effectively scrub your non-slip bath mat to remove embedded dirt, soap scum, and mildew. This thorough cleaning process helps to revitalize the appearance and functionality of the bath mat, ensuring that it remains a reliable and hygienic addition to your bathroom. After completing this step, proceed to the next phase of the cleaning process to ensure that your bath mat is thoroughly rejuvenated.
To clean a non-slip bath mat, start by shaking off any loose debris. Then, soak the mat in a mixture of warm water and mild detergent for 15-20 minutes. Scrub the mat with a brush, rinse thoroughly, and hang to dry.
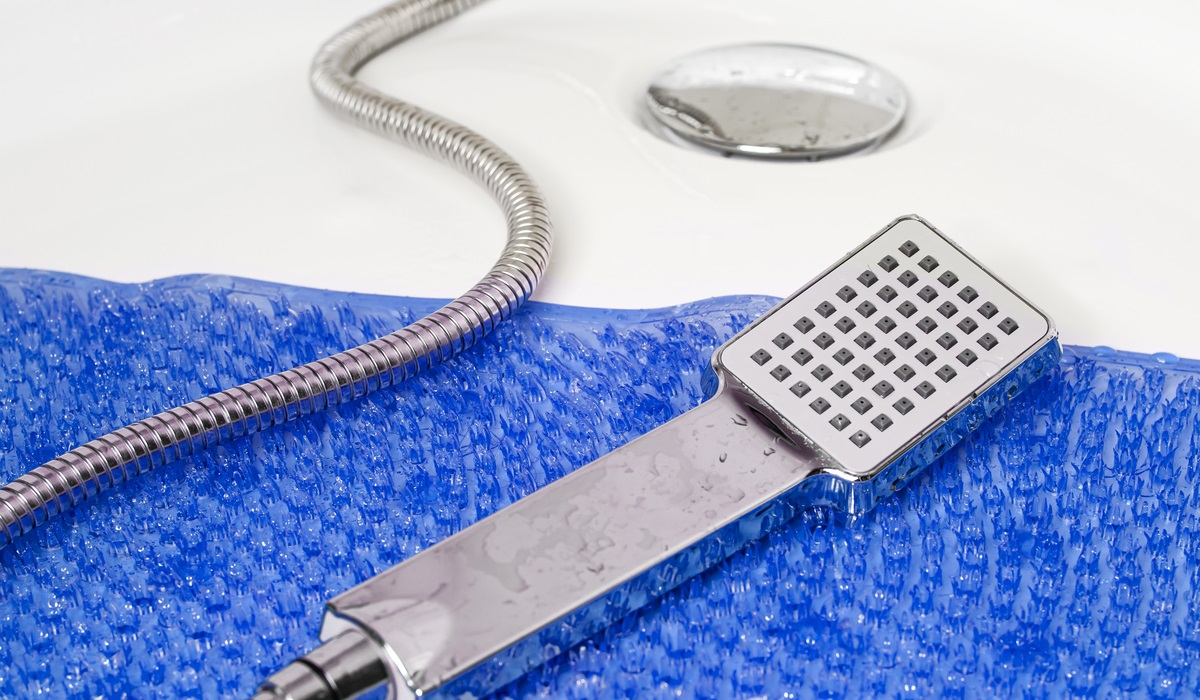
Step 3: Rinse Thoroughly
Rinsing the non-slip bath mat thoroughly is a critical step in the cleaning process, as it ensures the complete removal of cleaning solution, dislodged dirt, and any remaining residues. This step is essential for restoring the mat to its original cleanliness and preventing any potential skin irritation from residual cleaning agents. Here's a detailed guide on how to effectively rinse your bath mat to complete the cleaning process:
-
Prepare the Rinsing Area: Before beginning the rinsing process, ensure that you have a suitable area for rinsing the bath mat. A bathtub, large sink, or outdoor space with access to a hose are ideal for this purpose. It's important to choose a location where the mat can be thoroughly rinsed without obstruction.
-
Rinse with Water: Place the bath mat in the chosen rinsing area and begin by thoroughly wetting it with clean water. Use a handheld showerhead, a bucket of water, or a hose to ensure that the entire surface of the mat is completely saturated. This initial rinsing action helps to remove the cleaning solution and dislodged dirt from the mat's surface.
-
Gentle Agitation: After wetting the mat, gently agitate it by hand to facilitate the release of any remaining cleaning solution and dislodged particles. Lightly kneading and squeezing the mat helps to ensure that the rinse water penetrates the non-slip features and effectively flushes out any residual debris.
-
Repeat Rinsing: Drain the initial rinse water and repeat the process to ensure thorough rinsing. Apply clean water to the mat once again, ensuring that all traces of cleaning solution are completely removed. Continue to agitate the mat as needed to facilitate the rinsing process.
-
Inspect for Residue: After the final rinse, carefully inspect the bath mat to ensure that no residue or suds remain. Pay close attention to the non-slip features and any textured areas, as these areas may trap residual cleaning solution if not thoroughly rinsed.
-
Squeeze Out Excess Water: Once the mat has been thoroughly rinsed, gently squeeze out excess water to expedite the drying process. Avoid wringing the mat forcefully, as this may damage its non-slip features or fabric.
By following these steps, you can effectively rinse your non-slip bath mat to ensure that it is free from cleaning solution and dislodged dirt. Thorough rinsing is crucial for maintaining the cleanliness and safety of the bath mat, setting the stage for the final step in the cleaning process: drying.
Read more: How To Make Bath Mats Non-Slip
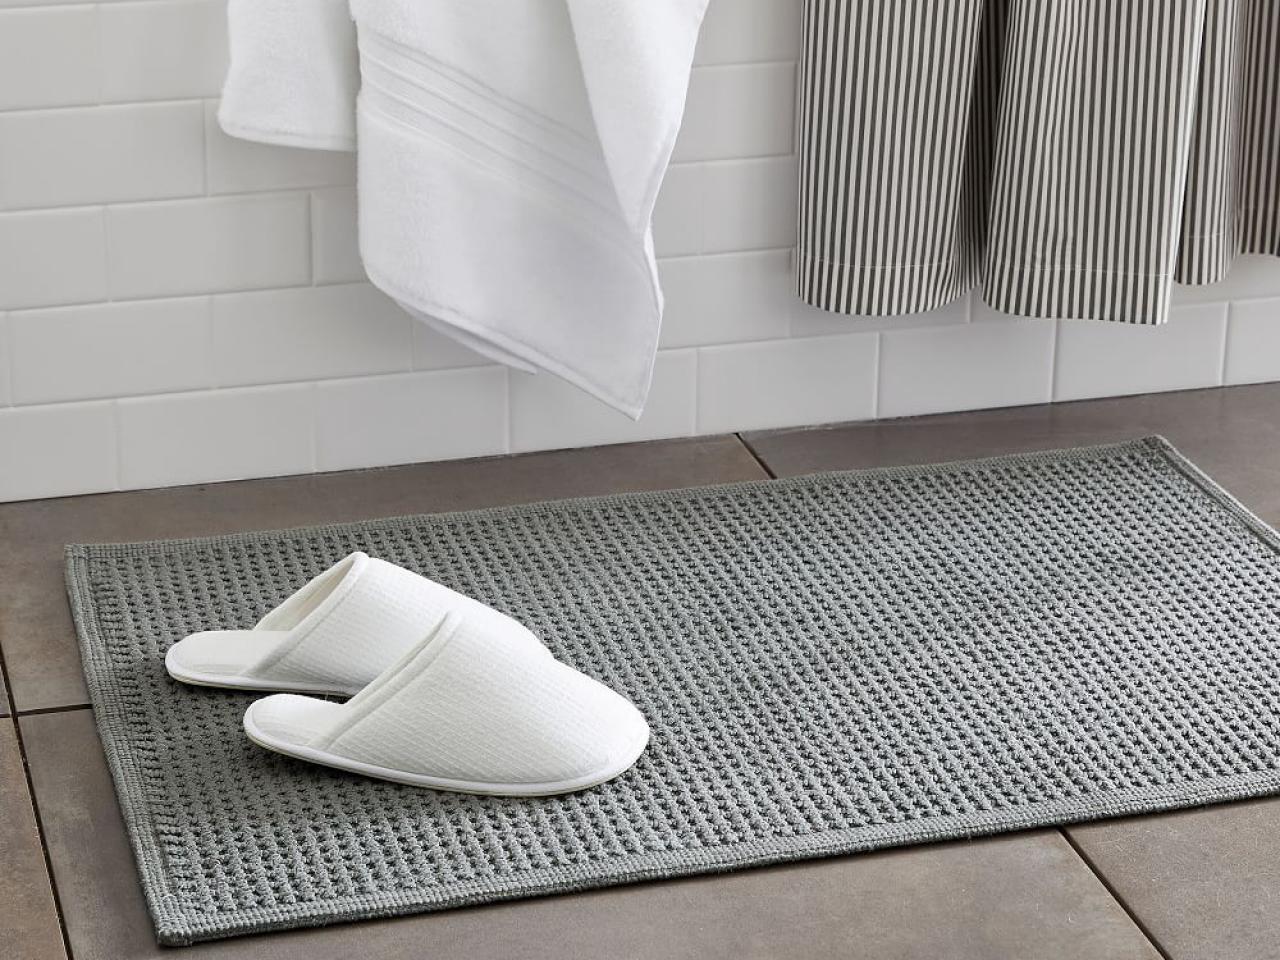
Step 4: Hang to Dry
After thoroughly rinsing the non-slip bath mat, the next crucial step is to hang it up to dry. Proper drying is essential for preventing the growth of mold and mildew, ensuring that the bath mat remains fresh, clean, and ready for use. Here's a detailed guide on how to effectively hang your bath mat to facilitate thorough drying:
-
Choose a Well-Ventilated Area: Select a well-ventilated area where the bath mat can be hung up without obstruction. Ideally, choose a location with good air circulation, such as a clothesline, shower rod, or outdoor drying rack. Proper ventilation is crucial for expediting the drying process and preventing the accumulation of moisture.
-
Avoid Direct Sunlight: While sunlight can aid in drying, prolonged exposure to direct sunlight may cause discoloration or damage to the bath mat's material. If hanging the mat outdoors, choose a shaded area where it can benefit from gentle airflow without being exposed to harsh sunlight.
-
Use Clothespins or Hooks: Securely hang the bath mat using clothespins or hooks to ensure that it remains in place during the drying process. If using a clothesline, evenly distribute the weight of the mat to prevent it from sagging or stretching out of shape.
-
Flip and Rearrange: Periodically flip and rearrange the bath mat during the drying process to promote even airflow and thorough drying. This action helps to prevent moisture from becoming trapped within the mat, ensuring that both the surface and non-slip features dry completely.
-
Check for Dampness: After a few hours, check the bath mat for any remaining dampness. Pay close attention to the non-slip features and textured areas, as these may retain moisture. If necessary, allow the mat to continue drying until it is completely free from dampness.
By following these steps, you can effectively hang your non-slip bath mat to facilitate thorough drying. This essential step ensures that the mat remains clean, fresh, and free from moisture, contributing to a hygienic and safe bathroom environment. Once the bath mat is completely dry, it can be returned to its place in the bathroom, ready to provide reliable non-slip functionality and a clean, inviting surface for daily use.
Step 5: Maintenance Tips
Maintaining the cleanliness and non-slip functionality of your bath mat is essential for ensuring a safe and hygienic bathroom environment. After completing the thorough cleaning process, it's important to implement regular maintenance practices to prolong the life of your bath mat and preserve its effectiveness. Here are some valuable maintenance tips to help you keep your non-slip bath mat in optimal condition:
-
Regular Cleaning Schedule: Establish a regular cleaning schedule for your bath mat to prevent the accumulation of dirt, soap scum, and mildew. Depending on usage and environmental factors, consider cleaning the mat at least once a week to maintain its cleanliness and non-slip properties.
-
Quick Spot Cleaning: Address spills, stains, and localized dirt promptly by spot cleaning the affected areas. Use a mild detergent or vinegar solution and a soft brush to gently scrub the soiled spots, followed by thorough rinsing and drying. This proactive approach helps prevent the spread of stains and maintains the overall cleanliness of the mat.
-
Proper Drying After Use: After each use, ensure that the bath mat is allowed to dry completely. Hang it up or spread it out in a well-ventilated area to prevent moisture retention, which can lead to the growth of mold and mildew. Encourage family members to shake off excess water from their feet before stepping onto the bath mat to minimize moisture accumulation.
-
Periodic Deep Cleaning: In addition to regular cleaning, consider performing a more thorough deep cleaning of the bath mat on a monthly or bi-monthly basis. This involves repeating the comprehensive cleaning process outlined earlier to remove embedded dirt and maintain the mat's non-slip features.
-
Sunlight Exposure: When feasible, expose the bath mat to sunlight periodically. Sunlight has natural antibacterial properties and can help inhibit the growth of mold and mildew. However, be mindful of prolonged exposure to direct sunlight to prevent any potential damage to the mat's material.
-
Inspect for Wear and Tear: Routinely inspect the condition of your bath mat for signs of wear, tear, or deterioration. Check the non-slip features, edges, and overall integrity of the mat. If any damage is detected, consider replacing the mat to ensure continued safety and functionality.
By incorporating these maintenance tips into your routine, you can effectively preserve the cleanliness and non-slip functionality of your bath mat. Consistent care and attention to the condition of the mat contribute to a safer and more enjoyable bathing experience for you and your family, while also prolonging the lifespan of this essential bathroom accessory.
Conclusion
In conclusion, maintaining a clean and non-slip bath mat is not only essential for preserving the visual appeal of your bathroom but also crucial for ensuring a safe and hygienic environment for you and your family. By following the step-by-step cleaning process outlined in this guide, you can effectively rejuvenate your bath mat and prolong its functionality.
Regular cleaning, thorough rinsing, and proper drying are fundamental to preserving the cleanliness and non-slip properties of the bath mat. The use of mild detergents or vinegar, coupled with gentle scrubbing, helps to eliminate embedded dirt, soap scum, and mildew, restoring the mat to its pristine condition. Additionally, the implementation of maintenance tips, such as establishing a cleaning schedule, quick spot cleaning, and periodic deep cleaning, contributes to the long-term care of your bath mat.
By incorporating these practices into your routine, you not only maintain a clean and inviting bathroom space but also contribute to the safety and well-being of your household. A well-maintained bath mat provides reliable non-slip functionality, reducing the risk of slips and falls, especially in wet conditions. Furthermore, the prevention of mold and mildew growth through proper drying and periodic sunlight exposure promotes a healthier bathroom environment.
In essence, the cleanliness and maintenance of your non-slip bath mat are integral to creating a comfortable and secure bathing experience. By investing time and effort into the care of this essential bathroom accessory, you contribute to the overall cleanliness, safety, and longevity of your bathroom environment.
Remember, a clean and non-slip bath mat not only enhances the aesthetics of your bathroom but also plays a vital role in promoting safety and hygiene. By following the guidelines provided in this comprehensive cleaning guide and implementing regular maintenance practices, you can ensure that your bath mat remains a reliable and effective addition to your daily bathing routine.
With these insights and actionable steps, you are well-equipped to maintain a clean, non-slip bath mat that not only enhances the visual appeal of your bathroom but also contributes to a safer and more enjoyable bathing experience for you and your loved ones.
Frequently Asked Questions about How To Clean A Non-Slip Bath Mat
Was this page helpful?
At Storables.com, we guarantee accurate and reliable information. Our content, validated by Expert Board Contributors, is crafted following stringent Editorial Policies. We're committed to providing you with well-researched, expert-backed insights for all your informational needs.


0 thoughts on “How To Clean A Non-Slip Bath Mat”