Home>Home Maintenance>How To Clean A Car’s Ventilation System

Home Maintenance
How To Clean A Car’s Ventilation System
Modified: March 6, 2024
Learn how to clean your car's ventilation system with these easy home maintenance tips. Improve air quality and keep your car smelling fresh.
(Many of the links in this article redirect to a specific reviewed product. Your purchase of these products through affiliate links helps to generate commission for Storables.com, at no extra cost. Learn more)
Introduction
Welcome to our comprehensive guide on how to clean a car’s ventilation system! Your car’s ventilation system plays a crucial role in maintaining air quality and comfort while driving. Over time, dust, debris, and other contaminants can accumulate in the system, impacting its efficiency and potentially causing unpleasant odors. Regular cleaning and maintenance of the ventilation system are essential to ensure optimal performance and a fresh interior environment.
In this article, we will discuss the importance of cleaning the ventilation system, signs that indicate it needs cleaning, and provide a step-by-step guide to help you through the cleaning process. We will also share some tips for maintaining a clean and efficient ventilation system.
So, let’s dive in and learn how to give your car’s ventilation system the care it deserves!
Key Takeaways:
- Regularly cleaning your car’s ventilation system is crucial for maintaining fresh air, preventing odors, and ensuring optimal performance. Follow the step-by-step guide and tips to keep your car’s interior environment clean and healthy.
- Look out for signs like reduced airflow, funky odors, and poor cooling/heating performance to know when your car’s ventilation system needs cleaning. Regular maintenance and cleaning can prevent issues and maintain a healthy driving environment.
Read more: How To Vacuum A Car AC System
Importance of Cleaning the Ventilation System
Cleaning the ventilation system of your car is not only important for maintaining a fresh and pleasant interior, but it also plays a significant role in ensuring the health and well-being of the passengers. Here are some key reasons why regular cleaning of the ventilation system is essential:
- Improved Air Quality: The ventilation system draws air from outside into the car’s cabin. Over time, dust, pollen, pet dander, and other particles can accumulate in the system, resulting in poor air quality. Cleaning the system helps remove these contaminants, ensuring that the air you breathe inside the car is fresh and free from potential allergens.
- Prevention of Odors: If you’ve noticed unpleasant odors coming from your car’s vents, it’s likely due to a buildup of dirt, mold, or bacteria in the ventilation system. Regular cleaning helps eliminate these odor-causing contaminants, keeping your car smelling fresh and clean.
- Prevention of Allergic Reactions: For individuals with allergies or sensitivities, a dirty ventilation system can lead to allergic reactions or respiratory issues. By maintaining a clean ventilation system, you can minimize the risk of experiencing these uncomfortable symptoms.
- Optimal Performance: A clean ventilation system operates more efficiently, providing better airflow throughout the cabin. This not only improves the comfort of passengers but also helps defrost the windshield more effectively during winter and prevent fogging during humid conditions.
- Extended Lifespan: Regular cleaning and maintenance of the ventilation system can contribute to its longevity. By removing debris and preventing the buildup of mold or bacteria, you reduce the risk of damage or malfunction, thus extending the lifespan of the system.
Given these benefits, it’s evident that cleaning the ventilation system is crucial for maintaining a healthy and enjoyable driving experience. It’s recommended to incorporate ventilation system cleaning into your regular car maintenance routine.
Signs that Your Car’s Ventilation System Needs Cleaning
Keeping an eye out for certain signs can help you determine when it’s time to clean your car’s ventilation system. Here are some common indicators that your ventilation system may need cleaning:
- Reduced Airflow: If you notice a decrease in the amount of air coming from your vents, it could be a sign that the system is clogged with debris. Over time, dust, dirt, and other contaminants can accumulate and restrict airflow, affecting the performance of the ventilation system.
- Funky Odors: Unpleasant or musty odors coming from the vents are a clear indication that there’s a buildup of bacteria, mold, or mildew inside the ventilation system. These odors can be particularly noticeable when you first turn on the air conditioning or heating system.
- Allergy or Respiratory Symptoms: If you or your passengers experience increased allergy symptoms, such as sneezing, coughing, or watery eyes, when the ventilation system is in use, it may be a sign of contaminants circulating through the air. Mold, pollen, and dust can trigger allergic reactions or worsen existing respiratory conditions.
- Excessive Noise: If you hear unusual noises, such as rattling or squeaking, when you turn on the ventilation system, it could indicate that debris has accumulated in the system. These noises are caused by the airflow being impeded by dirt or loose components.
- Poor Cooling or Heating Performance: If you find that the air conditioning or heating system in your car is not working as effectively as it used to, it may be due to a dirty ventilation system. When the system is clogged, it can compromise the efficiency of the cooling or heating components, resulting in inadequate temperature control.
If you notice any of these signs, it’s a clear indication that your car’s ventilation system needs cleaning. Regular maintenance and cleaning can help prevent these issues and ensure a clean and healthy interior environment for you and your passengers.
Preparation for Cleaning
Before you begin cleaning your car’s ventilation system, it’s important to gather the necessary tools and materials and prepare the area for the task. Here are the steps to follow for proper preparation:
- Gather the Right Tools: You will need several tools to clean the ventilation system effectively. Some essential items include a screwdriver set, a soft-bristle brush, microfiber cloths, cleaning solution (mild soap or HVAC cleaning foam), and a vacuum cleaner with a brush attachment.
- Choose a Suitable Location: It’s best to perform the cleaning process in a well-ventilated and clean area. Consider doing the task outside or in a well-lit garage with ample space for maneuvering around the car.
- Ensure Safety: As a safety precaution, disconnect the car’s battery before starting the cleaning process. This will prevent any electrical mishaps while working on the ventilation system.
- Open All Vents and Windows: To facilitate airflow and access to the ventilation system, open all the vents inside the car and roll down the windows. This will help in removing dust and debris more effectively.
- Protect Interior Surfaces: Cover the dashboard, seats, and any other nearby surfaces with plastic or cloth to prevent any cleaning solution or debris from causing staining or damage.
- Inspect the Cabin Air Filter: Check if your car has a cabin air filter and determine its location. Depending on the make and model, the filter may be located behind the glove compartment, under the hood, or near the windshield. If the filter is dirty or clogged, you may need to replace it during the cleaning process.
By following these preparation steps, you’ll ensure that you have all the necessary tools and create an environment suitable for cleaning your car’s ventilation system. This will make the process smoother and more effective, allowing you to achieve the best results.
Step-by-Step Guide to Cleaning the Ventilation System
Now that you’re prepared and ready to clean your car’s ventilation system, let’s walk through the step-by-step process. Follow these instructions carefully to ensure a thorough and effective cleaning:
- Access the Ventilation System: Locate the intake vent for the ventilation system. This is usually located near the base of the windshield or near the front of the hood. Remove any debris or leaves that may have accumulated around the vent.
- Remove the Cabin Air Filter (if applicable): If your car has a cabin air filter and it is dirty or clogged, remove it according to your vehicle’s manual. Replace it with a new filter if necessary.
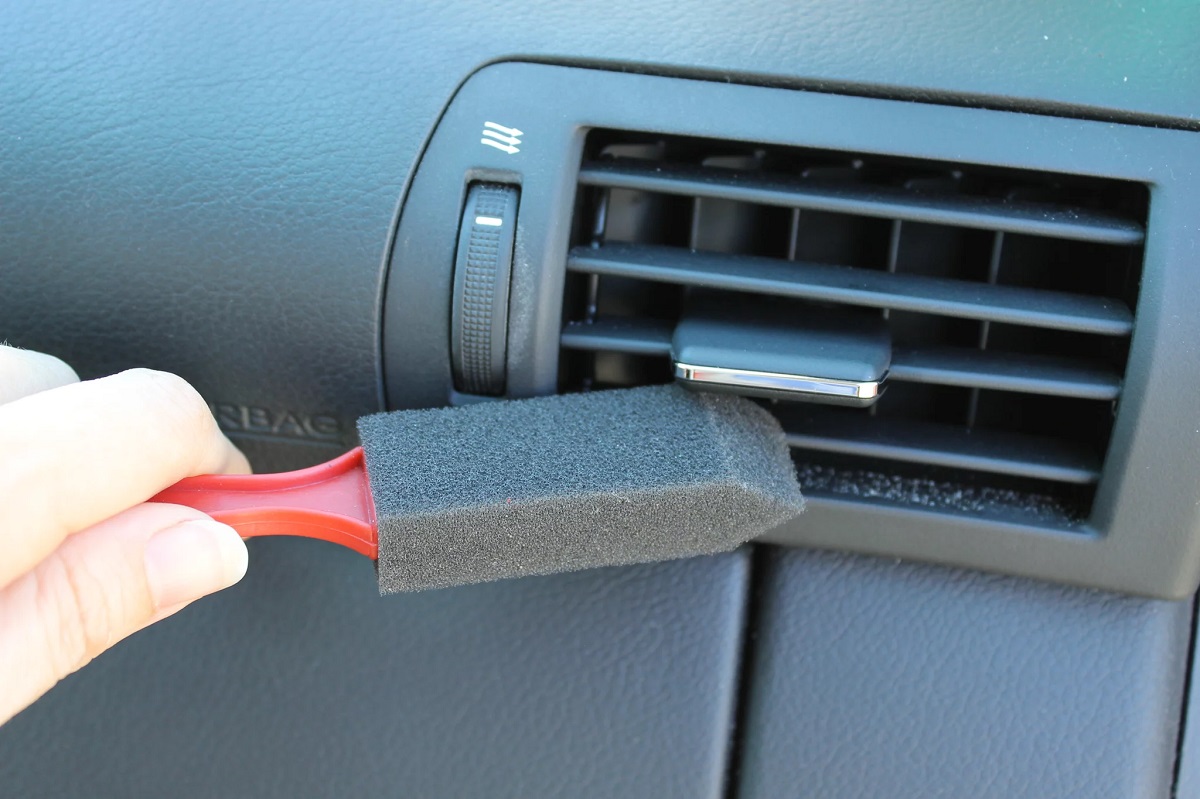
- Cleaning the Exterior Vents: Use a soft-bristle brush or a compressed air canister to clean the exterior vents. Gently brush away any visible dirt, dust, or debris from the vents.
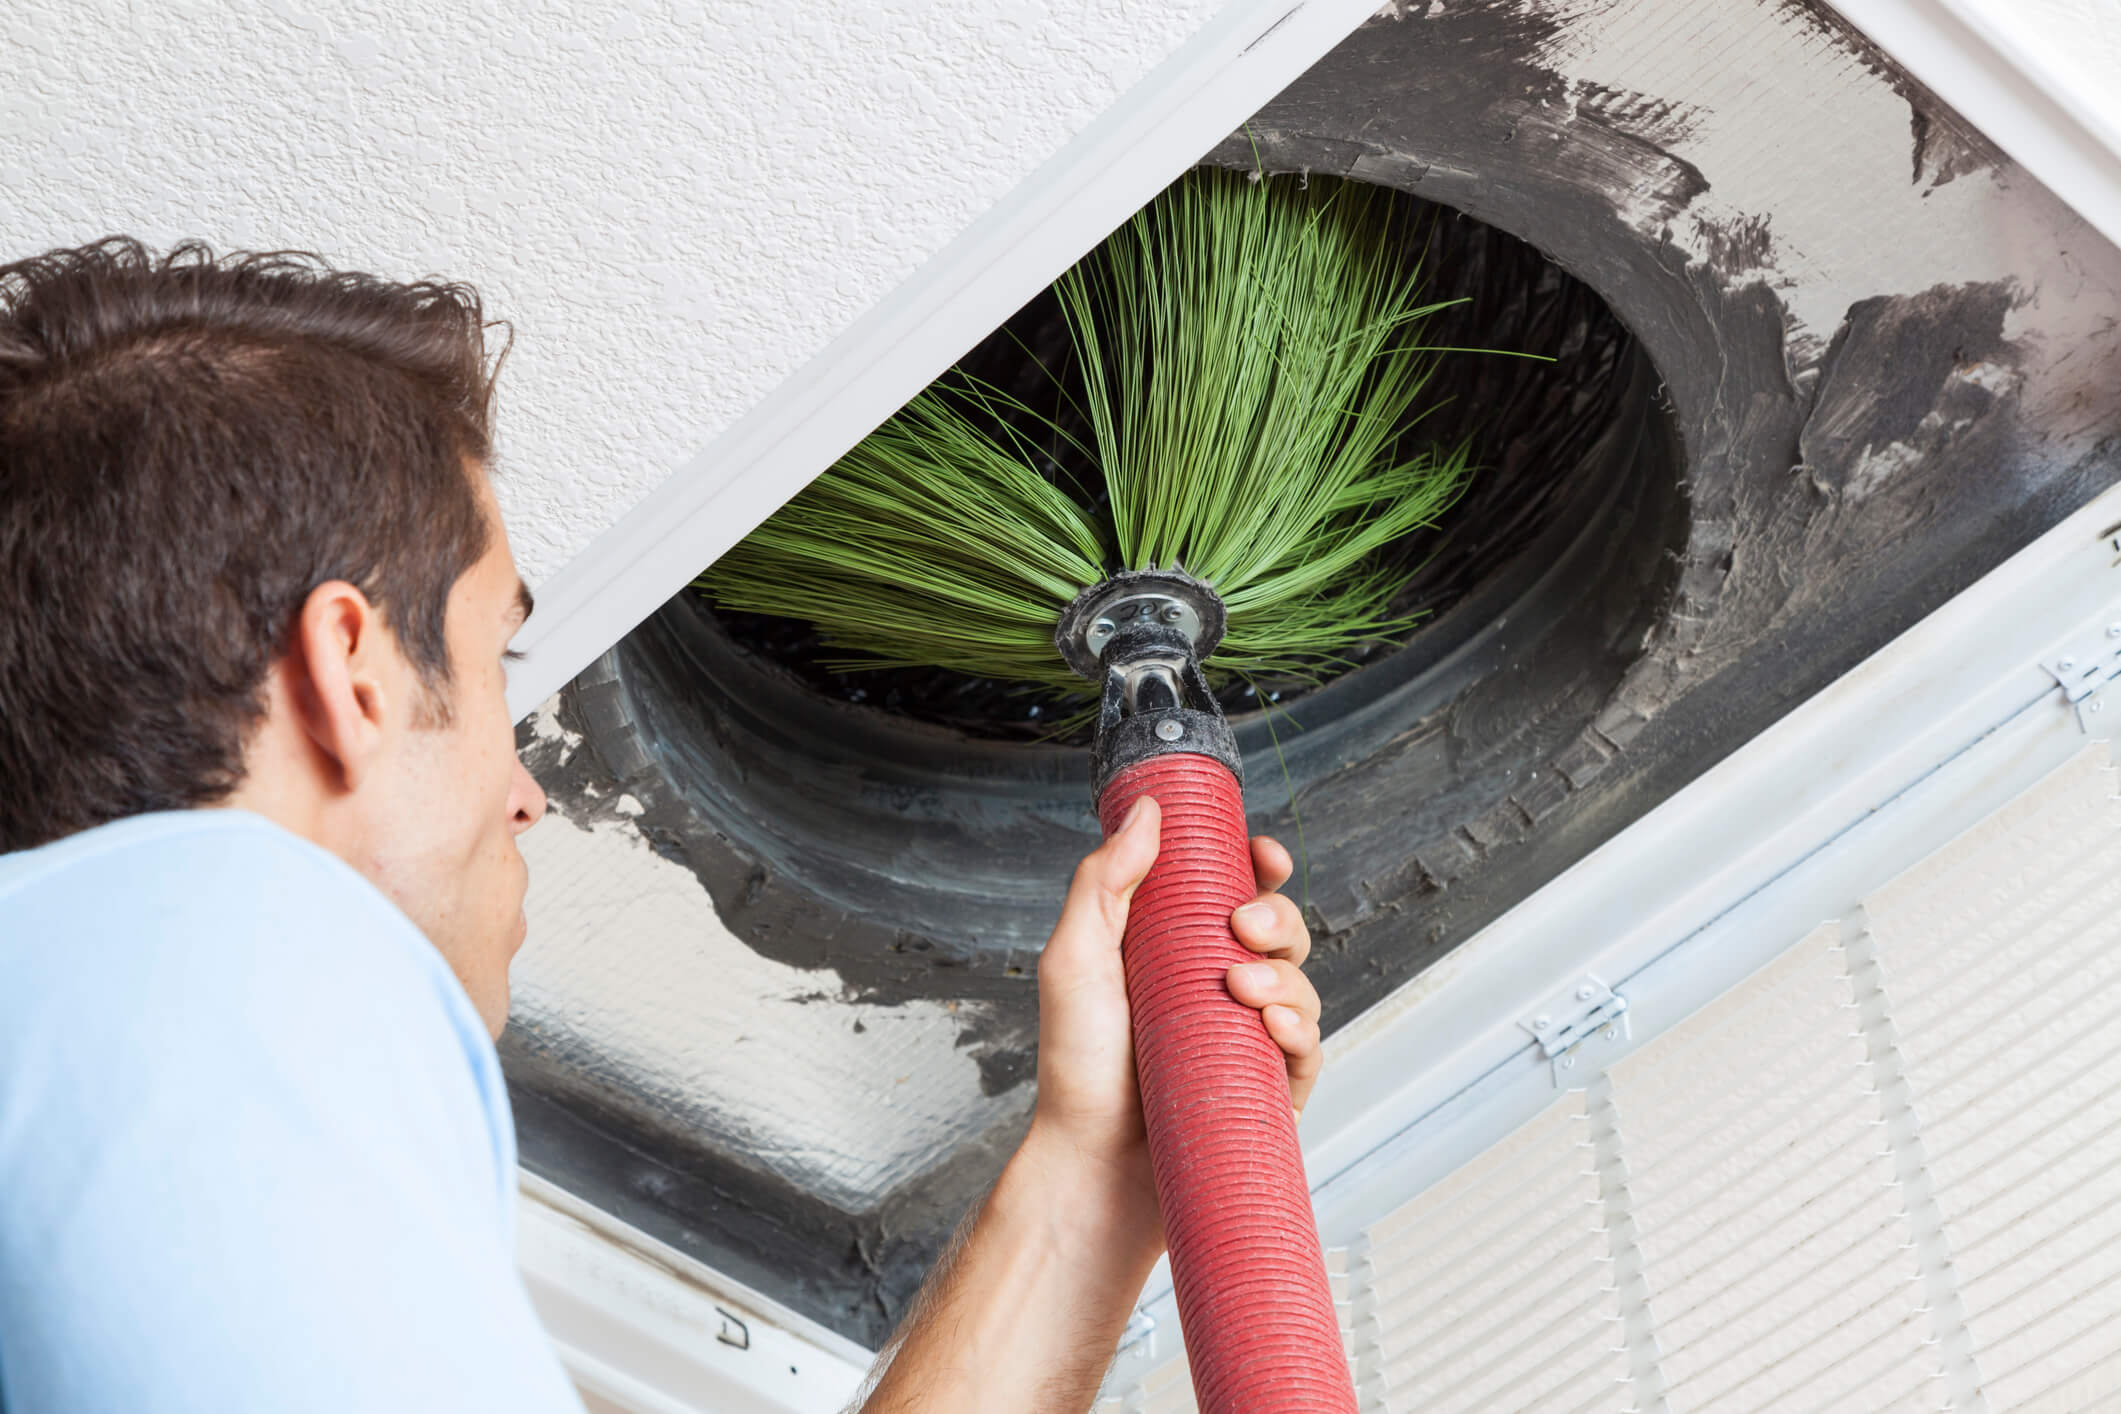
- Cleaning the Ventilation Ducts: Use a flexible brush or a long-handled brush to clean the ventilation ducts. Insert the brush carefully into each vent and rotate it gently to dislodge any accumulated debris. Vacuum the vents to remove the loosened debris.
- Cleaning the Air Intake: Locate the air intake opening, which is usually located near the base of the windshield. Use a soft-bristle brush or a compressed air canister to clean the air intake, removing any dirt or leaves that may be blocking it.
- Cleaning the Fan and Blower: The fan and blower are integral components of the ventilation system. Use a vacuum cleaner with a brush attachment to remove dust and debris from these parts. If necessary, use a damp cloth or mild cleaning solution to wipe down the fan blades and blower assembly.
- Reassembling the Ventilation System: After cleaning all the components, reassemble the ventilation system in the reverse order of disassembly. Make sure everything is securely fastened and in its proper place.
- Testing the Ventilation System: Once you’ve completed the cleaning process, start the car and test the ventilation system. Check for proper airflow, listen for any unusual noises, and ensure there are no odd odors. If everything seems normal, you’ve successfully cleaned your car’s ventilation system!
It’s important to note that these instructions are general guidelines. Refer to your car’s manual for specific instructions or consult a professional if you’re unsure about any step of the process.
By following this step-by-step guide, you can keep your car’s ventilation system clean and operating efficiently, ensuring a fresh and comfortable interior for your journeys ahead.
Regularly replace the cabin air filter to keep the ventilation system clean and free from dust and debris. This will help maintain good air quality inside the car.
Read more: How To Clean Car Floor
Cleaning the Ventilation Ducts
The ventilation ducts in your car are responsible for distributing air from the ventilation system to various areas of the cabin. Over time, these ducts can accumulate dust, debris, and other contaminants, hindering proper airflow and reducing the effectiveness of the ventilation system. Cleaning the ventilation ducts is an important step in maintaining a healthy and efficient interior environment. Here’s how to clean the ventilation ducts:
- Locate the Ventilation Ducts: The ventilation ducts can vary in location depending on the make and model of your car. Common areas to find them include under the dashboard, behind the glove compartment, or under the seats. Refer to your car’s manual to determine the specific location of the ducts.
- Prepare the Cleaning Solution: Mix a mild cleaning solution using warm water and a small amount of mild soap. Avoid using harsh chemicals that can damage the ducts or cause allergic reactions.
- Attach a Cleaning Tool: Choose a flexible brush or a long-handled brush with soft bristles. Attach the brush to a vacuum cleaner hose using an extension tool if necessary.
- Insert the Brush into the Ducts: Carefully insert the brush into each duct, reaching as far as possible without applying excessive force. Rotate the brush gently to dislodge any dirt, dust, or debris trapped inside.
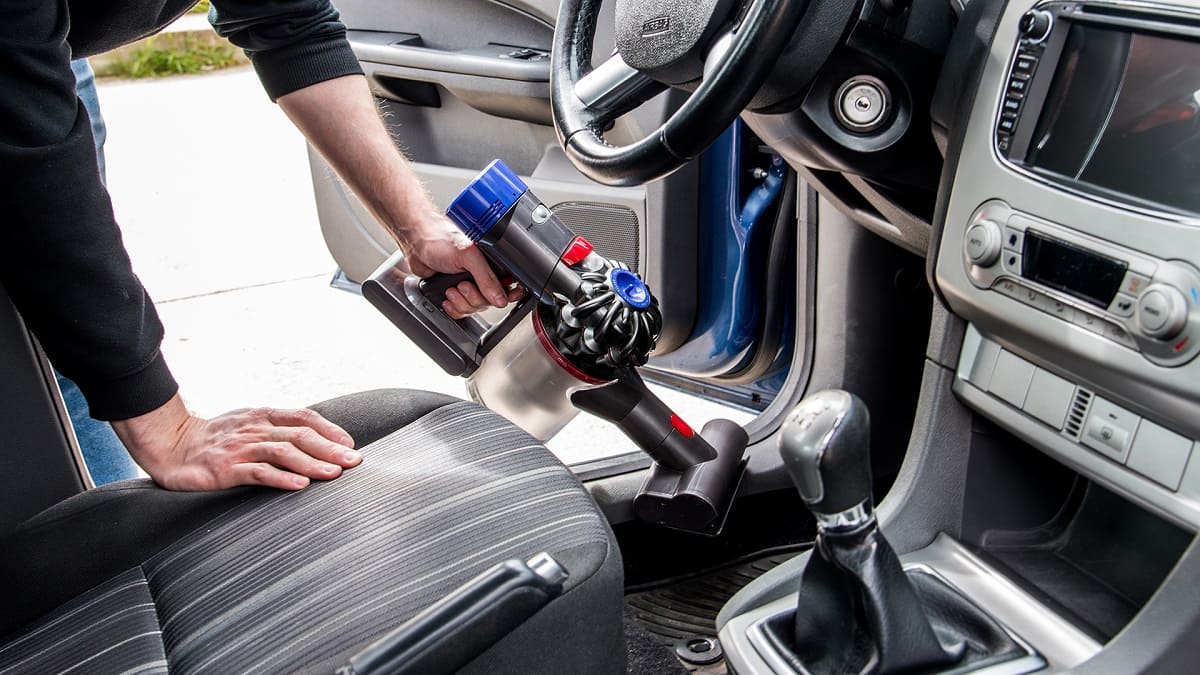
- Vacuum the Ducts: As you brush the ducts, turn on the vacuum cleaner to suck up the loosened debris. Move the brush along the ducts in a systematic manner until you have cleaned all the accessible areas.
- Repeat if Necessary: If there is still visible dirt or if the airflow remains restricted, you may need to repeat the brushing and vacuuming process multiple times until the ducts are clean.
- Inspect for Mold or Mildew: While cleaning the ducts, keep an eye out for signs of mold or mildew. If you discover any growth, it’s important to address it promptly to prevent further contamination and potential health issues. In such cases, you may need to consult a professional for proper mold remediation.
- Reassemble the Ventilation System: Once you’re satisfied with the cleanliness of the ducts, proceed with reassembling the ventilation system, ensuring that all components are securely fastened.
Cleaning the ventilation ducts might be a challenging task, especially if the ducts are hard to reach. If you’re uncomfortable or unable to access the ducts properly, it’s recommended to seek assistance from a professional car technician or an HVAC specialist.
By regularly cleaning the ventilation ducts, you can improve the airflow, maintain air quality, and ensure a comfortable and healthy driving experience for you and your passengers.
Cleaning the Air Filter
The air filter in your car’s ventilation system plays a crucial role in removing dust, pollen, and other airborne particles from the incoming air. Over time, the air filter can become clogged with contaminants, restricting airflow and reducing the efficiency of the ventilation system. Cleaning or replacing the air filter is an important maintenance task to ensure optimal performance. Here’s how to clean the air filter:
- Locate the Air Filter: The location of the air filter can vary depending on your car’s make and model. It is typically found behind the glove compartment, under the hood, or near the windshield. Consult your car’s manual if you’re unsure about the exact location.
- Inspect the Filter: Remove the air filter and inspect it visually. If the filter appears excessively dirty, clogged, or damaged, it may be more practical to replace it rather than clean it. Some air filters are disposable and cannot be cleaned, while others are reusable and can be cleaned and reused.
- Remove Loose Dirt: If the air filter is reusable and shows only light dirt accumulation, gently tap it against a hard surface or use a soft brush to remove loose dirt and debris. Be careful not to damage or tear the filter material.
- Clean the Filter: If the air filter requires more thorough cleaning, you can use water and a mild detergent. Fill a basin or sink with warm water and add a small amount of mild soap. Submerge the filter in the soapy water and gently agitate it, allowing the dirt and grime to loosen. Rinse the filter with clean water until the water runs clear.
- Dry the Filter: After cleaning, allow the filter to air dry completely. Do not use heat or direct sunlight to speed up the drying process, as it can cause damage to the filter material. Ensure the filter is completely dry before reinserting it into the ventilation system.
- Reinstall the Filter: Once the air filter is dry, carefully insert it back into its original position, following the manufacturer’s instructions or the markings on the filter. Ensure that the filter is properly seated and securely fastened.
- Regularly Monitor and Replace: Keep a regular maintenance schedule for your air filter. Monitor its condition periodically and replace it if it is excessively dirty, damaged, or nearing the end of its service life. It’s recommended to consult your car’s manual or the air filter manufacturer’s guidelines for specific replacement intervals.
Remember, if your car’s air filter is disposable or shows signs of heavy contamination or damage, it is best to replace it rather than trying to clean it. Always consult your car’s manual or seek professional advice if you’re unsure about the appropriate cleaning or replacement procedure for your air filter.
By keeping the air filter clean and in good condition, you ensure proper airflow, reduce strain on the ventilation system, and maintain clean and fresh air inside your car.
Cleaning the Fan and Blower
The fan and blower in your car’s ventilation system are responsible for moving air through the system and into the cabin. Over time, these components can accumulate dust, dirt, and debris, which can affect their performance and lead to unpleasant odors. Cleaning the fan and blower is an important step in maintaining the efficiency and cleanliness of your car’s ventilation system. Here’s how to clean them:
- Locate the Fan and Blower: The fan and blower are usually located behind the glove compartment or under the dashboard. Refer to your car’s manual to find the exact location of these components.
- Disconnect the Power: Before you start cleaning, it’s important to disconnect the power to ensure your safety. Locate the fuse or relay related to the ventilation system in your car’s fuse box and remove it. Alternatively, you can disconnect the car’s battery temporarily.
- Access the Fan and Blower: Remove any panels, covers, or screws that are blocking access to the fan and blower. Take note of their original positions and keep any removed parts in a safe place.
- Remove Debris: Use a vacuum cleaner with a brush attachment to gently remove any visible dirt, dust, or debris from the fan blades and blower. Pay close attention to any nooks or crevices where dirt might accumulate.
- Clean with a Damp Cloth or Solution: If there are stubborn stains or built-up grime, you can use a damp cloth or a mild cleaning solution to wipe down the fan blades and blower. Make sure the cloth is not dripping wet to avoid any electrical damage.
- Dry the Fan and Blower: After cleaning, allow the fan blades and blower to air dry completely. Ensure that there is no moisture left behind before reassembling the components.
- Reassemble the Components: Once the fan and blower are dry, carefully reassemble all the components you removed earlier. Ensure that everything is properly aligned and securely fastened.
- Reconnect the Power: Reinsert the fuse or relay you removed from the fuse box or reconnect the car’s battery. This will restore power to the ventilation system.
- Test the Ventilation System: Turn on the car and test the ventilation system to ensure that the fan and blower are operating smoothly. Check for proper airflow and listen for any unusual noises or vibrations.
If you’re uncomfortable or unsure about cleaning the fan and blower yourself, it’s recommended to seek assistance from a professional car technician. They have the expertise and tools to perform the cleaning safely and effectively.
By regularly cleaning the fan and blower, you can improve the performance of your car’s ventilation system, eliminate odors, and ensure a comfortable and fresh driving experience.
Reassembling and Testing the Ventilation System
Once you have completed the necessary cleaning and maintenance tasks for your car’s ventilation system, it’s time to reassemble the components and test the system for optimal functionality. Here is a step-by-step guide to reassembling and testing the ventilation system:
- Retrieve All Removed Components: Gather all the parts, covers, and screws that were removed during the cleaning process. Ensure that none of the components are damaged or missing.
- Align and Securely Fasten Components: Carefully align the components back into their original positions. Make sure the parts fit snugly and are securely fastened using the appropriate screws or clips. Refer to your car’s manual for guidance if needed.
- Reconnect Any Electrical Connections: If any electrical connections were detached during the maintenance, ensure that they are properly reconnected. Double-check that all the connections are secure to avoid any electrical malfunctions.
- Insert the Cabin Air Filter (if applicable): If you removed the cabin air filter during cleaning, now is the time to insert a new or cleaned filter. Make sure it is placed in the correct orientation according to the markings or instructions on the filter.
- Reinstall Any Covers or Panels: If you removed any covers or panels to access the ventilation system, reinstall them properly. Ensure that the covers fit correctly and are securely fastened to protect the components and ensure safety.
- Reconnect the Power: Reconnect the power source to your car’s ventilation system. Insert the fuse or relay back into the fuse box or reconnect the car’s battery, depending on the method you used to disconnect the power earlier.
- Test the Ventilation System: Start the car’s engine and turn on the ventilation system. Test the airflow from all the vents to ensure that the air is being circulated properly. Listen for any abnormal noises or vibrations, which may indicate potential issues with the system.
- Check the Controls and Functions: Check that all the controls, such as fan speed, temperature adjustments, and different airflow modes, are functioning correctly. Ensure that the system responds appropriately to changes in settings.
- Verify Odor Elimination: Take a few minutes to evaluate the air for any lingering odors. If the cleaning was successful, there should be a noticeable improvement in the freshness of the air coming from the ventilation system.
If you encounter any difficulties during the reassembling process or notice any issues with the ventilation system’s performance, it is recommended to consult a professional mechanic or seek help from an authorized service center. They can provide expert guidance and ensure that the system is functioning optimally.
By reassembling and testing the ventilation system, you can enjoy a clean and efficient airflow, ensuring a comfortable and pleasant driving experience for you and your passengers.
Read more: How To Clean A Zephyr Range Hood
Tips for Maintaining a Clean Ventilation System
Maintaining a clean ventilation system in your car is essential to ensure optimal performance and a fresh interior environment. Here are some tips to help you keep your car’s ventilation system clean and in good condition:
- Regularly Clean and Replace the Cabin Air Filter: The cabin air filter plays a crucial role in filtering out dust, pollen, and other contaminants. Clean or replace it according to your car manufacturer’s recommended intervals to ensure clean, filtered air inside the cabin.
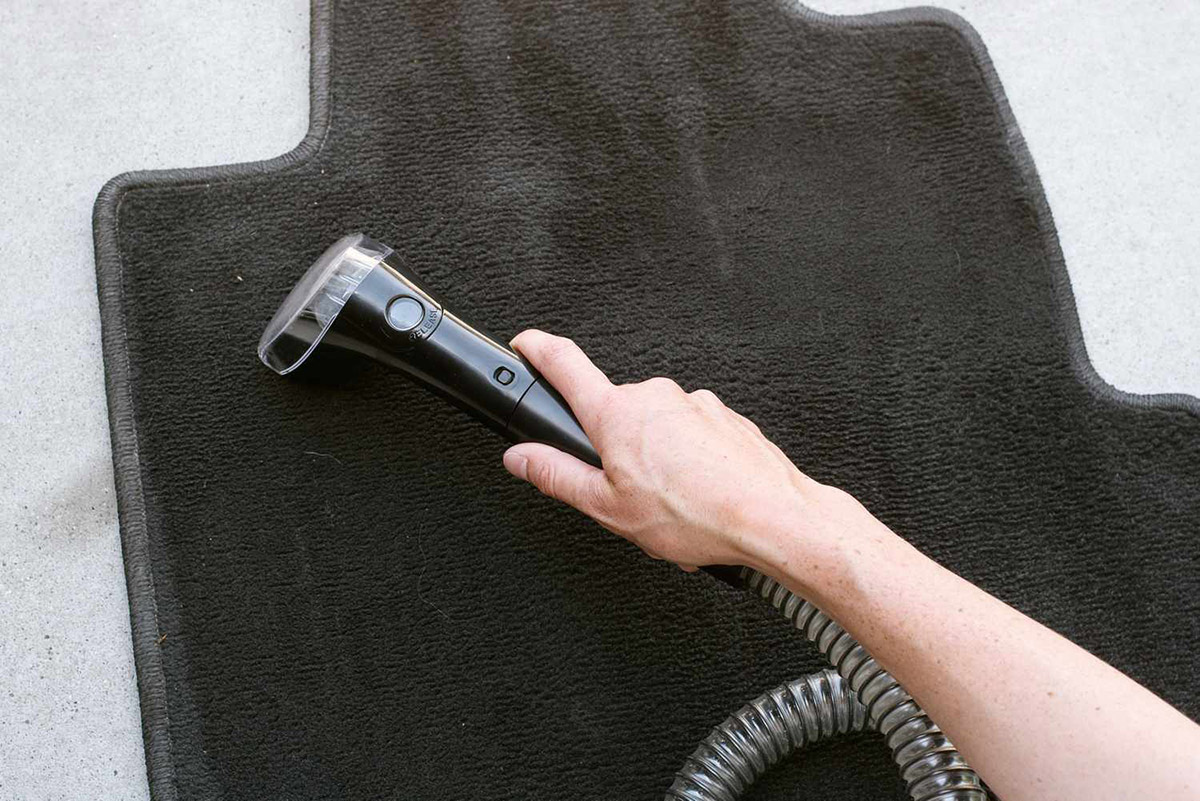
- Keep the Vehicle Interior Clean: Regularly clean the interior of your car, including vacuuming the floor, wiping down surfaces, and removing any food debris or trash. This helps prevent dirt and dust buildup in the ventilation system and reduces the risk of unpleasant odors.
- Avoid Smoking Inside the Car: Smoking not only leaves behind a strong odor but also introduces harmful chemicals into the ventilation system. Avoid smoking inside the car to maintain a clean and healthy interior environment.
- Inspect and Clean Exterior Intake Vents: Regularly check and clean the exterior intake vents of your car’s ventilation system. Remove any leaves, twigs, or other debris that may have accumulated, blocking the airflow into the system.
- Use Cabin Air Filters with Activated Carbon: Consider using cabin air filters with activated carbon. These filters can help eliminate odors and absorb harmful gases, ensuring cleaner and fresher air inside the car.
- Avoid Using Strong Chemical Cleaners: When cleaning the ventilation system components, avoid using harsh chemical cleaners that can damage the surfaces. Opt for mild soap and water or specific HVAC cleaning foams designed for automotive use.
- Regularly Run the Ventilation System: Even when you’re not using the air conditioning or heating, run the ventilation system periodically for a few minutes to circulate the air and prevent stagnation. This helps keep the components in the system clean and functional.
- Address Any Unusual Odors Promptly: If you notice any unusual or persistent odors from the ventilation system, address them promptly. It could be a sign of mold, mildew, or other contaminants. Consult a professional if needed to resolve the issue and prevent further contamination.
- Schedule Professional Maintenance: Consider scheduling professional maintenance for your car’s ventilation system. A qualified technician can perform a thorough cleaning, inspect the system for any issues, and ensure optimal performance.
- Follow the Manufacturer’s Maintenance Guidelines: Finally, always refer to your car manufacturer’s recommended maintenance guidelines for your specific make and model. They provide valuable information on cleaning intervals, filter replacements, and other maintenance tasks to keep your ventilation system in top shape.
By following these tips, you can maintain a clean and efficient ventilation system in your car, allowing you to enjoy fresh and comfortable air during your journeys.
Frequently Asked Questions about How To Clean A Car's Ventilation System
Was this page helpful?
At Storables.com, we guarantee accurate and reliable information. Our content, validated by Expert Board Contributors, is crafted following stringent Editorial Policies. We're committed to providing you with well-researched, expert-backed insights for all your informational needs.




0 thoughts on “How To Clean A Car’s Ventilation System”