
Articles
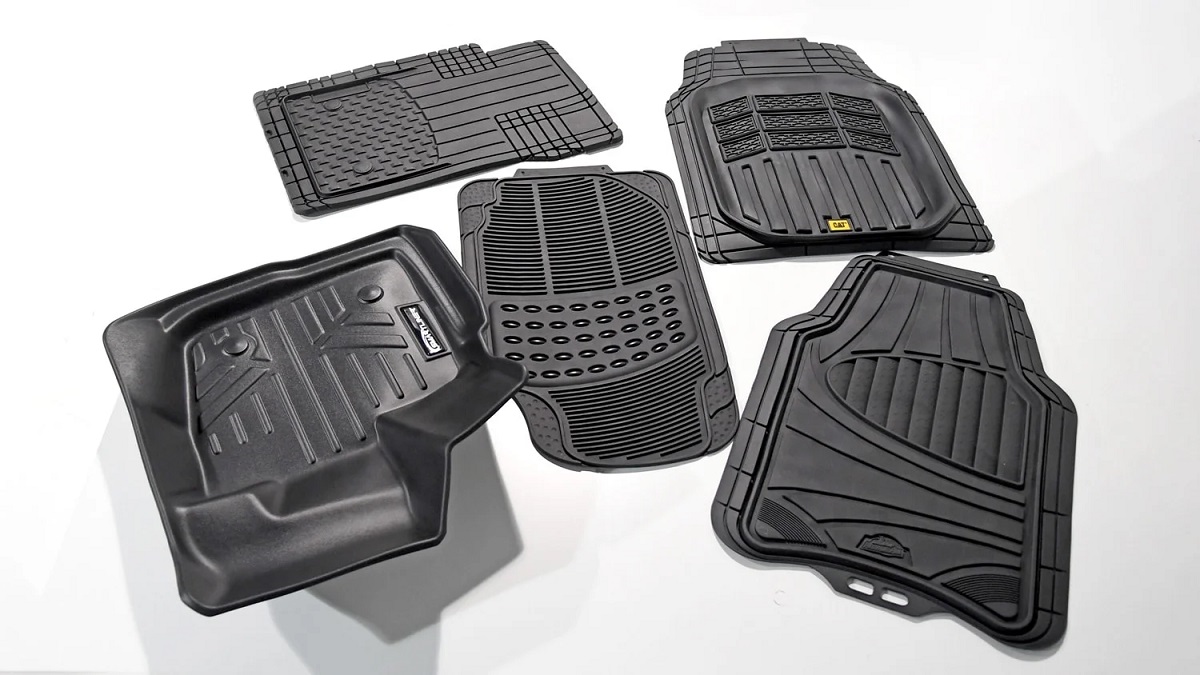
How To Clean Weathertech Floor Mats
Modified: December 7, 2023
Looking for articles on how to clean Weathertech floor mats? Check out our detailed guide for step-by-step instructions and expert tips. Keep your mats looking brand new!
(Many of the links in this article redirect to a specific reviewed product. Your purchase of these products through affiliate links helps to generate commission for Storables.com, at no extra cost. Learn more)
Introduction
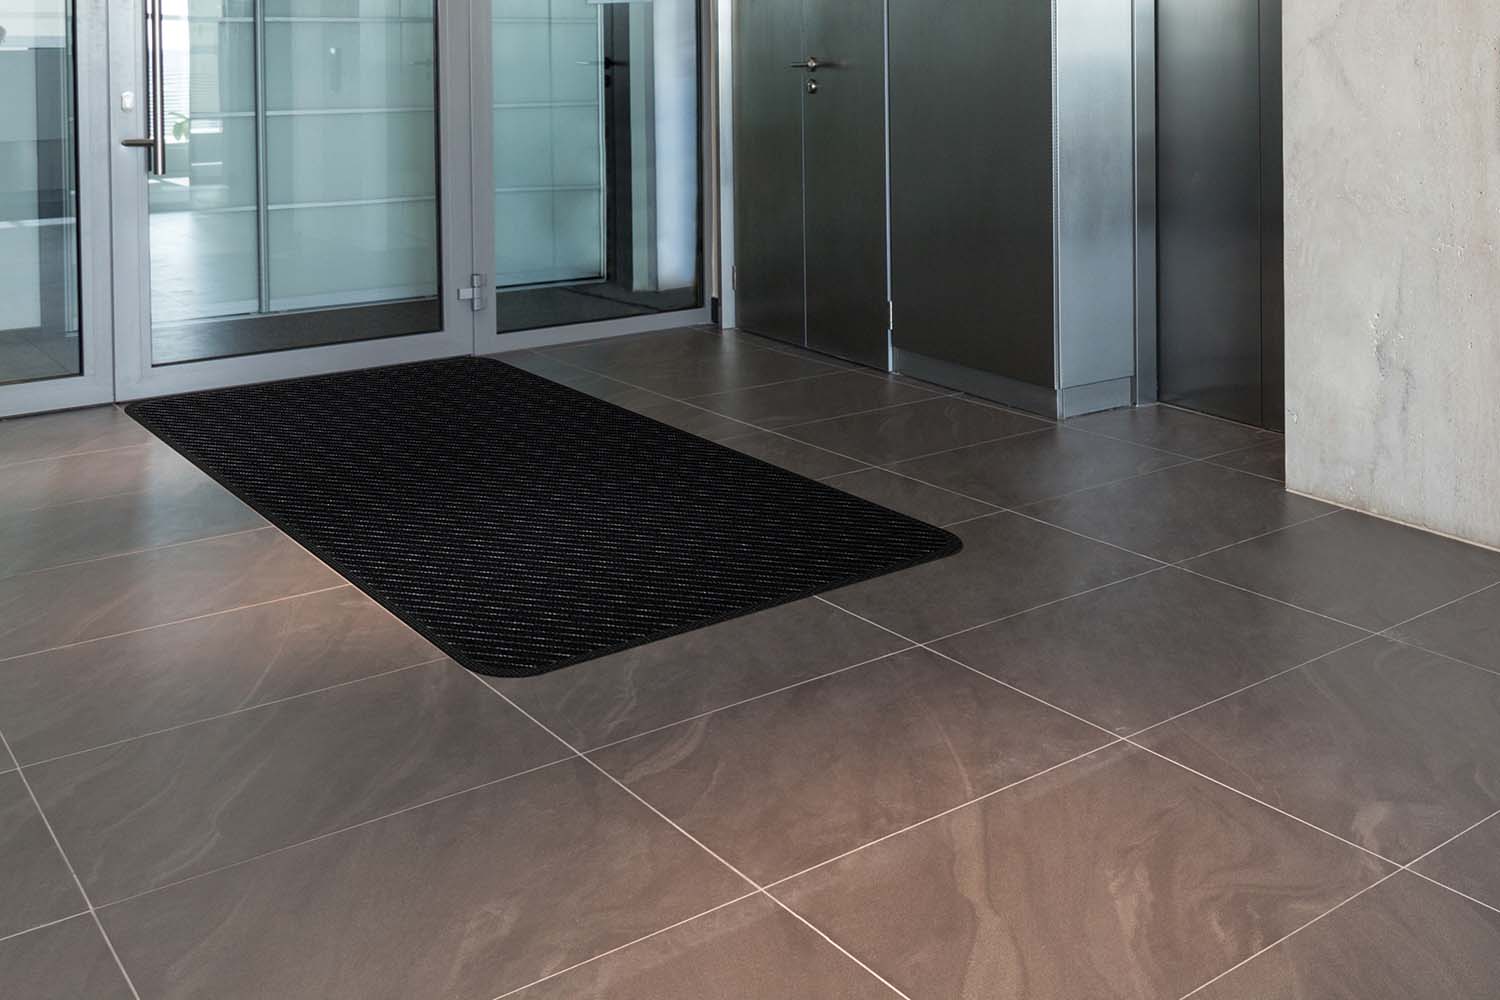
Your Weathertech floor mats are designed to protect your vehicle’s interior from dirt, debris, and spills. Over time, these mats can accumulate dirt, stains, and odors, making them look worn and dirty. Cleaning your Weathertech floor mats regularly not only helps to maintain their appearance but also ensures their effectiveness in safeguarding your vehicle’s flooring.
In this article, we will guide you through the step-by-step process of cleaning your Weathertech floor mats to restore their original look and functionality. With the right materials and a little bit of effort, you can easily get your mats looking clean and fresh again.
Key Takeaways:
- Keep your Weathertech floor mats clean by shaking off dirt, scrubbing with a mild cleaning solution, and thorough rinsing to maintain their appearance and effectiveness in protecting your vehicle’s flooring.
- Regularly cleaning and reinstalling your Weathertech floor mats not only extends their lifespan but also ensures a fresh and well-maintained vehicle interior, free from trapped dirt and unpleasant odors.
Read more: Where Can I Buy Weathertech Floor Mats
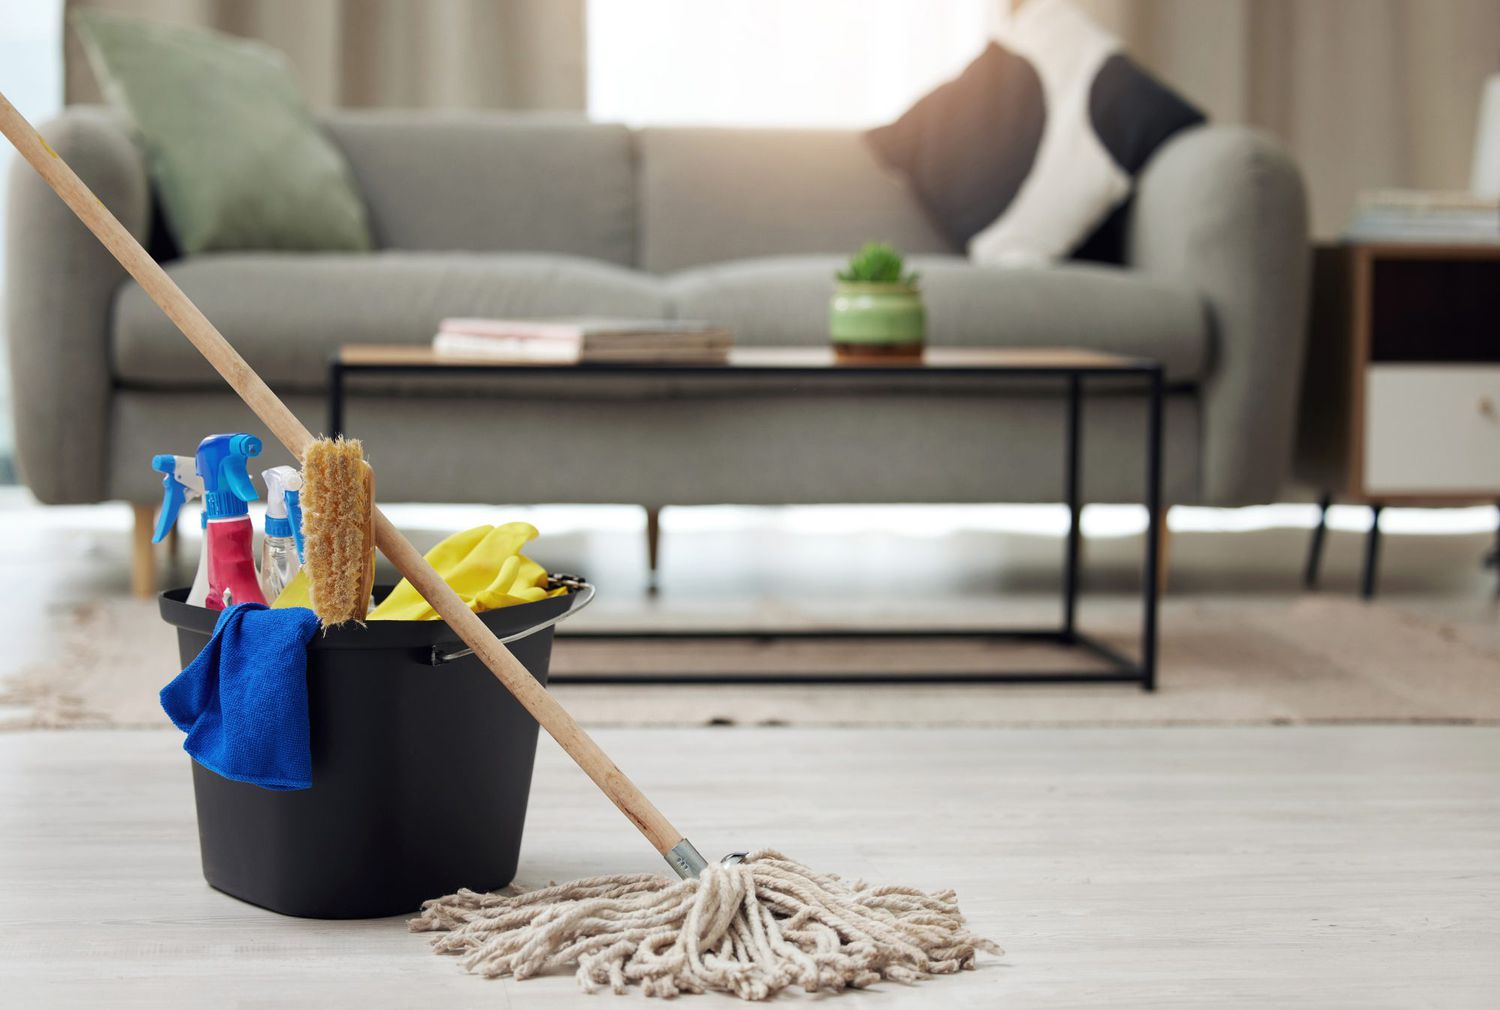
Materials Needed
Before you begin cleaning your Weathertech floor mats, gather the following materials:
- Bristle brush or scrub brush
- Mild soap or detergent
- Bucket of warm water
- Garden hose or pressure washer
- Microfiber towels or clean cloth
Having these materials ready will make the cleaning process easier and more effective.
Step 1: Remove the Mats from the Vehicle
Start by removing the Weathertech floor mats from your vehicle. Carefully lift them out, making sure not to spill any dirt or debris onto the floor. If your vehicle has multiple floor mats, remove them one at a time to avoid confusion during the cleaning process.
Take the mats to an outdoor area where you can easily wash them without causing any mess inside your vehicle. It’s important to clean the mats outside to ensure proper drainage and avoid water damage to your vehicle’s interior.
Once you have removed the mats from the vehicle, give them a quick inspection to check for any loose dirt or large debris. If you notice any, gently shake off the dirt and remove the debris before proceeding to the next step.
Now that your Weathertech floor mats are ready for cleaning, let’s move on to the next step.
Step 2: Shake off Loose Dirt and Debris
Before delving into the cleaning process, it’s essential to remove any loose dirt and debris from your Weathertech floor mats. This step will help prevent debris from scratching the surface of the mats during the scrubbing process.
To shake off the loose dirt and debris, take the mats to an open area such as your driveway or sidewalk. Hold the mat from one end and give it a good shake, making sure to shake off as much dirt as possible. You can also lightly tap the mats against a hard surface to encourage the dirt to dislodge.
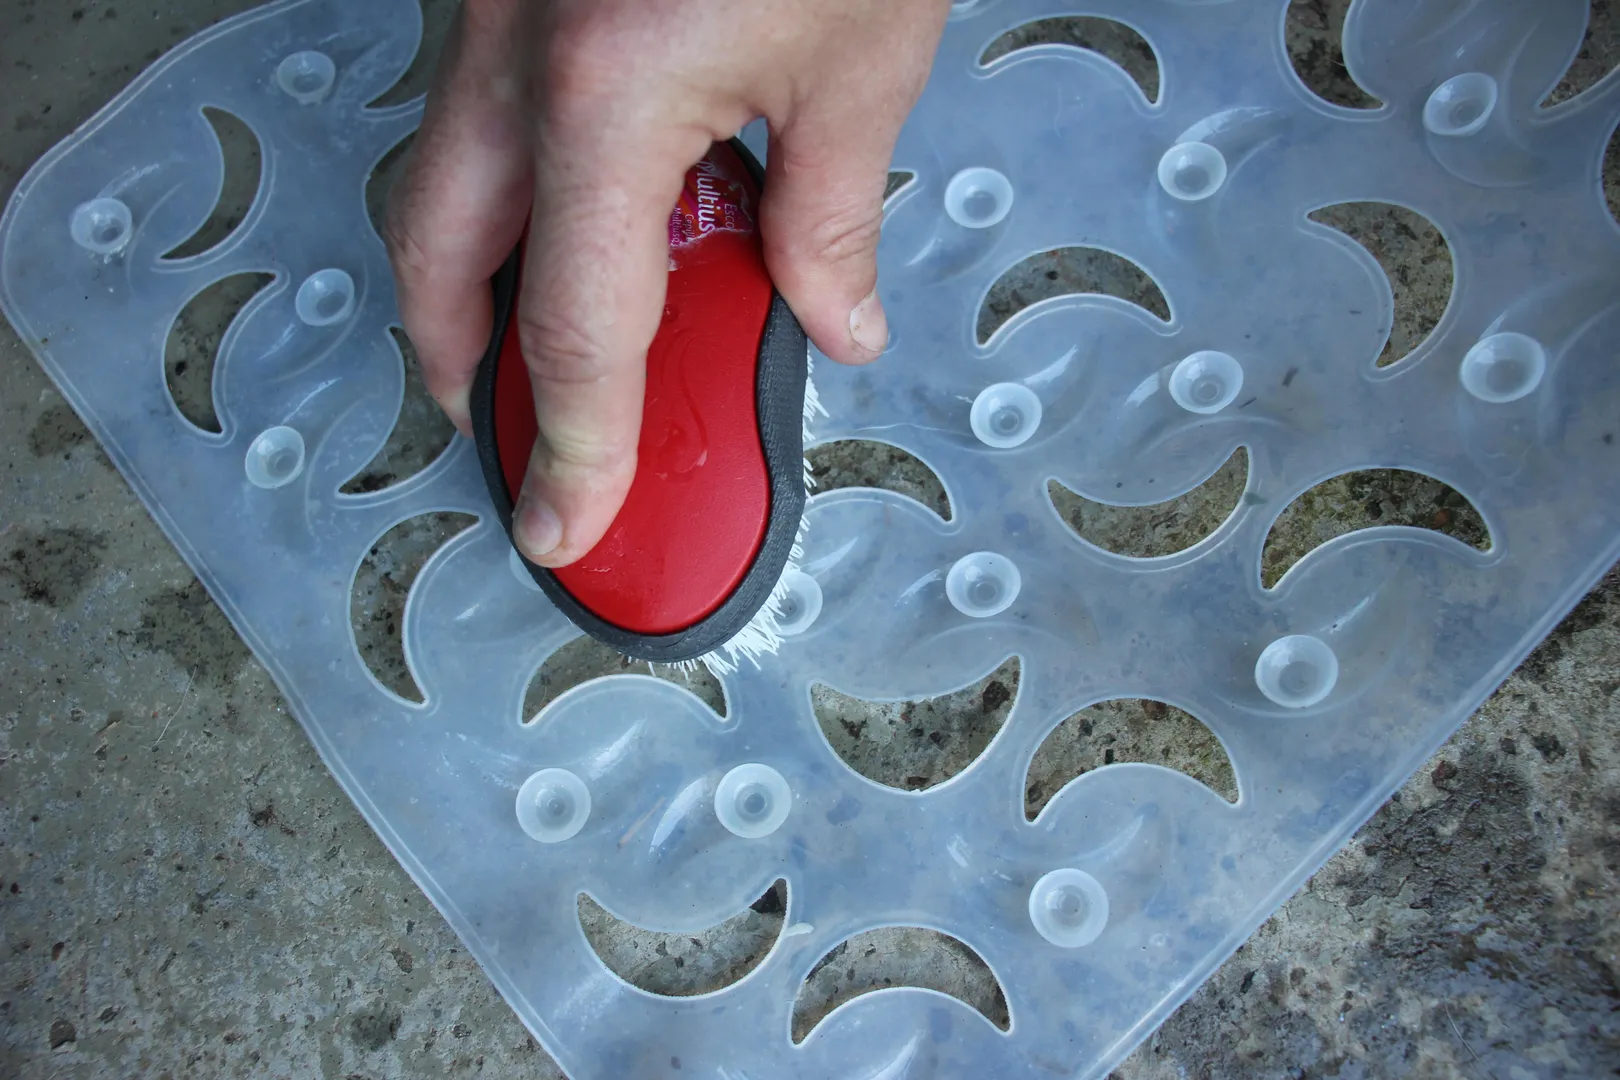
If you notice any large particles or clumps of dirt that are not easily shaken off, use a bristle brush or a scrub brush to gently brush away the dirt. Be careful not to scrub too vigorously, as this may damage the surface of the mats.
Once you have removed the loose dirt and debris, proceed to the next step to begin the cleaning process.
Step 3: Scrub the Mats with a Mild Cleaning Solution
Now that your Weathertech floor mats are free of loose dirt and debris, it’s time to give them a thorough cleaning. Prepare a mild cleaning solution by combining a small amount of mild soap or detergent with warm water in a bucket. The mild soap will effectively clean the mats without causing any damage.
Dip a bristle brush or a scrub brush into the cleaning solution, ensuring that the bristles are well coated. Begin scrubbing the mats in a circular motion, applying gentle pressure to effectively remove any stubborn stains or grime. Pay close attention to heavily soiled areas and any embedded dirt.
Continue scrubbing the mats until you have covered the entire surface area. If you come across any particularly stubborn stains or spots, you can apply a little extra cleaning solution directly to the affected area and scrub it with the brush.
Remember to clean both sides of the Weathertech floor mats to ensure a thorough cleaning process. The non-slip surface on the bottom of the mats may also accumulate dirt and debris, so be sure to pay attention to this area as well.
Once you have scrubbed the mats and removed the dirt and stains, move on to the next step to rinse off the cleaning solution.
To clean Weathertech floor mats, remove them from the vehicle and hose them down with water. Use a mild detergent and a soft brush to scrub any stubborn stains, then rinse thoroughly and allow to air dry before reinstalling.
Read more: How To Clean Outdoor Mat
Step 4: Rinse off the Mats
After scrubbing the Weathertech floor mats with the cleaning solution, it’s time to rinse off any residue and remaining dirt. This step will ensure that all cleaning agents are thoroughly removed, leaving your mats clean and fresh.
Take the mats to an area with access to a garden hose or a pressure washer. Rinse off the mats using a strong stream of water, focusing on each section and ensuring that all areas are thoroughly rinsed.
While rinsing, make sure to flip the mats over and rinse both sides to ensure a complete clean. The water pressure will help dislodge any remaining dirt or debris that may have been missed during the scrubbing process.
Continue rinsing the mats until the water runs clear, indicating that all the cleaning solution and dirt have been washed away. Ensure there are no soap bubbles or residue left on the mats.
Once you have rinsed off the mats, proceed to the next step to dry them thoroughly.
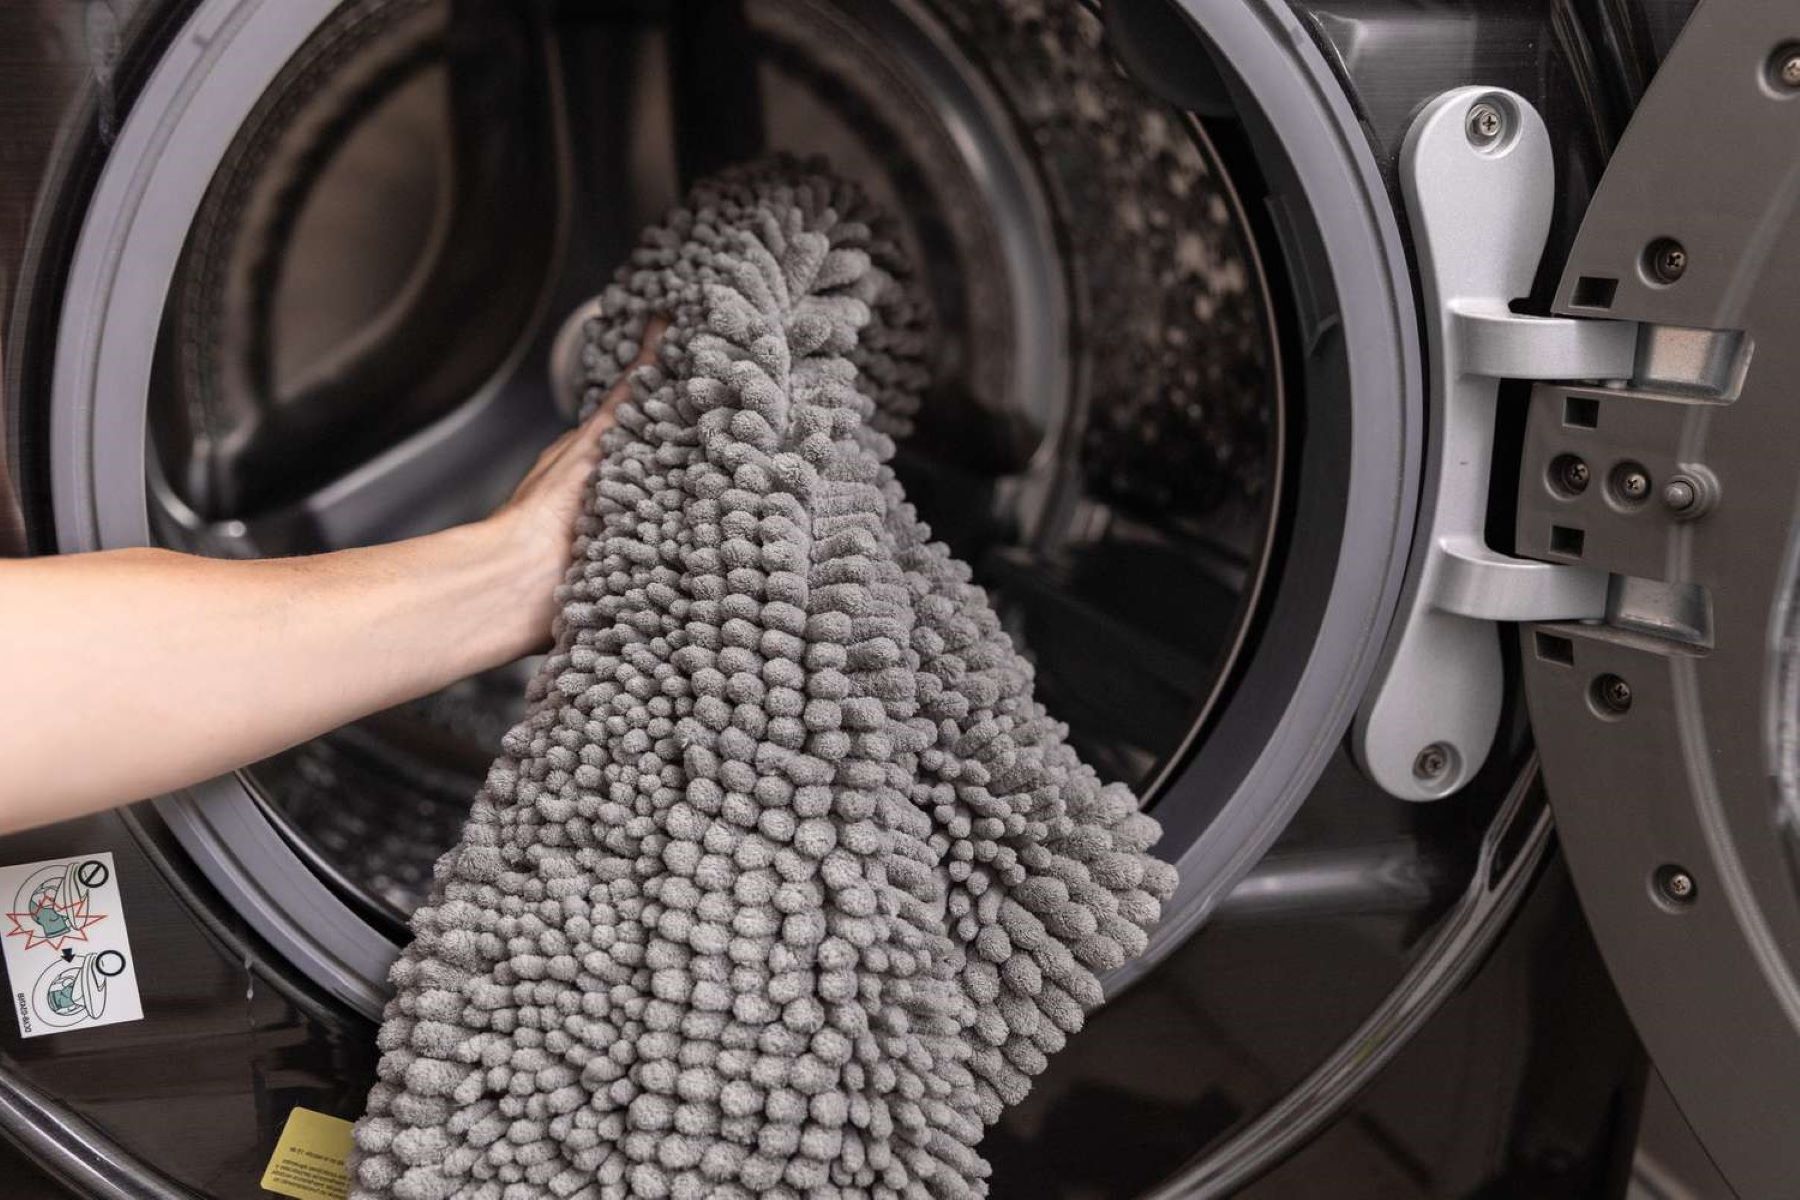
Step 5: Dry the Mats Thoroughly
After rinsing off your Weathertech floor mats, it’s crucial to dry them thoroughly before reinstalling them in your vehicle. This step will help prevent the growth of mold, mildew, and unpleasant odors.
Start by shaking off any excess water from the mats. You can give them a gentle shake or pat them with a towel to remove the majority of the moisture. Avoid folding or twisting the mats, as this can lead to creases or damage.
Next, place the mats in a well-ventilated area or lay them flat under the sun to air dry. The sunlight and fresh air will aid in the drying process, effectively evaporating any remaining moisture from the mats.
It’s important to ensure that both sides of the mats are exposed to air circulation to promote an even dry. You can prop them against a wall or use a drying rack to allow air to circulate around the mats.
If you’re in a hurry and need to speed up the drying process, you can use a clean microfiber towel or cloth to gently blot the mats and absorb excess moisture. Avoid rubbing the mats vigorously, as this can damage the surface.
Depending on the weather conditions and the thickness of the mats, the drying process may take several hours or even overnight. Ensure that the mats are completely dry before moving on to the next step.
Once the mats are thoroughly dried, proceed to the final step of reinstalling them in your vehicle.
Step 6: Reinstall the Mats in the Vehicle
Now that your Weathertech floor mats are clean and completely dry, it’s time to reinstall them back into your vehicle. Follow these simple steps to ensure a proper and secure fit:
- Align the mats correctly: Start by aligning each mat with its corresponding position in your vehicle. The driver’s side mat should fit snugly against the pedals and footwell, while the passenger and rear mats should align with their respective areas.
- Place the mats into position: Carefully place each mat back into its designated area in the vehicle. Ensure that the mats lay flat and cover the entire floor area, including any floor contours or raised edges.
- Secure the mats: Depending on your vehicle model and mat design, you may have fasteners, hooks, or retention clips to secure the mats in place. Double-check and make sure all fasteners are properly engaged and holding the mats securely.
- Adjust as necessary: Once the mats are in place, take a few moments to adjust them if needed. Ensure they are positioned correctly and provide adequate coverage and protection for your vehicle’s flooring.
After reinstalling the mats, give them a final check to ensure they are secure and properly fitted. Gently press down on each mat to confirm that it doesn’t shift or slide when pressure is applied.
With your Weathertech floor mats back in place, you can now enjoy a clean and protected vehicle interior.
Congratulations! You have successfully cleaned and reinstalled your Weathertech floor mats. By following these steps regularly, you can keep your mats looking great and extend their lifespan.
Conclusion
Cleaning your Weathertech floor mats is an essential part of maintaining a clean and fresh vehicle interior. By following the step-by-step process outlined in this article, you can effectively remove dirt, stains, and odors from your mats, ensuring they continue to provide optimal protection for your vehicle’s flooring.
Remember to gather the necessary materials before starting the cleaning process, including a brush, mild soap, warm water, a hose or pressure washer, and microfiber towels. These tools will help you achieve the best results.
Throughout the cleaning process, make sure to shake off loose dirt and debris, scrub the mats with a mild cleaning solution, rinse them thoroughly, and dry them completely. Taking these steps will help maintain the quality and appearance of your Weathertech floor mats.
Once the mats are clean and dry, reinstall them back into your vehicle, ensuring a secure fit. Double-check that all fasteners or retention clips are properly engaged to prevent any movement or slippage while driving.
By regularly cleaning your Weathertech floor mats, you can prolong their lifespan and keep your vehicle’s interior looking fresh and well-maintained. Additionally, routine cleaning helps to remove any trapped dirt, allergens, or unpleasant odors that may have accumulated over time.
So, take the time to clean your Weathertech floor mats and enjoy the benefits of a cleaner and more comfortable driving experience.
Remember, a clean vehicle starts from the ground up!
Frequently Asked Questions about How To Clean Weathertech Floor Mats
Was this page helpful?
At Storables.com, we guarantee accurate and reliable information. Our content, validated by Expert Board Contributors, is crafted following stringent Editorial Policies. We're committed to providing you with well-researched, expert-backed insights for all your informational needs.


0 thoughts on “How To Clean Weathertech Floor Mats”