Home>Furniture & Design>Bathroom Accessories>How To Clean A Rubber Bath Mat
Bathroom Accessories
How To Clean A Rubber Bath Mat
Modified: August 17, 2024
Learn how to effectively clean a rubber bath mat and keep your bathroom accessories looking fresh and hygienic. Discover simple tips and tricks for maintaining a clean and safe bathroom environment.
(Many of the links in this article redirect to a specific reviewed product. Your purchase of these products through affiliate links helps to generate commission for Storables.com, at no extra cost. Learn more)
Introduction
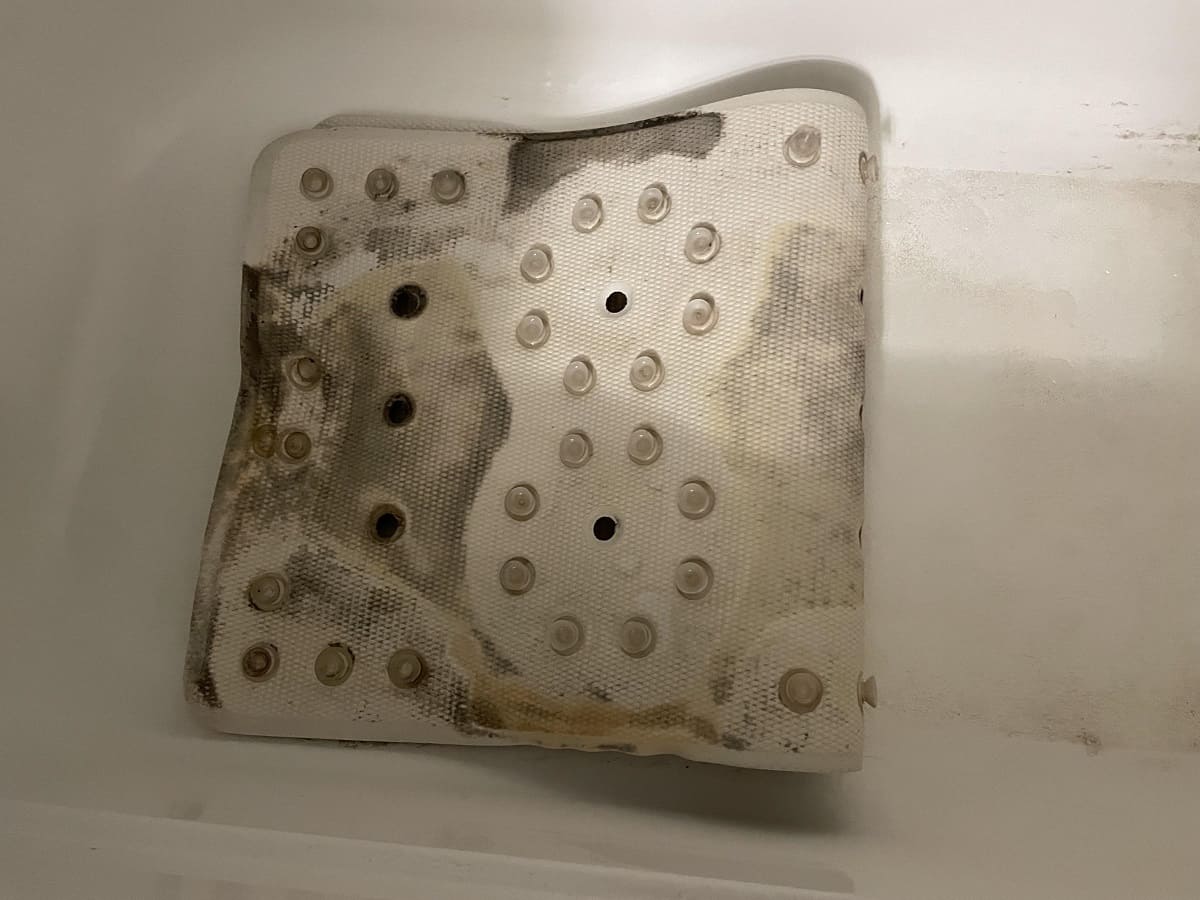
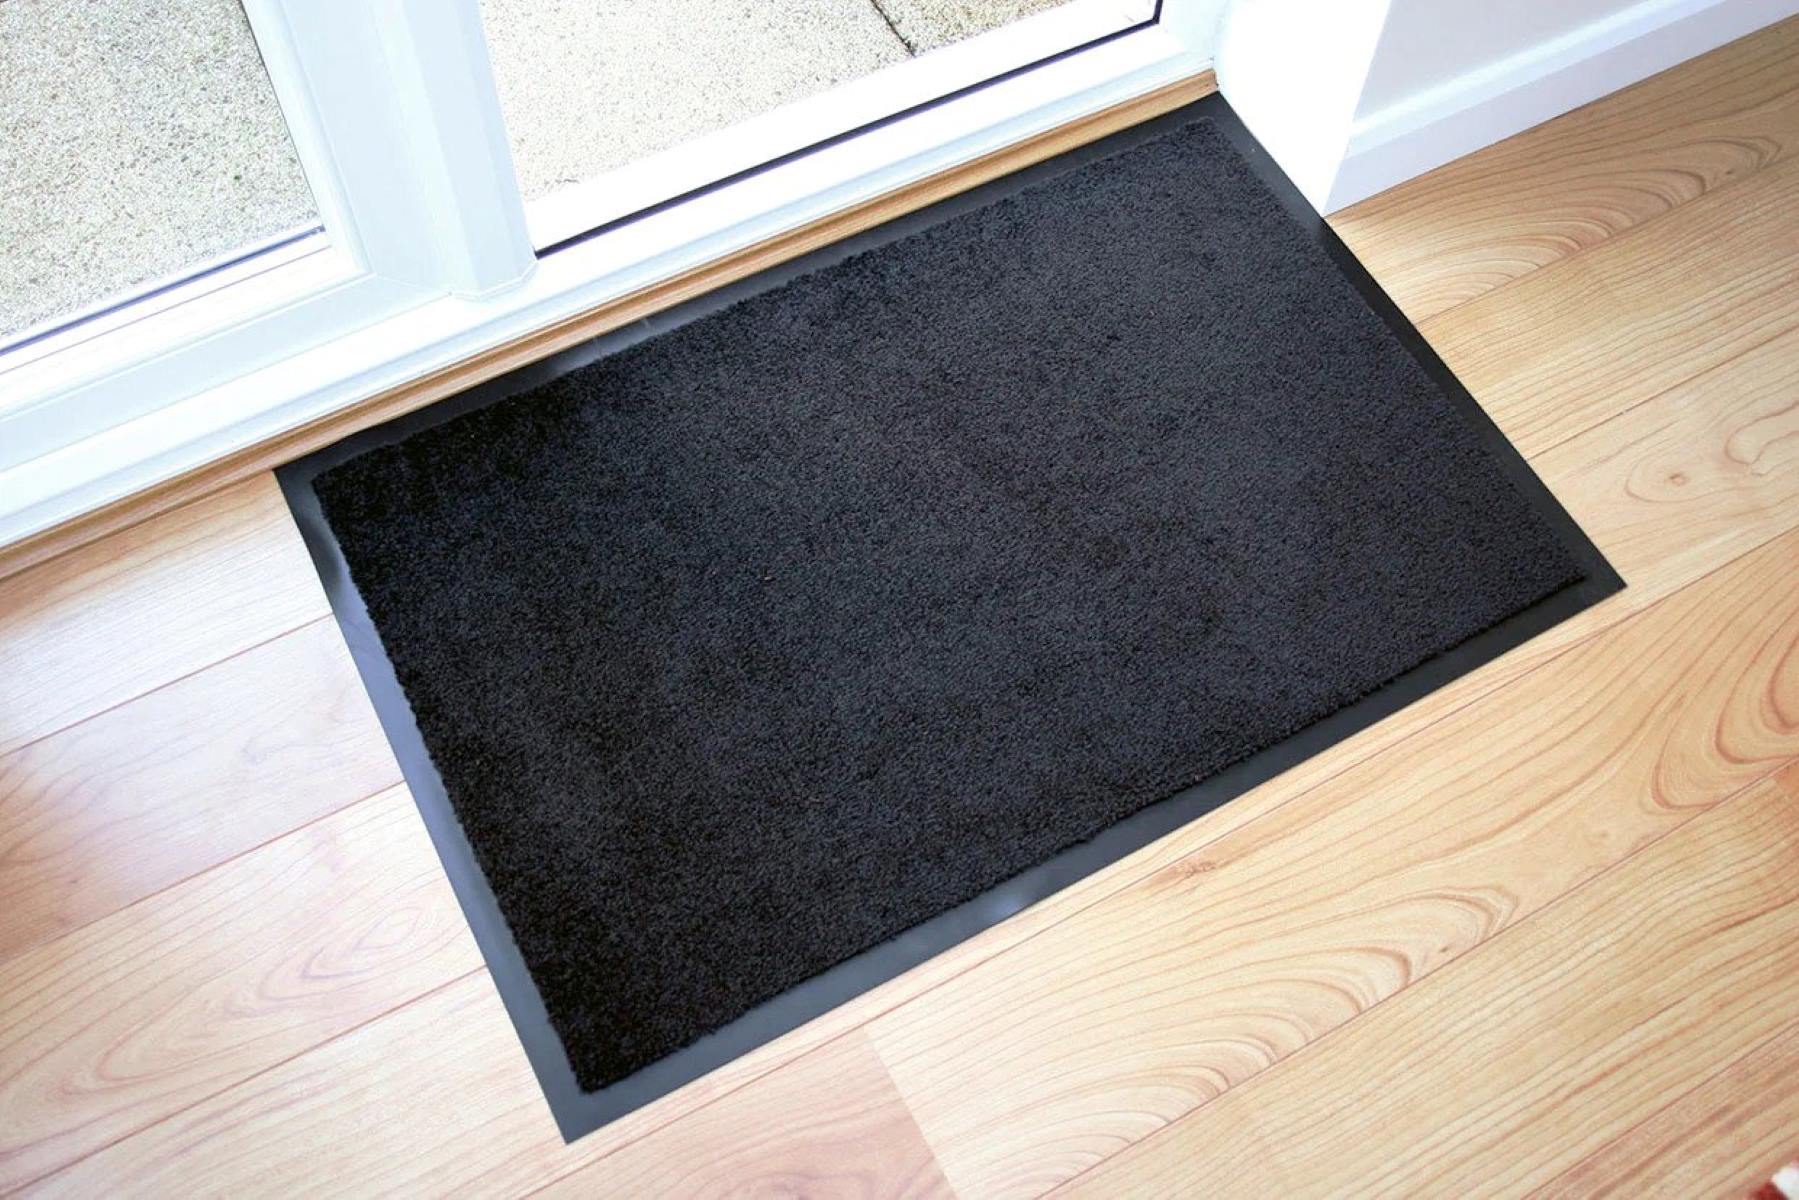
Rubber bath mats are essential bathroom accessories that provide safety and comfort while showering or bathing. Over time, these mats can accumulate dirt, soap scum, and mildew, leading to a less-than-pleasant appearance and potential hygiene concerns. Regular cleaning of your rubber bath mat is crucial to maintain its functionality and aesthetic appeal.
In this comprehensive guide, we will walk you through the step-by-step process of effectively cleaning your rubber bath mat. By following these simple yet effective methods, you can ensure that your bath mat remains clean, hygienic, and free from unsightly buildup.
Whether you have a textured rubber bath mat with suction cups or a smooth rubber mat, the cleaning techniques outlined in this article are suitable for various types of rubber bath mats. With just a few basic supplies and a little effort, you can restore your rubber bath mat to its original cleanliness and extend its lifespan.
By taking the time to clean your rubber bath mat regularly, you can create a more inviting and sanitary bathroom environment for yourself and your family. Additionally, maintaining a clean bath mat can help prevent slips and falls, providing an added layer of safety during daily bathroom use.
Now, let's delve into the step-by-step process of cleaning your rubber bath mat to ensure that it remains a functional, hygienic, and visually appealing addition to your bathroom.
Key Takeaways:
- Keep your rubber bath mat clean by removing it from the tub or shower, shaking off debris, scrubbing with a gentle cleaning solution, rinsing thoroughly, and allowing it to dry completely.
- Regular cleaning of your rubber bath mat not only maintains its appearance but also prevents slips and falls, creating a safer and more inviting bathroom environment.
Step 1: Remove the bath mat
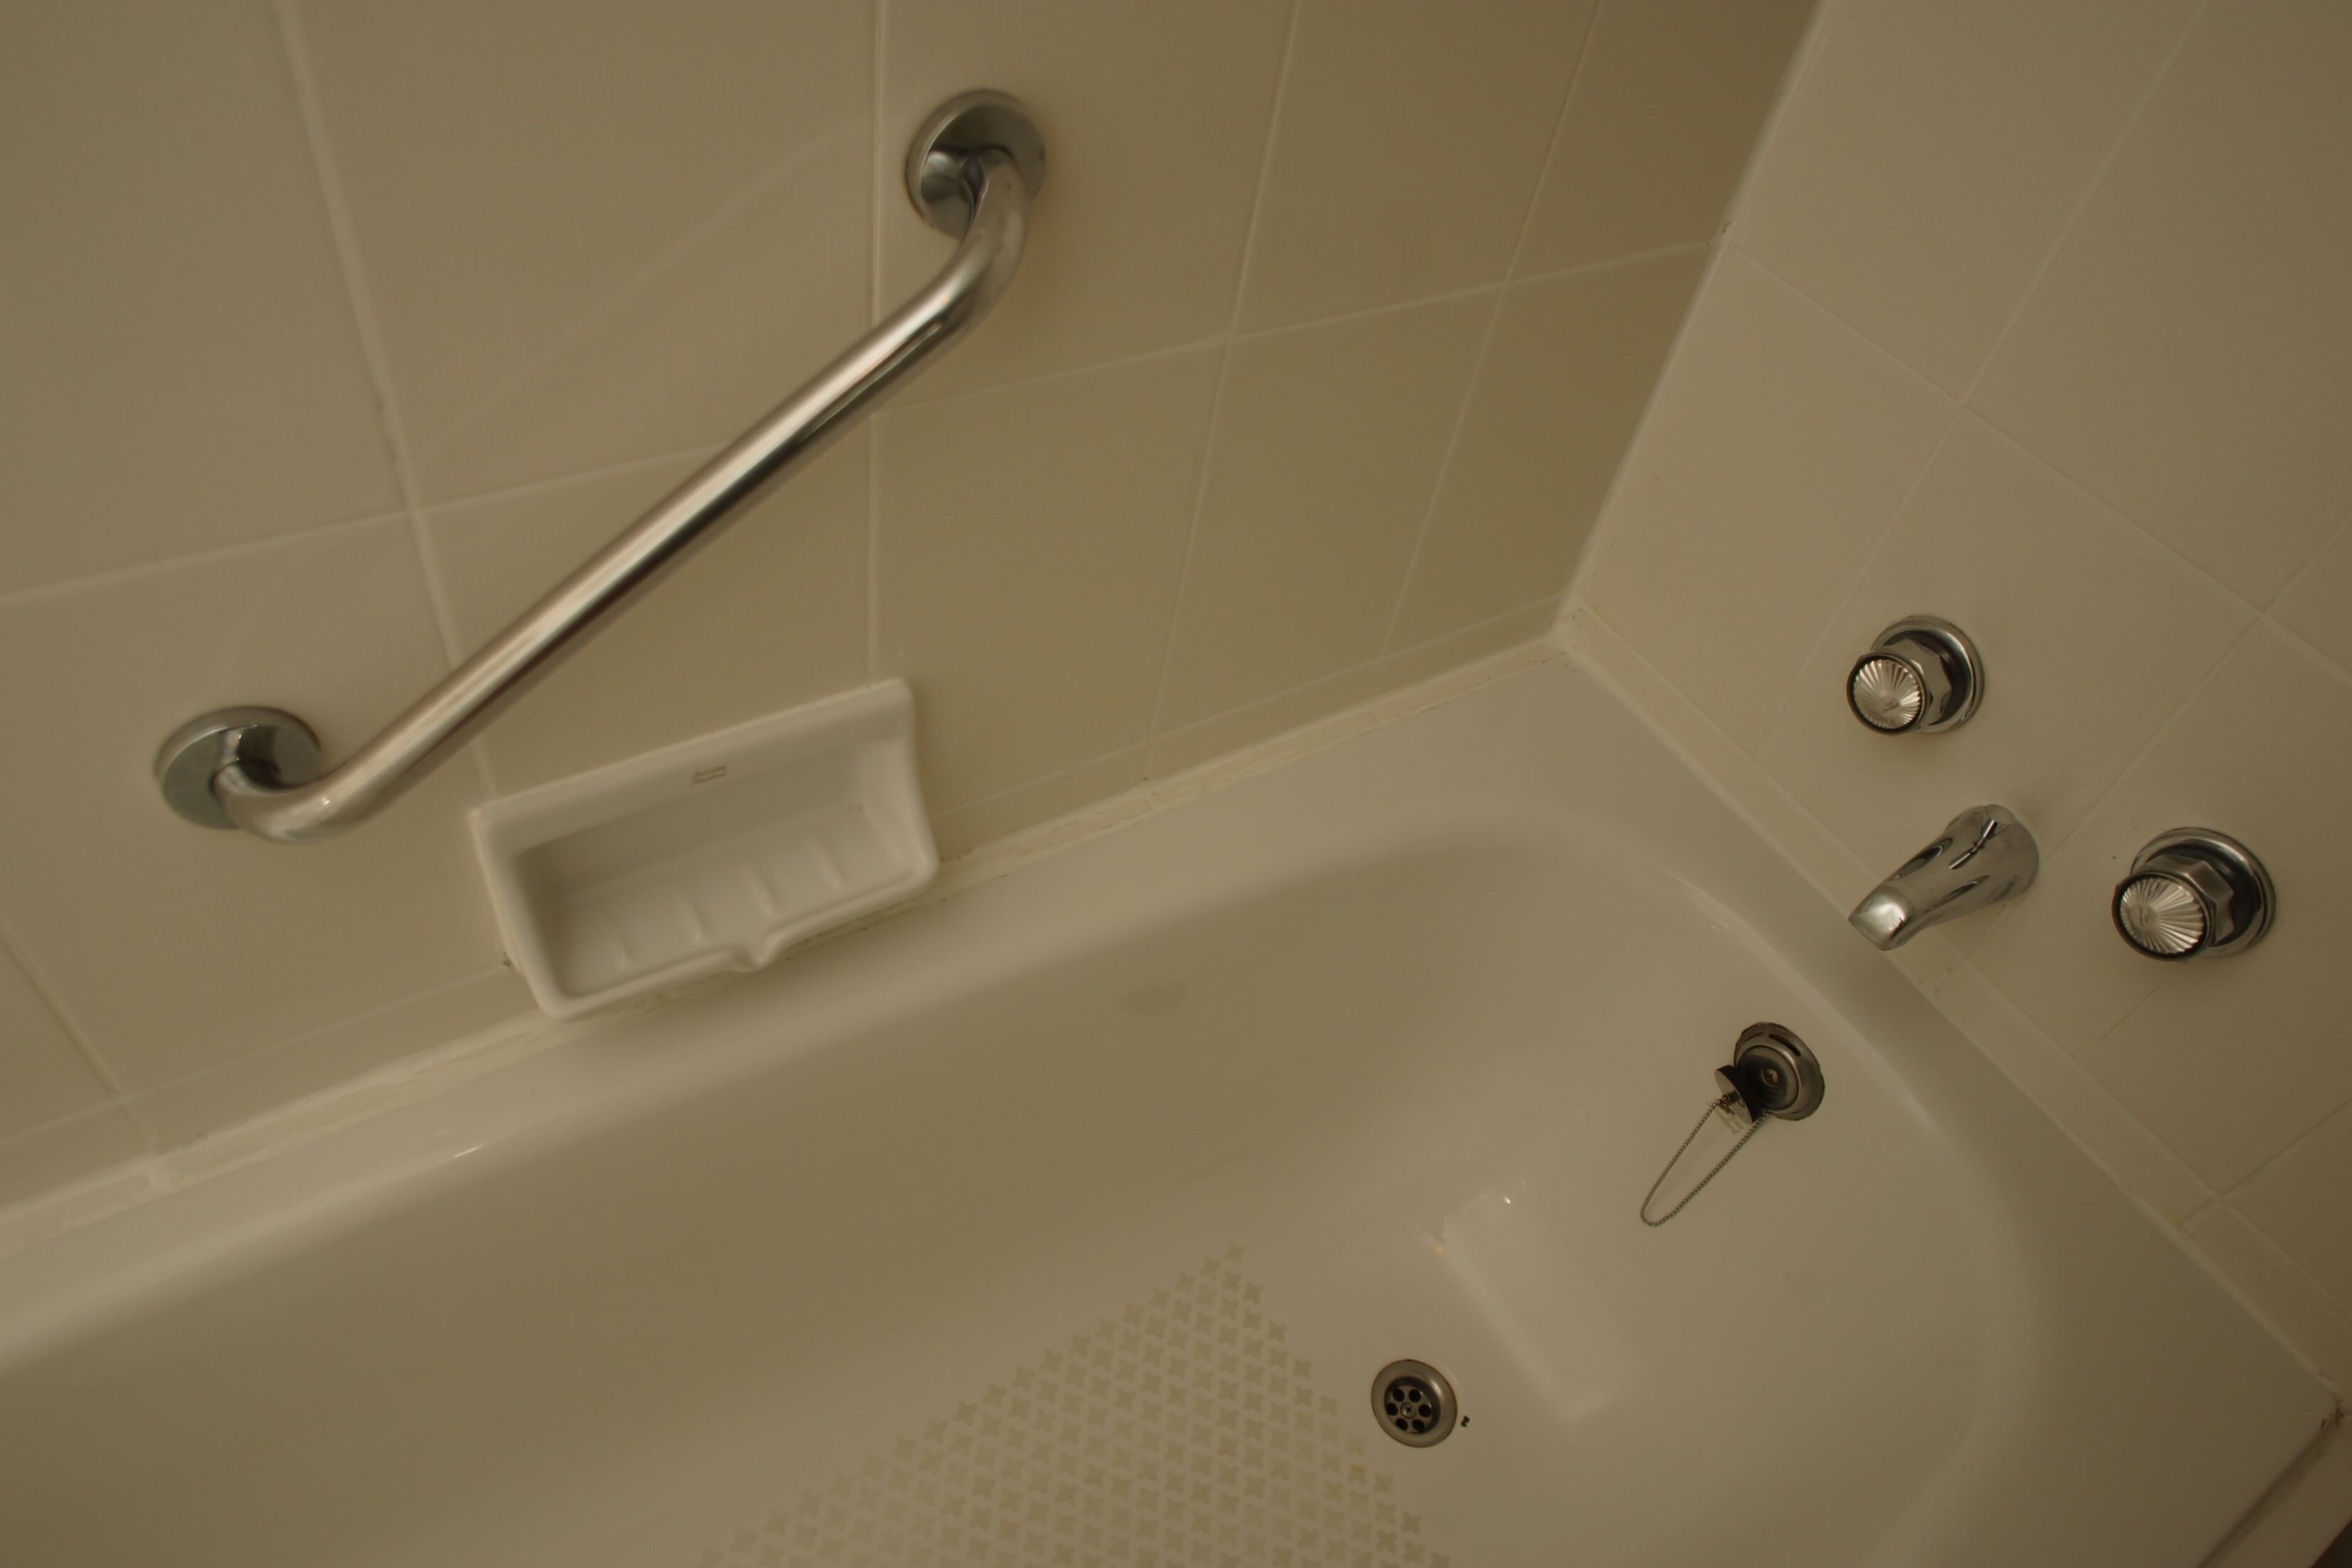
Before you begin the cleaning process, it's essential to remove the rubber bath mat from the bathtub or shower floor. This step ensures that you have unobstructed access to the entire surface of the mat, allowing for thorough cleaning and preventing any cleaning solutions from coming into contact with the tub or shower floor.
To remove the bath mat, simply lift it from the surface of the tub or shower floor. If your rubber bath mat has suction cups, gently peel them away from the surface to release the mat. For larger or heavier mats, you may need to use both hands to lift it carefully, ensuring that excess water or debris does not spill onto the floor.
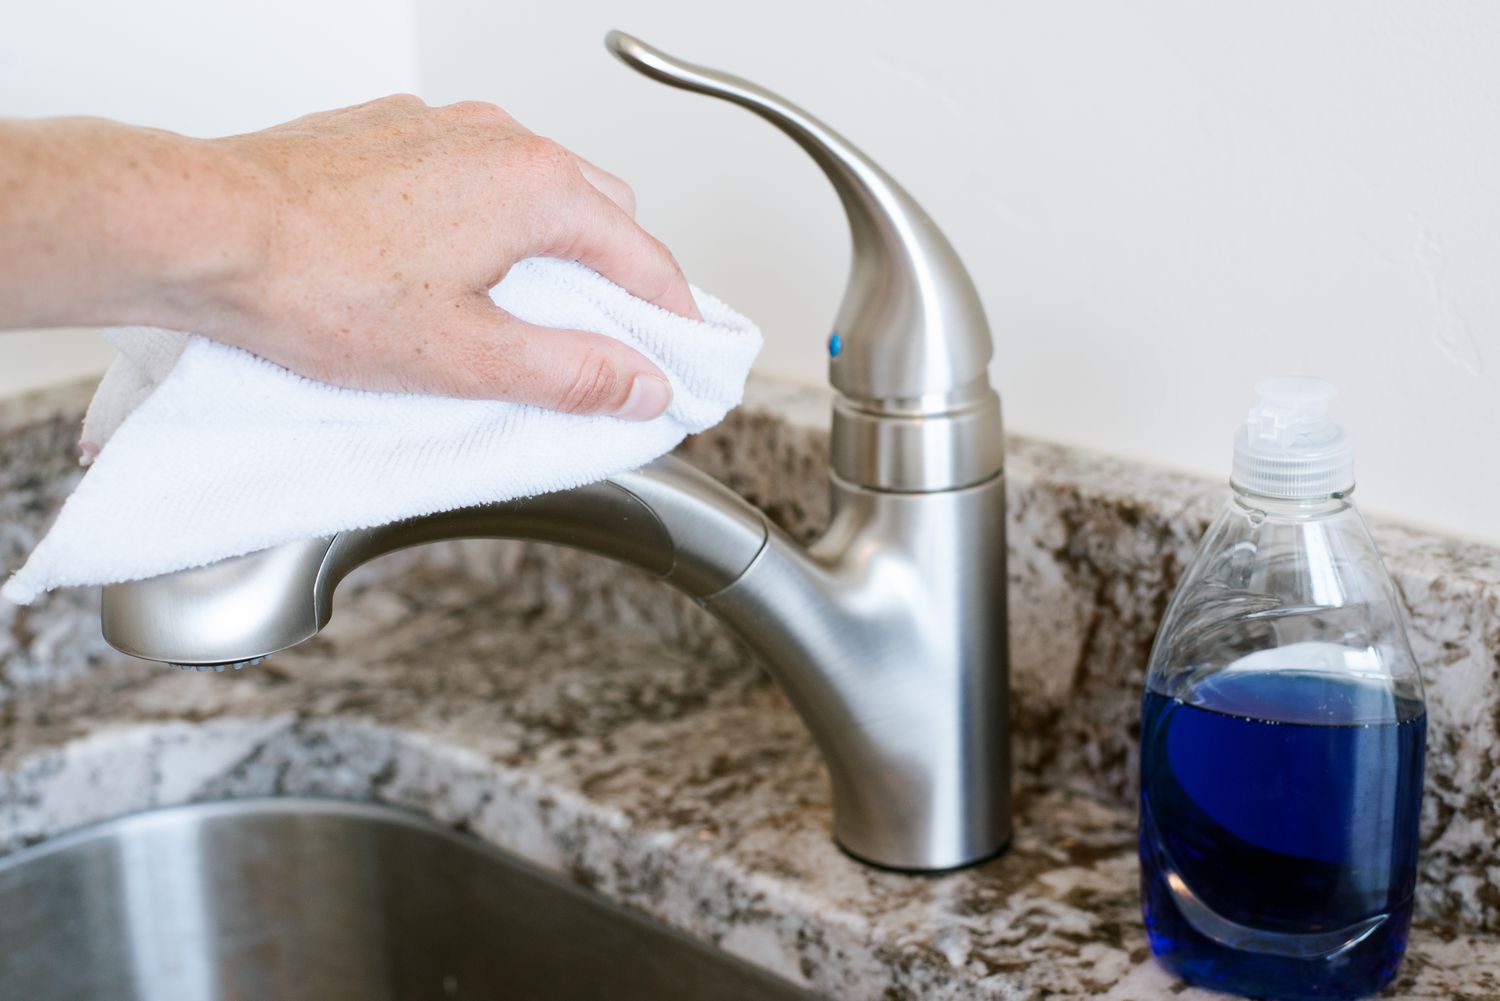
Once the bath mat is removed, take a moment to inspect the surface beneath it. This is an opportune time to wipe down the bathtub or shower floor, removing any accumulated grime or moisture. By maintaining cleanliness in this area, you can prevent the transfer of dirt or mildew from the bath mat back onto the clean surface.
After removing the bath mat, it's a good practice to shake it gently over the bathtub or outside to dislodge any loose debris, such as hair, soap scum, or dirt. This step helps to minimize the amount of debris that will need to be scrubbed off during the cleaning process, making the subsequent steps more efficient and effective.
By taking the time to remove the bath mat and clear the area beneath it, you set the stage for a thorough and successful cleaning process. With the mat out of the way, you can focus on addressing any accumulated grime, soap residue, or mildew, ensuring that your rubber bath mat is restored to a clean and hygienic state.
Now that the bath mat has been removed and any loose debris has been shaken off, you are ready to proceed to the next step in the cleaning process.
Step 2: Shake off loose debris
Shaking off loose debris from your rubber bath mat is a crucial initial step in the cleaning process. Over time, the mat can accumulate various forms of debris, including hair, soap scum, and dirt, which can diminish its appearance and hygiene. By shaking off this loose debris, you can effectively prepare the mat for thorough cleaning, ensuring that the subsequent steps are more efficient and impactful.
To begin, take the removed rubber bath mat and find a suitable location for shaking off the debris. If possible, take the mat outside to prevent the dislodged debris from scattering within the bathroom. Alternatively, you can shake the mat over the bathtub or a designated area where cleanup will be convenient.
Gently hold the mat by its edges and give it a few firm shakes to dislodge any loose debris. As you shake the mat, you may notice hair, soap residue, and dirt falling away from the surface. It's essential to shake the mat thoroughly to ensure that as much loose debris as possible is removed, setting the stage for a more effective cleaning process.
If the mat has a textured surface, pay particular attention to shaking out debris from the crevices and grooves. Use your fingers to lightly brush along the textured areas, encouraging any trapped debris to dislodge and fall away. By taking this extra step, you can ensure that the cleaning process addresses all areas of the mat, leaving no residue behind.
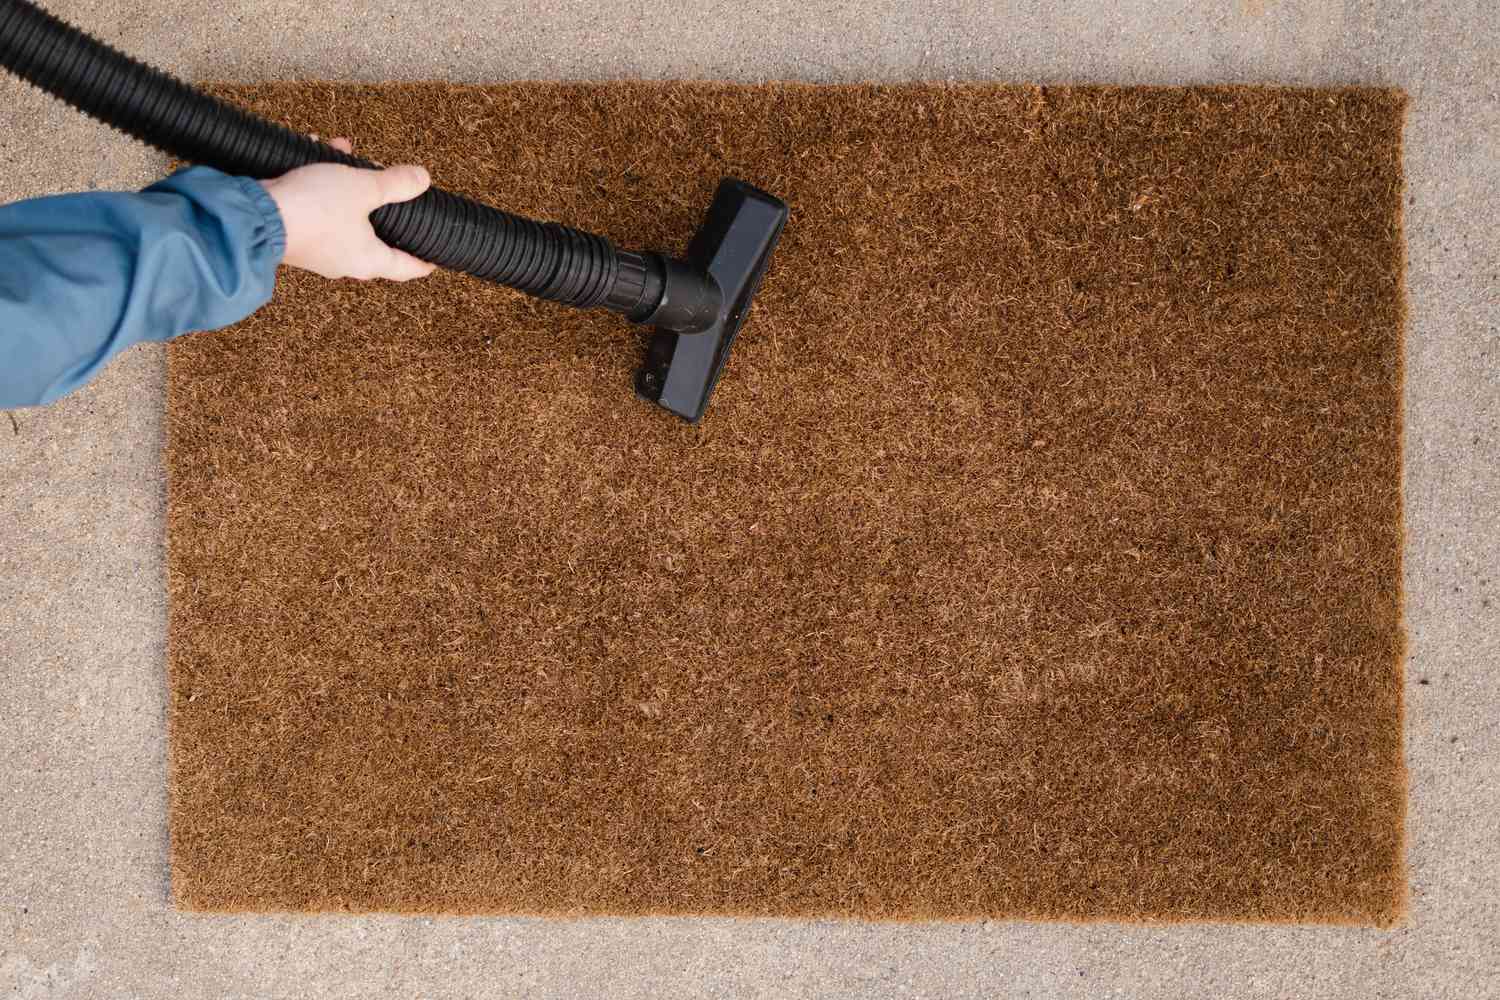
After shaking off the loose debris, take a moment to inspect the mat's surface. If you notice any remaining debris or buildup, consider using a soft-bristled brush or a handheld vacuum with a brush attachment to further remove any stubborn particles. This additional step can help ensure that the mat is thoroughly cleaned before proceeding to the next phase of the cleaning process.
By shaking off loose debris from your rubber bath mat, you are laying the foundation for a successful cleaning endeavor. This simple yet essential step sets the stage for a more thorough and effective cleaning process, ultimately contributing to the restoration of your bath mat's cleanliness and visual appeal.
To clean a rubber bath mat, mix equal parts water and white vinegar in a spray bottle. Spray the solution onto the mat, let it sit for 10-15 minutes, then scrub with a brush and rinse thoroughly. Allow the mat to air dry completely before putting it back in the tub.
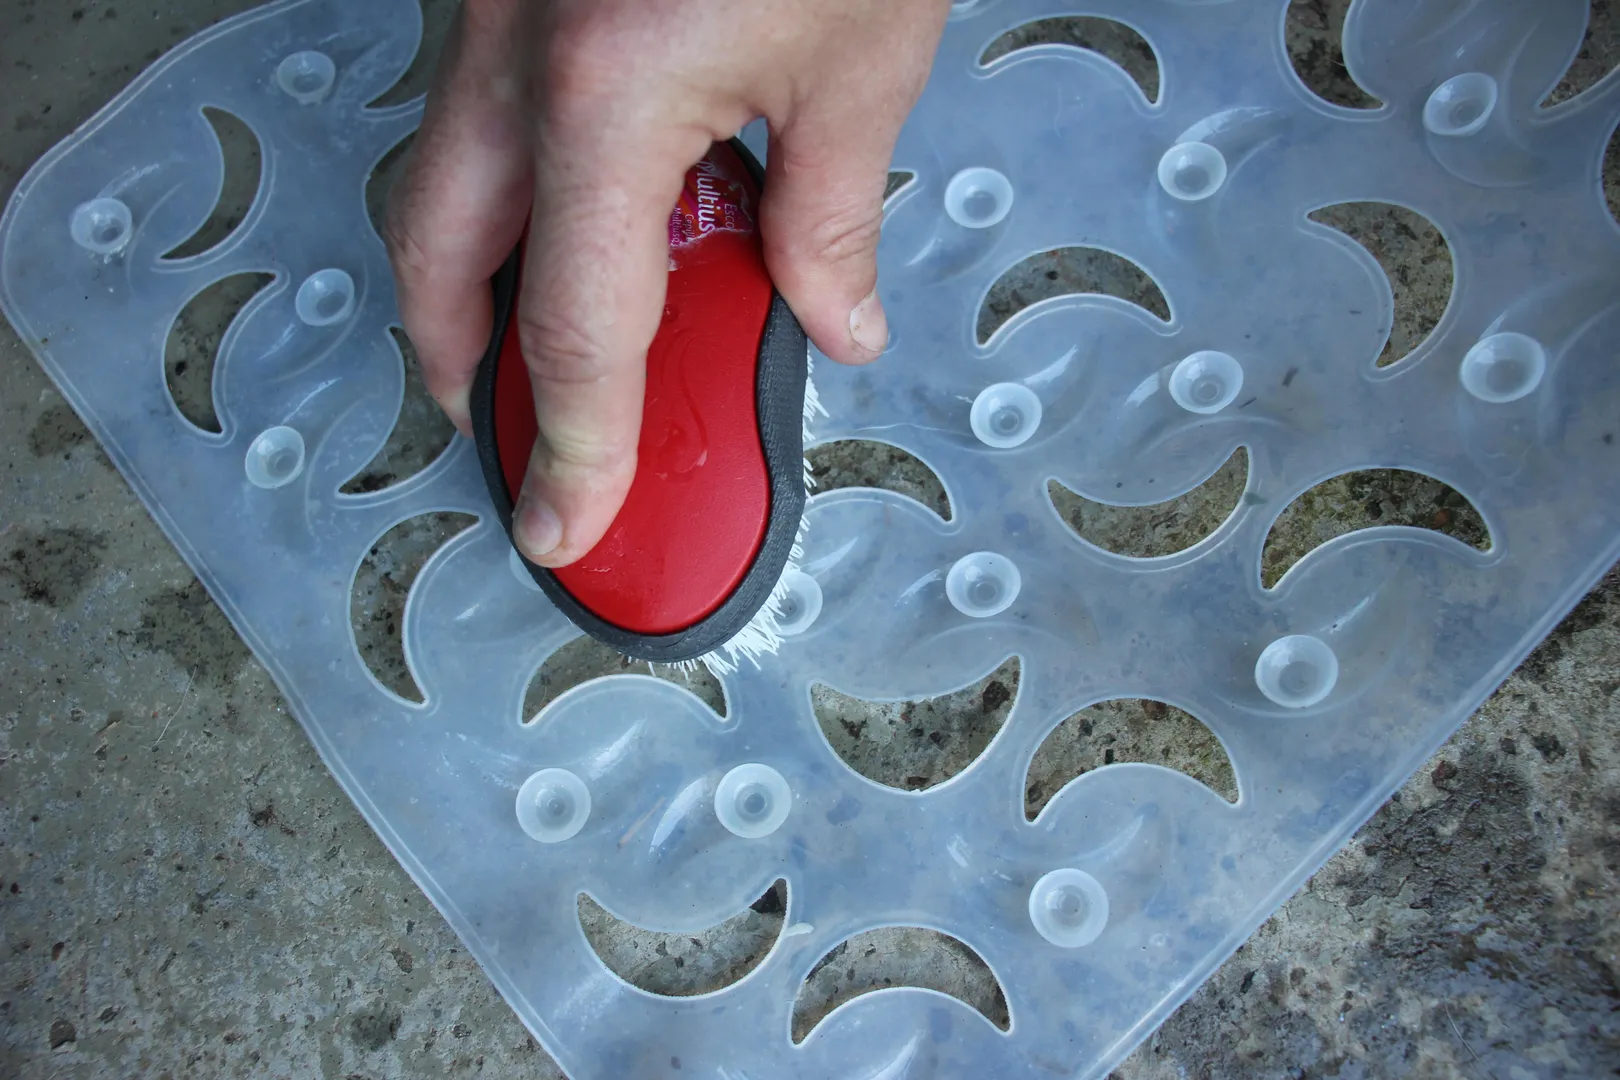
Step 3: Scrub with a cleaning solution
Once the loose debris has been shaken off the rubber bath mat, it's time to proceed with scrubbing the mat using a cleaning solution. This step is crucial for removing embedded dirt, soap scum, and mildew, restoring the mat to a clean and hygienic state. By utilizing a suitable cleaning solution and employing effective scrubbing techniques, you can effectively address any buildup on the mat's surface.
To begin, prepare a cleaning solution by mixing warm water with a mild detergent or a few drops of dish soap. Alternatively, you can use a solution of equal parts water and white vinegar, which is effective for combating mildew and soap residue. Avoid using harsh chemicals or abrasive cleaners, as these can damage the rubber material and compromise the integrity of the bath mat.
Once the cleaning solution is ready, dip a soft-bristled brush or a sponge into the solution, ensuring that it is adequately saturated. Begin scrubbing the rubber bath mat, focusing on areas where dirt, soap residue, or mildew are most prevalent. Use gentle yet firm strokes to dislodge and lift the buildup from the surface of the mat, paying particular attention to textured areas and crevices.
As you scrub the mat, periodically rinse the brush or sponge in the cleaning solution to prevent the transfer of dirt and residue back onto the mat. This ensures that the cleaning process remains effective and prevents the spread of contaminants. Continue scrubbing the entire surface of the mat, working methodically to address all areas and ensure thorough cleaning.
For stubborn stains or areas with heavy buildup, consider allowing the cleaning solution to sit on the mat for a few minutes before resuming the scrubbing process. This can help loosen stubborn residue and make it easier to remove. Additionally, you can use a gentle back-and-forth motion to target specific areas that require extra attention, ensuring that all traces of dirt and residue are effectively lifted from the mat.
After scrubbing the entire surface of the rubber bath mat, rinse it thoroughly with clean water to remove any remaining cleaning solution and residue. Ensure that all traces of the cleaning solution are removed, as any residual detergent or vinegar can compromise the mat's texture and pose a slipping hazard.
By scrubbing the rubber bath mat with a suitable cleaning solution, you can effectively address accumulated dirt, soap scum, and mildew, restoring the mat to a clean and hygienic state. This essential step sets the stage for the subsequent rinsing and drying process, ensuring that your rubber bath mat is thoroughly cleaned and ready for reinstallation.
Step 4: Rinse and dry the bath mat
After scrubbing the rubber bath mat with a suitable cleaning solution, the next crucial step is to thoroughly rinse and dry the mat. This process ensures that any remaining cleaning solution, dirt, or residue is completely removed, leaving the mat clean, fresh, and ready for reinstallation.
To begin the rinsing process, place the scrubbed rubber bath mat under a steady stream of clean water. You can use a handheld showerhead or a bathtub faucet for this purpose. Ensure that the water pressure is sufficient to effectively rinse away any lingering cleaning solution and debris from the mat's surface. As the water flows over the mat, use your hands to gently rub the surface, assisting in the removal of any remaining residue.
Continue rinsing the rubber bath mat until the water runs clear, indicating that all traces of the cleaning solution and debris have been thoroughly washed away. Pay particular attention to textured areas and crevices, ensuring that no residue is left behind. Thorough rinsing is essential to prevent any potential skin irritation or slipping hazards caused by residual cleaning solution.
Once the mat has been effectively rinsed, it's time to proceed with the drying process. Begin by shaking the mat gently to remove excess water. You can also use a clean, dry towel to blot the surface of the mat, absorbing additional moisture and expediting the drying process. Ensure that both sides of the mat are adequately dried to prevent the accumulation of moisture, which can lead to mildew growth.
To further facilitate drying, consider hanging the rubber bath mat in a well-ventilated area or placing it outdoors in a sunny spot, if weather permits. The exposure to fresh air and sunlight can help expedite the drying process and inhibit the growth of mold or mildew. Ensure that the mat is positioned flat or hung evenly to promote uniform drying.
Depending on the climate and humidity levels, the drying process may take several hours. It's essential to allow the rubber bath mat to dry completely before reinstallation to prevent the retention of moisture, which can compromise its cleanliness and longevity.
By thoroughly rinsing and drying the rubber bath mat, you can ensure that it is free from any residual cleaning solution and moisture, promoting a clean, hygienic, and visually appealing accessory for your bathroom. This final step prepares the mat for reinstallation, allowing you to enjoy a fresh and sanitized bathing experience.
Read more: How To Clean Loofah Bath Mat
Step 5: Reinstall the bath mat
Once the rubber bath mat has been thoroughly cleaned, rinsed, and dried, it is time to proceed with the final step of the process: reinstalling the mat in your bathtub or shower. Proper reinstallation ensures that the bath mat is securely positioned, providing safety and comfort during bathing or showering while maintaining a clean and hygienic environment.
To begin, carefully lift the dried rubber bath mat and position it back onto the surface of the bathtub or shower floor. If the mat features suction cups, press them firmly against the surface to create a secure grip. Ensure that the mat lies flat and smooth, with no wrinkles or folds that could pose a tripping hazard.
Once the bath mat is in place, press down on its surface to ensure that the suction cups adhere securely to the bathtub or shower floor. This step is crucial for preventing the mat from shifting or sliding during use, maintaining a stable and safe bathing environment.
After repositioning the bath mat, take a moment to inspect the surrounding area for any remaining moisture or debris. Wipe down the edges of the mat and the adjacent surfaces to ensure that no residual water or dirt is present, promoting a clean and tidy appearance.
If your rubber bath mat features a textured surface, such as raised patterns or grooves, ensure that it is positioned in a way that maximizes traction and comfort. Proper alignment of the mat can enhance its effectiveness in preventing slips and falls, contributing to a safer bathing experience.
With the bath mat securely reinstalled and the surrounding area clean and dry, take a moment to appreciate the refreshed and hygienic ambiance it brings to your bathroom. The clean and revitalized bath mat not only enhances the visual appeal of the space but also provides a functional and safe surface for bathing or showering.
By following these steps and reinstating your clean rubber bath mat, you have successfully completed the process of cleaning and maintaining this essential bathroom accessory. With regular cleaning and proper care, you can ensure that your rubber bath mat continues to contribute to a clean, safe, and inviting bathroom environment for you and your family.
Frequently Asked Questions about How To Clean A Rubber Bath Mat
Was this page helpful?
At Storables.com, we guarantee accurate and reliable information. Our content, validated by Expert Board Contributors, is crafted following stringent Editorial Policies. We're committed to providing you with well-researched, expert-backed insights for all your informational needs.

0 thoughts on “How To Clean A Rubber Bath Mat”