Articles
How To Clean Floor Rug
Modified: January 6, 2024
Learn effective techniques and tips to clean your floor rug with our informative articles. Keep your rug looking fresh and new with our expert advice.
(Many of the links in this article redirect to a specific reviewed product. Your purchase of these products through affiliate links helps to generate commission for Storables.com, at no extra cost. Learn more)
Introduction
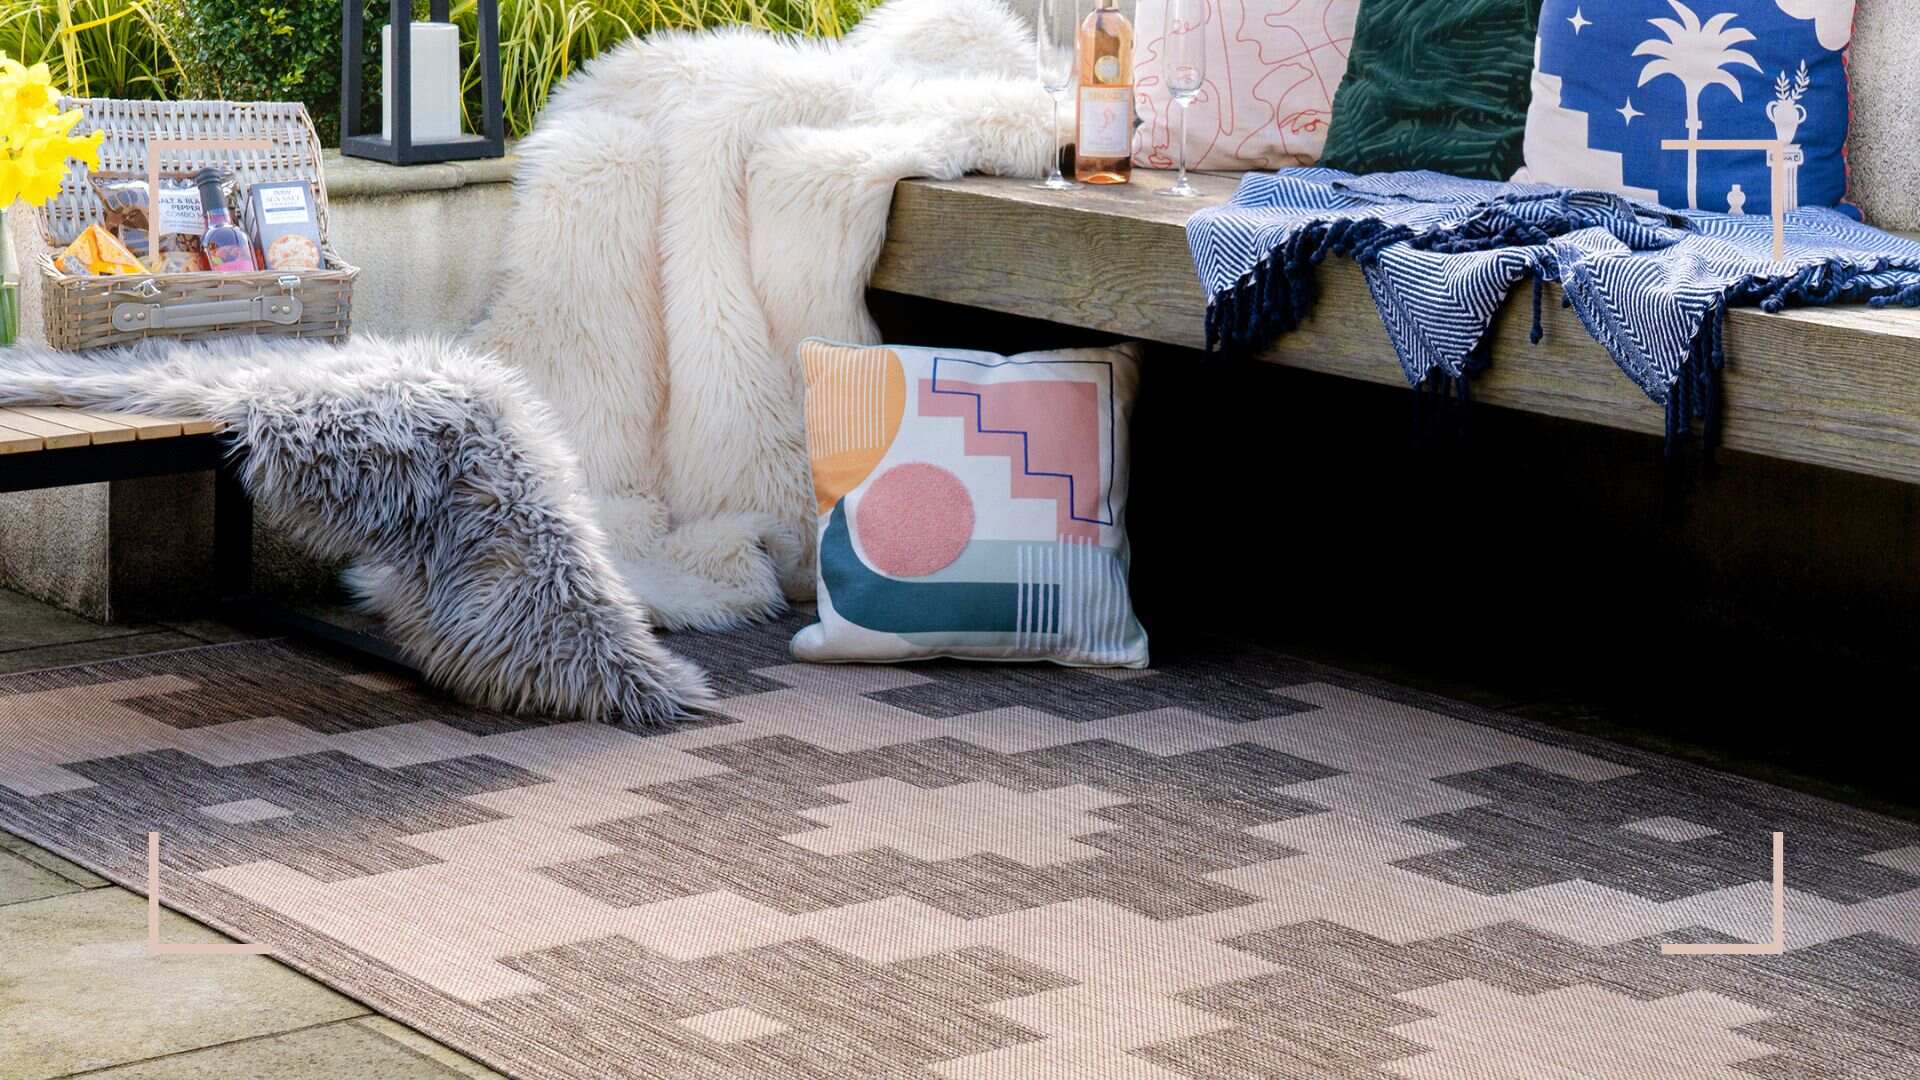
A floor rug is not only a beautiful addition to any room, but it also adds warmth and comfort underfoot. However, over time, rugs can accumulate dirt, dust, and stains, which can dull their appearance and harbor allergens. Regularly cleaning your floor rug is essential to maintain its beauty and longevity. In this article, we will guide you through the step-by-step process of cleaning your floor rug, from gathering the necessary supplies to drying and fluffing it. So let’s get started on revitalizing your rug and making it look brand new again!
Note: Before you begin cleaning your floor rug, always check its care label or manufacturer’s instructions for any specific cleaning recommendations. Some rugs may require professional cleaning or have unique cleaning instructions based on the material or construction.
Key Takeaways:
- Regularly cleaning your floor rug is essential to maintain its beauty and longevity. Follow the step-by-step process outlined in this article to effectively clean, maintain, and protect your rug for a cleaner and healthier indoor environment.
- Properly drying and fluffing your rug after cleaning is crucial to prevent mold or mildew growth and to restore its softness and appearance. Implement regular maintenance and protective measures to keep your rug looking its best for years to come.
Read more: How To Clean Area Rug On Hardwood Floor
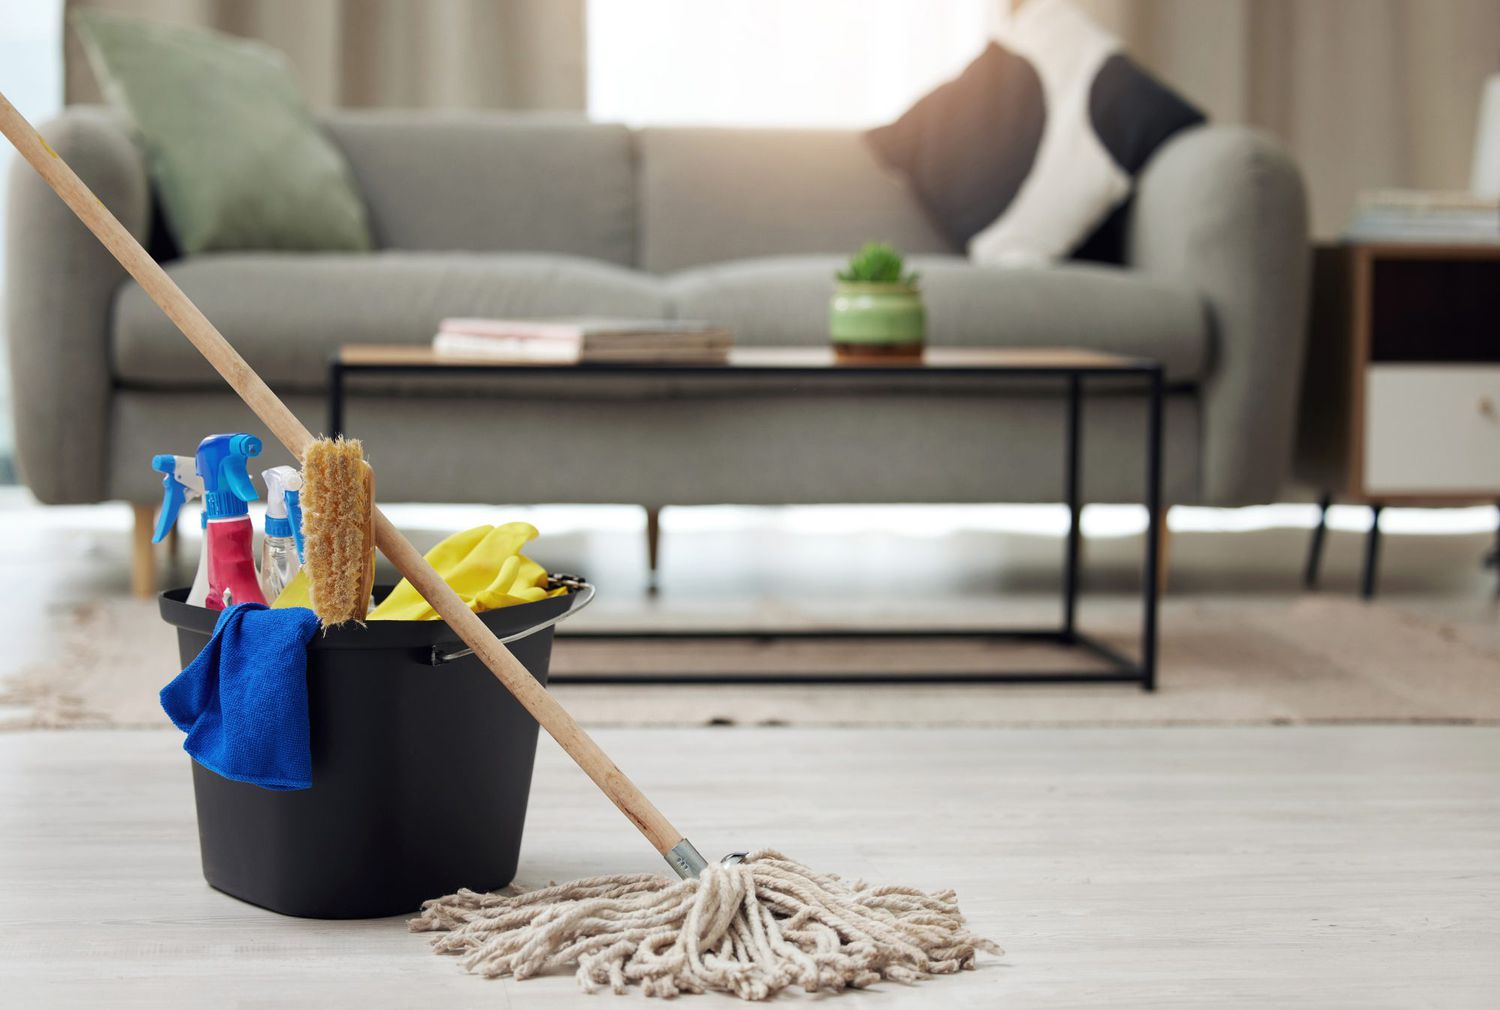
Gathering the Necessary Supplies
Before you start cleaning your floor rug, it’s important to gather all the necessary supplies. Having everything ready in advance will make the cleaning process smoother and more efficient. Here are the essential supplies you’ll need:
- Vacuum cleaner: A vacuum cleaner with a hose attachment and different cleaning attachments will help remove loose dirt and debris from your rug.
- Broom or brush: A broom or brush with stiff bristles can be useful for agitating the rug fibers and loosening any embedded dirt.
- Rug cleaner or mild detergent: Depending on the type of rug and the level of dirtiness, you can use a specific rug cleaner or a mild detergent suitable for the rug’s material.
- Bucket or spray bottle: A bucket filled with water or a spray bottle will be used for diluting the rug cleaner or detergent.
- Clean white cloth or sponge: These will be used for spot treating stains on the rug.
- Soft bristle brush: A soft bristle brush can be used for gentle scrubbing of stains or soiled areas on the rug.
- Towels or cloths: Towels or cloths are needed for blotting excess moisture from the rug during the cleaning process.
- Fan or open space for drying: Proper drying is crucial to prevent mold or mildew growth, so ensure you have a well-ventilated space or a fan to aid in the drying process.
Once you have gathered these supplies, you are ready to move on to the next step: vacuuming the rug.
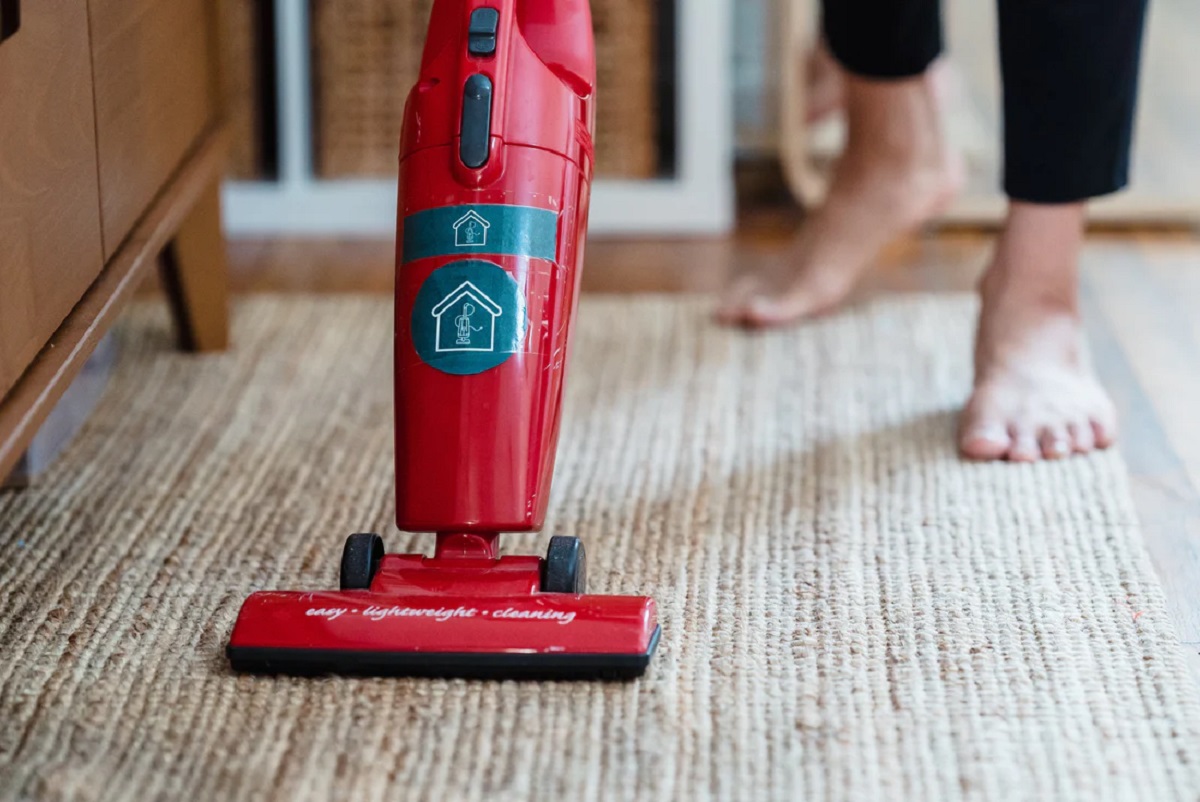
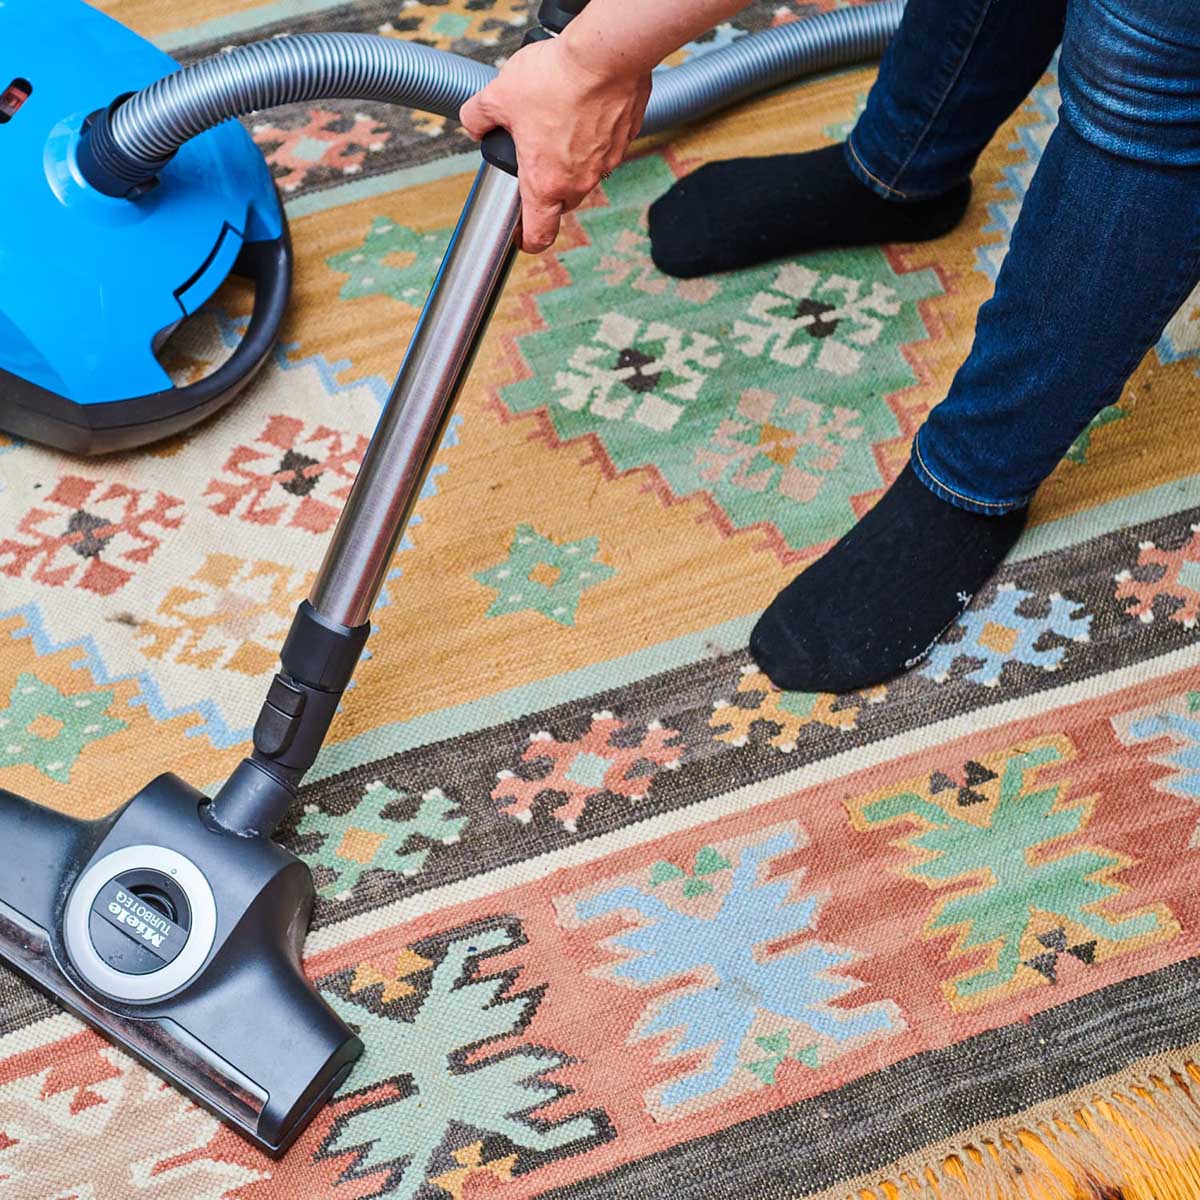
Vacuuming the Rug
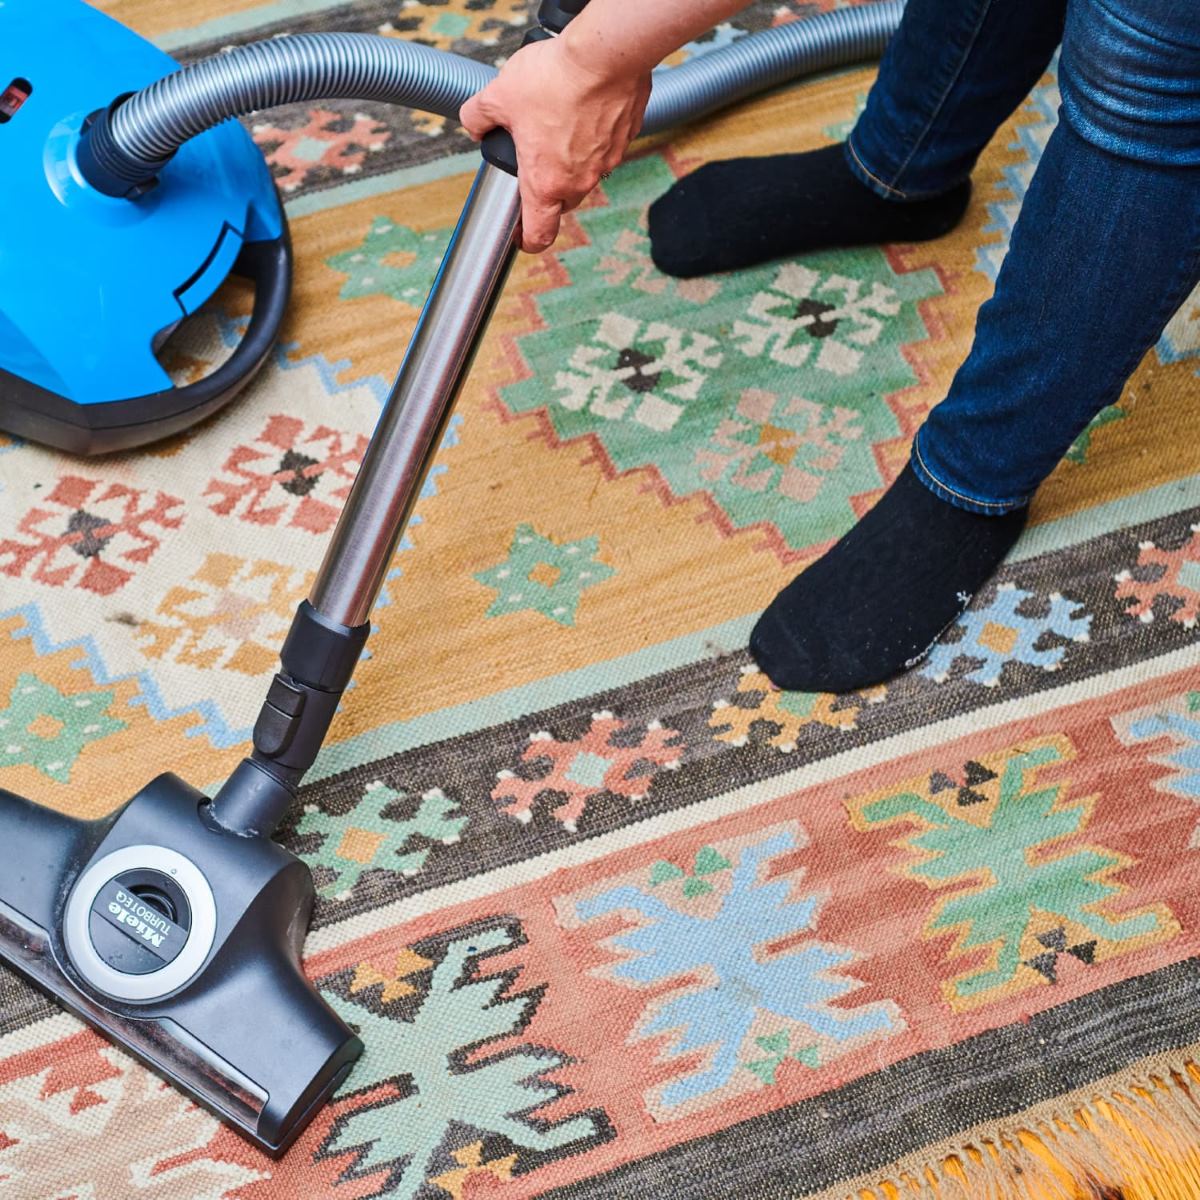
Vacuuming your rug is an essential first step in the cleaning process as it helps remove loose dirt, dust, and debris from the surface and deep within the fibers. Here’s how to properly vacuum your rug:
- Start by removing any small furniture or objects from the area where the rug is located. This will make it easier to vacuum and ensure that you cover the entire rug surface.
- If your vacuum cleaner has a height adjustment feature, set it to the appropriate level. For low pile rugs, use a lower setting, while for high pile rugs, use a higher setting to avoid damaging the fibers.
- Begin by vacuuming the rug in the direction of the rug fibers. Use smooth and overlapping strokes to thoroughly clean the entire surface.
- Pay special attention to high-traffic areas and areas near entrances, as these tend to accumulate more dirt and debris.
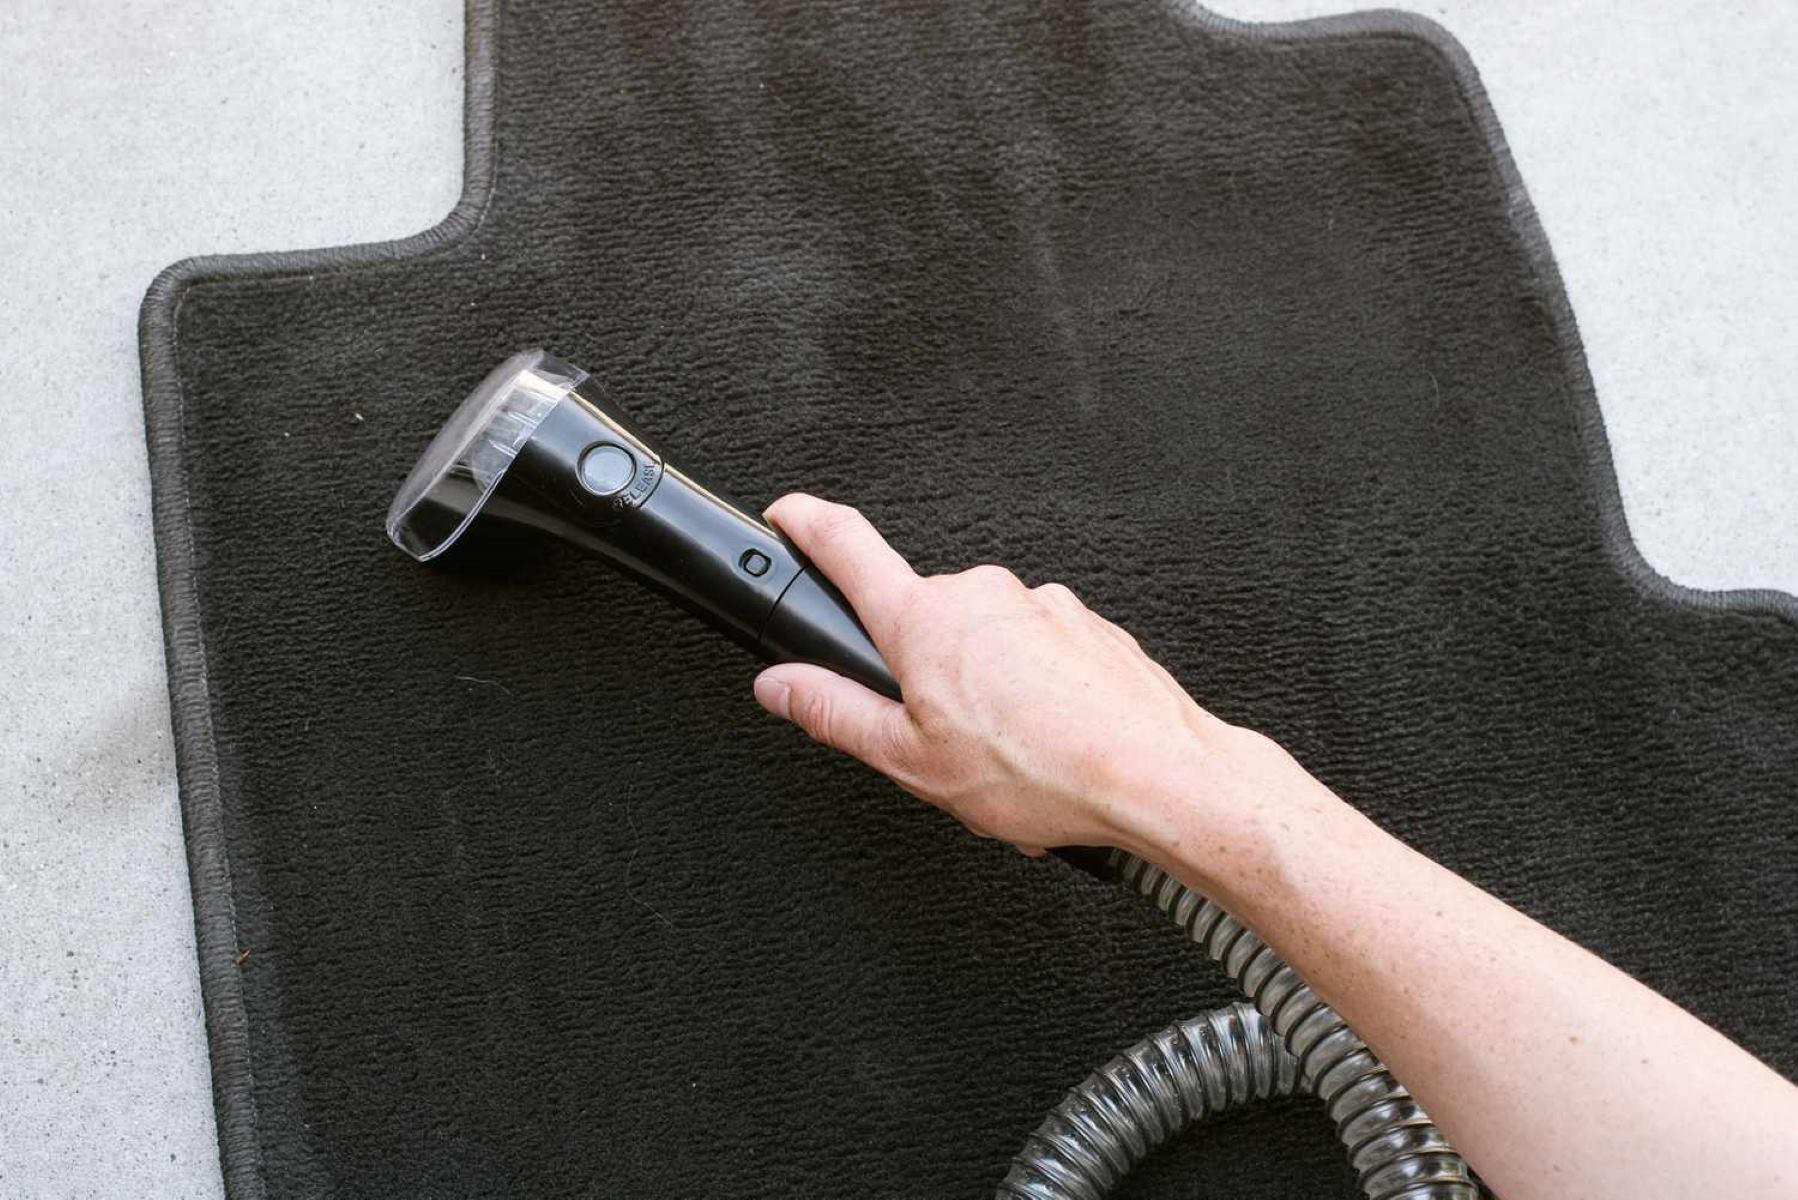
- For a more thorough cleaning, use the attachments that come with your vacuum cleaner. A hose attachment with a rotating brush is useful for removing dirt from the edges and corners of the rug.
- If your rug has fringes, avoid vacuuming over them directly as they can get caught in the vacuum cleaner. Instead, gently sweep them with a broom or use the vacuum cleaner’s brush attachment to clean them.
- Once you have finished vacuuming the top surface, flip the rug over and vacuum the backside as well. This helps remove any dust and dirt that may have settled beneath the rug.
Vacuuming your rug regularly, at least once a week, will help keep it clean and prevent dirt and debris from settling deep into the fibers. However, for stains or more intensive cleaning, additional steps may be required. Let’s explore spot treating stains in the next section.
Spot Treating Stains
Stains are inevitable, especially on rugs in high-traffic areas. Spot treating stains promptly is crucial to prevent them from setting into the fibers and becoming more difficult to remove. Here’s a step-by-step process for spot treating stains on your rug:
- Identify the type of stain you are dealing with. Common types include food and beverage stains, pet stains, grease or oil stains, and ink stains. Different types of stains may require specific cleaning methods and products.
- If there is any solid residue on the stain, gently scrape it off using a spoon or a blunt knife. Be careful not to rub the stain further into the rug fibers.
- Prepare a cleaning solution by mixing a small amount of mild detergent or rug cleaner with water. Follow the instructions on the detergent or cleaner for the appropriate dilution ratio.
- Using a clean white cloth or sponge, dampen it with the cleaning solution. Blot the stain gently, starting from the outer edge and working your way towards the center. Avoid rubbing or scrubbing vigorously, as this can damage the rug fibers.
- Continue blotting the stain until it is lifted. You may need to apply more cleaning solution and repeat the process for stubborn stains.
- Once the stain is removed, rinse the area with clean water to remove any cleaning residue. Blot the area with a clean cloth to absorb excess moisture.
- Allow the spot-treated area to air dry completely before using the rug again.
It’s important to note that not all stains can be completely removed with spot treatment alone. Some stubborn stains may require professional cleaning or specialized treatments. If you are unsure or not confident in treating a particular stain, it’s best to seek professional help.
Now that we’ve tackled spot treating stains, let’s move on to deep cleaning the entire rug to restore its freshness and remove deeply embedded dirt.
Vacuum your floor rug regularly to remove dirt and debris. For deeper cleaning, spot clean with a mild detergent and water, or use a carpet cleaner for larger areas. Allow the rug to fully dry before placing it back on the floor.
Deep Cleaning the Rug
Deep cleaning your rug is essential to remove built-up dirt, allergens, and odors that regular vacuuming may not effectively eliminate. Here’s a step-by-step process for deep cleaning your rug:
- Before deep cleaning, it’s important to check if your rug is safe for wet cleaning. Some rugs, such as antique or delicate ones, may require dry cleaning or professional cleaning services.
- If your rug is safe for wet cleaning, start by preparing a cleaning solution. You can use a rug cleaner specifically formulated for your rug’s material or create a DIY solution by mixing a small amount of mild detergent with water. Be sure to follow the instructions for dilution ratios.
- Test the cleaning solution on a small, inconspicuous area of the rug to check for any color bleeding or damage. If there are no adverse reactions, proceed with the cleaning process.
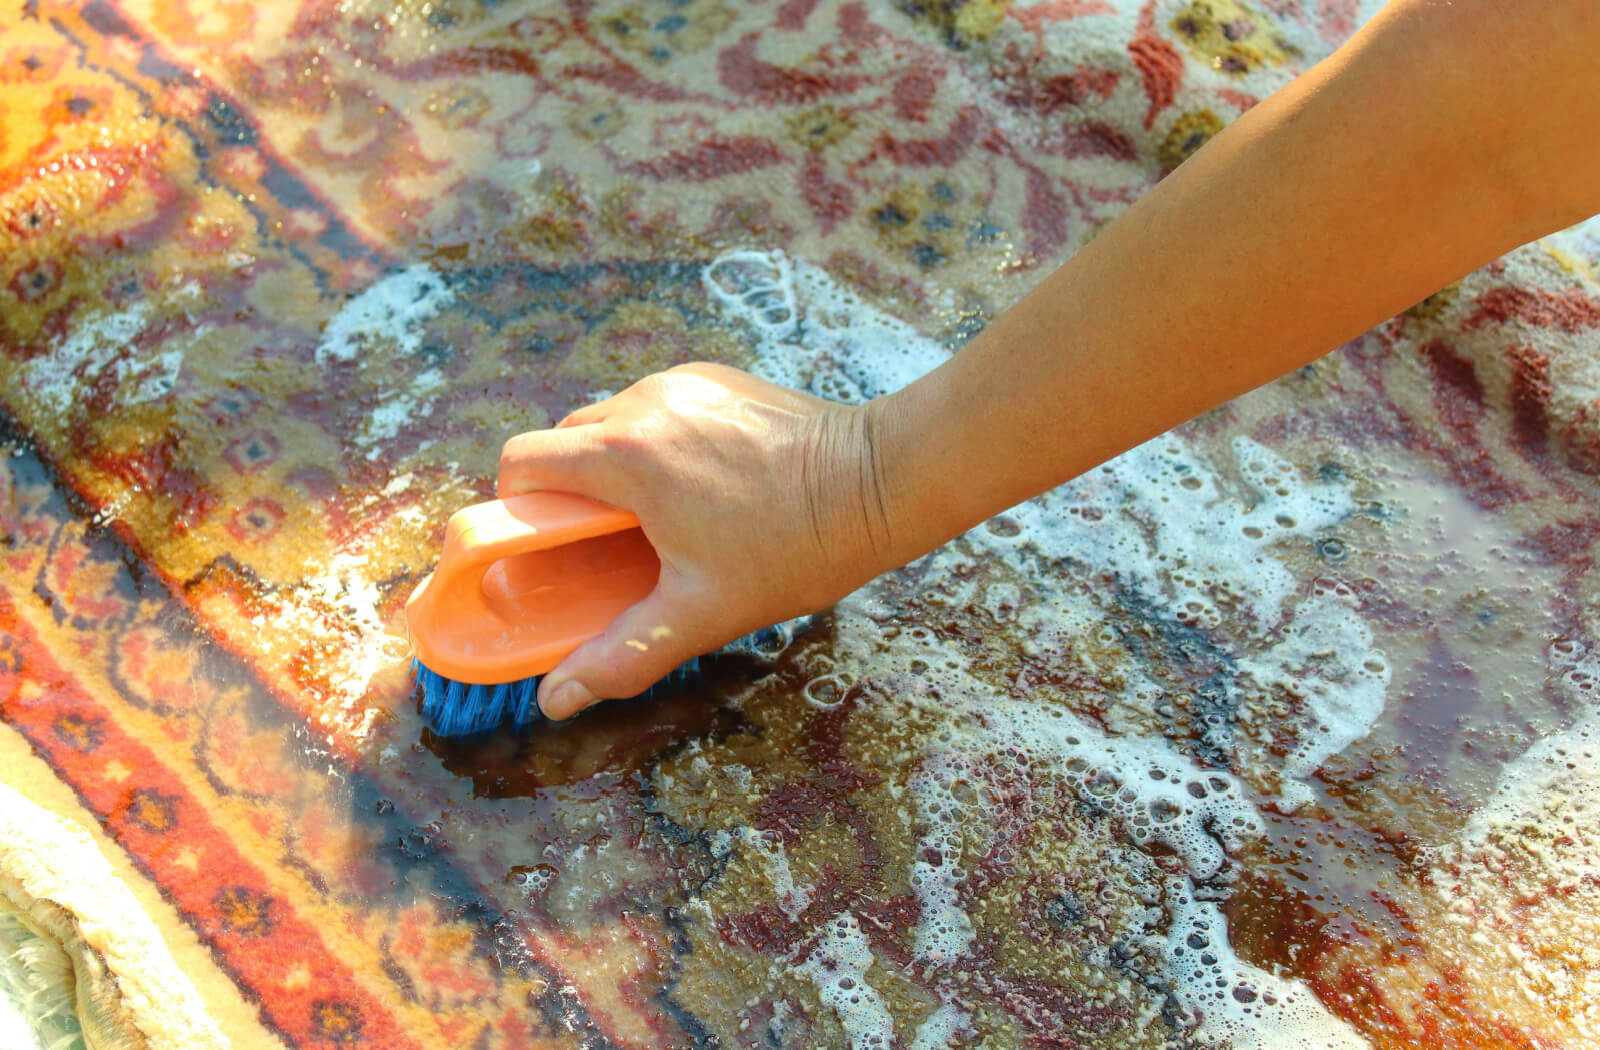
- Next, generously apply the cleaning solution to the entire rug using a sponge, soft bristle brush, or a spray bottle. Take care not to oversaturate the rug, as excessive moisture can damage the fibers.
- Gently scrub the rug in a circular motion to work the cleaning solution into the fibers and loosen dirt and stains. Pay extra attention to heavily soiled areas or stains.
- Let the cleaning solution sit on the rug for a few minutes to allow it to penetrate and break down stubborn stains.
- Using a clean white cloth or sponge, blot the rug to absorb the cleaning solution, dirt, and stains. Repeat this process until the cloth or sponge no longer picks up any dirt or residue.
- Once you’ve finished blotting, rinse the rug thoroughly with clean water to remove any remaining cleaning solution. Be thorough in rinsing to prevent residue buildup.
- Remove as much moisture as possible from the rug by blotting it with clean towels or using a wet/dry vacuum. Repeat this step until the rug is no longer dripping wet.
- Finally, reshape the rug and place it in a well-ventilated area to air dry completely. Avoid exposing the rug to direct sunlight, as it can cause fading or discoloration. Depending on the size and thickness of the rug, drying may take several hours to a day or more.
Deep cleaning your rug periodically, every 6 to 12 months, will help keep it looking fresh and maintain its longevity. However, if you have a heavily soiled or large rug, it may be best to seek professional cleaning services to ensure a thorough and effective cleaning.
Now that your rug is clean and fresh, let’s move on to the next step: drying and fluffing the rug.
Read more: How To Clean Area Rugs On Wood Floors
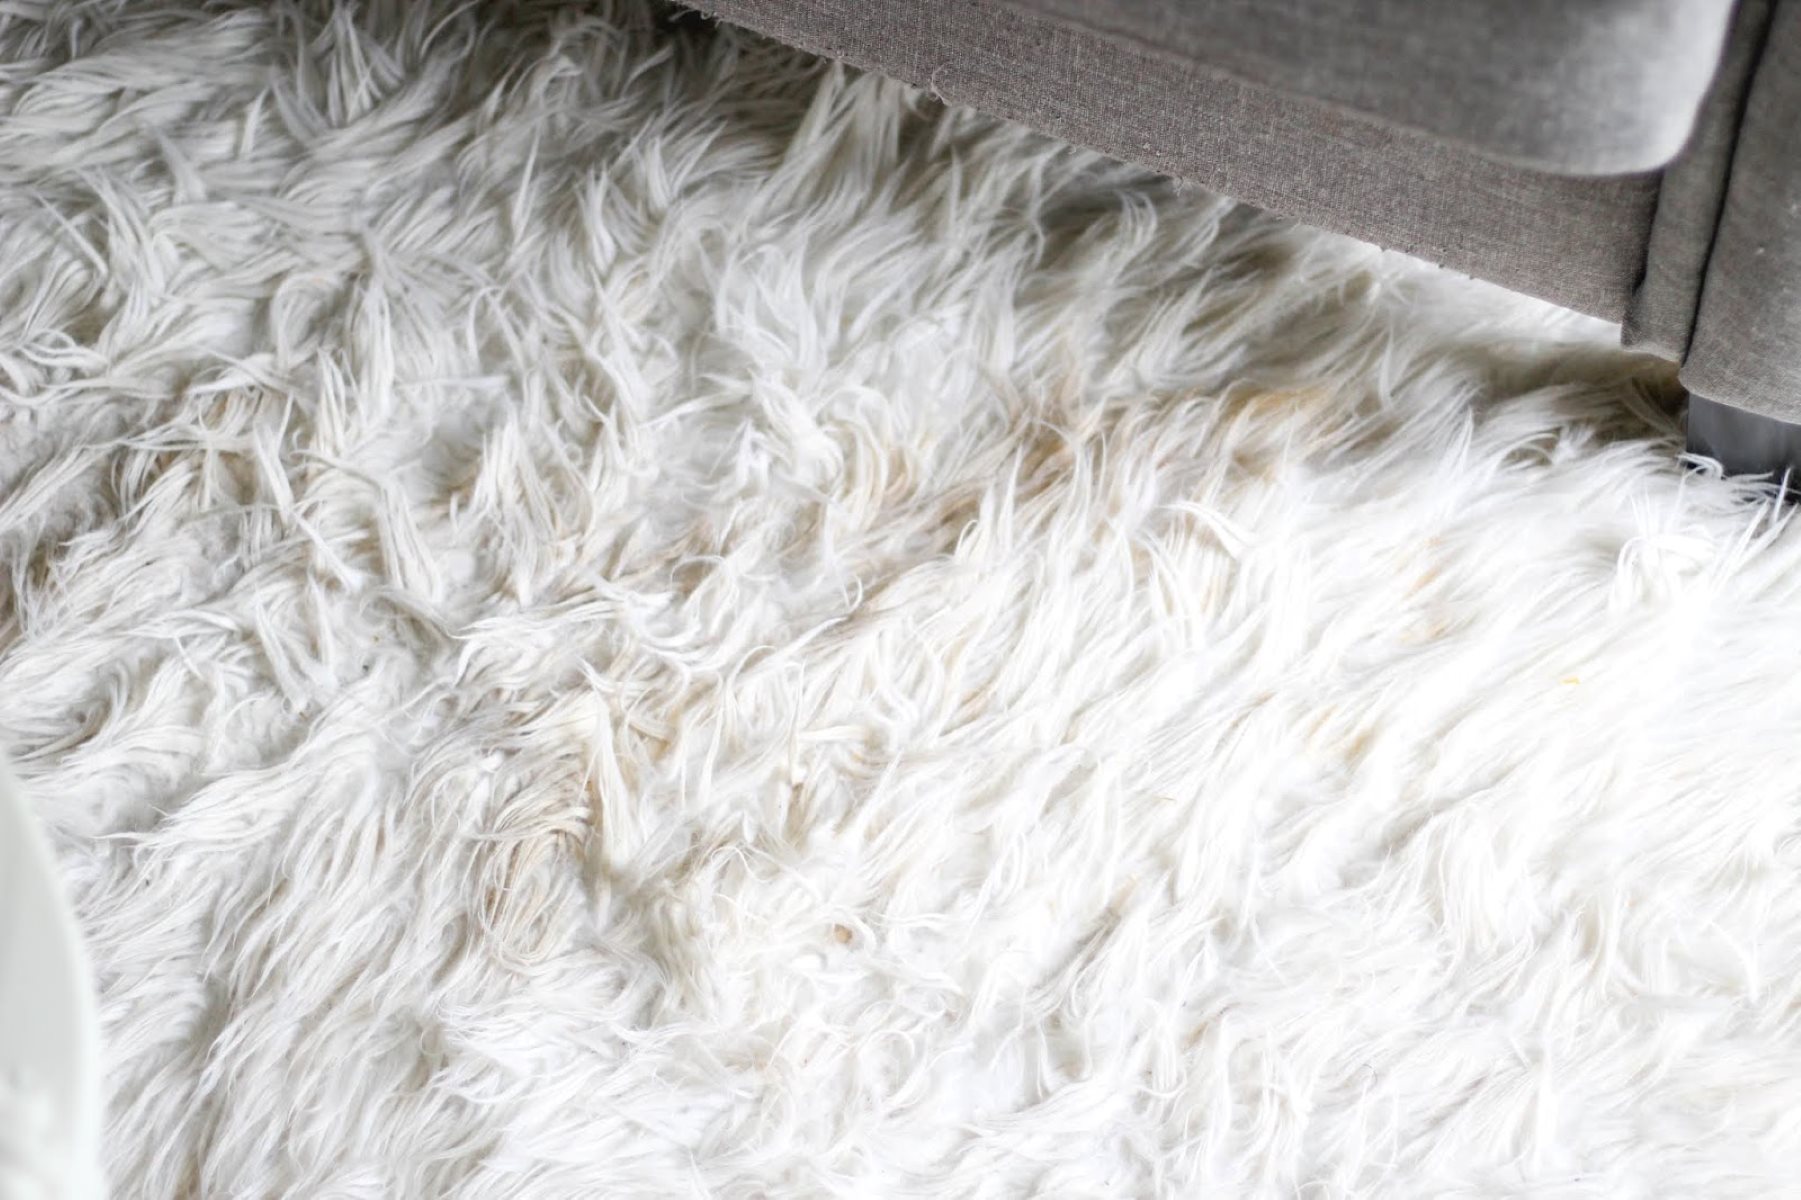
Drying and Fluffing the Rug
Properly drying and fluffing your rug after cleaning is crucial to prevent mold or mildew growth and to restore its softness and appearance. Here’s a step-by-step guide on how to dry and fluff your rug:
- After the deep cleaning process, use clean towels or a wet/dry vacuum to blot and absorb as much moisture as possible from the rug. Press firmly to remove excess water, but avoid rubbing or scrubbing, as it can damage the rug fibers.
- If the weather permits, take the rug outside and hang it over a sturdy clothesline or railing. This allows for maximum airflow and helps speed up the drying process.
- If outdoor drying is not feasible, you can lay your rug flat on a clean and dry surface, preferably with good air circulation. Avoid placing it on a carpeted area or wooden floor, as moisture can transfer and cause damage.
- Rotate the rug periodically during the drying process to ensure even drying on all sides. This can help prevent any moisture from pooling or seeping into the rug.
- Depending on the size and thickness of the rug, drying may take anywhere from a few hours to a day or more. Be patient and allow the rug to air dry completely before proceeding to the next step.
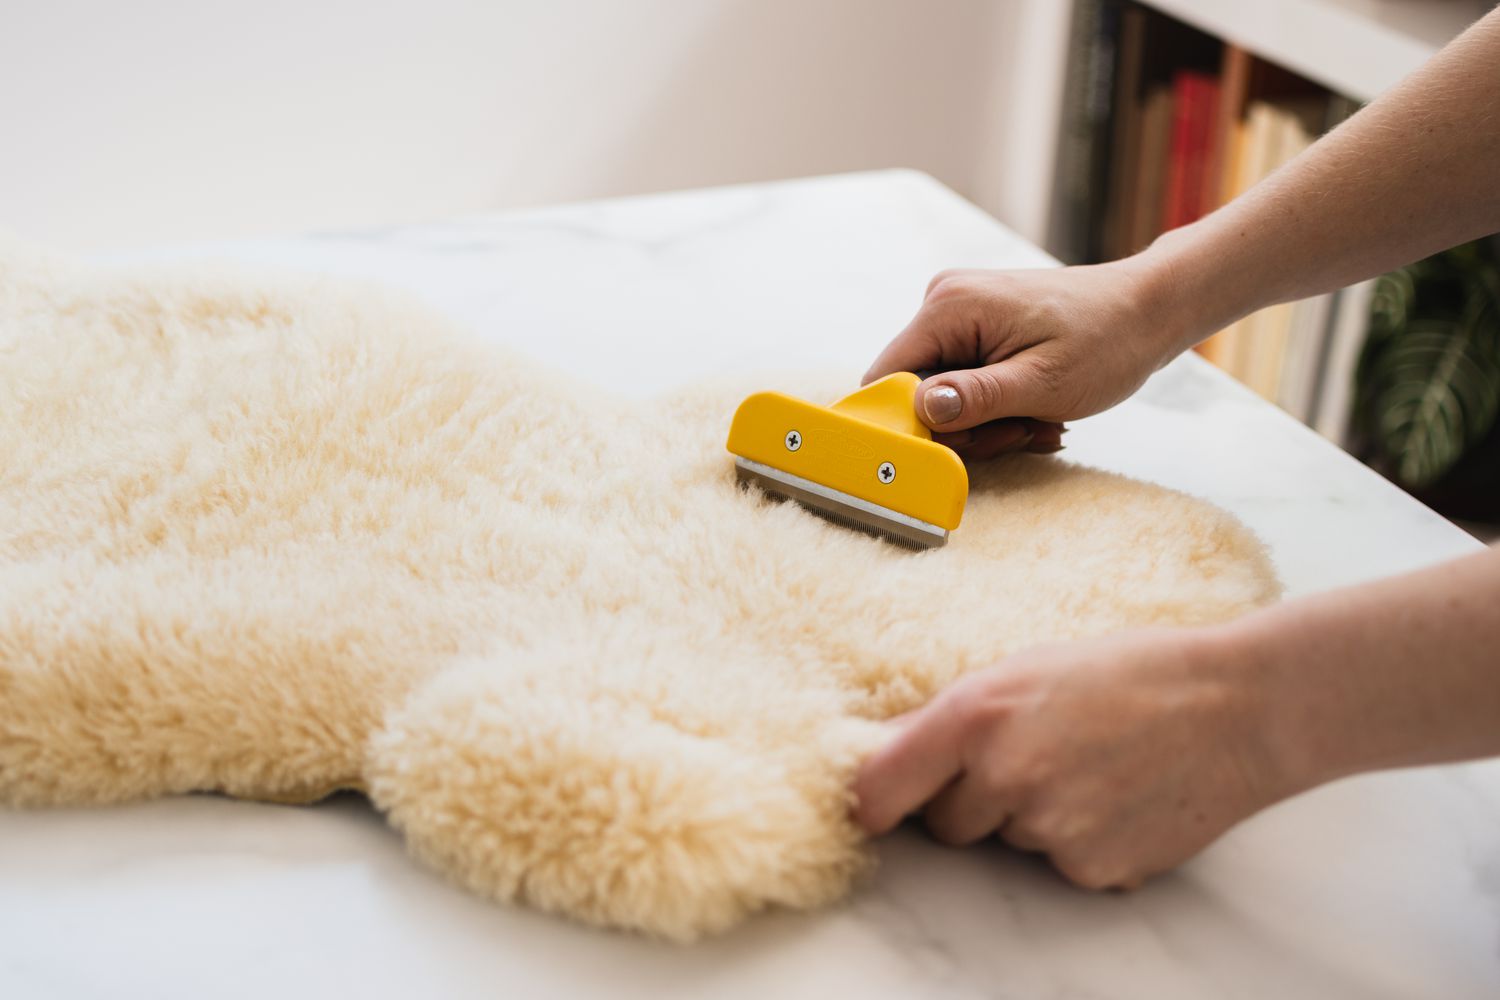
- Once your rug is fully dry, it’s time to fluff it up to restore its plushness and volume. Start by lightly beating or shaking the rug to loosen any remaining dirt or debris.
- Next, use a soft bristle brush or a vacuum cleaner with a brush attachment to gently brush the rug in the direction of the fibers. This helps lift and separate the fibers, giving your rug a fluffy and fresh appearance.
- Give extra attention to areas that may have flattened during the drying process, such as high-traffic areas or areas with furniture.
After drying and fluffing your rug, take a step back and admire its refreshed beauty. Proper drying and fluffing will not only enhance the appearance but also extend the life of your rug.
To maintain and protect your newly cleaned rug, let’s move on to the final section: maintaining and protecting the rug.
Maintaining and Protecting the Rug
Now that your rug is clean and refreshed, it’s important to implement regular maintenance and protective measures to keep it looking its best for years to come. Here are some tips for maintaining and protecting your rug:
- Vacuum regularly: Continue to vacuum your rug on a weekly basis to remove loose dirt, dust, and debris. This will help prevent dirt from settling deep into the fibers and prolong the time between deep cleanings.
- Rotate the rug: Rotate your rug every few months to ensure even wear and prevent specific areas from becoming more worn out than others. This is particularly important for rugs placed in high-traffic areas.
- Use rug pads: Consider using rug pads underneath your rugs. Rug pads provide cushioning, reduce slipping, and help protect the rug from wear and tear. They also allow better airflow, preventing moisture buildup underneath the rug.
- Deal with spills immediately: Accidents happen, so it’s essential to address spills and stains promptly. Blot liquid spills with a clean cloth, and spot treat stains using the appropriate cleaning solutions mentioned earlier in this article.
- Avoid direct sunlight: Prolonged exposure to direct sunlight can cause fading and discoloration of your rug. Protect your rug by using curtains, blinds, or UV-blocking window films to minimize sun exposure.
- Protect from pets: If you have pets, keep an eye on them around the rug to prevent accidents or excessive shedding. Regularly groom your pets to minimize shedding and trim their nails to prevent snags or tears in the rug.
- Professional cleaning: Consider professional rug cleaning every 1-2 years, especially for valuable or antique rugs. Professional cleaners have the expertise and specialized equipment to deep clean and restore your rug effectively.
By following these maintenance and protection tips, you can ensure that your rug remains in excellent condition and retains its beauty for many years to come.
Congratulations! You have now learned how to clean, maintain, and protect your floor rug. Regular cleaning and proper care will not only enhance the appearance of your rug but also contribute to a cleaner and healthier indoor environment.
Remember, a clean and well-maintained rug not only adds to the aesthetic appeal of your space but also provides a cozy and inviting atmosphere.
Enjoy the comfort and beauty that your clean rug brings to your home!
Conclusion
Cleaning and maintaining your floor rug is a crucial step in ensuring its longevity and keeping it looking its best. By following the step-by-step process outlined in this article, you can effectively clean your rug and restore its beauty. Regular vacuuming, spot treating stains, and deep cleaning are key to removing dirt, allergens, and stains that can accumulate over time.
Remember to gather all the necessary supplies before you start, including a vacuum cleaner, rug cleaner or mild detergent, clean cloths or sponges, and a soft bristle brush. Take the time to properly vacuum your rug, paying attention to high-traffic areas and using attachments for a deeper clean.
Spot treating stains promptly and using the appropriate cleaning solutions will help eliminate unsightly marks on your rug. Deep cleaning your rug periodically will ensure a thorough removal of embedded dirt and provide a refreshed appearance.
After cleaning, drying the rug properly is essential to prevent mold or mildew growth. Fluffing the rug will restore its plushness and volume, giving it a fresh and inviting look.
To maintain and protect your rug, implement regular maintenance practices such as vacuuming, rotating the rug, and dealing with spills immediately. Using rug pads and minimizing exposure to direct sunlight will also extend the life of your rug.
Remember, if your rug is valuable or delicate, it may be best to seek professional cleaning services to ensure its proper care.
By taking the time to clean and maintain your floor rug, you not only enhance its appearance but also create a clean and inviting space for you and your family to enjoy. So go ahead and give your rug the attention it deserves, and revel in the comfort and beauty it brings to your home!
Frequently Asked Questions about How To Clean Floor Rug
Was this page helpful?
At Storables.com, we guarantee accurate and reliable information. Our content, validated by Expert Board Contributors, is crafted following stringent Editorial Policies. We're committed to providing you with well-researched, expert-backed insights for all your informational needs.

0 thoughts on “How To Clean Floor Rug”