Articles
How To Remove Hardwood Floor Without Damage
Modified: January 8, 2024
Learn the step-by-step process to safely remove a hardwood floor without causing any damage. Read our articles for expert tips and advice.
(Many of the links in this article redirect to a specific reviewed product. Your purchase of these products through affiliate links helps to generate commission for Storables.com, at no extra cost. Learn more)
Introduction
Hardwood floors are a beautiful and sought-after feature in many homes. However, there may come a time when you need to remove it, either for renovation purposes or to replace it with a different type of flooring. While the thought of removing hardwood floors may seem daunting, it is actually a manageable task that can be accomplished with the right tools and techniques.
In this article, we will walk you through the step-by-step process of removing hardwood floors without causing any damage to the subfloor. We will also provide you with a list of tools and equipment you will need to get the job done effectively and efficiently.
Before you begin the removal process, it is important to note that hardwood floors can be nailed, stapled, or glued down. The method of installation will determine the difficulty of the removal process. Nailed or stapled hardwood floors can be relatively easier to remove, while glued-down floors may require more effort and patience.
With that said, let’s dive into the details of how to remove hardwood floors without damage.
Key Takeaways:
- Removing hardwood floors without causing damage to the subfloor requires careful preparation, the right tools, and a systematic approach. By following the step-by-step process and taking necessary precautions, you can successfully tackle this task.
- Inspecting the floor for nails, staples, and glued sections, as well as cleaning up and repairing the subfloor, are crucial steps in the hardwood floor removal process. Attention to detail and patience are key to achieving a smooth and successful outcome.
Read more: How To Remove Glue From Hardwood Floor
Tools and Equipment Needed
Before you start removing hardwood floors, it’s important to gather the necessary tools and equipment to ensure a smooth and efficient process. Here’s what you’ll need:
- Protective Gear: Safety should always come first. Wear safety glasses, gloves, and a dust mask to protect yourself from any potential hazards.
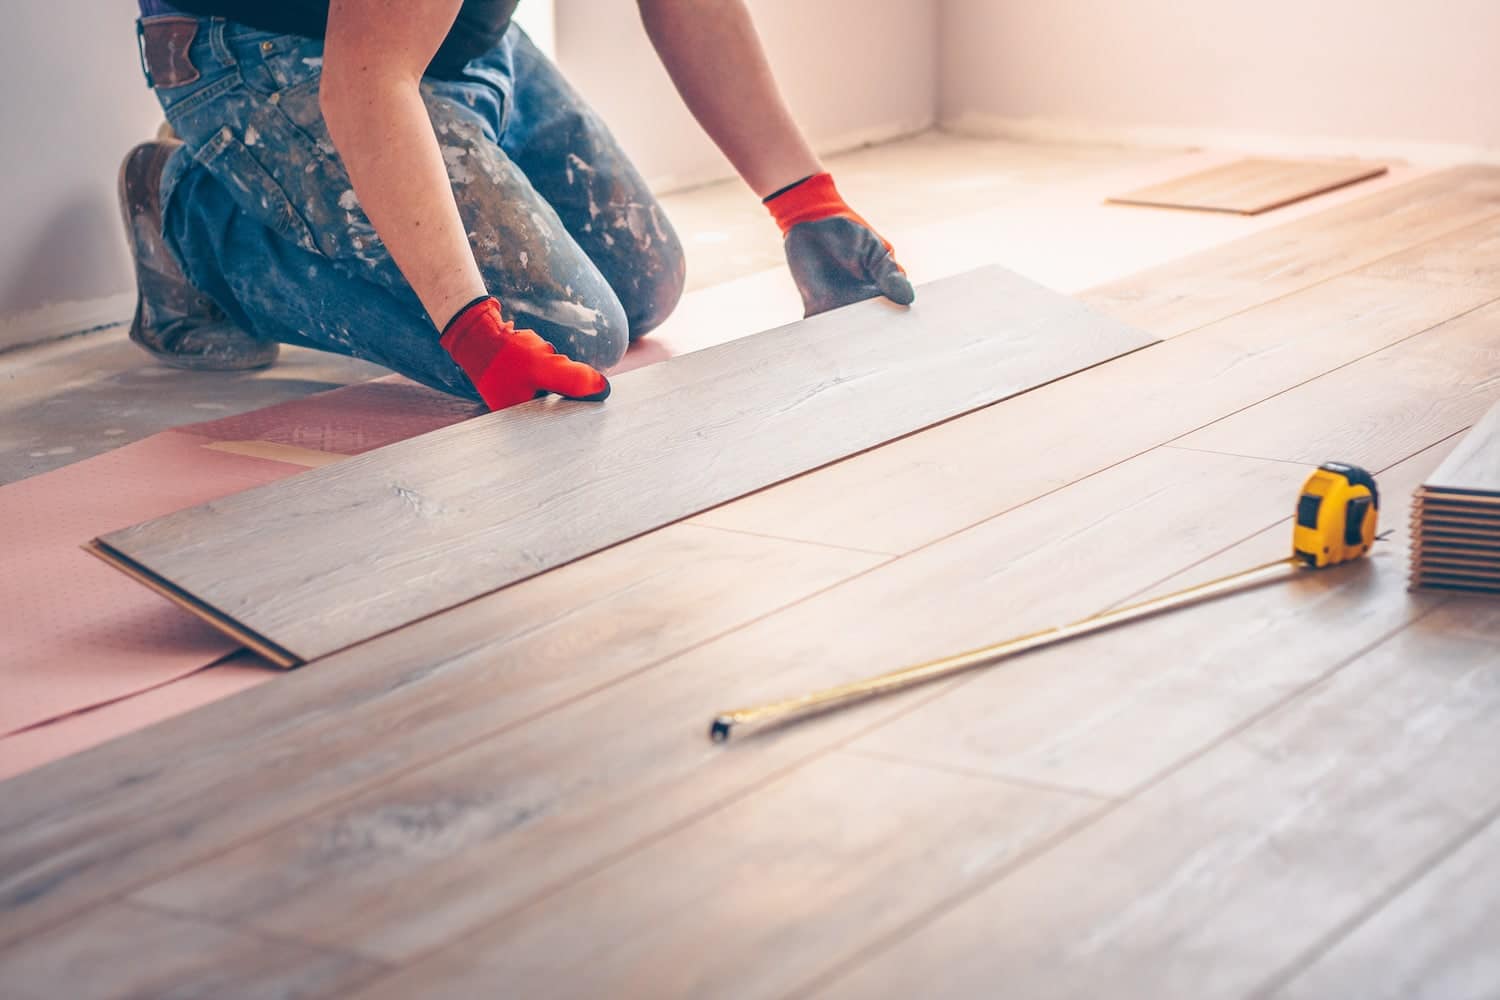
- Flat Pry Bar: This tool will help you lift and remove the hardwood boards. Look for one with a long handle for better leverage and easier removal.
- Hammer: You’ll need a claw hammer to remove any nails or staples that may be holding the boards in place.
- Floor Scraper: A floor scraper with a sharp blade will help you remove any glue or adhesive from the subfloor.
- Utility Knife: Use a utility knife to cut through the caulking or sealant between the hardwood boards and the walls or other surfaces.
- Crowbar: A crowbar can be handy in removing any stubborn or glued-down sections of hardwood.
- Wood Chisel: A wood chisel can help you pry up any sections that are difficult to remove with the pry bar or crowbar.
- Rubber Mallet: A rubber mallet can be useful in gently tapping the pry bar or chisel to loosen stubborn boards.
- Vacuum Cleaner: A vacuum cleaner with a brush attachment will help you remove any dust, debris, or small wood fragments during and after the removal process.
Having these tools on hand will make the process of removing hardwood floors much easier and more efficient. Make sure to gather them before you begin to avoid any unnecessary delays.
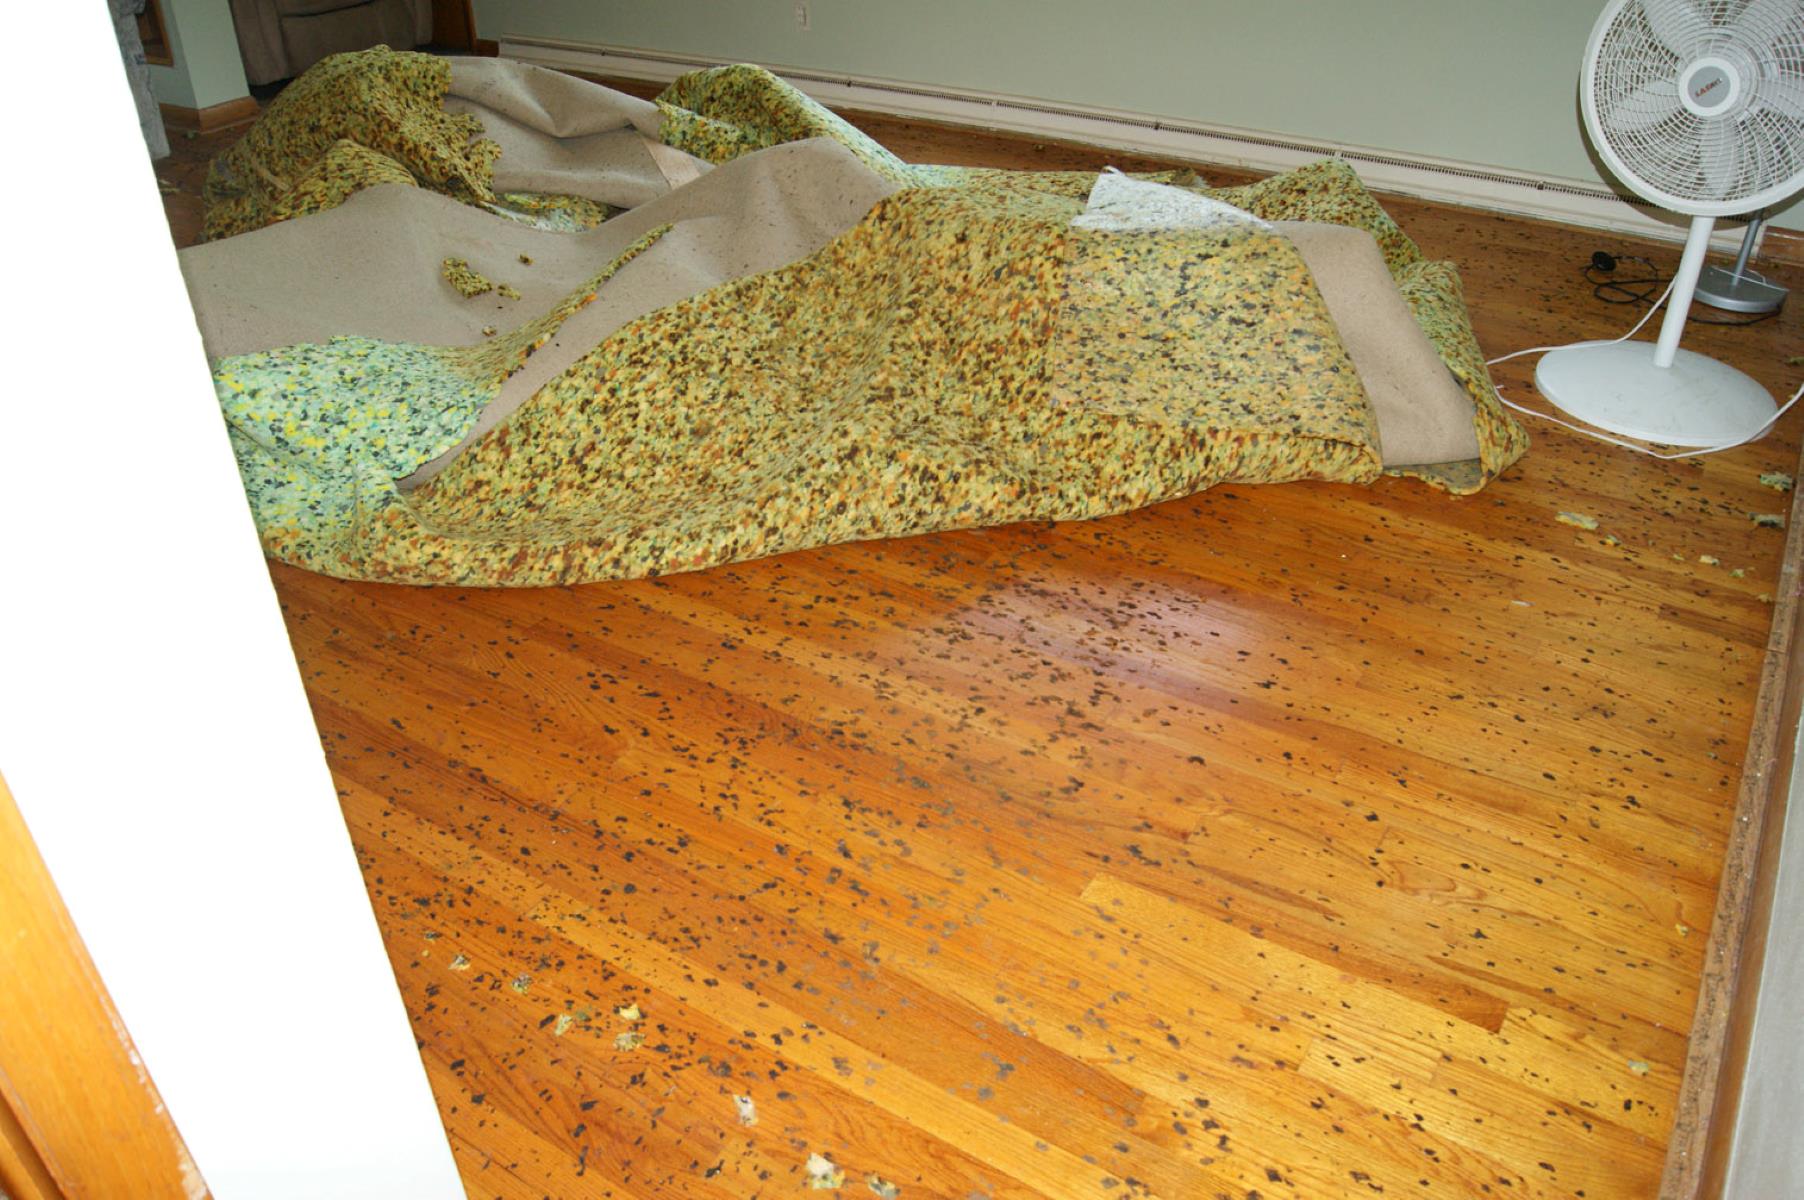
Preparation Before Removing Hardwood Floor
Before you start removing hardwood floors, it’s important to make some necessary preparations. Here are the steps you should take to ensure a smooth and successful removal process:
- Clean the Area: Clear the room of any furniture or objects that could hinder your movement or potentially get damaged during the removal process. This will provide you with a clear and spacious workspace to work in.
- Disconnect Utilities: If your hardwood floor is located in a kitchen or bathroom, make sure to disconnect any utilities, such as water or gas lines, to avoid accidental damage.
- Protect Surrounding Areas: Cover any adjacent surfaces, such as walls or cabinets, with plastic sheets or drop cloths to protect them from dust, debris, and potential damage.
- Turn Off HVAC System: Reduce the circulation of dust by turning off your heating, ventilation, and air conditioning (HVAC) system.
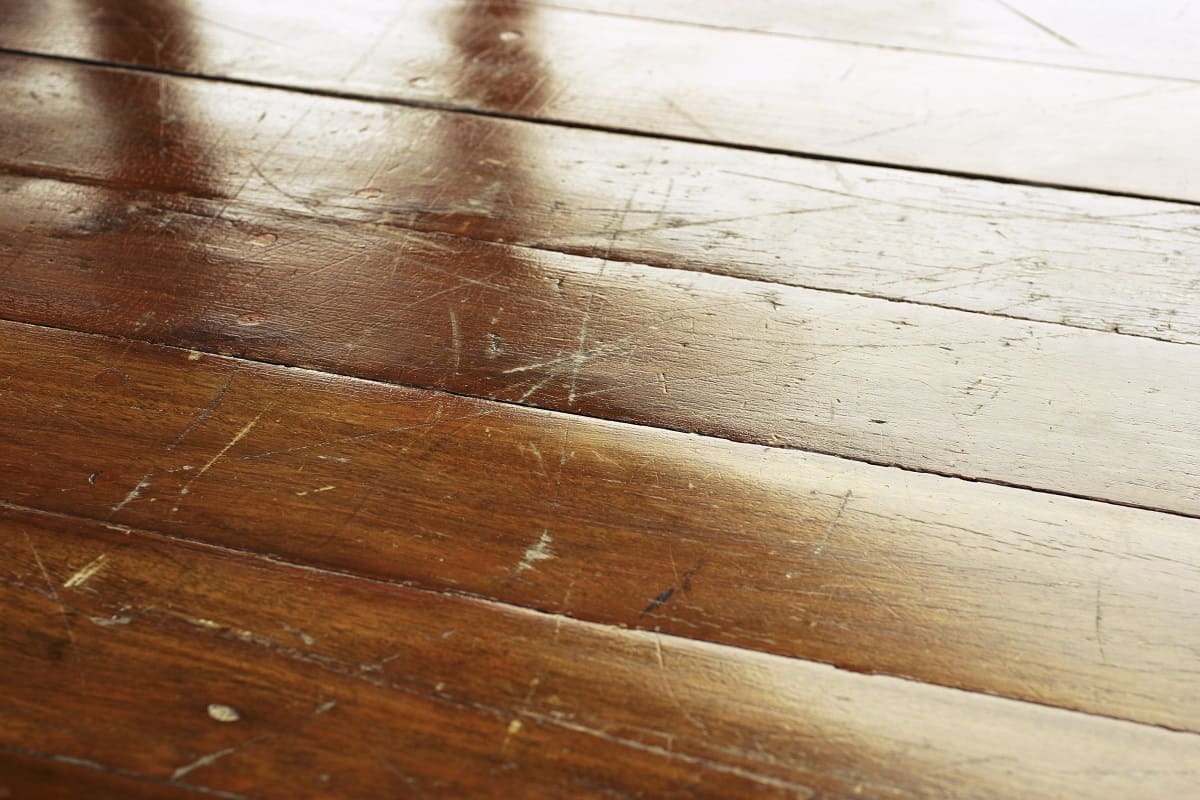
- Inspect the Floor: Take a close look at the hardwood floor and identify any areas that may require special attention, such as sections that are glued down or damaged. This will help you plan your removal strategy accordingly.
- Prepare Waste Disposal: Determine how you will dispose of the removed hardwood boards. Check with your local waste management or recycling facility for guidelines on proper disposal methods.
By following these preparatory steps, you’ll create an environment that is conducive to smooth and efficient hardwood floor removal. It’s important to take the time to properly prepare to avoid any unnecessary complications or damage during the process.
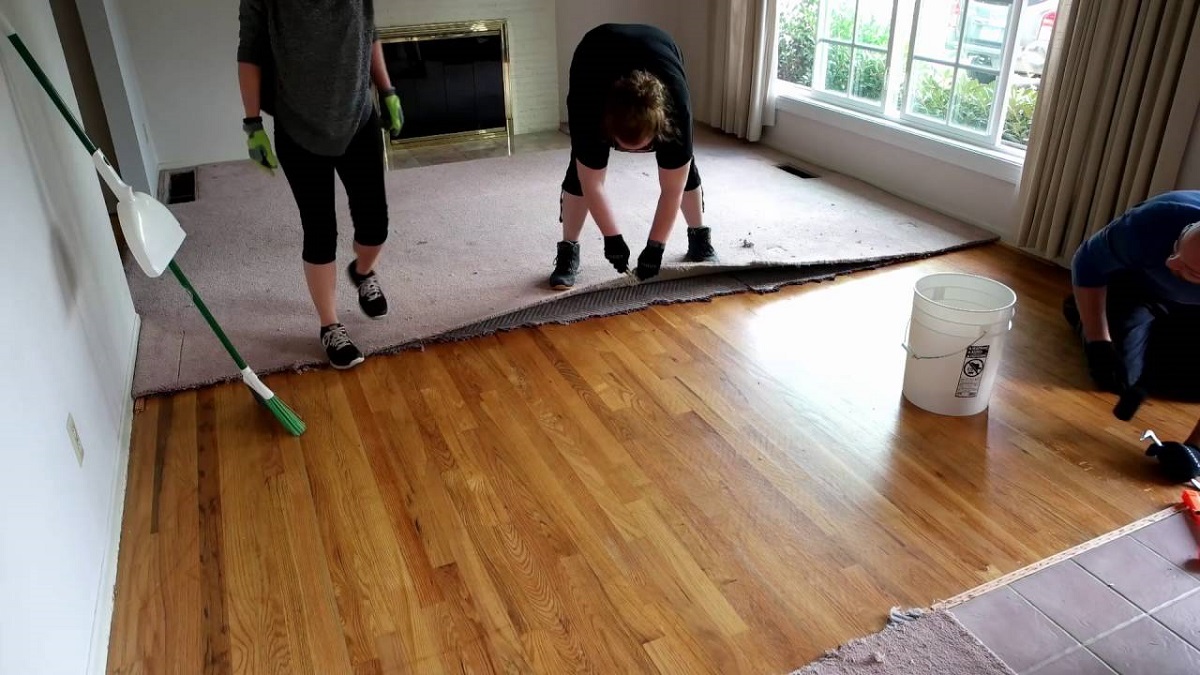
Step 1: Removing the Baseboards
Before you can start removing the hardwood floor, it’s important to remove the baseboards that are attached to the walls. Here are the steps to follow:
- Start by using a putty knife or a utility knife to score the caulk or paint along the top edge of the baseboards. This will help prevent any damage to the walls when you remove them.
- Use a small pry bar or a flathead screwdriver to gently pry the baseboards away from the walls. Insert the tool between the baseboard and the wall, and apply gradual pressure until the baseboard starts to loosen.
- Continue working your way along the baseboard, prying it away from the wall at regular intervals. Be patient and gentle to avoid damaging the baseboard or the wall.
- If there are any stubborn nails holding the baseboard in place, use a claw hammer or a pry bar to remove them. Carefully remove any nails to avoid causing any damage to the baseboard or the wall.
- Once all the baseboards have been removed, set them aside in a safe place if you plan to reuse them later. If not, dispose of them according to local regulations.
By removing the baseboards before tackling the hardwood floor, you’ll have more clearance and space to work with. It will also make the removal process easier and help prevent any damage to the baseboards or walls.
Now that the baseboards are out of the way, you’re ready to move on to the next step: inspecting the floor for nails or staples.
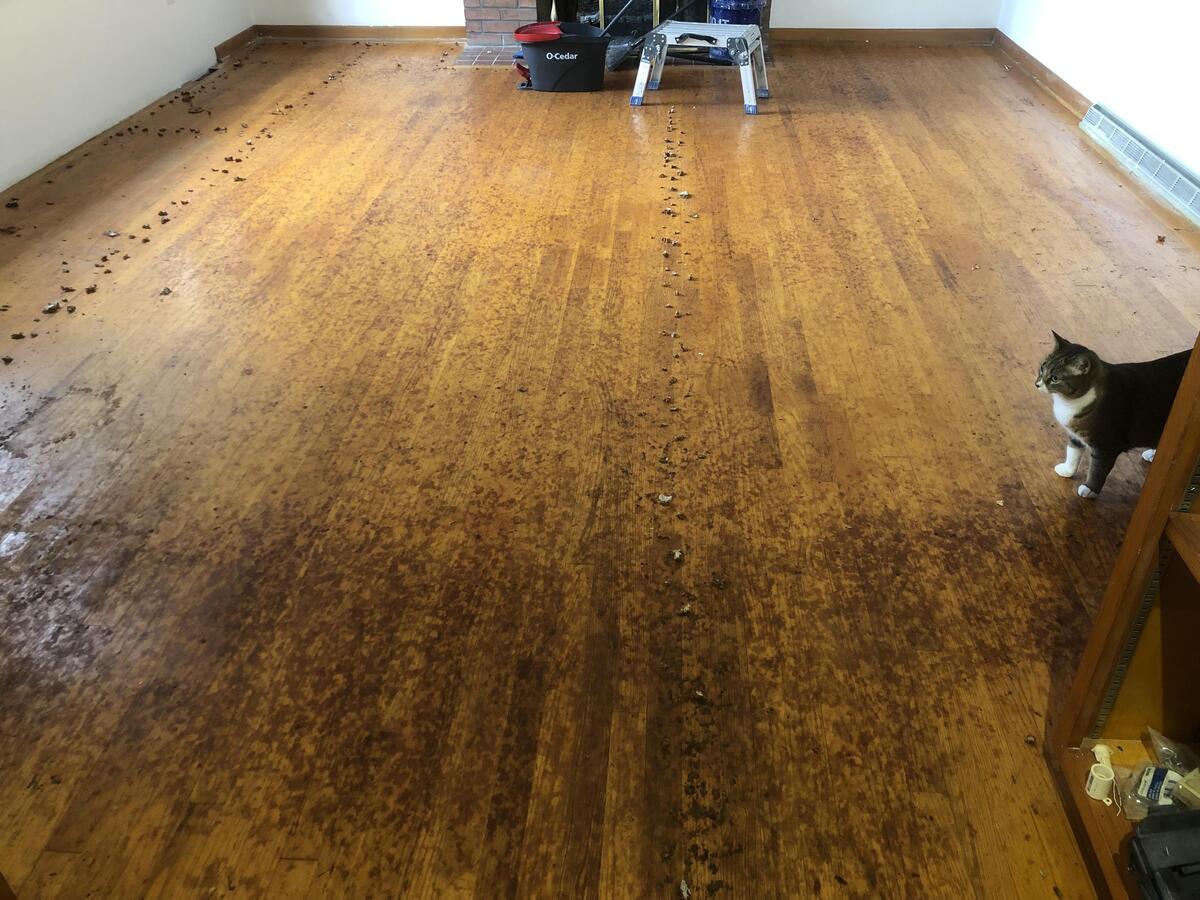
Step 2: Inspecting the Floor for Nails or Staples
Once the baseboards have been removed, it’s time to inspect the hardwood floor for any nails or staples that may be holding it in place. This step is crucial to ensure a smooth and efficient removal process. Here’s what you need to do:
- Equip yourself with a good flashlight and carefully inspect the floor surface. Look for any visible nails or staples that are sticking out or are partially embedded in the wood.
- Use a claw hammer or a pair of pliers to remove any protruding nails or staples. Grip them firmly, tilt them upward, and carefully wiggle them out of the wood.
- If there are any nails or staples that are difficult to remove by hand, use a nail punch or a small flathead screwdriver to sink them deeper into the wood. This will prevent them from catching on the pry bar during the removal process.
- Take your time to inspect the entire floor, paying close attention to areas near walls, corners, and doorways. Nails and staples are commonly found in these areas as they provide extra support for the flooring.
- Once you have removed or properly secured all the visible nails and staples, run a metal detector or a strong magnet over the floor surface to detect any hidden metal objects, such as nails or staples that may be buried under the wood.
Inspecting the floor for nails or staples is an important step as it helps prevent potential accidents or damage to your tools during the removal process. By ensuring that the floor is clear of any protruding or hidden metal objects, you’ll be able to proceed with the removal process more safely and efficiently.
Now that you’ve inspected the floor and made sure it’s free of nails or staples, you’re ready to move on to the next step: starting the removal process.
Step 3: Starting the Removal Process
Now that you have prepared the area and inspected the floor, it’s time to begin the actual removal of the hardwood floor. Follow these steps to get started:
- Start at a corner of the room or at one end of the floor and work your way across to the other side. This will help maintain a systematic approach and make it easier to keep track of the removed boards.
- Insert a flat pry bar or a floor scraper between the edge of the hardwood board and the subfloor. Gently apply upward pressure to lift the board from the floor. Use a rubber mallet if needed to tap the pry bar or scraper and loosen the board.
- Once the first board is lifted, carefully remove it from the floor. Place it aside or dispose of it, depending on your plans for reusing or discarding the boards.
- Continue this process of inserting the pry bar or scraper underneath each subsequent board, lifting and removing them one by one.
- Be cautious when using the pry bar or scraper to avoid damaging the surrounding boards or the subfloor. Use steady and controlled pressure to gradually lift and detach the boards.
- If you encounter any boards that are difficult to remove, especially those that may be glued down, proceed to the next step to break them down.
Starting the removal process may require some patience and physical effort, especially if the boards have been securely installed. Take your time and work methodically to avoid causing any unnecessary damage to the floor or yourself.
Now that you have started removing the hardwood floor, let’s move on to the next step: breaking down the hardwood boards.
Before removing hardwood floors, make sure to remove any baseboards or trim first. Use a pry bar and hammer to carefully lift and remove each board, working from the edges inwards to minimize damage.
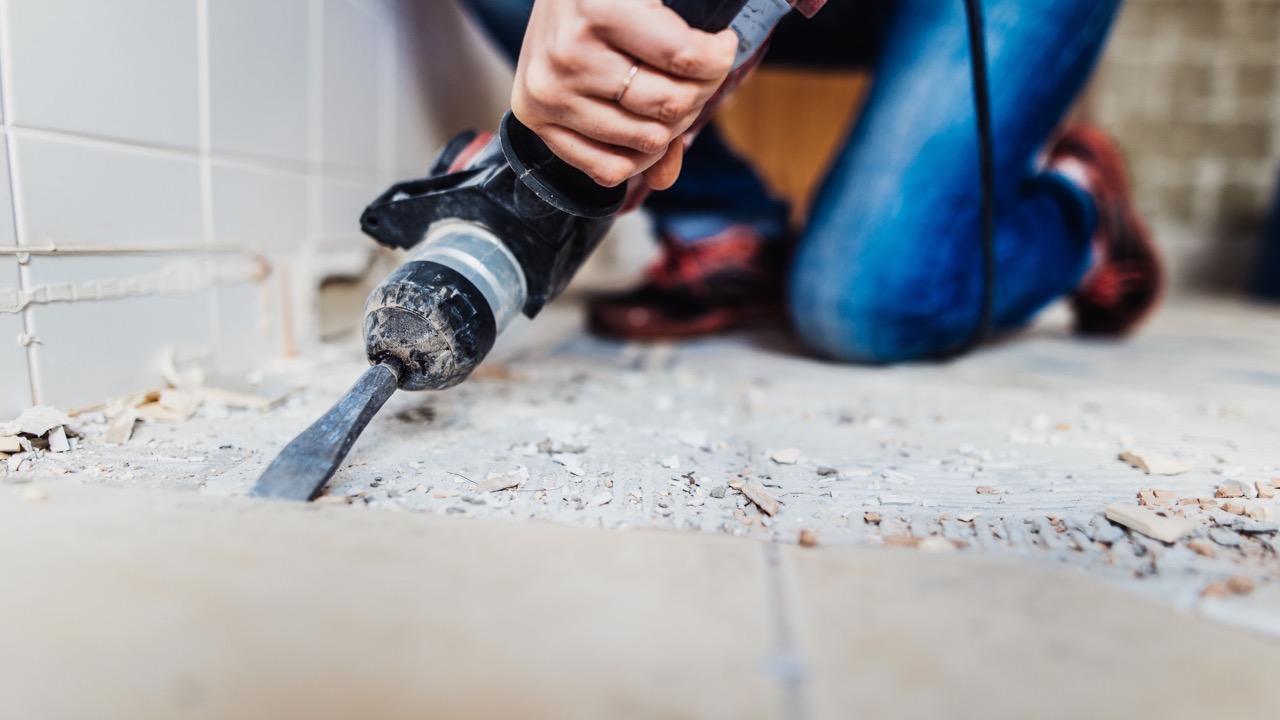
Step 4: Breaking Down the Hardwood Boards
During the hardwood floor removal process, you may come across boards that are stubborn or difficult to remove. In this step, we will discuss how to break down these boards and continue with the removal process effectively. Here’s what you need to do:
- Identify the boards that are stuck or glued down. These are usually located near doorways, corners, or areas where adhesive was used during installation.
- Using a crowbar or a wood chisel, carefully insert the tool between the stubborn board and the subfloor. Apply gentle pressure to gradually pry up the board.
- If necessary, use a rubber mallet to tap the crowbar or chisel to loosen the board. Be cautious and avoid using excessive force to prevent damage to the subfloor or nearby boards.
- Once the board is slightly lifted, use the pry bar or scraper to continue breaking it down. Work your way along the board, lifting it inch by inch until it can be completely removed.
- If there is excess glue or adhesive on the subfloor after removing a stubborn board, use a floor scraper to carefully scrape it off. Take your time to remove as much adhesive as possible.
- Continue this process for any other boards that are difficult to remove, being careful to avoid causing damage to the subfloor or nearby boards in the process.
Breaking down stubborn or glued-down boards may require more effort and time compared to the previous steps. Take breaks as needed to avoid fatigue and ensure your safety throughout the process.
Now that you know how to break down the hardwood boards, let’s move on to the next step: removing stubborn or glued sections.
Step 5: Removing Stubborn or Glued Sections
Some hardwood floors may have sections that are stubbornly stuck or glued down. These sections require a slightly different approach for removal. Follow these steps to effectively remove stubborn or glued sections:
- Identify the specific sections of the floor that are glued or stuck down. These areas may be more noticeable due to visible adhesive or a lack of movement when attempting to lift the boards.
- Using a heat gun or a hairdryer on its highest setting, apply heat directly to the stubborn or glued area. Move the heat source back and forth over the section to soften the adhesive.
- As the adhesive begins to soften and loosen, carefully insert a pry bar or a floor scraper under the affected boards. Apply steady and even pressure to lift the boards away from the subfloor.
- If needed, continue applying heat as you work your way along the stubborn section. This will help further soften the adhesive and allow for easier removal.
- If there’s a significant amount of adhesive remaining on the subfloor, use a floor scraper to remove as much as possible. Be cautious and avoid scraping too aggressively to prevent damage to the subfloor.
- Dispose of the removed boards and clean up the area as you progress through the process.
Removing stubborn or glued sections may require a bit more time and effort, but with the right approach, you can successfully remove these areas without causing damage to the subfloor or surrounding boards.
Now that you know how to remove stubborn or glued sections, let’s move on to the next step: cleaning up the subfloor.
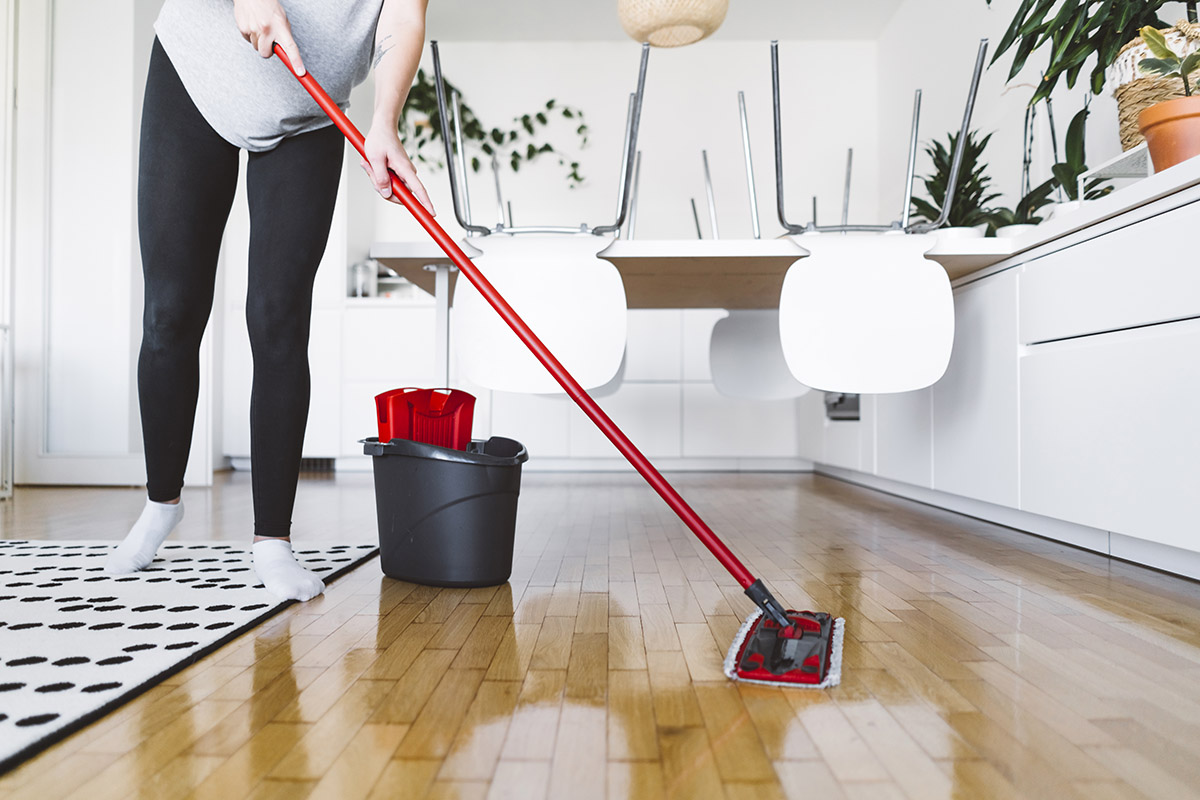
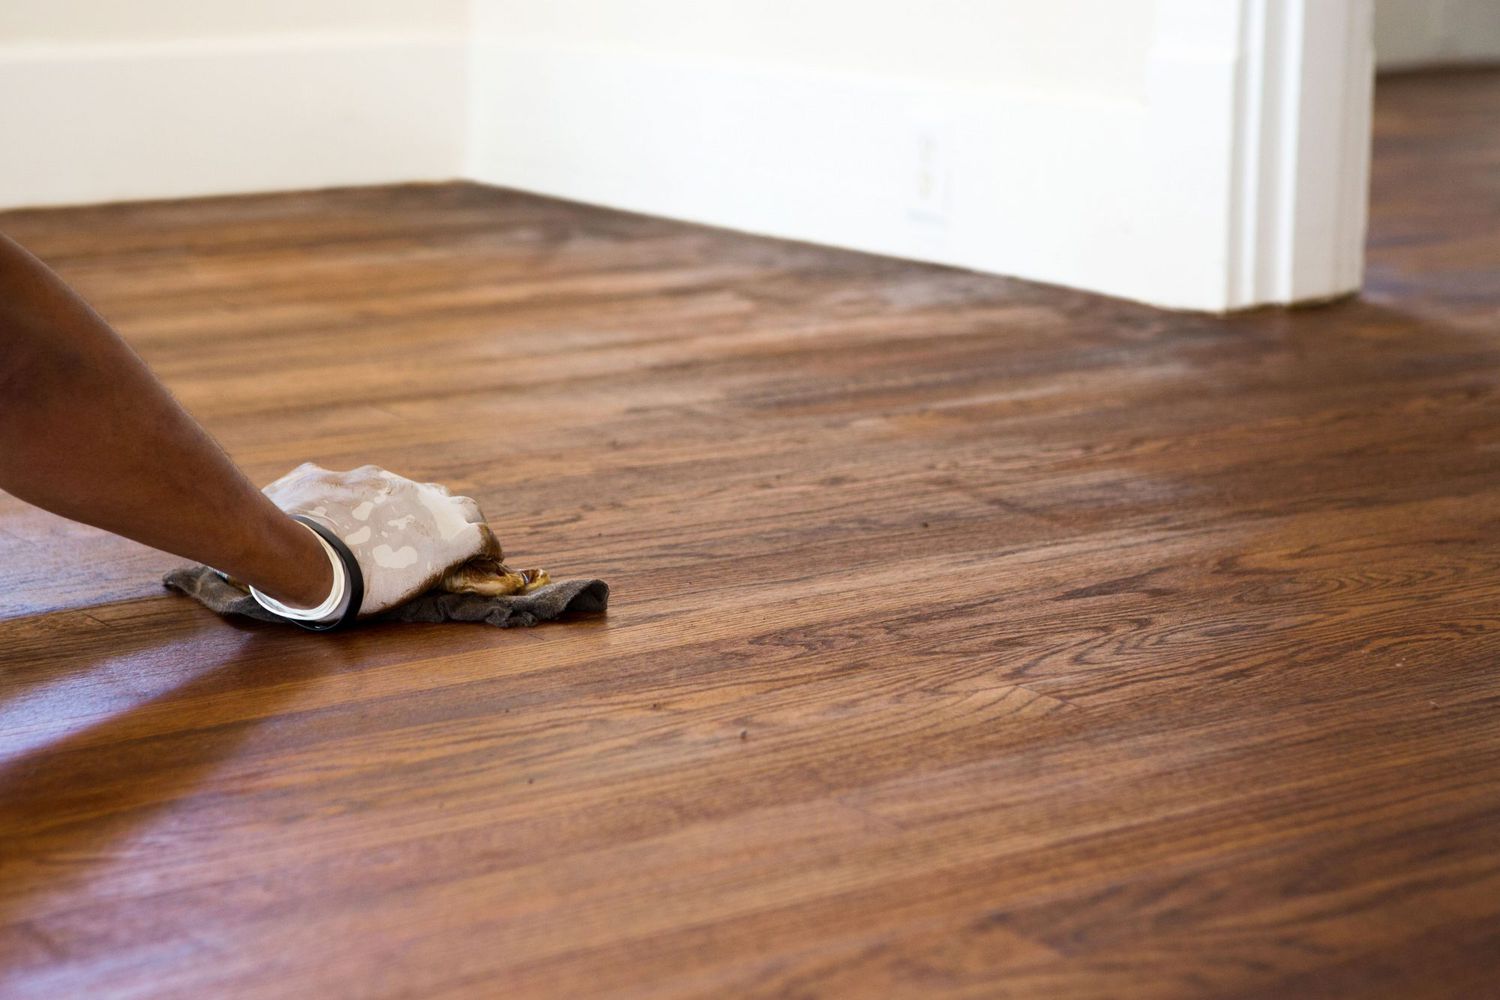
Step 6: Cleaning Up the Subfloor
Once the hardwood floor has been removed, it’s time to clean up the subfloor to prepare it for any future flooring installation or repairs. Follow these steps to effectively clean up the subfloor:
- Start by removing any remaining small wood fragments, nails, or staples on the subfloor. Use a vacuum cleaner with a brush attachment to thoroughly clean the surface. Be meticulous in your cleaning to ensure a smooth and debris-free subfloor.
- If there are any stubborn adhesive residue or glue spots on the subfloor, use a floor scraper or a solvent recommended by the manufacturer to remove them. Apply the solvent to the affected areas and gently scrape off the adhesive. Make sure to follow the manufacturer’s instructions for using the solvent properly.
- Inspect the subfloor for any damaged or uneven areas that may require repair. If there are any nails or staples sticking out or any loose boards, secure or remove them as necessary.
- If needed, sand down any rough patches or high spots on the subfloor to create a smooth and level surface. Use a floor sander and follow the manufacturer’s instructions for best results.
- Once the subfloor is clean and in good condition, inspect it for moisture or signs of water damage. Address any issues related to dampness or water intrusion before proceeding with any new flooring installation.
- Before proceeding with the next steps, take the time to ensure that the subfloor is clean, dry, and in a suitable condition for installing the next flooring material.
By thoroughly cleaning up the subfloor, you are ensuring a solid foundation for the future flooring installation. Taking the time to address any damage or repair needs and creating a clean, level surface will contribute to the success and longevity of the new flooring.
Now that you have cleaned up the subfloor, let’s move on to the final step: repairing and patching the subfloor if necessary.
Read more: How To Remove Stain From Hardwood Floor
Step 7: Repairing and Patching the Subfloor
After removing the hardwood floor and cleaning up the subfloor, it’s important to evaluate the condition of the subfloor and make any necessary repairs or patches. Follow these steps for repairing and patching the subfloor:
- Inspect the subfloor for any cracks, holes, or damaged areas. If you find any, mark them for repair.
- For small cracks or holes, you can use a wood filler or putty to fill them in. Apply the filler or putty according to the manufacturer’s instructions and use a putty knife to smooth it out. Allow it to dry completely before proceeding.
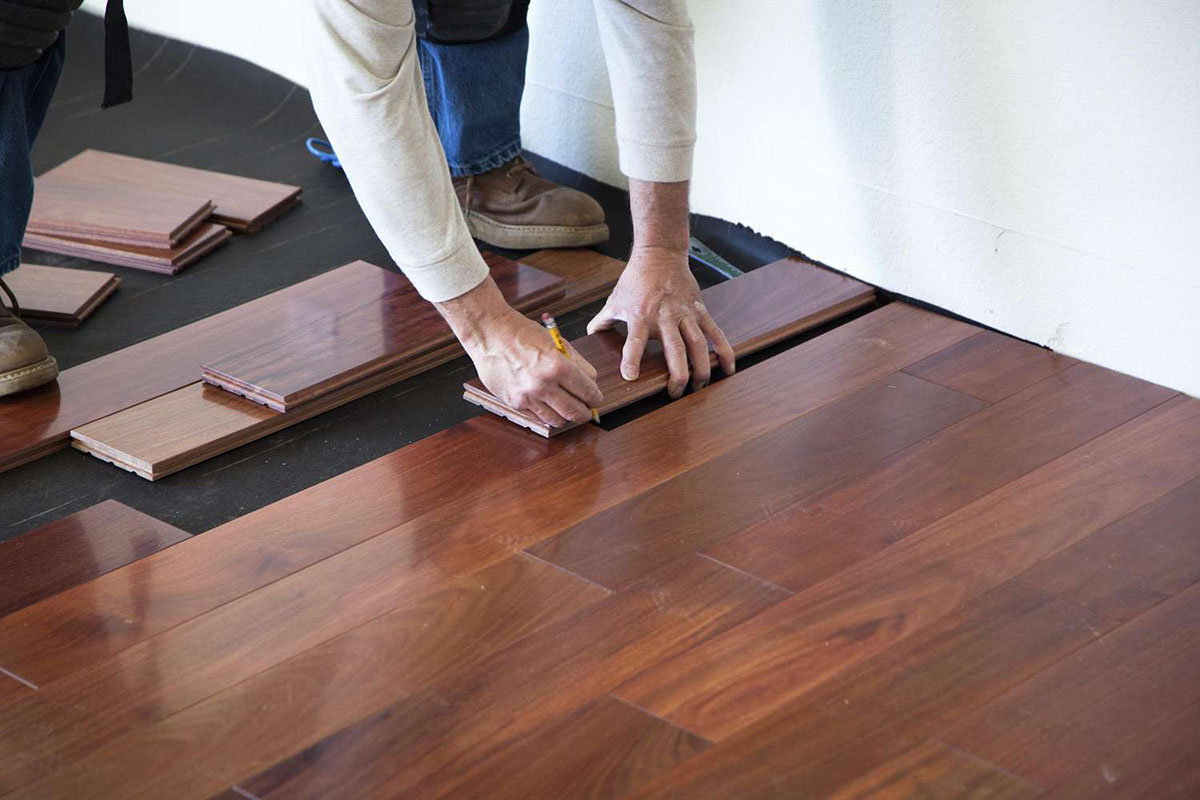
- If there are larger damaged areas or sections that need to be replaced, use a circular saw or a reciprocating saw to cut out the damaged portion of the subfloor. Be sure to cut along the edges of the joists for a clean and stable repair.
- Measure the dimensions of the cut-out section and use a new piece of subfloor material that matches the existing subfloor thickness. Cut the replacement board to fit and secure it to the joists using screws or nails.
- If necessary, reinforce the newly installed subfloor patch by adding additional support, such as blocking or bridging between the joists.
- After making any repairs or patches, ensure that the subfloor is level and smooth. Sand any rough edges or uneven surfaces to create a seamless transition with the surrounding subfloor.
- Lastly, if you plan to install new flooring immediately, ensure that the repaired or patched subfloor is dry and free from dust or debris. This will provide a clean and stable surface to support the new flooring material.
Repairing and patching the subfloor is essential for maintaining the structural integrity and stability of the flooring. By attending to any damage or issues in the subfloor, you’re setting a solid foundation for the new flooring installation.
Congratulations! You have now successfully completed the process of removing hardwood floors without causing any damage to the subfloor. With the right tools, techniques, and careful planning, you can tackle this task efficiently and effectively.
Remember, it’s important to work at a comfortable pace and prioritize safety throughout the removal process. Following these steps will help ensure a successful hardwood floor removal experience.
Conclusion
Removing hardwood floors may seem like a daunting task, but with the right tools, knowledge, and techniques, it can be accomplished without causing any damage to the subfloor. By following the step-by-step process outlined in this article, you can successfully remove hardwood floors and prepare the subfloor for the next stage of your flooring project.
Remember to gather all the necessary tools and equipment, such as a pry bar, hammer, floor scraper, and utility knife, before starting the removal process. Prepare the area by clearing out furniture and protecting surrounding surfaces. Inspect the floor for nails, staples or glue, and remove them accordingly. Begin the removal process by lifting and removing the hardwood boards one by one.
If you encounter stubborn or glued sections, apply heat and carefully use a crowbar or chisel to break them down. Take extra precautions to avoid damaging the subfloor or surrounding boards. Once the boards are removed, clean up the subfloor by removing debris, adhesive residue, and repairing any cracks or damage.
Remember, safety should always be a priority. Wear protective gear and exercise caution when using tools or handling materials. Take breaks as needed to prevent fatigue and stay hydrated.
Removing hardwood floors is a labor-intensive process, but by following the steps outlined in this article, you can successfully complete the task and move forward with your flooring project. Whether you’re renovating or replacing the floor, taking the time to remove hardwood floors properly will ensure a smooth transition and a solid foundation for the new flooring material.
Good luck with your hardwood floor removal project! With the right approach and attention to detail, you’ll achieve a successful outcome and be one step closer to the beautiful new flooring you desire.
Frequently Asked Questions about How To Remove Hardwood Floor Without Damage
Was this page helpful?
At Storables.com, we guarantee accurate and reliable information. Our content, validated by Expert Board Contributors, is crafted following stringent Editorial Policies. We're committed to providing you with well-researched, expert-backed insights for all your informational needs.


0 thoughts on “How To Remove Hardwood Floor Without Damage”