Articles
How To Clean Juicer Parts
Modified: December 6, 2023
Learn the best techniques for cleaning juicer parts in this informative article. Keep your juicer in top condition for delicious, healthy juice every time.
(Many of the links in this article redirect to a specific reviewed product. Your purchase of these products through affiliate links helps to generate commission for Storables.com, at no extra cost. Learn more)
Introduction
Welcome to our comprehensive guide on how to clean juicer parts. Juicing has become a popular way to incorporate more fruits and vegetables into our daily diets, providing us with essential nutrients and a refreshing boost. However, after every juicing session, it is important to clean your juicer thoroughly to ensure its longevity, optimal performance, and most importantly, your safety.
Cleaning juicer parts may seem like a tedious task, but with the right knowledge and tools, it can be a simple and rewarding process. In this article, we will walk you through the step-by-step instructions on how to effectively clean your juicer parts.
Why is cleaning juicer parts important? Well, juicers work by extracting juice from fruits and vegetables, and as part of the process, they accumulate pulp, fibers, and other debris. If these residues are not cleaned properly, they can lead to the growth of bacteria and mold, which can not only affect the taste and quality of your juices but also pose health risks.
Moreover, neglected juicer parts can become clogged, resulting in reduced juicing efficiency and increased wear and tear on the machine. By maintaining a regular cleaning routine, you can ensure that your juicer continues to deliver delicious and nutritious juices, while also extending its lifespan.
Before we dive into the cleaning process, let’s discuss a few safety precautions to keep in mind. Always make sure to unplug your juicer before cleaning to avoid electrical accidents, and take extra care when handling sharp blades or other sharp parts. If you are unsure about any specific cleaning instructions for your juicer model, refer to the manufacturer’s manual for guidance.
Now that we have covered the importance of cleaning and safety precautions, let’s gather the tools and supplies needed to clean your juicer parts effectively.
Key Takeaways:
- Regularly cleaning juicer parts is crucial for preventing bacterial growth, maintaining efficiency, extending lifespan, preserving juice quality, and ensuring food safety. Prioritize safety and follow the manufacturer’s instructions for effective cleaning.
- Gather the necessary tools and supplies, follow safety precautions, and use step-by-step instructions to clean, rinse, and dry juicer parts thoroughly. Implement additional tips for maintaining a clean and efficient juicer.
Read more: How To Clean A Juicer
Why Cleaning Juicer Parts is Important
When it comes to juicing, cleaning your juicer parts is not just a matter of hygiene, but also a crucial step in maintaining the performance and durability of your juicer. Here are a few reasons why cleaning juicer parts regularly should be a priority:
- Prevent Bacterial Growth: After each juicing session, leftover pulp and juice residue can remain trapped in the crevices of your juicer parts. If not cleaned properly, these remnants become a breeding ground for bacteria and mold. Consuming juice made from an unclean juicer can be harmful to your health and lead to digestive issues.
- Maintain Juicing Efficiency: A clean juicer will function optimally, ensuring efficient juice extraction. If your juicer parts are clogged with debris, it will strain the motor and reduce its performance. This may result in reduced juice yield and cause unnecessary stress on the machine, which could ultimately lead to breakdowns or malfunctions.
- Prolong the Lifespan of Your Juicer: Regularly cleaning your juicer parts helps to prevent the accumulation of residue that can cause damage or blockages. By maintaining a clean juicer, you can ensure that it continues to work smoothly and last longer.
- Preserve the Quality of Your Juices: Residue left in your juicer can affect the taste and quality of your juices. It can mix with fresh juice and alter its flavor, making it less enjoyable to drink. Cleaning your juicer after each use ensures that you consistently enjoy fresh and delicious juices.
- Ensure Food Safety: Contaminated juicer parts can introduce harmful substances into your juice that can compromise its safety. Cleaning your juicer thoroughly eliminates the risk of cross-contamination and allows you to confidently consume your freshly prepared juices.
As you can see, cleaning juicer parts is not a task to be taken lightly. By prioritizing regular cleaning, you can maintain the hygiene, functionality, and longevity of your juicer while enjoying safe and delicious juices. Now, let’s move on to the next section to learn about the safety precautions you need to follow when cleaning your juicer parts.
Safety Precautions
Before you start cleaning your juicer parts, it’s important to take certain safety precautions to ensure your well-being and prevent any accidents. Here are some important safety tips to keep in mind:
- Unplug your juicer: Always remember to unplug your juicer from the power source before you begin the cleaning process. This will eliminate the risk of electrical shock or any other electrical accidents.
- Let it cool down: If you’ve recently used your juicer and it’s still warm, allow it to cool down before starting the cleaning. Hot juicer parts can cause burns and injuries.
- Handle sharp parts with caution: Some juicer parts, such as blades or cutting discs, can be sharp. When removing or cleaning these parts, use caution to avoid any accidental cuts or injuries. Consider using protective gloves if necessary.
- Read the manufacturer’s instructions: Different juicer models may have specific cleaning instructions provided by the manufacturer. Always refer to the user manual or manufacturer’s guidelines for the recommended cleaning method and any specific precautions.
- Avoid abrasive or harsh cleaning agents: While it’s important to thoroughly clean your juicer, avoid using harsh chemicals or abrasive scrubbers that could damage the juicer’s parts or leave behind residue. Opt for gentle and non-toxic cleaning solutions instead.
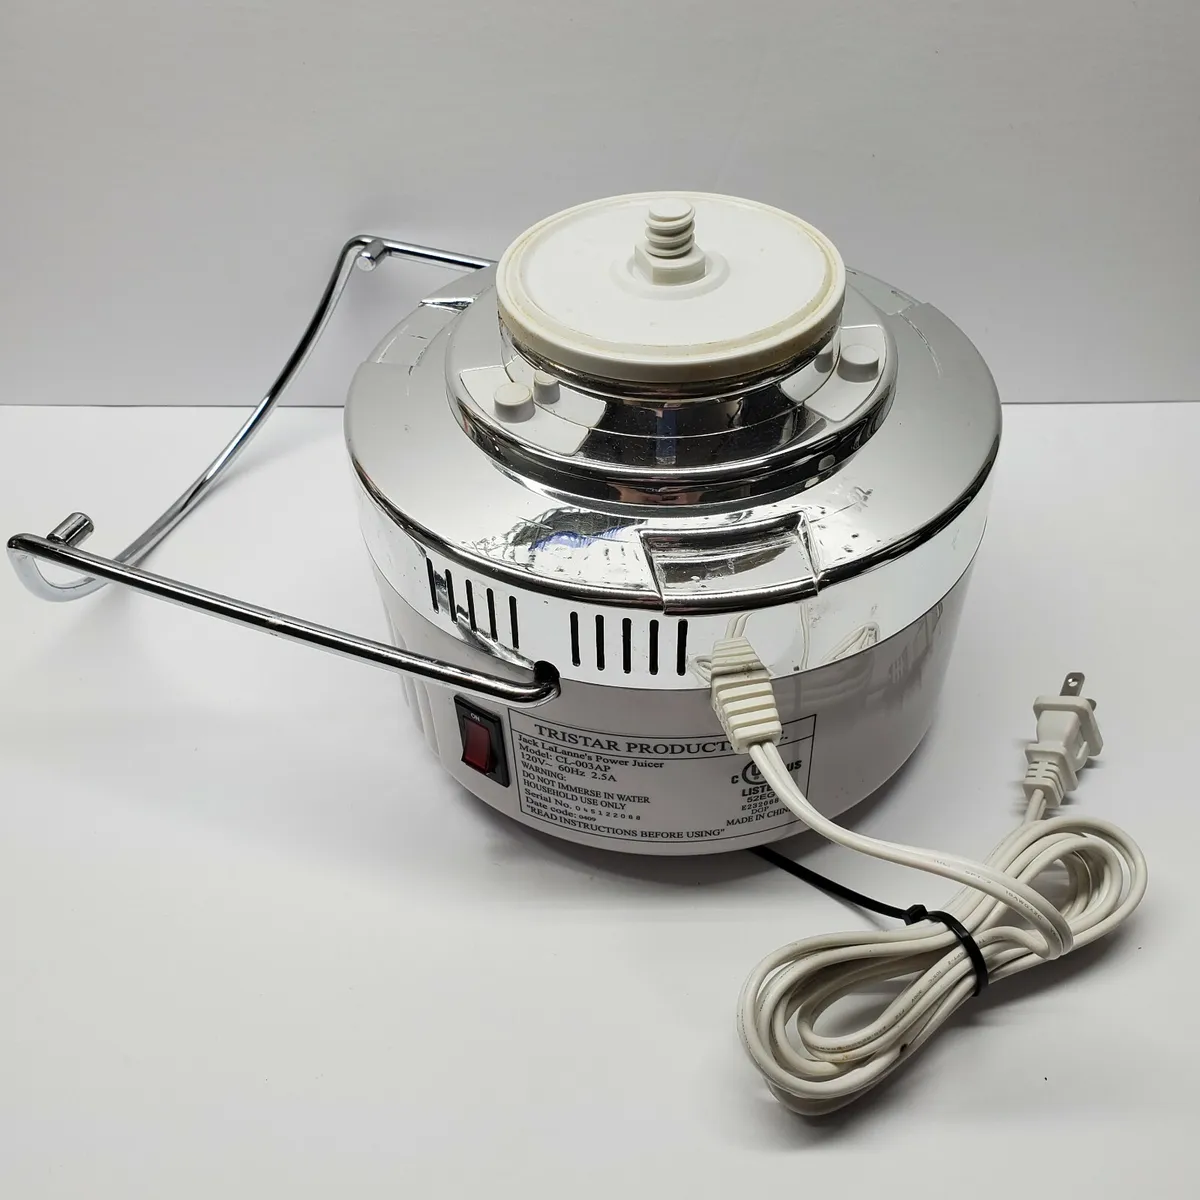
- Avoid submerging electrical parts: Unless mentioned otherwise in your juicer’s instructions, avoid submerging any electrical components of your juicer in water. This could damage the motor and electrical connections, rendering the juicer unusable.
- Keep children and pets away: During the cleaning process, ensure that children and pets are kept at a safe distance. Cleaning juicer parts involves disassembling and handling small components that could be a choking hazard or cause harm if mishandled.
By following these safety precautions, you can minimize the risk of accidents and injuries while cleaning your juicer parts. Now that we’ve covered the safety measures, let’s move on to the next section where we’ll discuss the tools and supplies needed for effective juicer cleaning.
Tools and Supplies Needed
Before you embark on the journey of cleaning your juicer parts, it’s important to gather the necessary tools and supplies for an effective cleaning process. Having the right tools on hand will make the task easier and ensure a thorough cleaning. Here are the tools and supplies you’ll need:
- Warm soapy water: A mixture of mild dishwashing soap and warm water will serve as the primary cleaning solution. It is gentle yet effective in removing residue from your juicer parts. Avoid using harsh detergents or abrasive cleaners to prevent any damage to the juicer’s components.
- Sponge or soft brush: You will need a soft sponge or brush with gentle bristles to scrub and clean the juicer parts. Look for a brush with a long handle to reach into crevices and corners.
- Microfiber cloth or towel: A microfiber cloth or towel is ideal for drying your juicer parts after cleaning. It absorbs moisture quickly and leaves no lint behind.
- Small, soft-bristle brush: A small, soft-bristle brush, such as a toothbrush or bottle brush, can be handy for cleaning hard-to-reach areas or tight spots in your juicer parts.
- Water spray bottle: A water spray bottle filled with clean water is useful for rinsing off any soap residue from the juicer parts after cleaning.
- Drying rack or dish towel: A drying rack or a clean dish towel can be used to place the juicer parts after cleaning and rinsing. This allows them to air dry completely before reassembling.
- Optional: Vinegar or baking soda: If you need a deeper clean or have stubborn stains or odors, you can use white vinegar or baking soda as natural cleaning agents. Remember to rinse the parts thoroughly after using these substances.
By having these tools and supplies ready, you’ll be well-equipped to clean your juicer parts properly. In the next section, we’ll dive into the step-by-step instructions for cleaning your juicer parts, ensuring a thorough and effective cleaning process.
Step-by-Step Instructions for Cleaning Juicer Parts
Now that you have gathered all the necessary tools and supplies, let’s walk through the step-by-step instructions for cleaning your juicer parts. Follow these instructions to ensure a thorough and effective cleaning process:
- Unplug your juicer: Before you begin cleaning, ensure that your juicer is unplugged from the power source to avoid any accidents.
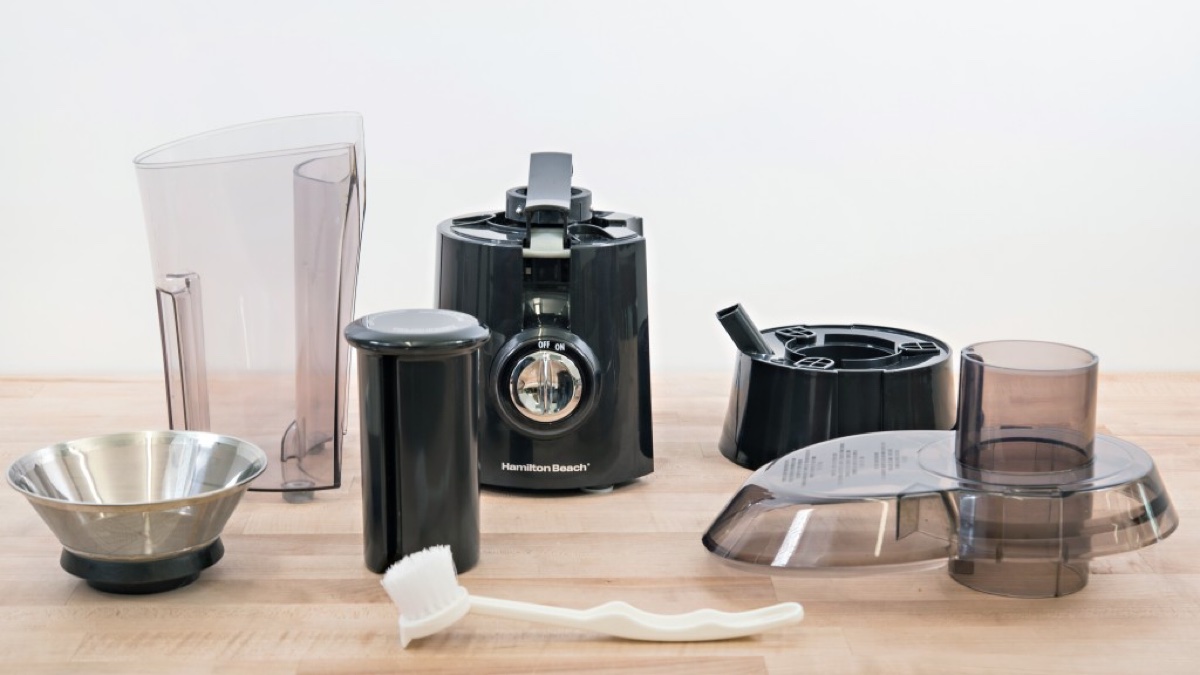
- Disassemble the juicer: Remove all detachable parts from the juicer, such as the juice container, pulp container, and any other removable components. Refer to your juicer’s manual for guidance on the specific parts that can be removed.
- Empty and discard pulp: Empty the pulp container and discard any residue left in it. If the pulp is still wet or sticky, use a spatula or brush to scrape it off.
- Soak the juicer parts: Fill a sink or basin with warm soapy water. Submerge the juicer parts in the water and let them soak for about 10-15 minutes. This will help to loosen any stubborn residue or pulp.
- Scrub and clean: Take a sponge or soft brush and gently scrub the juicer parts in the soapy water. Pay close attention to areas with visible residue or stains. Use a small soft-bristle brush for hard-to-reach corners or tight spots. Ensure that you clean both the interior and exterior surfaces of the parts.
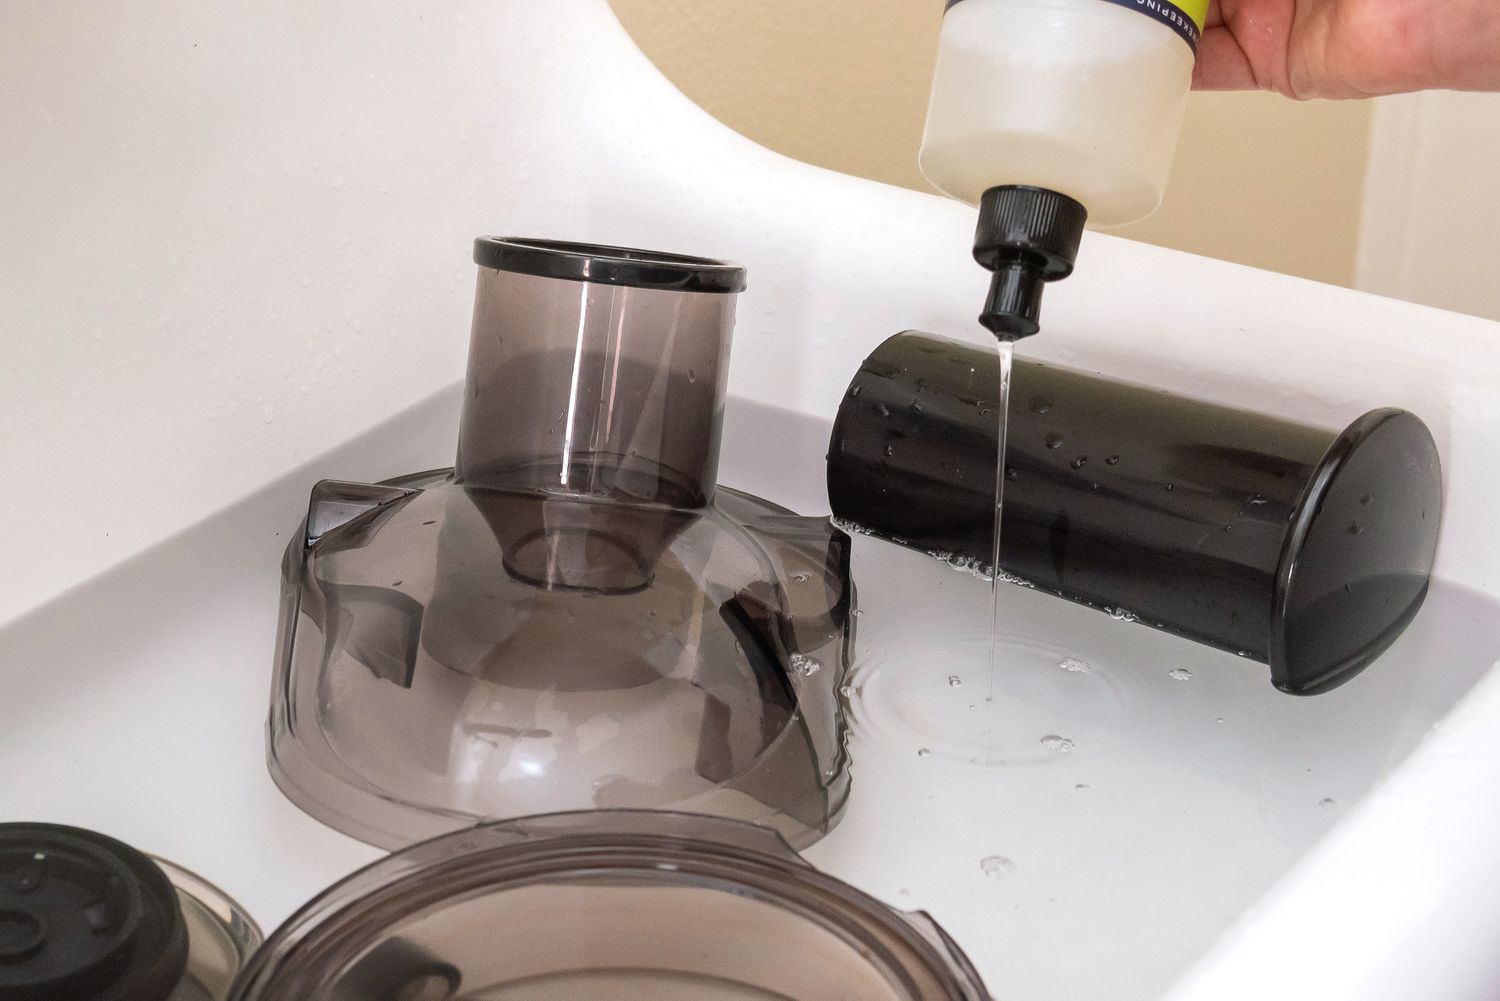
- Rinse thoroughly: After scrubbing, rinse the juicer parts under running water to remove all traces of soap and debris. You can use a water spray bottle to thoroughly rinse each part. Check for any remaining residue and continue rinsing until the water runs clear.
- Dry the juicer parts: Using a microfiber cloth or towel, gently dry each juicer part to remove any excess water. Make sure that all parts are completely dry before reassembling to prevent mold or bacterial growth.
- Reassemble the juicer: Once the juicer parts are dry, carefully reassemble them according to the manufacturer’s instructions. Ensure that all parts are aligned properly and securely in place.
- Wipe down the juicer body: Finally, wipe down the juicer body with a damp cloth to remove any dust or residue. Make sure to dry it thoroughly before storage.
By following these step-by-step instructions, you can easily and effectively clean your juicer parts. Now, let’s move on to the next section where we’ll discuss additional cleaning tips and tricks to help maintain your juicer’s cleanliness and performance.
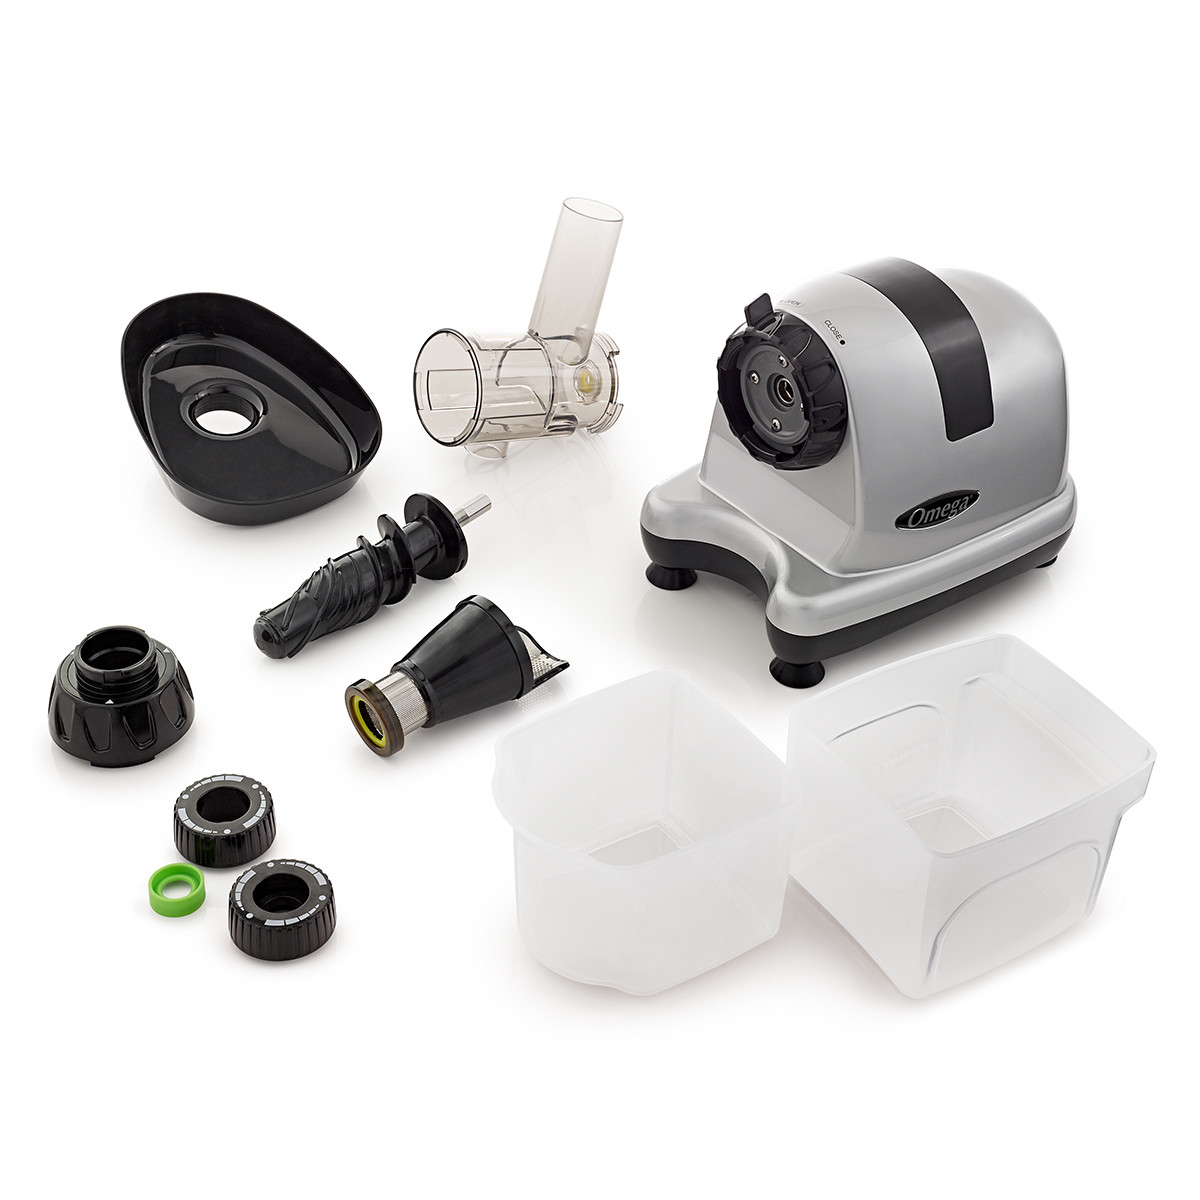
Read also: 11 Amazing Omega Juicer Parts for 2024
Removing and Disassembling Juicer Parts
Before you begin the cleaning process, it’s essential to know how to properly remove and disassemble the various parts of your juicer. This will make it easier to clean each component thoroughly. Follow these steps to remove and disassemble your juicer parts:
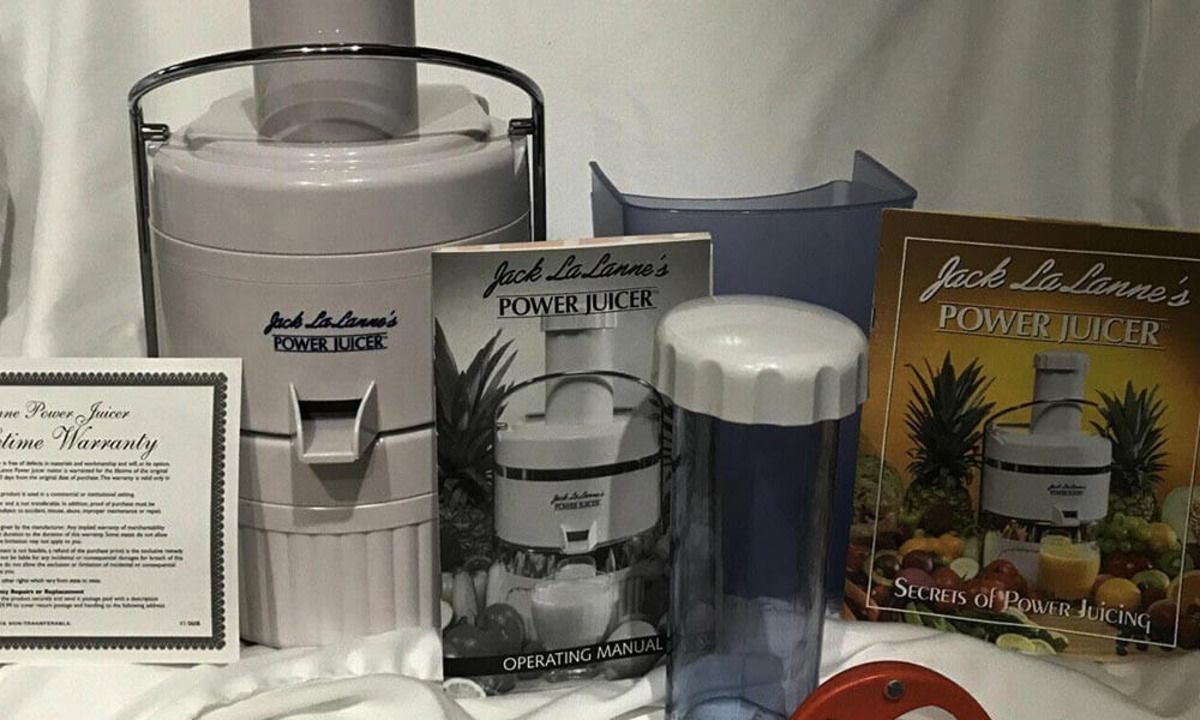
- Refer to the manual: Consult the manufacturer’s manual for your specific juicer model to understand the parts that are removable and how they should be disassembled. Different juicers may have slight variations in their design and assembly.
- Unplug your juicer: Before removing any parts, make sure your juicer is unplugged from the power source.
- Remove the pulp container: Start by removing the pulp container, which is usually located at the back or side of the juicer. Most pulp containers can be lifted or slid out easily.
- Detach the juice container: Locate the juice container, which collects the extracted juice. Slide it out or lift it off the juicer base, depending on the design of your juicer.
- Unlock and remove the cutting blades or filter: Some juicers have interchangeable cutting blades or filters. Check the manual for instructions on how to unlock and remove them. This may involve twisting or releasing a lock mechanism.
- Take apart any additional removable parts: Depending on your juicer model, there may be other detachable parts, such as feeding tubes, strainers, or augers. Follow the manual’s instructions to remove these components properly.
- Inspect for any hidden parts: Sometimes, there may be hidden parts that need to be removed for cleaning, such as small filters or gaskets. Carefully inspect your juicer to ensure you have disassembled all the removable parts.
By following these steps, you can safely remove and disassemble the necessary parts of your juicer. Once disassembled, you can proceed with the cleaning process, which we will discuss in the upcoming sections. Stay tuned!
To clean juicer parts, disassemble the machine and soak the parts in warm soapy water for 10-15 minutes. Use a brush to scrub away any pulp or residue, then rinse and dry thoroughly before reassembling.
Soaking and Cleaning Juicer Parts
Now that you have removed and disassembled the juicer parts, it’s time to soak and clean them to remove any residue and debris. Soaking the parts helps to loosen stubborn stains and make the cleaning process more effective. Follow these steps to soak and clean your juicer parts:
- Prepare a warm soapy water solution: Fill a sink or basin with warm water. Add a few drops of mild dishwashing soap and mix it well to create a soapy solution. Avoid using harsh detergents or cleaners, as they may damage the juicer parts.
- Submerge the juicer parts: Place the disassembled juicer parts into the sink or basin filled with warm soapy water. Ensure that all the parts are fully submerged.
- Let the parts soak: Allow the juicer parts to soak for about 10-15 minutes. This soaking time helps to loosen pulp, residue, and stains, making them easier to clean.
- Scrub the parts: Take a sponge or soft brush and scrub each juicer part gently. Pay attention to areas with visible residue or stains, and scrub them thoroughly to remove any buildup. Use a small soft-bristle brush for hard-to-reach corners and tight spots.
- Rinse the parts: After scrubbing, rinse each juicer part under running water to remove any soapy residue and debris. Alternatively, you can use a water spray bottle to thoroughly rinse the parts.
It’s important to ensure thorough rinsing to remove all traces of soap and debris from the juicer parts. Any remaining residue can affect the taste and quality of your juices and may even pose health risks. Once the parts have been rinsed clean, you can proceed to the next step in the cleaning process.
In the upcoming section, we will discuss the next steps involved in brushing and scrubbing the juicer parts to ensure a thorough cleaning. Stay tuned!
Brushing and Scrubbing Juicer Parts
Now that you have soaked your juicer parts to loosen any residue or stains, it’s time to brush and scrub them to ensure a thorough cleaning. Brushing and scrubbing helps to remove any remaining debris and ensures that your juicer parts are clean and ready for use. Follow these steps for brushing and scrubbing your juicer parts:
- Use a soft brush or sponge: Choose a soft-bristle brush or sponge that is suitable for cleaning delicate surfaces. Avoid using abrasive materials that could scratch or damage the juicer parts.
- Apply gentle pressure: Gently brush and scrub each juicer part using circular motions or back-and-forth motions. Apply enough pressure to remove residue and stains, but be mindful not to exert excessive force that could bend or damage the parts.
- Pay attention to crevices and corners: Focus on cleaning hard-to-reach areas, such as crevices, corners, and edges. These areas are more prone to buildup and require extra attention. Use a small soft-bristle brush to reach into tight spots and ensure thorough cleaning.
- Remove stains or discoloration: If you notice any stubborn stains or discoloration on the juicer parts, you can try using a mixture of baking soda and water or white vinegar to create a paste. Apply the paste to the affected areas and gently scrub with a soft brush. Rinse thoroughly afterward.
- Repeat the process if necessary: For heavily soiled or stained parts, you may need to repeat the brushing and scrubbing process to ensure a complete clean. Be patient and persistent, as thorough cleaning will help maintain the performance and longevity of your juicer.
Remember to be thorough in your brushing and scrubbing to remove any residue, debris, or stains from your juicer parts. Proper cleaning not only ensures optimal hygiene but also contributes to the taste and quality of your juices. Once you have finished brushing and scrubbing, it’s time to move on to rinsing and drying the components, which we will cover in the next section.
Rinsing and Drying Juicer Parts
After brushing and scrubbing your juicer parts, it’s essential to rinse them thoroughly to remove any remaining soap residue and debris. Rinsing ensures that your juicer parts are clean and ready for use. Follow these steps for rinsing and drying your juicer parts:
- Rinse under running water: Take each juicer part and hold it under running water. Make sure the water is at a moderate temperature to effectively remove any soap residue and debris.
- Check for remaining residue: As you rinse each part, inspect them for any remaining residue or debris. If you notice any, continue rinsing and gently scrubbing the affected areas until the water runs clear.
- Use a water spray bottle if necessary: In some cases, using a water spray bottle can be helpful, especially for rinsing hard-to-reach areas or ensuring a more precise and thorough rinsing process.
- Gently shake off excess water: Once rinsed, gently shake off any excess water from the juicer parts. Avoid using excessive force or twisting the parts, as this could result in damage or misalignment.
- Dry the parts: Place each juicer part on a clean dish towel or drying rack to air dry. Alternatively, you can use a soft microfiber cloth or towel to gently pat dry each part, ensuring that they are completely dry before reassembling.
- Avoid using heat for drying: It’s important to avoid using heat sources such as ovens or hair dryers to speed up the drying process. High temperatures can damage the juicer parts and affect their performance.
By rinsing your juicer parts thoroughly and allowing them to dry completely, you ensure that no moisture is left behind, which can lead to the growth of mold or bacteria. Proper drying also prevents any water spots or streaks from forming on the parts.
Now that your juicer parts are clean and dry, it’s time to move on to the final step – reassembling the juicer. We’ll cover this in the next section, so stay tuned!
Read more: How To Clean A Juiceman Juicer
Reassembling Juicer Parts
After cleaning, rinsing, and drying your juicer parts, it’s time to reassemble them to get your juicer ready for use. Reassembling the juicer correctly ensures that all parts are securely in place and allows for optimal juicing performance. Follow these steps to reassemble your juicer parts:
- Refer to the manufacturer’s manual: Consult the manufacturer’s manual or instructions for your specific juicer model to ensure you are correctly reassembling the parts. Different juicers may have unique assembly methods.
- Start with the base: Begin by placing the main base of your juicer in a stable position on your countertop. This serves as the foundation for attaching the other parts.
- Attach the cutting blades or filter: If your juicer has interchangeable cutting blades or filters, follow the manufacturer’s instructions to secure them properly onto the juicer base.
- Insert the juice container: Place the juice container back onto the juicer, ensuring it aligns correctly with the spout to collect the extracted juice.
- Secure the pulp container: Slide or clip the pulp container back into its designated location, typically at the rear or side of the juicer.
- Reattach any additional removable parts: If there were any additional removable parts, such as feeding tubes, strainers, or augers, follow the manufacturer’s instructions to reattach them properly.
- Double-check alignment and stability: Once all the parts are reassembled, take a moment to ensure that each part is aligned correctly and securely attached. This will prevent any issues during juicing and ensure the juicer’s stability.
It’s important to follow the manufacturer’s instructions for reassembling your specific juicer model to ensure proper functioning and avoid any damage. Once you have successfully reassembled your juicer, it’s time to enjoy fresh and nutritious juices!
In the next section, we’ll share some additional cleaning tips and tricks to help you maintain the cleanliness of your juicer and optimize its performance. So, keep reading!
Additional Cleaning Tips and Tricks
Cleaning your juicer parts is essential for maintaining optimal performance and hygiene. To further enhance your cleaning routine and ensure the longevity of your juicer, here are some additional tips and tricks to keep in mind:
- Clean immediately after use: Try to clean your juicer parts as soon as you finish juicing. This prevents residue from drying and becoming harder to remove, making the cleaning process easier and more effective.
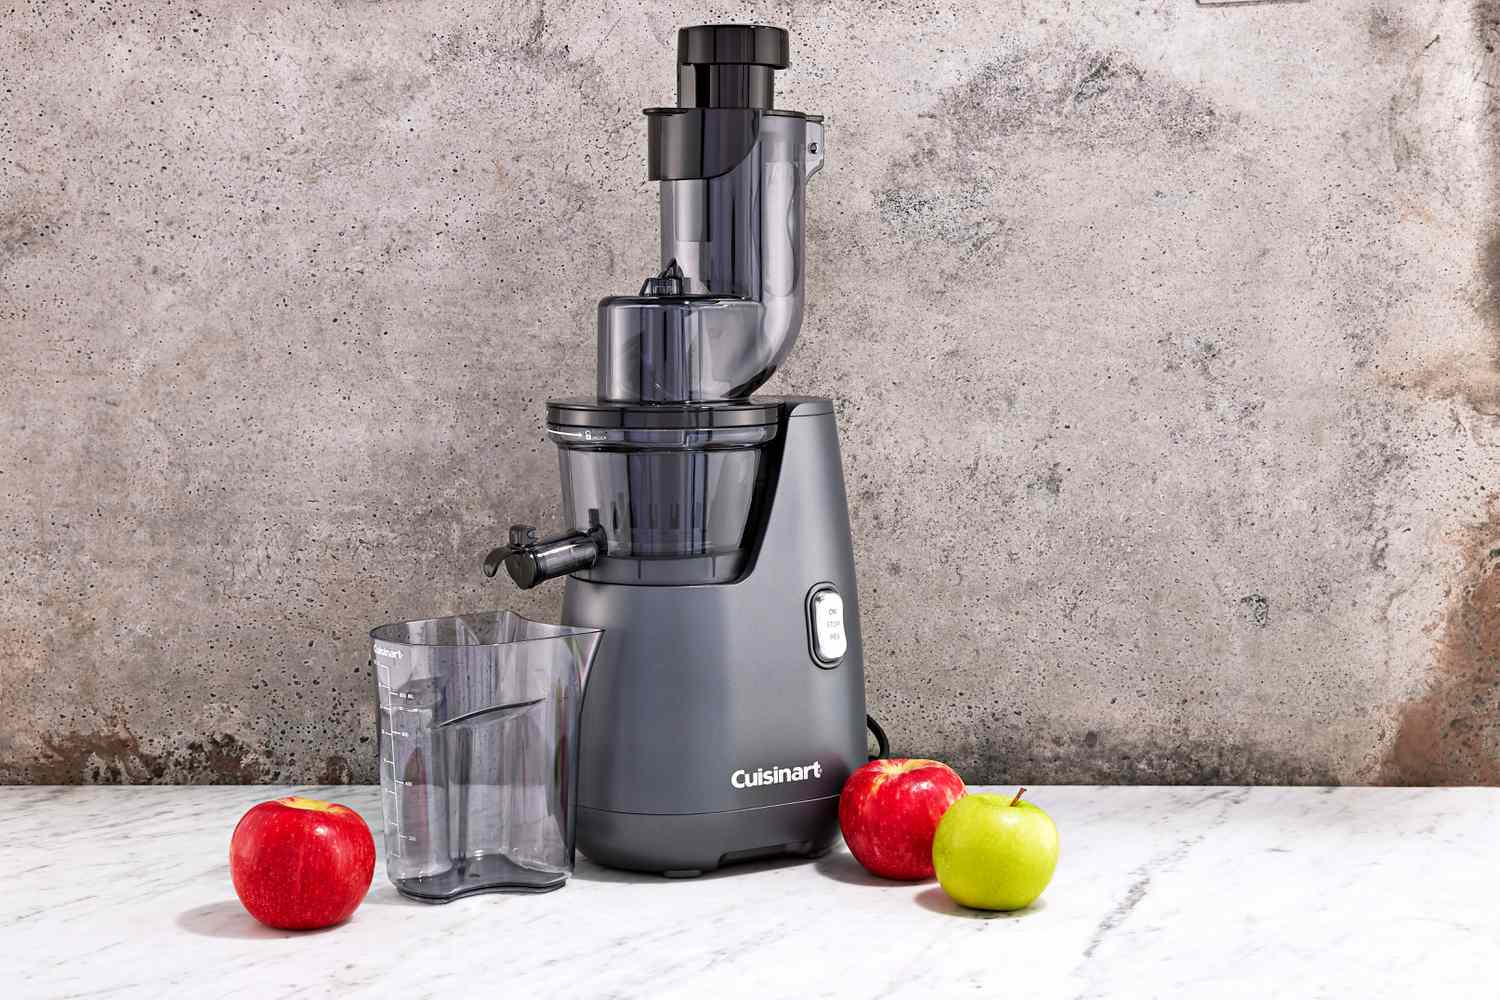
- Regularly clean removable parts: While it’s important to clean your juicer thoroughly after each use, it’s also a good practice to give the removable parts a quick rinse even if you’re not using them daily. This prevents any residual buildup and ensures they are ready for use whenever you need them.
- Use a brush for the mesh filter: If your juicer has a mesh filter, use a small, soft brush to gently remove any remaining pulp or fibers. This helps to keep the mesh filter free from clogs and ensures optimal juice extraction.
- Spot clean spills immediately: If you accidentally spill juice or pulp on the juicer body or countertop, clean it up promptly to prevent staining or hard-to-remove residue. Wipe the area with a damp cloth and dry it thoroughly.
- Deep clean periodically: In addition to regular cleaning, consider performing a more thorough deep clean of your juicer parts every few weeks or as recommended by the manufacturer. This involves disassembling the parts and soaking them in a vinegar or baking soda solution to remove stubborn stains and odors.
- Use natural cleaning agents: If you prefer to use natural cleaning agents, white vinegar and baking soda are excellent options. They are effective in removing stains and odors while being environmentally friendly.
- Store juicer parts properly: After cleaning and drying your juicer parts, store them in a clean and dry place. Keep them away from harsh chemicals, direct sunlight, and excessive heat to prevent damage.
- Regularly replace worn-out parts: Over time, certain juicer parts, such as the cutting blades or filters, may wear out and affect the juicer’s performance. Follow the manufacturer’s recommendations on when to replace these parts to maintain optimum juicing efficiency.
By following these additional tips and implementing them into your juicer cleaning routine, you can ensure that your juicer remains clean, efficient, and provides you with delicious and nutritious juices for a long time.
Now that you’ve learned valuable cleaning tips and tricks, you are well-equipped to maintain the cleanliness and functionality of your juicer. Happy juicing!
Note: Remember to always consult the manufacturer’s instructions specific to your juicer model for the most accurate and detailed cleaning guidelines.
Conclusion
Cleaning your juicer parts is a vital aspect of owning a juicer. It ensures the hygiene, performance, and longevity of your machine, as well as the quality and safety of your freshly pressed juices. By following the step-by-step instructions and implementing the additional cleaning tips and tricks mentioned in this guide, you can maintain a clean and efficient juicer.
Remember to prioritize safety by always unplugging your juicer before cleaning and handling sharp parts with caution. Refer to the manufacturer’s manual for specific cleaning instructions and precautions, as different juicer models may have unique requirements.
During the cleaning process, soak your juicer parts in warm soapy water to loosen debris, scrub them gently using a soft brush or sponge, rinse thoroughly to remove all soap residue, and allow them to air dry completely before reassembling.
Additionally, establish a regular cleaning routine and consider performing periodic deep cleaning to remove stubborn stains and odors. Store your juicer parts properly and replace worn-out components as needed to maintain optimal juicing efficiency.
By implementing these practices and investing a small amount of time and effort into cleaning your juicer parts, you’ll enjoy delicious and nutritious juices while prolonging the lifespan of your juicer.
Now that you are well-equipped with the knowledge and techniques for cleaning your juicer parts, it’s time to put them into action. Cheers to healthier juicing and a cleaner juicer!
Frequently Asked Questions about How To Clean Juicer Parts
Was this page helpful?
At Storables.com, we guarantee accurate and reliable information. Our content, validated by Expert Board Contributors, is crafted following stringent Editorial Policies. We're committed to providing you with well-researched, expert-backed insights for all your informational needs.


0 thoughts on “How To Clean Juicer Parts”