Articles
How To Clean A Juiceman Juicer
Modified: February 21, 2024
Discover the best articles on how to effectively clean your Juiceman Juicer. From simple maintenance tips to deep cleaning techniques, we've got you covered.
(Many of the links in this article redirect to a specific reviewed product. Your purchase of these products through affiliate links helps to generate commission for Storables.com, at no extra cost. Learn more)
Introduction
Welcome to the ultimate guide on how to clean a Juiceman juicer! If you are a health-conscious individual who loves to start your day with a refreshing glass of homemade juice, then you probably own a Juiceman juicer. While juicing is a fantastic way to incorporate vitamins and nutrients into your diet, it is essential to keep your juicer clean for optimal performance and longevity.
Cleaning your Juiceman juicer not only ensures that you are getting the highest quality juice but also helps prevent the buildup of residue and bacteria that can affect the taste and purity of your juice. In this article, we will walk you through the step-by-step process of cleaning your juicer to maintain its functionality and hygiene.
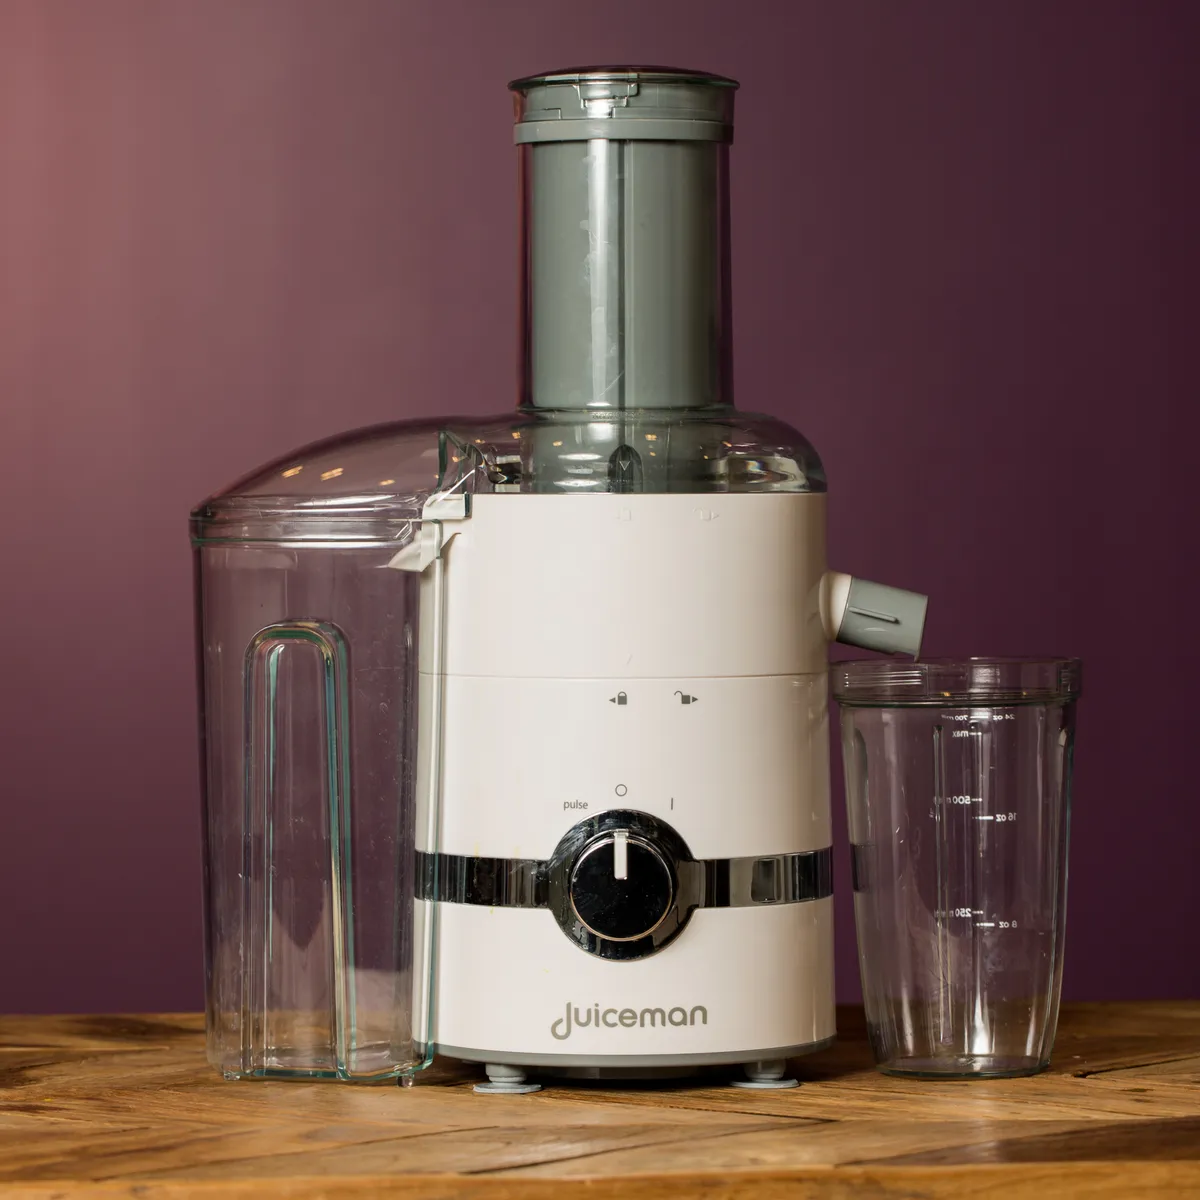
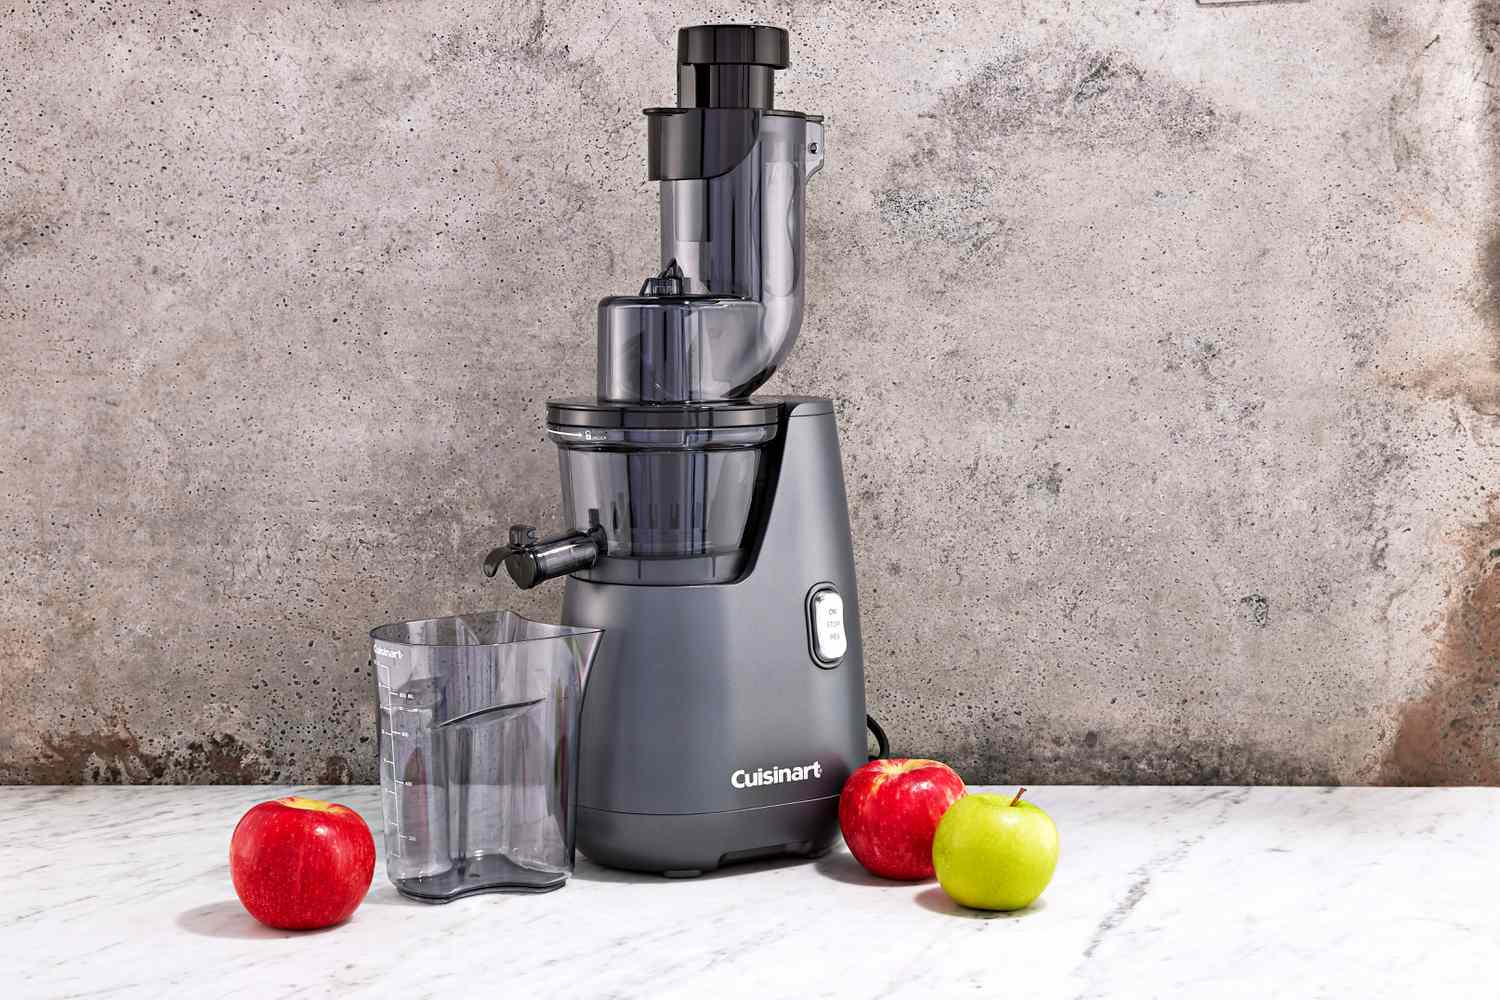
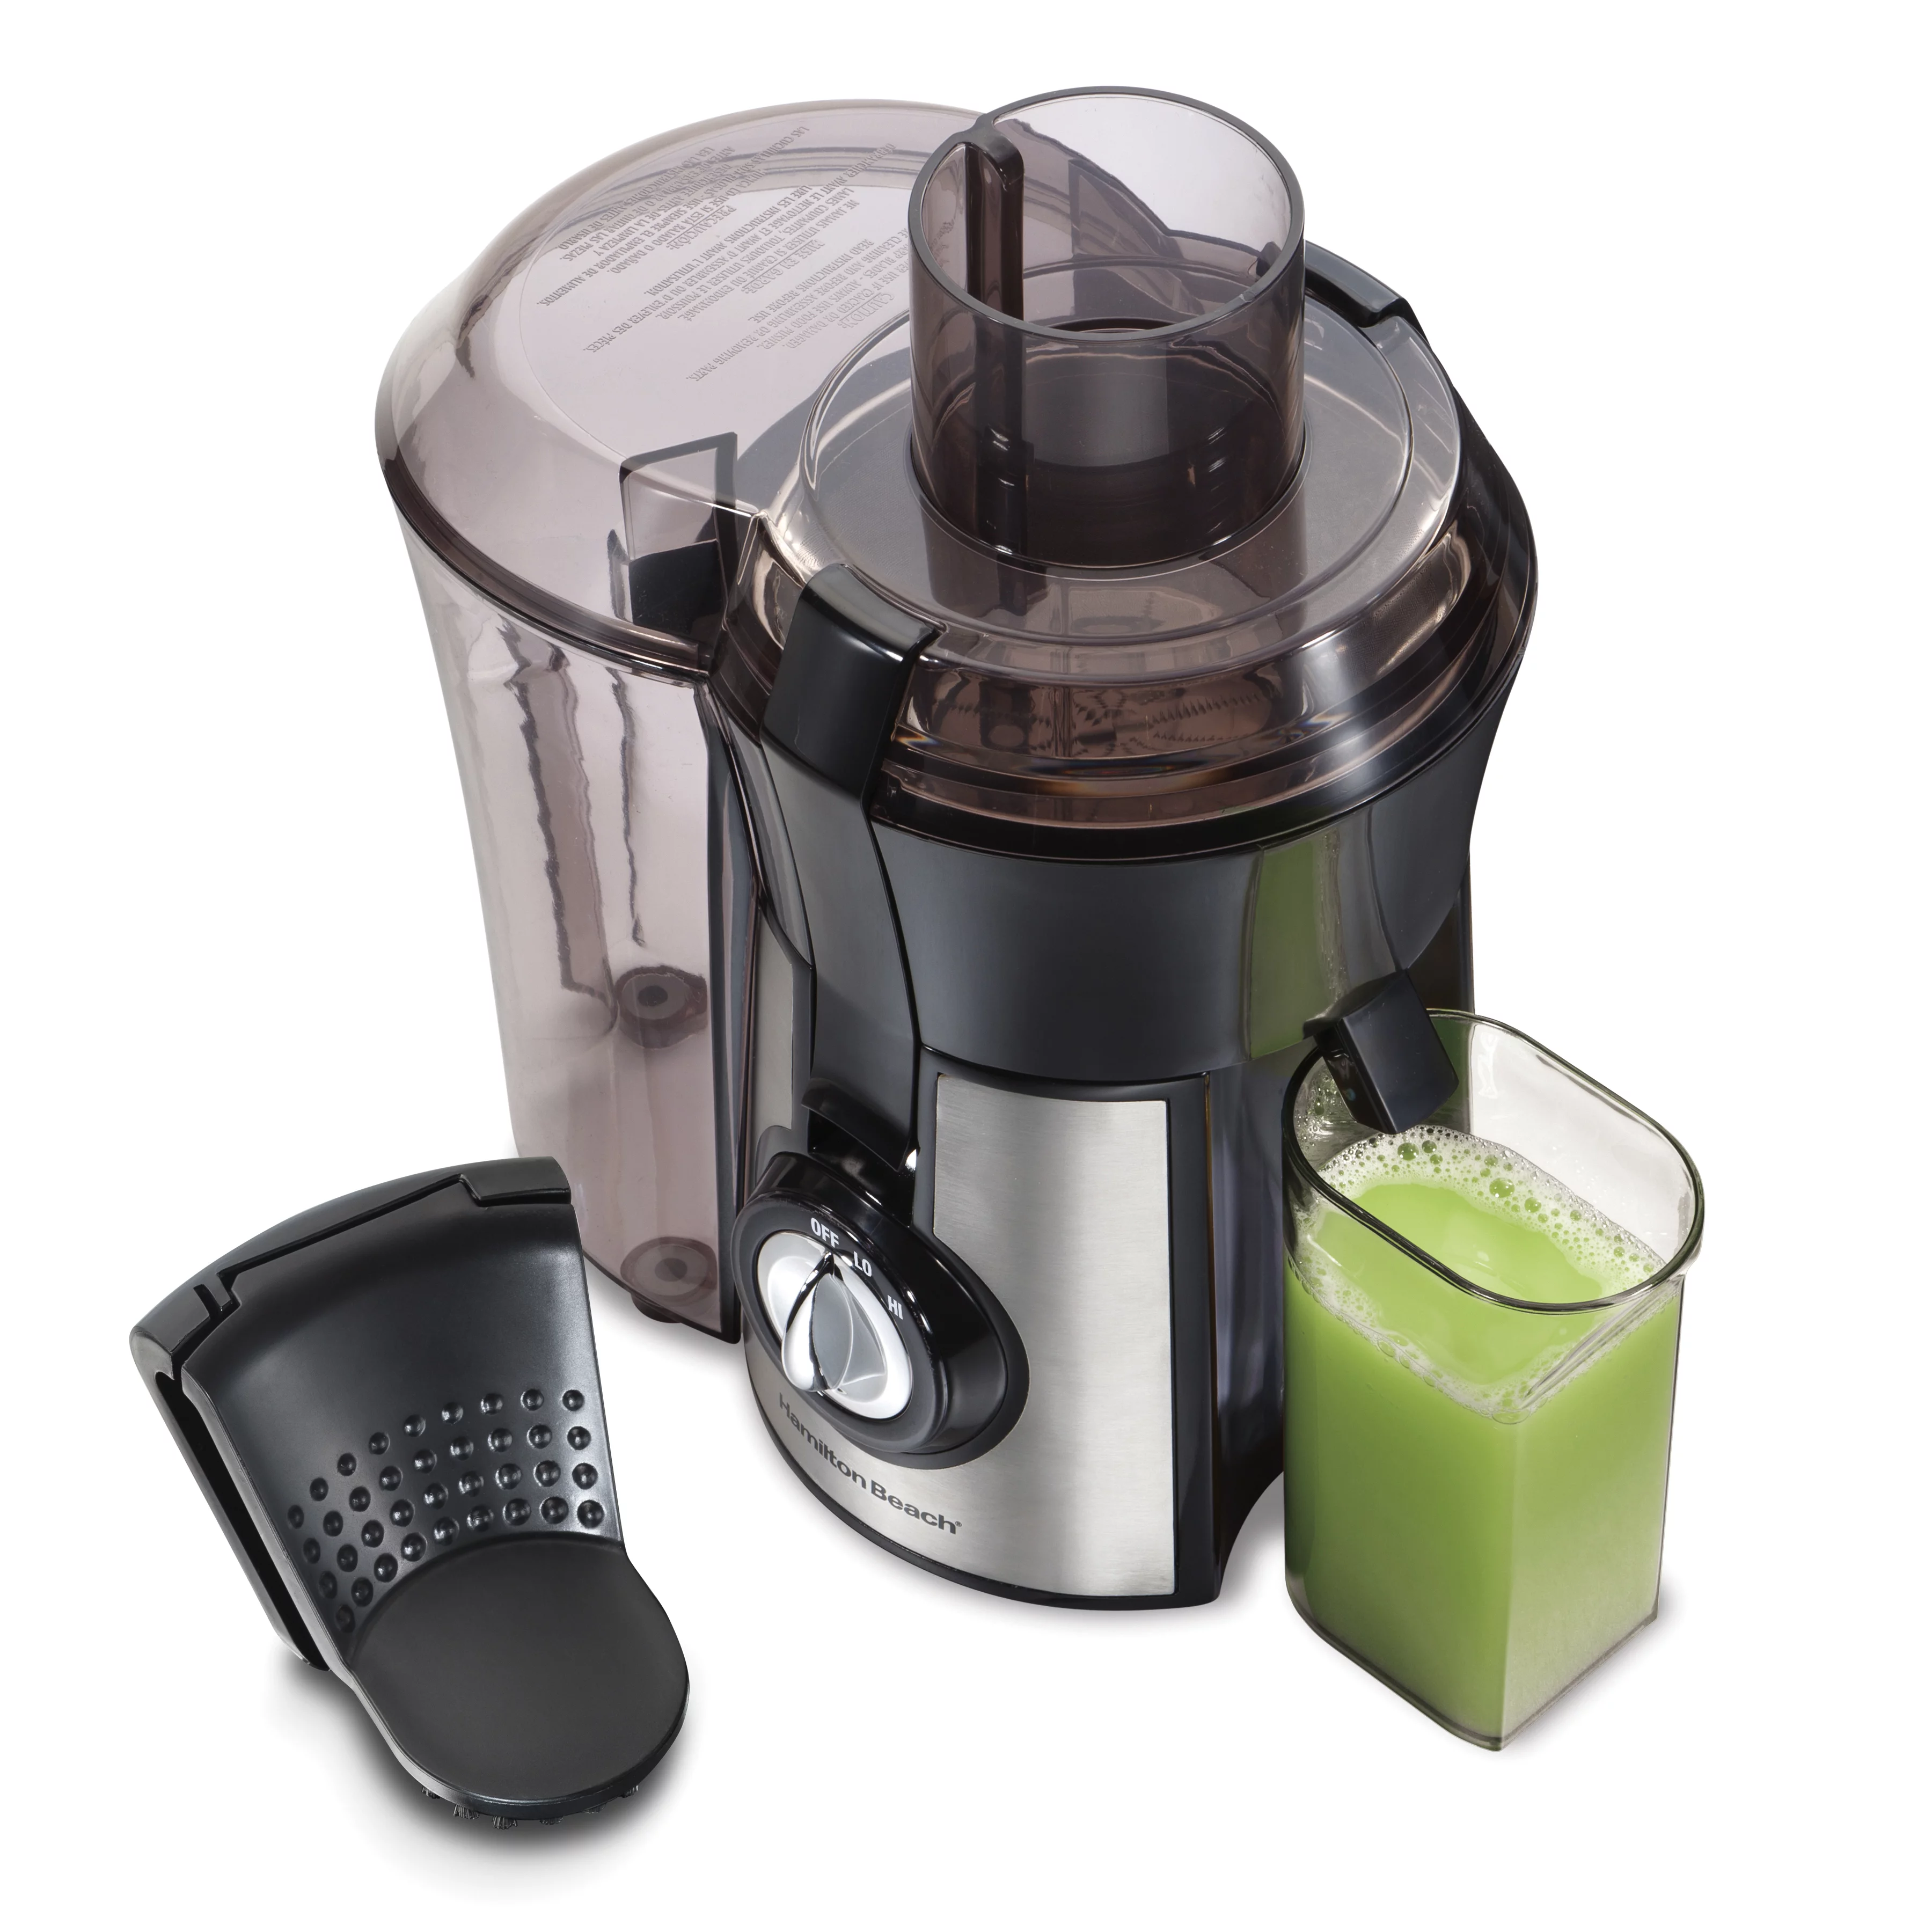
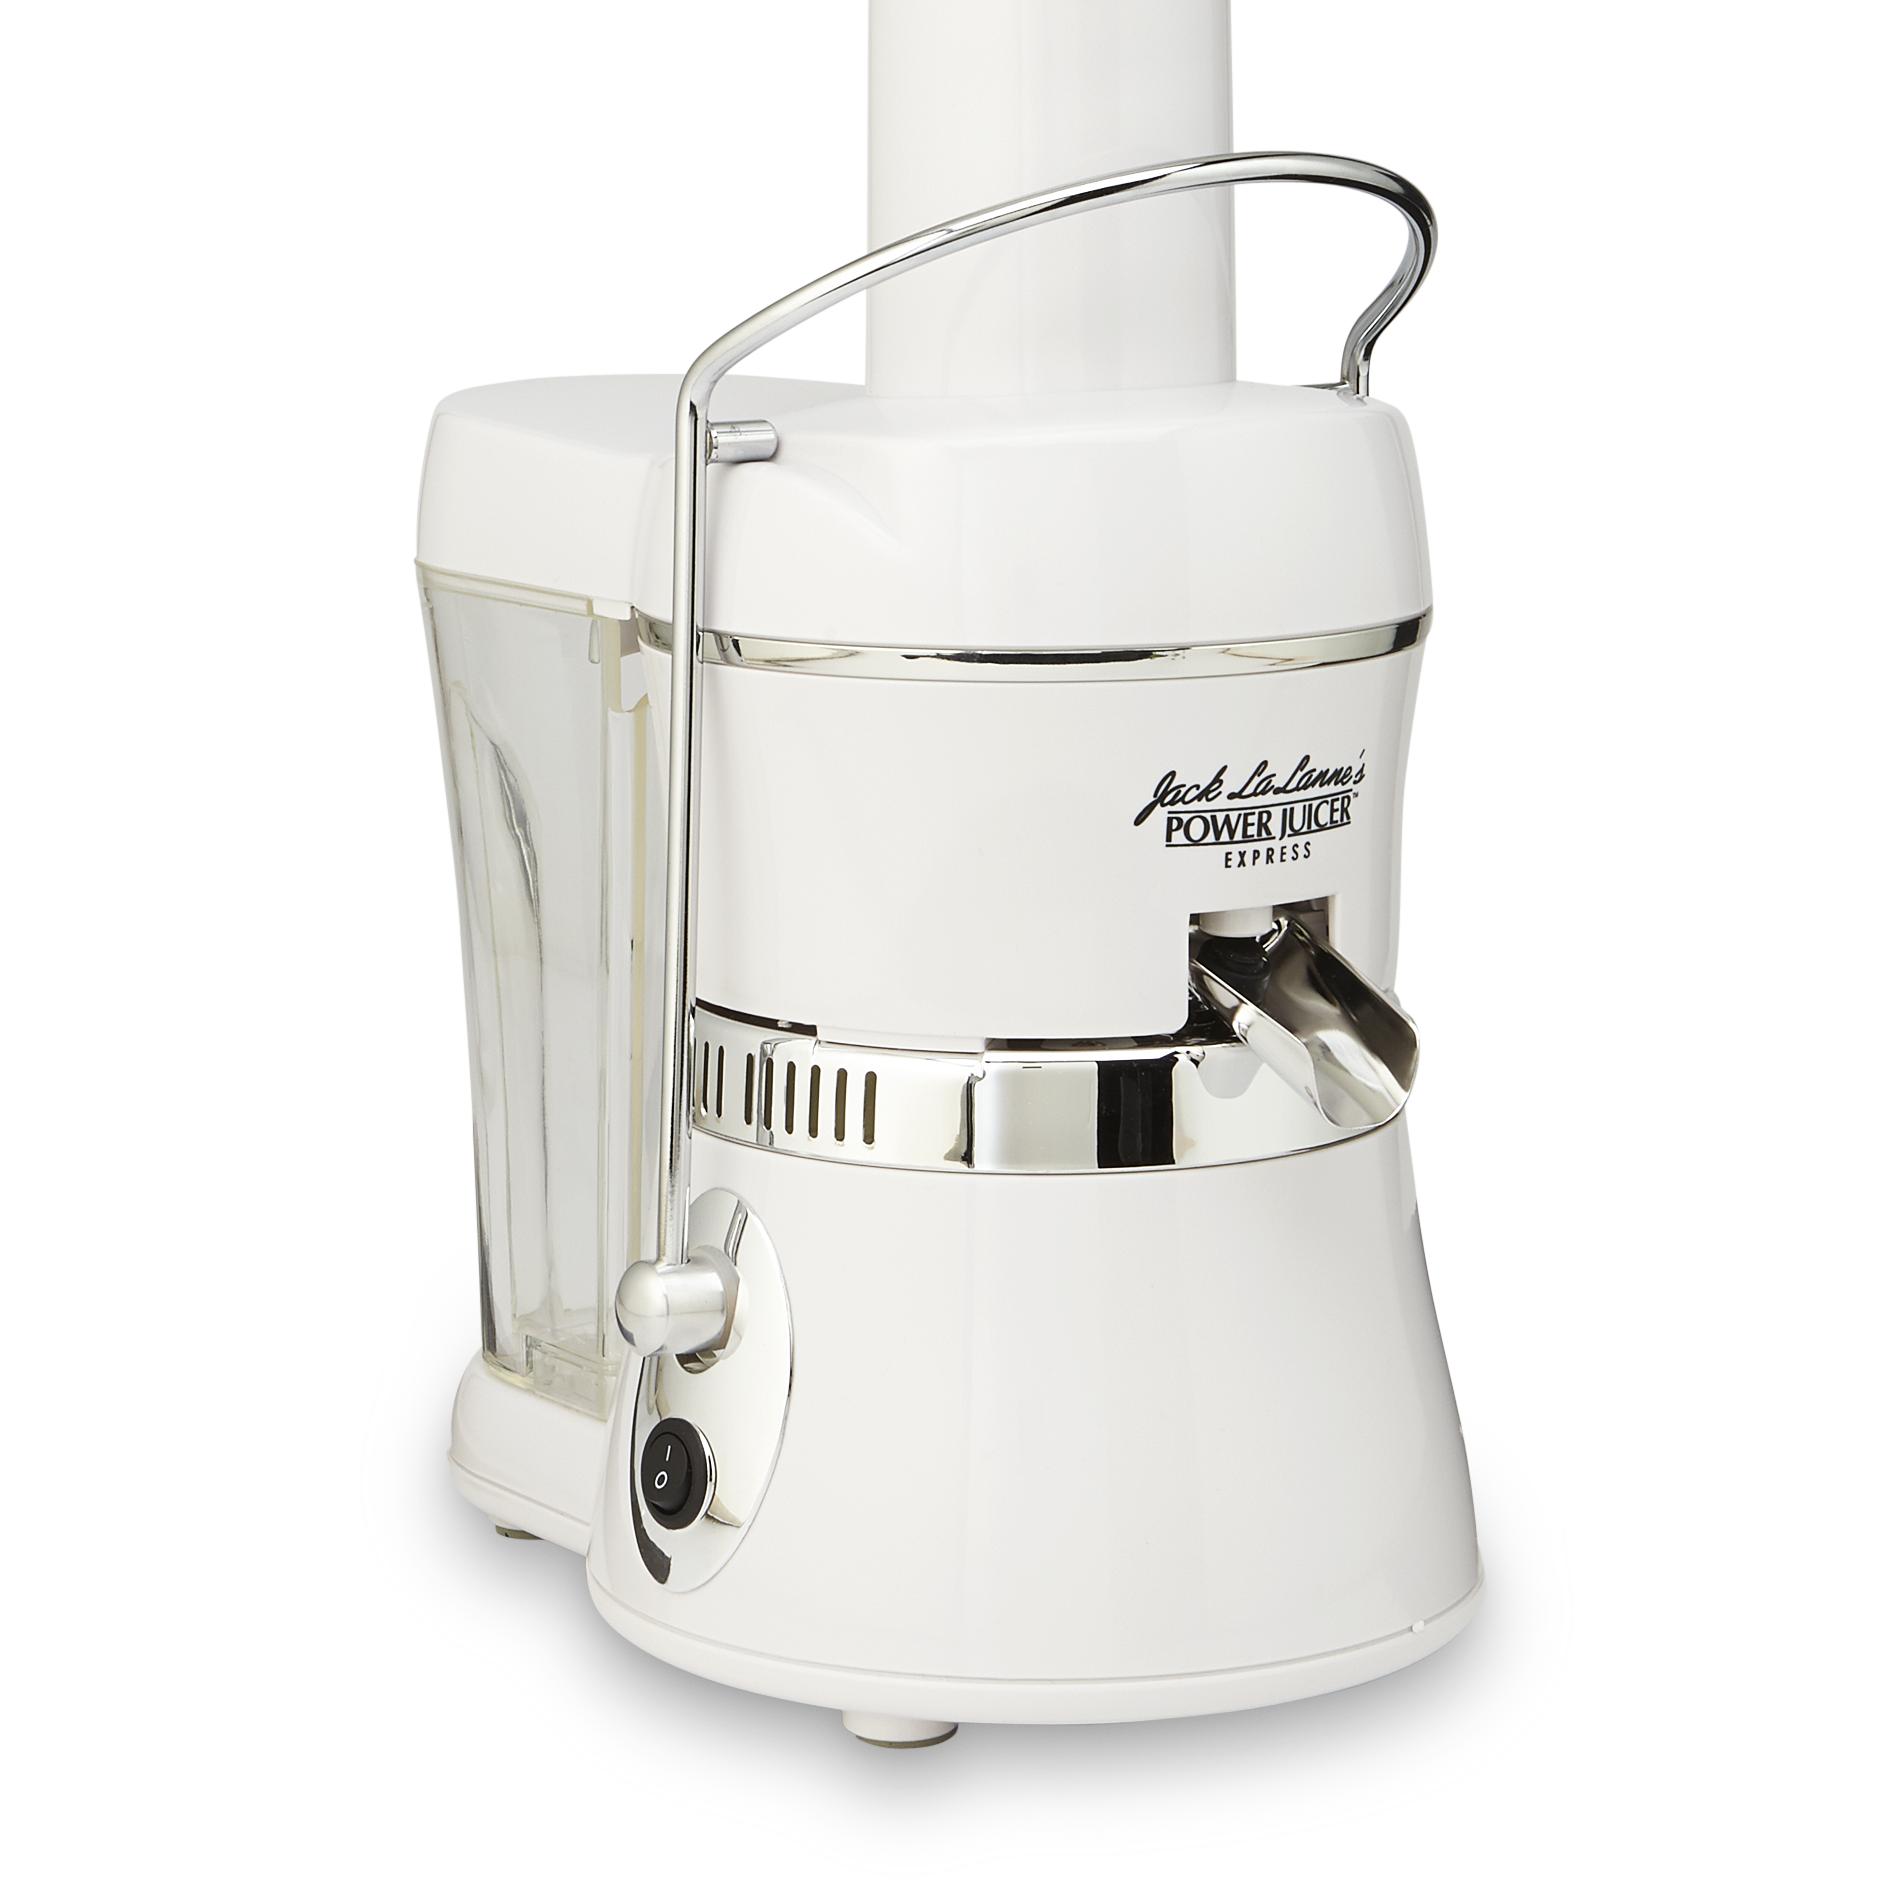
Before we dive into the cleaning tips, it’s important to understand the basic structure and components of the Juiceman juicer. This will help you disassemble and clean it effectively. The Juiceman juicer typically consists of a motorized base, a juicing screen, a pulp collector, a juice container, and various other parts that facilitate the juicing process.
Now that we have a basic understanding of the Juiceman juicer, let’s move on to some general cleaning tips that apply to all its components. These tips will help you maintain the cleanliness and longevity of your juicer:
- Always unplug the juicer before cleaning to ensure safety.
- Allow all the juicer parts to cool down before handling them.
- Use mild dish soap and warm water for cleaning, as harsh chemicals can damage the juicer’s components.
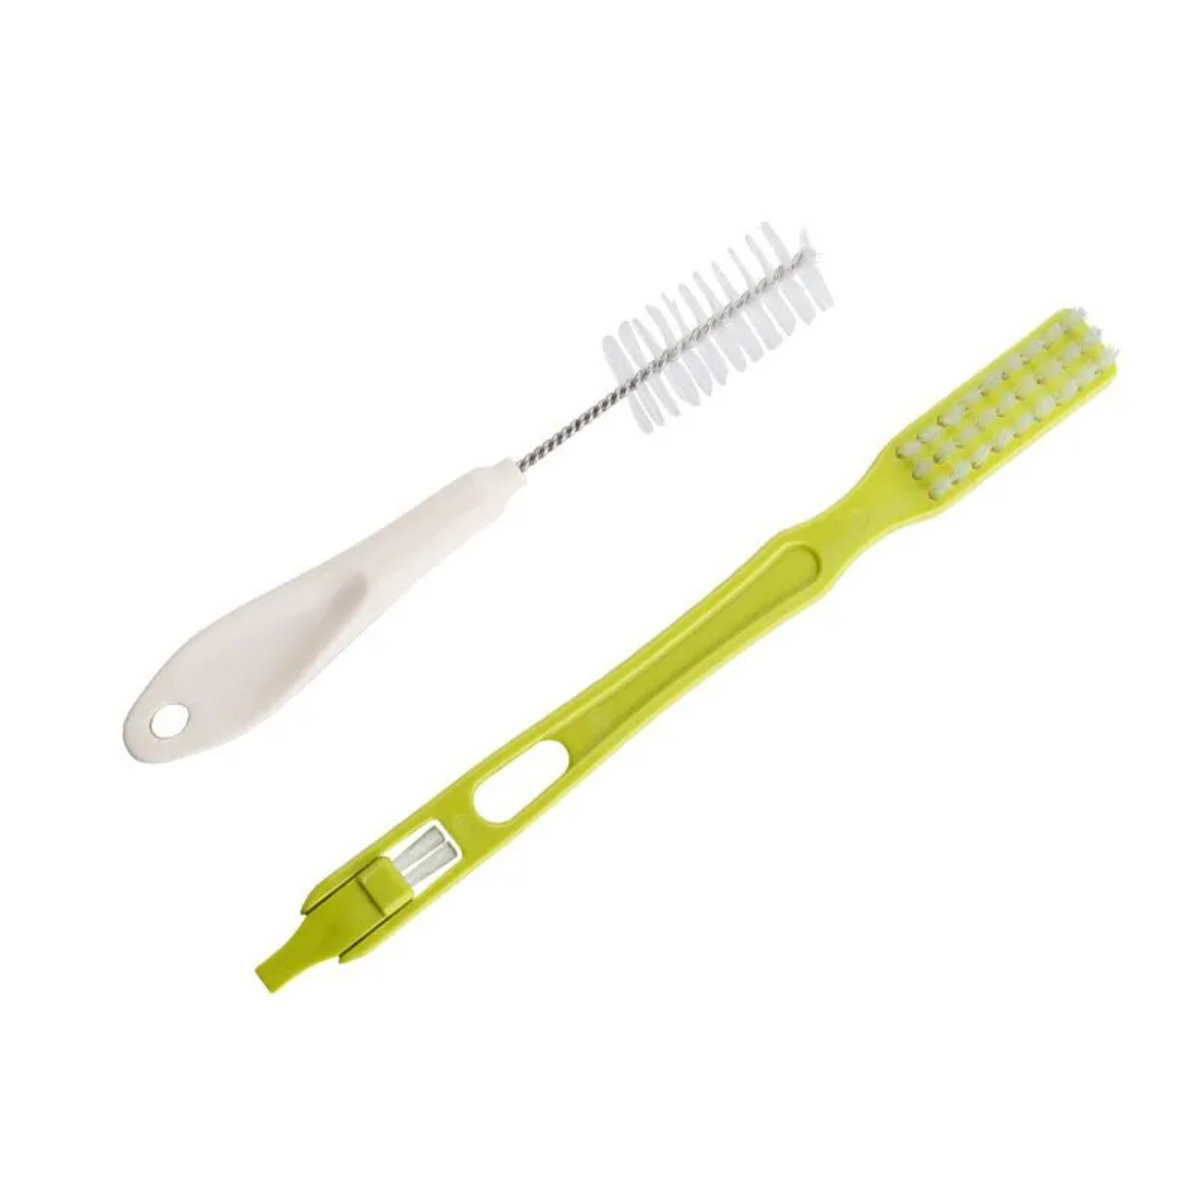
- Scrub the parts gently with a soft brush or sponge to remove any residue.
- Rinse all the parts thoroughly to remove any soap residue.
- Dry each part completely before reassembling the juicer.
Now that you are familiar with these general cleaning tips, let’s explore the step-by-step process of disassembling and cleaning the different parts of the Juiceman juicer in detail.
Key Takeaways:
- Regularly cleaning and maintaining your Juiceman juicer is essential for optimal performance and hygiene, ensuring delicious and nutritious homemade juices for years to come.
- Following the step-by-step cleaning process and implementing regular maintenance tips will help prolong the life of your Juiceman juicer, allowing you to enjoy fresh, high-quality juices whenever you desire.
Read also: 12 Best Juiceman Juicer for 2024
Understanding the Juiceman Juicer
Before we jump into the cleaning process, it’s essential to have a clear understanding of the various components of the Juiceman juicer. This knowledge will help you disassemble and clean the juicer effectively.
The Juiceman juicer typically consists of the following main parts:
- Motorized base: This is the main power unit of the juicer that houses the motor.
- Juicing screen: Located on top of the motorized base, this screen separates the juice from the pulp as the ingredients are juiced.
- Pulp collector: Positioned below the juicing screen, the pulp collector collects the discarded pulp from the juicing process.
- Juice container: This container is designed to collect and store the freshly extracted juice.
- Feeding chute and pusher: The feeding chute is where you insert the fruits and vegetables for juicing, and the pusher helps to guide the ingredients down into the juicer.
- Other parts: Depending on the specific model of your Juiceman juicer, there may be additional parts such as a juice spout, filter basket, or cleaning brush.
Now that you are familiar with the various parts of the Juiceman juicer, it’s time to delve into the cleaning process. Proper and regular cleaning is essential to maintain the performance and hygiene of your juicer.
Remember, every time you use your Juiceman juicer, it accumulates pulp, juice, and residue. If not cleaned thoroughly, these elements can lead to clogging, decreased juicing efficiency, and even bacteria growth. By understanding and following the correct cleaning procedure, you can ensure that your juicer stays in top-notch condition for years to come.
General Cleaning Tips
Before we dive into the step-by-step process of cleaning your Juiceman juicer, let’s start with some general cleaning tips that apply to all the components. By following these tips, you can ensure that your juicer remains clean and functions optimally:
- Unplug the juicer: Always disconnect your juicer from the power source before starting the cleaning process. This ensures your safety and prevents any accidental damage or injury.
- Cool down the parts: Allow all the parts of your Juiceman juicer to cool down before handling them. This will prevent any burns or discomfort during the cleaning process.
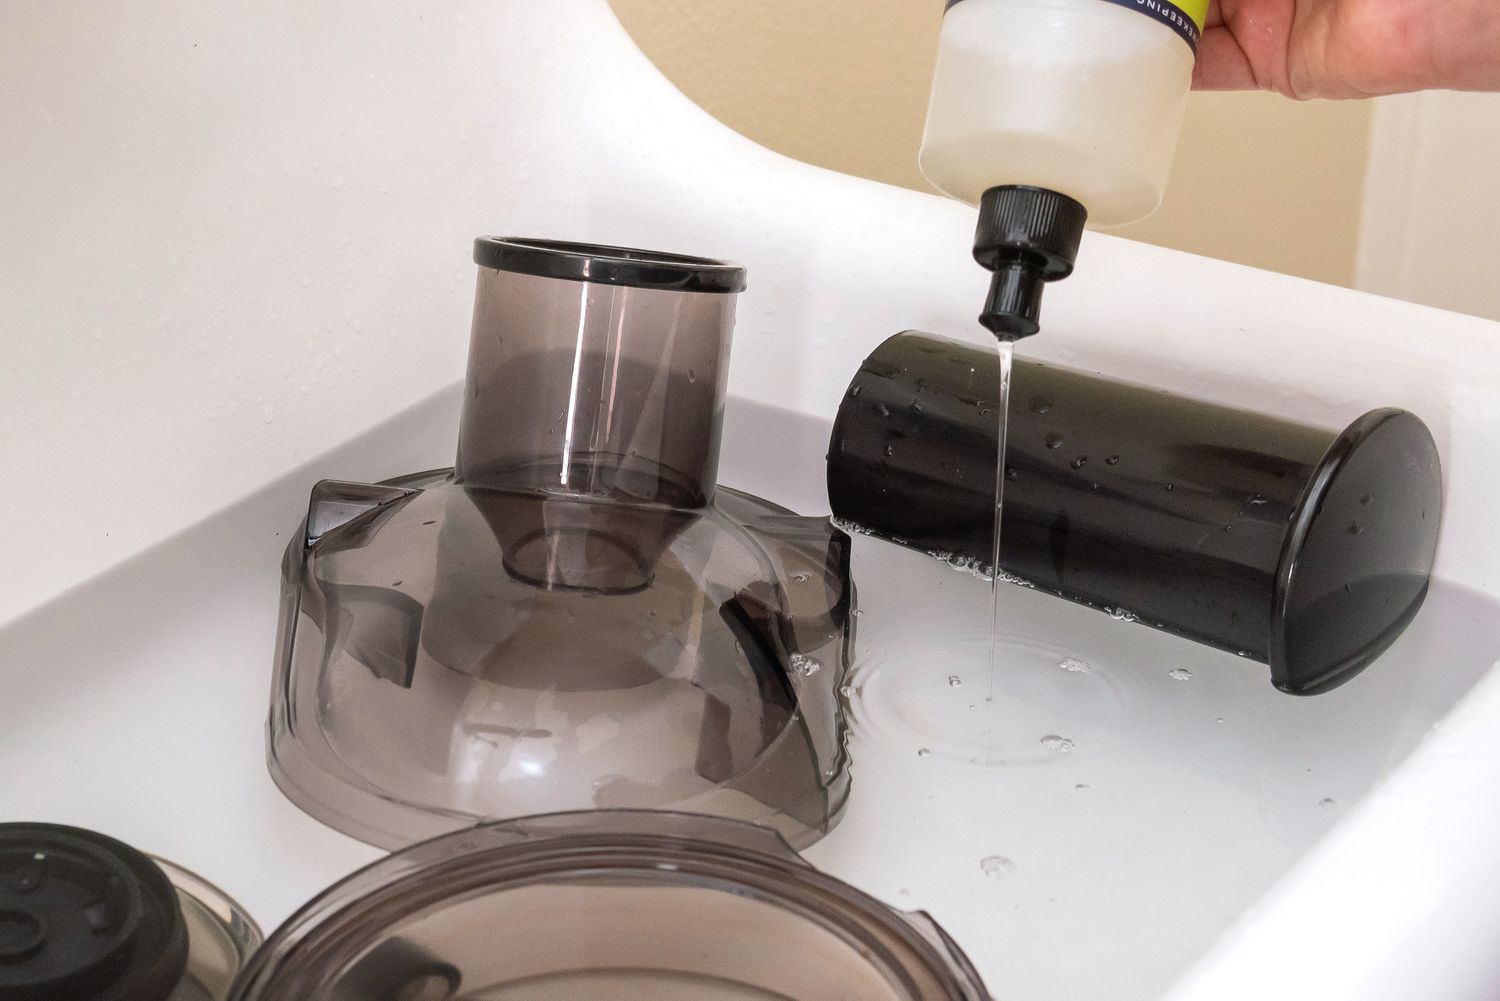
- Use mild dish soap and warm water: Fill a sink or basin with warm water and add a small amount of mild dish soap. Avoid using harsh chemicals or abrasive cleaners, as they can damage the juicer’s components.
- Gently scrub the parts: Use a soft brush or sponge to gently scrub the various parts of the juicer. Make sure to reach all the nooks and crannies to remove any residue or food particles.
- Rinse thoroughly: After scrubbing, rinse each part of the juicer under running water to remove any soap residue. Ensure that the water reaches all the crevices to ensure a thorough clean.
- Dry completely: Once all the parts have been rinsed, dry them completely with a clean towel or allow them to air dry. It is crucial to ensure that there is no moisture left, as it can promote the growth of bacteria.
By following these general cleaning tips, you can maintain the cleanliness and hygiene of your Juiceman juicer, ensuring that it continues to produce delicious and nutritious juices for years to come.
Now that you’re familiar with these tips, let’s move on to the specific process of disassembling and cleaning your Juiceman juicer.
Disassembling the Juicer
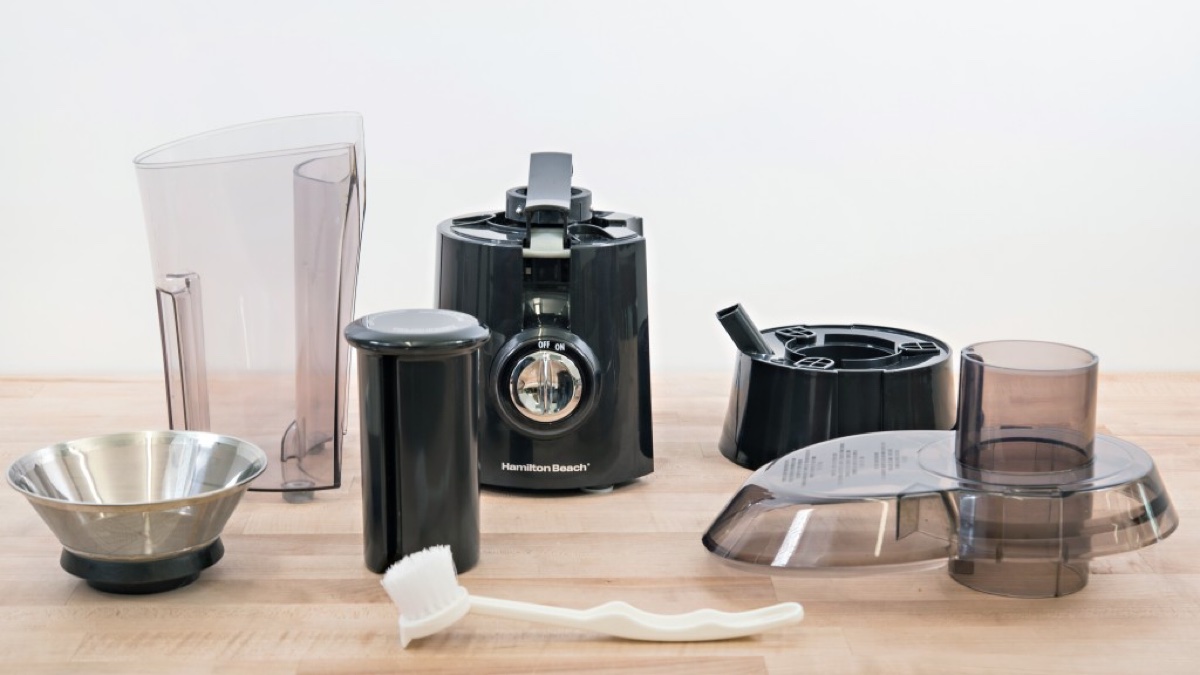
Before you can start cleaning your Juiceman juicer, you will need to disassemble it. Follow these steps to disassemble the juicer properly:
- Unplug the juicer: Ensure that the juicer is disconnected from the power source to prevent any accidents while disassembling.
- Remove the juice container: Lift the juice container or jug from the base of the juicer and set it aside.
- Take off the pulp collector: Remove the pulp collector, which is usually located below the juicing screen. Empty out any collected pulp and place it aside.
- Remove the juicing screen: Depending on the model of your Juiceman juicer, the juicing screen may be detachable. Look for any release buttons or levers and carefully take off the screen without applying excessive force.
- Detach the feeding chute: If your juicer has a detachable feeding chute, unlock it and remove it from the juicer’s main body.
- Take out any additional parts: If your Juiceman juicer has any other removable parts, such as a juice spout or filter basket, remove them following the manufacturer’s instructions.
Remember to handle each part with care and avoid using excessive force to prevent any damage or breakage. By disassembling the juicer correctly, you will have access to all the individual parts, making the cleaning process more efficient and thorough.
Now that the juicer is disassembled, let’s move on to the next step: cleaning the juicer parts.
Cleaning the Juicer Parts
Now that you have disassembled your Juiceman juicer, it’s time to clean each individual part to ensure its cleanliness and optimal performance. Follow these steps to clean the different juicer parts:
- Juicing Screen: Start by rinsing the juicing screen under running water to remove any large debris or pulp. Next, use a soft brush or sponge to gently scrub the screen, paying attention to the tiny holes. Make sure to remove any residue or buildup. Rinse the juicing screen thoroughly and set it aside to dry.
- Pulp Collector: Empty out any pulp from the collector and rinse it under running water. Use a soft brush or sponge to clean the inside and outside of the collector, removing any leftover pulp or residue. Rinse it well and dry it before reassembling.
- Juice Container: Wash the juice container with warm water and dish soap. Use a sponge to scrub the container to remove any juice residue or stains. Rinse it thoroughly and dry it completely before reassembling.
- Feeding Chute and Pusher: Wash the feeding chute and pusher with warm, soapy water. Use a brush or sponge to remove any remnants of fruits or vegetables. Rinse them thoroughly and dry them completely.
- Additional Parts (if applicable): If there are any other removable parts, such as a juice spout or filter basket, clean them using the same method as mentioned above. Pay attention to any crevices and rinse them thoroughly.
Make sure to clean each part gently and thoroughly, ensuring that all the residue, pulp, and debris are removed. By maintaining clean juicer parts, you can prevent any compromise in the taste and quality of your juice.
Once all the parts are clean and dry, you are ready to move on to the next step: cleaning the juicing screen.
To clean a Juiceman juicer, disassemble the parts and rinse them with warm, soapy water. Use a brush to remove any pulp or residue, then dry thoroughly before reassembling. Avoid using abrasive cleaners to prevent damage to the juicer.
Read also: 9 Amazing Juiceman Jm8000S Juicer for 2024
Cleaning the Juicing Screen
The juicing screen is a crucial component of your Juiceman juicer that separates the juice from the pulp during the juicing process. To maintain its efficiency and cleanliness, regular cleaning of the juicing screen is necessary. Follow these steps to clean the juicing screen effectively:
- Rinse the juicing screen: Start by rinsing the juicing screen under running water to remove any large pieces of fruit or vegetable pulp.
- Soak in warm soapy water: Fill a bowl or basin with warm water and add a few drops of mild dish soap. Place the juicing screen in the soapy water and let it soak for about 10-15 minutes. This will help loosen any trapped particles and make the cleaning process easier.
- Scrub the screen: After soaking, take a soft brush or sponge and gently scrub the juicing screen. Pay close attention to the small holes and make sure to remove any remaining pulp or residue. Take care not to apply excessive force, as the screen can be delicate.
- Rinse thoroughly: Once you have scrubbed the juicing screen, rinse it under running water to wash away all the soapy residue and loosened particles. Ensure that you thoroughly rinse both sides of the screen to remove any remaining soap or debris.
- Dry completely: After rinsing, carefully pat dry the juicing screen with a clean towel or cloth. Make sure it is completely dry before reassembling it with the rest of the juicer.
It’s important to clean the juicing screen after each use to prevent clogging and ensure the quality of your juice. By following these steps, you can maintain a clean and functional juicing screen for optimal juicing performance.
Now that the juicing screen is clean and dry, let’s move on to the next step: cleaning the pulp collector.
Cleaning the Pulp Collector
The pulp collector of your Juiceman juicer is responsible for collecting the discarded pulp during the juicing process. To maintain its cleanliness and prevent any buildup, regular cleaning of the pulp collector is necessary. Follow these steps to clean the pulp collector effectively:
- Empty out the pulp: Start by emptying out any pulp or debris from the pulp collector. Discard the collected pulp into a compost bin or trash can.
- Rinse the pulp collector: Rinse the pulp collector under running water to remove any remaining pulp or residue. Use your fingers or a brush to loosen any stuck particles, making sure to reach all the corners and crevices.
- Use warm soapy water: Fill a sink or basin with warm water and add a small amount of mild dish soap. Submerge the pulp collector in the soapy water and let it soak for a few minutes. This will help break down any stubborn residue and make cleaning easier.
- Gently scrub the collector: Take a soft brush or sponge and gently scrub the interior and exterior of the pulp collector. Pay attention to the edges and bottom to ensure all residue is removed. Avoid using abrasive materials that may scratch or damage the collector.
- Rinse thoroughly: Once you have scrubbed the pulp collector, rinse it thoroughly under running water to remove any soapy residue. Ensure that you rinse all areas of the collector to achieve a complete clean.
- Dry completely: After rinsing, pat dry the pulp collector with a clean towel or cloth. Ensure that it is completely dry before reassembling it with the rest of the juicer.
Regular cleaning of the pulp collector helps maintain the cleanliness and functionality of your Juiceman juicer. By following these steps, you can ensure that your pulp collector is free from residue, promoting quality juice extraction.
Now that the pulp collector is clean and dry, let’s move on to the next step: cleaning the juice container.
Cleaning the Juice Container
The juice container of your Juiceman juicer is where the freshly extracted juice collects. To ensure the purity and cleanliness of your juice, regular cleaning of the juice container is necessary. Follow these steps to clean the juice container effectively:
- Empty the juice container: Start by emptying any remaining juice from the container. Pour it into a glass or storage container for later consumption.
- Wash with warm soapy water: Fill a sink or basin with warm water and add a small amount of mild dish soap. Place the juice container in the soapy water and use a sponge or soft brush to wash the interior and exterior of the container.
- Scrub away residue: Pay close attention to any residue or stains on the container. Gently scrub these areas with the sponge or brush to remove any buildup or discoloration.
- Rinse thoroughly: After washing, rinse the juice container thoroughly with clean water to remove any soap residue. Ensure that you rinse all areas, including the rim and bottom of the container.
- Dry completely: Once rinsed, pat dry the juice container with a clean towel or cloth. Make sure it is completely dry before using it or storing it. Moisture can promote the growth of bacteria, affecting the quality of your next batch of juice.
Regular cleaning of the juice container not only maintains its cleanliness but also enhances the taste and freshness of your juice. By following these steps, you can ensure that your juice container is free from residue or odors, allowing you to enjoy pure and delicious juices.
Now that the juice container is clean and dry, let’s move on to the next step: reassembling the juicer.
Reassembling the Juicer
Now that you have cleaned all the individual parts of your Juiceman juicer, it’s time to reassemble it. Follow these steps to properly put your juicer back together:
- Start with the motorized base: Place the motorized base of the juicer on a flat, stable surface. Ensure that all the parts and components are nearby and easily accessible.
- Attach the juicing screen: Take the cleaned juicing screen and carefully align it with the designated area on top of the motorized base. Gently press it down and make sure it sits securely in place.
- Insert the pulp collector: Position the pulp collector in its designated spot below the juicing screen. Make sure it slots in properly and securely connects to the base.
- Place the juice container: Take the cleaned juice container and position it under the pulp collector. Align it with the spout or outlet through which the juice will be dispensed.
- Secure any additional parts: If your Juiceman juicer has any extra attachments or parts, such as a juice spout or filter basket, attach them according to the manufacturer’s instructions.
- Lock the feeding chute: If the feeding chute is detachable, ensure that it is securely locked into place on top of the juicer.
Once all the parts are properly reassembled, give them a gentle shake or press to confirm that they are securely in place. It’s important to ensure that every component is correctly assembled to prevent any mishaps or issues during juicing.
With your Juiceman juicer now reassembled, it is ready for use. Remember to double-check that all the parts are clean, dry, and properly aligned before plugging in the juicer and juicing your favorite fruits and vegetables.
Now that your juicer is ready to go, let’s explore some final tips on maintenance and care to keep it in excellent condition.
Read more: How To Clean A Juicer
Final Tips and Maintenance
Now that you have cleaned and reassembled your Juiceman juicer, it’s important to follow some final tips and practices to maintain its performance and longevity. Here are some essential tips for proper juicer maintenance:
- Clean after each use: Get into the habit of cleaning your juicer immediately after every use. This prevents residue from drying and hardening, making it easier to clean and prevents bacterial growth.
- Deep clean regularly: While regular rinsing is sufficient for day-to-day maintenance, it’s a good idea to perform a deep clean of your juicer every few weeks. This involves disassembling all the parts and using a cleaning solution or vinegar to remove any stubborn residue.
- Inspect and replace parts when necessary: Regularly inspect the parts of your Juiceman juicer for signs of wear or damage. If you notice any cracks, breaks, or deterioration, replace the affected parts to avoid any safety hazards or compromised performance.
- Store in a clean and dry place: When your juicer is not in use, store it in a clean and dry area to prevent dust or moisture accumulation. Cover it with a clean cloth or use the original packaging to protect it from any potential damage.
- Follow manufacturer’s instructions: Always refer to the manufacturer’s instructions and guidelines for specific cleaning and maintenance recommendations for your Juiceman juicer model. This ensures that you are following the correct procedures and taking care of your juicer appropriately.
By following these tips, you can prolong the life of your Juiceman juicer and enjoy delicious, healthy juices for years to come. Regular cleaning and maintenance not only keep your juicer in optimal condition but also contribute to the quality and taste of the juice you make.
Remember, a well-maintained juicer is essential for extracting nutrients and flavors from your fruits and vegetables efficiently. So, take the time to clean your Juiceman juicer properly and enjoy the benefits of fresh, homemade juice whenever you desire.
With these final tips in mind, you are now equipped with the knowledge and understanding to clean and maintain your Juiceman juicer effectively. Happy juicing!
Frequently Asked Questions about How To Clean A Juiceman Juicer
Was this page helpful?
At Storables.com, we guarantee accurate and reliable information. Our content, validated by Expert Board Contributors, is crafted following stringent Editorial Policies. We're committed to providing you with well-researched, expert-backed insights for all your informational needs.


0 thoughts on “How To Clean A Juiceman Juicer”