Articles
How To Clean A Juicer
Modified: August 30, 2024
Learn effective techniques and tips on how to properly clean a juicer in this informative article. Keep your juicer in top shape with our expert advice and recommendations.
(Many of the links in this article redirect to a specific reviewed product. Your purchase of these products through affiliate links helps to generate commission for Storables.com, at no extra cost. Learn more)
Introduction
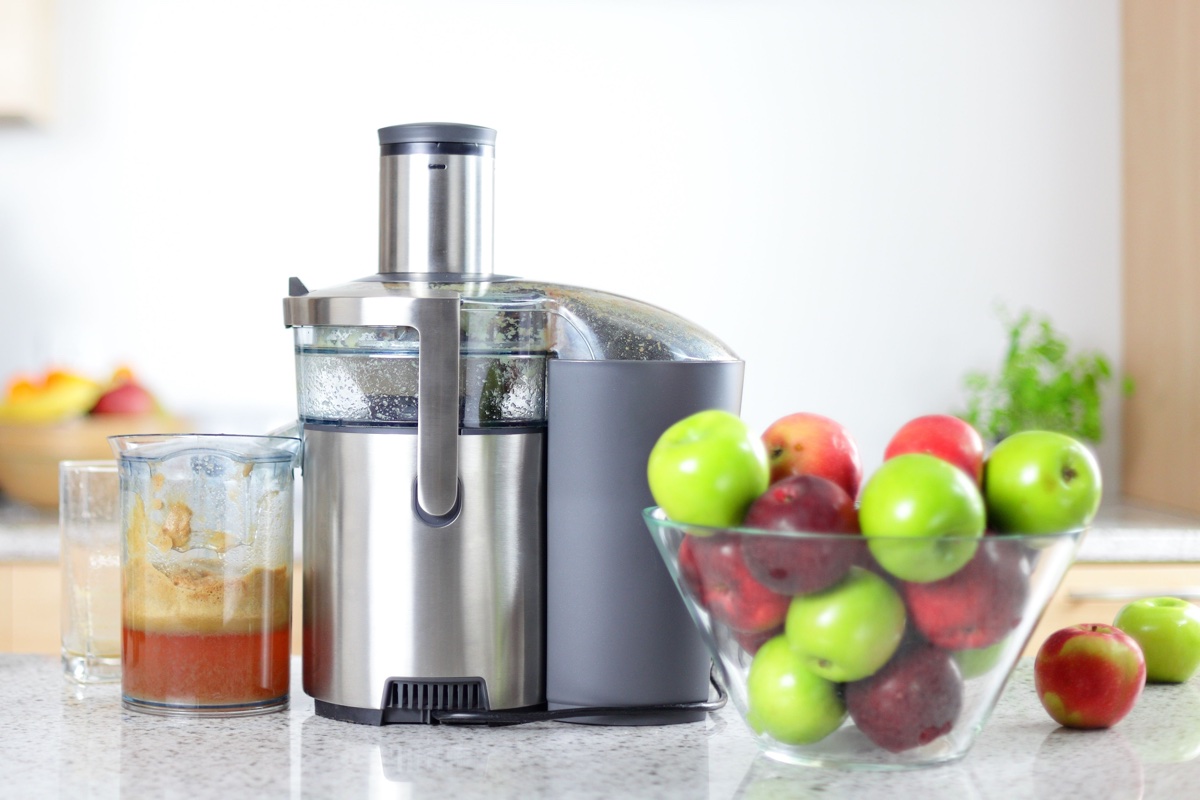
Welcome to our comprehensive guide on how to clean a juicer. Juicing has become increasingly popular as people seek to incorporate more fruits and vegetables into their daily diet. While juicing can offer numerous health benefits, it is essential to properly clean and maintain your juicer to ensure its longevity and hygienic use. Regular cleaning not only removes residue and stains but also prevents the buildup of bacteria and mold that can contaminate your freshly made juice.
In this article, we will provide you with step-by-step instructions on how to effectively clean your juicer. We will also share some valuable tips to streamline the cleaning process and make it more efficient. So, let’s dive in and discover the best practices for keeping your juicer spotless and ready for your next juicing session.
Key Takeaways:
- Regularly cleaning your juicer is crucial for maintaining hygiene, extending its lifespan, and ensuring the quality of your freshly made juice. Follow the safety precautions, disassembly steps, and effective cleaning methods outlined in this guide for optimal results.
- Incorporate efficient juicer cleaning tips into your routine, such as immediate cleaning after use, utilizing natural cleaning agents, and establishing a regular cleaning schedule. These practices not only streamline the cleaning process but also contribute to the longevity and performance of your juicer.
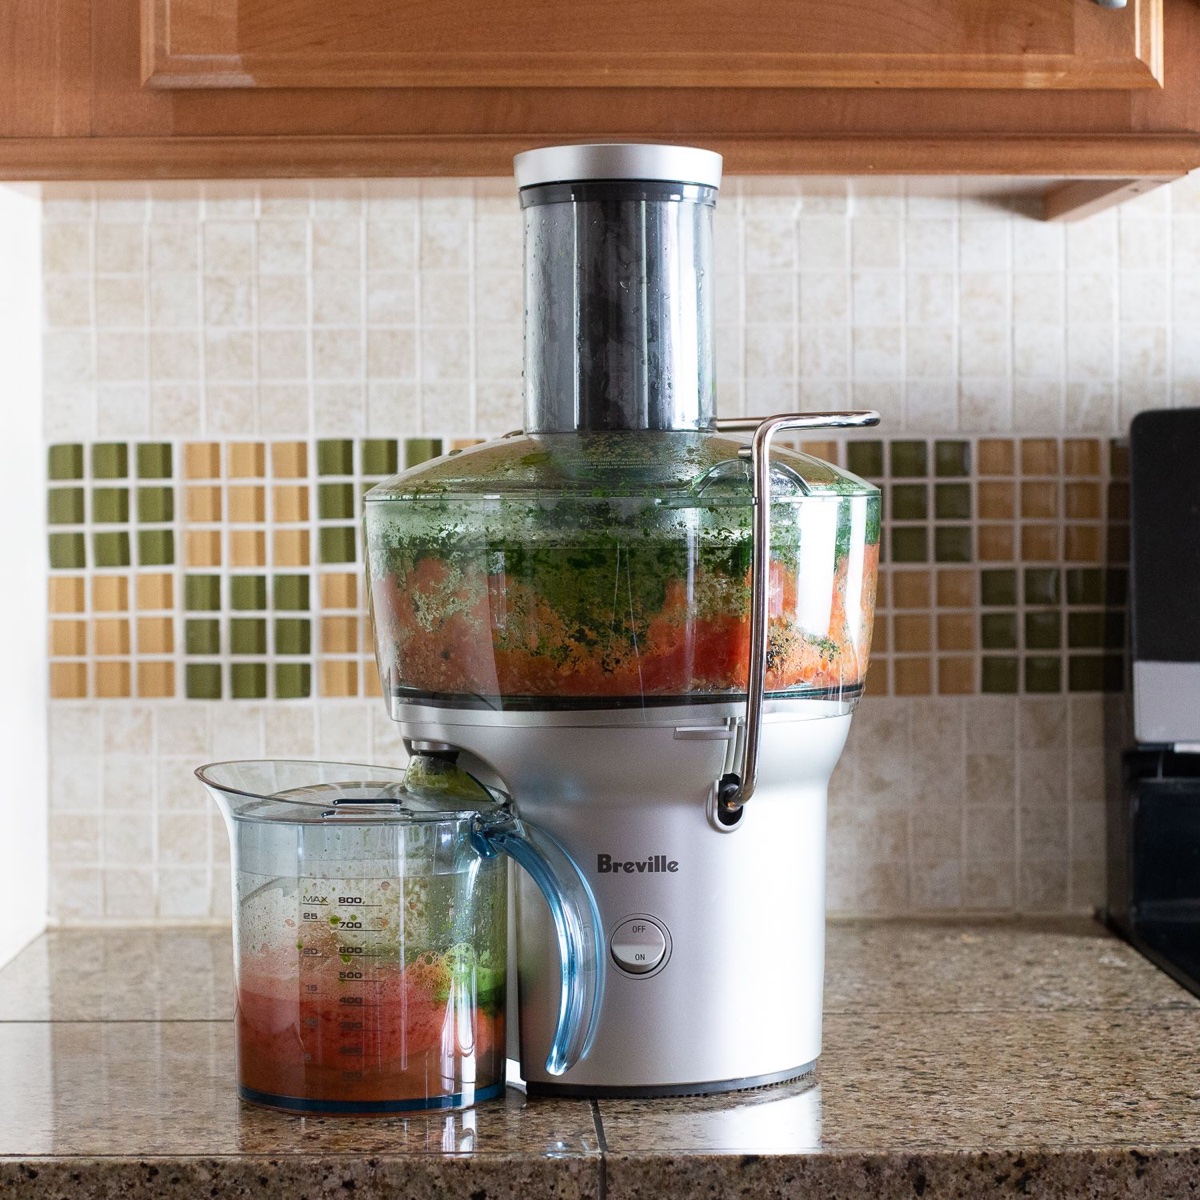
Read more: What Is The Easiest Juicer To Clean
Safety Precautions
Prior to cleaning your juicer, it is important to ensure your safety. Here are some essential safety precautions to keep in mind:
- Unplug the juicer: Before starting the cleaning process, always unplug the juicer from the power source. This minimizes the risk of electric shock during the cleaning process.
- Wear protective gloves: While cleaning the juicer, it is advisable to wear protective gloves to prevent any cuts or injuries from the sharp blades or components.
- Handle with caution: When disassembling and handling the juicer parts, be careful as some components may be sharp or delicate. Avoid applying excessive force or pressure to prevent any accidents.
- Allow cooling down: If you have been using the juicer, make sure to give it ample time to cool down before you start cleaning it. This prevents any burns caused by hot surfaces.
By adhering to these safety precautions, you can minimize the risk of accidents and ensure a safe cleaning process for your juicer.
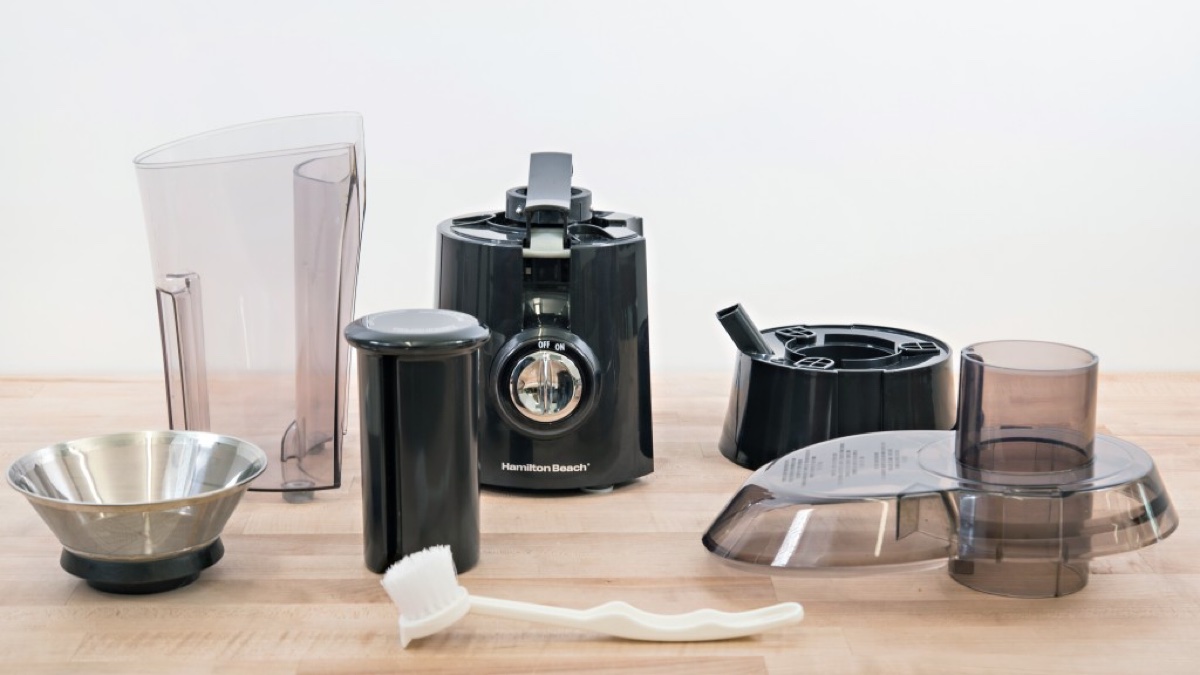
Disassembling the Juicer
Before you begin cleaning your juicer, you’ll need to disassemble it. Follow these steps to safely disassemble your juicer:
- Refer to the manufacturer’s manual: Different juicers may have different disassembly instructions. It’s always a good idea to refer to the manual provided by the manufacturer for specific guidance.
- Unplug the juicer: As a safety precaution, make sure the juicer is unplugged before you start disassembling it.
- Remove the pulp collector: Most juicers have a pulp collector that catches the discarded pulp. Gently remove the pulp collector and set it aside.
- Remove the juice container: Take out the container that collects the freshly squeezed juice. Empty any contents and set it aside for cleaning.
- Remove the filter: The filter is a crucial component of the juicer that separates the juice from the pulp. Depending on your juicer model, you may need to twist or lift the filter to remove it.
- Take out the juicing bowl: Carefully remove the juicing bowl or chamber from the main body of the juicer. This is where the fruit or vegetable is processed to extract the juice.
- Take out any additional attachments: Some juicers come with additional attachments, such as citrus press or food processing attachments. If your juicer has any of these attachments, remove them as well.
By following these steps, you will be able to safely disassemble your juicer, preparing it for a thorough cleaning.
Cleaning the Removable Parts
Once you have disassembled your juicer, it’s time to start cleaning the removable parts. Here’s how to clean each component effectively:
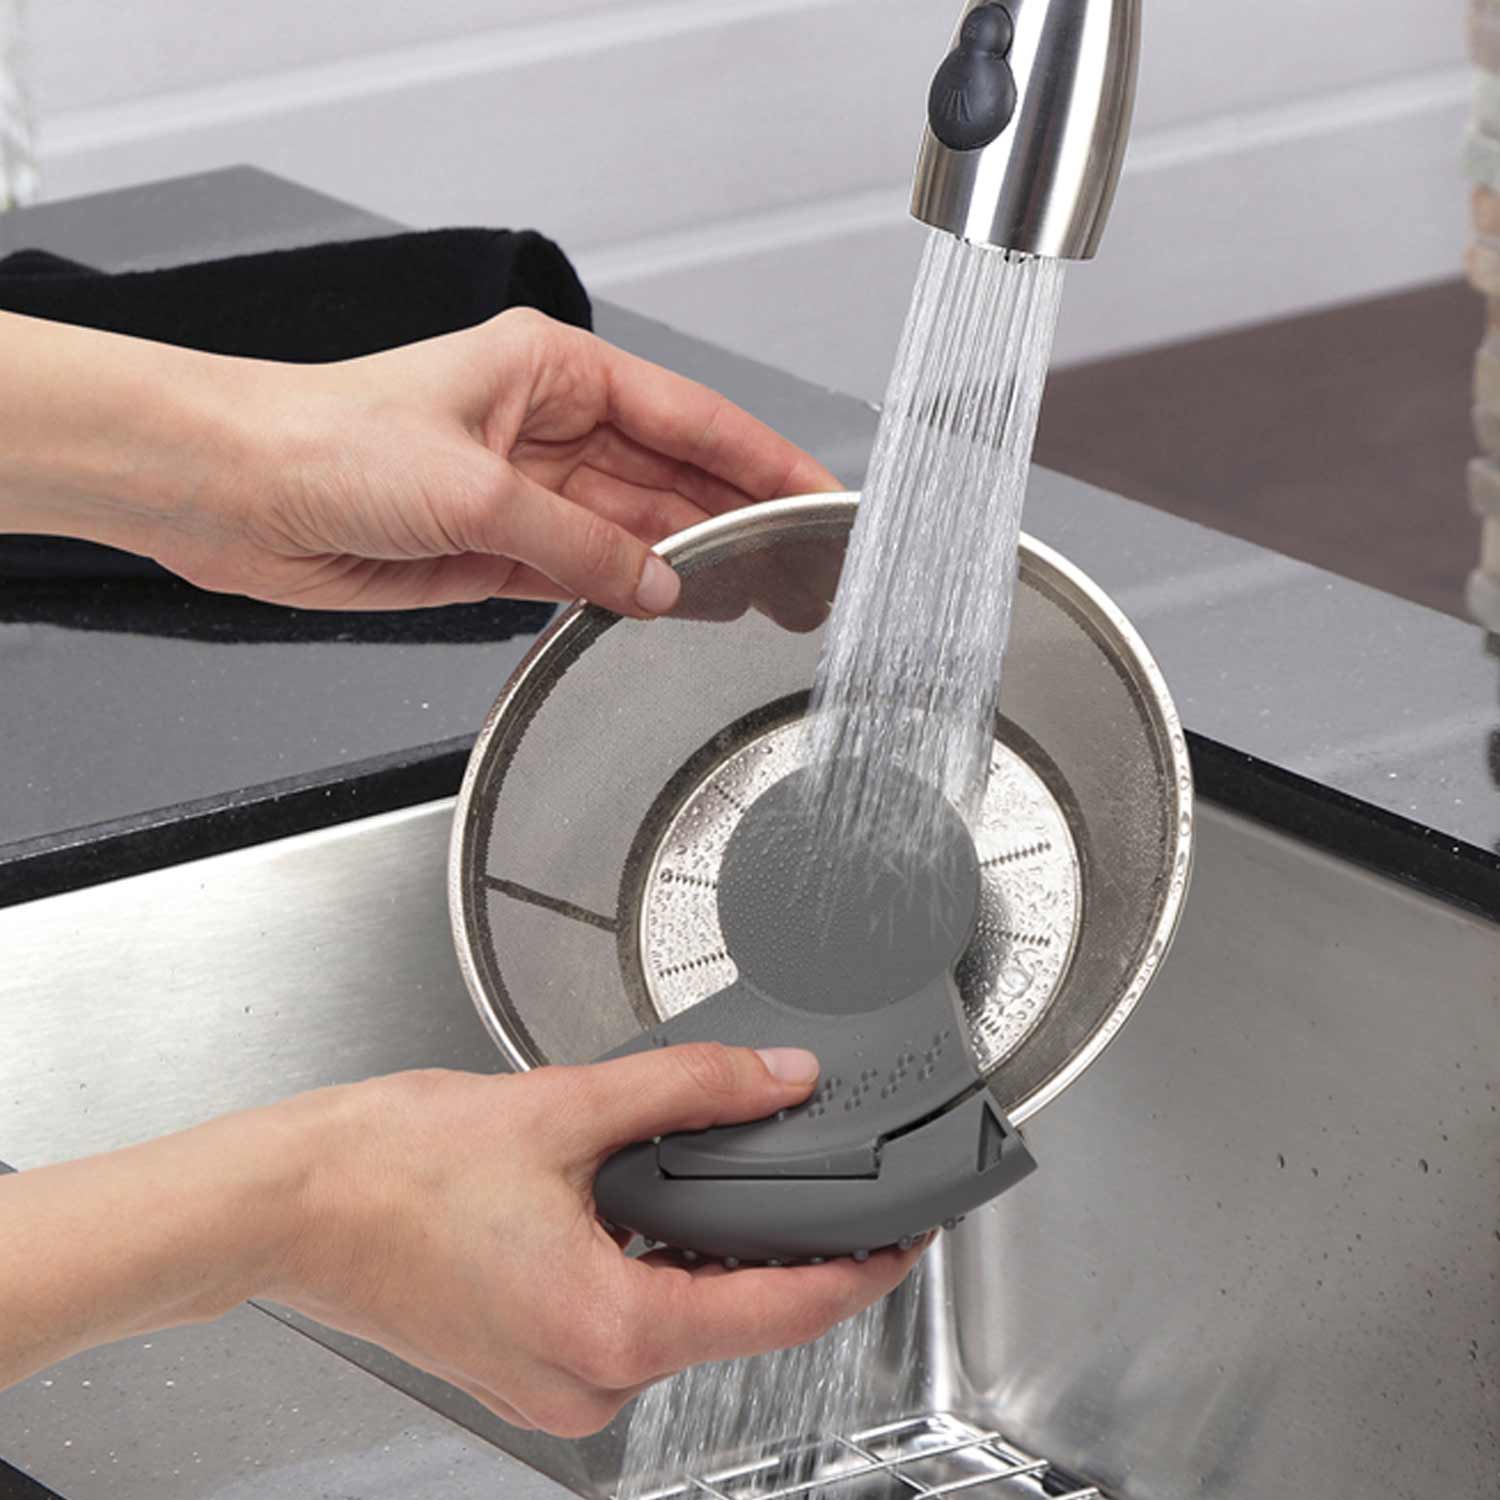
- Rinse with water: Start by rinsing each removable part under running water to remove any large debris or pulp. Use your fingers or a soft brush to gently scrub away any stubborn residue.
- Soak in warm soapy water: Fill a sink or basin with warm water and add a mild dish soap. Place the removable parts, such as the juice container, pulp collector, filter, and juicing bowl, into the soapy water. Allow them to soak for a few minutes to loosen any remaining residue.
- Scrub with a brush: After soaking, use a soft brush or sponge to scrub the removable parts. Pay extra attention to any crevices or hard-to-reach areas where residue may accumulate. Ensure thorough cleaning to remove any bacteria or mold buildup.
- Rinse thoroughly: Once you have scrubbed all the removable parts, rinse them under running water to remove any soap residue. Double-check that all debris and detergent are fully washed away.
- Inspect for stains or residue: After rinsing, inspect each component for any stains or residue. If there are stubborn stains, you may need to take additional steps to remove them, which will be discussed in the next section.
- Dry thoroughly: After cleaning, use a clean towel or air dry the parts completely before reassembling the juicer. Moisture can promote the growth of bacteria and mold, so it’s essential to ensure the components are completely dry.
By following these steps, you can effectively clean the removable parts of your juicer, ensuring that they are free from any dirt, residue, and bacteria.
Removing Stains and Residue
While cleaning the removable parts of your juicer, you may come across stubborn stains or residue that requires extra attention. Here are a few methods to help you remove stains and residue effectively:
- Vinegar solution: Vinegar is a natural cleaning agent that can help remove stains and disinfect your juicer components. Create a solution by mixing equal parts of white vinegar and water. Soak the stained parts in the vinegar solution for about 15-30 minutes, then scrub gently with a brush or sponge. Rinse thoroughly with water afterward.
- Baking soda paste: Baking soda is another natural cleaning agent that can help remove tough stains. Make a paste by mixing baking soda with water until it forms a thick consistency. Apply the paste to the stained areas and let it sit for 10-15 minutes. Scrub with a brush or sponge and rinse thoroughly.
- Lemon juice: The acidity of lemon juice can help break down stains and remove residue. Squeeze fresh lemon juice onto the stained areas and let it sit for a few minutes. Scrub gently with a brush or sponge, then rinse with water.
- Commercial cleaners: If natural methods do not work, you can also consider using a commercial cleaner specifically designed for juicers. Follow the instructions provided by the manufacturer of the cleaner to effectively remove stains and residue.
Remember to always rinse thoroughly after using any cleaning solution to ensure there is no residue left that can affect the taste and quality of your juice.
By utilizing these stain-removal methods, you can keep your juicer looking clean and maintain its optimal performance.
After juicing, immediately rinse the juicer parts with warm water to prevent pulp from drying and sticking. Use a brush to remove any remaining residue.
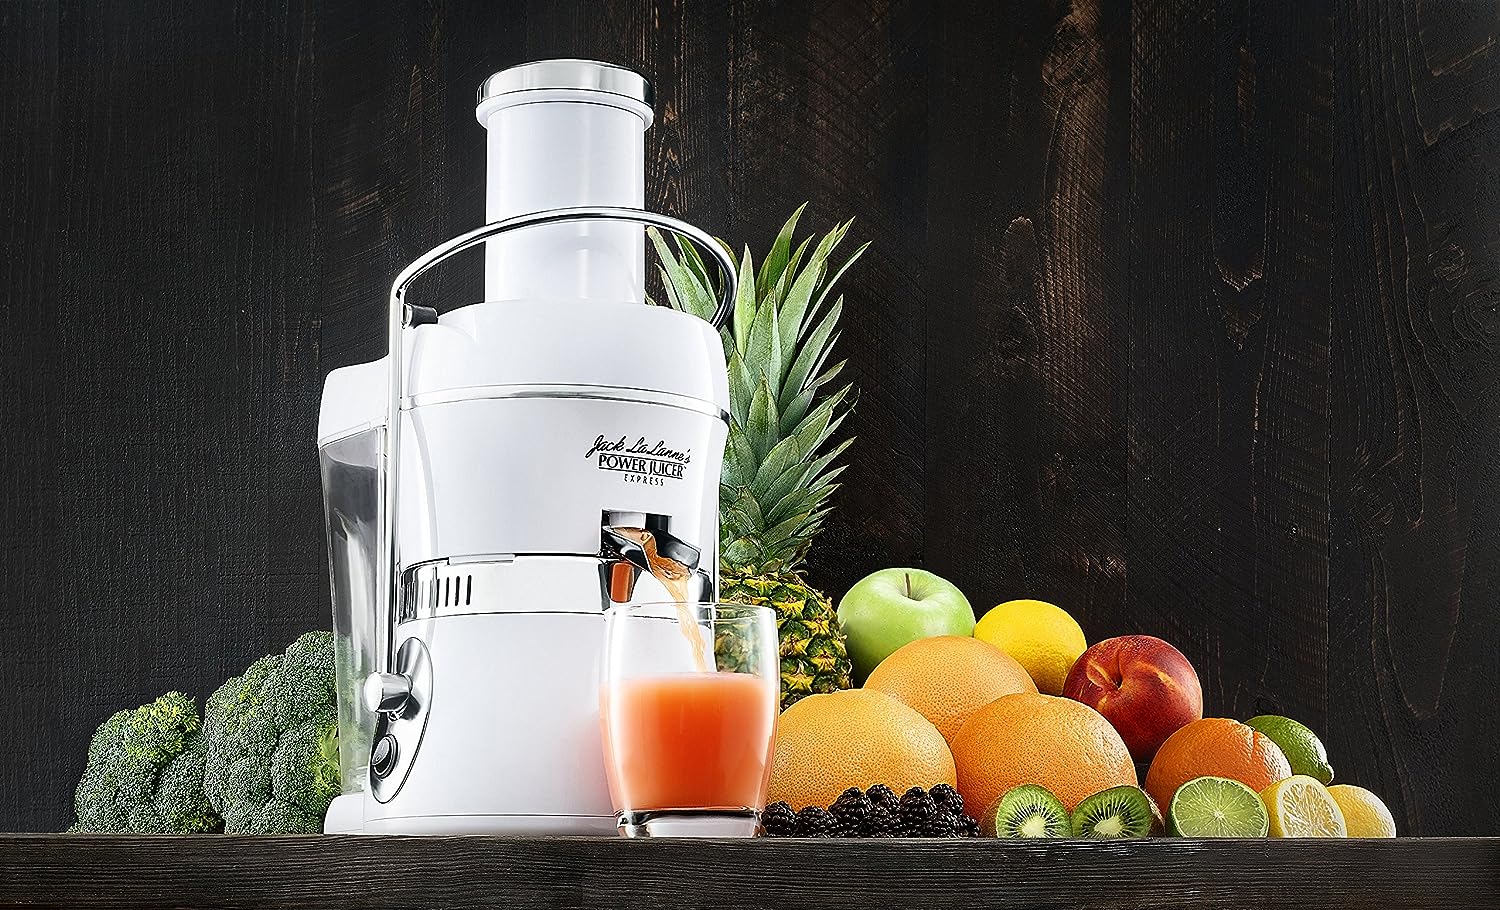
Read more: How To Clean A Jack Lalanne Juicer
Cleaning the Juicer Housing
In addition to cleaning the removable parts, it’s also important to clean the juicer housing, which includes the main body and control panel. Follow these steps to effectively clean the juicer housing:
- Unplug the juicer: Before cleaning the housing, make sure the juicer is unplugged from the power source.
- Wipe with a damp cloth: Use a clean, damp cloth to wipe down the exterior of the juicer housing. This will remove any surface dirt or residue that may have accumulated during juicing.
- Use a mild detergent: If there are stubborn stains or grease on the housing, you can mix a mild detergent with water and use a sponge or cloth to gently scrub the affected areas. Avoid using abrasive cleaners or scrub brushes that may damage the juicer’s surface.
- Rinse and dry: After scrubbing, rinse the housing with clean water to remove any remaining detergent. Then, use a dry cloth to thoroughly dry the housing. It’s important to ensure that the housing is completely dry to prevent water damage or the growth of mold or bacteria.
- Polish if necessary: If you want to give your juicer housing some extra shine, you can use a stainless steel cleaner or polish to buff the surface. Make sure to follow the instructions provided by the cleaner manufacturer.
Cleaning the juicer housing not only keeps it looking clean and presentable but also helps maintain its performance and prolong its lifespan. A clean housing also makes it more pleasant to handle and use your juicer.
Remember to always refer to the manufacturer’s instructions for specific cleaning recommendations, as different juicer models may have unique cleaning requirements.
Drying and Reassembling the Juicer
Once you have thoroughly cleaned all the components of your juicer, it’s time to dry them and reassemble the juicer. Follow these steps for a proper drying process and smooth reassembly:
- Dry the components: Use a clean towel or allow the juicer parts to air dry completely. Make sure there is no moisture left before reassembling the juicer. This helps prevent the growth of mold or bacteria.
- Check for any remaining residue: Before reassembling, double-check each component for any remaining residue or dirt. If necessary, give them a quick rinse to ensure they are completely clean.
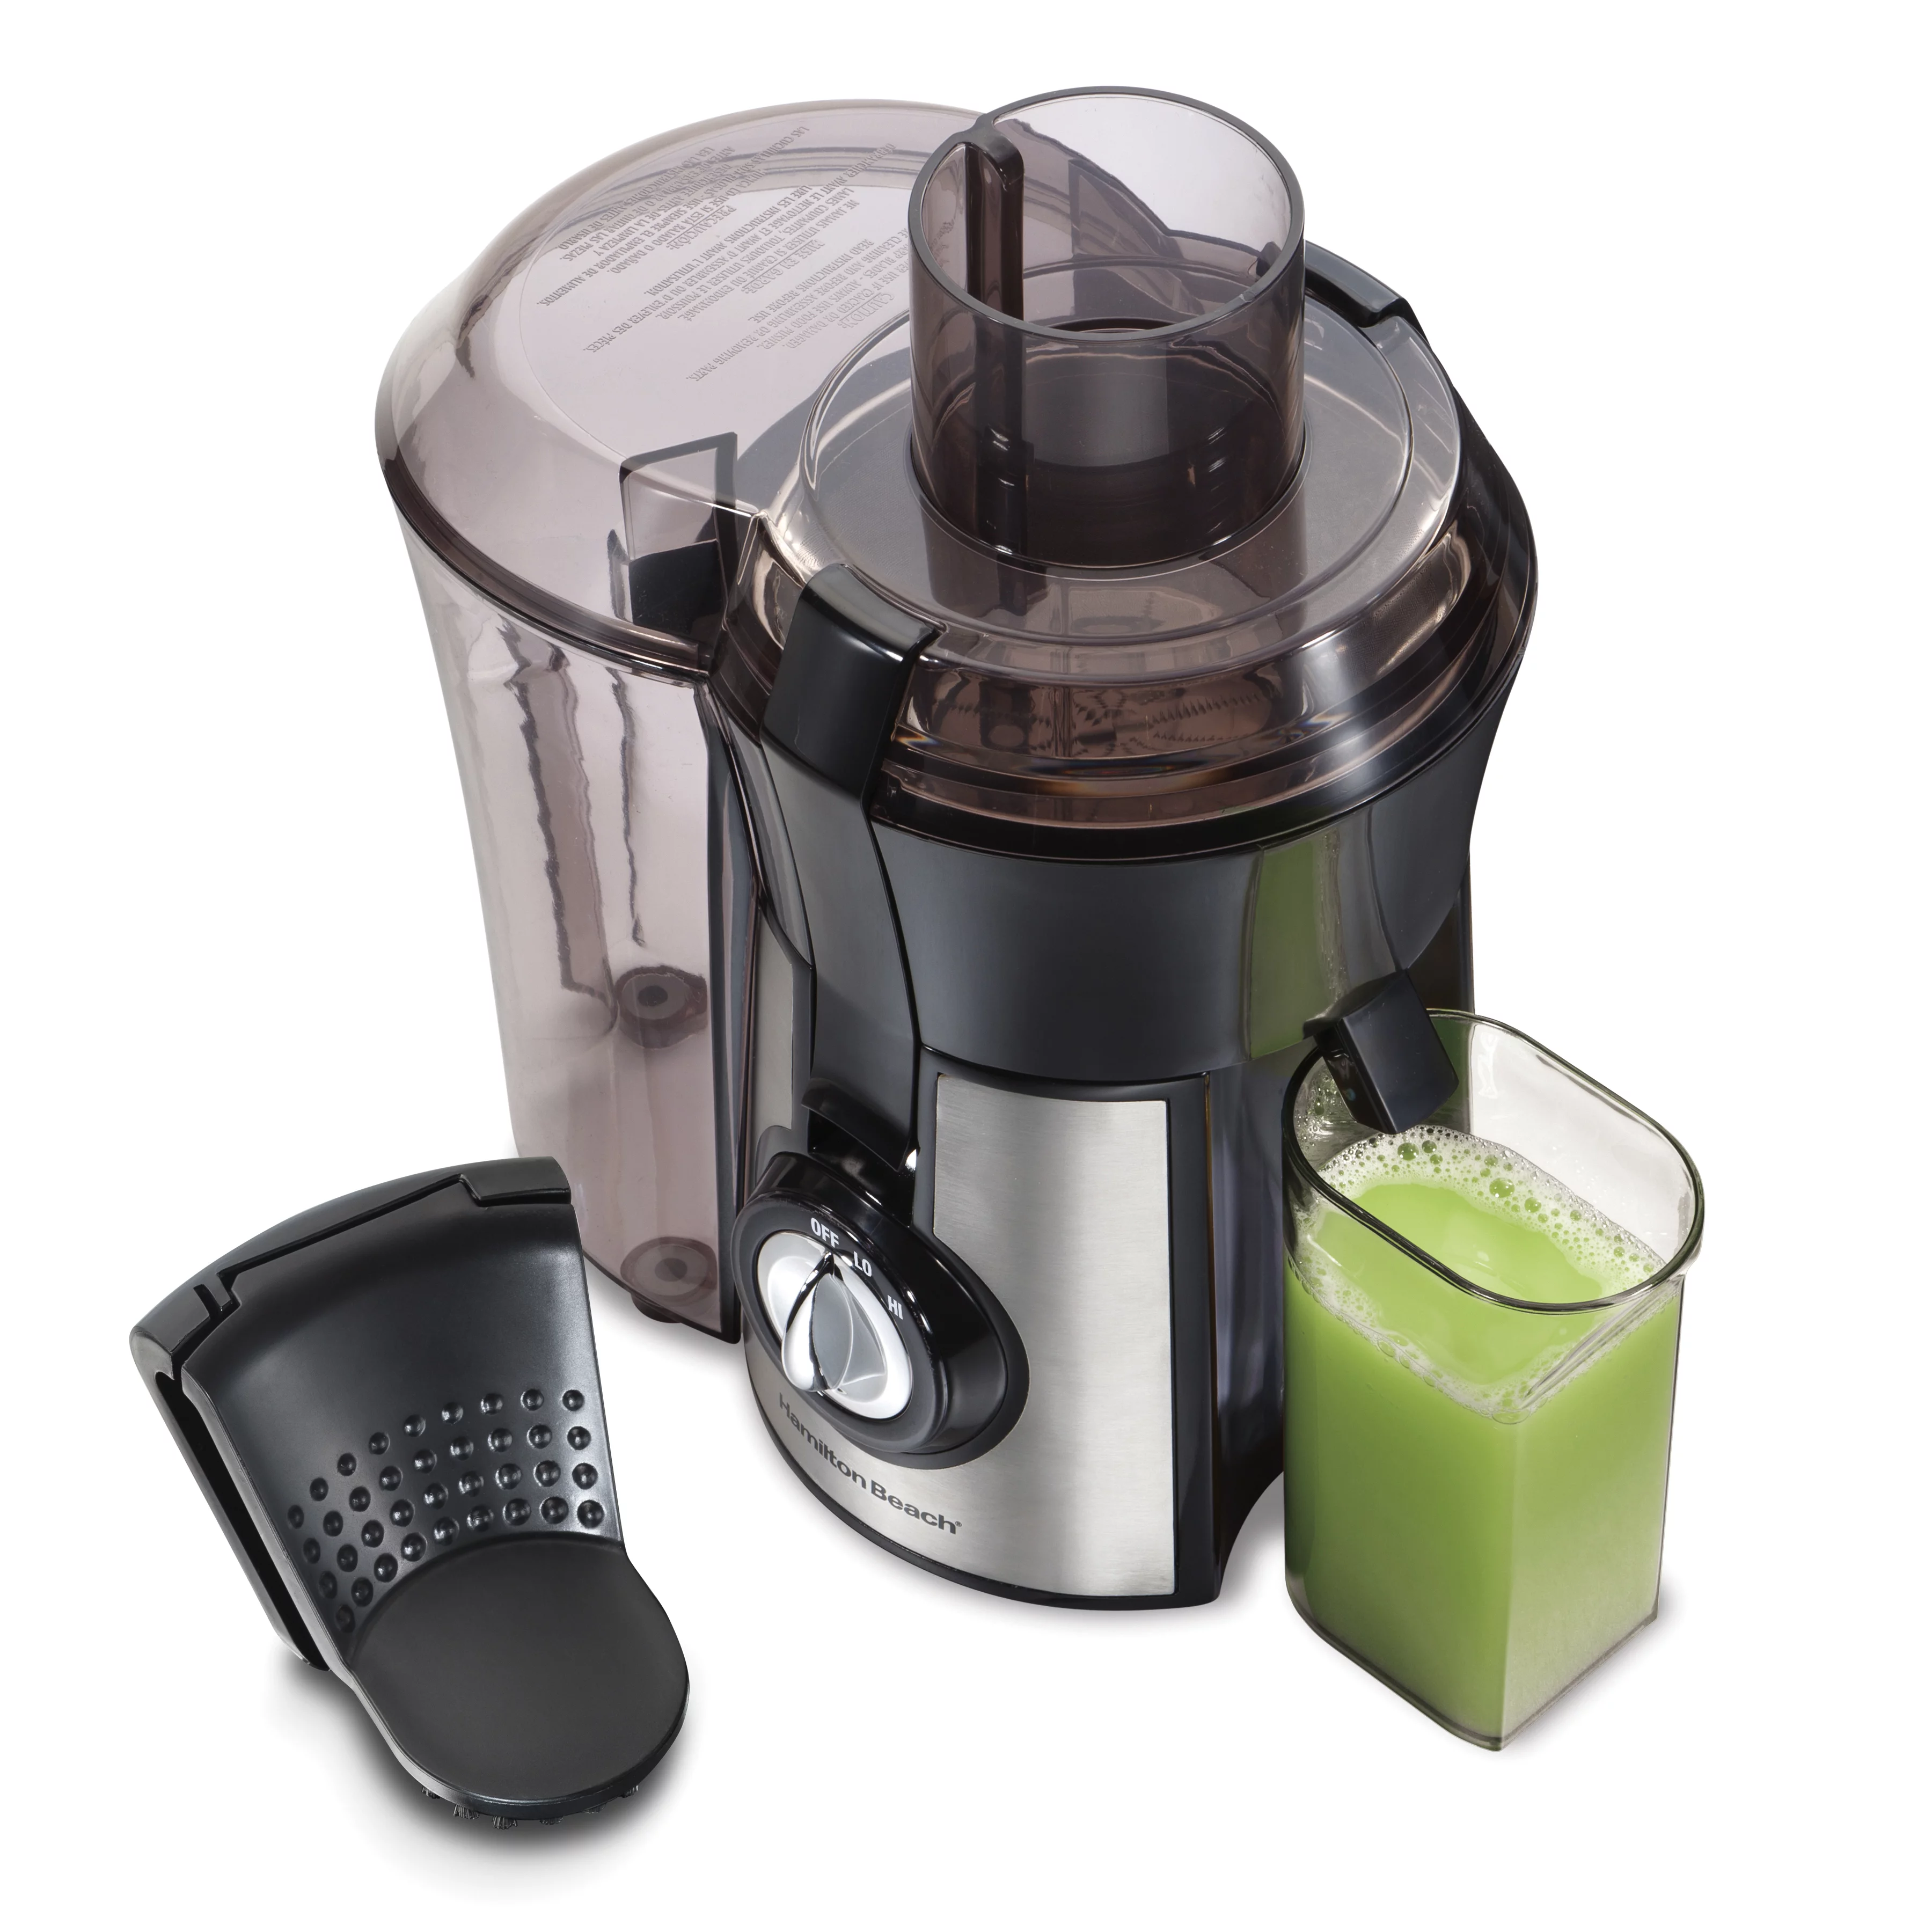
- Reassemble the juicer: Refer to the manufacturer’s manual for correct reassembly of the juicer. Start by placing the juicing bowl back into the main body, ensuring it is secure and properly aligned. Then, attach the filter, pulp collector, juice container, and any additional attachments that came with your juicer.
- Secure the parts: Make sure all the parts are securely in place, with no loose or wobbly components. This helps ensure safe and efficient juicing.
- Plug in the juicer: Once the juicer is properly reassembled, plug it back into the power source. Ensure that all connections are secure and there are no loose wires.
- Test the juicer: Before using the juicer with produce, run a quick test to ensure everything is functioning correctly. Turn on the juicer and listen for any unusual noises or vibrations. If everything seems normal, you’re ready to start juicing!
By following these steps, you can ensure that your juicer is properly dried and reassembled, ready for your next juicing session. Proper reassembly is crucial for the juicer’s performance and safety, so take the time to do it correctly.
Tips for Efficient Juicer Cleaning
Cleaning your juicer can sometimes feel like a daunting task, but with a few tips and tricks, you can make the process more efficient and hassle-free. Here are some tips to help you clean your juicer effectively:
- Clean immediately after use: It’s best to clean your juicer immediately after each use. This prevents residue from drying and becoming harder to remove later on.
- Use warm water: When rinsing or soaking the removable parts, use warm water instead of cold water. Warm water helps break down any leftover pulp or residue more effectively.
- Use a brush or toothbrush: Invest in a soft brush or a toothbrush specifically for cleaning your juicer. This can help you reach tight spots and remove stubborn residue more easily.
- Avoid harsh chemicals: Stick to mild detergents or natural cleaning agents like vinegar or lemon juice. Avoid using harsh chemicals that can damage the juicer’s components or leave behind a residue.
- Read the manufacturer’s instructions: Be sure to read the manufacturer’s instructions for specific cleaning recommendations and to understand any parts that may not be dishwasher safe.
- Clean the mesh filter immediately: If your juicer has a mesh filter, clean it immediately after each use to prevent pulp and fibers from drying and clogging the mesh. Use a brush or toothbrush to remove any stuck particles.
- Regular deep cleaning: In addition to daily cleaning, perform a deep cleaning of your juicer at least once a month. This involves more thorough cleaning of all the components, including hard-to-reach areas.
- Keep a cleaning routine: Establish a regular cleaning routine for your juicer. This ensures that cleaning becomes a habit and helps prevent the accumulation of dirt or residue over time.
- Inspect and replace worn parts: Regularly inspect your juicer for any signs of wear or damage to the parts. Replace any worn components to ensure optimal performance and safety.
Following these tips will not only make your juicer cleaning more efficient but also help maintain the longevity and performance of your juicer.
Conclusion
Cleaning your juicer is an important task that should not be overlooked. By following the steps and tips outlined in this comprehensive guide, you can ensure that your juicer remains spotless, hygienic, and in optimal working condition. Regular cleaning not only enhances the taste and quality of your juice but also prolongs the lifespan of your juicer.
Remember to prioritize safety by unplugging the juicer before cleaning and wearing protective gloves when handling sharp components. Disassembling the juicer allows for a thorough cleaning of each removable part, including the filter, juicing bowl, pulp collector, and juice container.
When cleaning, rinse with water, soak in soapy water, and scrub gently to remove any residue or stains. For stubborn stains, utilize natural solutions like vinegar, baking soda, or lemon juice. Take care to dry each component thoroughly to prevent the growth of mold or bacteria.
Don’t forget to clean the juicer housing by wiping it down with a damp cloth and a mild detergent if necessary. Reassembling the juicer correctly ensures its safe and efficient operation.
Lastly, follow the provided tips for an efficient and streamlined juicer cleaning routine. Clean your juicer promptly after each use, use warm water, and invest in a brush or toothbrush for those hard-to-reach places. Deep clean your juicer regularly and inspect for any worn parts that may need replacement.
With these guidelines and practices, you can maintain a clean and functional juicer, allowing you to enjoy the benefits of fresh and nutritious juice for years to come. So, keep your juicer sparkling clean and embrace a healthy juicing lifestyle!
Frequently Asked Questions about How To Clean A Juicer
Was this page helpful?
At Storables.com, we guarantee accurate and reliable information. Our content, validated by Expert Board Contributors, is crafted following stringent Editorial Policies. We're committed to providing you with well-researched, expert-backed insights for all your informational needs.


0 thoughts on “How To Clean A Juicer”