Articles
How To Clean Leather Tool Belt
Modified: August 31, 2024
Learn effective techniques and tips on how to clean your leather tool belt in this informative article. Keep your tools and belt in great condition with our expert advice.
(Many of the links in this article redirect to a specific reviewed product. Your purchase of these products through affiliate links helps to generate commission for Storables.com, at no extra cost. Learn more)
Introduction
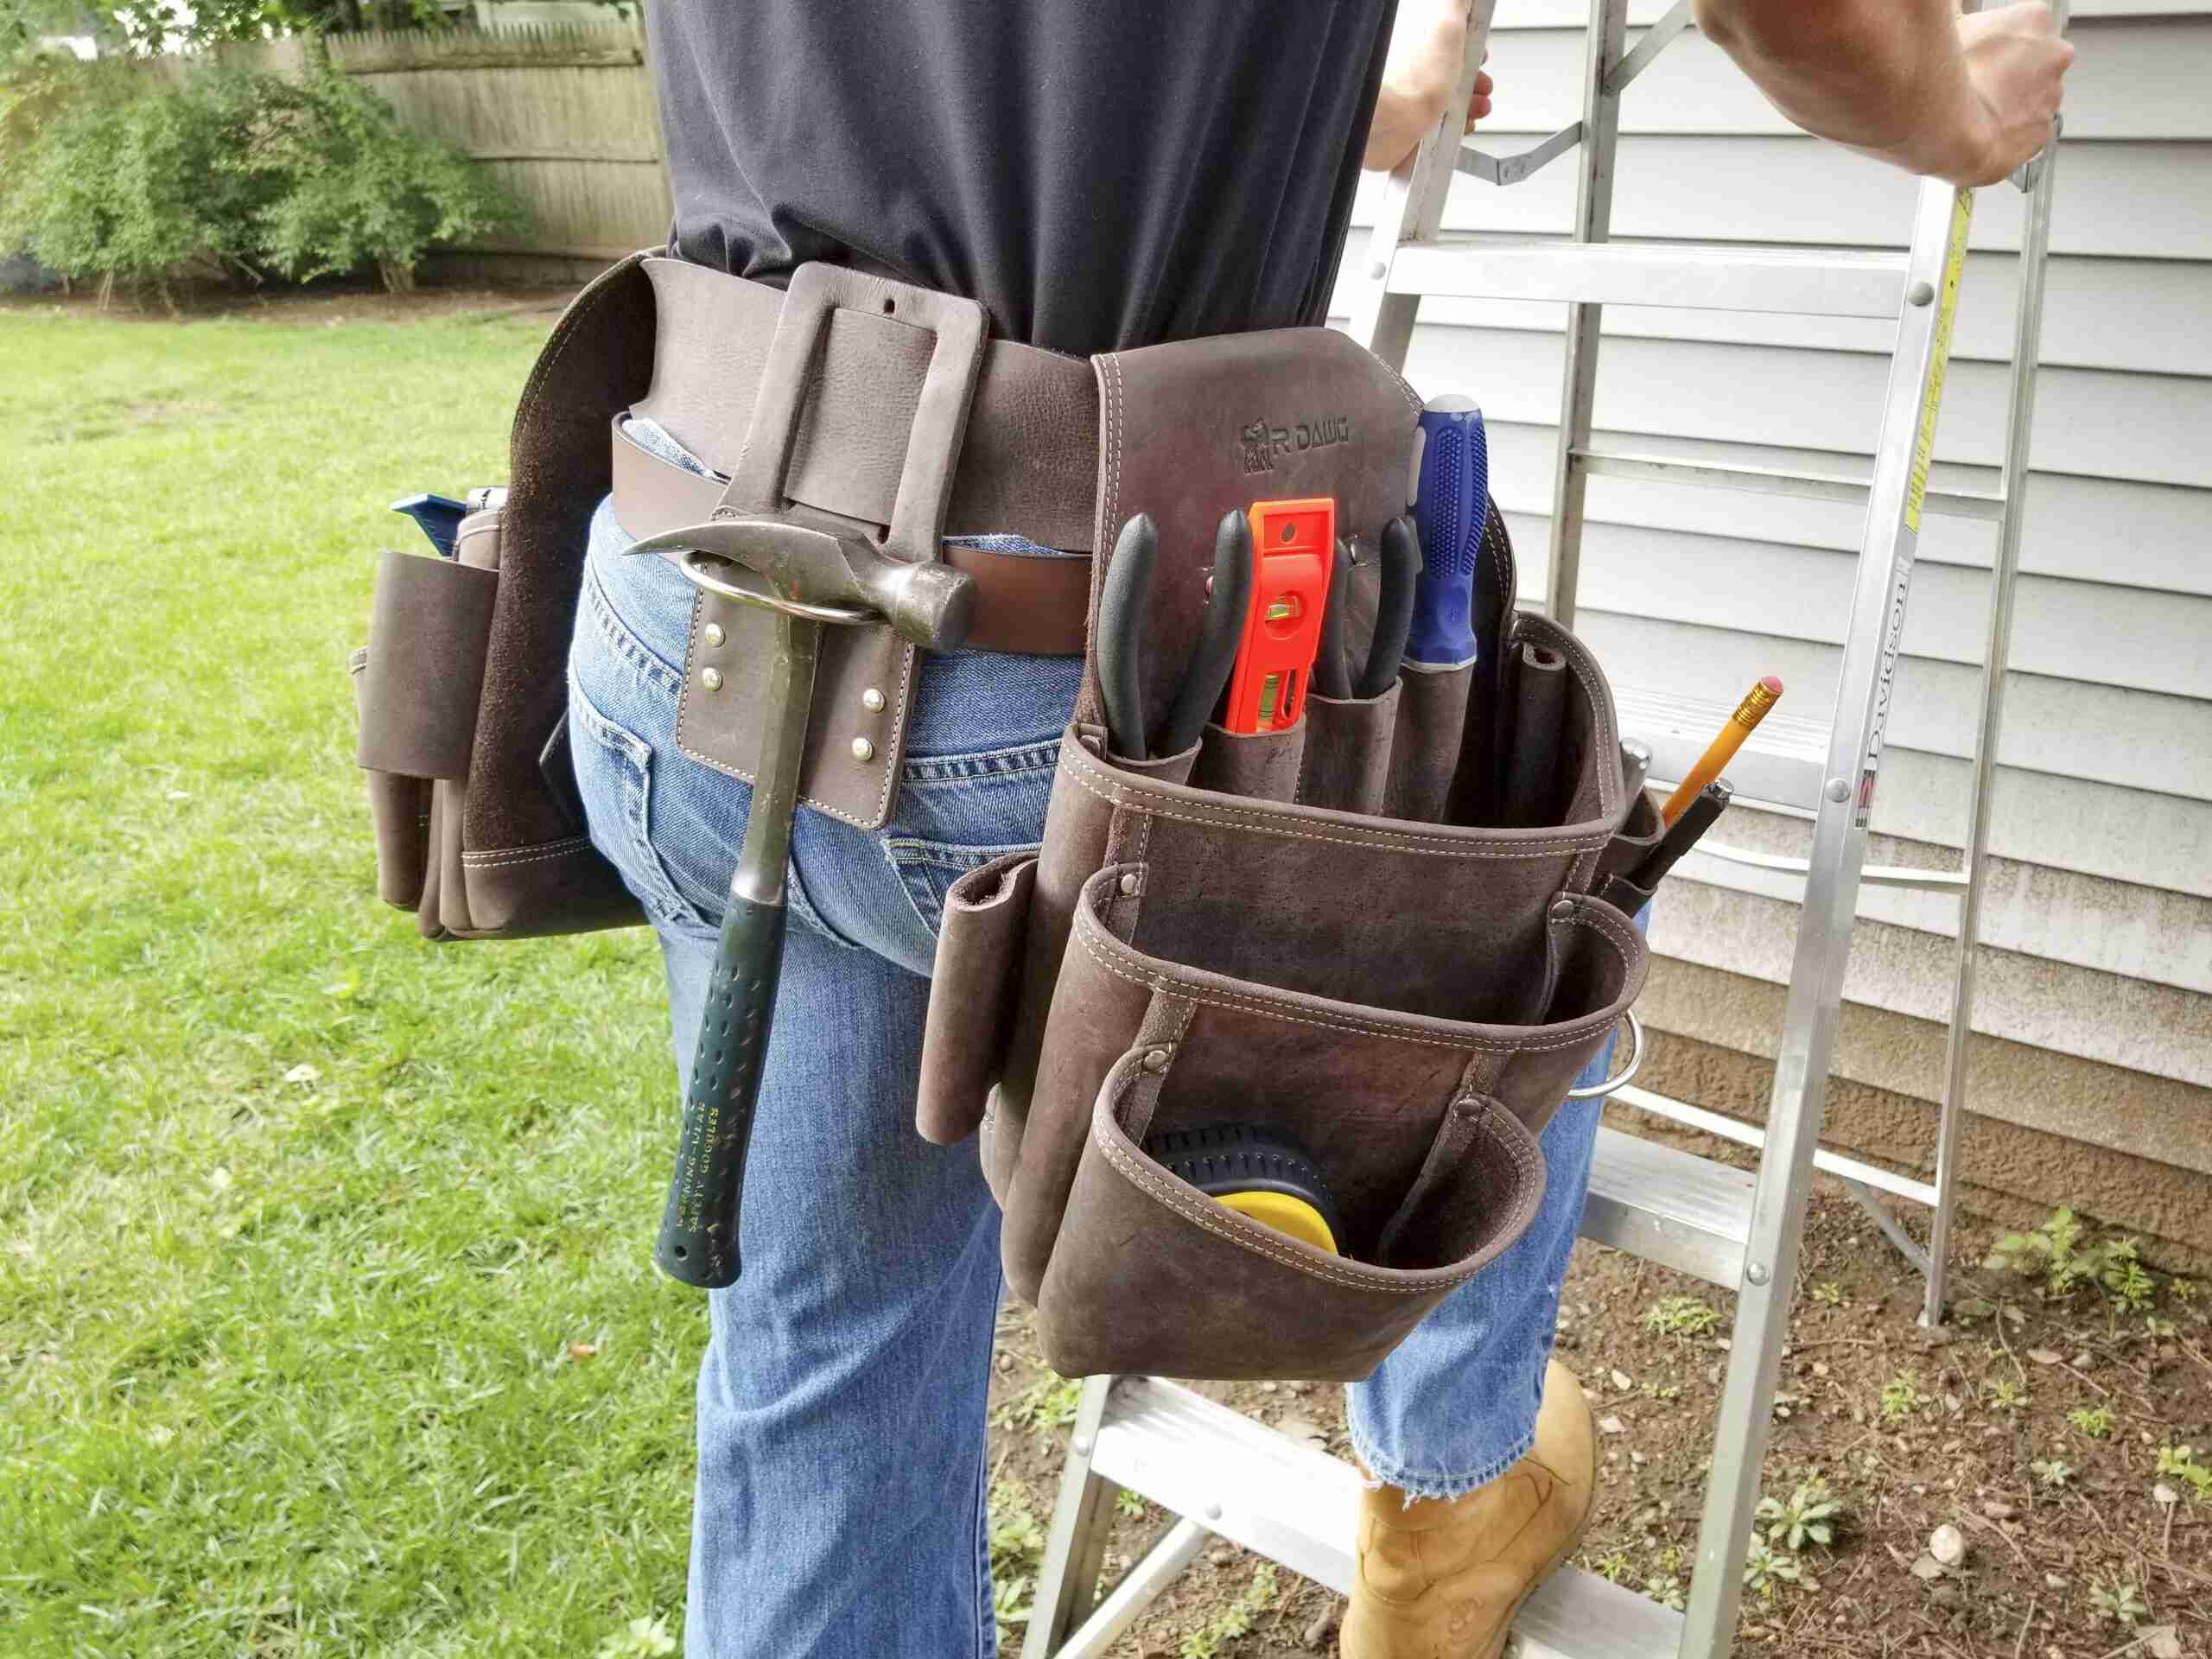
As a handyman or DIY enthusiast, your tool belt is an essential companion for all your projects. It carries your trusty tools and ensures they are within reach whenever you need them. Over time, your leather tool belt can accumulate dirt, oil, stains, and general wear and tear. To keep it looking and functioning at its best, regular cleaning and maintenance are important.
In this article, we will guide you through the step-by-step process of cleaning your leather tool belt. We will provide you with valuable tips and techniques to ensure that your tool belt stays in top condition and lasts for years to come.
Key Takeaways:
- Regularly cleaning and conditioning your leather tool belt with gentle materials and techniques can help maintain its appearance, functionality, and durability, ensuring it lasts for years to come.
- Proper drying and storage practices, such as air drying in a well-ventilated area and using a dust cover, are essential to preserve the integrity of your leather tool belt and prevent damage.
Read more: How To Store Leather Belts
Step 1: Gathering the necessary materials
Before you start cleaning your leather tool belt, it’s important to gather all the necessary materials. This way, you’ll have everything you need within reach, making the cleaning process more convenient and efficient.
Here’s a list of materials you will need:
- Mild soap or leather cleaner: Choose a gentle soap or leather cleaner specifically formulated for cleaning leather products. Avoid harsh detergents or cleaners that may damage the leather.
- Soft-bristled brush: Look for a soft-bristled brush, such as a toothbrush or a brush designed for leather cleaning. Avoid using stiff or abrasive brushes that can scratch the leather surface.
- Lint-free cloth or sponge: Select a lint-free cloth or sponge to apply the cleaning solution and wipe away dirt and stains from the leather.
- Leather conditioner: A good quality leather conditioner will help moisturize and protect the leather, preventing it from becoming dry and brittle.
- Optional: Leather polish or wax: If your leather tool belt has lost its luster, you may consider using a leather polish or wax to restore its shine. However, be cautious as some polishes can darken the leather.
Once you have gathered all the necessary materials, you can proceed to the next steps in the cleaning process.
Step 2: Removing dirt and debris
Before tackling any stains or spots, it’s important to start by removing dirt and debris from your leather tool belt. This step will help ensure that the cleaning process is more effective and prevent any scratches or damage to the leather.
Follow these steps to remove dirt and debris:
- Empty the pockets and remove any tools or items from your tool belt.
- Give your tool belt a gentle shake or tap to remove loose dirt and debris.
- Use a soft-bristled brush to gently brush away any remaining dirt or dust. Start from the top and work your way down, focusing on each section of the tool belt.
- If there are any stubborn spots or stains, dampen a lint-free cloth or sponge with warm water and gently dab the affected areas. Avoid saturating the leather as excessive moisture can damage it.
- Allow the leather to air dry completely before moving on to the next step.
By removing dirt and debris from your leather tool belt, you will have a clean canvas to work with when it comes to treating stains and spots.
Step 3: Treating stains and spots
After removing dirt and debris from your leather tool belt, it’s time to focus on treating any stubborn stains or spots. Whether it’s grease, ink, or any other type of stain, it’s important to approach each one with care to avoid damaging the leather.
Follow these steps to treat stains and spots on your leather tool belt:
- Identify the type of stain: Different stains require different treatment methods. Determine the type of stain on your tool belt, such as grease, ink, or watermarks.
- Test the cleaning solution: Before applying any cleaning solution to the stained area, test it on a small, inconspicuous area of the leather, such as the back or an inner pocket. This will help ensure that the cleaner does not cause any discoloration or damage to the leather.
- Apply the cleaning solution: If the cleaner is safe to use, apply a small amount to a lint-free cloth or sponge. Gently dab the stained area, avoiding rubbing or scrubbing vigorously, as this can spread the stain or damage the leather.
- Let it sit: Allow the cleaning solution to sit on the stain for a few minutes to penetrate and lift the stain from the leather.
- Blot the stain: After letting the cleaning solution sit, use a clean part of the cloth or sponge to gently blot the stain. Continue blotting until the stain is lifted.
- Rinse and repeat if necessary: If the stain persists, rinse the cloth or sponge with clean water and repeat the process. Be patient and repeat the steps as needed until the stain is completely gone.
- Allow the leather to air dry: Once the stain is removed, allow the leather to air dry completely before moving on to the next step.
Remember, it’s important to be gentle when treating stains on leather to avoid causing any further damage. If you’re unsure about treating a specific stain, it’s best to consult a professional leather cleaner for guidance.
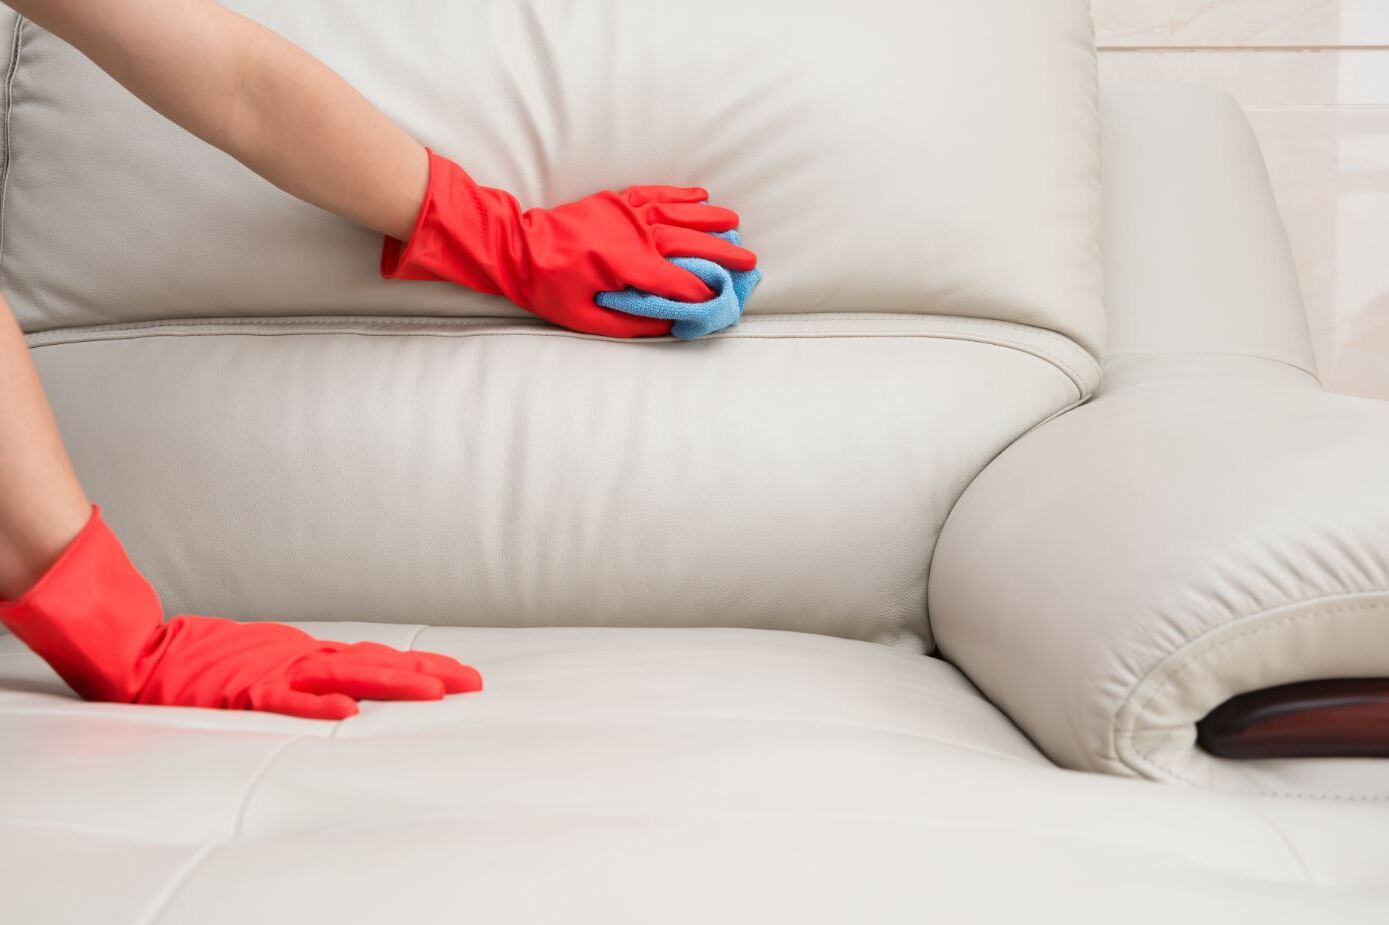
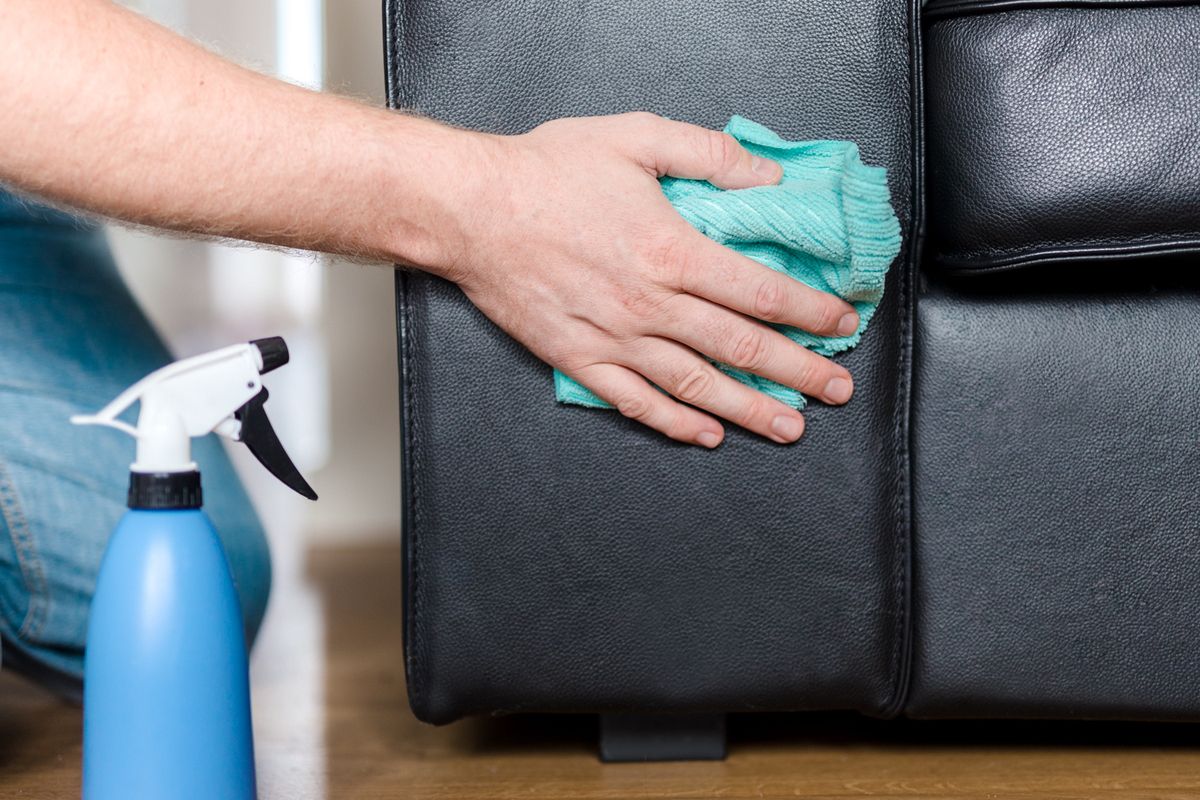
To clean a leather tool belt, use a soft cloth and a mild soap solution to gently wipe away dirt and grime. Avoid using harsh chemicals or abrasive materials that could damage the leather. After cleaning, apply a leather conditioner to keep the leather supple and prevent it from drying out.
Step 4: Conditioning the leather
After removing dirt and treating any stains or spots, it’s crucial to condition the leather on your tool belt. Conditioning helps keep the leather soft, supple, and moisturized, preventing it from drying out and cracking over time.
Follow these steps to condition your leather tool belt:
- Choose a suitable leather conditioner: Look for a leather conditioner specifically made for use on tool belts or general leather products. Read the instructions on the conditioner to ensure it’s suitable for your leather type.
- Apply a small amount of conditioner: Squeeze a small amount of the conditioner onto a clean, lint-free cloth. Start by applying it to a small, inconspicuous area of the tool belt to ensure compatibility and avoid any potential discoloration.
- Gently massage the conditioner into the leather: Using circular motions, rub the conditioner into the leather, ensuring even coverage. Pay extra attention to areas that are prone to wear and tear, such as the edges and seams.
- Allow the conditioner to penetrate: Let the conditioner sit on the leather for a few minutes to allow it to penetrate and moisturize the fibers.
- Remove excess conditioner: Use a clean, dry cloth to gently wipe away any excess conditioner from the leather surface.
- Let the leather dry: Allow the leather to air dry naturally. Avoid exposing it to direct sunlight or using heat sources to speed up the drying process, as this can cause the leather to become brittle.
Regular conditioning helps prolong the lifespan of your leather tool belt and maintains its flexibility and durability. Aim to condition your tool belt every few months or whenever the leather appears dry or dull.
Read more: How To Make Leather Tool Belt
Step 5: Drying and storing the tool belt
Once you have finished cleaning and conditioning your leather tool belt, it’s time to ensure it is properly dried and stored. Proper drying and storage practices will help maintain the integrity of the leather and prevent any further damage.
Follow these steps to dry and store your tool belt:
- Gently pat dry: Use a clean, absorbent cloth to gently pat dry the leather tool belt. Avoid wringing or twisting the leather, as this can cause stretching or deformation.
- Air dry naturally: Place the tool belt in a well-ventilated area away from direct sunlight or heat sources. Allow it to air dry naturally. It’s important to avoid using a hairdryer or any artificial heat sources, as they can cause the leather to become brittle and prone to cracking.
- Reshape if necessary: If your tool belt has become misshapen during the cleaning process, gently mold it back into shape using your hands. Avoid excessive force to prevent damaging the leather.
- Store in a cool, dry place: Once the tool belt is completely dry, store it in a cool, dry place. Avoid storing it in humid areas or places prone to extreme temperature changes, as these conditions can promote the growth of mold or mildew and cause damage to the leather.
- Use a dust cover or cotton cloth: To protect your tool belt from dust and debris, consider using a dust cover or placing it inside a cotton cloth before storing. This will help maintain the cleanliness and condition of the leather.
By following these drying and storage practices, you can ensure that your leather tool belt remains in excellent condition and ready for use whenever you need it.
Conclusion
Proper cleaning and maintenance of your leather tool belt is essential to keep it in optimal condition and prolong its lifespan. By following the step-by-step guide outlined in this article, you can effectively remove dirt, treat stains, condition the leather, and ensure proper drying and storage.
Remember to gather all the necessary materials before starting the cleaning process, including mild soap or leather cleaner, a soft-bristled brush, lint-free cloth or sponge, leather conditioner, and optional leather polish or wax.
Be gentle when removing dirt and debris, using a soft-bristled brush and a damp cloth if necessary. When treating stains and spots, test the cleaning solution on a small area first and gently blot the stain until it’s lifted. Conditioning the leather regularly helps keep it soft and supple, protecting it from drying out and cracking.
After cleaning and conditioning, ensure the tool belt is properly dried by air drying it in a well-ventilated area. Reshape it if necessary and store it in a cool, dry place, preferably with a dust cover or cotton cloth for added protection.
By following these steps, you can maintain the functionality and appearance of your leather tool belt, allowing you to tackle projects with ease and confidence. Remember, keeping your tool belt in good condition is an investment that will pay off in the long run.
So go ahead and give your trusty tool belt the care it deserves, and it will continue to serve you faithfully for many projects to come.
Frequently Asked Questions about How To Clean Leather Tool Belt
Was this page helpful?
At Storables.com, we guarantee accurate and reliable information. Our content, validated by Expert Board Contributors, is crafted following stringent Editorial Policies. We're committed to providing you with well-researched, expert-backed insights for all your informational needs.


0 thoughts on “How To Clean Leather Tool Belt”