Home>Furniture & Design>Living Room Furniture>How To Clean Leather Recliner Headrest
Living Room Furniture
How To Clean Leather Recliner Headrest
Published: December 20, 2023
Learn how to properly clean and maintain your leather recliner headrest with our expert tips. Keep your living room furniture looking its best. Discover more at Furniture and Design.
(Many of the links in this article redirect to a specific reviewed product. Your purchase of these products through affiliate links helps to generate commission for Storables.com, at no extra cost. Learn more)
Introduction
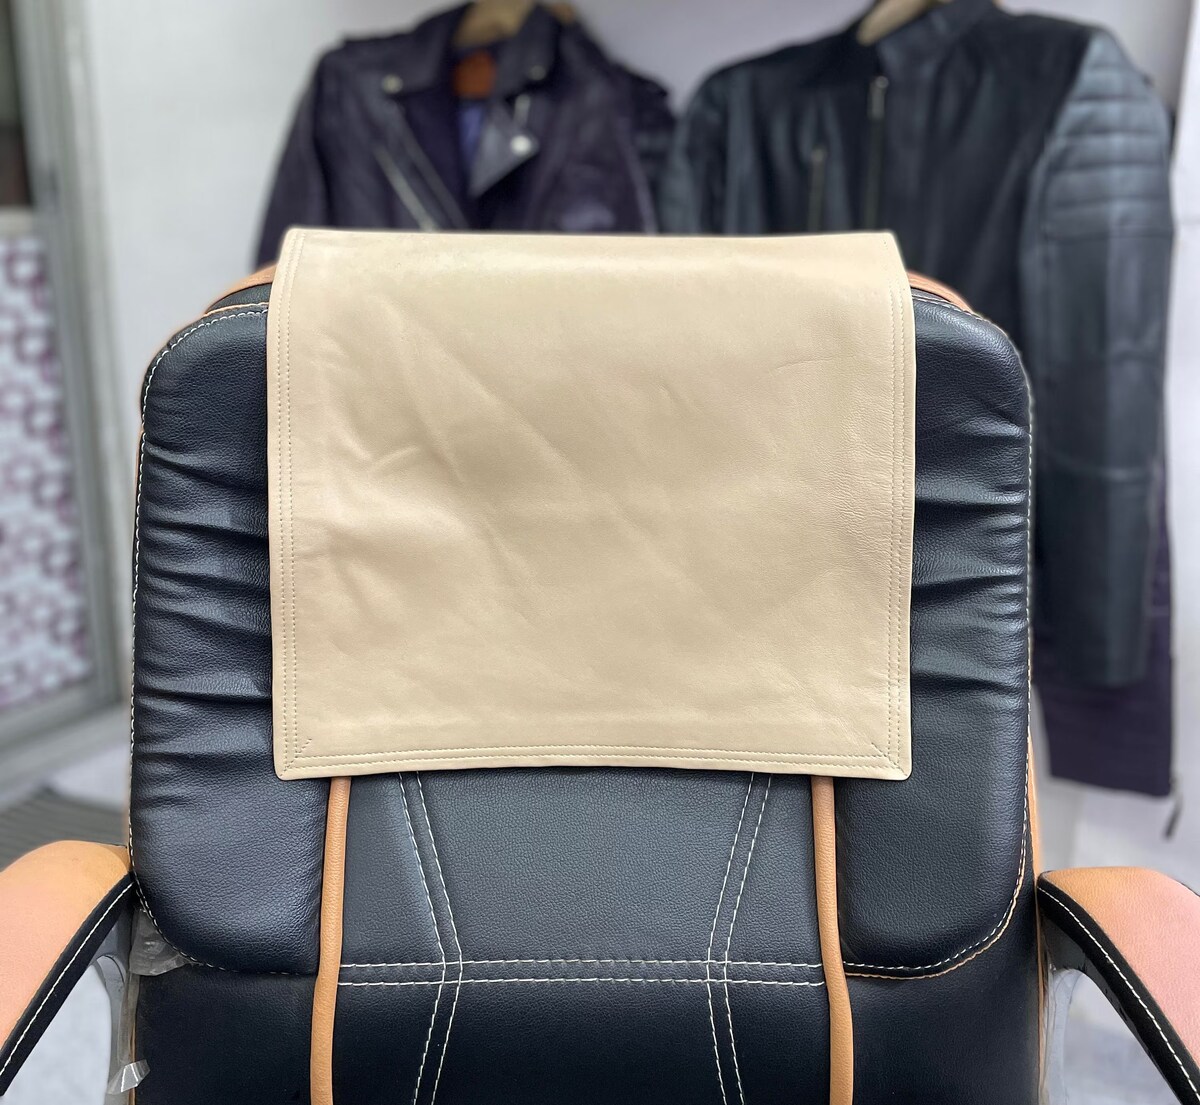
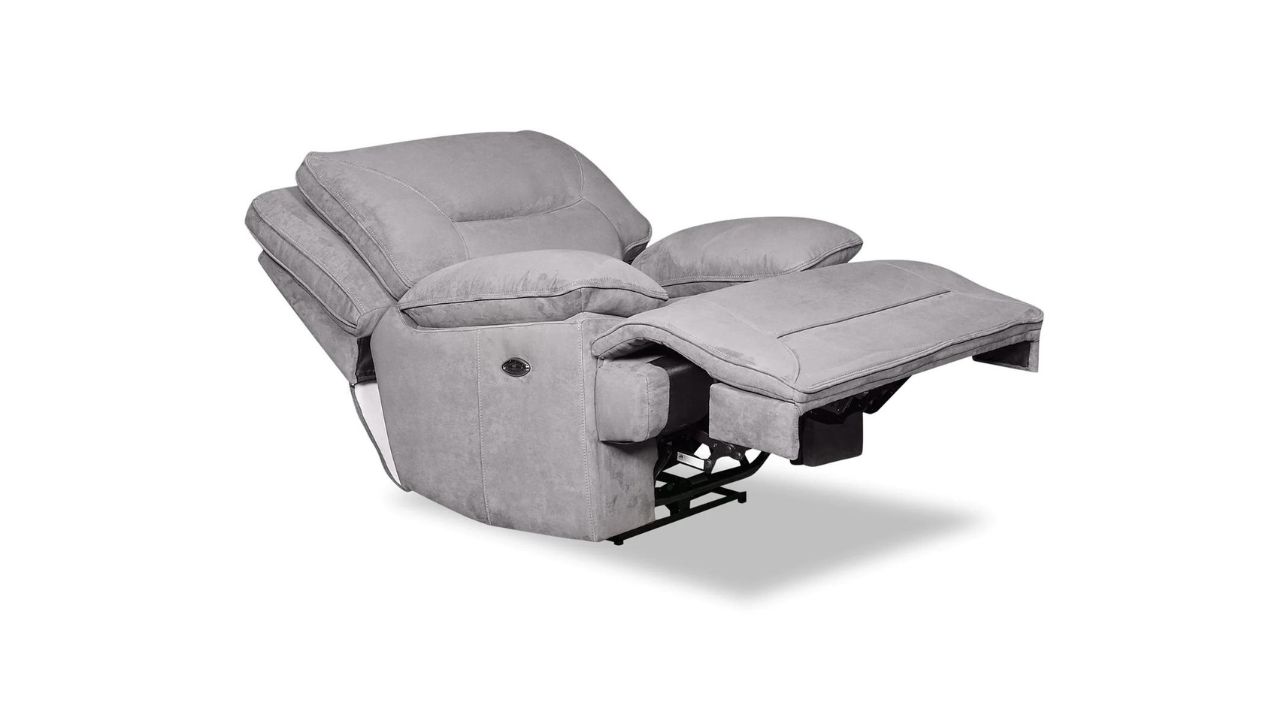
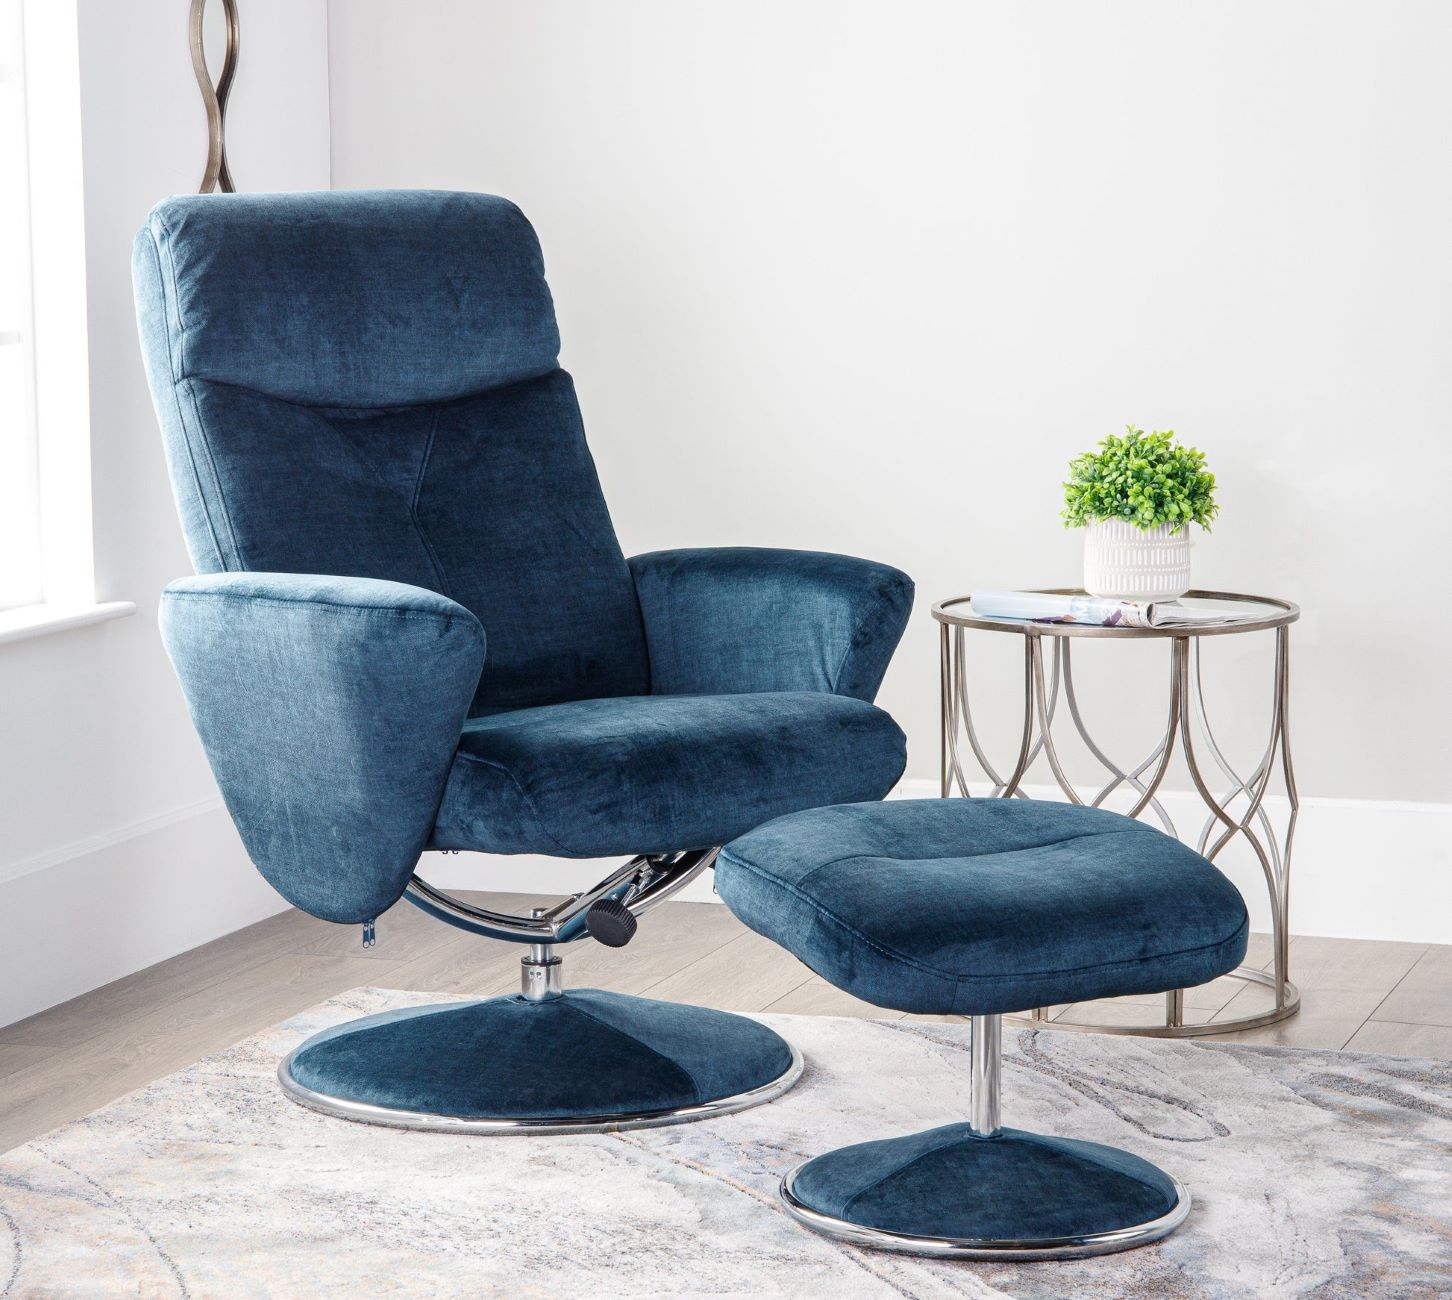
Taking care of your leather recliner headrest is essential for maintaining its beauty and longevity. The headrest is a focal point of the recliner, providing comfort and support, and it's important to keep it clean and well-maintained. Whether it's a cozy spot for reading, watching TV, or simply relaxing, a clean headrest enhances the overall appeal of your living room.
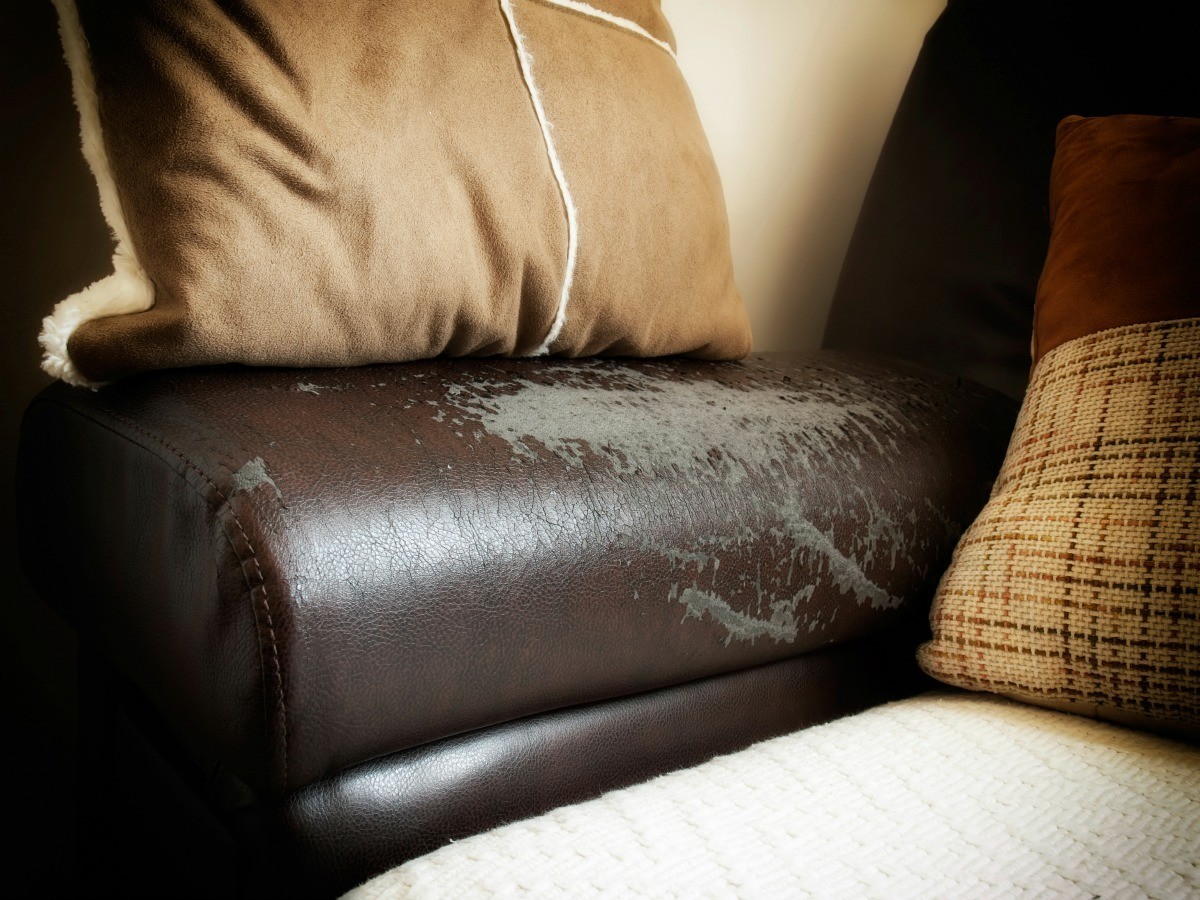
Over time, body oils, sweat, dust, and dirt can accumulate on the headrest, leading to discoloration and a dull appearance. Regular cleaning and conditioning not only preserve the aesthetic appeal of the leather but also prevent cracking and drying, ensuring that your recliner remains a cherished piece of furniture for years to come.
In this guide, we'll walk you through the step-by-step process of cleaning and maintaining your leather recliner headrest. From gathering the necessary cleaning supplies to applying leather cleaner and conditioning the leather, we'll cover everything you need to know to keep your headrest looking its best. Let's dive into the details and learn how to revitalize your leather recliner headrest, bringing back its luster and ensuring a comfortable and inviting living room space for you and your loved ones.
Key Takeaways:
- Keep your leather recliner headrest clean and well-maintained to preserve its beauty and durability. Regular cleaning and conditioning prevent discoloration, cracking, and drying, ensuring a comfortable and inviting living room space.
- Gather the necessary cleaning supplies, vacuum the headrest, apply leather cleaner, wipe down and dry, condition the leather, and implement maintenance tips to revitalize and maintain your leather recliner headrest.
Read more: How To Reupholster A Leather Recliner
Step 1: Gather Your Cleaning Supplies
Before you begin the cleaning process, it’s essential to gather the necessary supplies to ensure a thorough and effective cleaning experience. Here’s what you’ll need:
- Vacuum Cleaner: A vacuum with a soft brush attachment is ideal for removing loose dirt, dust, and debris from the headrest’s surface without causing any damage.
- Microfiber Cloths: Soft, lint-free microfiber cloths are perfect for wiping down the leather and applying the cleaner and conditioner. They are gentle on the leather and help prevent scratching.
- Leather Cleaner: Choose a high-quality leather cleaner specifically formulated for cleaning and conditioning leather furniture. Be sure to check the manufacturer’s recommendations for compatibility with your recliner’s leather type.
- Leather Conditioner: A leather conditioner helps maintain the suppleness and natural oils of the leather, preventing it from drying out and cracking. Look for a conditioner that suits your leather type and provides UV protection.
- Bucket of Warm Water: Prepare a bucket of warm water for diluting the leather cleaner as per the product instructions and for rinsing the cloth during the cleaning process.
- Mild Soap: In case of stubborn stains, keep a mild soap, such as a gentle liquid dish soap, on hand to spot clean the affected areas.
- Optional: Leather Protectant: If desired, consider using a leather protectant to add an extra layer of defense against spills and stains after cleaning and conditioning the headrest.
Once you have all the necessary supplies at your disposal, you’re ready to embark on the journey of rejuvenating your leather recliner headrest. With the right tools in hand, you can proceed with confidence, knowing that you’re equipped to restore your headrest to its former glory.
Step 2: Vacuum the Headrest
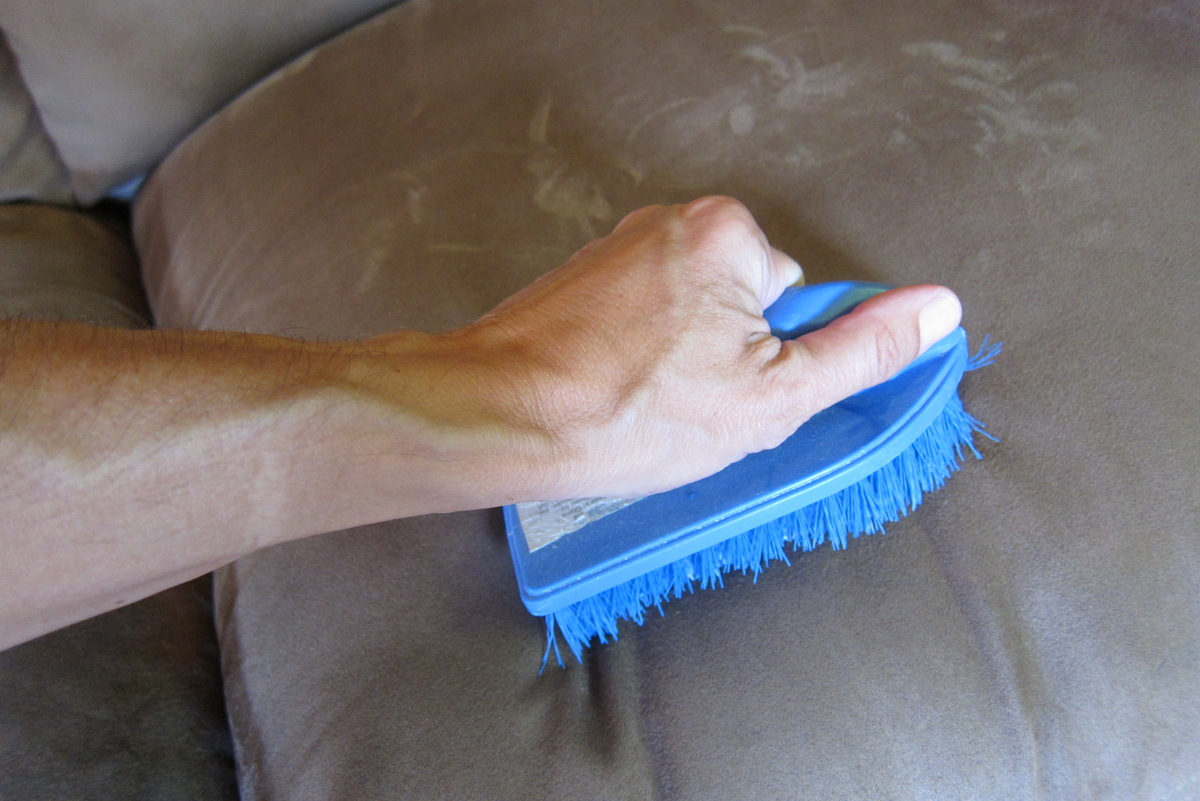
Before delving into the cleaning process, it’s crucial to prepare the leather surface by removing any loose dirt, dust, and debris. Using a vacuum cleaner with a soft brush attachment, gently go over the entire headrest, paying close attention to seams, crevices, and any tufted or textured areas. This initial step helps prevent particles from becoming embedded in the leather during the cleaning process.
When vacuuming, use light, sweeping motions to lift away surface dirt without applying excessive pressure. The soft brush attachment aids in dislodging particles while safeguarding the leather from scratches or abrasions. By effectively eliminating loose contaminants, you set the stage for a more thorough and successful cleaning process, ensuring that the leather is ready to receive the benefits of the subsequent cleaning and conditioning steps.
By taking the time to meticulously vacuum the headrest, you not only maintain the cleanliness of the leather but also minimize the risk of abrasive particles causing premature wear and tear. This simple yet essential preparatory step sets the foundation for achieving optimal results in the overall cleaning and maintenance of your leather recliner headrest.
Step 3: Apply Leather Cleaner
With the headrest prepared and free of loose dirt and debris, it’s time to apply the leather cleaner. Before proceeding, carefully read the manufacturer’s instructions on the leather cleaner product to ensure proper usage and compatibility with your specific type of leather. It’s important to perform a spot test in an inconspicuous area to check for any adverse reactions before applying the cleaner to the entire headrest.
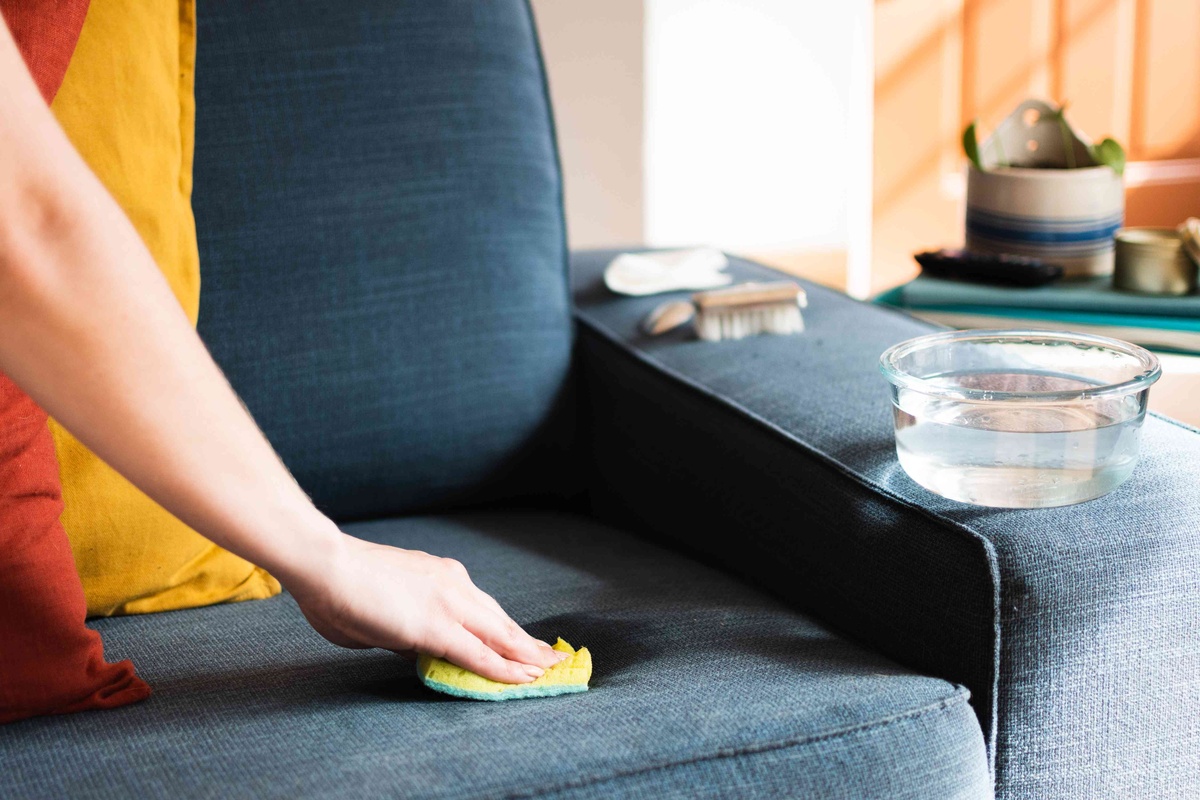
Begin by diluting the leather cleaner in a bucket of warm water according to the product’s instructions. Dampen a clean, soft microfiber cloth with the diluted cleaner, wringing out any excess liquid to prevent oversaturation. Gently wipe the cloth over the headrest’s surface in small, circular motions, working systematically to cover the entire area. This method allows the cleaner to lift dirt and grime from the leather while minimizing the risk of spreading stains or discoloration.
As you apply the leather cleaner, pay special attention to any soiled or heavily used areas, such as the headrest’s top and sides. For stubborn stains or accumulated dirt, a slightly more concentrated application of the cleaner may be necessary. In such cases, exercise caution and refrain from using excessive force to avoid damaging the leather’s delicate surface.
Throughout the cleaning process, periodically rinse the cloth in the bucket of warm water and reapply the diluted cleaner as needed. This ensures that you’re consistently working with a clean cloth and prevents the redistribution of soil and contaminants onto the leather. By methodically cleaning the headrest with the leather cleaner, you’re effectively lifting away impurities and restoring the leather’s natural luster, setting the stage for the subsequent conditioning step.
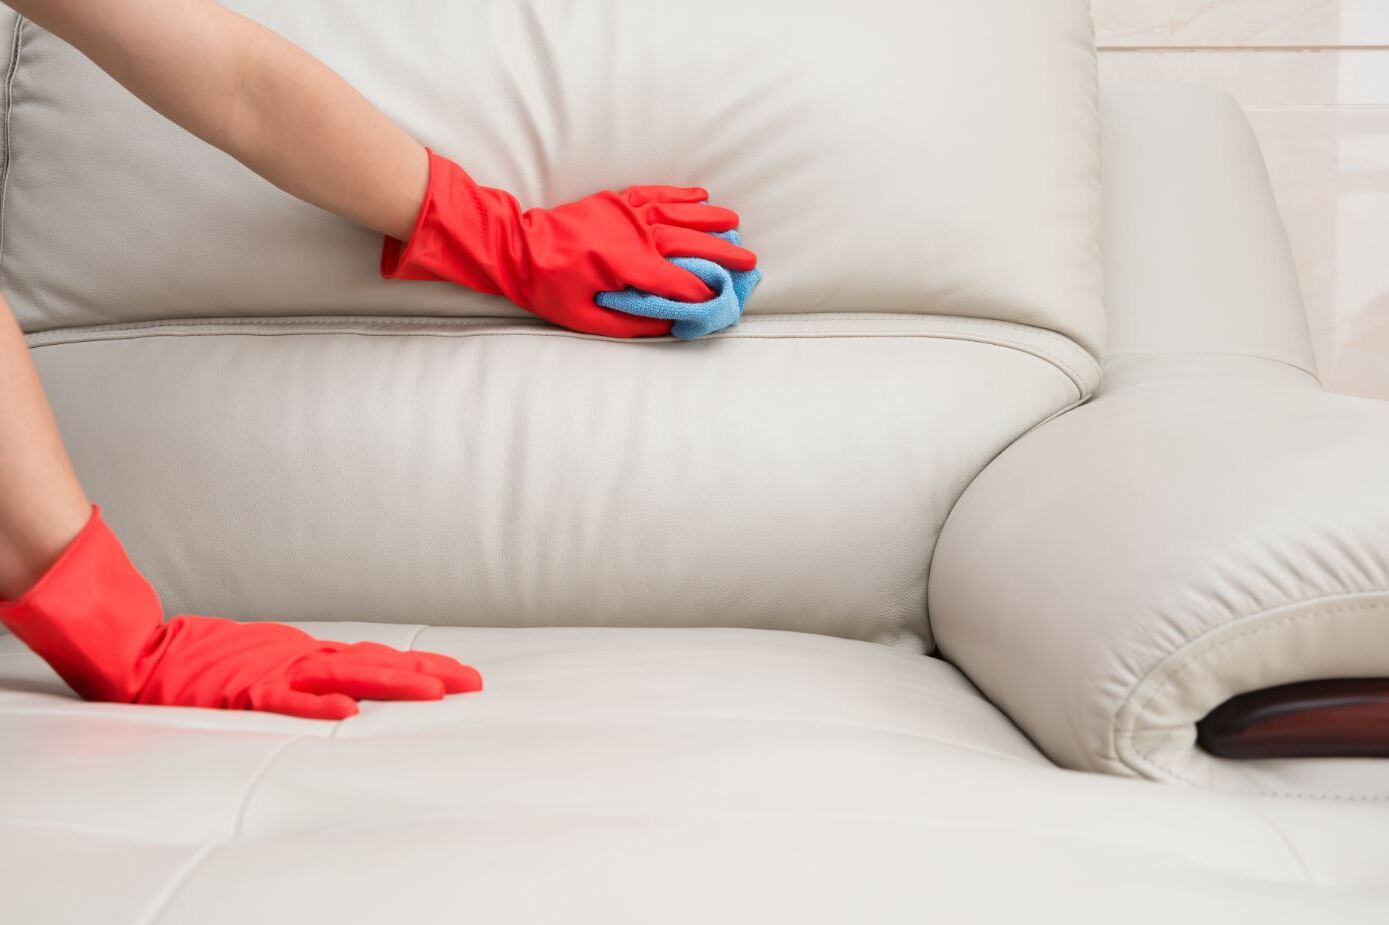
To clean a leather recliner headrest, use a mild soap and water solution to gently wipe away dirt and stains. Avoid using harsh chemicals or abrasive materials that could damage the leather. Always test a small, hidden area first to ensure the cleaning solution does not cause any damage.
Step 4: Wipe Down and Dry
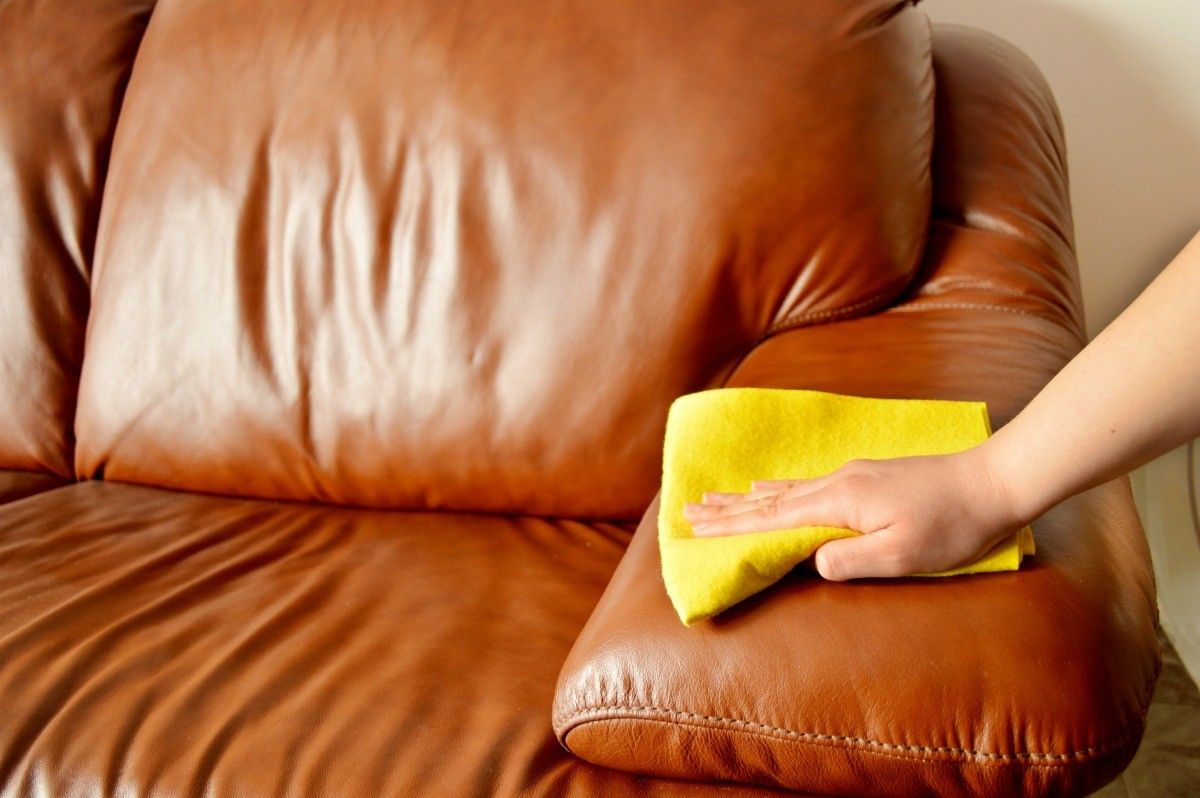
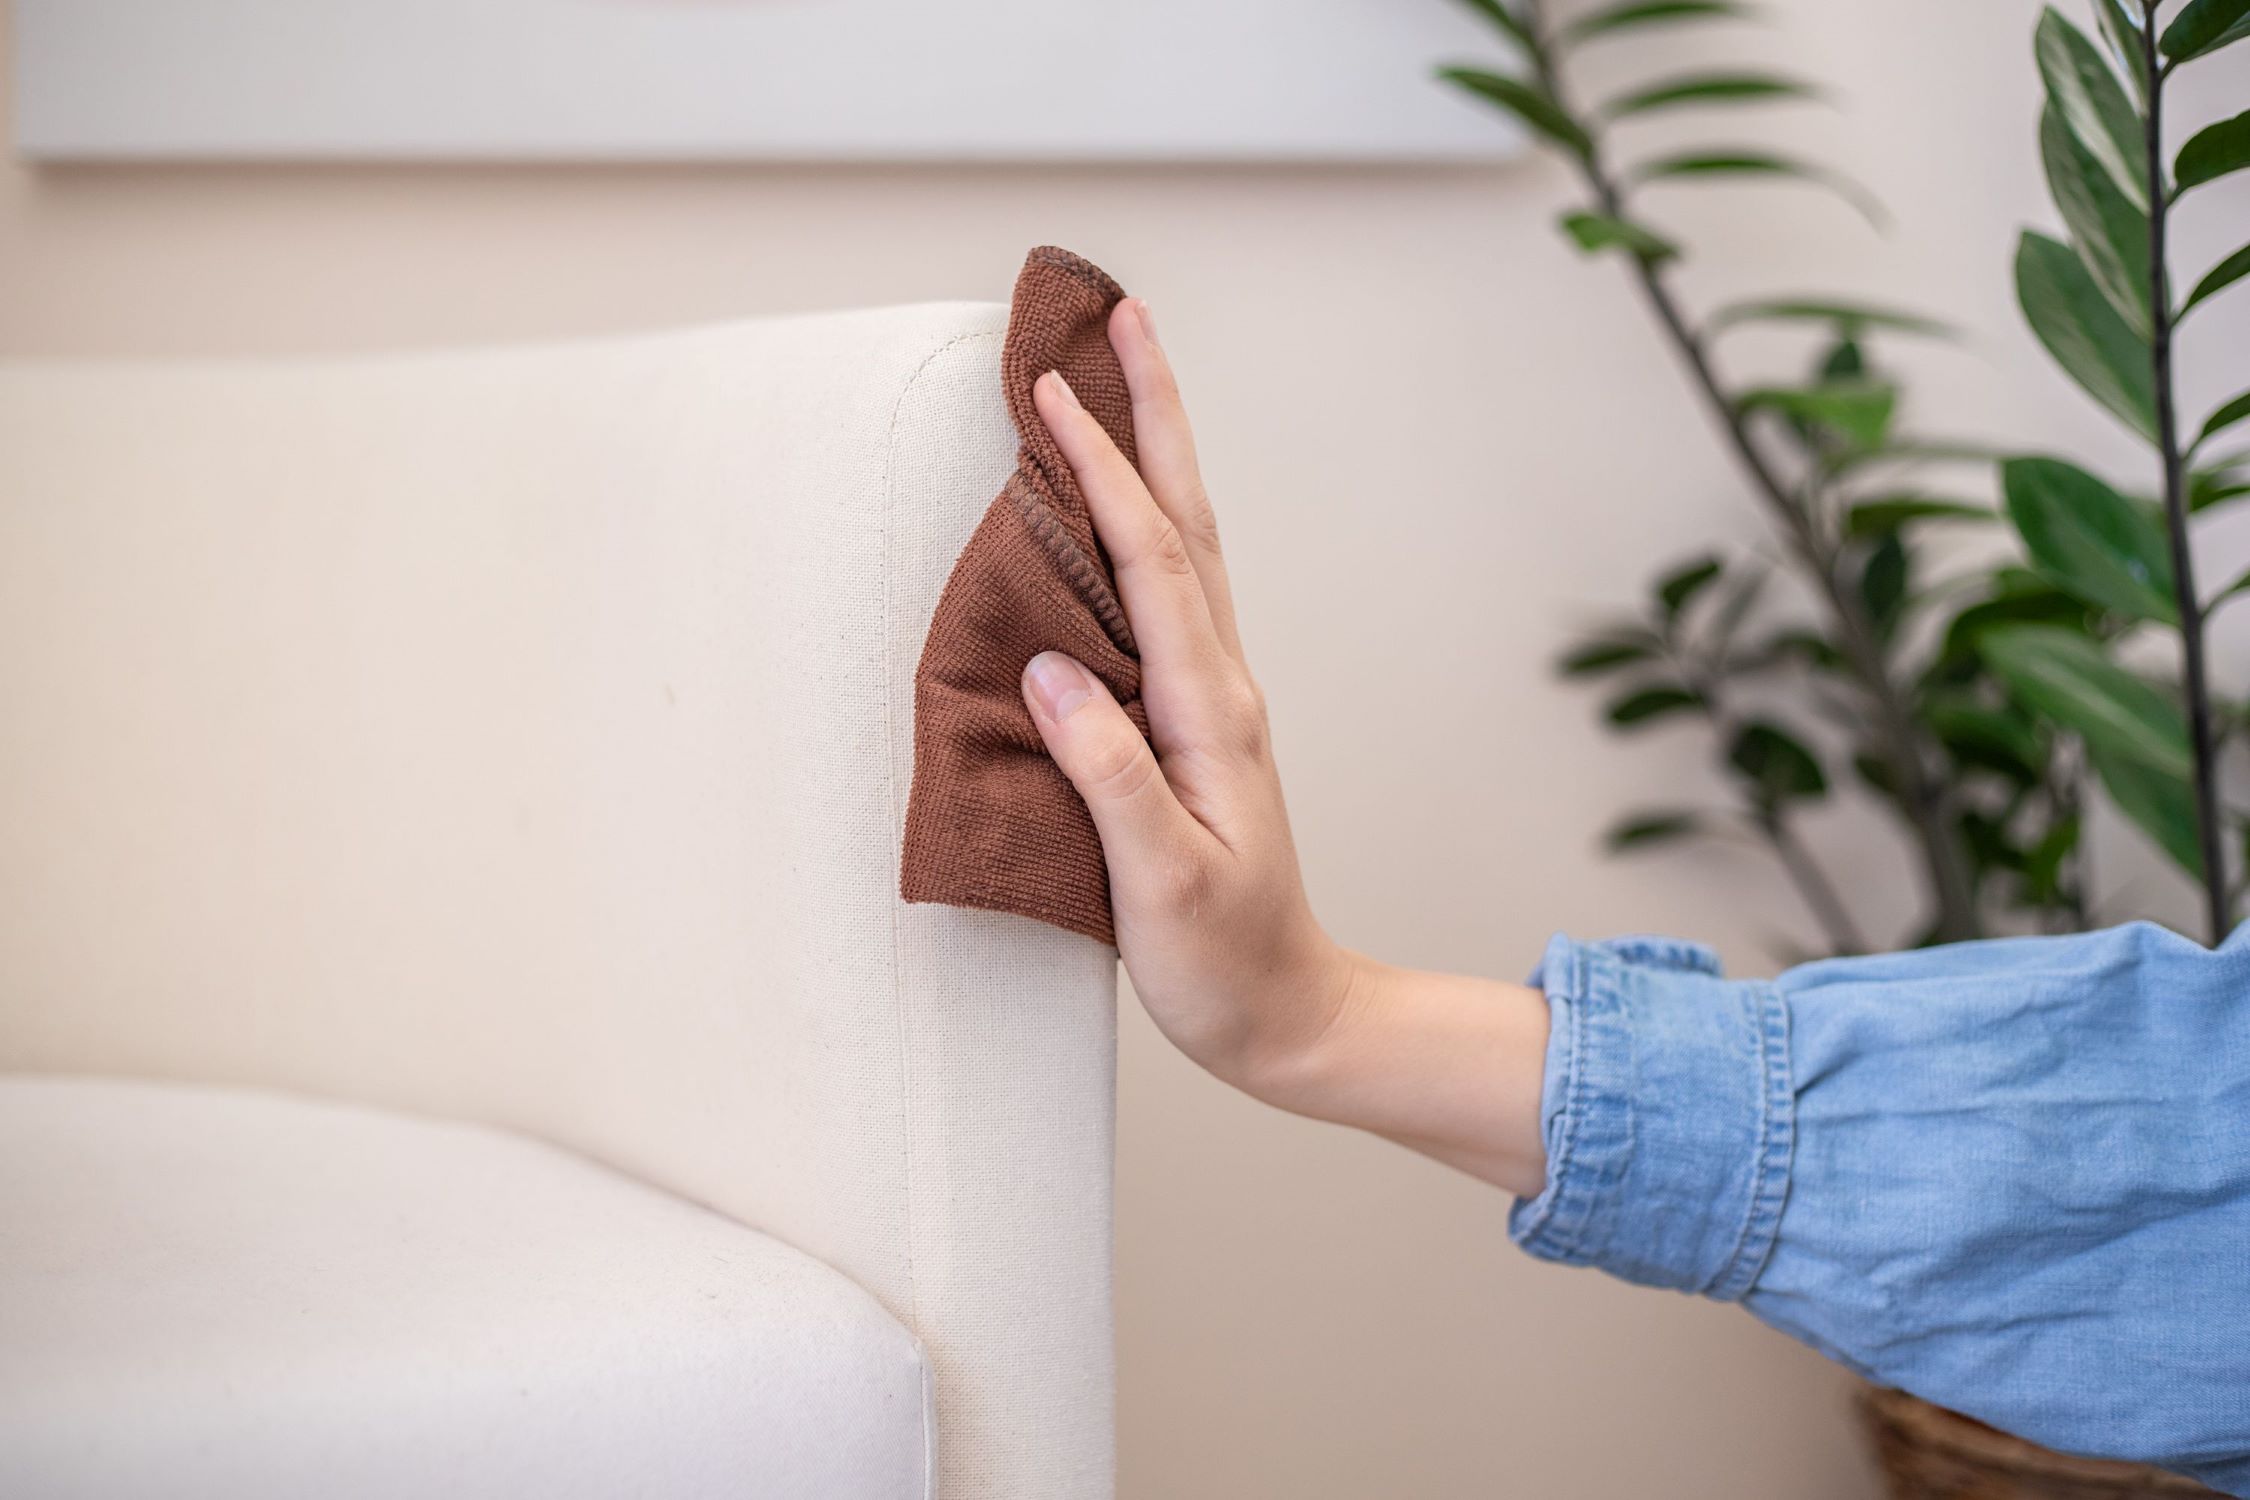
After applying the leather cleaner to the headrest, it’s essential to thoroughly wipe down the surface to remove any residual cleaner and loosened dirt. Using a fresh, damp microfiber cloth, gently go over the entire headrest, ensuring that all traces of the cleaner are effectively removed. This step not only eliminates any remaining impurities but also prepares the leather for the conditioning process by ensuring a clean and receptive surface.
As you wipe down the headrest, be attentive to any areas where cleaner residue may have accumulated, such as seams, stitching, or textured patterns. Carefully inspect these areas and take the time to meticulously remove any lingering cleaner, as leaving it behind could lead to potential discoloration or an uneven conditioning outcome.
Following the thorough wipe-down, it’s crucial to allow the headrest to air dry naturally. Avoid using heat sources such as hairdryers or placing the recliner in direct sunlight, as excessive heat can cause the leather to dry out and potentially incur damage. Instead, allow the headrest to dry at room temperature, permitting the leather to gradually regain its natural moisture and suppleness.
Throughout the drying process, periodically assess the headrest to ensure that it’s drying uniformly and that no areas are retaining excess moisture. Gently pat the leather with a dry microfiber cloth if needed to absorb any residual dampness, taking care not to apply excessive pressure that could damage the leather’s surface.
By meticulously wiping down the headrest and allowing it to air dry, you facilitate the transition to the subsequent conditioning step, ensuring that the leather is clean, free of residual cleaner, and ready to receive the nourishing benefits of the leather conditioner.
Read more: How To Repair A Faux Leather Recliner
Step 5: Condition the Leather
Conditioning the leather is a pivotal step in maintaining the headrest’s luxurious appearance and preserving its integrity. Once the headrest is clean and dry, it’s time to apply a high-quality leather conditioner to nourish and protect the leather, keeping it supple and resilient against the effects of aging and daily use.
Before applying the conditioner, carefully review the manufacturer’s guidelines to ensure that the product is suitable for your specific type of leather. Select a small amount of the conditioner and apply it to a clean, soft microfiber cloth. Gently massage the conditioner into the leather using circular motions, ensuring even coverage across the entire headrest. Focus on working the conditioner into the leather rather than leaving a thick, visible layer on the surface.
As you apply the conditioner, pay particular attention to any areas that may be more prone to dryness or wear, such as the headrest’s top, where frequent contact occurs. Additionally, if your leather recliner headrest is exposed to sunlight, consider using a conditioner with UV protection to help shield the leather from potential sun damage and fading.
Allow the conditioner to penetrate the leather for the recommended duration specified by the product instructions. This allows the leather to absorb the nourishing properties of the conditioner, replenishing its natural oils and maintaining its resilience. Excess conditioner can be gently removed with a clean, dry microfiber cloth to ensure that the leather is evenly conditioned without any residual buildup.
By regularly conditioning the leather, you not only enhance its aesthetic appeal but also fortify its durability, ensuring that your recliner’s headrest remains a captivating and inviting focal point in your living room for years to come.
Step 6: Final Touches and Maintenance Tips
With the headrest now cleaned and conditioned, it’s time to add the final touches and implement maintenance practices to prolong the leather’s beauty and longevity. As you complete the rejuvenation process, consider the following tips to ensure that your leather recliner headrest remains in optimal condition:
- Buffing and Polishing: After conditioning the leather, gently buff the headrest with a clean, dry microfiber cloth to enhance its sheen and smooth out any residual conditioner, creating a polished finish.
- Regular Dusting: Maintain the cleanliness of the headrest by regularly dusting it with a soft, dry cloth to remove surface dust and prevent it from settling into the leather.
- Protect from Sunlight: Minimize direct exposure to sunlight to prevent fading and drying of the leather. Consider using curtains or blinds to shield the recliner from harsh sunlight.
- Address Spills Promptly: In the event of spills or stains, attend to them promptly by blotting the affected area with a clean, dry cloth and addressing any residual marks with a mild soap and water solution.
- Professional Maintenance: Periodically engage professional leather cleaning and conditioning services to address deep-seated dirt, maintain the leather’s integrity, and extend the life of your recliner.
By incorporating these maintenance tips into your routine, you can uphold the pristine condition of your leather recliner headrest, ensuring that it remains a cherished and inviting element of your living room decor. Regular care and attention will preserve the leather’s beauty and comfort, allowing you to enjoy its luxurious appeal for years to come.
With the final touches and maintenance insights in mind, you’ve completed the comprehensive process of cleaning and rejuvenating your leather recliner headrest. By following these steps and implementing ongoing maintenance practices, you’re equipped to sustain the allure and comfort of your living room centerpiece, creating a welcoming and aesthetically pleasing space for relaxation and enjoyment.
Conclusion
Embarking on the journey of cleaning and maintaining your leather recliner headrest has not only revitalized its appearance but also reinforced its role as a central element of comfort and style in your living room. By following the step-by-step process outlined in this guide, you’ve taken proactive measures to preserve the beauty and integrity of the leather, ensuring that your recliner remains a cherished and inviting piece of furniture for years to come.
Through the meticulous gathering of cleaning supplies, the gentle vacuuming, and the application of specialized leather cleaner, you’ve effectively removed dirt and impurities, breathing new life into the headrest. The subsequent conditioning process has replenished the leather, bestowing it with suppleness and resilience, while the final touches and maintenance tips have equipped you with the knowledge to sustain its allure and comfort.
As you bask in the renewed luster of your leather recliner headrest, take pride in the care and attention you’ve devoted to preserving its elegance and functionality. The inviting comfort it offers and the aesthetic appeal it exudes are a testament to your commitment to creating a warm and welcoming living room environment for yourself and your loved ones.
By integrating the insights and practices presented in this guide into your regular maintenance routine, you ensure that your leather recliner headrest continues to be a source of comfort, relaxation, and visual delight. As you settle into its embrace, you can revel in the knowledge that your dedication to its care has secured its enduring place as a cherished centerpiece in your home.
With your leather recliner headrest now revitalized and well-maintained, you can look forward to many more moments of comfort and relaxation, knowing that its timeless allure and enduring quality are a testament to your commitment to preserving its beauty and functionality.
Frequently Asked Questions about How To Clean Leather Recliner Headrest
Was this page helpful?
At Storables.com, we guarantee accurate and reliable information. Our content, validated by Expert Board Contributors, is crafted following stringent Editorial Policies. We're committed to providing you with well-researched, expert-backed insights for all your informational needs.


0 thoughts on “How To Clean Leather Recliner Headrest”