Articles
How To Make Leather Tool Belt
Modified: August 31, 2024
Discover helpful articles on how to make a durable and functional leather tool belt. Explore step-by-step guides, expert tips, and valuable insights to create your own leather tool belt.
(Many of the links in this article redirect to a specific reviewed product. Your purchase of these products through affiliate links helps to generate commission for Storables.com, at no extra cost. Learn more)
Introduction
When it comes to working with tools, having easy access to them is key. A leather tool belt not only keeps your tools organized, but it also adds a touch of style to your work attire. Plus, making your own tool belt gives you the opportunity to customize it to fit your specific needs.
In this article, we will guide you through the process of making a leather tool belt from scratch. We will provide a list of materials you will need, as well as step-by-step instructions on how to create a functional and aesthetically pleasing tool belt that will surely become your go-to accessory for any handyman or DIY project.
So, if you’re ready to take your tool organization to the next level and show off your craftsmanship, let’s dive into the world of DIY leatherwork.
Key Takeaways:
- Craft a personalized leather tool belt to keep your tools organized and easily accessible, adding a touch of style and craftsmanship to your DIY projects.
- Embrace the art of leatherwork by creating a functional and aesthetically pleasing tool belt that reflects your unique style and enhances your handyman skills.
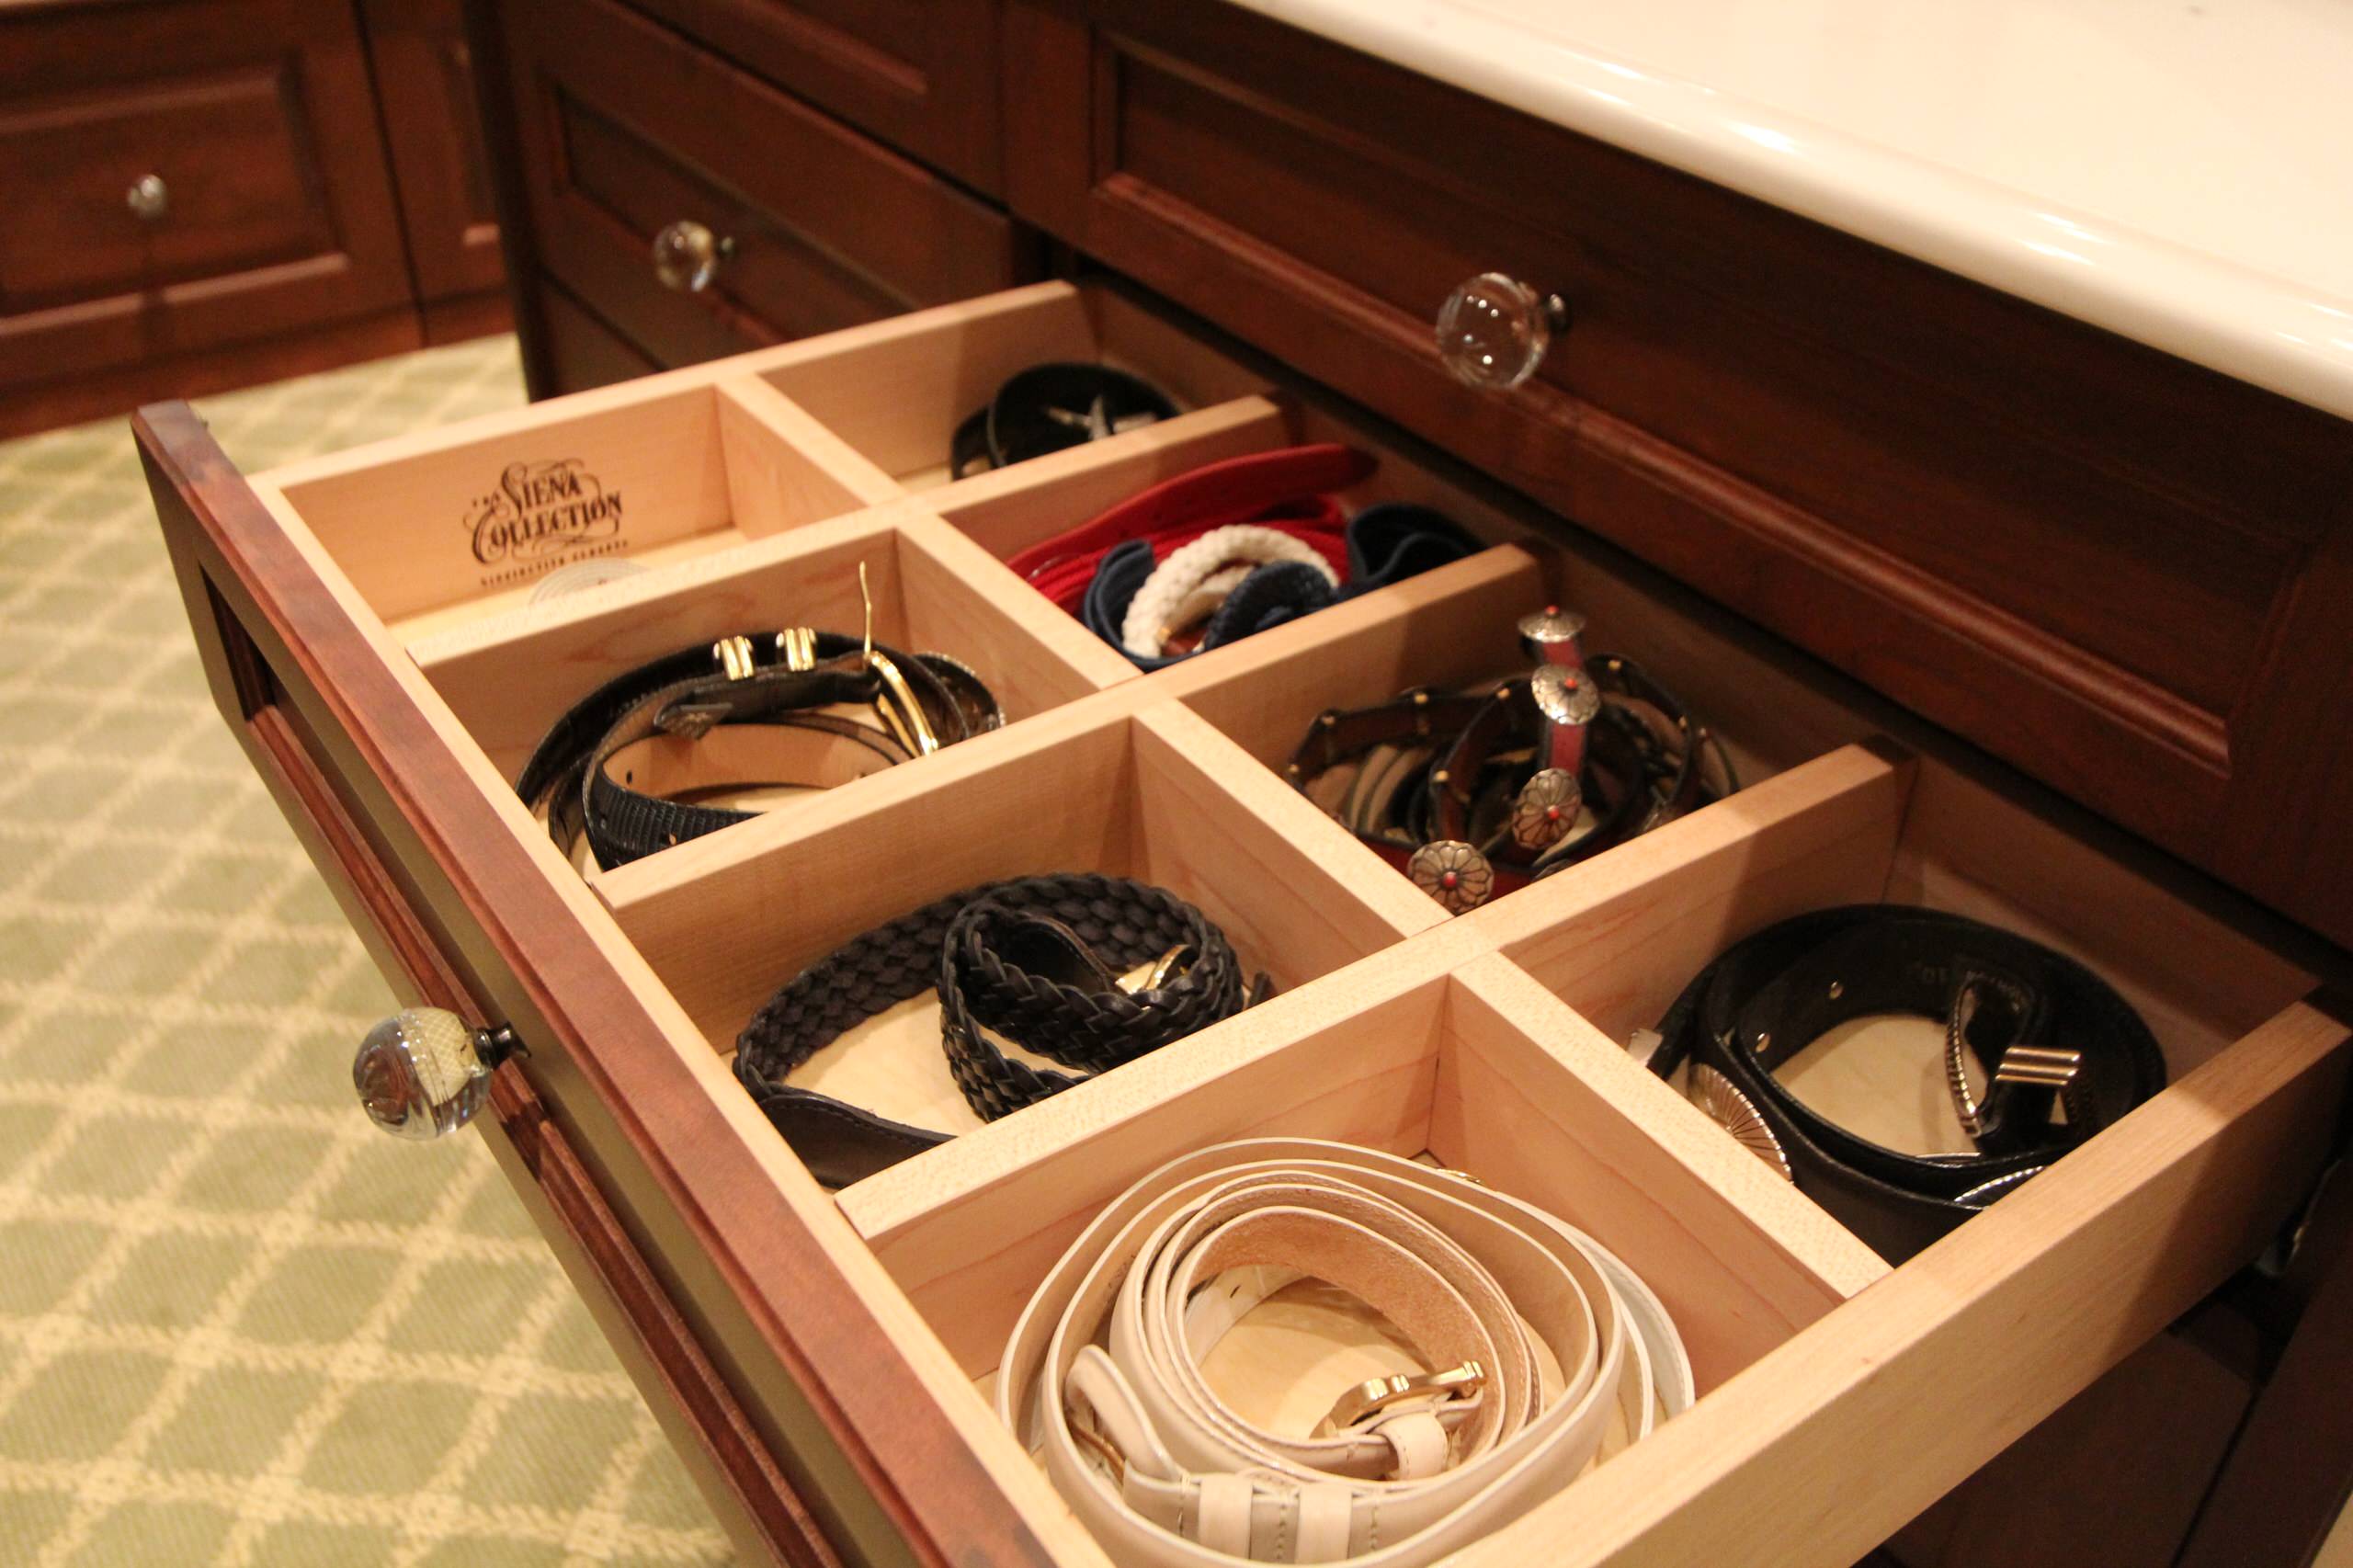
Read more: How To Store Leather Belts
Materials Needed
Before you embark on your leather tool belt making journey, it’s important to gather all the necessary materials. Here’s a list of what you’ll need to get started:
- Full-grain leather: Choose a sturdy and durable leather that is at least 4-5 ounces thick. You’ll need enough to create the belt and pockets for your tools.
- Leather punch: This tool will allow you to create holes in the leather for attaching the buckle and adding loops.
- Leather scissors or a utility knife: You’ll need a tool to cut the leather to the desired size and shape.
- Thread and needle: Opt for a strong and durable thread that matches or complements the color of your leather.
- Rivets or Chicago screws: These fasteners will be used to secure the pockets and loops to the belt.
- Belt buckle: Choose a buckle that is both functional and visually appealing.
- Measuring tape or ruler: This will help you accurately measure and cut the leather.
- Optional embellishments: If desired, you can add decorative elements such as metal studs, leather stamps, or dye to personalize your tool belt.
Once you have gathered all the necessary materials, you’re ready to move on to the next steps in creating your leather tool belt.
Step 1: Measure and Cut the Leather
The first step in making your leather tool belt is to measure and cut the leather to the appropriate size. Follow these steps:
- Measure your waist: Use a measuring tape or a piece of string to measure around your waist where you typically wear your belt. Make sure to account for any additional layers of clothing you may be wearing while working.
- Add extra length: To ensure a comfortable fit, add an additional 6-8 inches to the measurement you just took. This will account for overlapping the belt and securing it with the buckle.
- Mark the length: Use a pencil or a small piece of chalk to mark the length you just calculated on the backside of the leather. Make sure to draw a straight line across the width of the leather.
- Cut the leather: Using leather scissors or a utility knife, carefully cut along the marked line. Take your time and make sure to apply even pressure to achieve a clean cut. It’s always better to cut the leather slightly longer than needed, as you can always trim it down later if necessary.
Once you have cut the main belt piece, set it aside for now. In the next step, we’ll focus on creating the pockets for your tools.
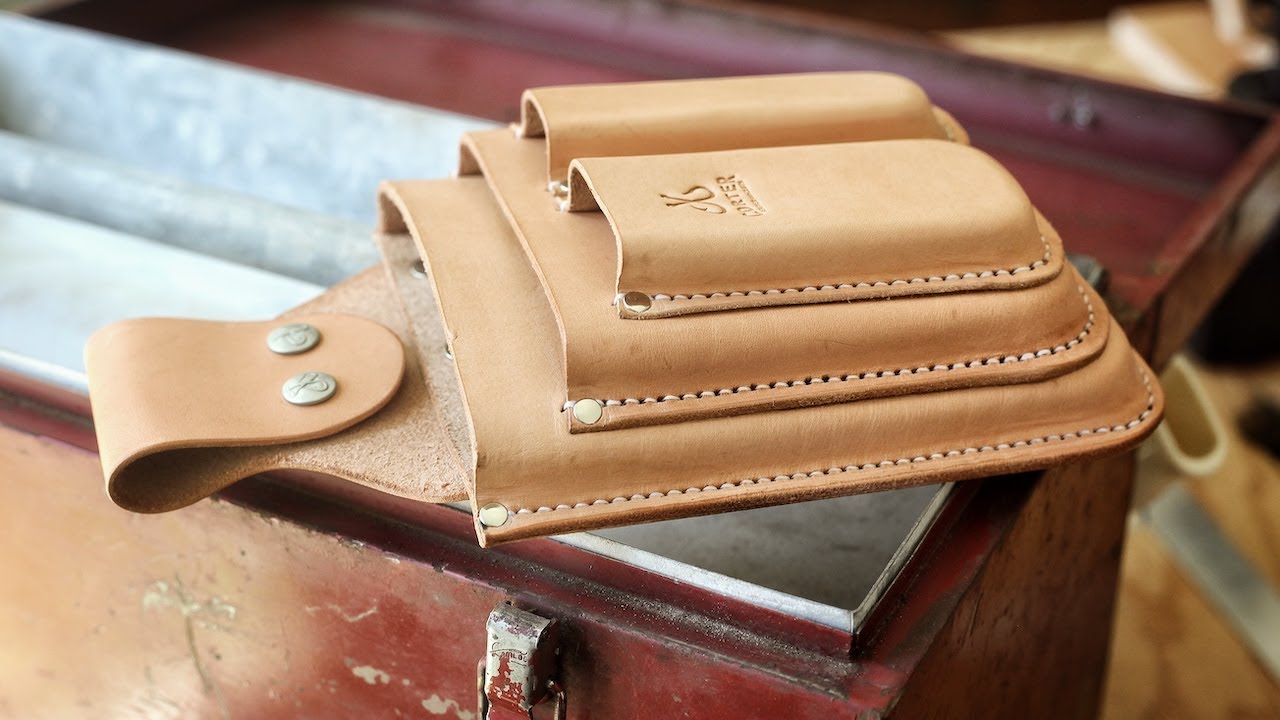
Step 2: Create the Pockets
Now that you have the main belt piece ready, it’s time to create the pockets that will hold your tools. Follow these steps:
- Assess your tool needs: Take a look at the tools you frequently use and determine the number and size of pockets you will need. Consider different pocket sizes to accommodate a variety of tools.
- Measure and mark: Use a measuring tape or ruler to measure and mark the desired size and placement of each pocket on the backside of the leather. Make sure to leave additional space between the pockets to allow for easy access.
- Cut out the pockets: Using your leather scissors or utility knife, carefully cut along the marked lines to create the pockets. Take your time and ensure precise cuts to achieve clean edges.
- Optional: Add reinforcement stitching: To make the pockets more durable, you can opt to add reinforcement stitching along the edges. Use a leather needle and strong thread to sew a straight stitch along the perimeter of each pocket.
Once you have created all the pockets and reinforced their edges if desired, you’re ready to move on to the next step of attaching the pockets to the belt.
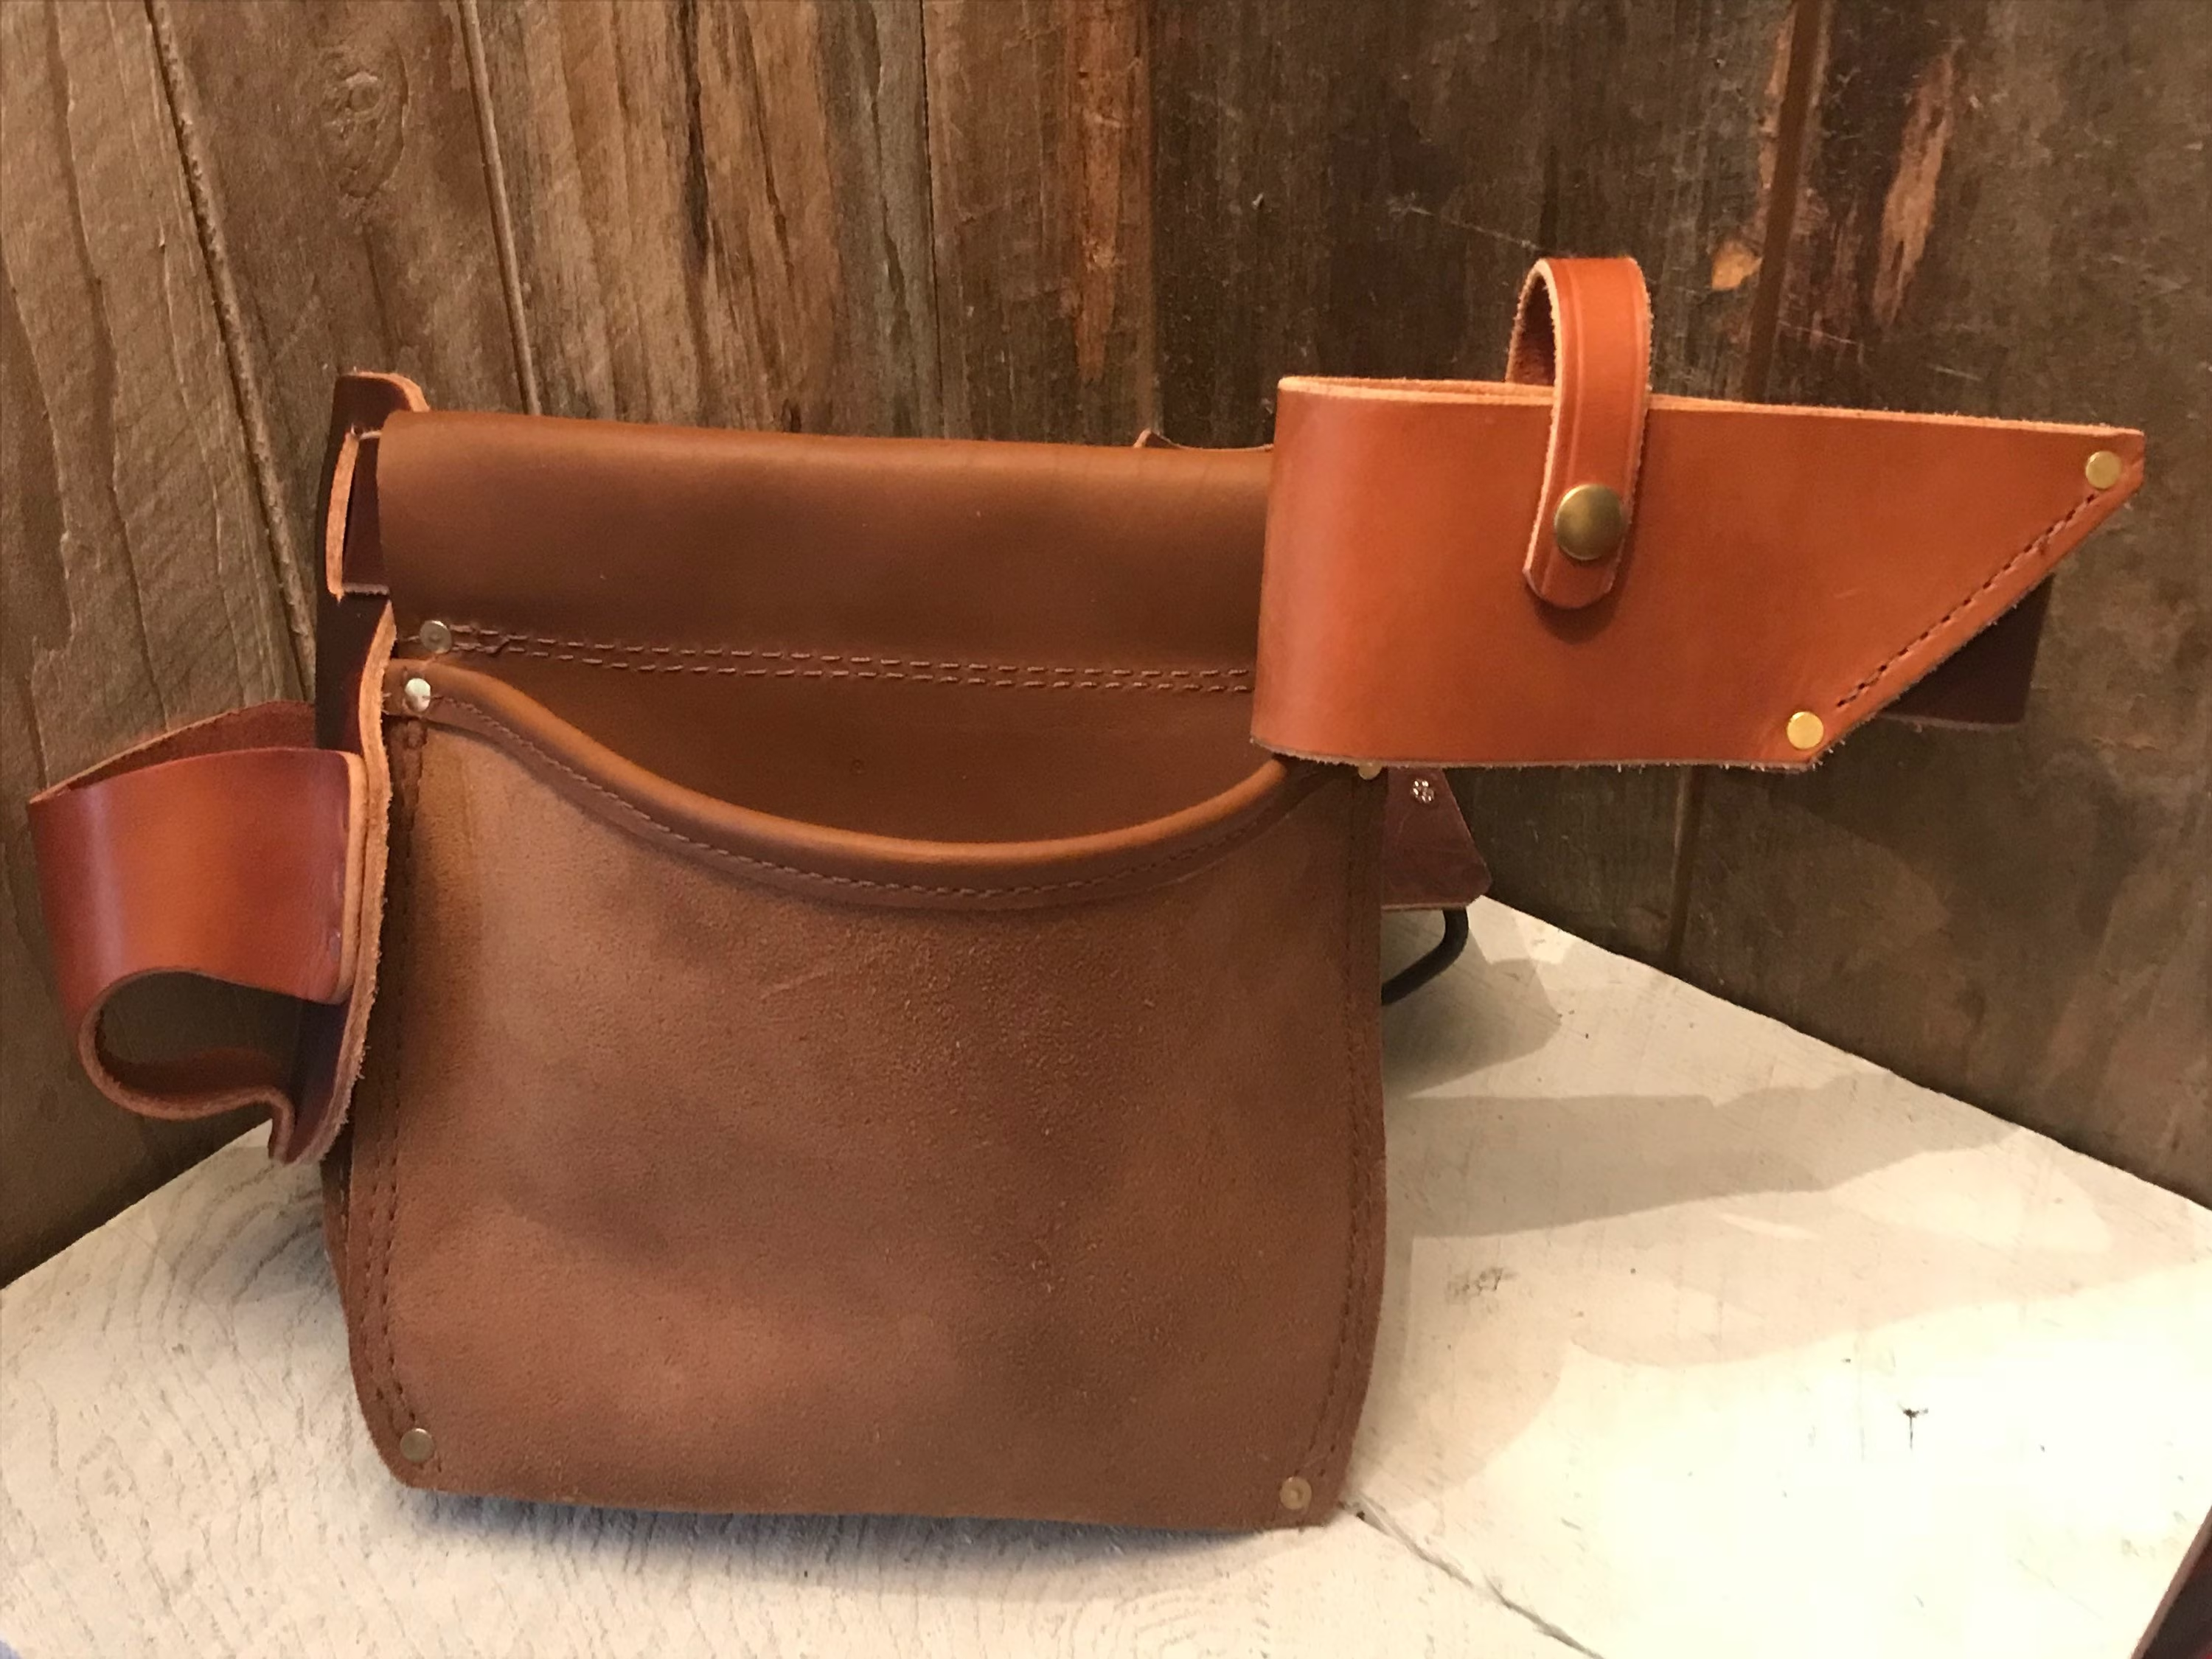
Step 3: Attach the Pockets to the Belt
Now that you have the pockets ready, it’s time to attach them to the main belt piece. Follow these steps:
- Position the pockets: Place the pockets on the front side of the belt, aligning them with the markings you made earlier. Arrange them in a way that suits your tool organization preferences.
- Secure with rivets or screws: Use rivets or Chicago screws to secure the pockets to the belt. Position the fasteners at the corners of each pocket or along the sides, depending on the design you prefer. Make sure they are evenly spaced and centered on each pocket.
- Apply pressure: Once you have inserted the rivets or screws, use a mallet or a hammer to apply pressure and secure them in place. This will ensure that the pockets are firmly attached to the belt.
After attaching all the pockets to the belt, give it a gentle tug to make sure everything is securely in place. If any pockets feel loose, reinforce them with additional rivets or screws as needed.
Congratulations! You’ve completed the step of attaching the pockets to the belt. In the next step, we’ll add loops to hold your tools securely.
When making a leather tool belt, be sure to use high-quality, durable leather that can withstand the weight of your tools. Reinforce stress points with rivets or double stitching for added strength and longevity.
Read more: How To Clean Leather Tool Belt
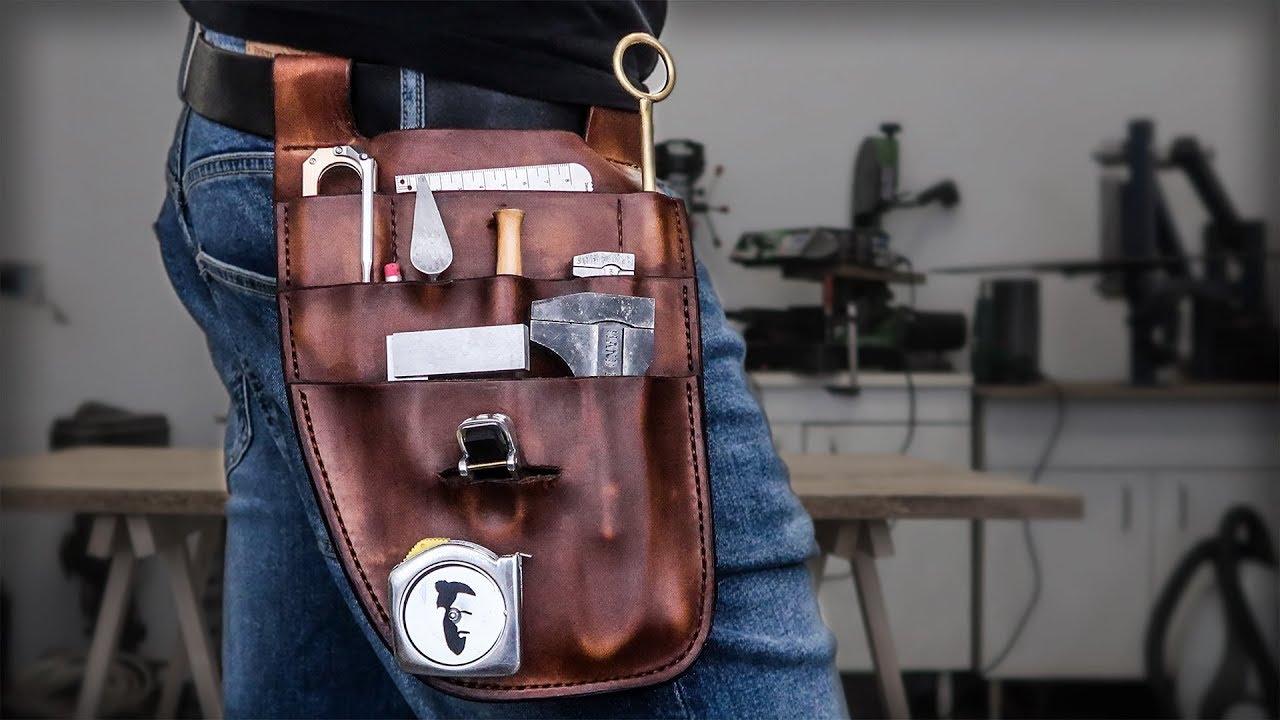
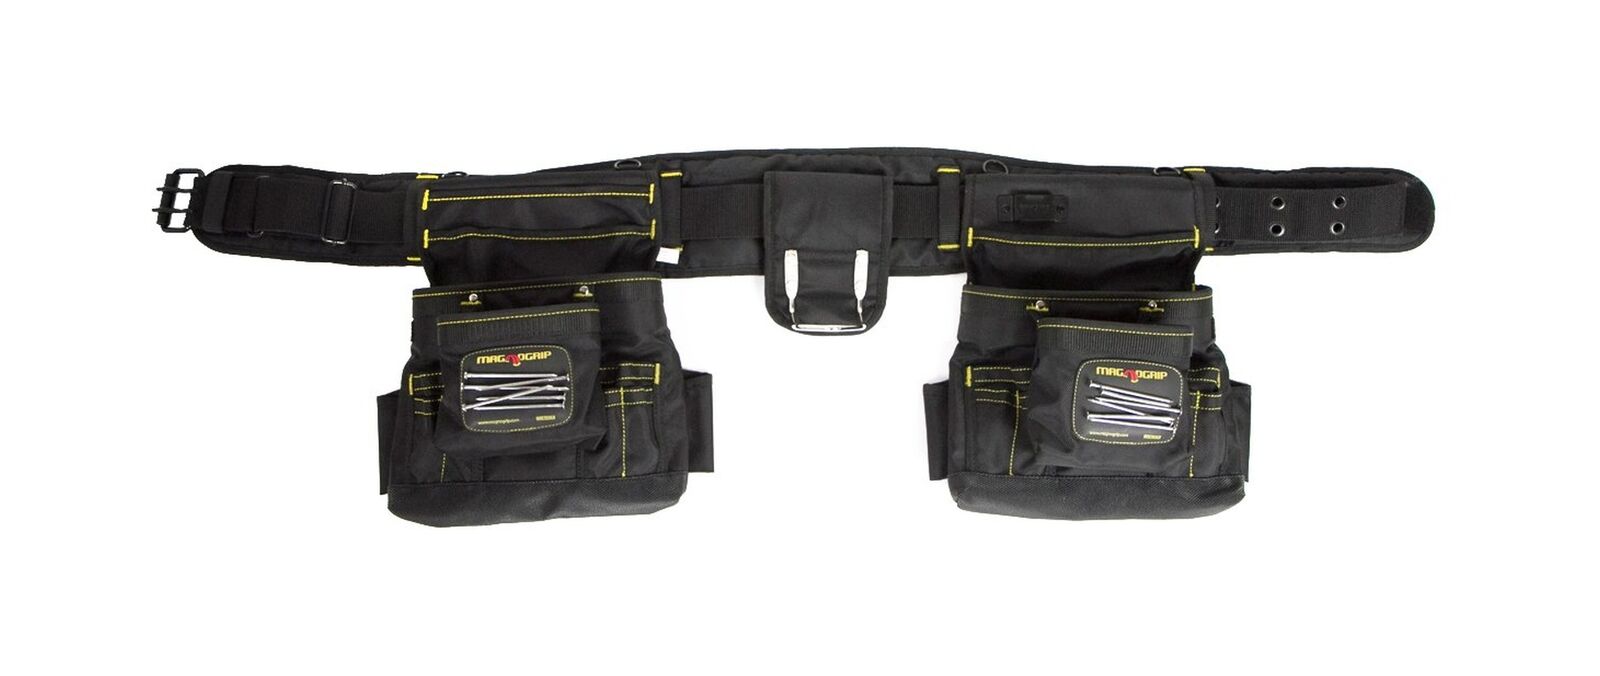
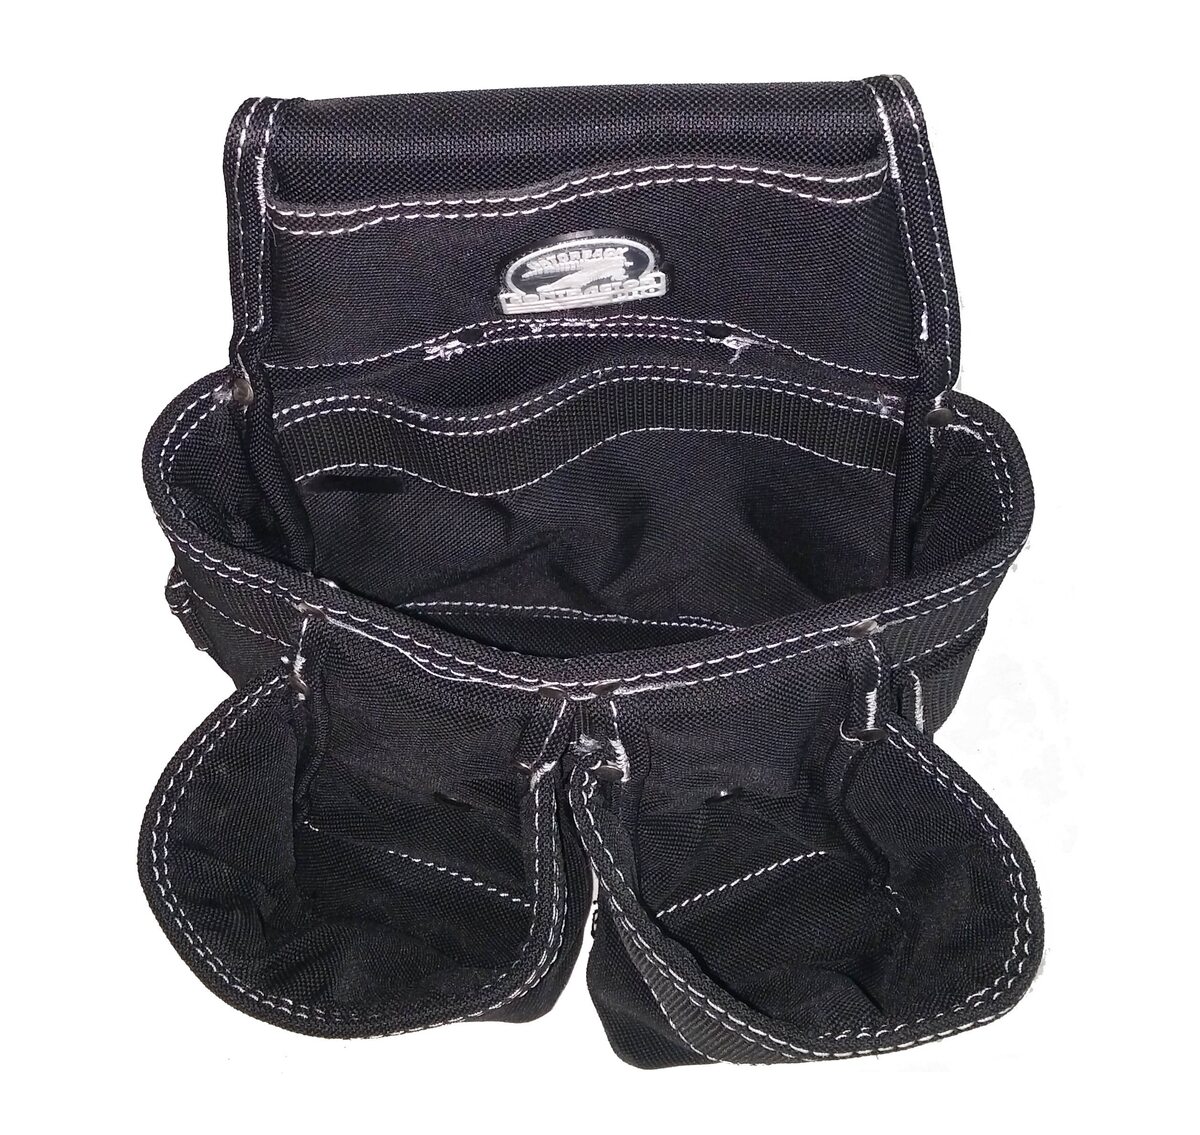
Step 4: Add Loops for Tools
Adding loops to your leather tool belt is an essential step to ensure your tools are held securely. Follow these steps to create and attach the loops:
- Determine the number and size of loops needed: Assess the types and sizes of tools you regularly use and determine the appropriate number and size of loops needed. Ensure the loops are large enough to comfortably fit the handles of your tools.
- Measure and mark the loop placements: Use a measuring tape or ruler to measure and mark the desired locations for the loops on the belt. Ensure they are evenly spaced and positioned in a way that allows easy access to your tools.
- Cut leather strips for loops: Cut thin strips of leather, about 1 inch wide, to create the loops. The length of the strips will depend on the size of the loops you need. Cut enough strips to accommodate all the desired loops.
- Create the loops: Fold each leather strip in half and secure the ends by using rivets or Chicago screws. Make sure the loops are tight and secure to prevent your tools from slipping out.
- Attach the loops to the belt: Position the loops on the marked locations and secure them to the belt using rivets or screws. Make sure they are centered and securely fastened to withstand the weight of your tools.
Once all the loops are attached, give them a gentle tug to ensure they are firmly secured. This will help prevent the loops from coming loose and guarantee the safety of your tools.
Great job! Your tool belt is taking shape. In the next step, we’ll focus on securing the belt around your waist.
Step 5: Secure the Belt
Now that you have added the pockets and loops to your leather tool belt, it’s time to secure it around your waist. Follow these steps to ensure a secure fit:
- Wrap the belt around your waist: Hold the belt around your waist, with the pockets and loops facing outward. Ensure that the belt is wrapped snugly but comfortably.
- Overlap the belt ends: Determine the desired overlap of the belt ends. This will depend on the size of your waist and the buckle style you have chosen.
- Mark the buckle hole: Use a pencil or small piece of chalk to mark the position for the buckle hole on the belt end that will be overlapping.
- Create the buckle hole: Using a leather punch, carefully create the buckle hole at the marked position. Ensure that the hole is large enough to comfortably insert the buckle tongue.
- Secure the buckle: Insert the buckle tongue through the buckle hole and fasten it securely. Depending on the type of buckle you have, this may involve sliding the tongue through a loop or pressing it into a locking mechanism.
Once the buckle is securely fastened, adjust the belt to your desired fit by ensuring that it is snug but allows for ease of movement. Double-check that the pockets and loops are easily accessible and in a comfortable position.
Your leather tool belt is now ready to be worn! In the next step, we’ll explore some optional ways to add a personal touch and make your belt truly unique.
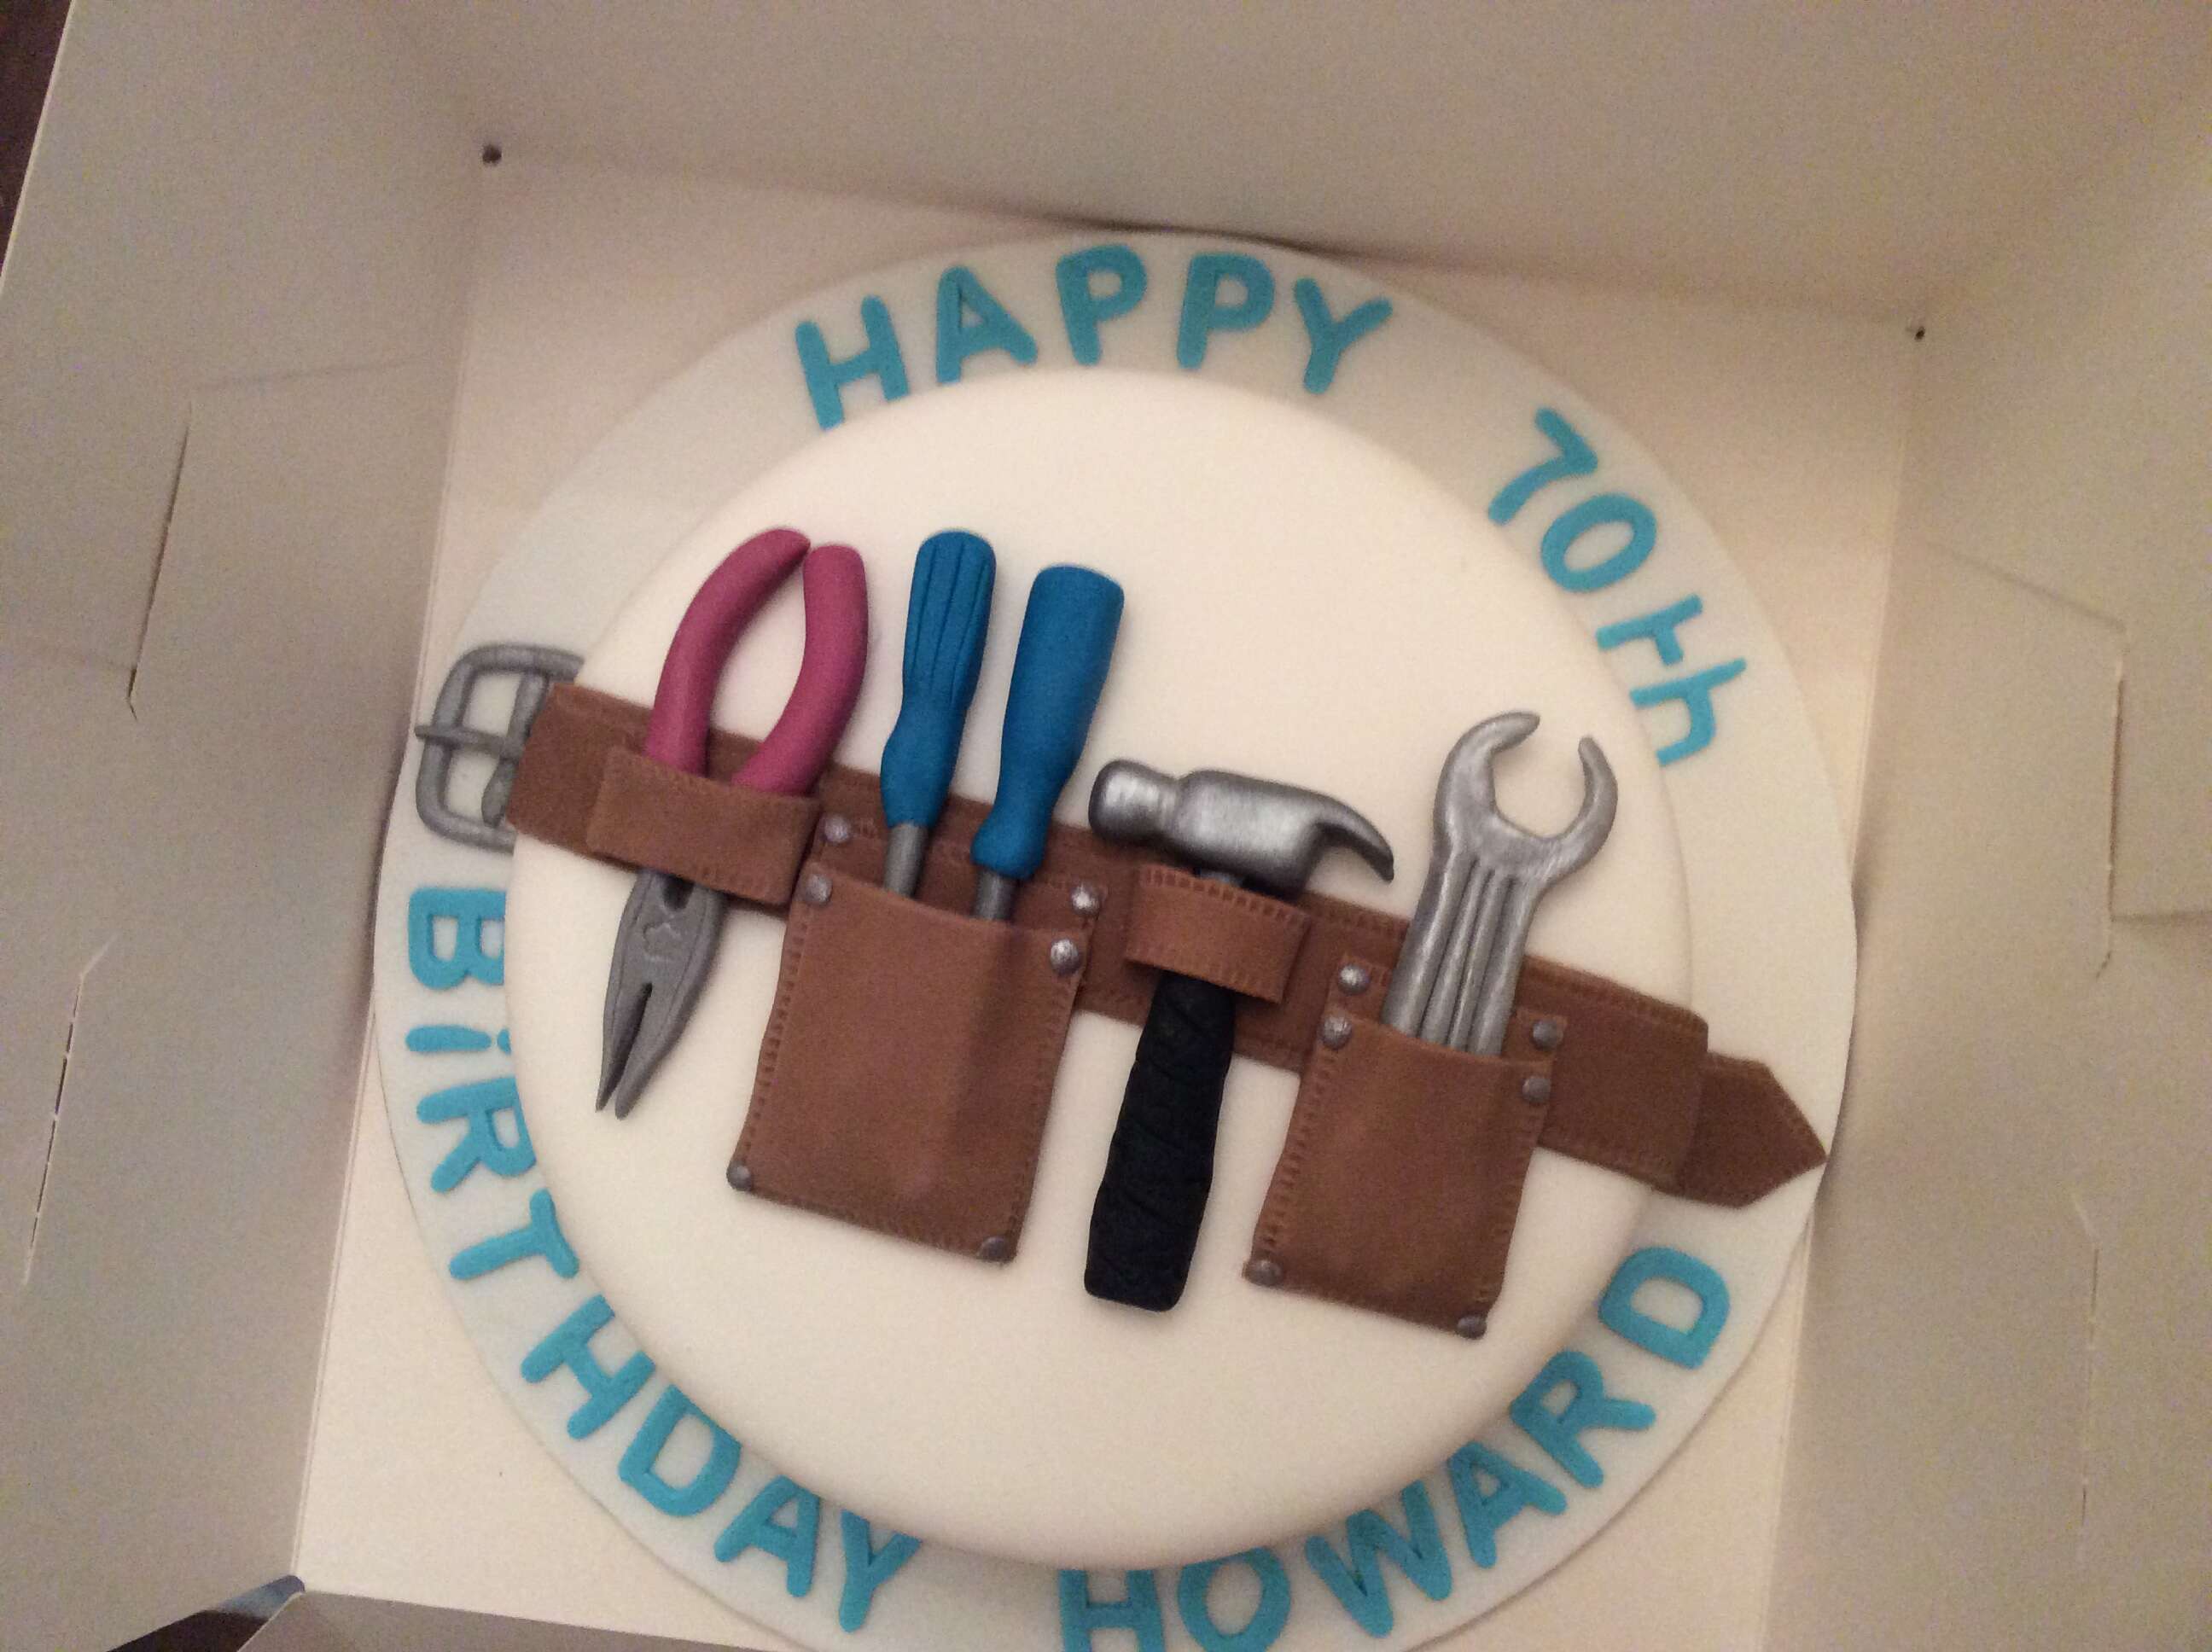
Step 6: Optional: Decorate the Belt
Once you have completed the main construction of your leather tool belt, you have the option to further personalize and decorate it to make it truly unique. Here are some decorative ideas you can consider:
- Embossing or stamping: Use leather stamps or embossing tools to create decorative patterns or designs on the surface of the belt. This can add a touch of elegance or create a personalized motif.
- Dyeing or staining: Apply leather dye or stain to change the color of the leather. Experiment with different shades to achieve your desired look. Remember to follow the instructions provided with the dye or stain to ensure even coverage.
- Adding metal studs or rivets: Incorporate metal studs or decorative rivets along the edges of the belt or on the pockets for a rugged and stylish look.
- Tool name tags: Cut small leather pieces and stamp or engrave the names of your most frequently used tools. Attach these tags to the corresponding loops or pockets to keep your tools organized.
Remember, the decorative options are entirely up to your personal preferences and creativity. Allow yourself to explore different techniques and designs to make your tool belt a reflection of your style and craftsmanship.
Once you are satisfied with the decorative elements, allow any dyes or stains to fully dry according to the manufacturer’s instructions.
Congratulations! You have successfully completed all the steps to make your own leather tool belt. Now, it’s time to put it to use and enjoy the convenience of having your tools easily accessible while working on your projects.
Conclusion
Congratulations on crafting your very own leather tool belt! By following the step-by-step instructions provided in this article, you have successfully created a functional and stylish accessory that will enhance your woodworking, DIY, or handyman projects. Not only does a leather tool belt help keep your tools organized and easily accessible, but it also adds a touch of craftsmanship and personalization to your work attire.
Throughout the process, you learned how to measure and cut the leather, create pockets to hold your tools, attach the pockets and loops securely to the belt, and finally, secure the belt around your waist. Additionally, you explored optional decorative techniques to make your tool belt truly unique.
Remember, a well-crafted tool belt can last for years with proper care. Be sure to clean it regularly with a leather cleaner and conditioner to maintain its durability and appearance. Treat your tool belt with the same care that you give your tools, and it will serve you faithfully for many projects to come.
Now, go ahead and proudly wear your handmade leather tool belt with confidence and let it be a testament to your crafting skills. Enjoy the benefits of having your tools at your fingertips, and may your projects be smoother and more efficient than ever before!
Frequently Asked Questions about How To Make Leather Tool Belt
Was this page helpful?
At Storables.com, we guarantee accurate and reliable information. Our content, validated by Expert Board Contributors, is crafted following stringent Editorial Policies. We're committed to providing you with well-researched, expert-backed insights for all your informational needs.


0 thoughts on “How To Make Leather Tool Belt”