Articles
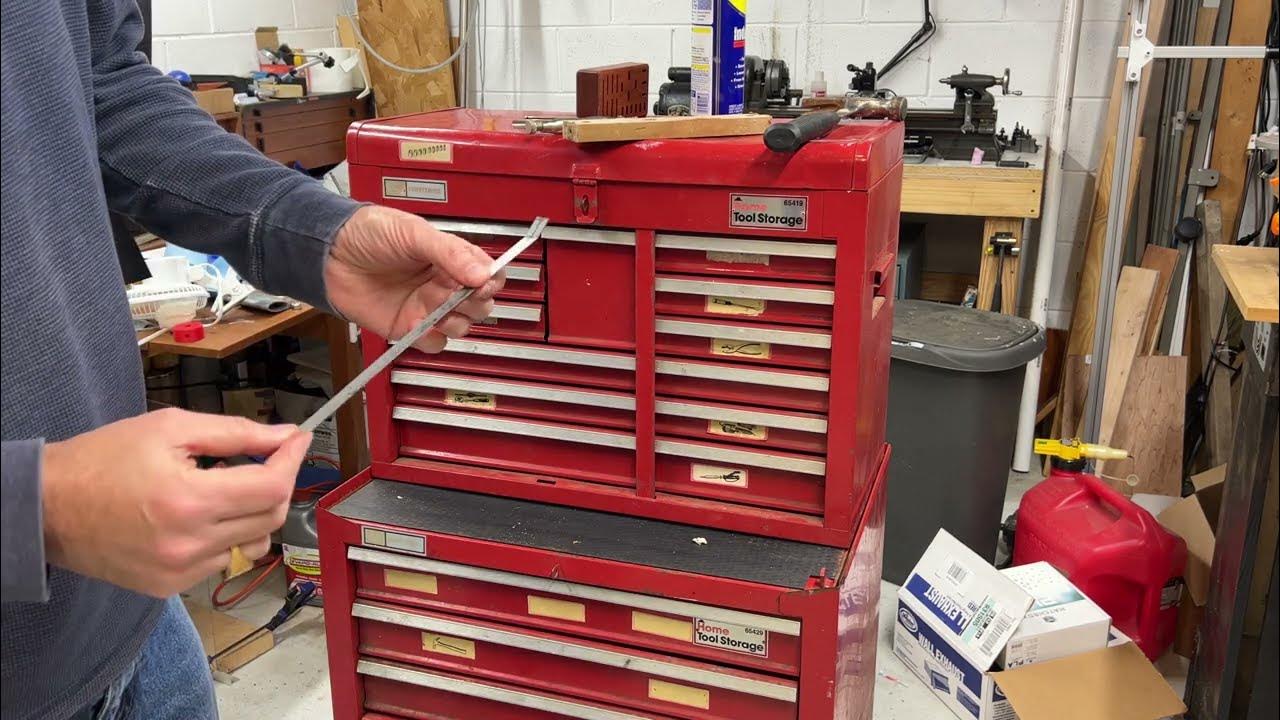
How To Clean Tool Chest
Modified: August 17, 2024
Learn the best methods for cleaning and maintaining your tool chest with these informative articles. Keep your tools in top shape and extend their lifespan with expert tips.
(Many of the links in this article redirect to a specific reviewed product. Your purchase of these products through affiliate links helps to generate commission for Storables.com, at no extra cost. Learn more)
Introduction
Cleaning your tool chest is an essential maintenance task that ensures your tools stay in proper working condition and are easily accessible when needed. Over time, dirt, dust, and other debris can accumulate both inside and outside the chest, making it difficult to find tools and potentially causing damage. By regularly cleaning your tool chest, you can keep it organized, extend the lifespan of your tools, and make your workspace more efficient.
In this article, we will guide you through the process of cleaning your tool chest step by step. From gathering the necessary materials to maintaining the cleanliness of the chest, we will provide you with practical tips and useful techniques to make the task a breeze. So let’s get started and give your tool chest the cleaning it deserves!
Key Takeaways:
- Regularly cleaning your tool chest not only keeps your workspace organized but also extends the lifespan of your tools, making them easily accessible and in proper working condition.
- Establishing a maintenance routine for your tool chest, including regular cleaning, organizing, and inspecting your tools, is crucial for creating a productive and enjoyable workspace while protecting your investment in high-quality tools.
Read more: How To Clean Tool Box
Step 1: Gather necessary materials
Before you begin cleaning your tool chest, it’s important to gather all the necessary materials to make the process easier and more efficient. Here’s a list of items you’ll need:
- Warm water
- Mild detergent or cleaning solution
- Sponges or soft cloths
- Old toothbrush
- Vacuum cleaner with brush attachment
- Paper towels
- Rubber gloves (optional)
Having these materials ready will help you tackle any dirt, grime, or grease that may have accumulated in your tool chest. Make sure to choose a mild cleaning solution to avoid damaging the surfaces of the chest or any tools inside.
Once you’ve gathered all the necessary materials, move on to the next step to prepare your tool chest for cleaning.
Step 2: Remove all tools and belongings from the tool chest
Before you can start cleaning the tool chest, it’s crucial to remove all the tools and belongings stored inside. This will allow you to have full access to the interior and avoid any potential damage to your tools during the cleaning process. Follow these steps to safely remove everything from your tool chest:
- Open the tool chest and carefully take out each tool. Check for any loose items or accessories that might be hiding in compartments or drawers.
- Place the tools on a clean and dry surface, such as a workbench or table, making sure to keep them organized and separate from other items.
- Remove any loose screws, nails, or small parts that might have fallen into the chest. Use a magnet or a small brush to collect them for later disposal or storage.
- If your tool chest has any removable trays or compartments, take them out as well. This will allow you to clean them separately and thoroughly.
- Once you’ve emptied the chest, inspect each tool for any signs of damage or wear. If necessary, take this opportunity to perform any maintenance or repairs on your tools.
By removing all the tools and belongings from the tool chest, you can ensure a thorough cleaning process without the risk of damaging or misplacing any items. With everything safely removed, you can now move on to the next step: cleaning the interior of the tool chest.
Step 3: Vacuum or wipe out loose dirt and debris
Now that your tool chest is empty, it’s time to start removing any loose dirt, dust, and debris that may have accumulated inside. This step will help prepare the chest for a deeper cleaning and prevent any dirt from spreading or scratching the surfaces. Here’s how you can effectively remove the loose dirt:
- If you have a vacuum cleaner with a brush attachment, use it to gently vacuum the interior of the tool chest. Start from the top and work your way down, paying attention to corners, crevices, and any areas where dirt tends to accumulate.
- If you don’t have a vacuum cleaner, you can use a soft cloth or sponge to wipe out the dirt. Dampen the cloth or sponge with water and wring out any excess moisture to avoid introducing too much liquid into the chest.
- For stubborn dirt or debris, you can use an old toothbrush to scrub the affected areas gently. Be careful not to apply too much pressure, as you don’t want to scratch the surfaces of the chest.
- As you clean, periodically check the cloth or sponge for dirt buildup or discoloration. Rinse or replace it as needed to ensure effective cleaning.
- Once you’ve removed as much loose dirt as possible, use a dry cloth or paper towel to wipe down the interior surfaces of the tool chest. This will help remove any remaining dust and leave the chest looking clean and fresh.
By vacuuming or wiping out the loose dirt and debris, you are preparing the tool chest for a deeper cleaning in the next steps. This will not only make your tool chest more visually appealing but also help maintain the longevity and performance of your tools.
Step 4: Clean the exterior of the tool chest
Now that the interior of your tool chest is clean, it’s time to focus on the exterior surfaces. The exterior of the chest can accumulate dirt, grease, and other stains, which may affect its appearance and overall durability. Follow these steps to effectively clean the exterior of your tool chest:
- Fill a bucket or basin with warm water and add a small amount of mild detergent or cleaning solution. Mix the solution until it creates a soapy mixture.
- Dip a sponge or soft cloth into the soapy water and wring out any excess liquid. You want the sponge or cloth to be damp but not dripping.
- Gently wipe down the exterior surfaces of the tool chest, applying light pressure to remove dirt and grime. Pay attention to any areas that may require extra cleaning, such as grease stains or stubborn marks.
- If you encounter stubborn stains or grease marks, use an old toothbrush dipped in the soapy water to scrub the affected areas. Ensure you are using gentle motions to avoid scratching or damaging the chest’s surfaces.
- Rinse the sponge or cloth with clean water to remove any soapy residue, and then go over the surfaces again to remove any remaining soap.
- Dry the exterior of the tool chest with a clean cloth or paper towels. This will prevent water spots and help restore the shine of the chest.
By cleaning the exterior of your tool chest, you not only make it look more appealing but also maintain its durability and protect it from corrosion or damage. A clean exterior will also contribute to a clean and organized workspace.
To clean a tool chest, start by removing all the tools and wiping down the interior and exterior with a damp cloth. Use a mild detergent to remove any stubborn dirt or grease, and dry thoroughly before returning the tools.
Read more: How To Clean Vintage Wooden Tool Chest
Step 5: Clean the interior of the tool chest
Now that the exterior of the tool chest is sparkling clean, it’s time to turn our attention back to the interior. This step will focus on removing any stubborn dirt, grime, or grease that may have accumulated inside the chest. Here’s how you can effectively clean the interior of your tool chest:
- Prepare a cleaning solution by mixing warm water with a mild detergent or cleaning solution. Avoid using harsh chemicals that may damage the surfaces of the chest or the tools inside.
- Dip a sponge or soft cloth into the cleaning solution and wring out any excess liquid. You want the sponge or cloth to be damp but not dripping.
- Starting from the top, wipe down the interior surfaces of the tool chest, paying close attention to corners, edges, and areas where dirt and grease may have built up.
- If you encounter stubborn stains or grease marks, use an old toothbrush dipped in the cleaning solution to scrub the affected areas. Apply gentle pressure to avoid scratching the surfaces.
- Rinse the sponge or cloth with clean water to remove any soapy residue, and go over the surfaces again to ensure a thorough cleaning.
- Dry the interior of the tool chest with a clean cloth or allow it to air dry. This will prevent any moisture from causing rust or damage to your tools.
By cleaning the interior of your tool chest, you create a clean and organized space for your tools. This will not only make it easier to find the tools you need but also prevent dirt and grease from transferring onto your tools, ensuring they stay in proper working condition.
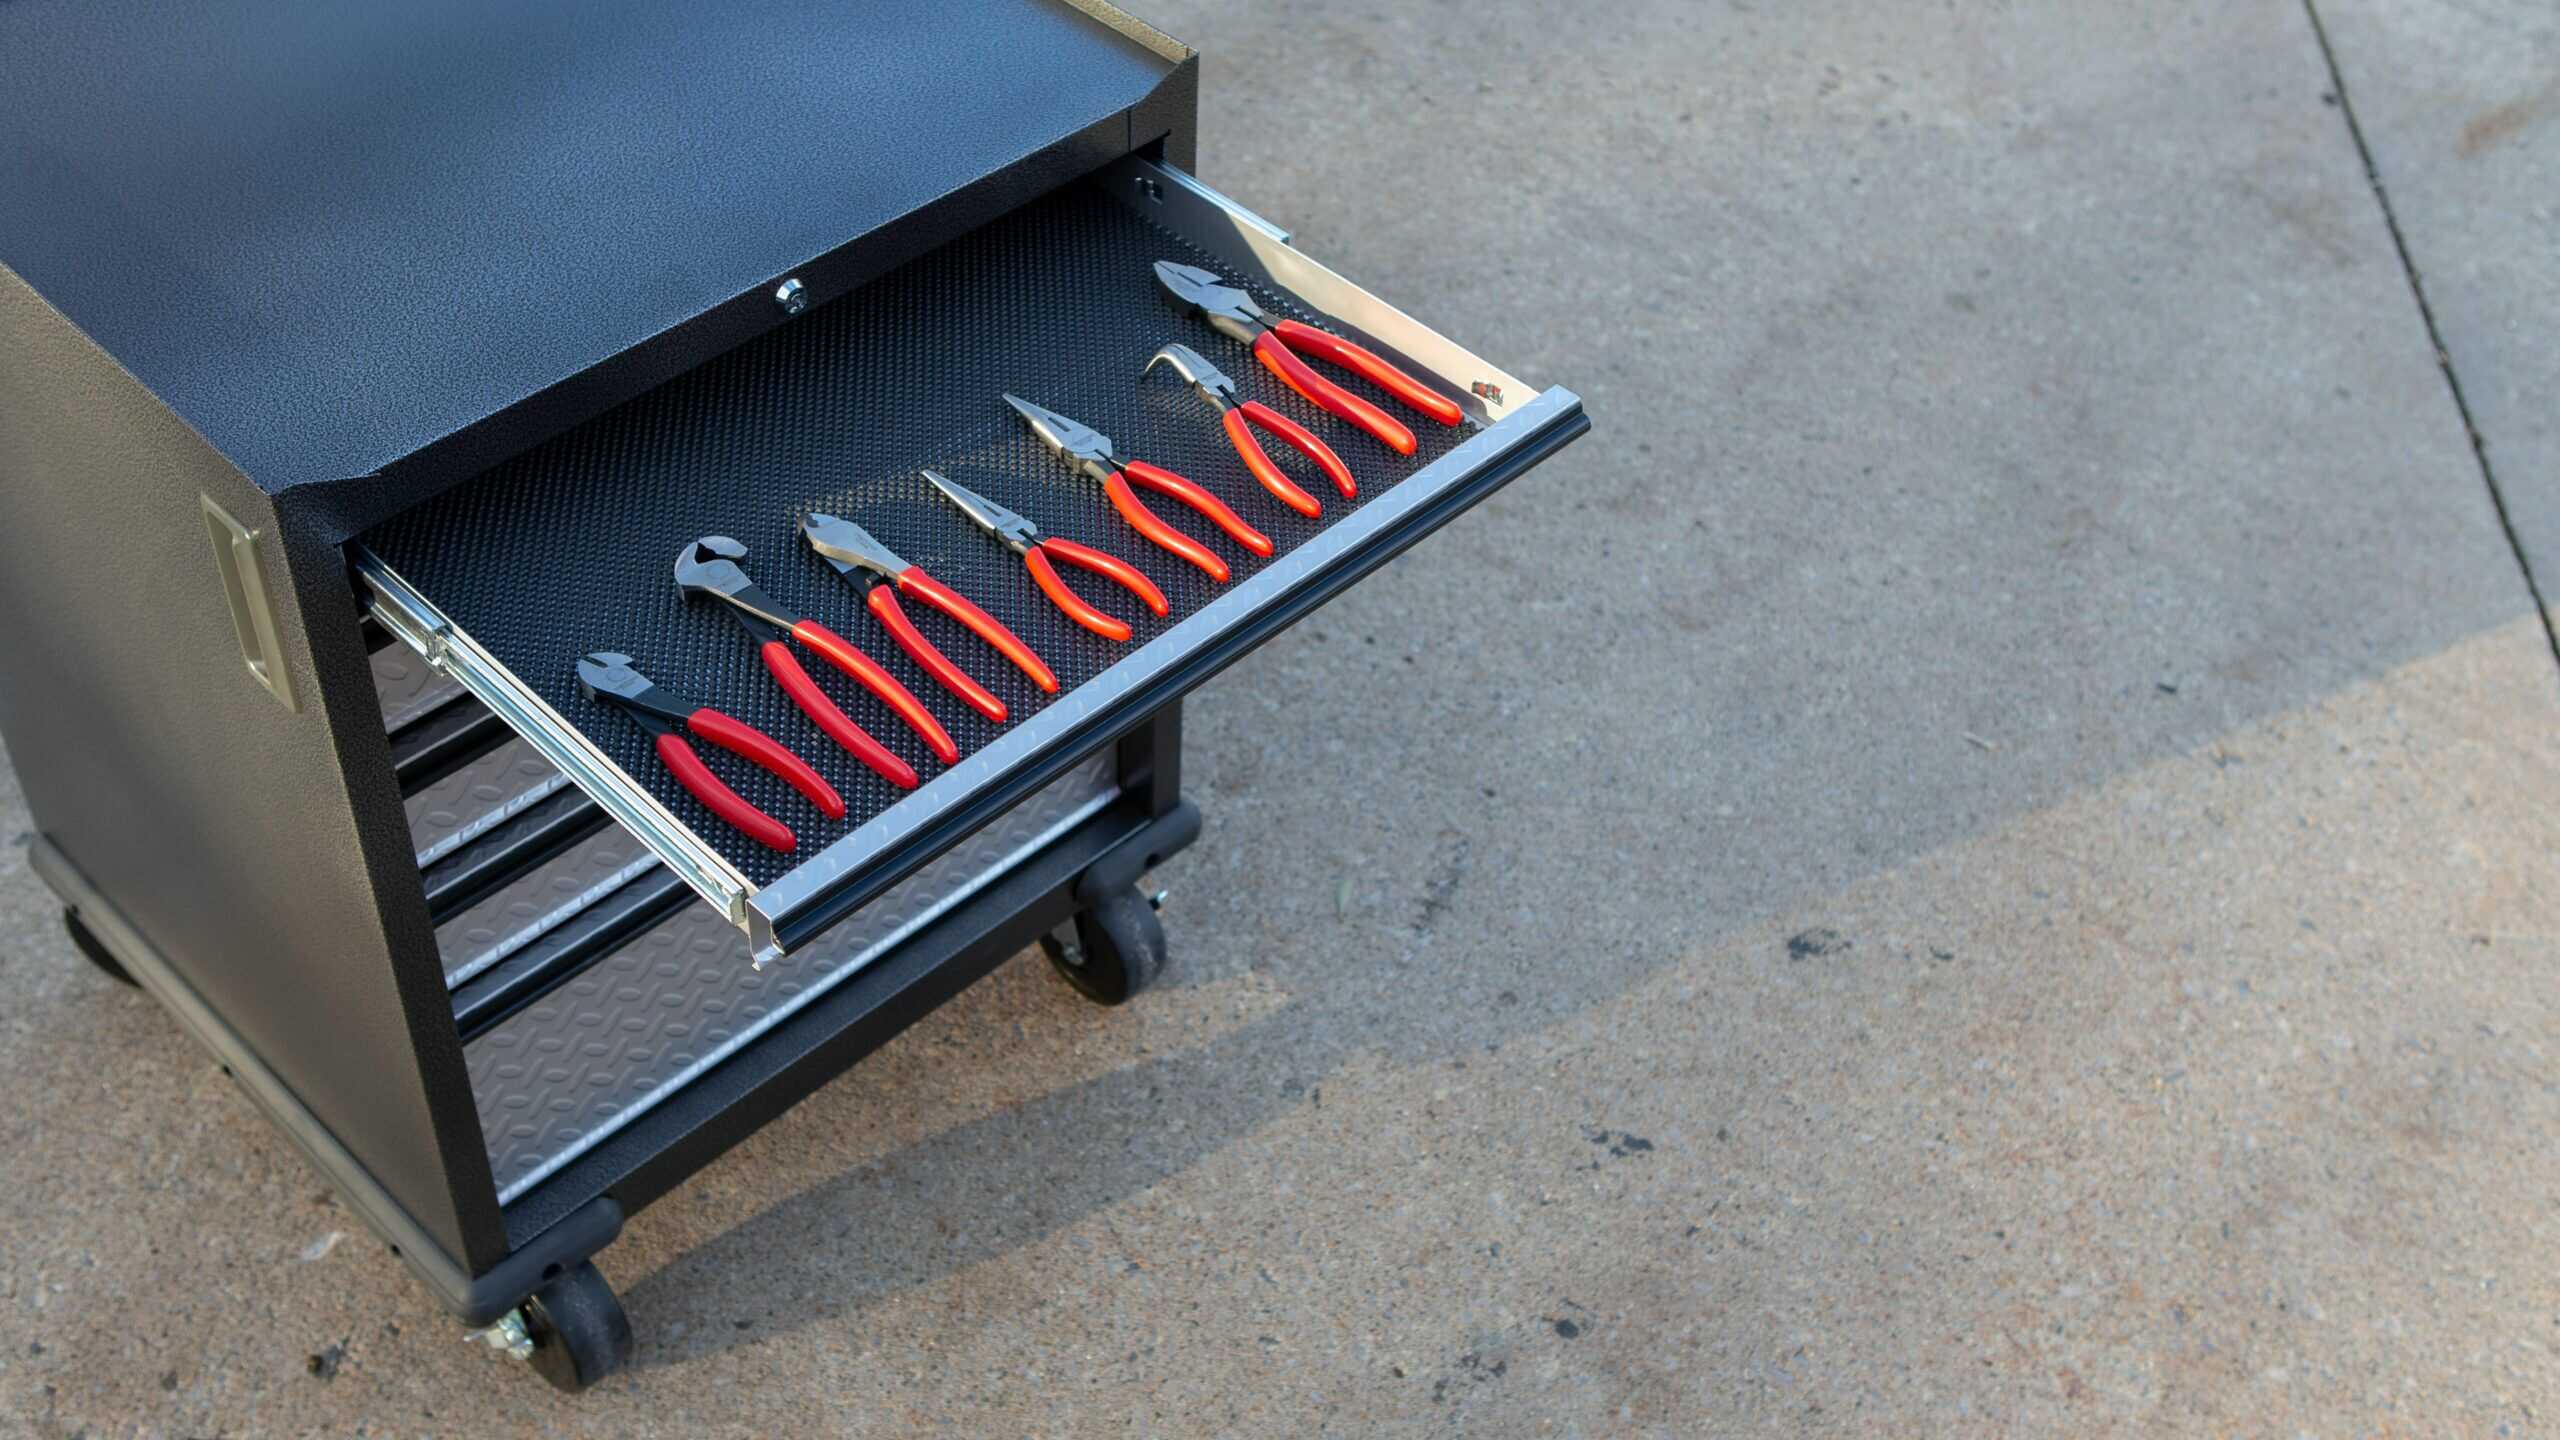
Step 6: Organize and arrange tools back into the chest
With your tool chest clean and ready, it’s time to organize and arrange your tools back into their designated spots. An organized tool chest not only makes it easier to find the tools you need but also keeps them protected and prevents damage. Follow these steps to effectively organize your tools:
- Start by categorizing your tools. Group similar tools together, such as screwdrivers, wrenches, or pliers. This will make it easier to find specific tools when you need them.
- Consider the frequency of use when arranging your tools. Place the tools you use regularly in easily accessible spots, while less frequently used tools can be stored in the lower compartments or in the back of the chest.
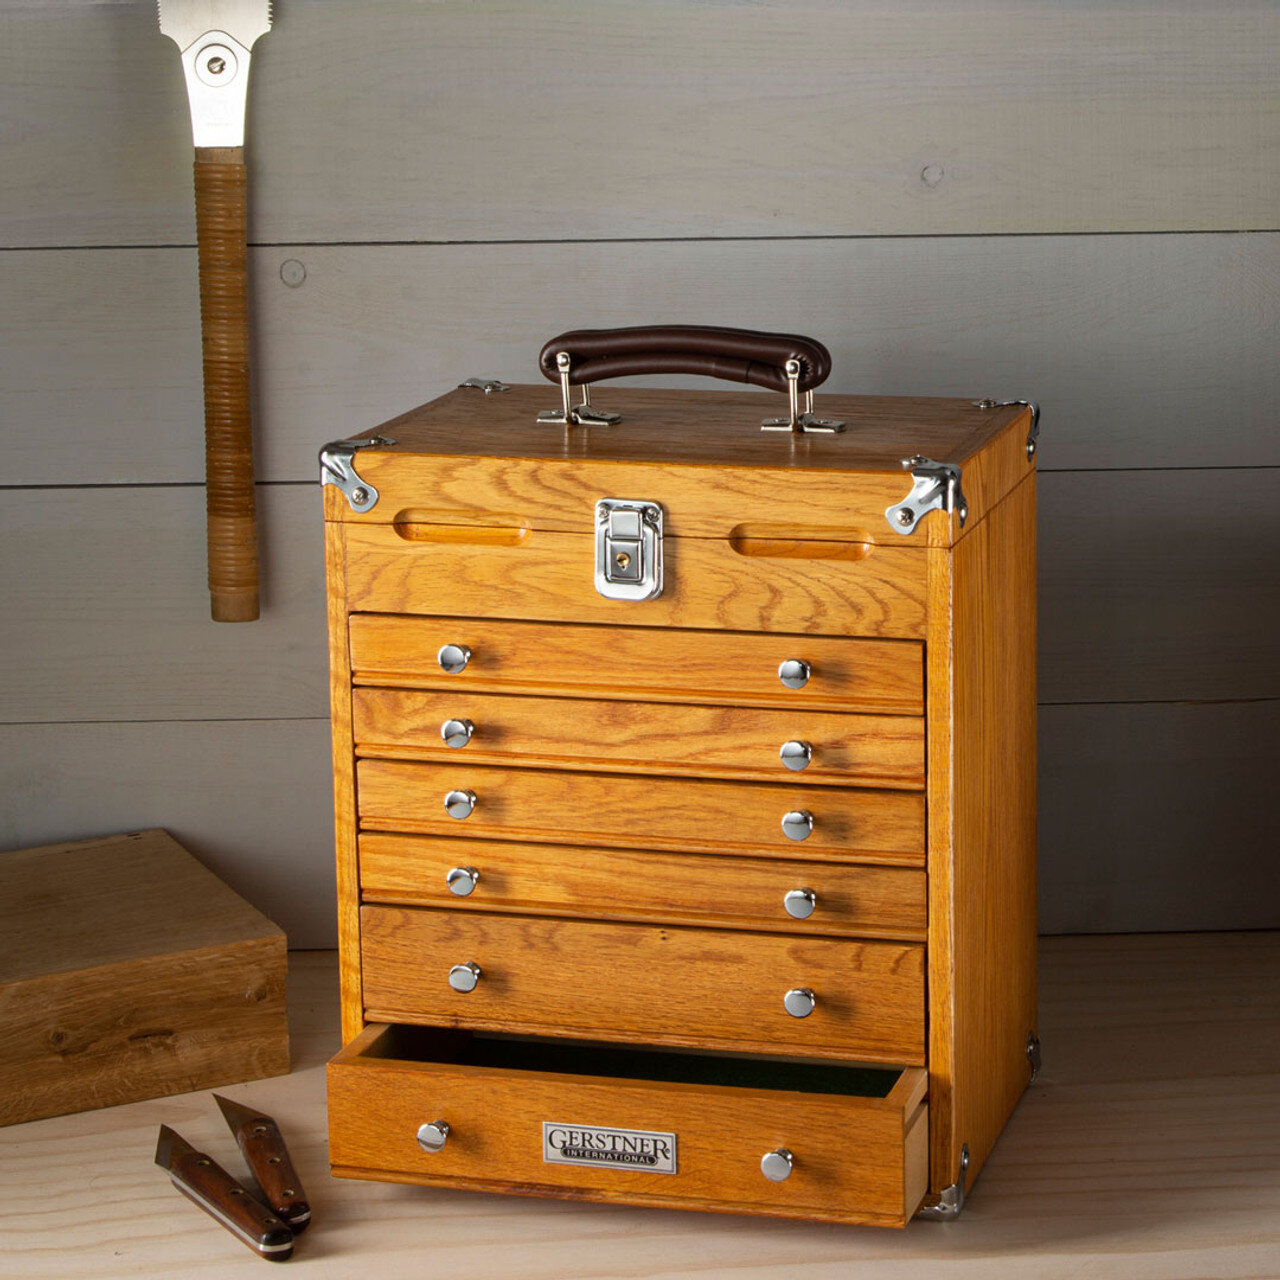
- Utilize the different compartments and drawers in your tool chest. Separate small hand tools or accessories into smaller compartments or trays to keep them organized and prevent them from getting lost.
- If your tool chest has built-in dividers or foam inserts, take advantage of them to create custom storage solutions for your tools. This will help keep them secure during transportation and prevent them from moving around and causing damage.
- Consider using labels or color-coding systems to further organize your tools. This can make it even easier to locate specific tools at a glance and maintain the organization over time.
- Take the opportunity to inspect your tools as you arrange them back into the chest. Replace any worn or damaged tools and ensure everything is in proper working condition.
By organizing and arranging your tools back into the chest, you create a functional and efficient workspace. You can now easily locate your tools when needed and maintain a clutter-free environment for better productivity.
Step 7: Maintain the cleanliness of the tool chest
Once you have completed the process of cleaning and organizing your tool chest, it’s important to establish a maintenance routine to keep it clean and in optimal condition. Regular maintenance will help prevent dirt, dust, and rust from accumulating and ensure that your tools are always ready for use. Here are some tips to maintain the cleanliness of your tool chest:
- Wipe down the exterior surfaces of the tool chest on a regular basis. This will help remove any dust or grime that may accumulate over time. Use a damp cloth or sponge to clean the chest and a dry cloth to remove any moisture.
- Inspect the interior of the tool chest periodically. Check for any signs of dirt or debris and clean it as needed. Use a vacuum cleaner or a damp cloth to remove any loose dirt, and ensure that the chest is dry before storing your tools.
- Keep the chest in a clean, dry, and well-ventilated area. Avoid storing the chest in a damp or humid environment, as this can promote the growth of mold and rust.
- Regularly inspect your tools for any signs of dirt, rust, or damage. Clean them as necessary, and perform any maintenance or repairs to keep them in top shape.
- Consider using drawer liners or foam inserts to provide an extra layer of protection for your tools. These liners can help prevent scratches and keep the chest clean and organized.
- Set aside time on a regular basis to reorganize and optimize the storage in your tool chest. This will help ensure that your tools are easily accessible and reduce the chances of clutter or disorganization.
- Lastly, establish a cleaning schedule for your tool chest. Depending on how frequently you use your tools and the working conditions, you may need to clean the chest monthly, quarterly, or annually. Consistency is key to maintaining a clean and functional tool chest.
By following these maintenance practices, you can prolong the lifespan of your tools and maintain a clean and organized tool chest. This will not only improve your efficiency in the workspace but also protect your investment in high-quality tools.
Conclusion
Cleaning and maintaining your tool chest is an important task that ensures your tools remain in optimal condition and your workspace stays organized. By following the steps outlined in this article, you can effectively clean your tool chest and create a clean, efficient, and safe working environment.
Remember to start by gathering the necessary materials and removing all tools and belongings from the chest. Vacuum or wipe out loose dirt and debris from both the interior and exterior surfaces. Clean the exterior with a mild detergent solution, and then focus on the interior, removing any stubborn dirt or grease.
Once the cleaning is complete, take the time to organize and arrange your tools back into the chest, considering their frequency of use and utilizing compartments and dividers for better organization. Finally, establish a maintenance routine to keep the chest clean, dry, and well-maintained, and regularly inspect and clean your tools to ensure they’re always in proper working condition.
By maintaining the cleanliness of your tool chest, you not only protect and extend the lifespan of your tools but also create a productive and enjoyable workspace. Keeping your tools organized and easily accessible will save you time and effort in the long run, allowing you to focus on your projects without any unnecessary distractions.
So, set aside some time to give your tool chest the attention it deserves. Follow these steps, develop a maintenance routine, and enjoy the benefits of a clean and well-organized tool chest for years to come.
Frequently Asked Questions about How To Clean Tool Chest
Was this page helpful?
At Storables.com, we guarantee accurate and reliable information. Our content, validated by Expert Board Contributors, is crafted following stringent Editorial Policies. We're committed to providing you with well-researched, expert-backed insights for all your informational needs.


0 thoughts on “How To Clean Tool Chest”