Articles
How To Clean Tool Box
Modified: December 7, 2023
Learn how to clean your tool box with these helpful articles, ensuring your tools stay organized and in optimal condition.
(Many of the links in this article redirect to a specific reviewed product. Your purchase of these products through affiliate links helps to generate commission for Storables.com, at no extra cost. Learn more)
Introduction
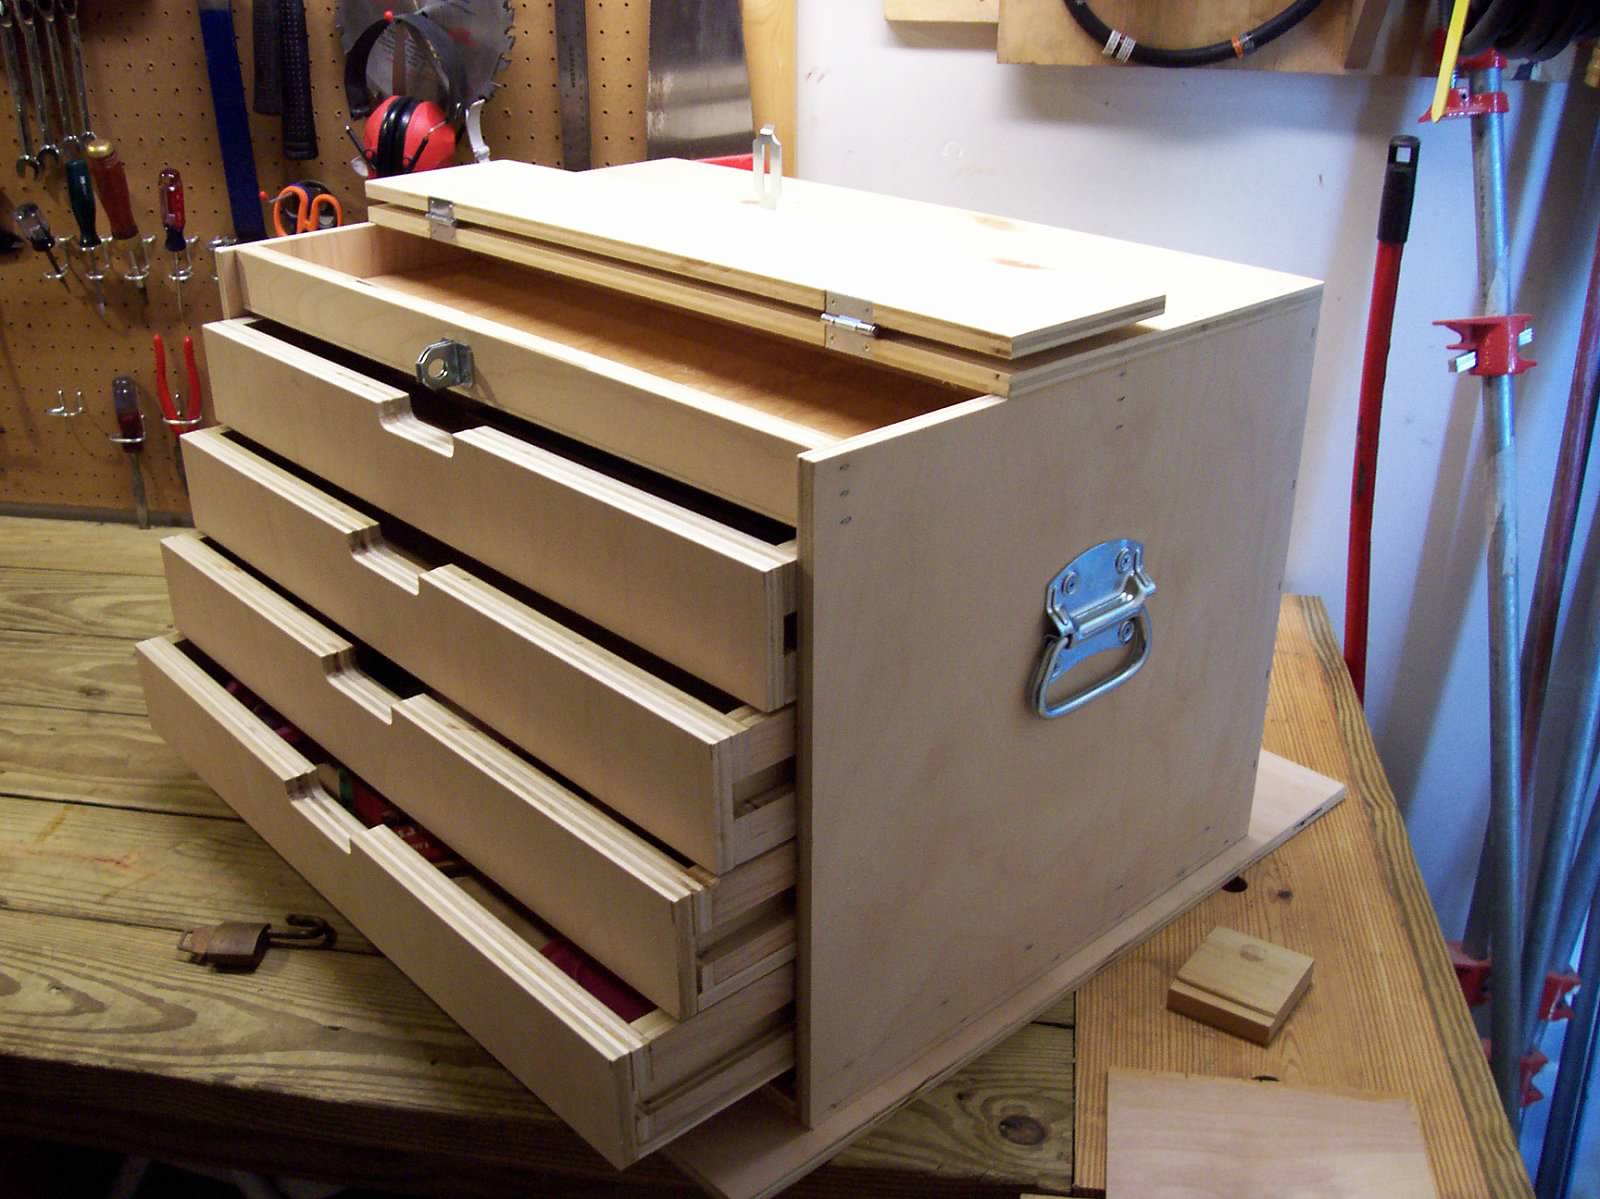
A tool box is an essential item for any DIY enthusiast or professional tradesperson. It holds an array of tools that are necessary for various tasks. However, over time, tool boxes can become dirty and cluttered, making it difficult to find the right tools when you need them. Regularly cleaning and organizing your tool box not only improves its aesthetic appeal but also ensures that your tools are in good condition and easy to access.
In this article, we will guide you through the step-by-step process of cleaning your tool box. We will provide you with helpful tips and techniques to make the task efficient and effective. Whether your tool box is made of plastic, metal, or any other material, this guide will help you restore its cleanliness and functionality.
Before we begin, please note that safety is of utmost importance when handling tools. Ensure that all sharp objects are safely secured and that your work area is well-lit and free from any hazards.
Now, let’s get started on cleaning your tool box!
Key Takeaways:
- Regularly cleaning and organizing your tool box not only improves its aesthetic appeal but also ensures that your tools are in good condition and easy to access. Safety is paramount when handling tools, so always prioritize a well-lit and hazard-free work area.
- By following the step-by-step process of cleaning your tool box, from gathering materials to reorganizing and restocking your tools, you can maintain a clean, functional, and visually appealing toolbox. Regular maintenance and proper storage will keep your tools in optimal condition for years to come.
Read more: What Tool Box To Buy
Step 1: Gather Materials
Before you start cleaning your tool box, it’s important to gather all the necessary materials. Having everything you need at hand will make the process more efficient and ensure that you have the right tools for the job.
Here are some items you’ll need:
- Disposable gloves: These will protect your hands from any chemicals or dirt.
- Clean cloth or sponge: This will be used to wipe down surfaces and remove dirt.
- Mild detergent: Use a mild dishwashing detergent or a specialized cleaner suitable for the material of your tool box.
- Brush: A small brush, such as a toothbrush or a soft-bristle brush, will help you remove stubborn dirt and grime from corners and crevices.
- Cleaning solution: Depending on the type of tool box you have, you may need a specific cleaning solution. For example, if you have a metal toolbox, you might need a metal cleaner or polish.
- Water: You’ll need water to dilute the cleaning solution and rinse off surfaces.
- Container: Find a suitable container to hold the dirty water and debris you’ll be cleaning out of the tool box.
Once you have gathered all these materials, you’re ready to move on to the next step.
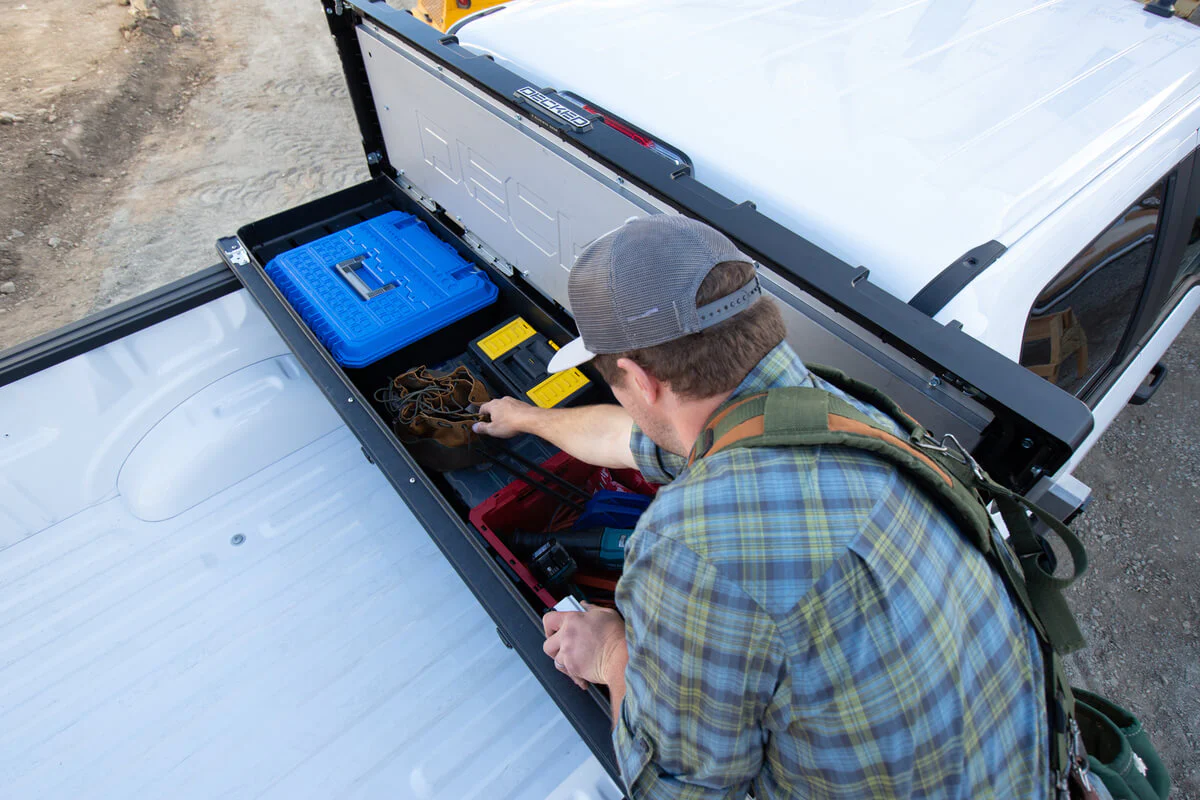
Step 2: Empty the Toolbox
Before you can begin cleaning your tool box, you’ll need to empty it out completely. This step ensures that you have a clear workspace to work with and allows you to assess the condition of your tools.
Here’s how to empty your toolbox:
- Find a clean, flat surface to place your tools. This could be a workbench, table, or even a plastic sheet on the floor.
- Carefully remove all the tools from the toolbox, placing them on the designated surface. Take care to organize them in a way that makes them easy to sort through when you’re ready to put them back.
- Inspect each tool for any signs of damage, such as rust or worn-out handles. If you come across any damaged tools, set them aside for further assessment. It’s a good idea to make a note of any tools that need repair or replacement for future reference.
- Once all the tools are removed, take a moment to clean out any loose dirt or debris from the bottom of the toolbox. Use a small brush or a vacuum cleaner to remove the particles.
By emptying your toolbox, you’ll have a clearer vision of what needs to be cleaned and can properly assess the condition of your tools. This step is crucial for ensuring that your tool box is clean and ready for use.
Step 3: Remove Loose Dirt and Debris
Now that your tool box is empty, it’s time to tackle the loose dirt and debris that have accumulated inside. Removing these particles will create a clean base for the rest of the cleaning process.
Here’s how to remove loose dirt and debris from your tool box:
- Use a brush or a clean cloth to gently sweep away any loose dirt or debris from the interior surfaces of the tool box. Be thorough, paying attention to corners, crevices, and any compartments or dividers.
- If there are sticky substances or residue, dampen a cloth with a mild detergent solution and gently wipe the affected areas. This will help dissolve any adhesives or gunk.
- For stubborn dirt or grime, use a toothbrush or a small brush to scrub the surface. Apply a bit of detergent to the brush and work it into the affected area with gentle circular motions.
- Once you have removed as much loose dirt and debris as possible, take a clean cloth or sponge and dampen it with plain water. Wipe down the interior surfaces of the tool box to rinse away any remaining traces of detergent.
- Ensure that all the debris is collected and disposed of properly. Empty the container used to collect the dirt and debris, and clean it thoroughly.
By removing loose dirt and debris, you’re creating a cleaner environment for your tools and preventing any further buildup. This step is crucial for maintaining the cleanliness and functionality of your tool box.
Step 4: Clean the Interior and Exterior Surfaces
Now that the loose dirt and debris have been removed, it’s time to give both the interior and exterior surfaces of your tool box a thorough cleaning. This step will help restore the appearance and eliminate any lingering dirt or stains.
Here’s how to clean the interior and exterior surfaces of your tool box:
- Dampen a clean cloth or sponge with a mild detergent solution. Avoid using harsh chemicals or abrasive cleaners that could damage the material of your tool box.
- Gently wipe down the interior surfaces of the tool box. Pay close attention to corners, hinges, and any compartments or dividers. If there are stains or stubborn marks, you can use a soft-bristle brush dipped in the detergent solution to scrub the affected areas.
- Rinse the cloth or sponge and wipe down the exterior surfaces of the tool box. This includes the top, sides, front, and back. Use gentle circular motions to remove any dirt or grime.
- If your tool box has any rubber or plastic components, such as handles or latches, clean them separately with a cloth or sponge dampened with the detergent solution. This will help remove any dirt or residue and keep these components in good condition.
- Once you have finished cleaning, rinse the cloth or sponge with plain water and go over all the surfaces once again to remove any traces of detergent. This will prevent any soapy residue from attracting dirt in the future.
- Wipe down the surfaces with a dry cloth to remove any excess moisture. This will help prevent the formation of mold or mildew.
By thoroughly cleaning the interior and exterior surfaces of your tool box, you’re ensuring that it is not only visually appealing but also hygienic. This step will help maintain the durability and longevity of your tool box.
To clean a tool box, start by removing all tools and wiping down the interior with a damp cloth. Use a mild soap and water solution to clean any stubborn dirt or grease. Dry thoroughly before returning tools.
Read more: How To Attach Tool Box To Truck
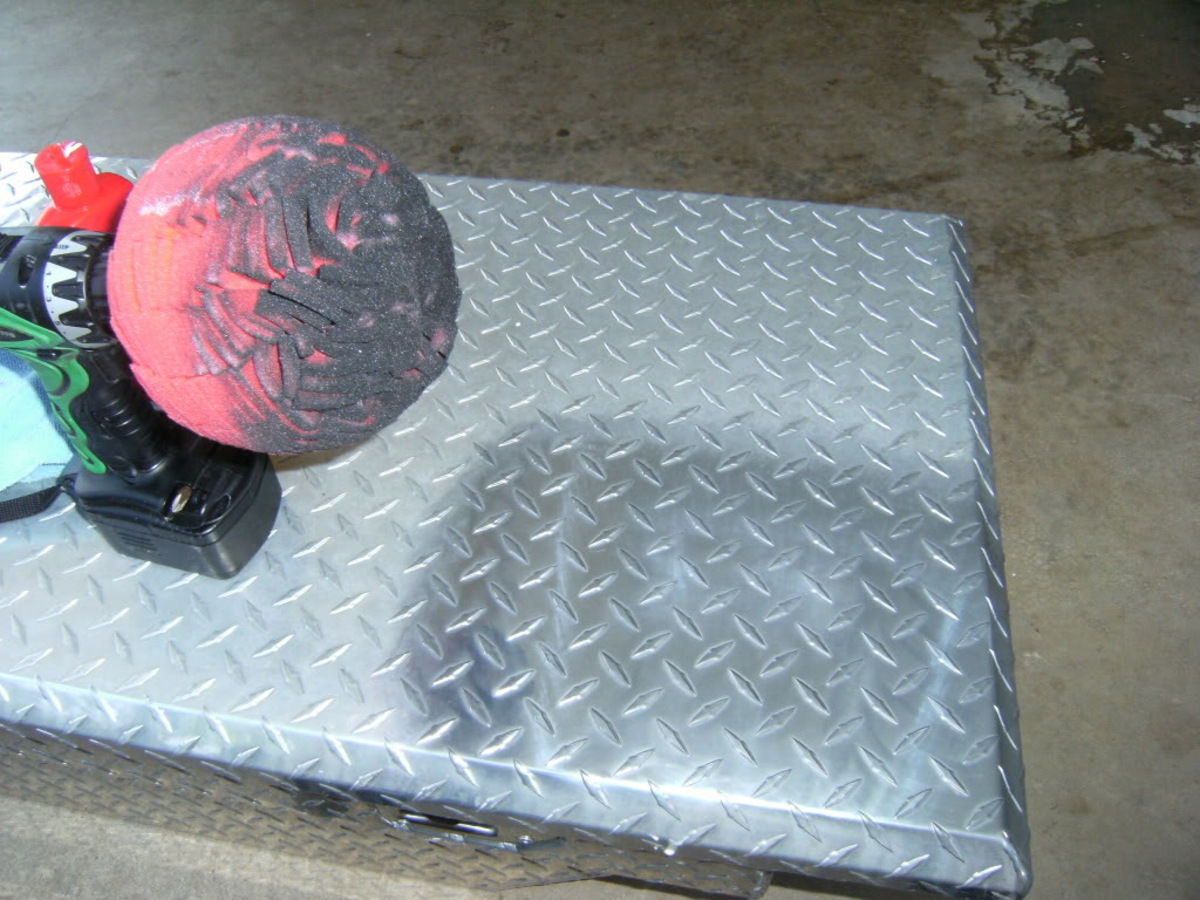
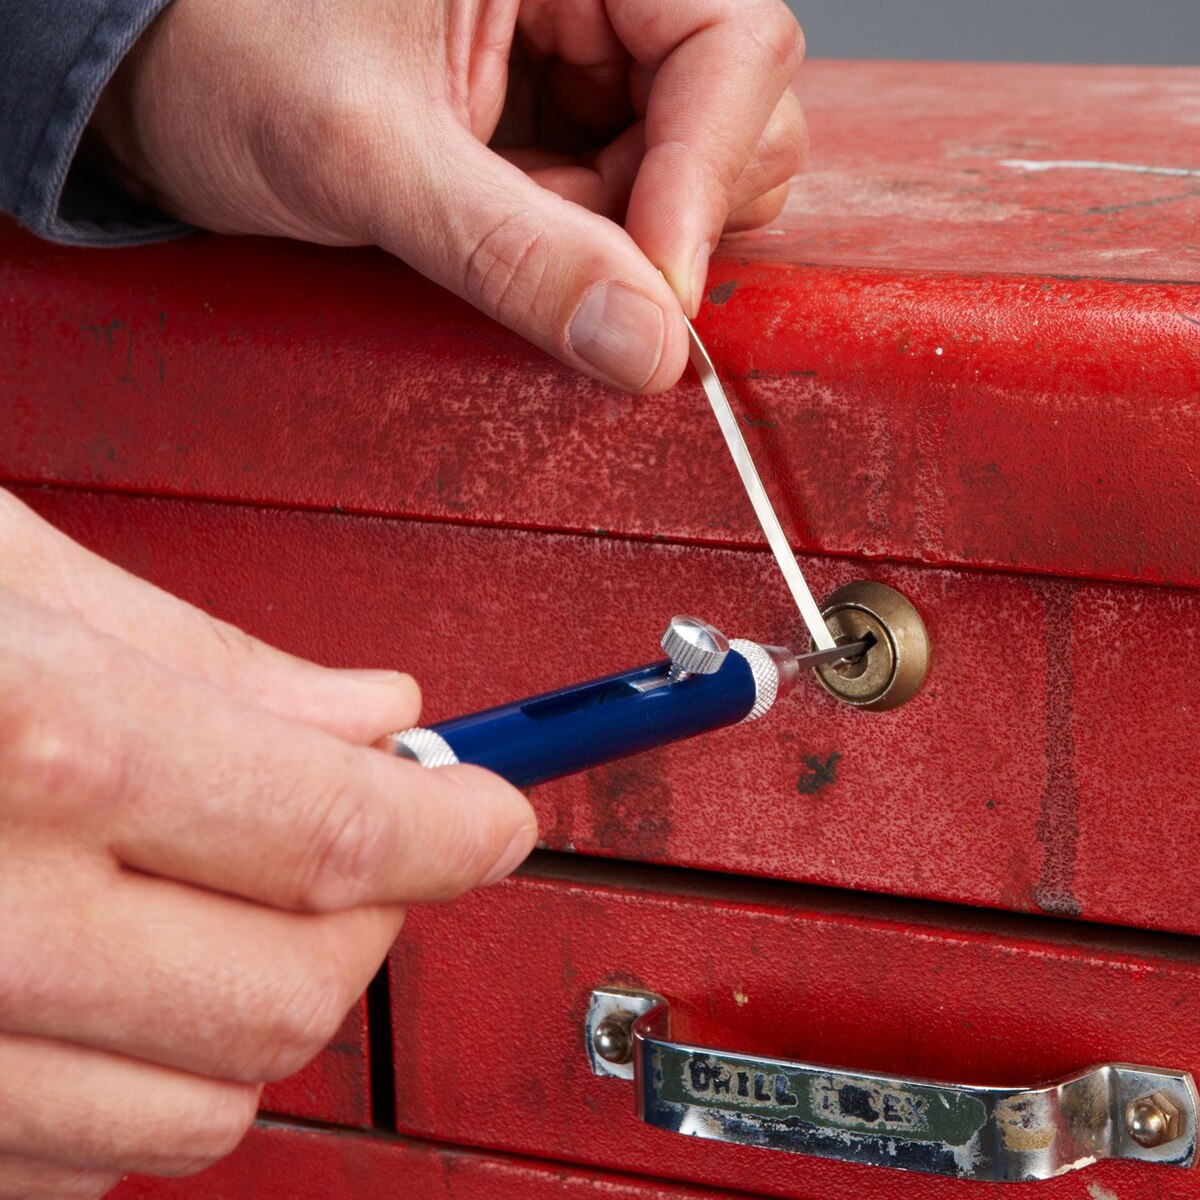
Step 5: Clean and Polish the Metal Parts
If your tool box has metal parts, such as handles, hinges, or latches, it’s important to give them special attention during the cleaning process. Cleaning and polishing metal components not only improves their appearance but also helps prevent rust and corrosion.
Here’s how to clean and polish the metal parts of your tool box:
- Start by using a damp cloth or sponge to remove any dirt or grime from the metal surfaces. Pay attention to corners and hard-to-reach areas.
- If there are any stubborn stains or rust spots, you can use a small amount of metal cleaner or polish. Apply the cleaner to a soft cloth and rub it onto the affected areas in circular motions. Follow the manufacturer’s instructions for the specific product you are using.
- Use a separate clean cloth to wipe away the metal cleaner and any residue. Make sure to remove all traces of the cleaner as it can attract dirt if left behind.
- To achieve a polished finish, use a dry cloth or a polishing cloth specifically designed for metal surfaces. Rub the cloth over the metal parts in gentle strokes to bring out their shine.
- If your tool box has any chrome-plated metal components, you can further enhance their appearance and protect them from tarnishing by applying a thin layer of chrome polish or wax. Follow the manufacturer’s instructions for the best results.
By cleaning and polishing the metal parts of your tool box, you’re not only restoring their beauty but also prolonging their lifespan. This step is crucial for maintaining the overall quality and functionality of your tool box.
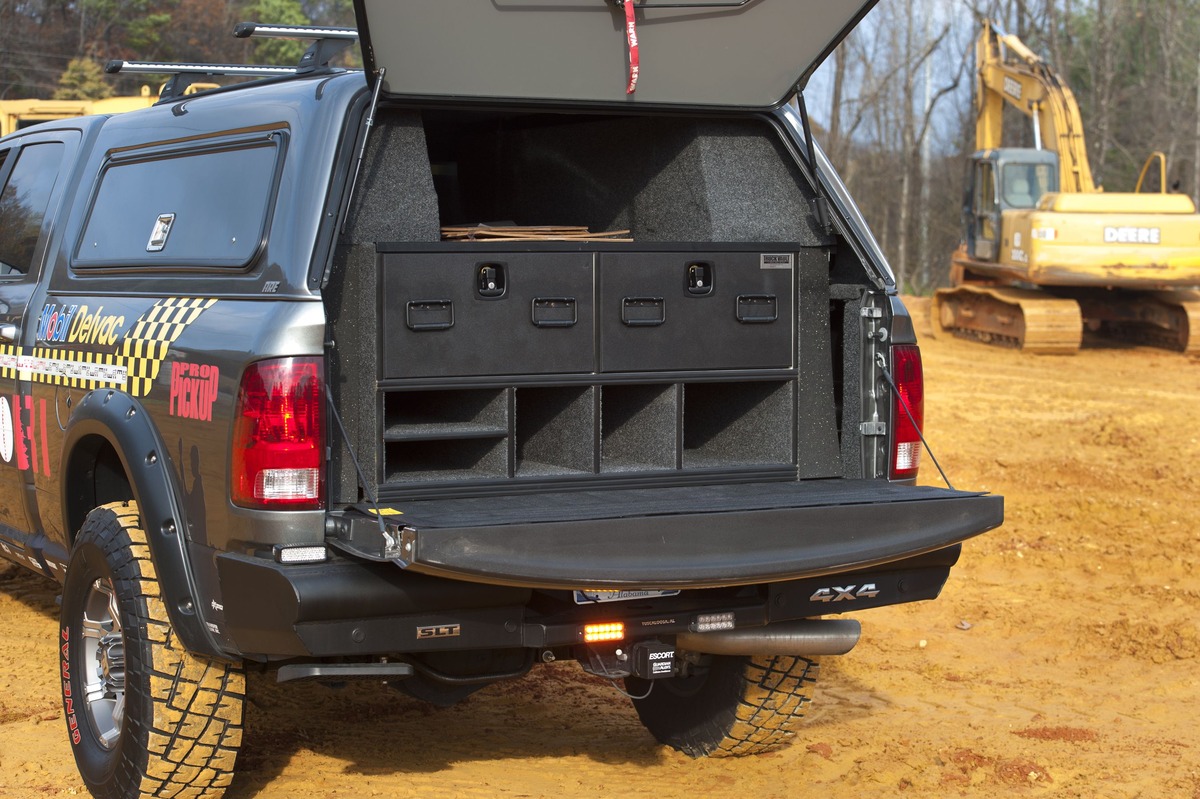
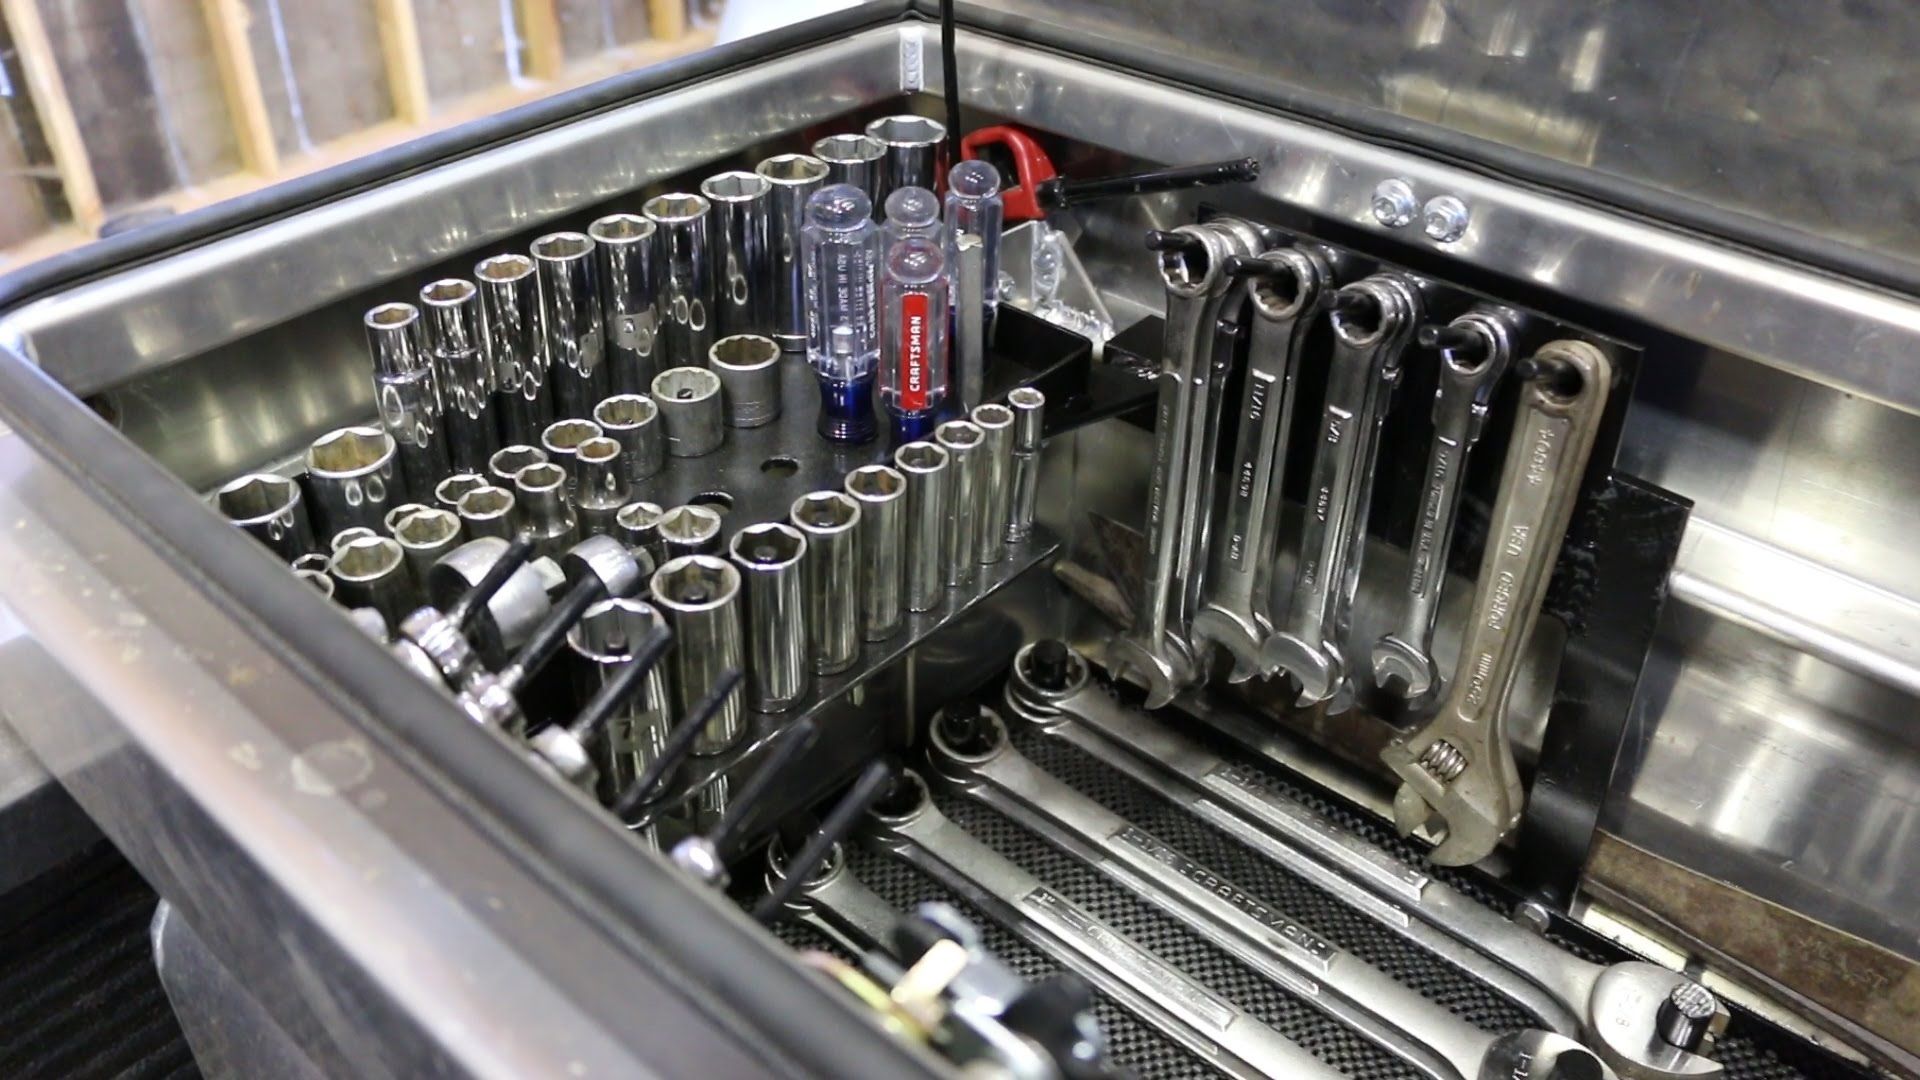
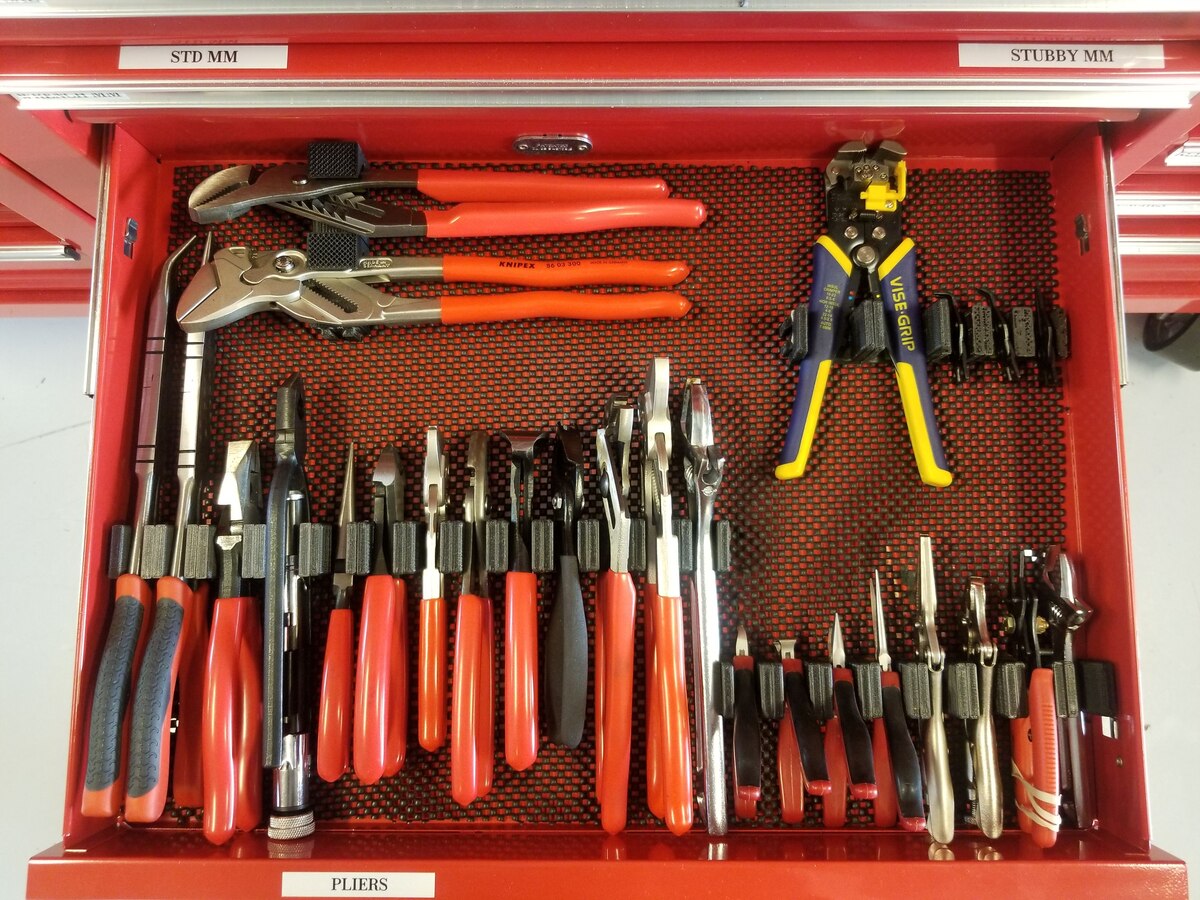
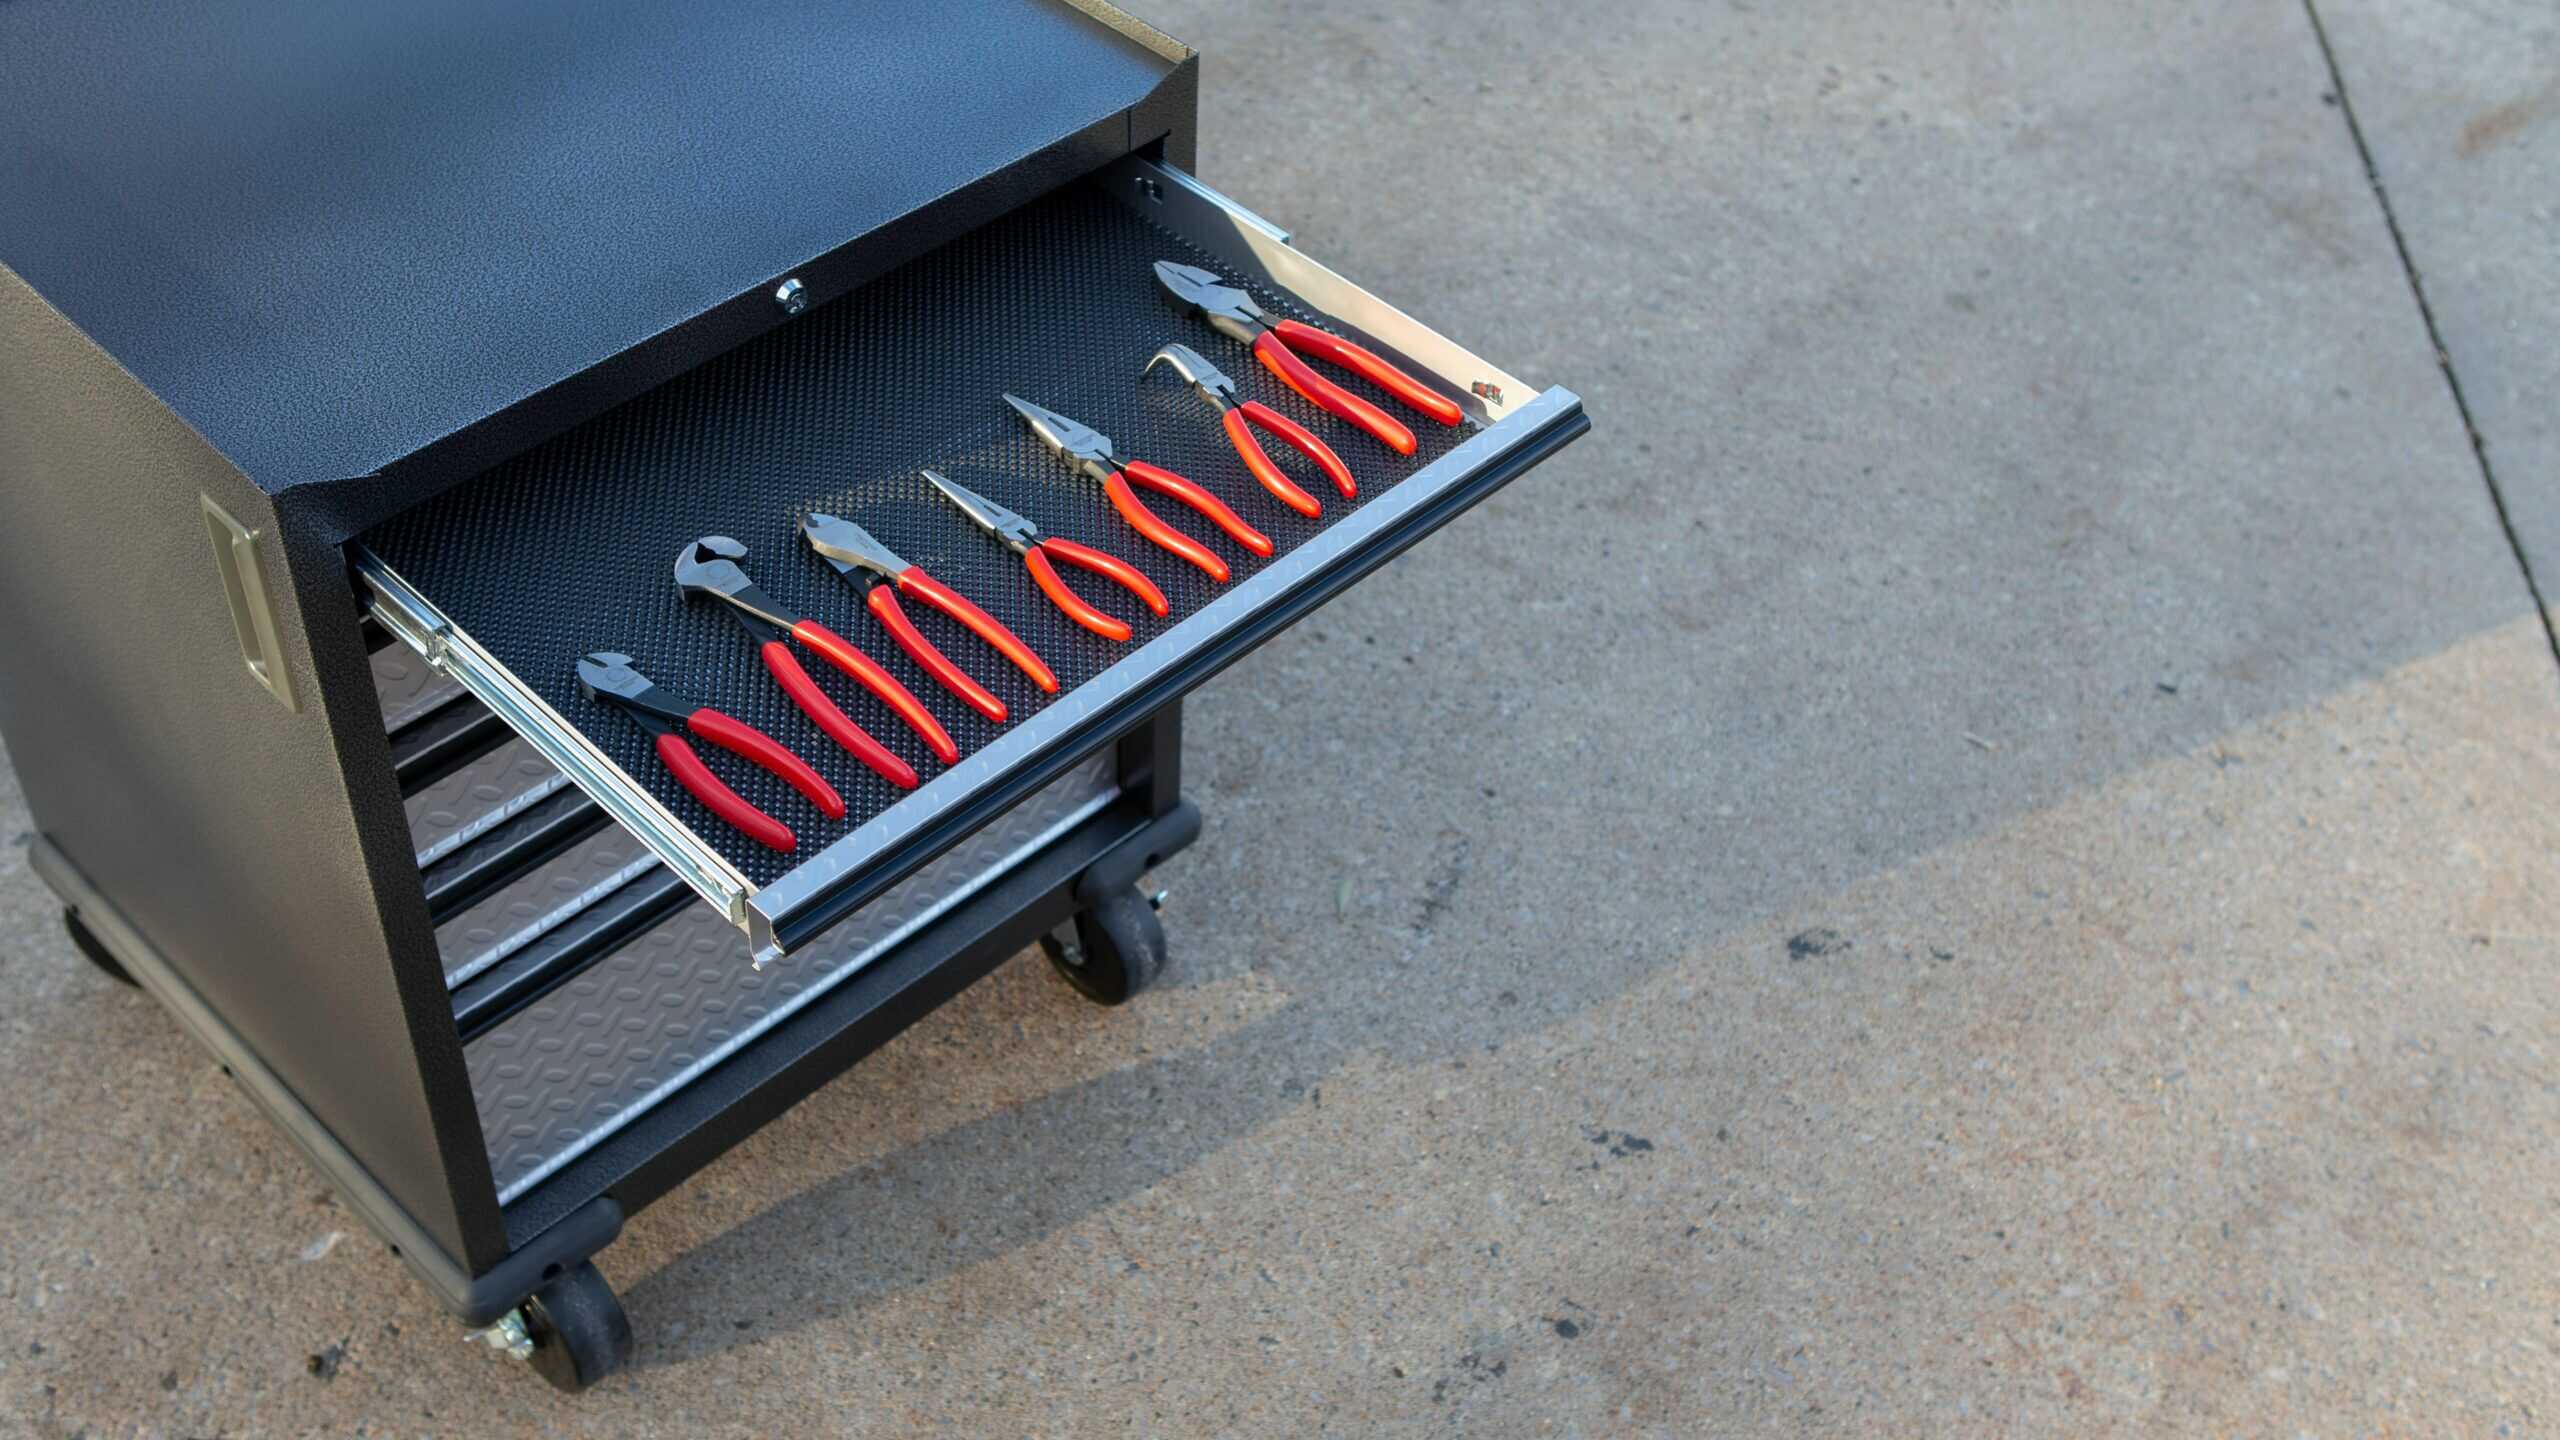
Step 6: Reorganize and Restock the Toolbox
Now that your tool box is clean and the metal parts are polished, it’s time to reorganize and restock your tools. This step will ensure that your tools are easily accessible and organized, saving you time and effort in the future.
Here’s how to reorganize and restock your toolbox:
- Assess your collection of tools and categorize them based on their function or usage. This could include grouping tools for plumbing, electrical work, woodworking, etc.
- Consider the frequency of use for each tool and prioritize them accordingly. Place frequently used tools in easy-to-reach sections of your toolbox.
- If your toolbox has compartments or dividers, utilize them to keep similar tools together and prevent them from shifting during transportation.
- Take advantage of any tool holders or clips built into the toolbox to secure larger tools or items that don’t fit inside compartments.
- Label or mark the sections or compartments to make it easier to locate specific tools.
- Ensure that each tool has its own designated spot in the tool box. This will help you quickly identify missing tools and maintain an organized toolbox.
- Consider adding foam inserts or tool organizers to further protect and organize your tools. These inserts can be customized to fit the shape and size of your tools, providing an additional layer of protection while keeping them well-organized.
- Restock any consumable items such as screws, nails, or drill bits. Take inventory of what you have and make note of any items that need replenishing to avoid running out when you need them.
By reorganizing and restocking your toolbox, you’re establishing a system that promotes efficient working and prevents tools from getting damaged or lost. Having a well-organized toolbox will save you both time and frustration in the future.
Step 7: Maintain the Cleanliness of Your Toolbox
Now that you have gone through the process of cleaning and organizing your toolbox, it’s important to maintain its cleanliness to ensure its long-term functionality and usability. Regular maintenance will prevent dirt, debris, and rust from building up, keeping your tools in optimal condition.
Here are some tips to help you maintain the cleanliness of your toolbox:
- Store your tools properly after use. Return each tool to its designated spot in the toolbox to prevent them from accumulating dirt or getting damaged.
- Wipe down your toolbox regularly. Use a clean cloth or sponge to remove any surface dust or dirt.
- Inspect your tools periodically. Check for signs of rust, wear, or damage. Replace or repair any tools as needed to maintain a functional toolbox.
- Avoid exposing your toolbox to extreme temperatures or humidity. Extreme conditions can accelerate rust, corrosion, and damage to your tools and toolbox.
- Consider using silica gel packets or moisture-absorbing packets in your toolbox. These can help absorb excess moisture and prevent the growth of mold or mildew.
- Keep your toolbox in a clean and dry environment. If possible, store it in a garage, shed, or other well-ventilated area to minimize exposure to dust or moisture.
- Regularly inspect the hinges, latches, and handles of your toolbox. Lubricate them if necessary to ensure smooth operation and prevent rust or corrosion.
- Take the time to clean and organize your toolbox on a regular basis. An organized and clean toolbox will not only save you time but also prolong the lifespan of your tools.
By following these maintenance tips, you can keep your toolbox clean and in excellent condition for years to come. Regular upkeep will ensure that your tools are always readily accessible and in optimal working condition.
Conclusion
Cleaning and organizing your tool box is an essential task that should be a part of your regular maintenance routine. By following the steps outlined in this guide, you can ensure that your tool box remains clean, functional, and visually appealing.
From gathering the necessary materials to reorganizing and restocking your tools, each step in the process plays a crucial role in maintaining the cleanliness and longevity of your tool box. By removing loose dirt and debris, cleaning the interior and exterior surfaces, and polishing the metal parts, you can restore your tool box to its optimal condition.
Additionally, it’s important to maintain the cleanliness of your toolbox by regularly wiping it down, storing tools properly, and conducting periodic inspections. By implementing these maintenance practices, you can prevent rust, corrosion, and damage to your tools while keeping them organized and easily accessible.
A clean and well-organized tool box will not only save you time and effort but also ensure that your tools are in good condition and ready for use when you need them. So, don’t underestimate the importance of regular cleaning and maintenance when it comes to your tool box.
Remember, safety should always be a priority when handling tools. Take the time to properly clean, maintain, and store your tools to keep yourself and others safe.
By incorporating these steps into your tool box cleaning routine, you can enjoy the benefits of a clean, organized, and fully functional toolbox for all your DIY projects and professional tasks.
Frequently Asked Questions about How To Clean Tool Box
Was this page helpful?
At Storables.com, we guarantee accurate and reliable information. Our content, validated by Expert Board Contributors, is crafted following stringent Editorial Policies. We're committed to providing you with well-researched, expert-backed insights for all your informational needs.


0 thoughts on “How To Clean Tool Box”