Articles
How To Clean Mini Blinds
Modified: March 6, 2024
Looking for articles on how to clean mini blinds? Discover expert tips and tricks to keep your blinds looking fresh and dust-free.
(Many of the links in this article redirect to a specific reviewed product. Your purchase of these products through affiliate links helps to generate commission for Storables.com, at no extra cost. Learn more)
Introduction
Cleaning mini blinds may seem like a daunting task, but with the right techniques and materials, you can easily restore their beauty and prolong their lifespan. Mini blinds are a popular window treatment option due to their affordability and versatility. They come in various materials, such as plastic, aluminum, or even fabric, and are commonly used in homes and offices.
Over time, mini blinds can accumulate dust, dirt, pet hair, and other debris, making them look dull and unappealing. Regular cleaning not only improves their appearance but also helps to maintain a healthy living environment by reducing allergens and dust buildup. In this article, we will guide you through the step-by-step process of effectively cleaning your mini blinds.
Key Takeaways:
- Regularly cleaning mini blinds with a gentle solution and soft cloth can restore their beauty and reduce allergens, creating a healthier living environment.
- Removing, cleaning, and rehanging mini blinds using the right materials and techniques can prolong their lifespan and keep them looking fresh and beautiful.
Read more: How To Clean Aluminum Mini Blinds
Materials Needed
Before you begin cleaning your mini blinds, gather the following materials:
- Microfiber cloth or duster: This will be used to remove loose dust and debris from the blinds.
- Mild detergent or cleaning solution: Choose a gentle detergent or a specifically formulated blind cleaning solution to avoid damaging the blinds.
- Bucket or basin: You will need a container to mix the cleaning solution and water.
- Sponge or soft cloth: This will be used to clean the blinds and remove stubborn stains or grime.
- Gloves: Protect your hands from any harsh chemicals or cleaning agents.
- Water: You will need water to mix with the cleaning solution and rinse the blinds.
- Old towels or drop cloth: Lay down old towels or a drop cloth to catch any dripping water or cleaning solution.
- Vacuum cleaner with brush attachment (optional): If your blinds are heavily soiled or have accumulated a lot of dust, using a vacuum cleaner with a brush attachment can help in the initial cleaning process.
Gathering all these materials beforehand will make the cleaning process smoother and more efficient. It’s always better to be prepared before you start.
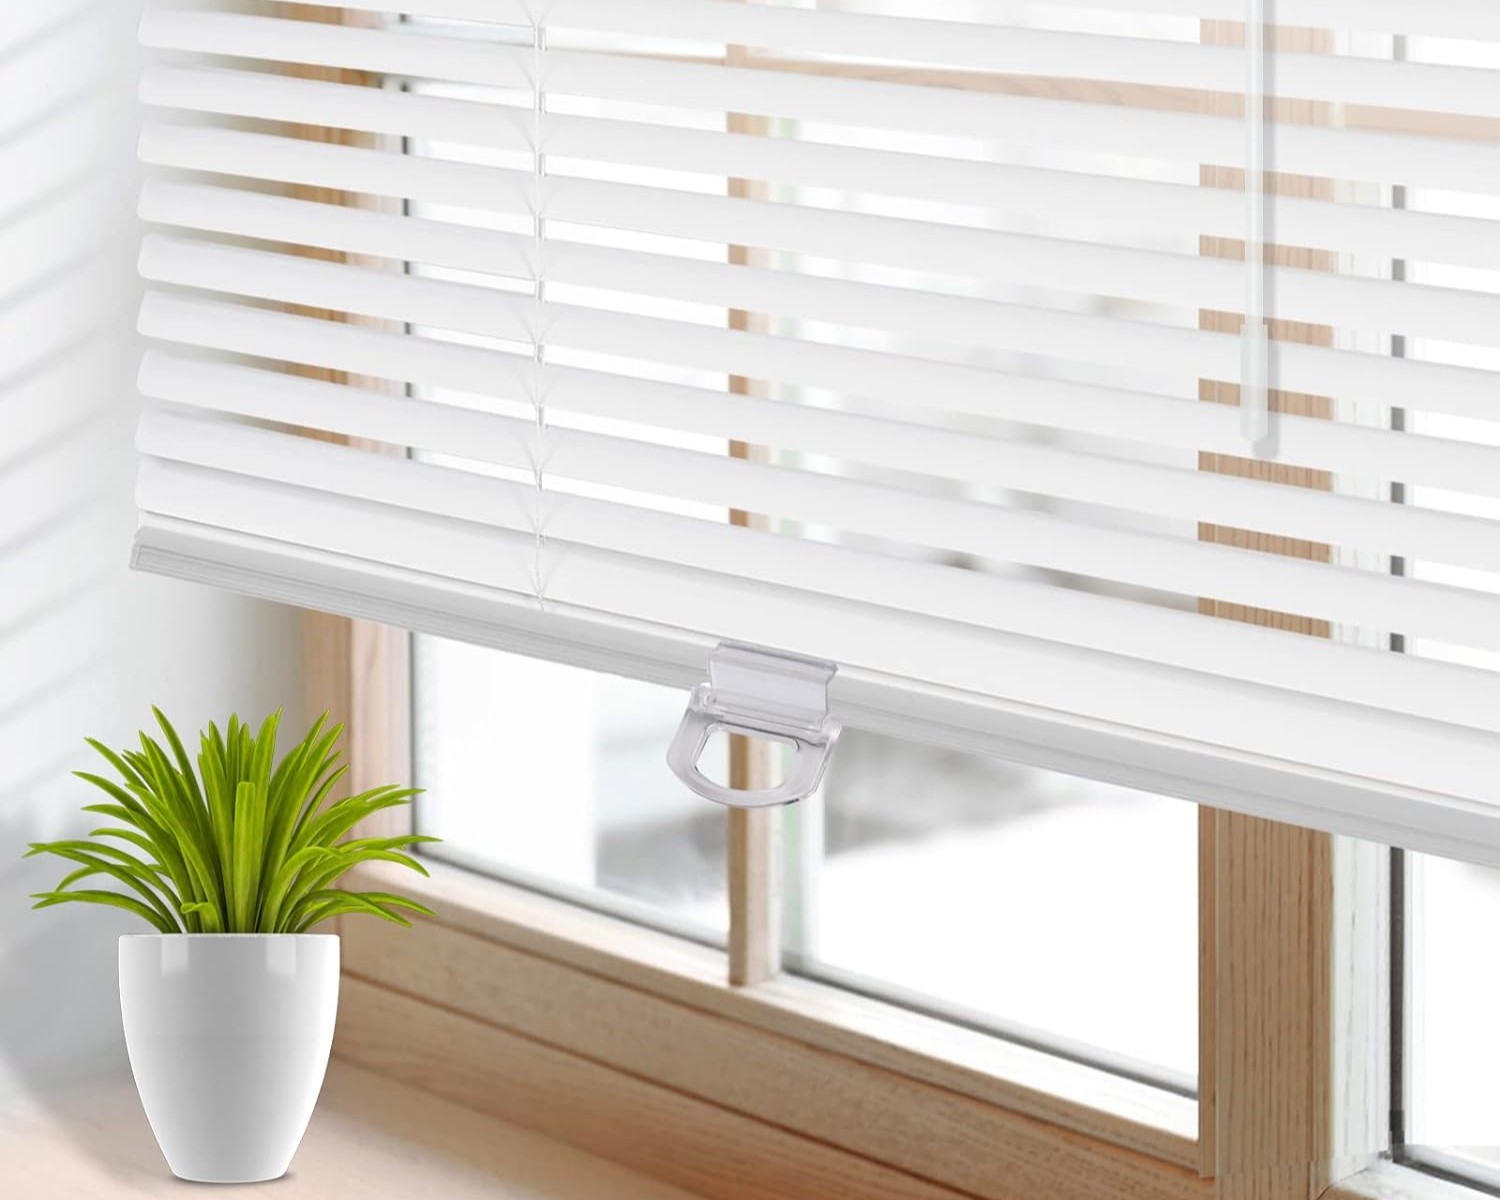
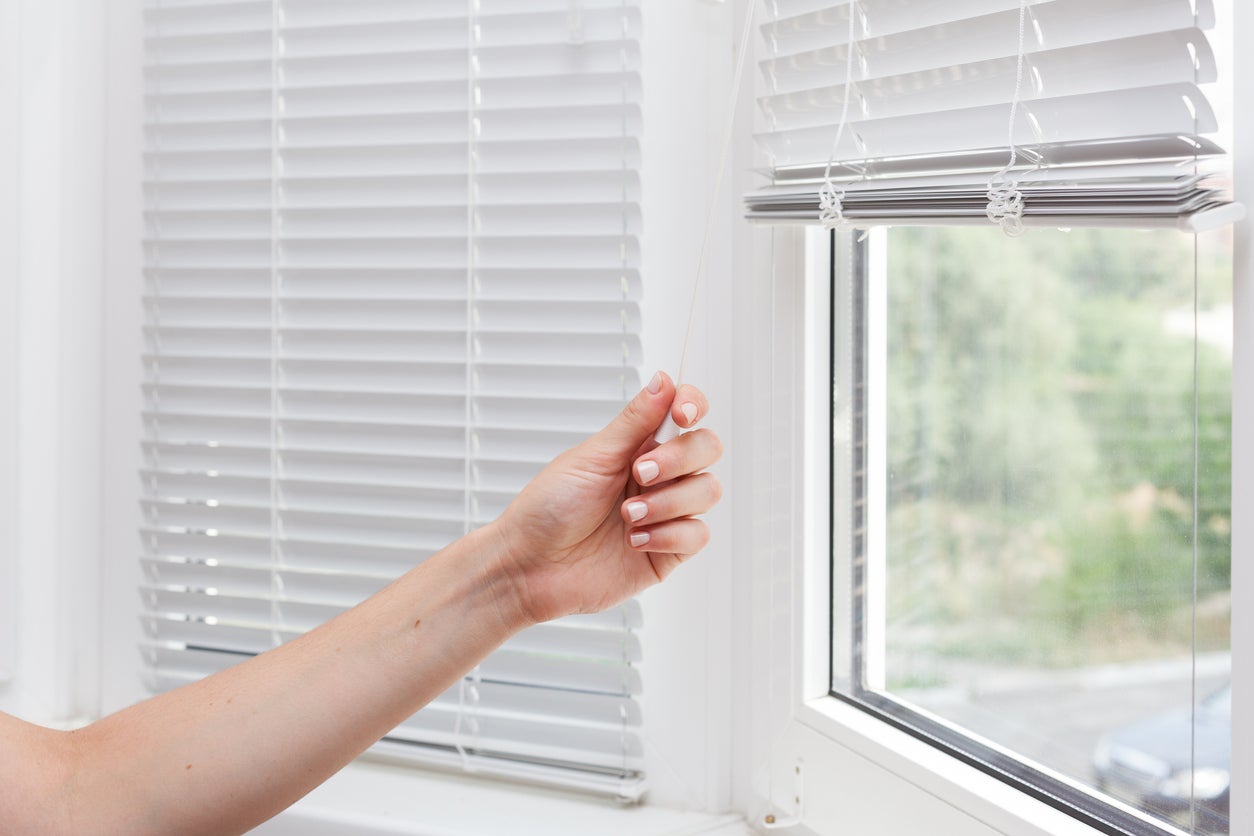
Step 1: Remove the Mini Blinds
The first step in cleaning mini blinds is to remove them from the window. This will make it easier to clean them thoroughly. Follow these steps:
- Close the blinds completely to ensure that they are in their most compact position.
- Locate the brackets that hold the blinds in place. These are usually located on the top corners of the window frame or on the wall above the window.
- Depending on the type of blinds you have, you may need to release the blinds from the brackets by either gently squeezing or lifting a latch or tab. Refer to the manufacturer’s instructions if you are unsure.
- Once the blinds are released from the brackets, carefully lift them out of the brackets and set them aside in a safe and clean area.
It’s important to handle the blinds with care to avoid any damage or bending of the slats.
If your blinds are too large or difficult to remove entirely, you can clean them while they’re still hanging. However, removing them allows for a more thorough and efficient cleaning process.
Now that you have successfully removed the mini blinds, you can proceed to the next step: preparing the cleaning solution.
Step 2: Prepare the Cleaning Solution
Now that your mini blinds are removed, it’s time to prepare the cleaning solution. The type of solution you use will depend on the material of your blinds. Here’s how to do it:
- Start by filling a bucket or basin with warm water. Avoid using hot water as it can damage certain types of blinds.
- Add a small amount of mild detergent or a blind cleaning solution to the water. Follow the instructions on the cleaning product for the appropriate amount to use.
- Gently mix the water and cleaning solution together to create a soapy mixture.
If you’re unsure about which cleaning solution to use, check the manufacturer’s guidelines or do a spot test on a small, inconspicuous area of the blinds to ensure it doesn’t cause any discoloration or damage.
Remember, it’s important to use mild cleaning agents to protect the integrity of the blinds. Harsh chemicals or abrasive cleaners can fade or deteriorate the material.
With your cleaning solution prepared, you’re ready to move on to the next step: cleaning the blinds.
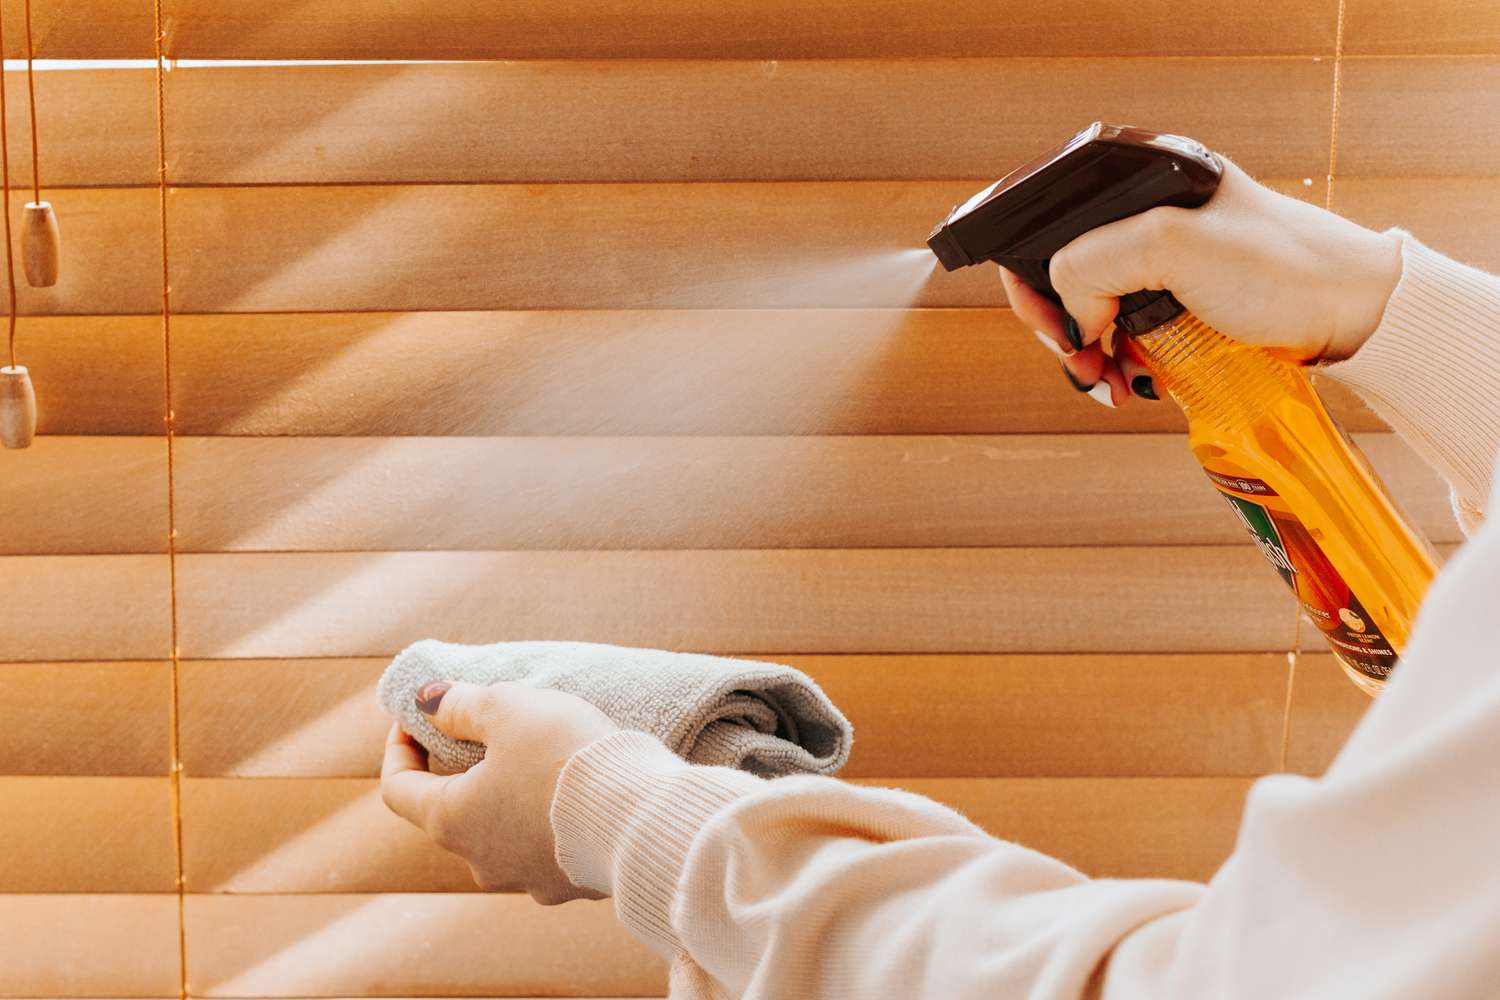
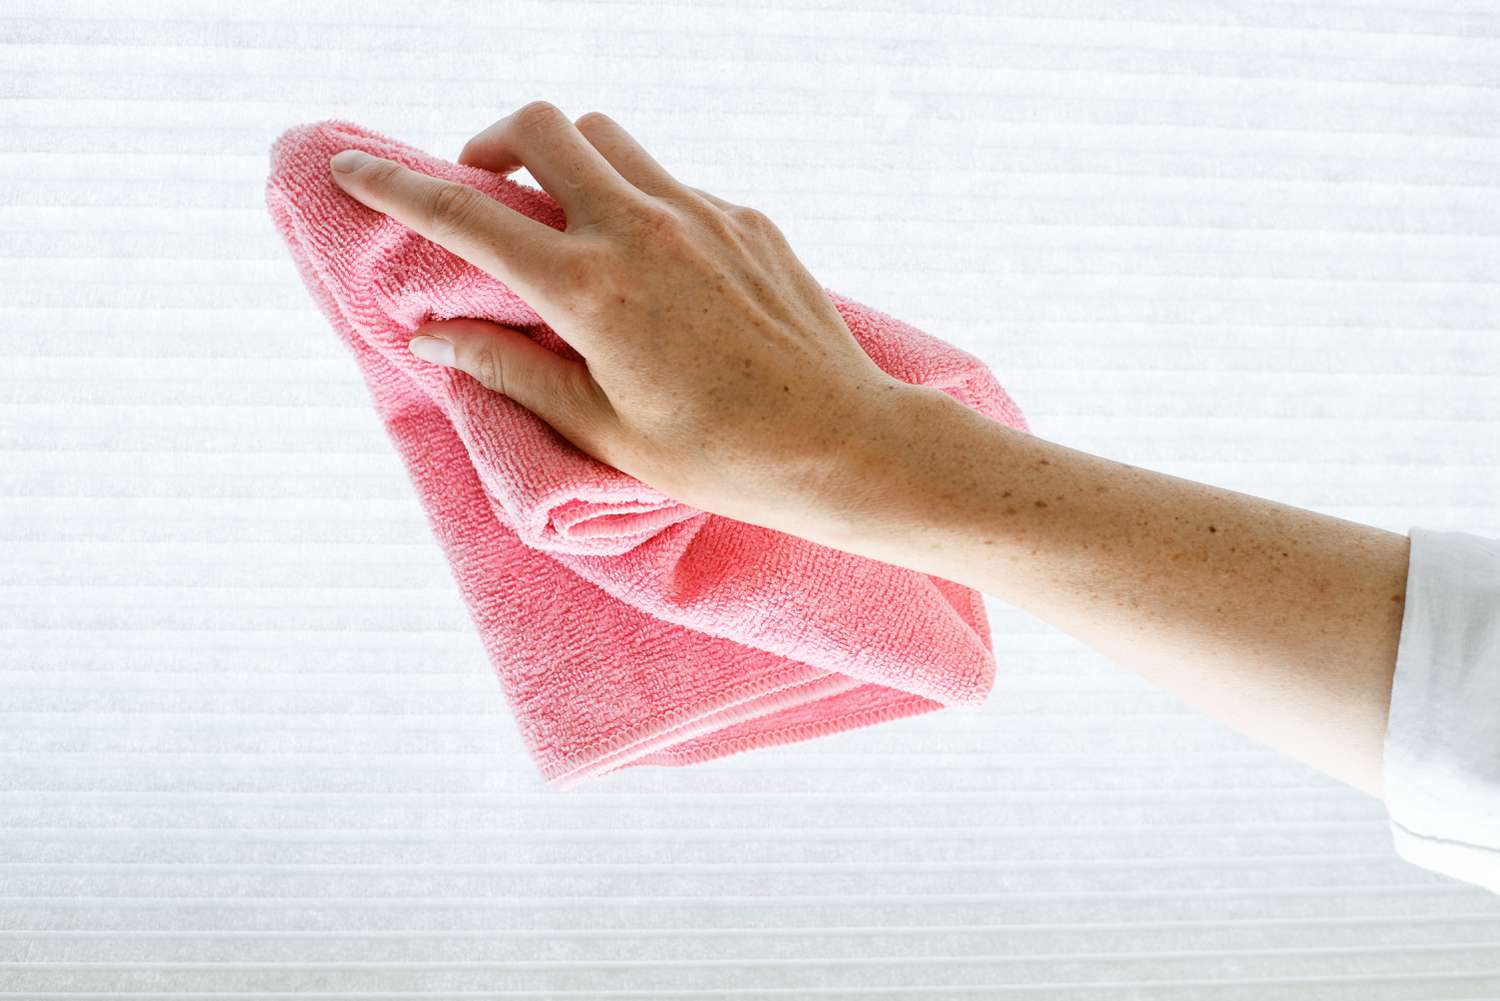
Use a mixture of warm water and mild dish soap to gently clean mini blinds. Use a microfiber cloth or sponge to wipe each slat, then rinse with clean water and dry thoroughly.
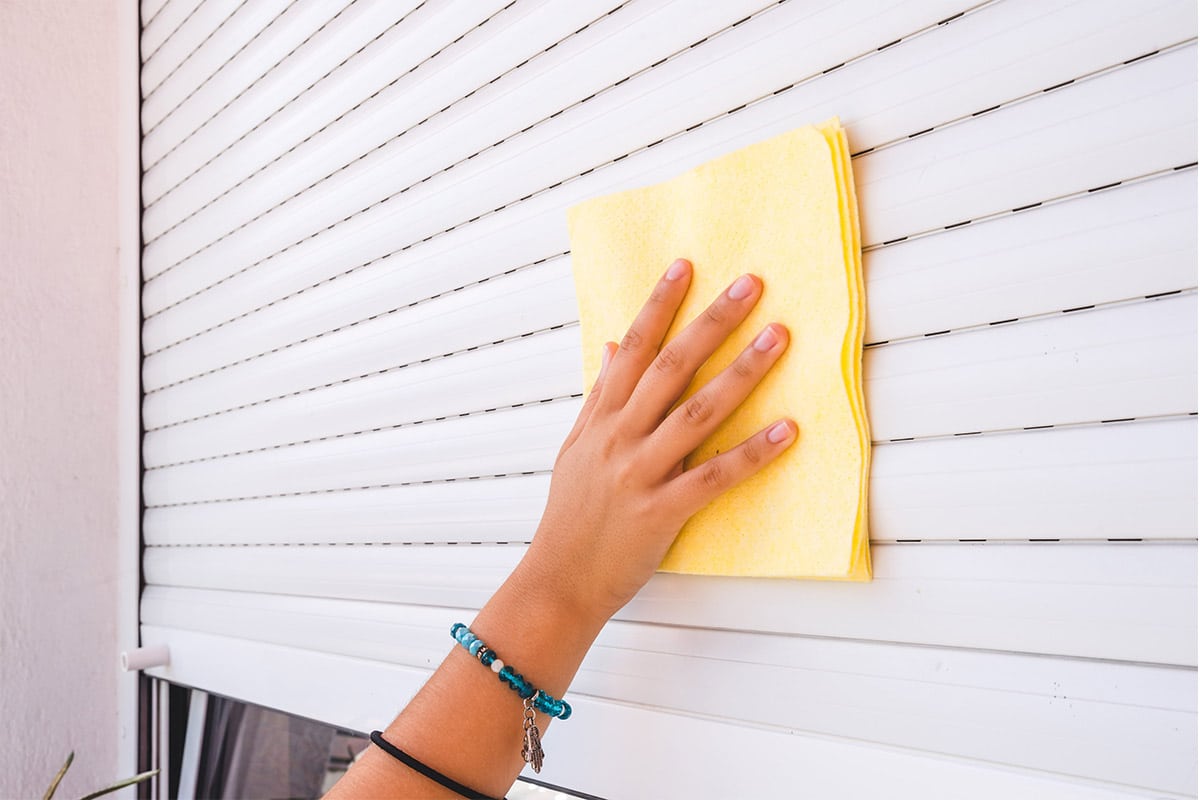
Step 3: Clean the Blinds
With your cleaning solution ready, it’s time to start cleaning the mini blinds. Follow these steps:
- Dip a sponge or soft cloth into the soapy water solution. Squeeze out any excess water to avoid dripping.
- Starting from the top of the blinds, gently wipe each slat using a back-and-forth motion. Pay extra attention to areas with visible stains or dirt buildup.
- If your blinds have fabric slats, be careful not to saturate them with water. Instead, lightly dampen the cloth and gently clean the fabric surface.
- For stubborn stains or difficult-to-reach areas, use a soft-bristled brush or an old toothbrush to scrub gently.
- Continue cleaning each slat, moving from top to bottom, until all the blinds have been thoroughly wiped down.
If you’re cleaning aluminum or vinyl blinds, you can also use a microfiber cloth or a duster to quickly remove surface dust and debris before washing them with the cleaning solution.
Remember to rinse the sponge or cloth regularly in the soapy water solution to avoid spreading dirt or grime onto the blinds.
Once you have cleaned all the slats, proceed to the next step: rinsing and drying the blinds.
Read more: How To Install Mini Blinds
Step 4: Rinse and Dry the Blinds
After cleaning the mini blinds, it’s important to rinse off any remaining soap residue and ensure they are completely dry before rehanging them. Follow these steps:
- Fill a clean bucket or basin with fresh, clean water.
- Dip a clean sponge or cloth into the water and wring out any excess water.
- Starting from the top, gently wipe each slat of the blinds to remove any soap residue.
- Continue rinsing each slat, moving from top to bottom, until all the blinds are thoroughly rinsed.
- Once you have finished rinsing, use a dry cloth or towel to gently blot any excess water from the blinds.
- After blotting, carefully hang the blinds in a well-ventilated area or place them on a clean, dry surface to air dry completely.
Avoid using a hairdryer or excessive heat to speed up the drying process, as this may cause damage to the blinds or make them warp.
While waiting for the blinds to dry, you can move on to the final step: rehanging the blinds.
Step 5: Rehang the Blinds
Once your mini blinds are completely dry, it’s time to rehang them and enjoy their refreshed appearance. Follow these steps:
- Carefully lift the blinds and align them with the brackets on the window frame or wall.
- Insert the blinds into the brackets, making sure they fit securely.
- Depending on the type of blinds you have, you may need to engage a latch or lock mechanism to secure them in place.
- Once the blinds are properly rehung, test their functionality by opening and closing them to ensure they operate smoothly.
- Inspect the blinds to ensure they are evenly aligned and straight. Adjust if necessary.
- If you removed any window hardware, such as curtain rods or tiebacks, during the cleaning process, reattach them as well.
With the blinds rehung, step back and admire their clean and refreshed appearance. Your efforts in cleaning and maintaining them will not only enhance the overall aesthetics of your space but also contribute to a healthier and more comfortable environment.
Regular maintenance and cleaning of your mini blinds will help prolong their lifespan and keep them looking their best for years to come.
Remember to incorporate regular cleaning into your household cleaning routine to prevent excessive buildup of dust and dirt on your blinds.
And there you have it – a step-by-step guide on how to clean mini blinds. By following these simple steps and using the right materials, your mini blinds will stay looking fresh and beautiful, adding a touch of elegance to your space.
Conclusion
Cleaning mini blinds may seem like a tedious task, but it is an essential part of maintaining their appearance and functionality. By following the step-by-step guide outlined in this article, you can easily clean your mini blinds and restore their beauty.
Remember to gather all the necessary materials before you start, including a mild detergent or cleaning solution, a microfiber cloth or duster, a bucket or basin, and gloves. By preparing these materials in advance, you can ensure a smooth and efficient cleaning process.
Removing the mini blinds from the window allows for a more thorough cleaning. Take care to handle the blinds delicately to prevent any damage or bending. Once removed, you can prepare a gentle cleaning solution by mixing warm water with a mild detergent or blind cleaning solution.
Cleaning the blinds involves wiping each slat with a damp sponge or cloth, paying extra attention to any stubborn stains or grime. For fabric blinds, be cautious not to saturate the material with water. Use a soft-bristled brush or toothbrush for hard-to-reach areas. Rinse off any soap residue with clean water and then allow the blinds to air dry completely before rehanging them.
Finally, rehang the clean mini blinds back onto the brackets, making sure they are aligned and straight. Test their functionality by opening and closing them, and adjust if necessary. Be sure to include regular cleaning of mini blinds as part of your household cleaning routine to maintain their appearance and prolong their lifespan.
By taking the time to clean your mini blinds properly, you can enhance the overall aesthetics of your space and create a cleaner and more comfortable living environment. So, roll up your sleeves, gather your cleaning supplies, and give your mini blinds the attention they deserve!
Frequently Asked Questions about How To Clean Mini Blinds
Was this page helpful?
At Storables.com, we guarantee accurate and reliable information. Our content, validated by Expert Board Contributors, is crafted following stringent Editorial Policies. We're committed to providing you with well-researched, expert-backed insights for all your informational needs.