Articles
How To Take Down Mini Blinds
Modified: October 18, 2024
Learn step-by-step instructions on how to easily remove mini blinds with our informative articles. Streamline the process and update your window treatments today!
(Many of the links in this article redirect to a specific reviewed product. Your purchase of these products through affiliate links helps to generate commission for Storables.com, at no extra cost. Learn more)
Introduction
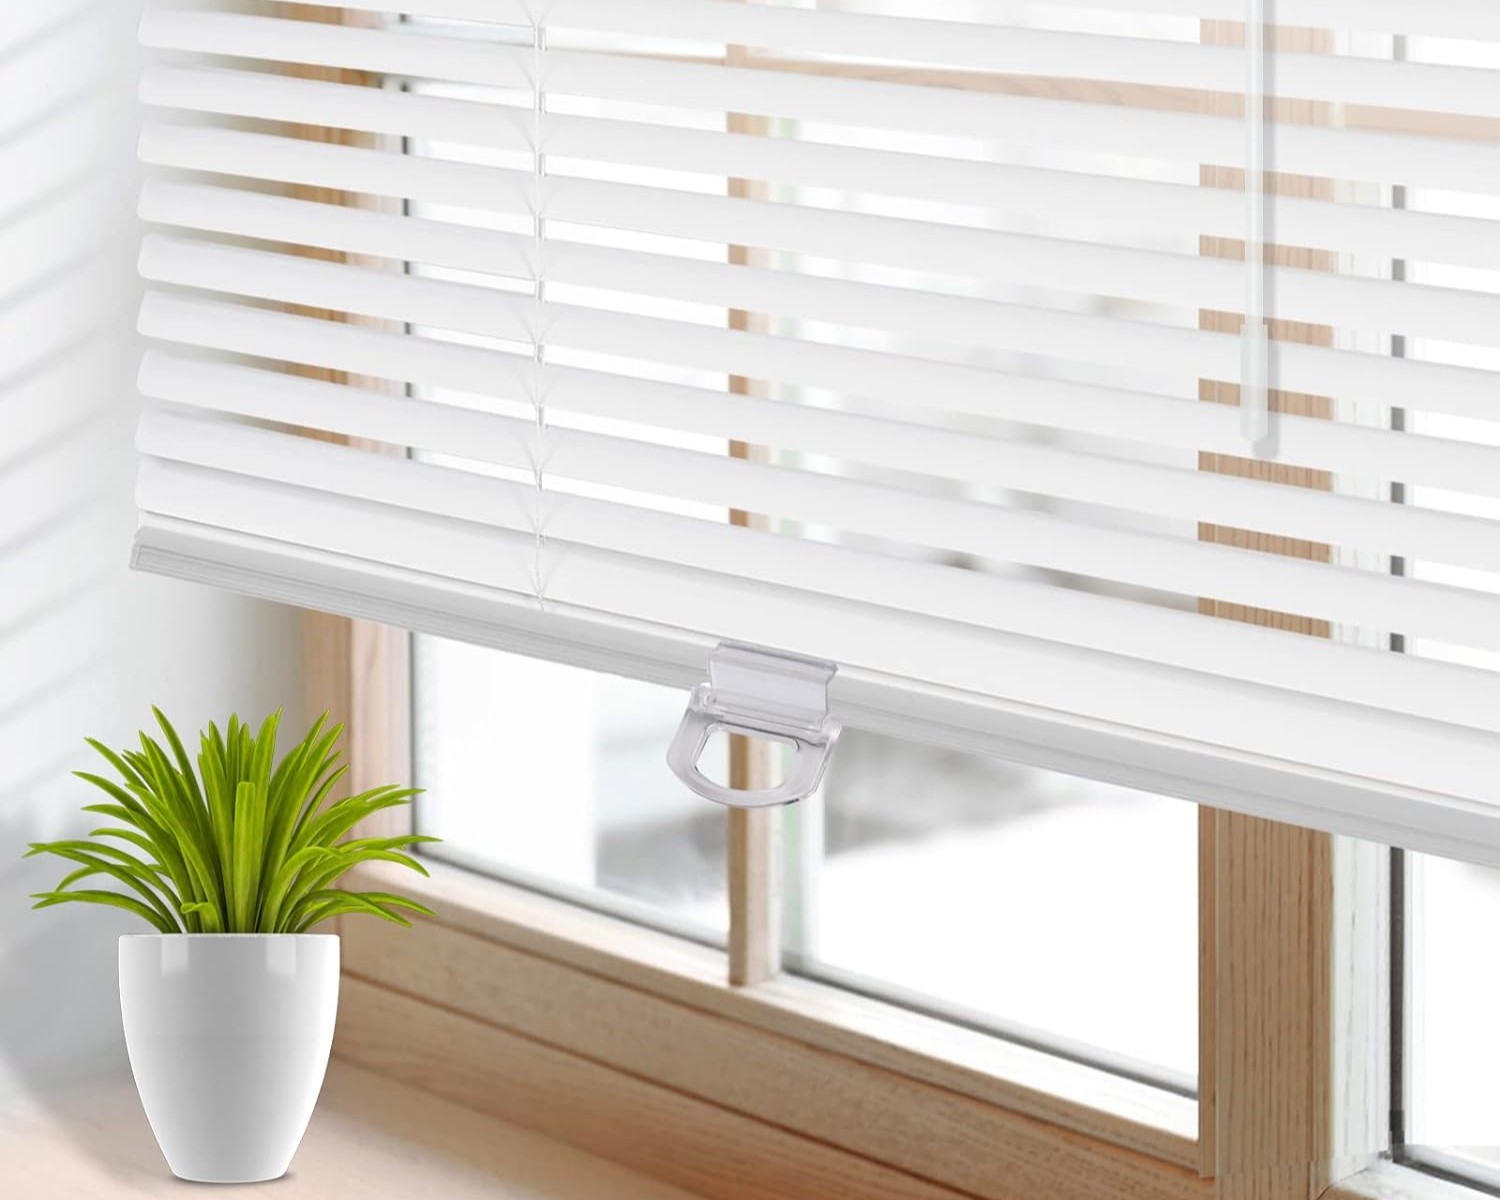
Mini blinds are a popular window treatment option due to their versatility and affordability. However, there may come a time when you need to take down your mini blinds, whether it’s for cleaning, replacing, or simply redecorating your space. In this article, we will guide you through the step-by-step process of taking down mini blinds, ensuring that you can successfully complete the task with ease.
Taking down mini blinds may seem like a daunting task, especially if you have never done it before. However, with the right tools and a little bit of patience, you can safely and effectively remove your blinds without any hassle. Whether you have vinyl, aluminum, or wooden mini blinds, the process generally remains the same. Let’s dive into the steps required to take down your mini blinds so that you can get started.
Key Takeaways:
- Taking down mini blinds is a manageable task with the right tools and step-by-step approach. From removing the valance to cleaning and storing, this guide ensures a smooth process for any homeowner.
- Proper cleaning and storage of mini blinds are essential for maintaining their appearance and prolonging their lifespan. By following the outlined steps, homeowners can confidently care for their window treatments.
Read more: How To Take Down Norman Blinds
Step 1: Gather the necessary tools
Before you begin the process of taking down your mini blinds, it’s important to gather all the necessary tools. Having the right tools at hand will make the process smoother and more efficient. Here are the tools you will need:
- A screwdriver (usually a Phillips head or flat head screwdriver)
- Pliers (optional, but helpful for certain types of blinds)
- A step stool or ladder, depending on the height of your windows
- A dusting cloth or feather duster to clean the blinds
Ensure that you have these tools readily available before you begin. It will save you time and frustration later on. Once you have gathered all the necessary tools, you’re ready to move on to the next step.
Step 2: Remove the valance
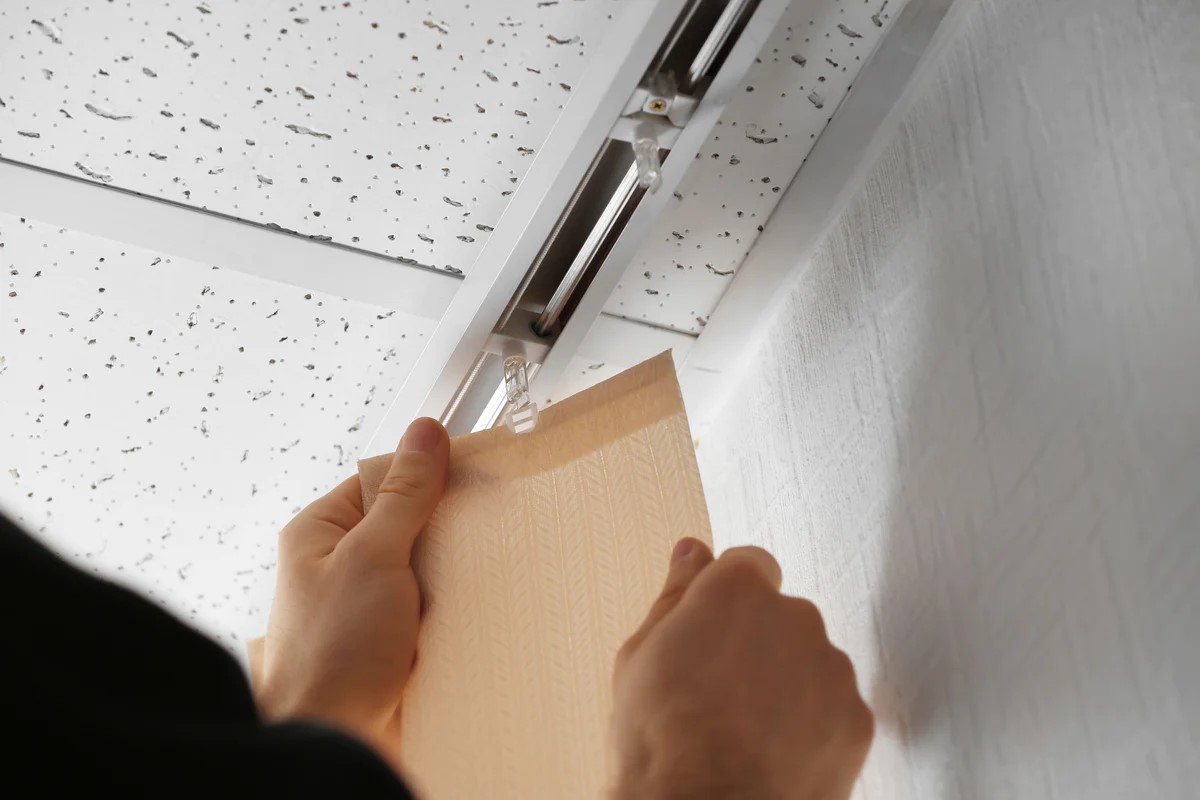
The valance is the decorative covering at the top of the blinds that hides the headrail and adds a polished look to your window treatment. To take down your mini blinds, you’ll need to start by removing the valance. Follow these steps:
- Locate the clips or brackets that hold the valance in place. These are typically located on the top front of the headrail.
- Gently pry the clips or brackets using your fingers or a screwdriver, depending on the type of attachment. Be cautious not to damage the valance or headrail in the process.
- Once the clips or brackets are released, carefully lift the valance off the headrail.
Set the valance aside in a safe place, as you will need to reinstall it once you have removed the blinds. Removing the valance will provide you with better access to the blinds and make the following steps easier to accomplish.
Keep in mind that not all mini blinds have removable valances. Some may have valances that are permanently attached or integrated into the headrail. If this is the case, you can skip this step and proceed to the next one.
Step 3: Release the lock
Once the valance is removed, you can proceed to release the lock that secures the blinds in place. The lock is typically located on the bottom rail or the bottom of the headrail. Here’s how to release the lock:
- Locate the lock mechanism. It may be a small button, lever, or slide depending on the type of blinds you have.
- If there is a button or lever, press or lift it to release the lock. If there is a slide, move it to the open position.
- As you release the lock, carefully lower the blinds down to their fully extended position. This will provide you with more room to work with in the upcoming steps.
Releasing the lock allows you to detach the blinds from the brackets more easily. Pay attention to any resistance or difficulties encountered while releasing the lock, as it may indicate the need for maintenance or repair.
Once the lock is released and the blinds are fully extended, you’re ready to proceed to the next step of removing the blinds from the brackets.
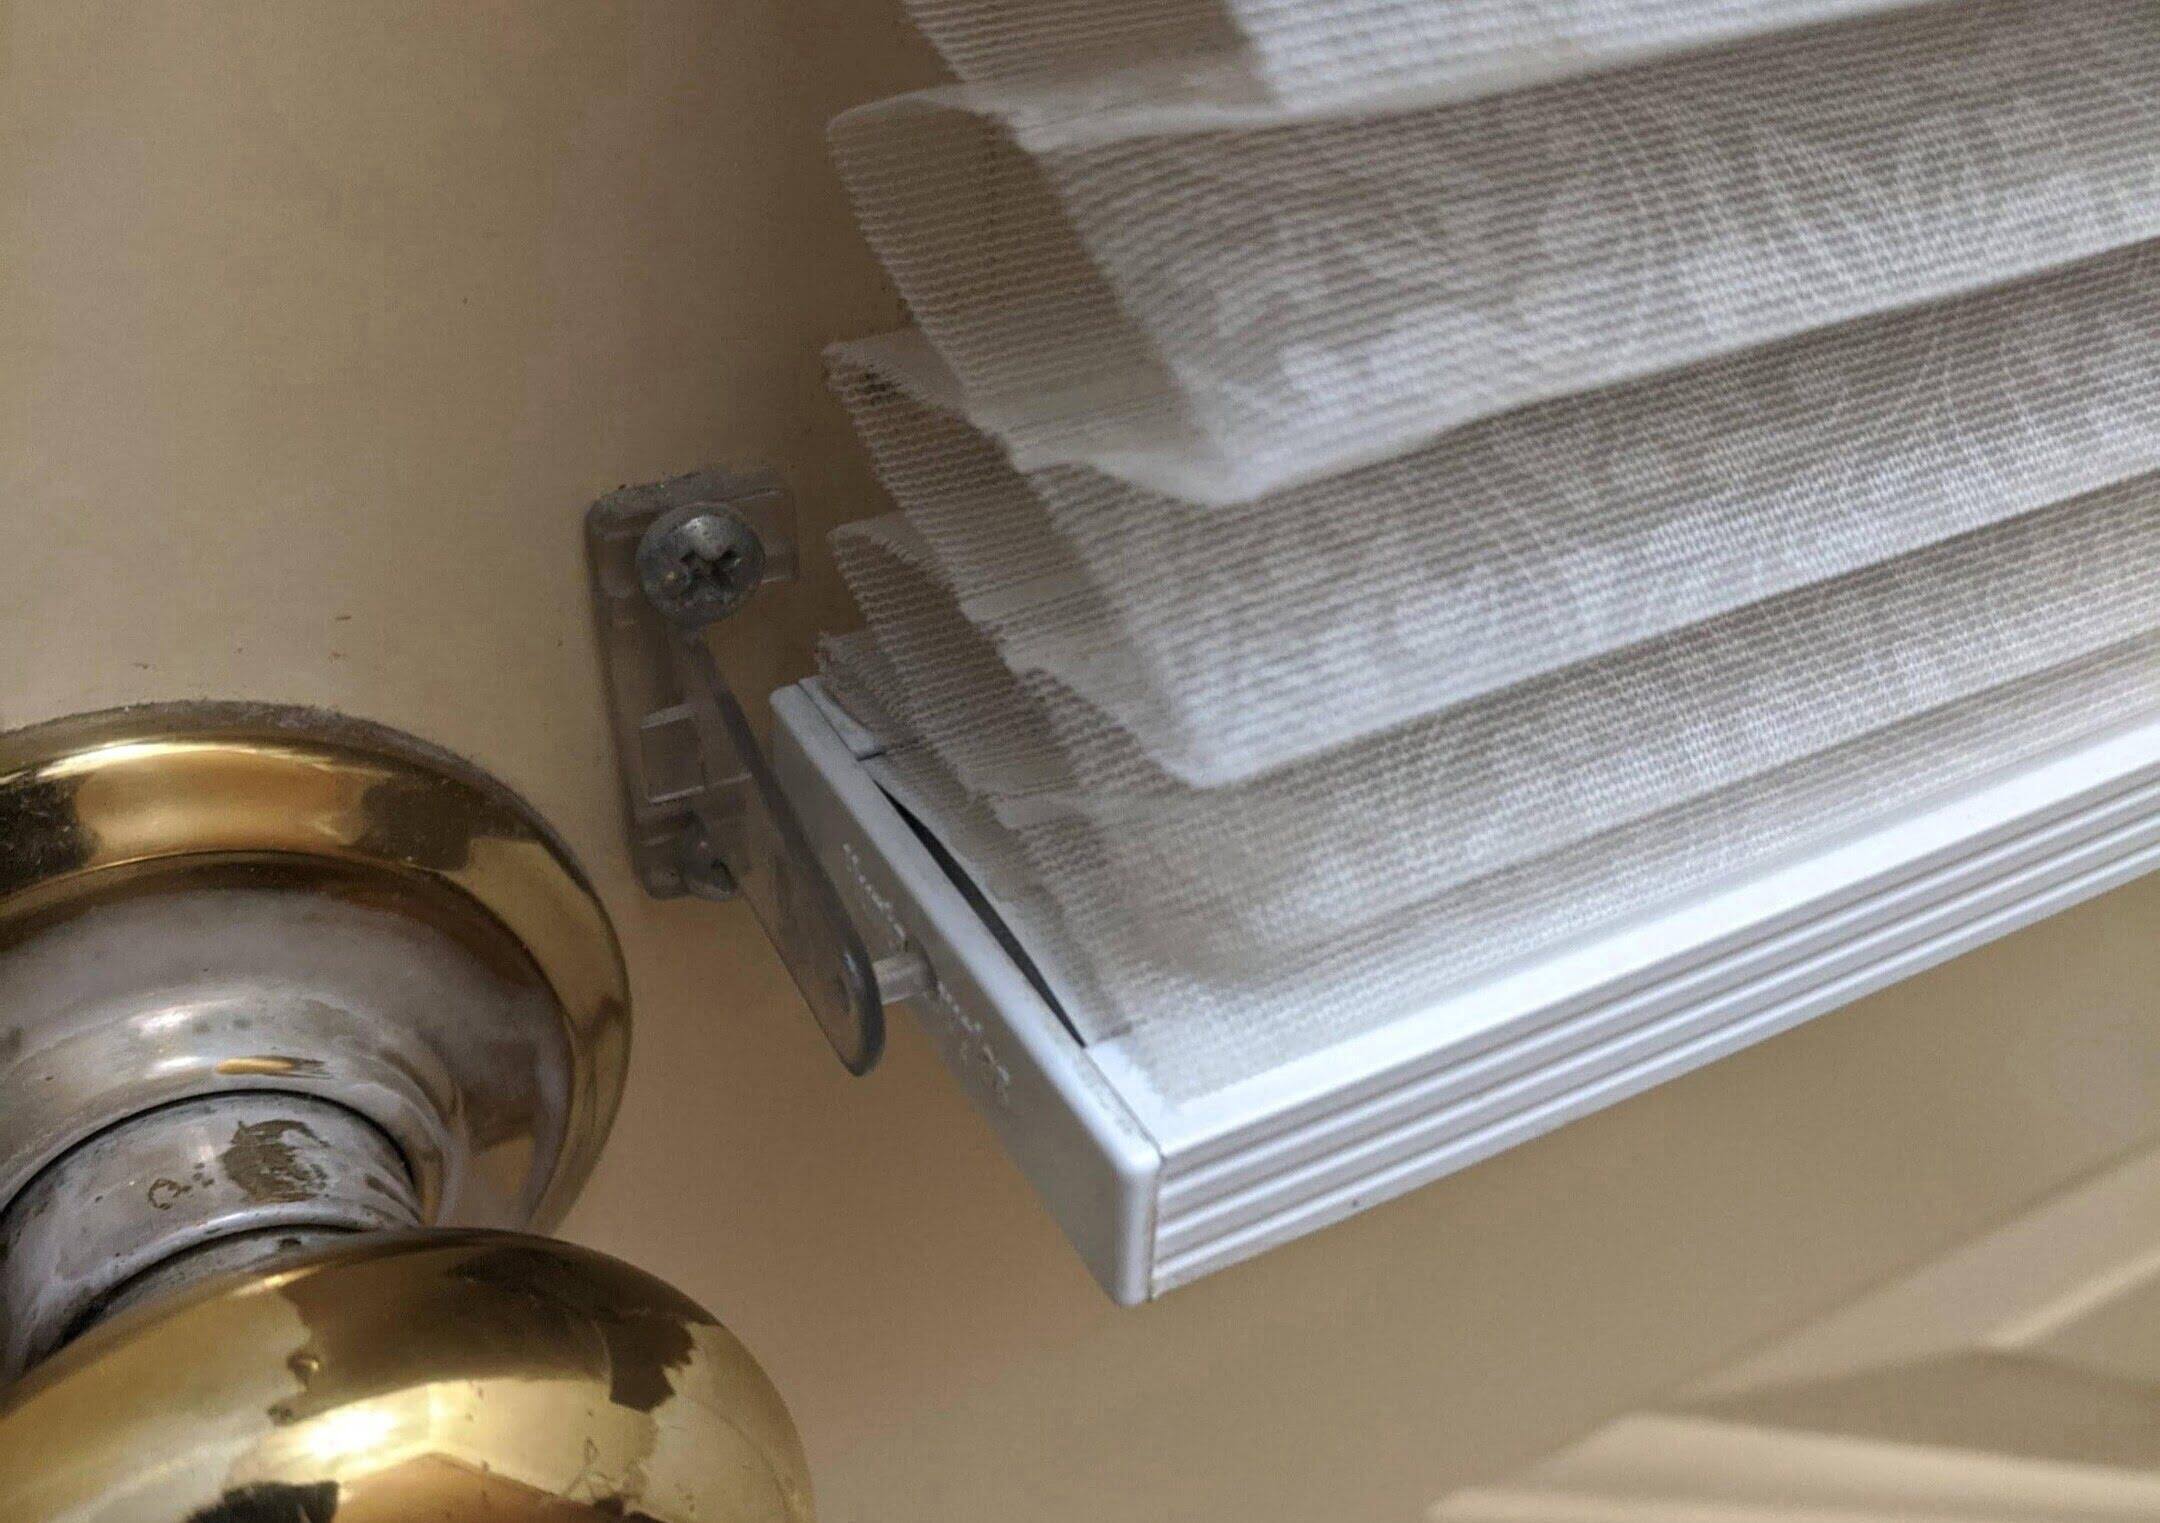
Step 4: Take off the bracket covers
Now that the lock has been released, you will need to remove the bracket covers. These covers are typically located at the ends of the headrail and serve to conceal the brackets that hold the blinds in place. Follow these steps to take off the bracket covers:
- Inspect the headrail and locate the bracket covers. They can be found at the ends of the headrail, where the blinds are attached to the window frame.
- Gently pry the bracket covers off using your fingers or a flat head screwdriver. Apply gentle pressure and work your way around the cover until it is completely detached. Be careful not to damage the cover or the headrail in the process.
- Set the bracket covers aside in a safe place.
Removing the bracket covers will expose the brackets that secure the blinds to the window frame. This step is essential to free the blinds from the brackets in the next step.
It’s worth mentioning that not all mini blinds have removable bracket covers. Some may have brackets that are visible without any covers. If this is the case, simply skip this step and proceed to the next one.
When taking down mini blinds, start by removing the end caps or plugs at the bottom of the blinds. Then, release the blinds from the brackets by pushing up and pulling out. Keep track of any screws or hardware for reinstallation.
Read more: How To Take Down Graber Blinds
Step 5: Remove the blinds from the brackets
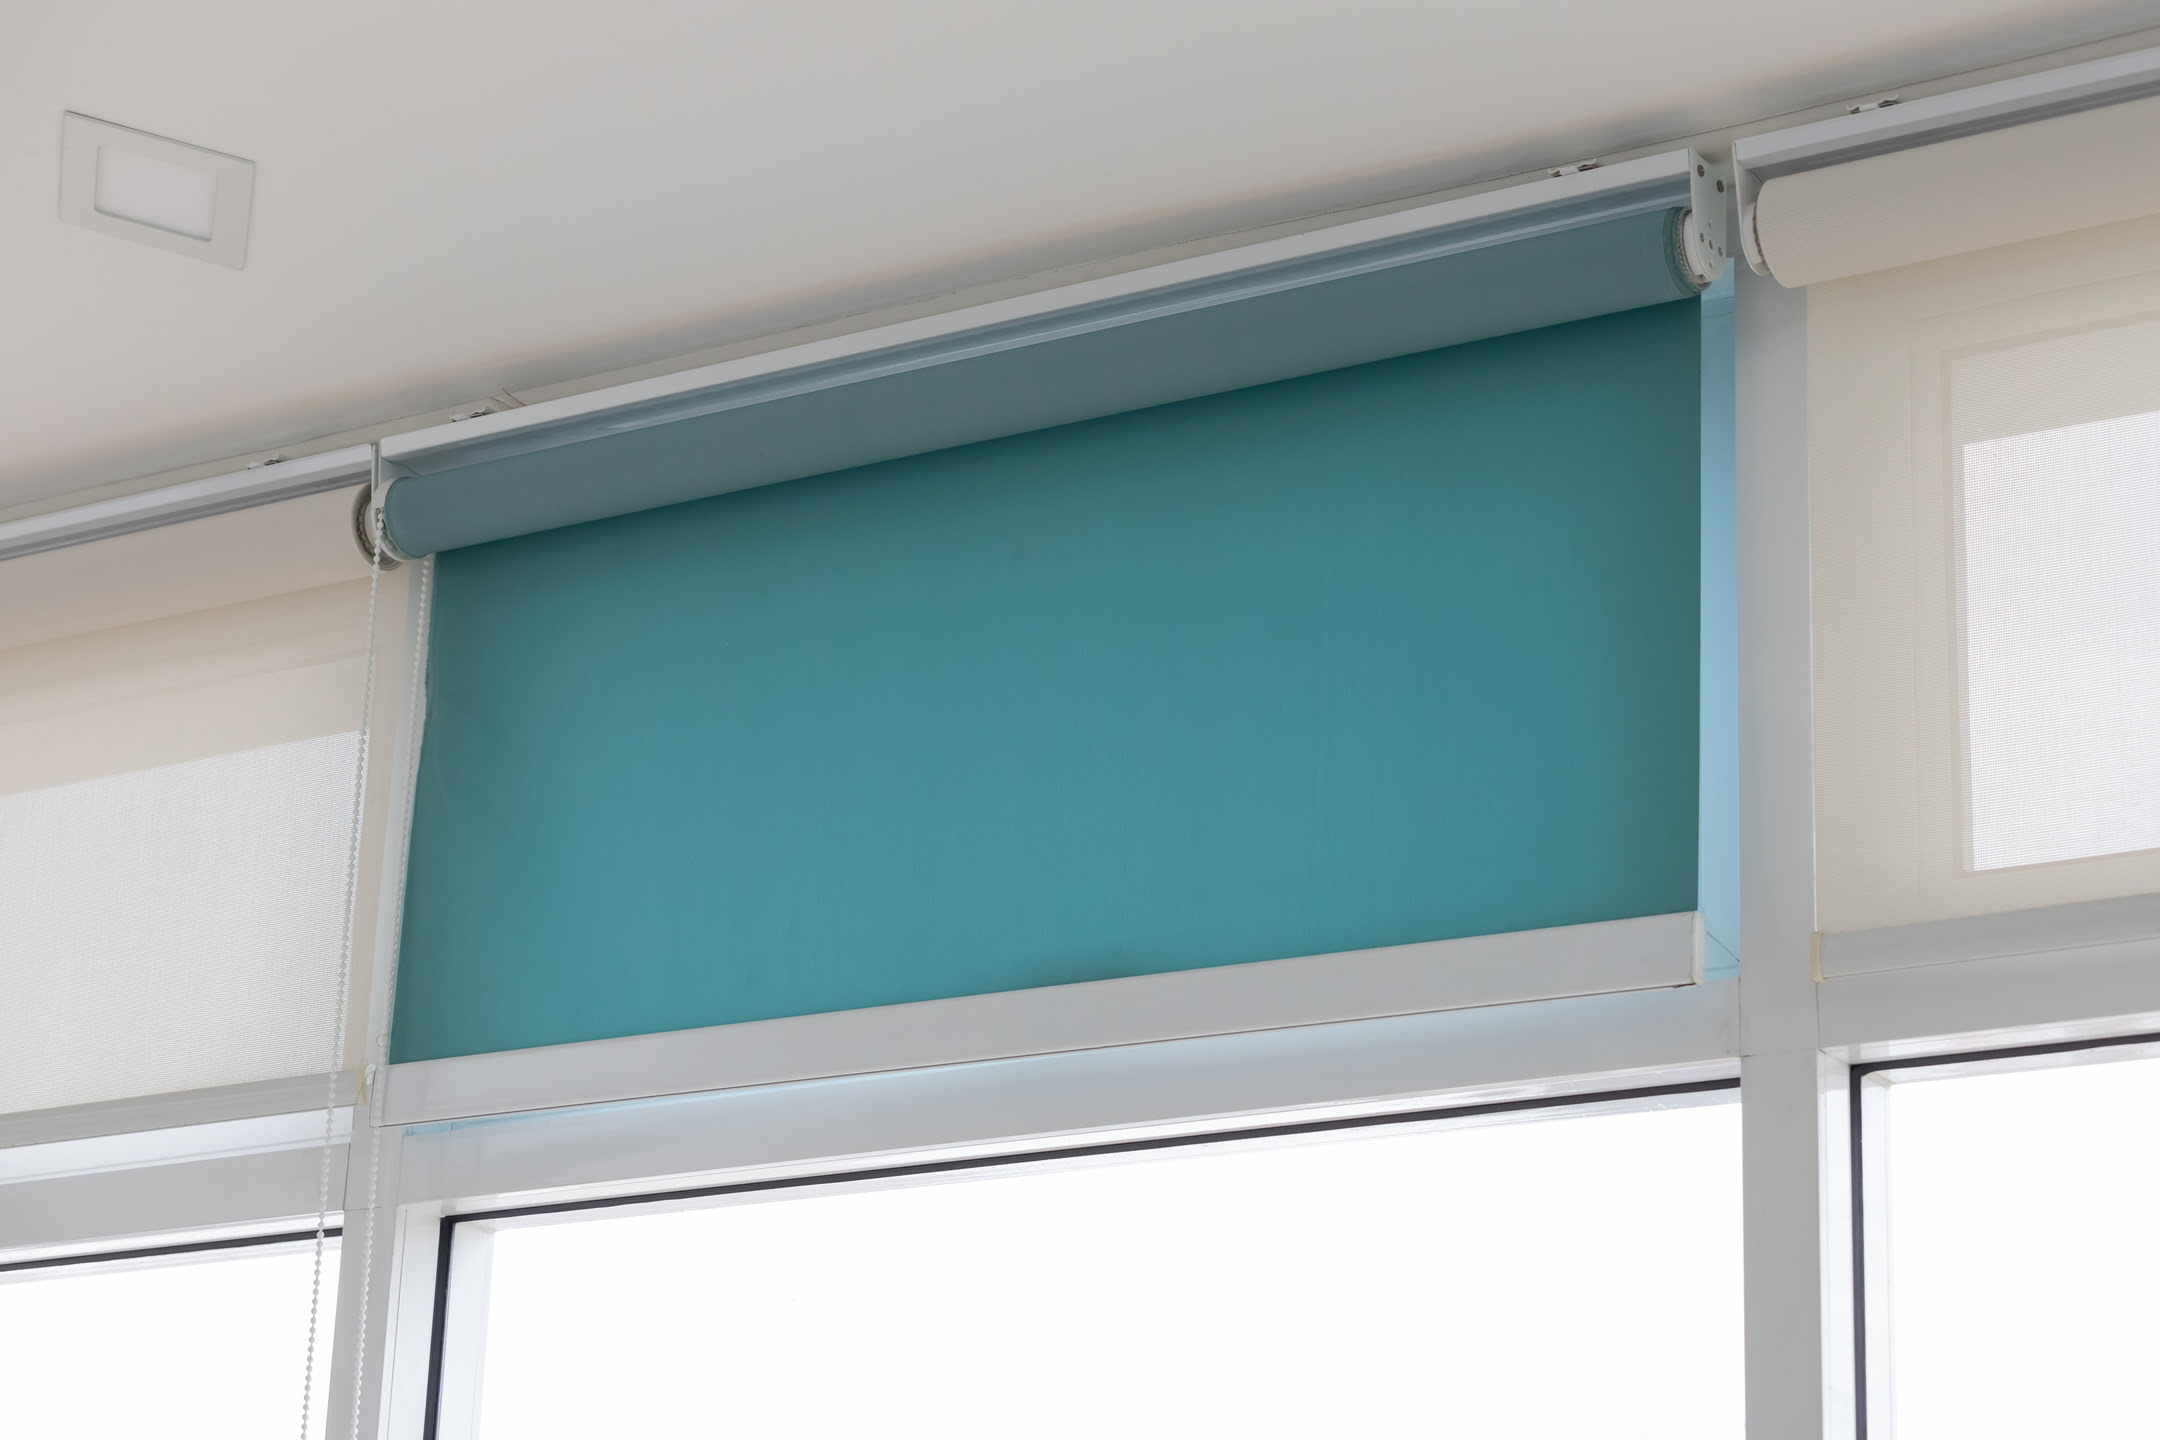
With the bracket covers removed, you can now proceed to take down the blinds from the brackets. The brackets are the metal or plastic fixtures that attach the blinds to the window frame. Follow these steps to remove the blinds from the brackets:
- Locate the brackets on either side of the blinds, near the top of the window frame.
- Once you have located the brackets, carefully lift the blinds up and out of the brackets. You may need to wiggle them slightly to release them from the brackets.
- Once the blinds are free from the brackets, set them aside in a safe place.
It’s important to handle the blinds with care during this step to avoid any accidental damage. If the blinds are heavy or bulky, you may consider asking for assistance to ensure a smooth removal process.
With the blinds now removed from the brackets, you have successfully taken down your mini blinds! However, there are a few additional steps to complete before you can fully store or replace them. Keep reading to learn how to detach the cord from the bottom rail and remove the bottom rail and slats.
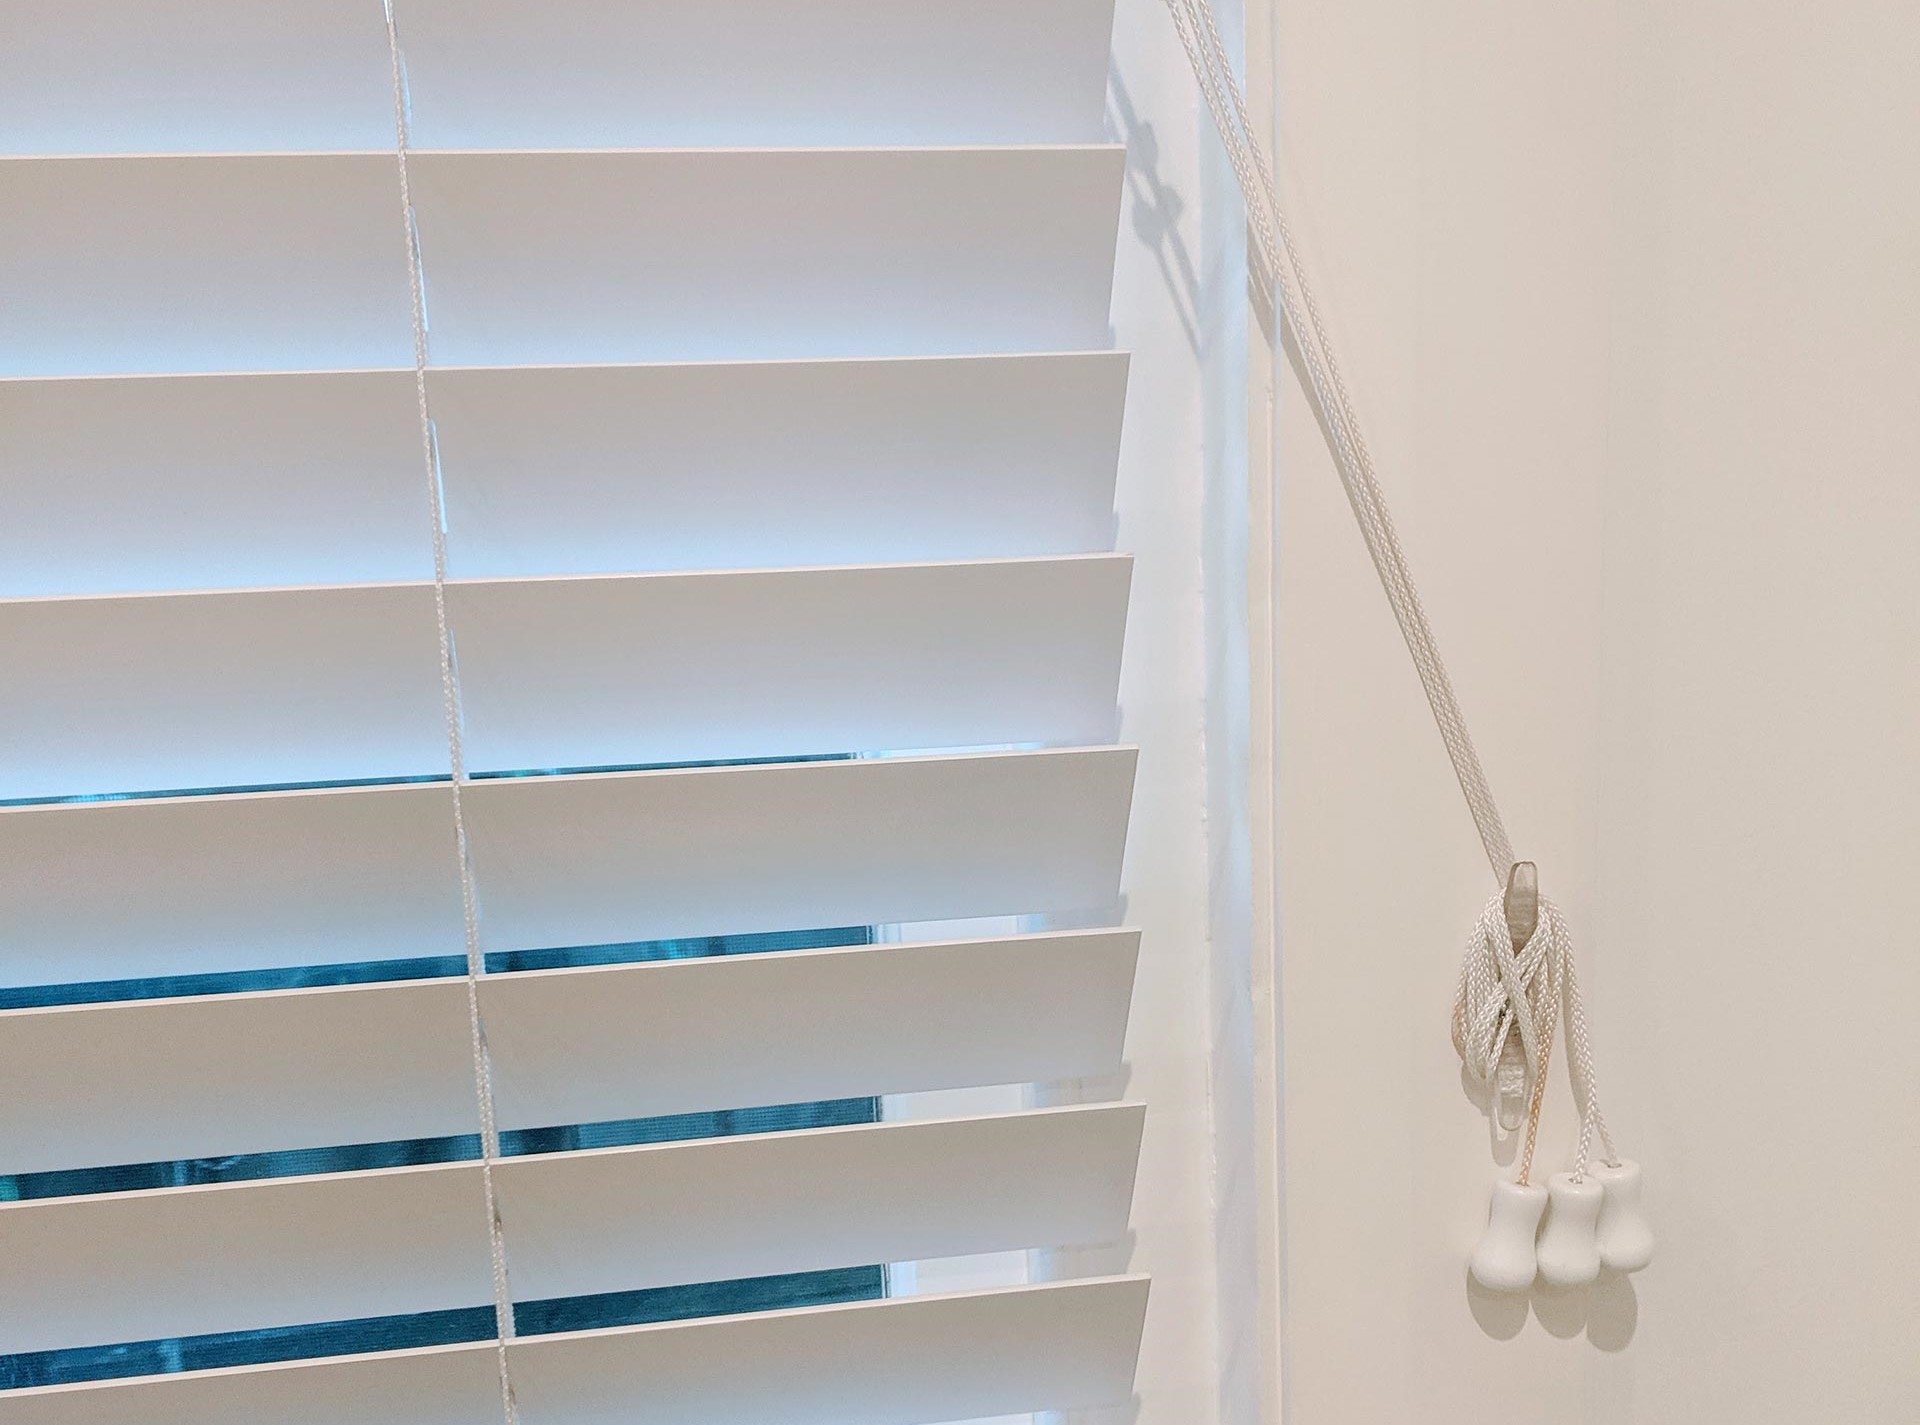
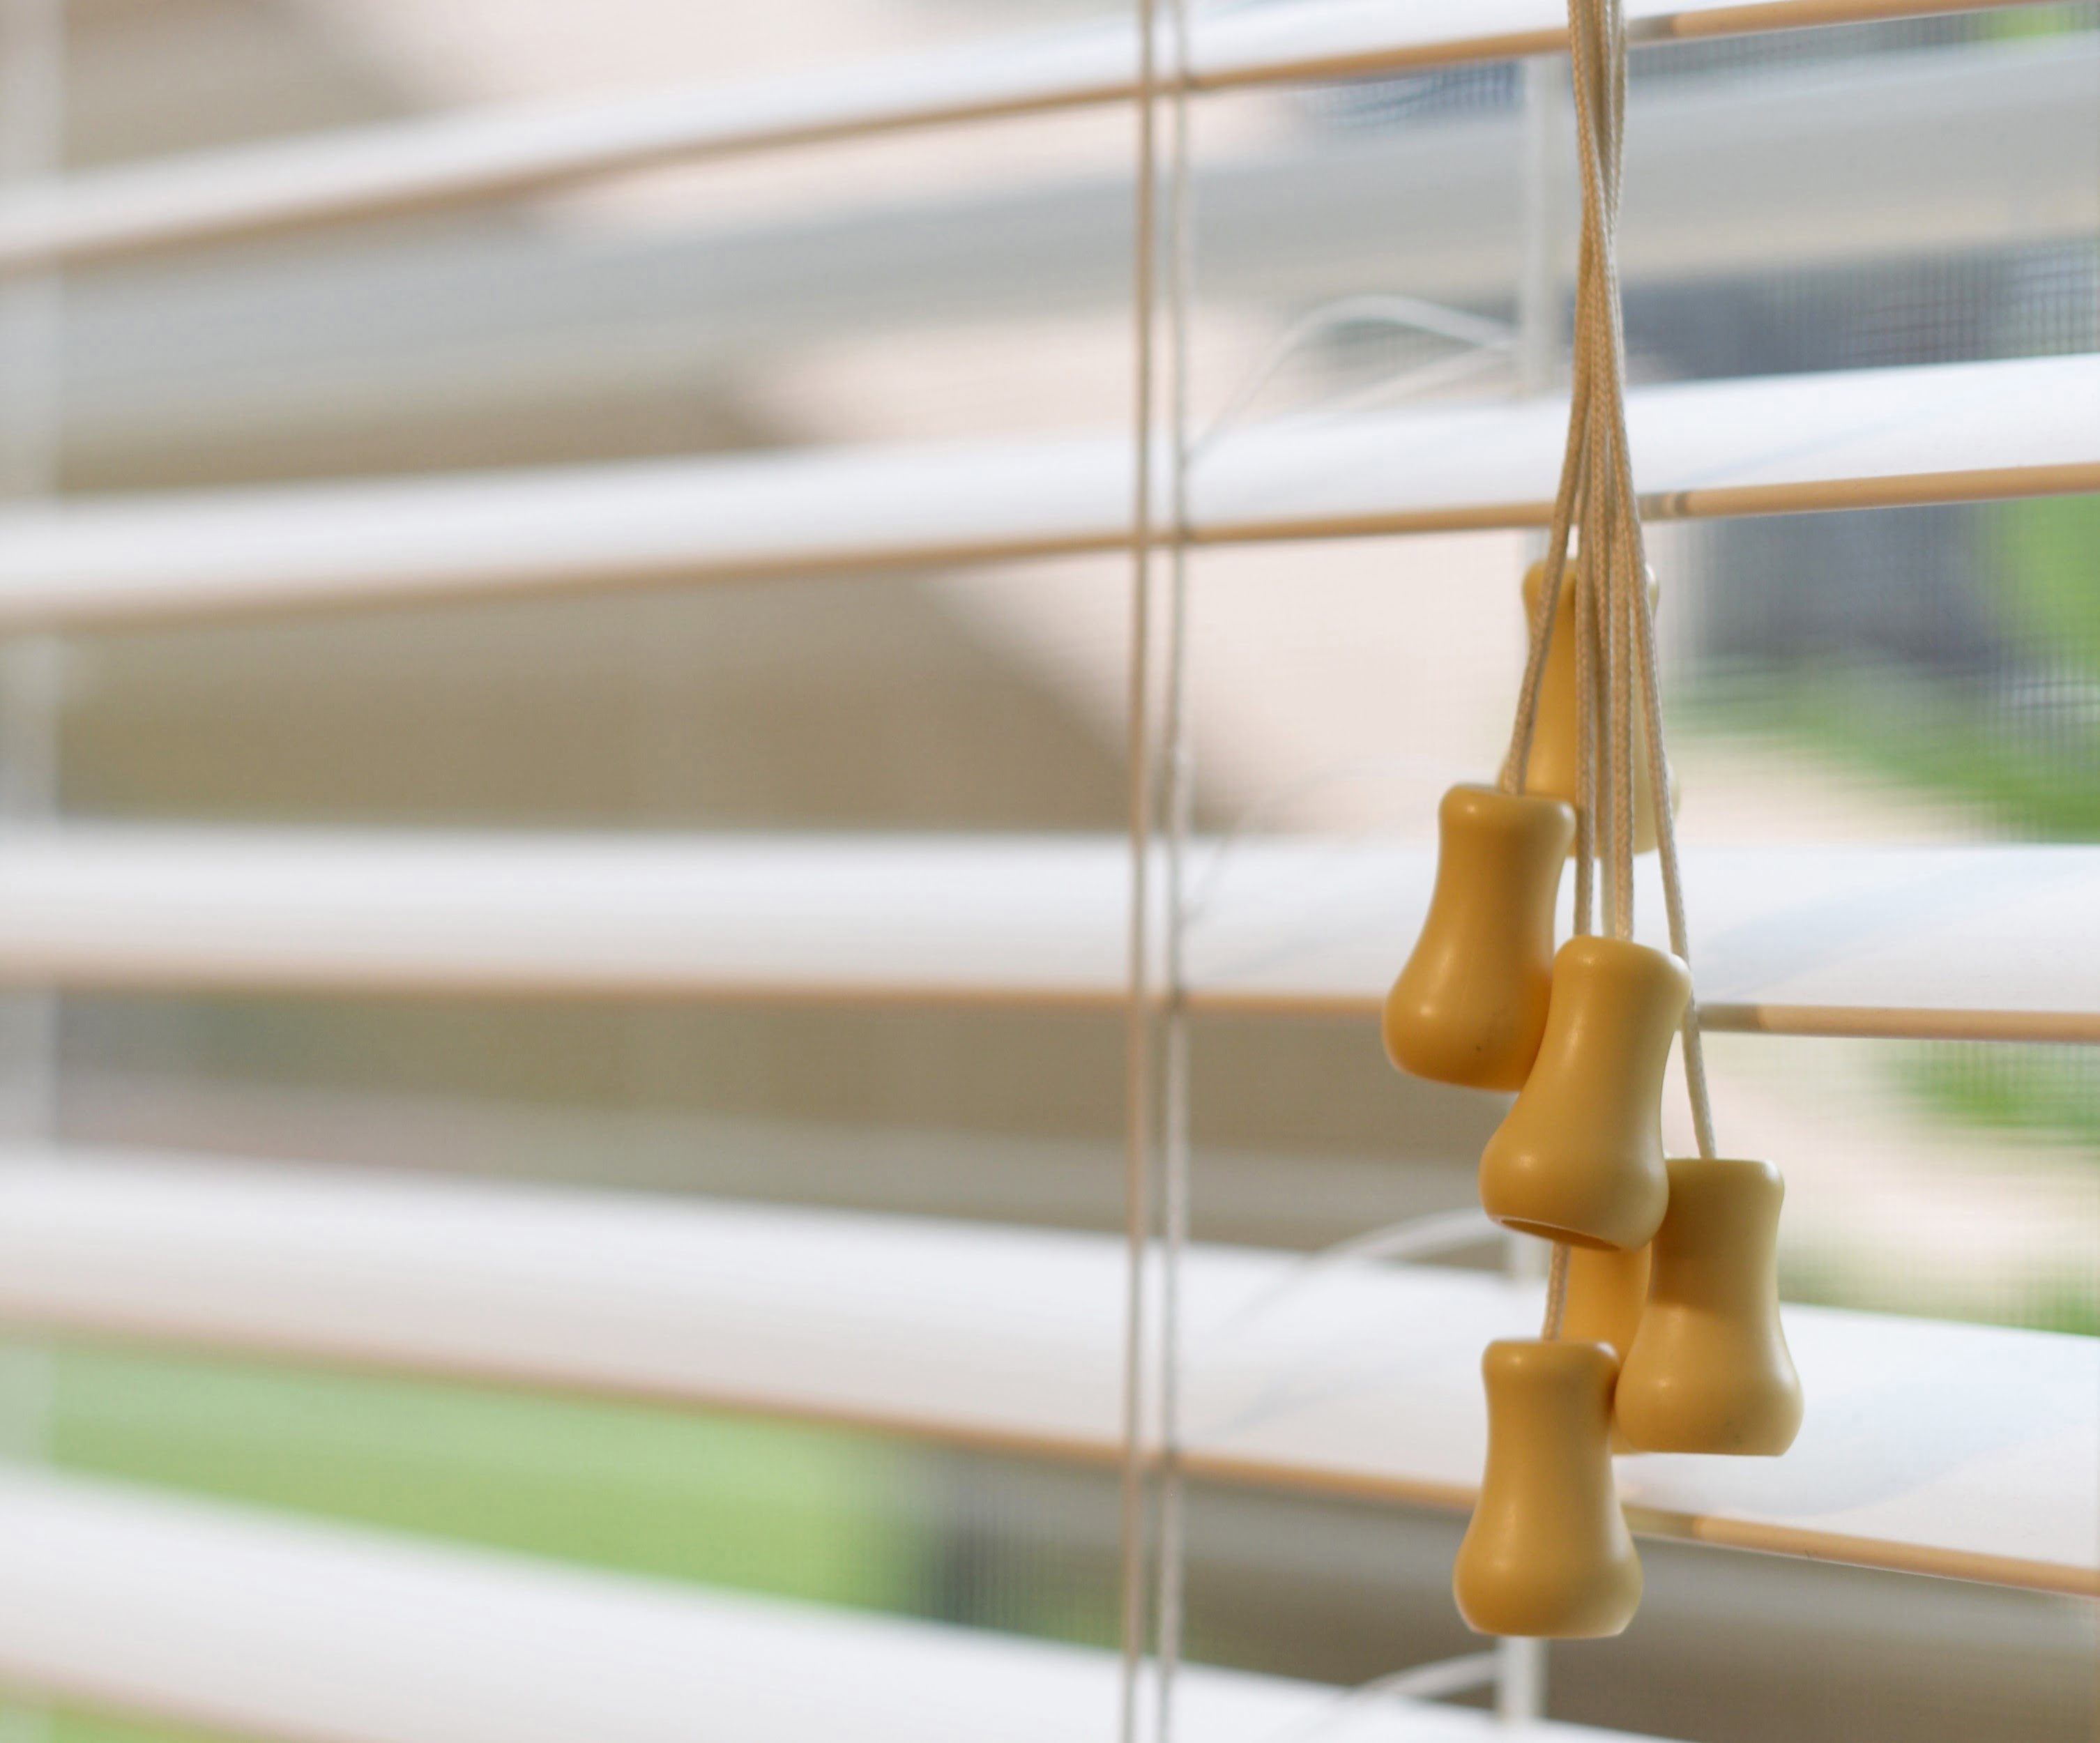
Step 6: Detach the cord from the bottom rail
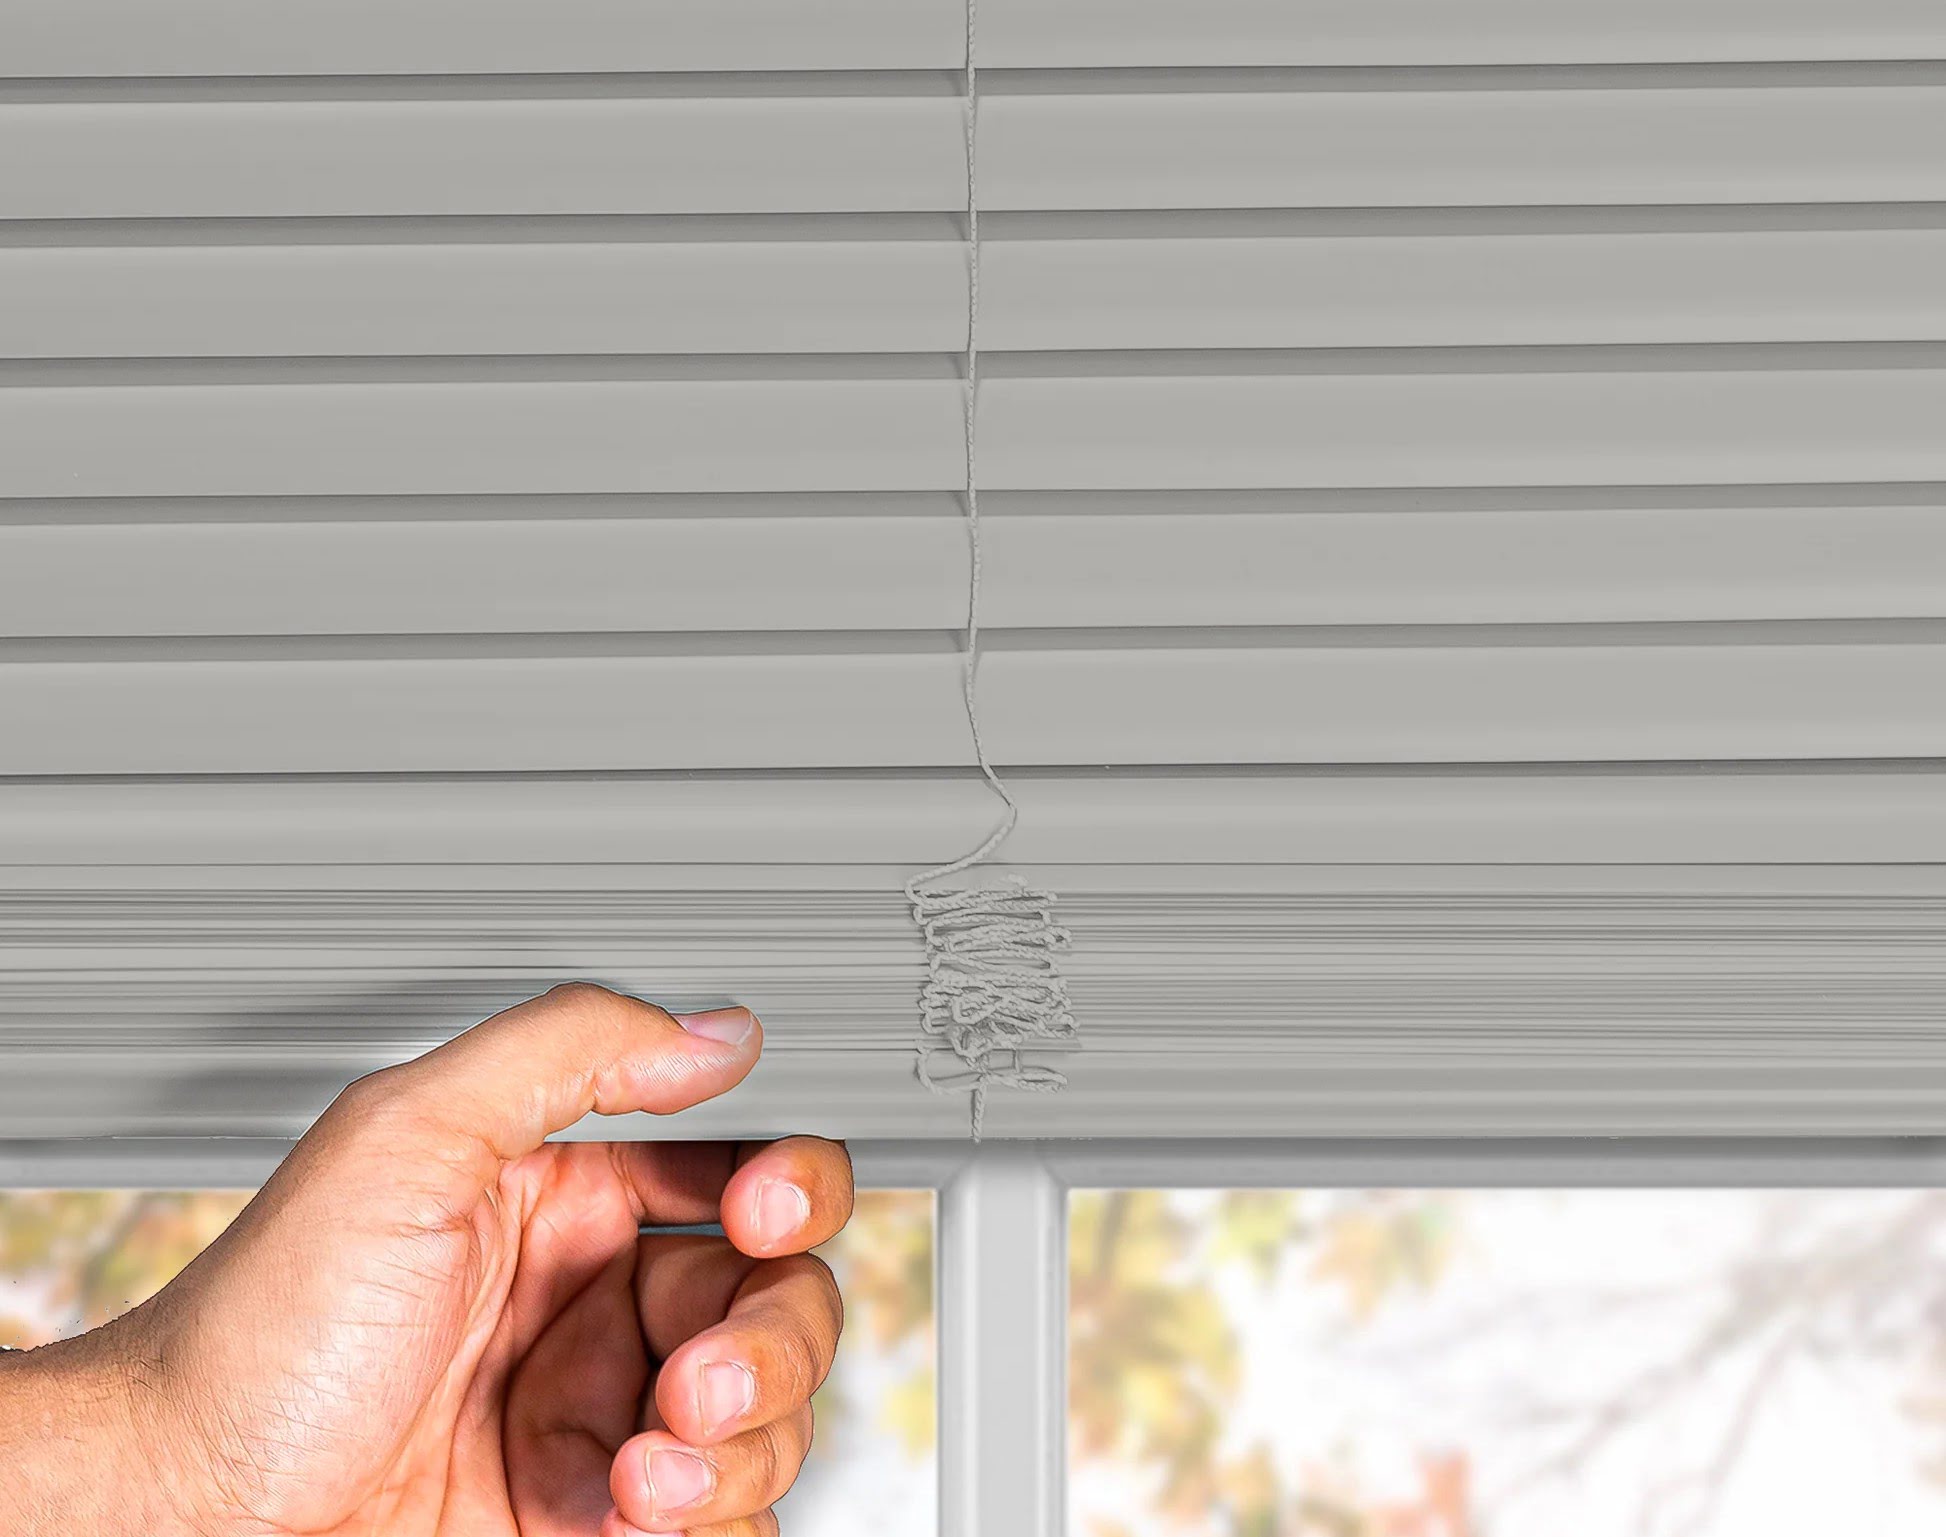
Before you can completely remove the blinds, you’ll need to detach the cord from the bottom rail. The cord is used to adjust the height and angle of the blinds. Here’s how you can detach the cord from the bottom rail:
- Locate the cord ladder, which is the series of cords that run vertically through the blinds and connect to the bottom rail.
- Identify the knot or connector at the bottom of the cord ladder, where it is attached to the bottom rail.
- Depending on the type of blinds you have, you may need to untie the knot, unhook the connector, or slide the cord out of a slot or groove in the bottom rail.
- Gently and carefully detach the cord from the bottom rail, ensuring that you don’t damage the cord or the bottom rail in the process.
By detaching the cord from the bottom rail, you are effectively separating the blinds into individual slats, making them easier to handle and store. Once the cord is detached, you can proceed to remove the bottom rail and slats in the next step.
It’s important to note that the cord ladder configuration may vary depending on the specific design of your mini blinds. If you encounter any difficulties or uncertainties during this step, refer to the manufacturer’s instructions or seek professional assistance.
Step 7: Remove the bottom rail and slats
With the cord detached from the bottom rail, you can now proceed to remove the bottom rail and individual slats. This step will allow you to fully disassemble the blinds for cleaning, storage, or replacement. Follow these steps to remove the bottom rail and slats:
- Hold the bottom rail firmly with one hand, keeping it steady.
- Using your other hand, gently tilt the bottom rail upward, away from the window.
- As you tilt the bottom rail, carefully slide each individual slat out of the cords that hold them in place.
- Continue sliding out each slat until all of them are removed from the bottom rail.
- Once all the slats are removed, you can set aside the bottom rail for cleaning or storage.
Removing the bottom rail and slats allows you to clean each individual slat thoroughly before reassembling the blinds. You can use a mild cleaning solution and a soft cloth or duster to gently wipe away any dust or dirt accumulated on the slats.
If you plan to store the blinds, make sure to clean and dry them thoroughly. Storing them in a cool, dry place will help prevent any damage or warping. If you’re replacing the blinds, you can discard the old slats and bottom rail and proceed with installing the new blinds.
With the bottom rail and slats removed, you have successfully disassembled your mini blinds. The next step will guide you on how to clean and store them properly.
Step 8: Clean and store the blinds
After disassembling your mini blinds, it’s important to clean them before storing or reinstalling them. Cleaning the blinds will help maintain their appearance and prolong their lifespan. Here are the steps to clean and store your blinds:
- Fill a bathtub or large basin with warm water and a mild detergent or blinds cleaning solution. Make sure the water is not too hot, as it may cause damage to the blinds.
- Gently place the slats in the water, ensuring they are fully immersed. Depending on the material of your blinds, you may need to soak them for a few minutes to loosen any dirt or grime.
- Using a soft cloth or sponge, gently wipe each slat to remove any dirt or stains. Pay attention to both sides of the slats to ensure a thorough cleaning.
- Rinse the blinds with clean water to remove any soap residue.
- Gently shake off any excess water and lay the slats flat on a clean towel or drying rack to air dry. Avoid exposing them to direct sunlight, as it may cause discoloration or warping.
- While the slats are drying, you can clean the valance and bottom rail using a damp cloth or duster. Make sure to remove any dust or debris that may have accumulated on these parts.
- Once the blinds are completely dry, you can carefully reassemble them by sliding the slats back into the cords and attaching the bottom rail.
- If you’re storing the blinds, find a clean, dry area where they can be kept flat or rolled up to prevent any damage. You can use a storage bag or dust cover to further protect them from dust and dirt.
By following these steps, you can ensure that your mini blinds are clean and ready for use whenever you decide to reinstall them. Proper cleaning and storage will not only keep them looking their best but also help extend their lifespan.
Remember to consult the manufacturer’s instructions for specific cleaning, maintenance, and storage recommendations, as they may vary depending on the material and design of your mini blinds.
Congratulations! You have successfully taken down, cleaned, and stored your mini blinds. Whether you’re preparing them for a fresh look or maintaining their condition, these steps will help you complete the task with ease.
Thank you for following this guide, and we hope it has been helpful to you. Happy cleaning and organizing!
Read more: How To Take Down Blinds For Cleaning
Conclusion
Taking down mini blinds may initially seem like a daunting task, but with the right tools and a step-by-step approach, it can be a simple and straightforward process. By following the steps outlined in this guide, you can confidently remove your mini blinds for cleaning, replacement, or redecoration.
Remember, gathering the necessary tools at the beginning is crucial for a smooth process. Having a screwdriver, pliers, step stool or ladder, and a dusting cloth or feather duster on hand will ensure that you are well-prepared.
Each step, from removing the valance and releasing the lock, to taking off the bracket covers and removing the blinds from the brackets, is important to safely and effectively disassemble the blinds. Detaching the cord from the bottom rail and removing the bottom rail and slats allows you to thoroughly clean or store the blinds.
Cleaning your blinds in warm water with a mild detergent and allowing them to air dry will help maintain their appearance and prolong their lifespan. Storing them in a clean, dry area, whether flat or rolled up, will prevent damage and keep them ready for future use.
By following these steps and using the proper tools and techniques, you can easily take down and care for your mini blinds. Just remember to consult the manufacturer’s instructions for any specific recommendations that may apply to your particular blinds.
We hope this guide has been helpful in guiding you through the process of taking down mini blinds. By confidently tackling this task, you can refresh your space, maintain the quality of your blinds, and ensure they continue to serve their purpose for years to come.
Thank you for reading, and we wish you success in your mini blind endeavors!
Frequently Asked Questions about How To Take Down Mini Blinds
Was this page helpful?
At Storables.com, we guarantee accurate and reliable information. Our content, validated by Expert Board Contributors, is crafted following stringent Editorial Policies. We're committed to providing you with well-researched, expert-backed insights for all your informational needs.