Home>Articles>How To Install Mainstays Cordless Vinyl Mini Blinds

Articles
How To Install Mainstays Cordless Vinyl Mini Blinds
Modified: August 16, 2024
Looking for articles on how to install Mainstays cordless vinyl mini blinds? Check out our expert guide for step-by-step instructions and helpful tips!
(Many of the links in this article redirect to a specific reviewed product. Your purchase of these products through affiliate links helps to generate commission for Storables.com, at no extra cost. Learn more)
Introduction
Installing blinds in your home can be a stylish and functional way to control light and privacy. One popular option is the Mainstays Cordless Vinyl Mini Blinds, a versatile and affordable choice for many homeowners. These blinds are easy to install, and with a few simple steps, you can enjoy the benefits they provide.
In this article, we will guide you through the process of installing Mainstays Cordless Vinyl Mini Blinds. We will cover everything from measuring your windows to adjusting and cleaning the blinds once they are installed. So, let’s get started!
Key Takeaways:
- Installing Mainstays Cordless Vinyl Mini Blinds is a straightforward process that enhances window aesthetics and functionality. From measuring to testing, each step ensures a seamless and professional installation.
- Safety is a priority during the installation process. Take precautions, make necessary adjustments, and properly clean the blinds to maintain their appearance and prolong their lifespan.
Read also: 12 Superior Vinyl Mini Blinds for 2025
Tools and Materials Needed
Before you begin the installation process, make sure you have the following tools and materials on hand:
- Measuring tape
- Screwdriver
- Level
- Pencil
- Drill (if necessary)
- Mounting brackets (included with the blinds)
- Screws (included with the blinds)
Ensure that you have all of these items ready, as they will be essential for a smooth and successful installation.
Step 1: Measure the Window
The first step in installing Mainstays Cordless Vinyl Mini Blinds is to accurately measure your window. Proper measurements are crucial to ensure that the blinds fit correctly and provide effective coverage.
- Start by measuring the width of the window. Use a measuring tape to measure the inside width of the window frame from edge to edge. Take the measurement at three points – the top, middle, and bottom of the window. Note down the smallest of these measurements.
- Next, measure the height of the window. Again, use a measuring tape to measure the inside height of the window frame from top to bottom. Take the measurement at three points – the left, center, and right sides of the window. Note down the tallest of these measurements.
By taking these measurements, you will ensure that the blinds cover the window properly and allow for smooth operation.
Step 2: Purchase the Blinds
Once you have measured your window, it’s time to purchase the Mainstays Cordless Vinyl Mini Blinds. These blinds are widely available at home improvement stores, department stores, and online retailers.
- Consider the width and height measurements you took earlier when selecting the size of the blinds. Choose a size that closely matches your window’s dimensions. If you have trouble finding the exact size, opt for slightly larger blinds that can be trimmed down to fit.
- Take into account the color and style of the blinds. Mainstays Cordless Vinyl Mini Blinds come in various colors and finishes, so choose the one that complements your room’s decor.
- Check the packaging to ensure that it includes all the necessary components, such as mounting brackets and screws. If any parts are missing, contact the manufacturer or retailer to obtain them before starting the installation.
Once you have purchased the blinds, you’re ready to move on to the next step.
Step 3: Unbox and Inspect the Blinds
After purchasing the Mainstays Cordless Vinyl Mini Blinds, it’s time to unbox them and inspect their components. This step is essential to ensure that everything is in good condition and ready for installation.
- Find a clean and spacious area to unbox the blinds. Lay out all the components, including the blinds themselves, mounting brackets, screws, and any additional accessories that may be included.
- Inspect the blinds for any visible defects, such as damaged slats or missing parts. If you notice any issues, contact the manufacturer or retailer promptly to seek replacement or assistance.
- Examine the mounting brackets to verify that they are intact and undamaged. These brackets will hold the blinds securely in place, so it’s crucial that they are in good condition.
By carefully inspecting the blinds and their components, you can address any concerns or issues before proceeding with the installation. This will ensure a smoother and more successful installation process.
Read more: How Cordless Blinds Work
Step 4: Mounting Bracket Installation
With the Mainstays Cordless Vinyl Mini Blinds unboxed and inspected, it’s time to install the mounting brackets. These brackets will securely hold the blinds in place, allowing for smooth and stable operation.
- Start by deciding whether you want to mount the blinds inside the window frame or outside the frame. The choice depends on your preference and the available space. Inside mount provides a cleaner look, while outside mount covers a larger area.
- Hold one mounting bracket against the top corner of the window frame. Use a pencil to mark the screw holes on the frame.
- Repeat the process for the other top corner of the window frame.
- If you are mounting the blinds outside the window frame, position the brackets accordingly on the wall or trim, making sure they are level.
- Using a screwdriver, attach the mounting brackets to the window frame or wall using the provided screws. Make sure they are securely fastened, but avoid overtightening to prevent damage.
- Double-check the levelness of the brackets to ensure the blinds hang straight.
Once the mounting brackets are securely installed, you’re ready to move on to the next step of installing the Mainstays Cordless Vinyl Mini Blinds.
When installing Mainstays Cordless Vinyl Mini Blinds, make sure to measure the window accurately before purchasing the blinds to ensure a proper fit.
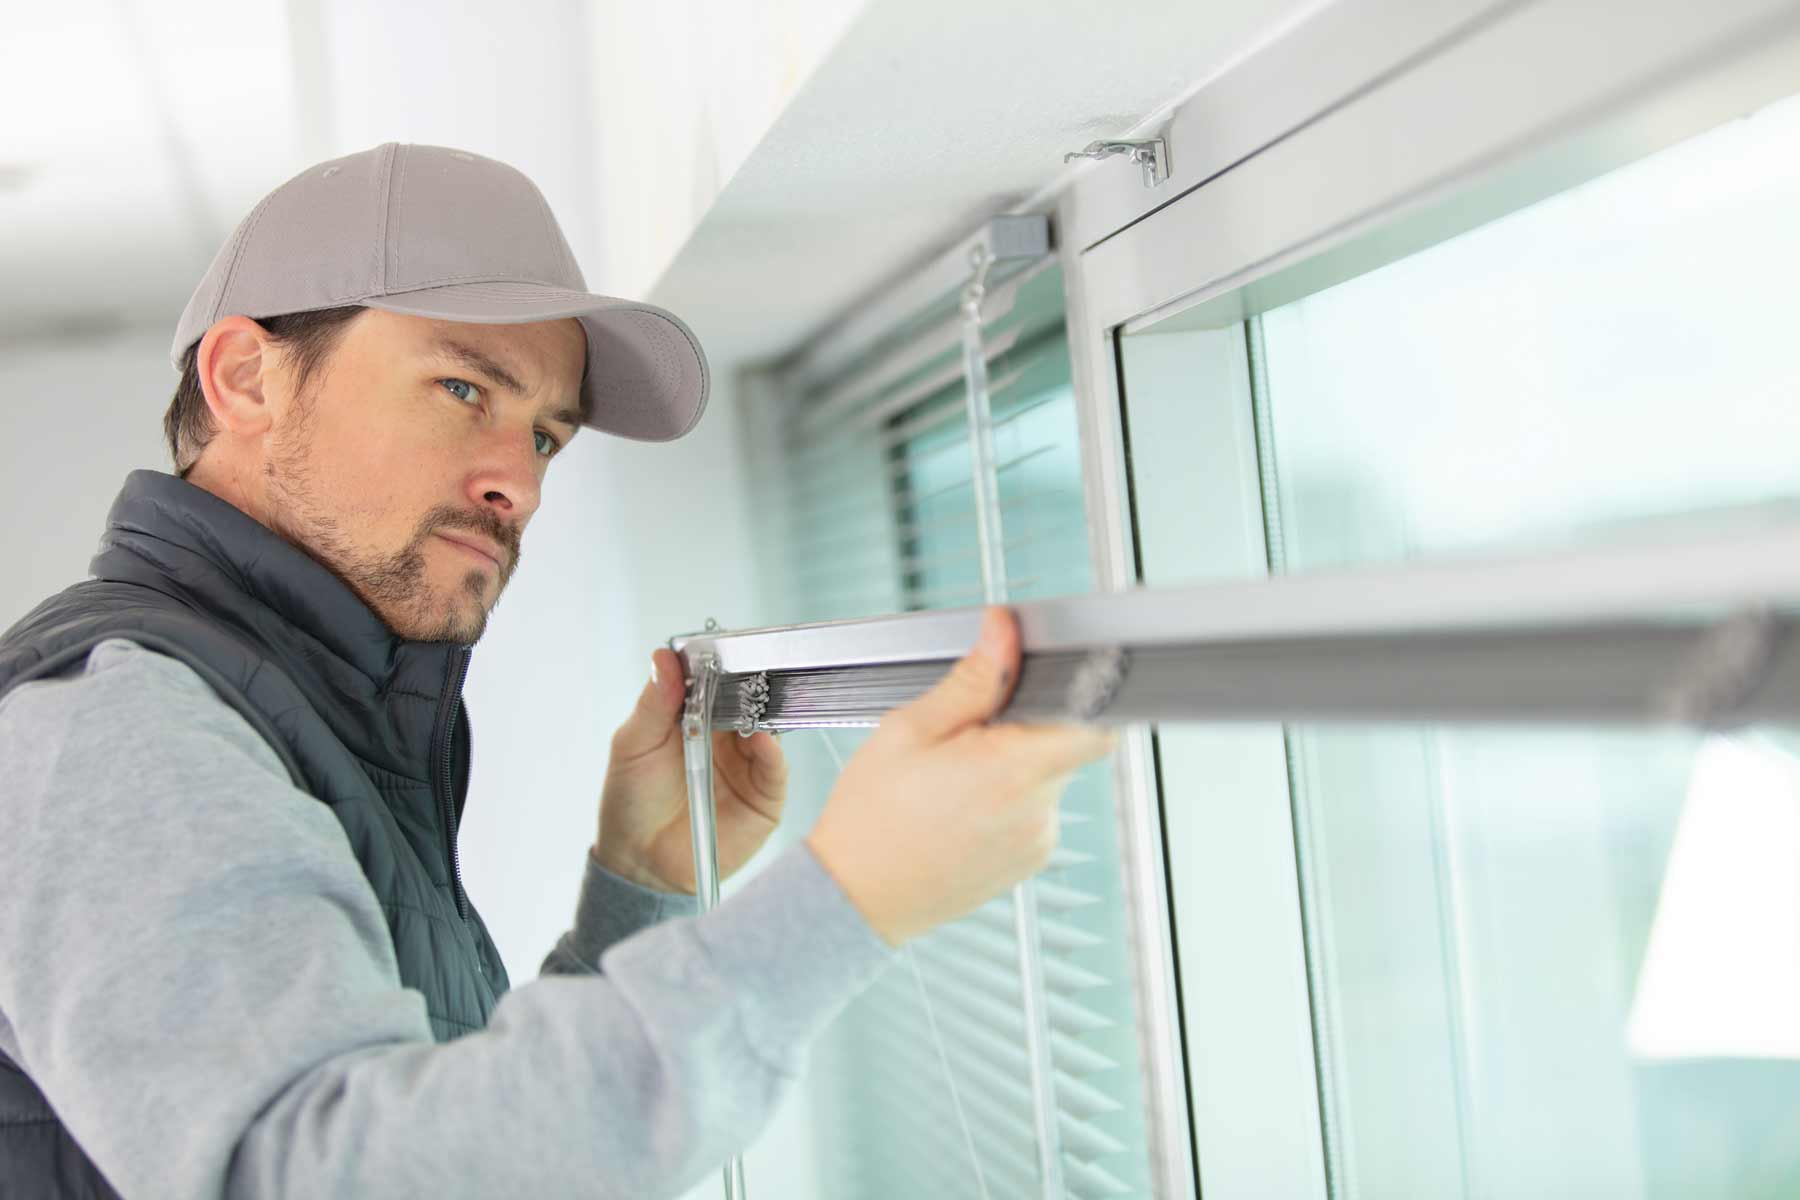
Step 5: Installing the Blinds
With the mounting brackets in place, it’s time to install the Mainstays Cordless Vinyl Mini Blinds. This step involves attaching the blinds to the brackets and ensuring they are properly aligned.
- Locate the metal end of the headrail of the blinds. It will have a slot or groove that fits onto the tabs of the mounting brackets.
- Hold the headrail of the blinds at an angle and line up the slots or grooves with the tabs on the mounting brackets.
- Insert the headrail into the tabs, sliding it until it locks into place. You may need to apply some pressure to secure it.
- Once the headrail is in position, lower the blinds completely to make sure they hang evenly and smoothly.
- Check that the blinds are level by using a level tool. Adjust as necessary, sliding the headrail slightly left or right to achieve a level position.
By properly installing the blinds onto the mounting brackets, you ensure that they are securely in place and ready for use. Ensure that the blinds operate smoothly and without any obstructions.
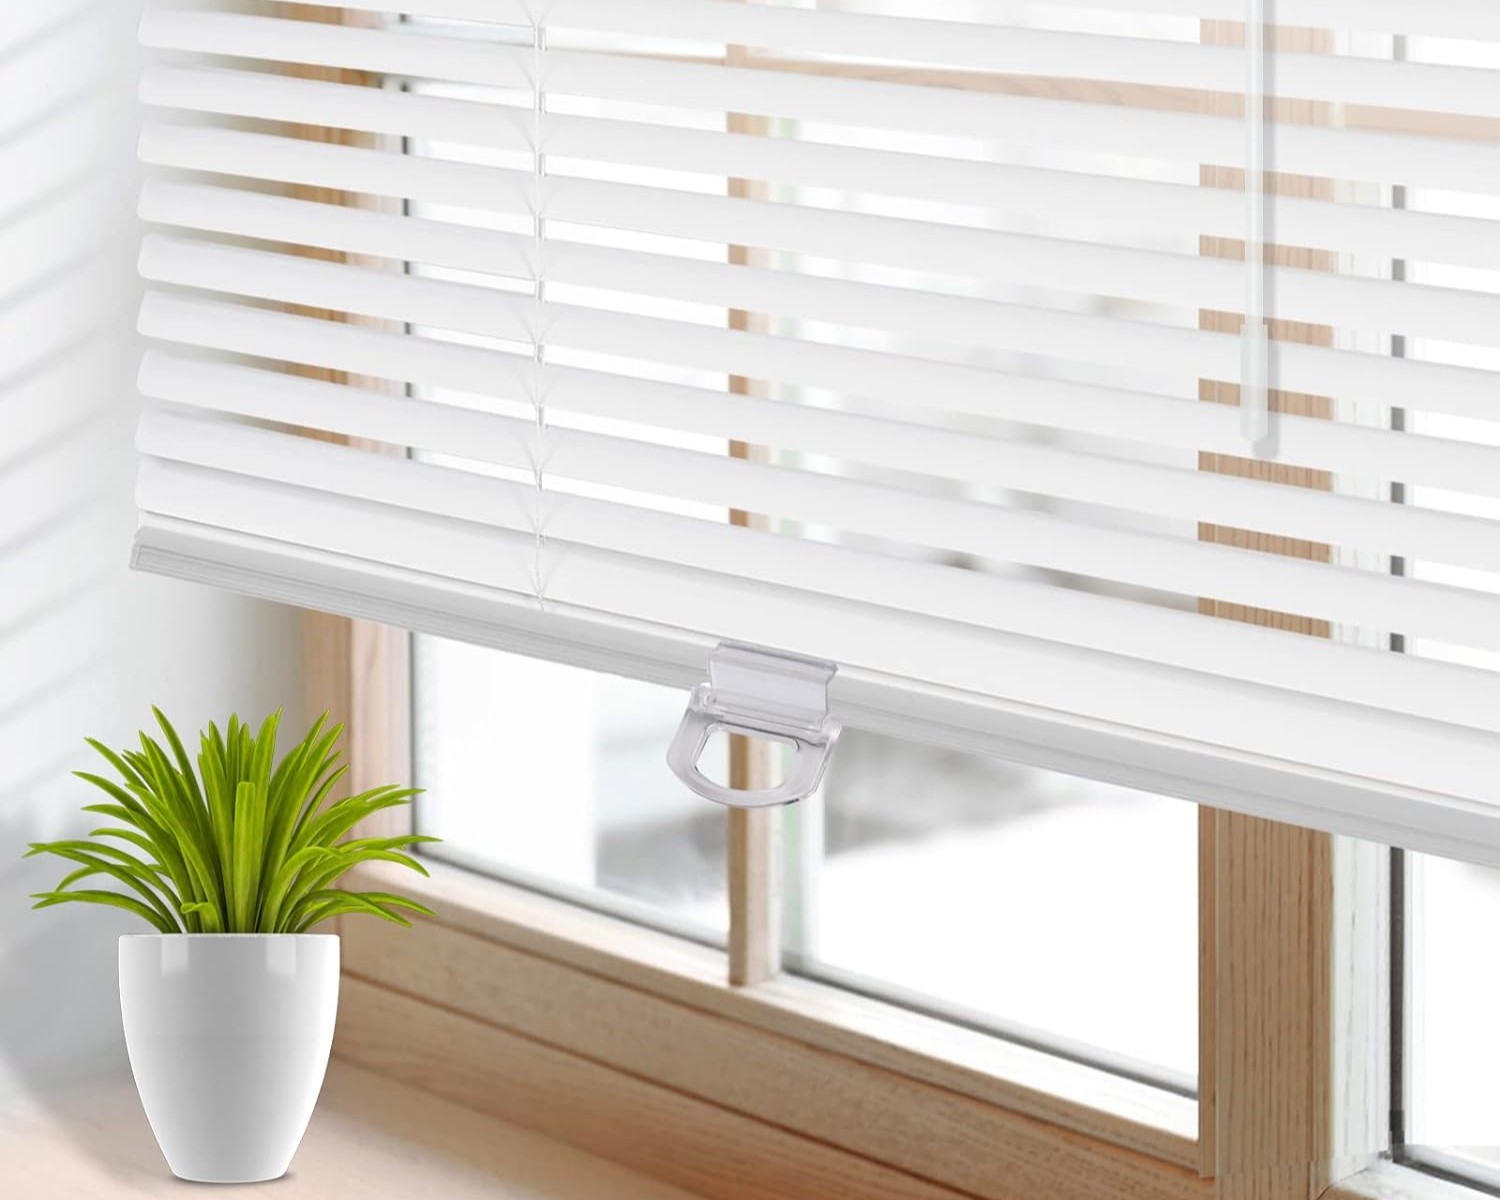
Step 6: Adjusting the Blinds
After installing the Mainstays Cordless Vinyl Mini Blinds, you may need to make some adjustments to ensure they fit and operate properly. These adjustments will help you achieve the desired level of light control and privacy.
- To adjust the length of the blinds, if needed, raise or lower them to the desired position. The blinds should be adjusted so that they cover the window completely without dragging or leaving gaps at the bottom.
- If the blinds are not hanging straight, gently tilt the headrail from side to side until they are aligned. This will help to maintain an orderly appearance.
- For leveling adjustments, use a level to ensure that the blinds are hanging evenly. If adjustments are required, slide the headrail slightly to the left or right until they are level.
- Check the operation of the cordless mechanism by lifting and lowering the blinds. They should move up and down smoothly without any resistance or unevenness.
By taking the time to adjust the blinds, you can optimize their functionality and appearance, ensuring that they provide the desired light control and privacy for your space.
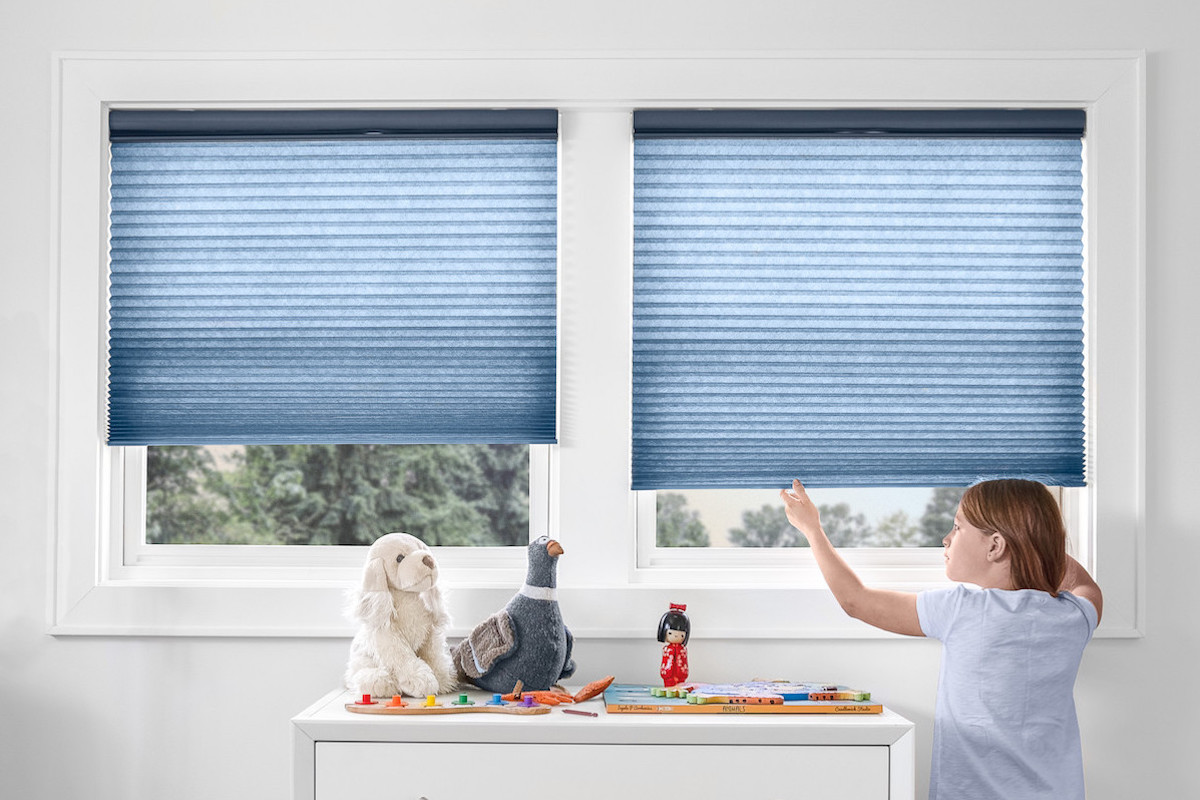
Step 7: Testing the Operation
Once you have made the necessary adjustments to the Mainstays Cordless Vinyl Mini Blinds, it’s important to test their operation to ensure they are functioning correctly. This step will help you identify any issues and make any final adjustments before completing the installation process.
- Test the lifting mechanism by gently pulling down on the bottom rail to raise the blinds. They should lift smoothly and evenly without any resistance. If you encounter any difficulties, double-check the alignment of the headrail and make any necessary adjustments.
- Lower the blinds by gently pulling down on the bottom rail and releasing it. They should lower smoothly and stop at the desired position. If the blinds do not stop or if they do not lower evenly, adjust the tension of the lifting mechanism by following the manufacturer’s instructions.
- Check the tilting mechanism by rotating the tilt wand or rotating rod. The slats should tilt open or closed smoothly and uniformly. If there are any issues, check that the tilt wand is properly connected and aligned with the mechanism.
- Test the cordless operation by using the lift and tilt actions several times. Ensure that the blinds respond correctly and smoothly without any snags or jerks. If you notice any problems during the testing, troubleshoot based on the manufacturer’s instructions.
By thoroughly testing the operation of the blinds, you can ensure that they are functioning properly and ready for regular use. Address any issues and make necessary adjustments before proceeding to the final steps of the installation.
Read more: What Is Cordless Blinds
Step 8: Final Adjustments and Cleaning
As you near the completion of the Mainstays Cordless Vinyl Mini Blinds installation process, there are some final adjustments and cleaning tasks to undertake. These steps will ensure that the blinds are in their optimal state and ready for long-term use.
- Check the alignment of the blinds and adjust as necessary. Ensure that they hang straight and level, making any minor adjustments needed.
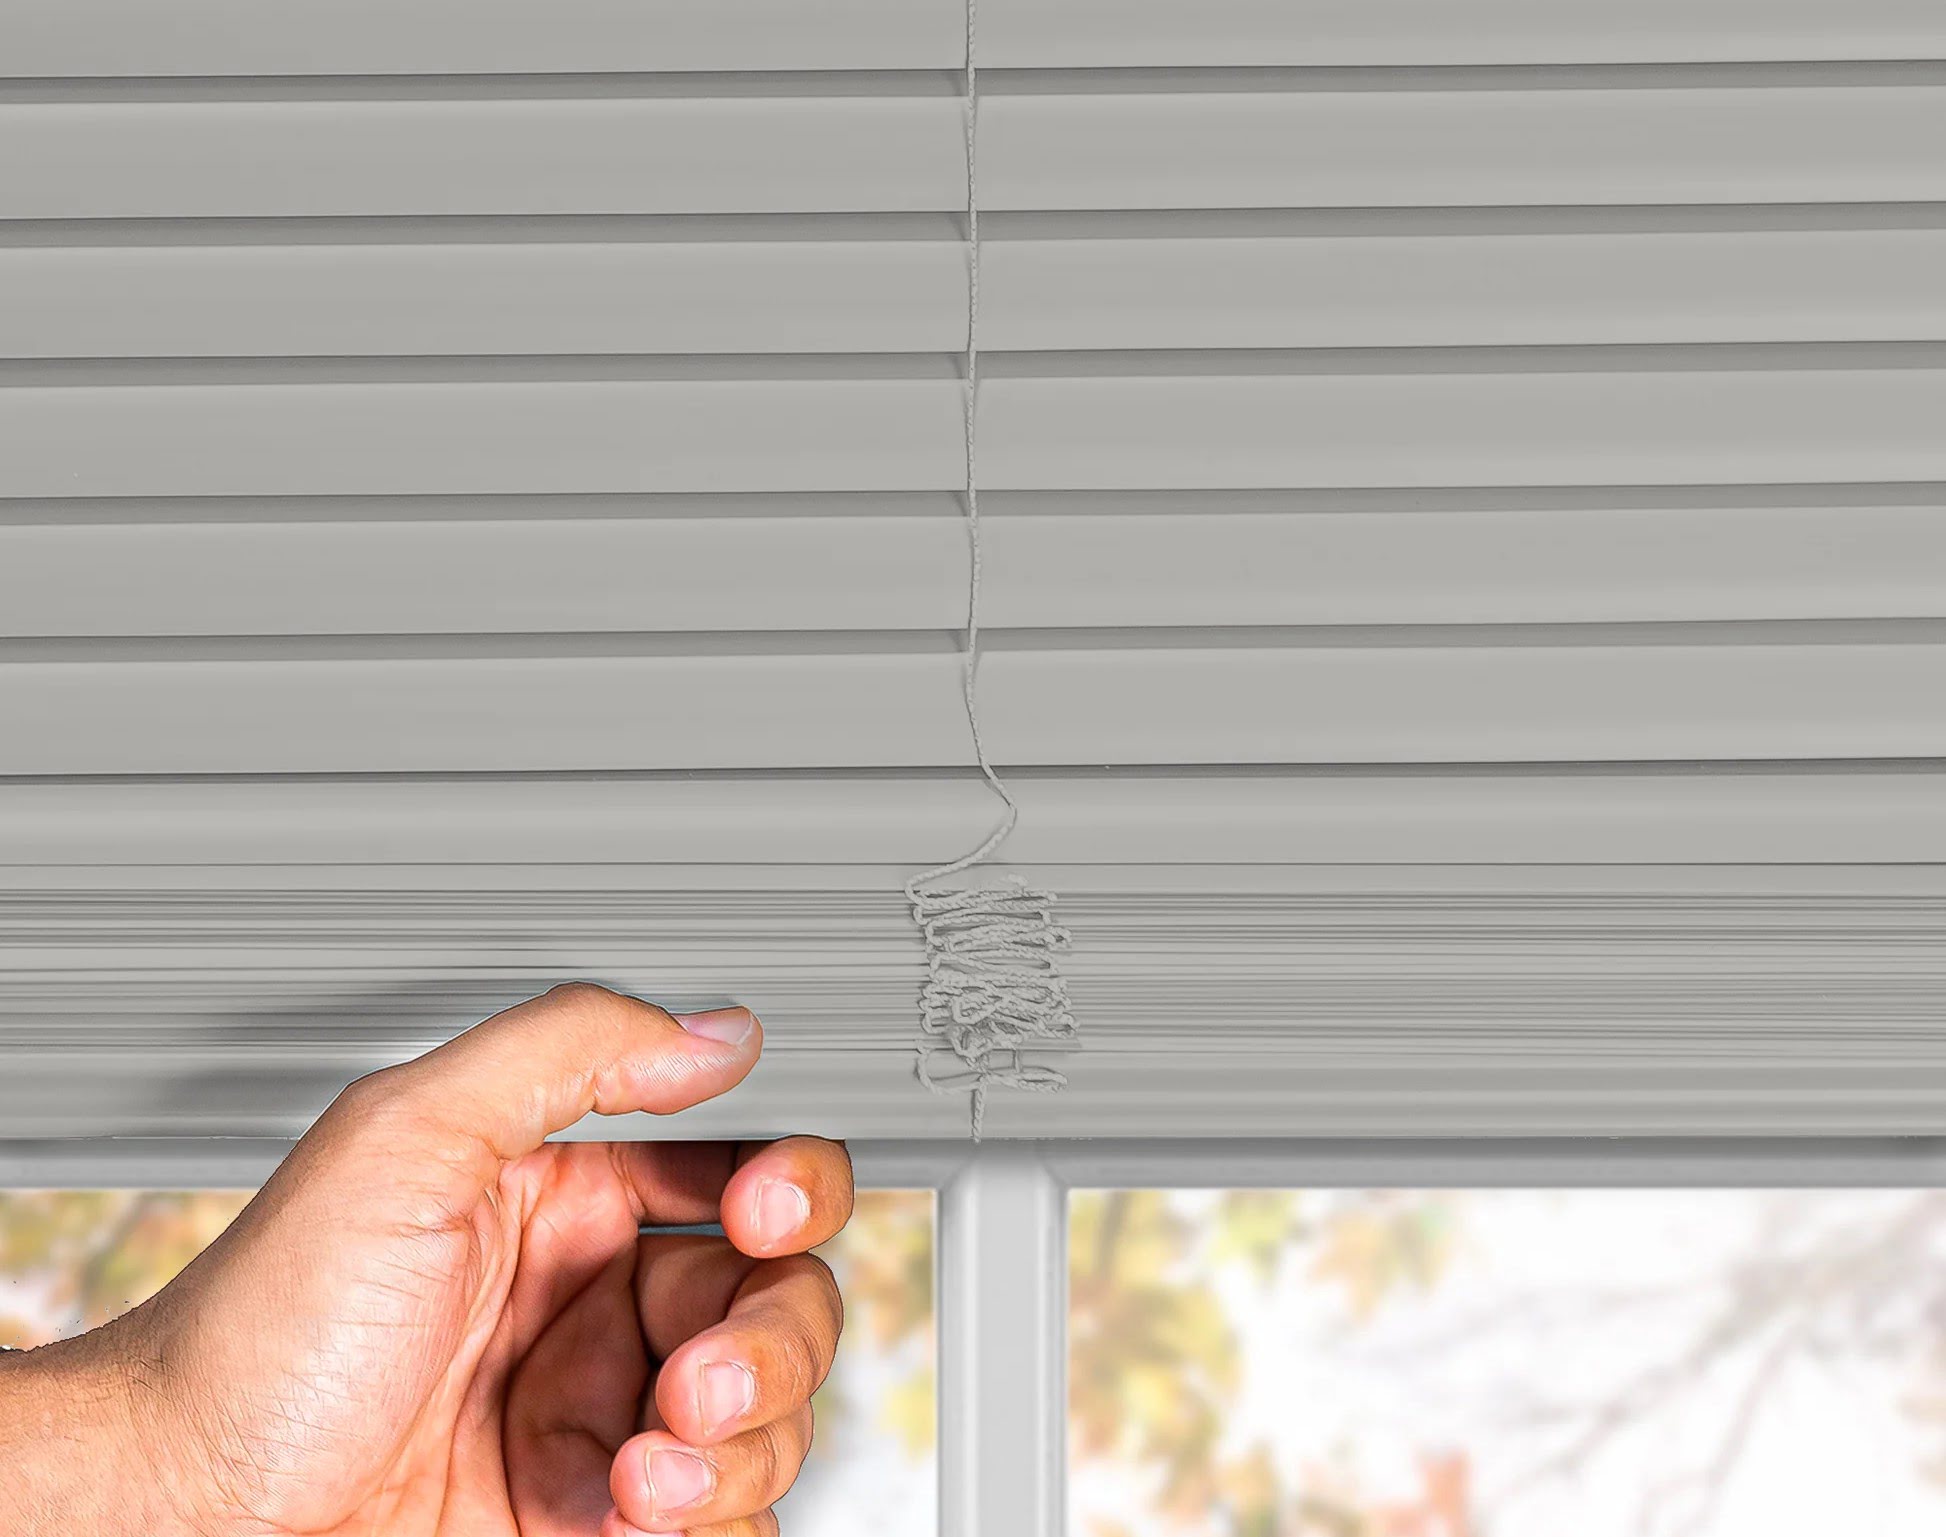
- Trim any excess cord length if applicable. This will help prevent tangles and accidents, ensuring a neater appearance.
- Clean the blinds by lightly dusting or wiping them with a clean, damp cloth. This will remove any dust or dirt that may have accumulated during the installation process.
- If you notice any loose or damaged slats, secure or replace them as needed to maintain the integrity and functionality of the blinds.
- Inspect the mounting brackets and screws to ensure they are securely fastened. Tighten any loose screws to ensure that the brackets are stable and the blinds are well-supported.
By completing these final adjustments and cleaning tasks, you can ensure that your Mainstays Cordless Vinyl Mini Blinds are in excellent condition and ready to enhance your space with their functionality and aesthetic appeal.
Conclusion
Installing Mainstays Cordless Vinyl Mini Blinds is a straightforward process that can elevate the aesthetics and functionality of your windows. By following the step-by-step guide outlined in this article, you can confidently install these blinds and enjoy the benefits they offer.
From measuring your windows to purchasing the right size and style of blinds, every step is crucial in ensuring a seamless installation. Taking the time to unbox and inspect the blinds, properly installing the mounting brackets, and adjusting the blinds for an optimal fit will help achieve a professional and attractive result.
Testing the operation of the blinds is essential to ensure they function smoothly and meet your desired light control and privacy needs. By making any necessary final adjustments and properly cleaning the blinds, you can maintain their appearance and prolong their lifespan.
Remember, safety is a priority during the installation process. Take precautions, such as using a sturdy ladder if required or asking for assistance, to ensure a safe and successful installation.
Now that you have learned how to install Mainstays Cordless Vinyl Mini Blinds, it’s time to transform your windows with these stylish and practical window treatments. Enjoy the enhanced privacy and light control that these blinds provide, and revel in the beauty and functionality they bring to your home.
With your new skills in installing Mainstays cordless vinyl mini blinds fresh in mind, why not tackle more home projects? Our guide on DIY home improvement offers practical advice to transform your living space creatively and affordably. And if you're keen to further enhance your window treatments, our curated list of vinyl mini blinds for the upcoming year is a must-read. These resources are packed with insights and tips to help you continue making your home more beautiful and functional.
Frequently Asked Questions about How To Install Mainstays Cordless Vinyl Mini Blinds
Was this page helpful?
At Storables.com, we guarantee accurate and reliable information. Our content, validated by Expert Board Contributors, is crafted following stringent Editorial Policies. We're committed to providing you with well-researched, expert-backed insights for all your informational needs.


0 thoughts on “How To Install Mainstays Cordless Vinyl Mini Blinds”