Articles
How To Install Mini Blinds
Modified: December 7, 2023
Learn how to easily install mini blinds with our informative articles. Step-by-step guides and tips for a hassle-free installation process.
(Many of the links in this article redirect to a specific reviewed product. Your purchase of these products through affiliate links helps to generate commission for Storables.com, at no extra cost. Learn more)
Introduction
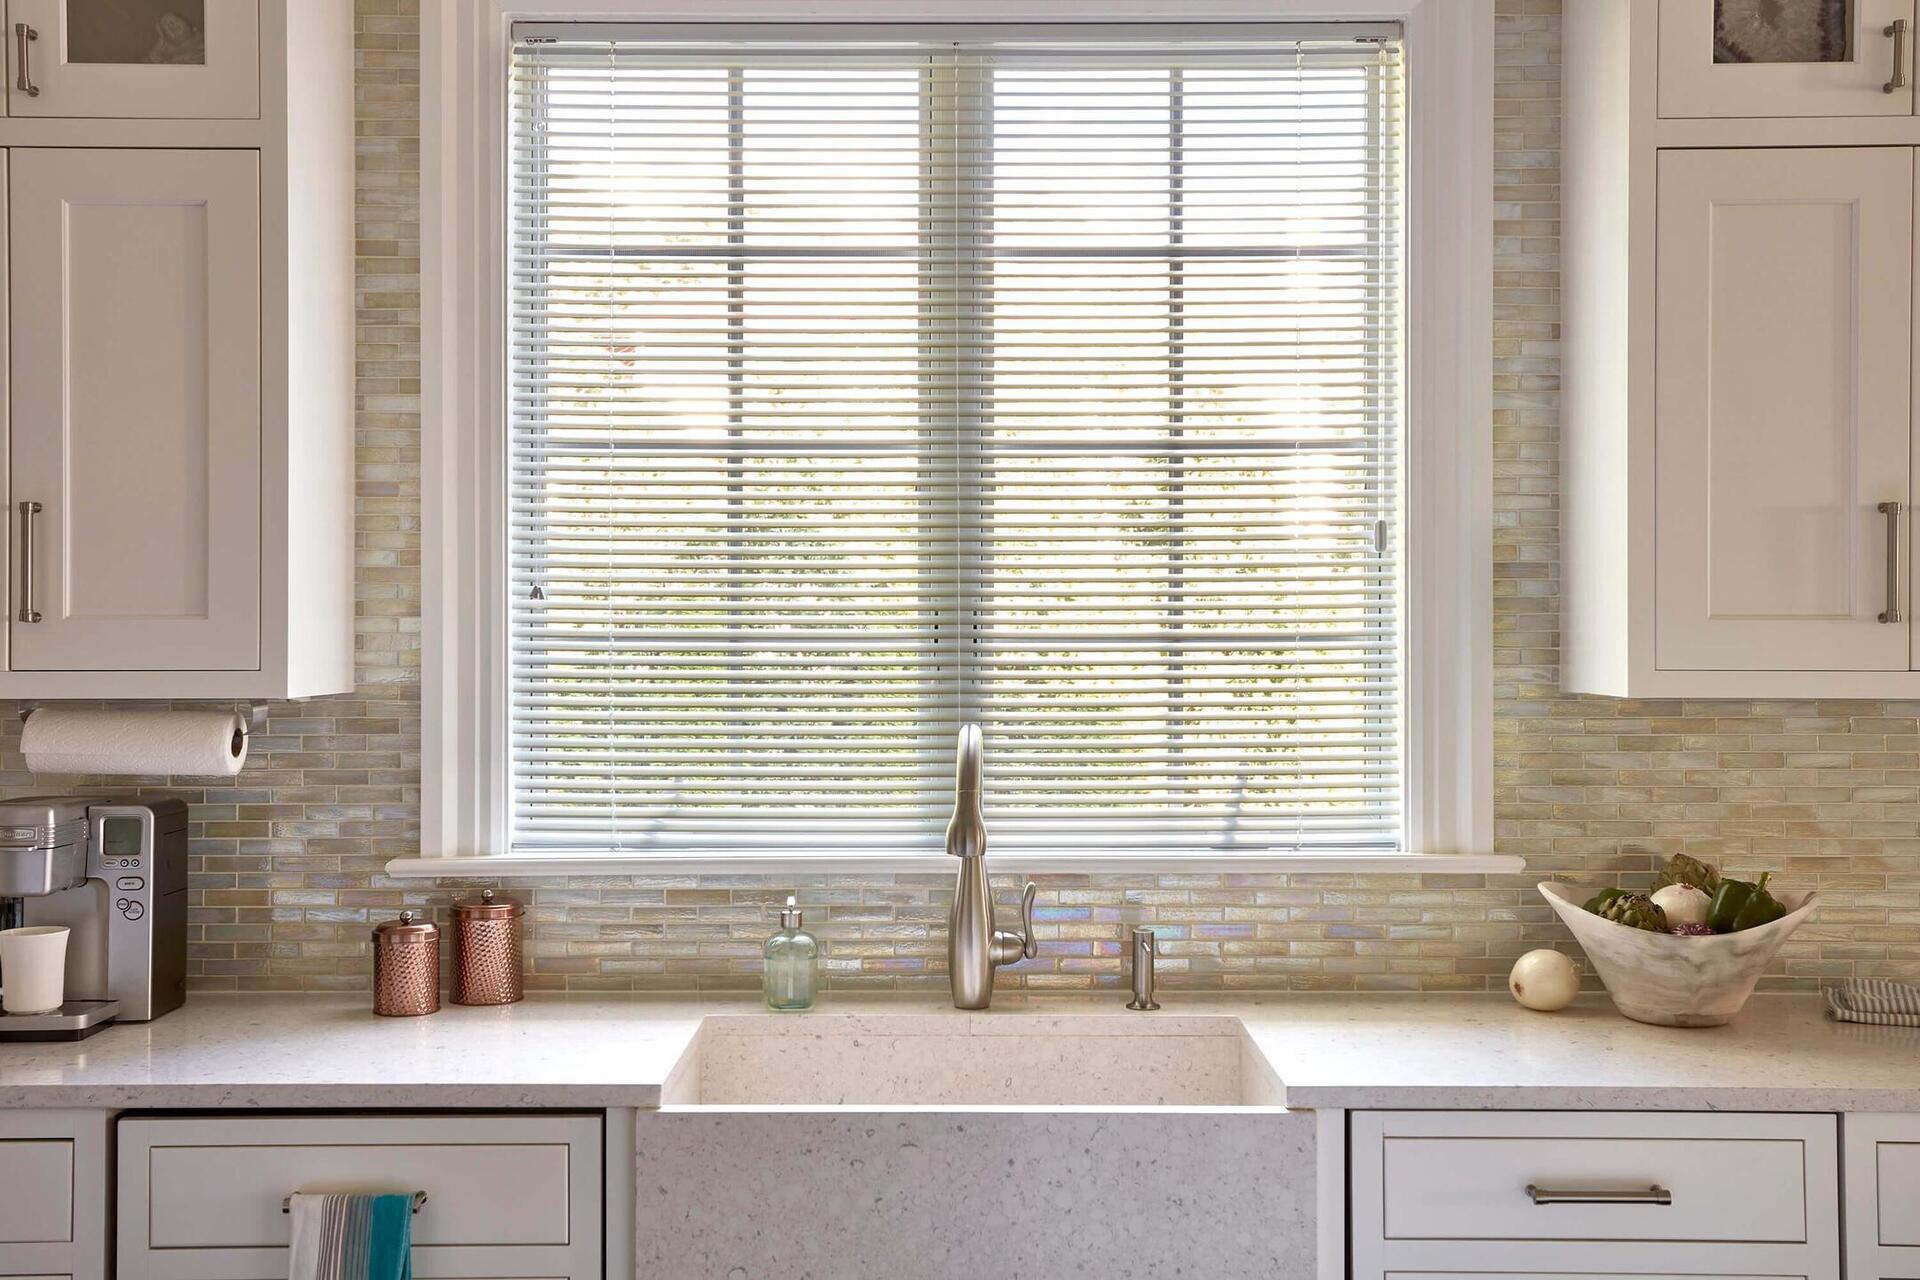
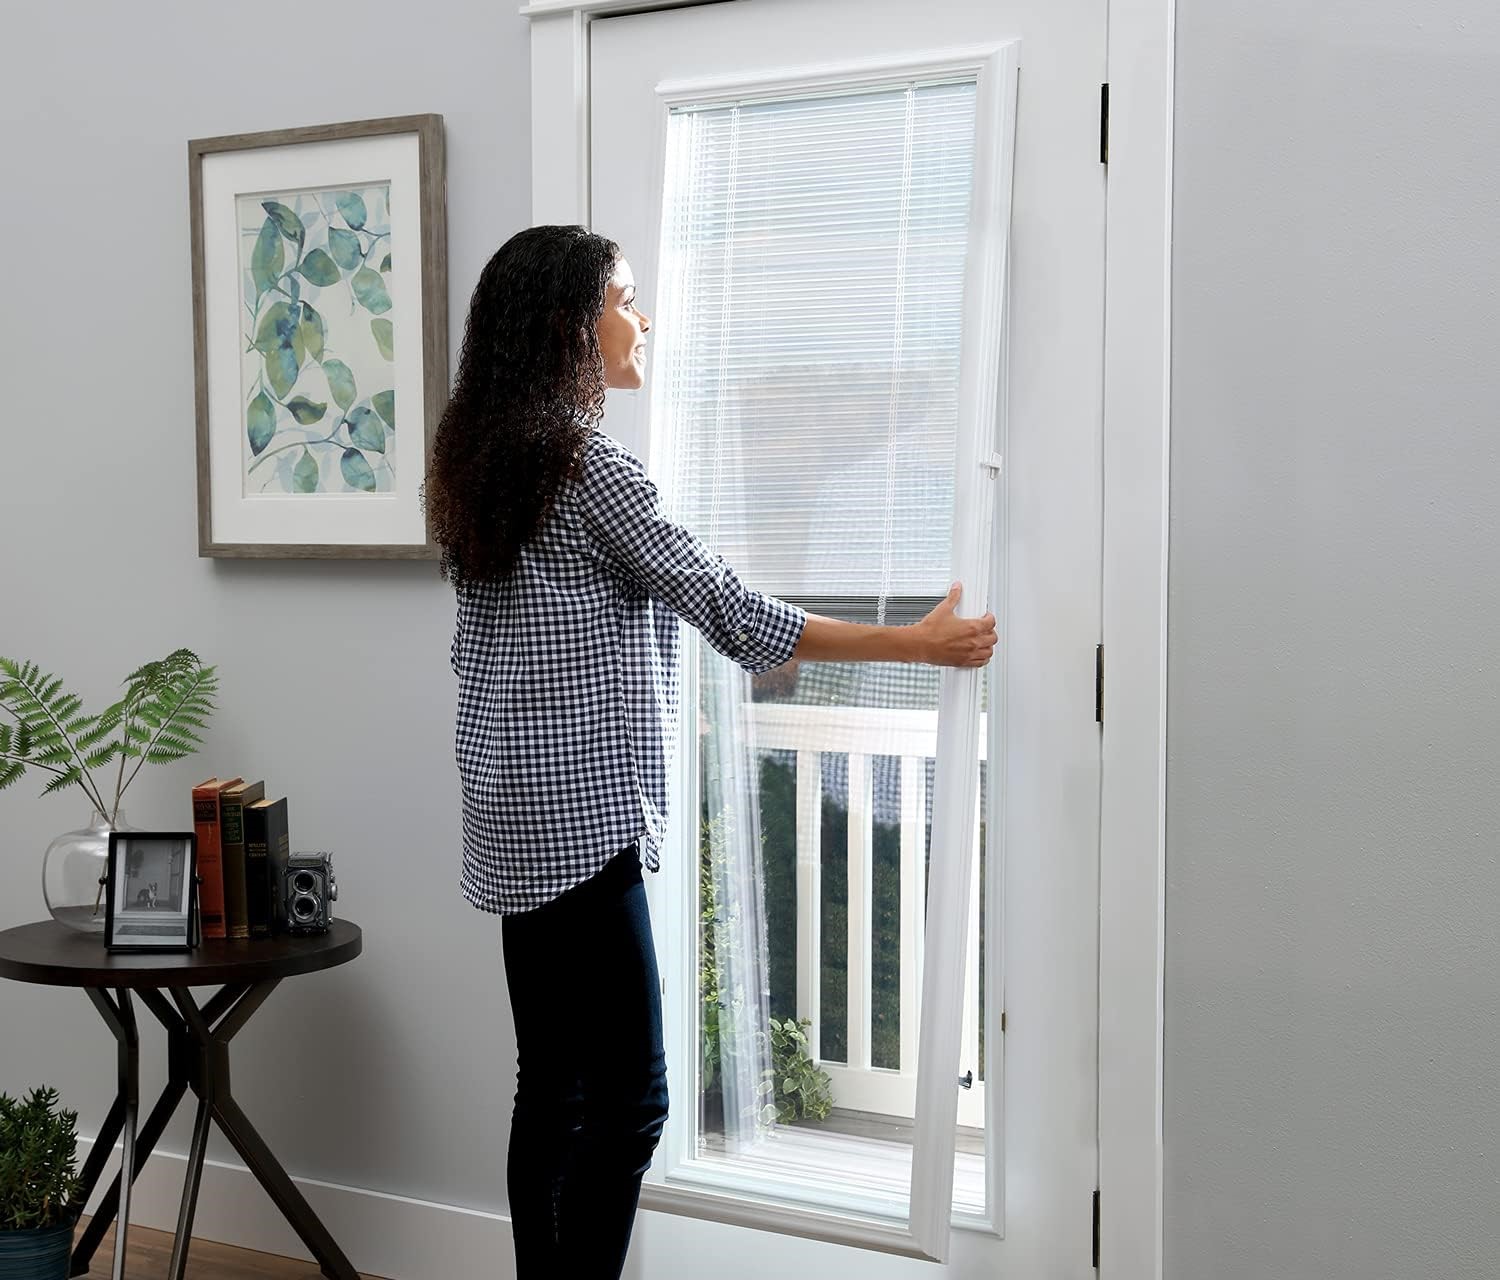
Installing mini blinds can be a great way to enhance the privacy, light control, and aesthetics of any room. Whether you are a DIY enthusiast or just looking to save some money by doing it yourself, this step-by-step guide will walk you through the process of installing mini blinds.
Mini blinds, also known as Venetian blinds, are a popular choice for homeowners due to their versatility and affordability. They are made up of horizontal slats that can be tilted to control the amount of light entering the room and can be raised or lowered to adjust privacy levels. With a few basic tools and some careful measurements, you can easily install mini blinds and enjoy the benefits they bring.
In this article, we will guide you through the installation process, from gathering the necessary tools and materials to mounting the brackets, installing the headrail, and attaching the blinds. We will also provide tips for testing and adjusting the blinds to ensure they function properly.
So, roll up your sleeves and let’s get started on transforming your windows with stylish and functional mini blinds!
Key Takeaways:
- Easily enhance your room’s privacy, light control, and aesthetics by following this step-by-step guide to installing mini blinds. Gather the tools, measure carefully, and enjoy the benefits of your DIY project!
- Transform your windows with stylish and functional mini blinds using this comprehensive installation guide. From measuring to testing, each step ensures a seamless and rewarding DIY experience.
Read more: How To Install Cordless Mini Window Blinds
Step 1: Gather the Necessary Tools and Materials
Before you begin installing mini blinds, it’s essential to gather all the tools and materials you’ll need. Having everything on hand will help make the process smoother and more efficient. Here are the items you’ll need:
- Measuring tape: This will be crucial for accurate measurements of your window.
- Pencil or marker: You’ll need this to mark the positions for brackets and other important points.
- Screwdriver: A screwdriver will be necessary for mounting the brackets and other fasteners.
- Level: To ensure that your blinds are perfectly straight, use a level during installation.
- Drill (optional): If your brackets require drilling, you’ll need a power drill with appropriate bits.
- Step stool or ladder: Depending on the height of your window, you may need a step stool or ladder for easy access.
- Mini blinds kit: This includes the headrail, slats, and any additional hardware needed for installation.
- Mounting brackets: These brackets will hold the headrail securely in place.
- Screws or fasteners: Make sure you have the appropriate screws or fasteners for your mounting surface.
Once you have gathered all the necessary tools and materials, organize them in a convenient and accessible manner near your workspace. This will ensure that everything is within reach as you progress through the installation process.
Keep in mind that the specific tools and materials required may vary based on the type and brand of mini blinds you are installing. It’s always a good idea to consult the manufacturer’s instructions or packaging for any additional items you may need.
With your toolbox fully equipped, you are now ready to move on to the next step and measure and prepare the window for installation.
Step 2: Measure and Prepare the Window
Accurate measurements are key to ensuring that your mini blinds fit properly and function correctly. Before you start installing, take the time to measure your window carefully. Here’s how to do it:
- Measure the width: Use a measuring tape to determine the width of the window frame from the inside. Measure the top, middle, and bottom of the window and record the smallest measurement. This will be the width of your blinds.
- Measure the height: Measure the height of the window from the inside. Again, take measurements at the left, center, and right sides of the window, and record the longest measurement. This will be the height of your blinds.
- Consider the overlap: When measuring the width, be sure to account for any overlap you desire. Most blinds require a slight overlap to ensure proper light control. If you want the blinds to cover the entire window, subtract about 1/4 inch from the total width measurement.
After taking accurate measurements, it’s time to prepare the window for installation. Start by cleaning the window frame and removing any dust or debris that may interfere with the installation process. A clean surface will ensure a secure and long-lasting installation.
If your mini blinds require drilling, mark the positions for the mounting brackets on the window frame using a pencil or marker. Ensure that the brackets are spaced evenly and aligned correctly. Use a level to confirm that the marks are straight and level.
For blinds that come with adhesive brackets, carefully peel off the adhesive backing and position the brackets in the desired locations. Press firmly to ensure a strong bond.
Now that the window is measured and prepared, it’s time to move on to the next step: mounting the brackets.
Step 3: Mount the Brackets
Mounting the brackets securely is crucial for the stability and proper functioning of your mini blinds. Follow these steps to mount the brackets:
- Position the brackets: Take the brackets that came with your mini blinds kit and align them with the marks you made on the window frame during the previous step. Ensure that the brackets are level and evenly spaced.
- Mark the screw holes: Once the brackets are in the desired position, use a pencil or marker to mark the screw holes on the window frame. These marks will guide you when drilling or screwing in the brackets.
- Drill pilot holes (if necessary): If your brackets require drilling, use a power drill with an appropriate drill bit to create pilot holes at the marked locations. Pilot holes help prevent the wood from splitting and make it easier to insert the screws.
- Attach the brackets: With the pilot holes in place, position the brackets over them and secure them to the window frame. If you’re using adhesive brackets, simply press them firmly onto the marked positions.
- Double-check the stability: Once the brackets are attached, give them a gentle tug to ensure they are firmly secured. If any brackets feel loose, reposition and secure them again.
It’s important to follow the manufacturer’s instructions for mounting the brackets, as different blinds may have different bracket designs and mounting methods. Some blinds may have twist-lock brackets or require additional steps for proper installation.
Remember to take your time during this step to ensure that the brackets are securely mounted. Well-mounted brackets provide a stable foundation for the headrail and prevent the blinds from sagging or falling.
With the brackets securely in place, you’re now ready to move on to the next step: installing the headrail.
When installing mini blinds, make sure to measure the window accurately before purchasing the blinds to ensure a proper fit.
Step 4: Install the Headrail
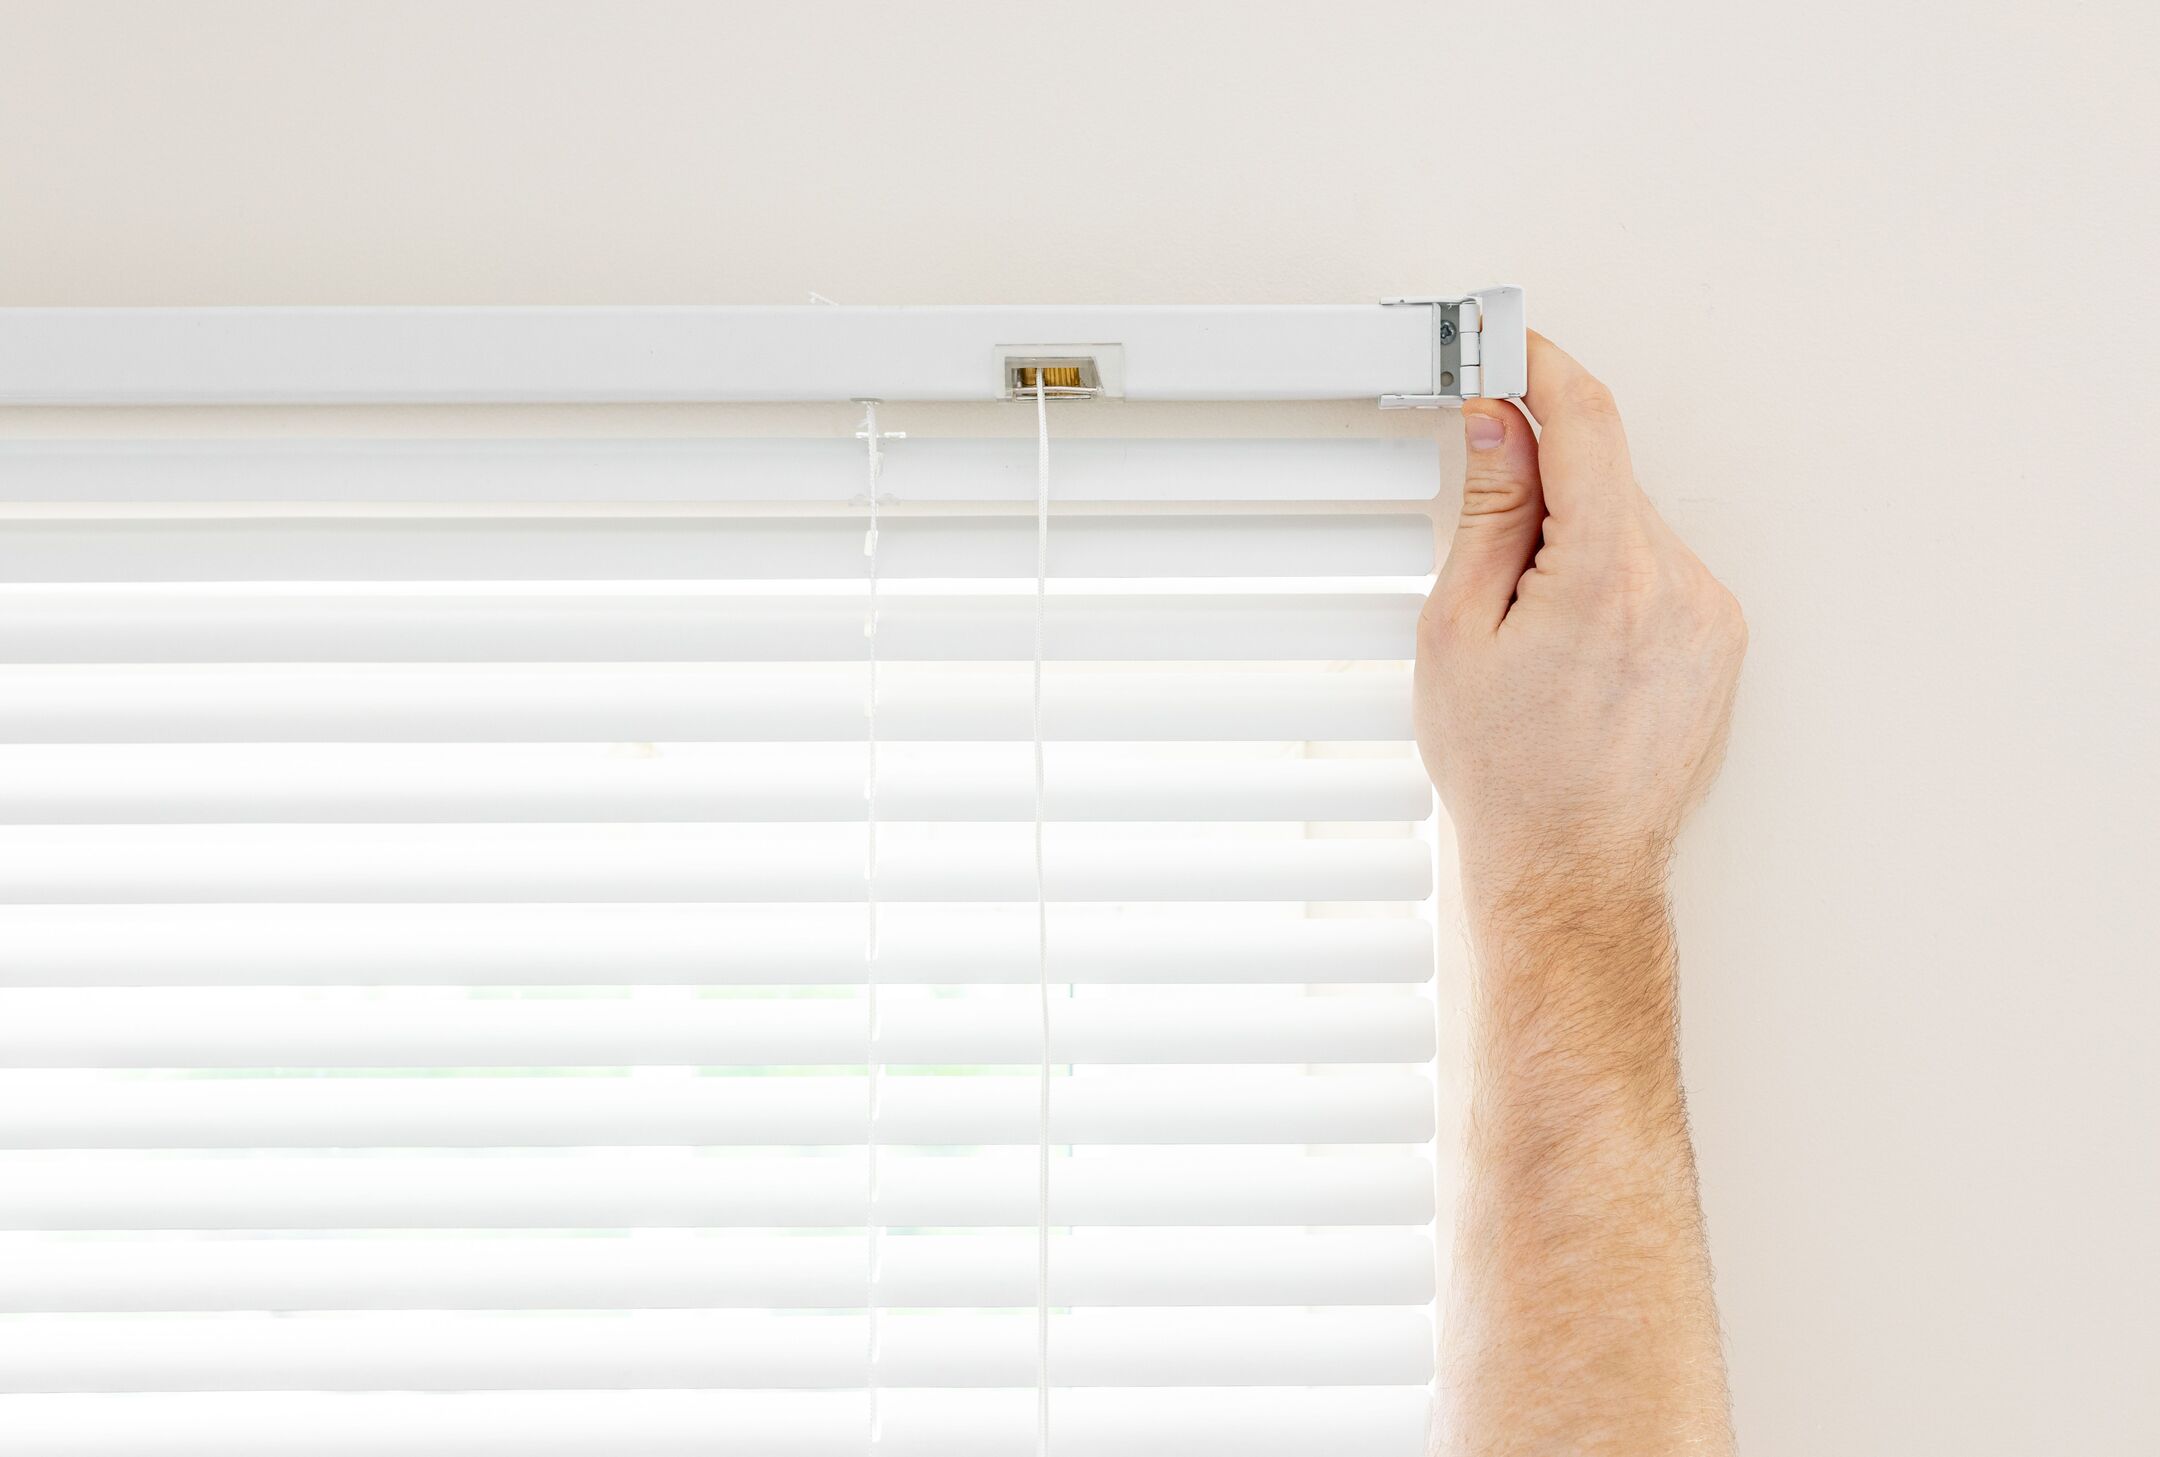
Now that the brackets are securely mounted, it’s time to install the headrail of your mini blinds. The headrail is the top portion of the blinds that holds the slats and allows for raising and lowering. Follow these steps to install the headrail:
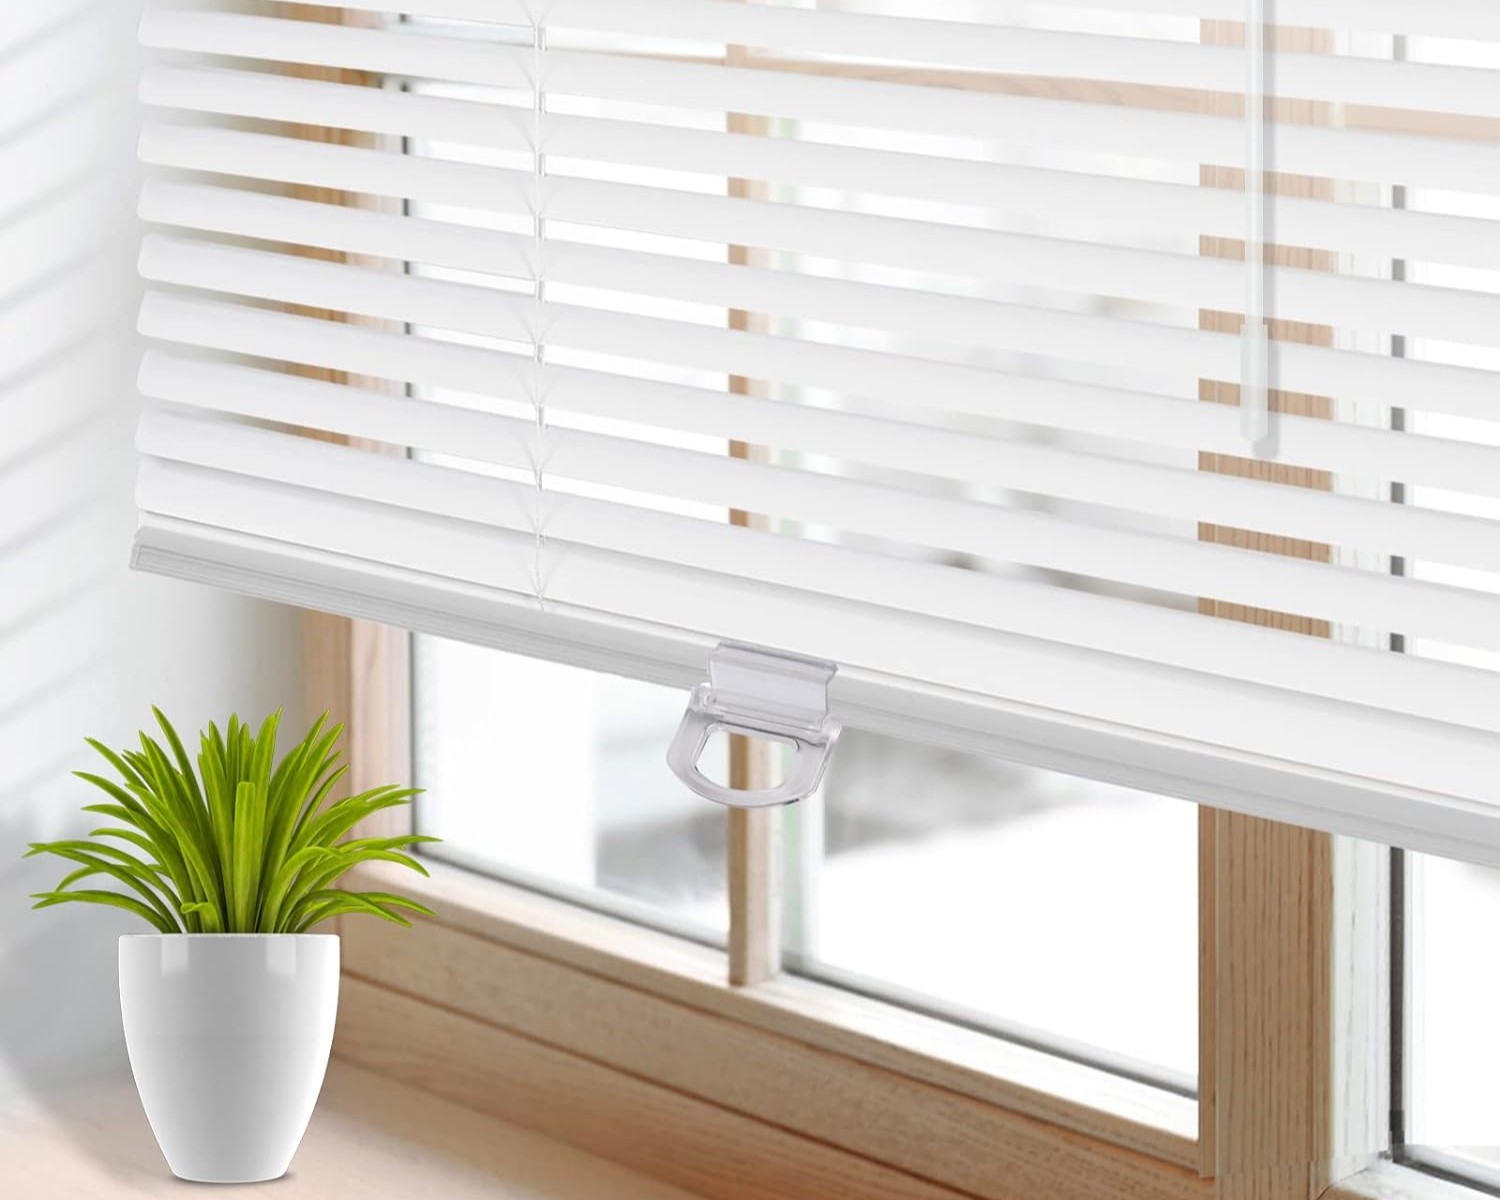
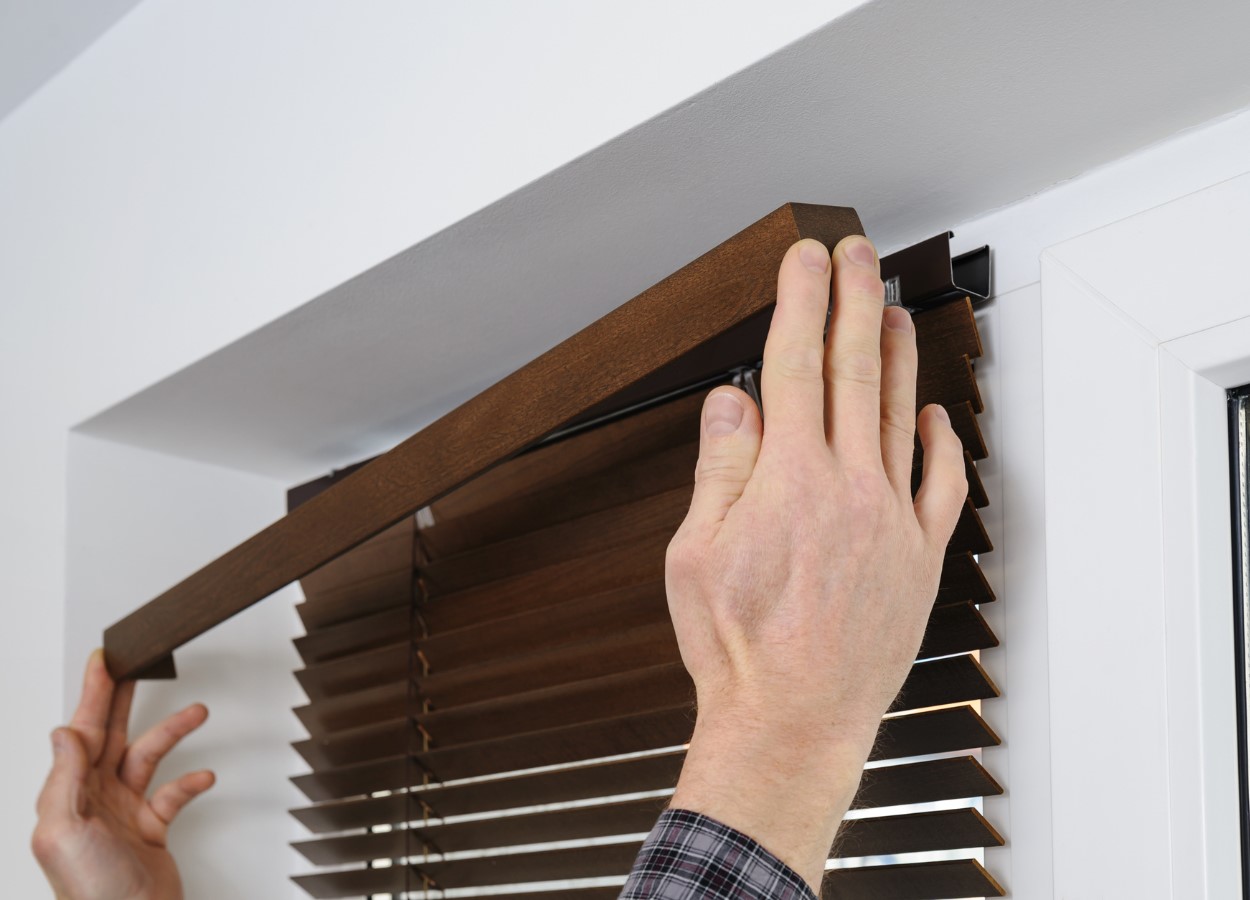
- Position the headrail: Take the headrail and align it with the brackets. Insert the front lip of the headrail into the front groove of the bracket.
- Secure the headrail: Once the front lip is in place, gently push the headrail back until the back lip clicks into the back groove of the bracket. This secures the headrail in position.
- Double-check the alignment: Ensure that the headrail is level and properly aligned with the window. Adjust the position if necessary.
- Test the movement: Check the smoothness of the headrail by raising and lowering it. It should move freely without any obstructions or resistance.
If your blinds have a cord or wand tilt mechanism, attach it to the headrail according to the manufacturer’s instructions. This mechanism allows you to tilt the slats to control the amount of light and privacy.
It’s important to note that not all blinds have the same installation method for the headrail. Some blinds may have different locking mechanisms or additional steps. Always refer to the manufacturer’s instructions for the specific installation process of your blinds.
With the headrail securely installed, you’re now ready to move on to the next step: attaching the blinds.
Step 5: Attach the Blinds
With the headrail in place, it’s time to attach the blinds to complete the installation process. Follow these steps to attach the blinds:
- Open the blinds: Before attaching the blinds, make sure they are fully open. This will provide better access to the mechanisms and make it easier to install.
- Slide the slats into the ladder strings: The ladder strings are the vertical cords that run through the holes in the slats. Take the first slat and insert one end of the ladder string through the hole at the bottom of the slat. Then, slide the slat onto the string until it rests securely in place.
- Continue attaching the remaining slats: After attaching the first slat, repeat the process for the remaining slats. Make sure each slat is properly positioned and evenly spaced.
- Test the blinds: Once all the slats are attached, gently pull on the lift cord to raise and lower the blinds. Ensure that they move smoothly and without any difficulties. If you encounter any issues, double-check the installation and adjust as necessary.
It’s important to handle the blinds with care during this step to avoid bending or damaging the slats. Take your time to ensure that each slat is properly attached and aligned.
If your blinds have a cordless or motorized mechanism, refer to the manufacturer’s instructions for the specific attachment process. These mechanisms may have different installation methods.
Once the blinds are fully attached and tested, you’re almost finished with the installation. The final step is to test and adjust the blinds to ensure they function correctly.
Step 6: Test and Adjust the Blinds
After attaching the blinds, it’s important to test and adjust them to ensure they are functioning correctly and meeting your desired specifications. Follow these steps to test and adjust the blinds:
- Operate the lift cord: Test the lift cord by pulling it gently to raise and lower the blinds. Make sure the blinds move smoothly without any snags or resistance. If the blinds are difficult to lift or lower, check for any obstructions or misaligned slats.
- Test the tilt mechanism: If your blinds have a tilt mechanism, test it by using the wand or cord. Tilt the slats to different angles and make sure they move freely and stay in place when desired.
- Check for proper alignment: Stand back and observe the blinds from different angles to ensure they are properly aligned. Adjust any slats that may be crooked or uneven.
- Adjust the lift cord length (if necessary): If the lift cord is too long and hangs down too far, you can adjust its length. Follow the manufacturer’s instructions for shortening the lift cord. Be cautious and ensure the blinds are safely secured before making any adjustments.
During the testing and adjusting process, pay attention to any unusual sounds or movements that may indicate an issue. If you notice any problems, refer to the manufacturer’s instructions or seek professional assistance if needed.
Once you are satisfied with the functionality and appearance of your mini blinds, your installation is complete! Enjoy the enhanced privacy, light control, and aesthetic appeal that the blinds bring to your space.
Remember to periodically clean and maintain your blinds to keep them in optimal condition. Consult the manufacturer’s instructions for recommended cleaning methods and practices.
Congratulations on successfully installing your mini blinds!
Conclusion
Installing mini blinds is a rewarding and relatively simple DIY project that can greatly enhance the functionality and aesthetics of your windows. By following the step-by-step guide outlined in this article, you can successfully install mini blinds and enjoy the benefits they bring to your space.
From gathering the necessary tools and materials to measuring and preparing the window, mounting the brackets, installing the headrail, attaching the blinds, and testing and adjusting the blinds, each step plays a crucial role in ensuring a seamless and effective installation process.
Remember to carefully measure your window, clean and prepare the surface, and mount the brackets securely. Take your time when installing the headrail and attaching the blinds to ensure proper alignment and smooth operation. Test and adjust the blinds to ensure they function correctly and meet your desired specifications.
Throughout the installation process, always refer to the manufacturer’s instructions for specific guidelines and considerations based on your chosen mini blinds. Each type or brand may have unique features and installation methods.
By installing mini blinds, you can control the amount of light entering your room, enhance privacy, and add a touch of style to your windows. Additionally, mini blinds are generally affordable and come in a variety of colors and materials to suit your preferences and interior design scheme.
Enjoy the benefits of your newly installed mini blinds and don’t forget to maintain them regularly to keep them in optimal condition. Clean them as recommended by the manufacturer and address any issues promptly to ensure their longevity and functionality.
Now that you have the knowledge and confidence to install mini blinds, go ahead and transform your windows into stylish and functional elements of your home!
Frequently Asked Questions about How To Install Mini Blinds
Was this page helpful?
At Storables.com, we guarantee accurate and reliable information. Our content, validated by Expert Board Contributors, is crafted following stringent Editorial Policies. We're committed to providing you with well-researched, expert-backed insights for all your informational needs.