Articles
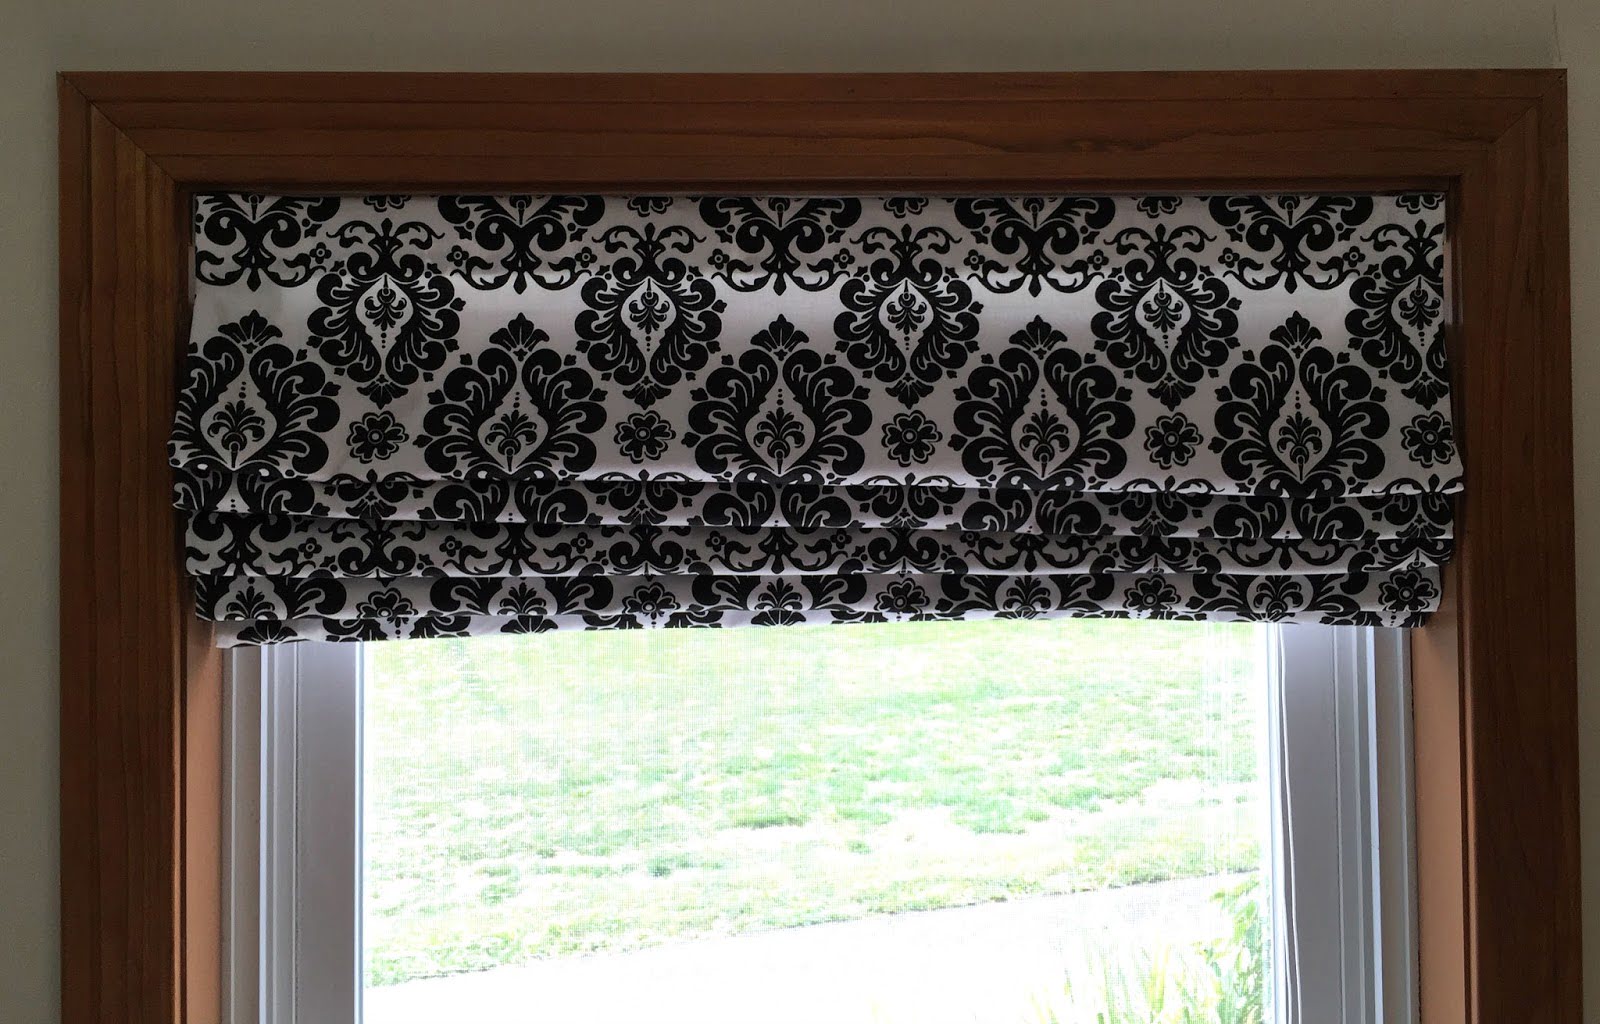
How To Make A Roman Shade Out Of Mini Blinds
Modified: December 7, 2023
Learn how to transform your mini blinds into stylish Roman shades with our step-by-step articles. Upgrade your window treatments today!
(Many of the links in this article redirect to a specific reviewed product. Your purchase of these products through affiliate links helps to generate commission for Storables.com, at no extra cost. Learn more)
Introduction
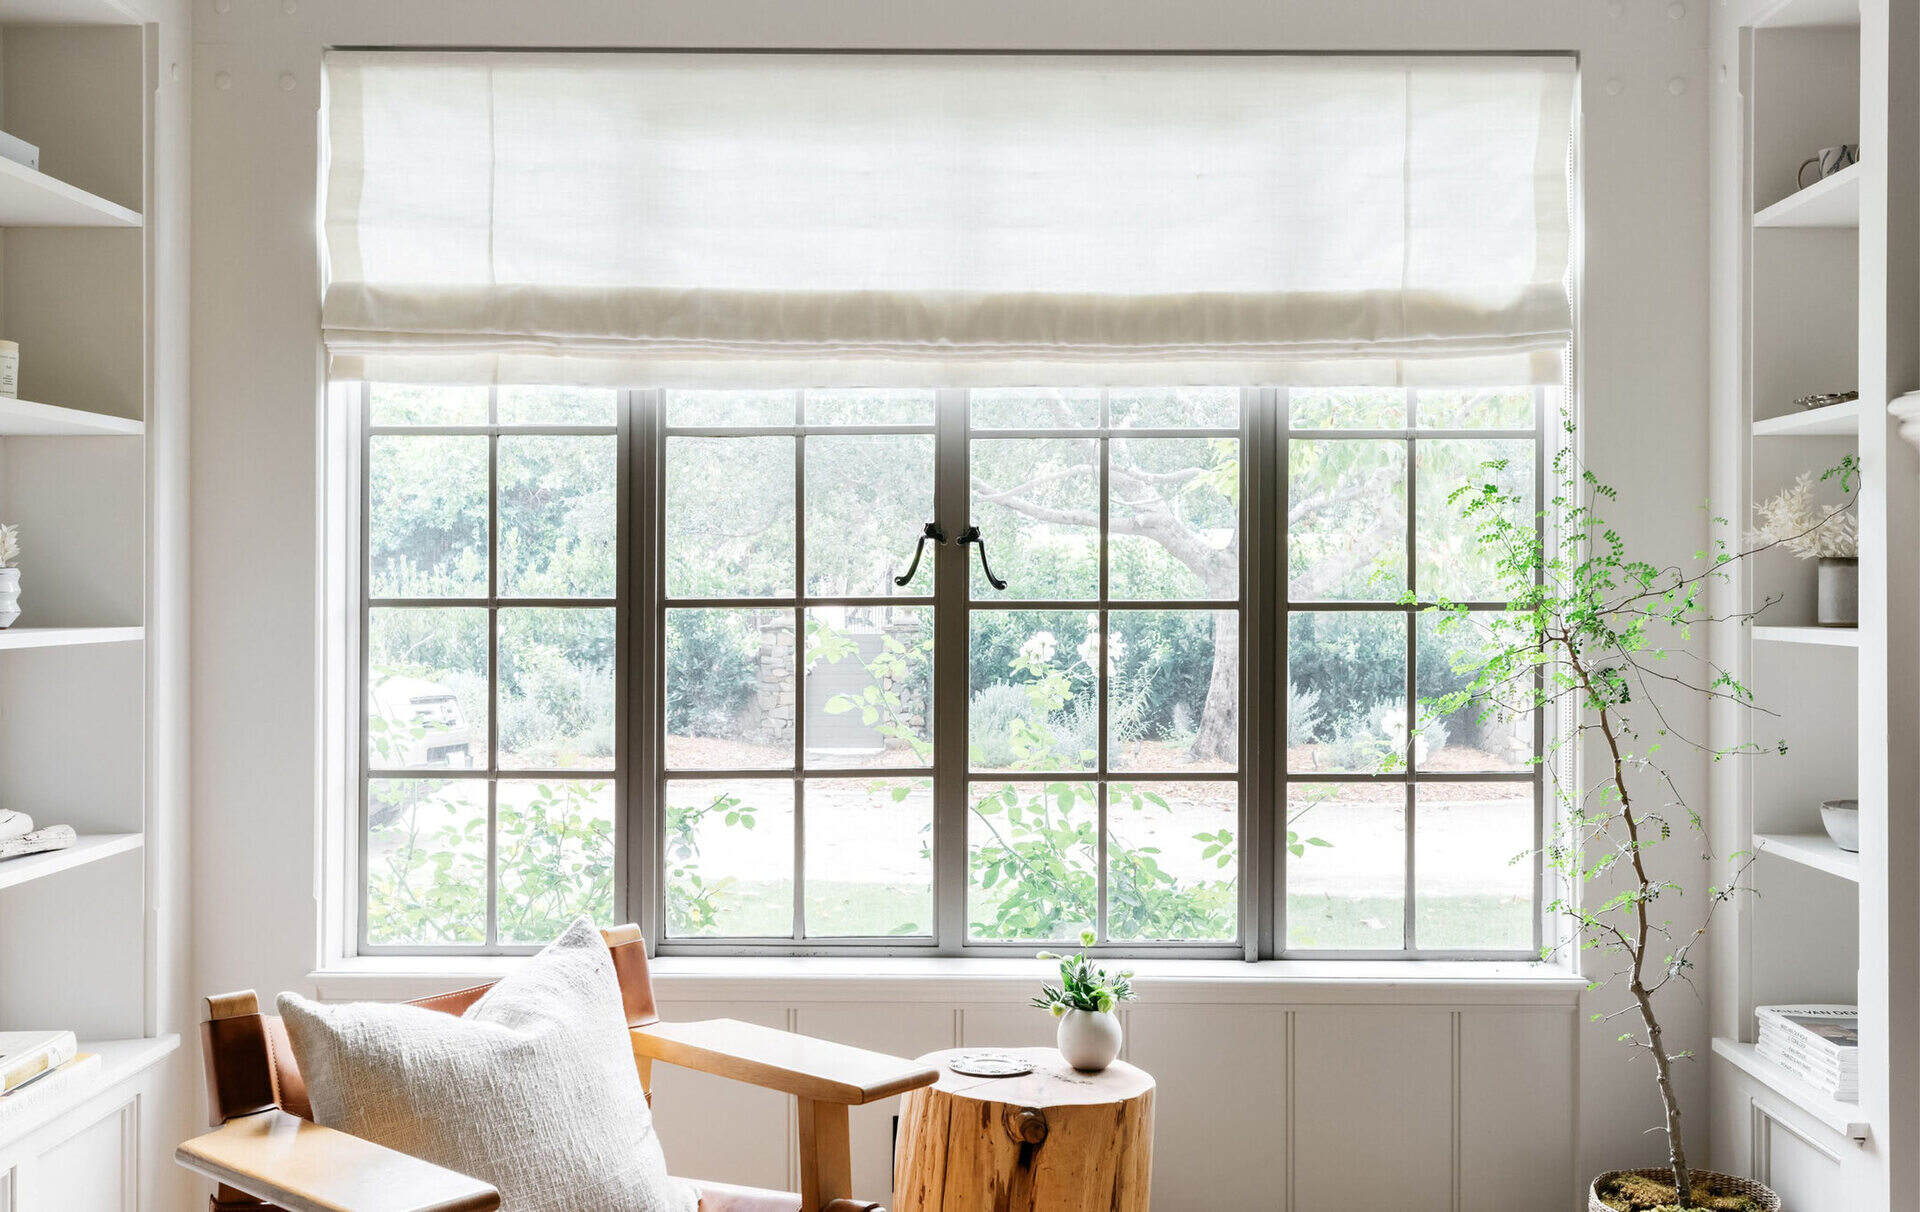
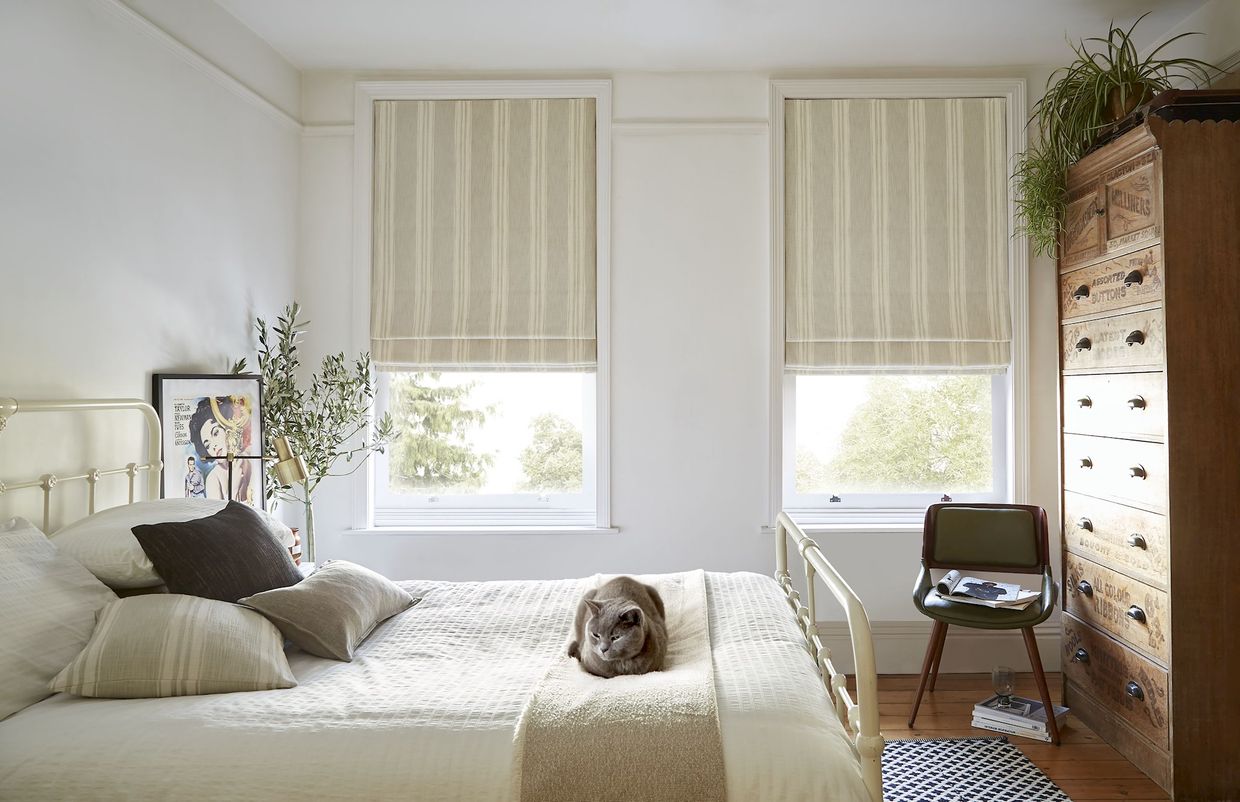
Are you looking to update the window treatments in your home? Roman shades offer a classic and sophisticated look that can instantly elevate any room’s decor. While ready-made Roman shades can be quite expensive, making your own can be a cost-effective and rewarding project. In this article, we will guide you through the step-by-step process of creating a Roman shade out of mini blinds. This DIY project is relatively simple and requires minimal sewing skills.
By repurposing your old or inexpensive mini blinds, you can create a customized Roman shade that perfectly fits your window’s dimensions and complements your interior design. It’s a great way to breathe new life into your windows without breaking the bank.
Before we get started, let’s gather all the materials you’ll need for this project.
Key Takeaways:
- Transform ordinary mini blinds into a stunning Roman shade with custom fabric, saving money and adding elegance to any room.
- Achieve a professional-looking window treatment by following step-by-step instructions, taking accurate measurements, and paying attention to detail.
Read more: How To Make Roman Blinds
Step 1: Gather Materials
Before you start creating your Roman shade, make sure you have all the necessary materials on hand. Here’s a list of what you’ll need:
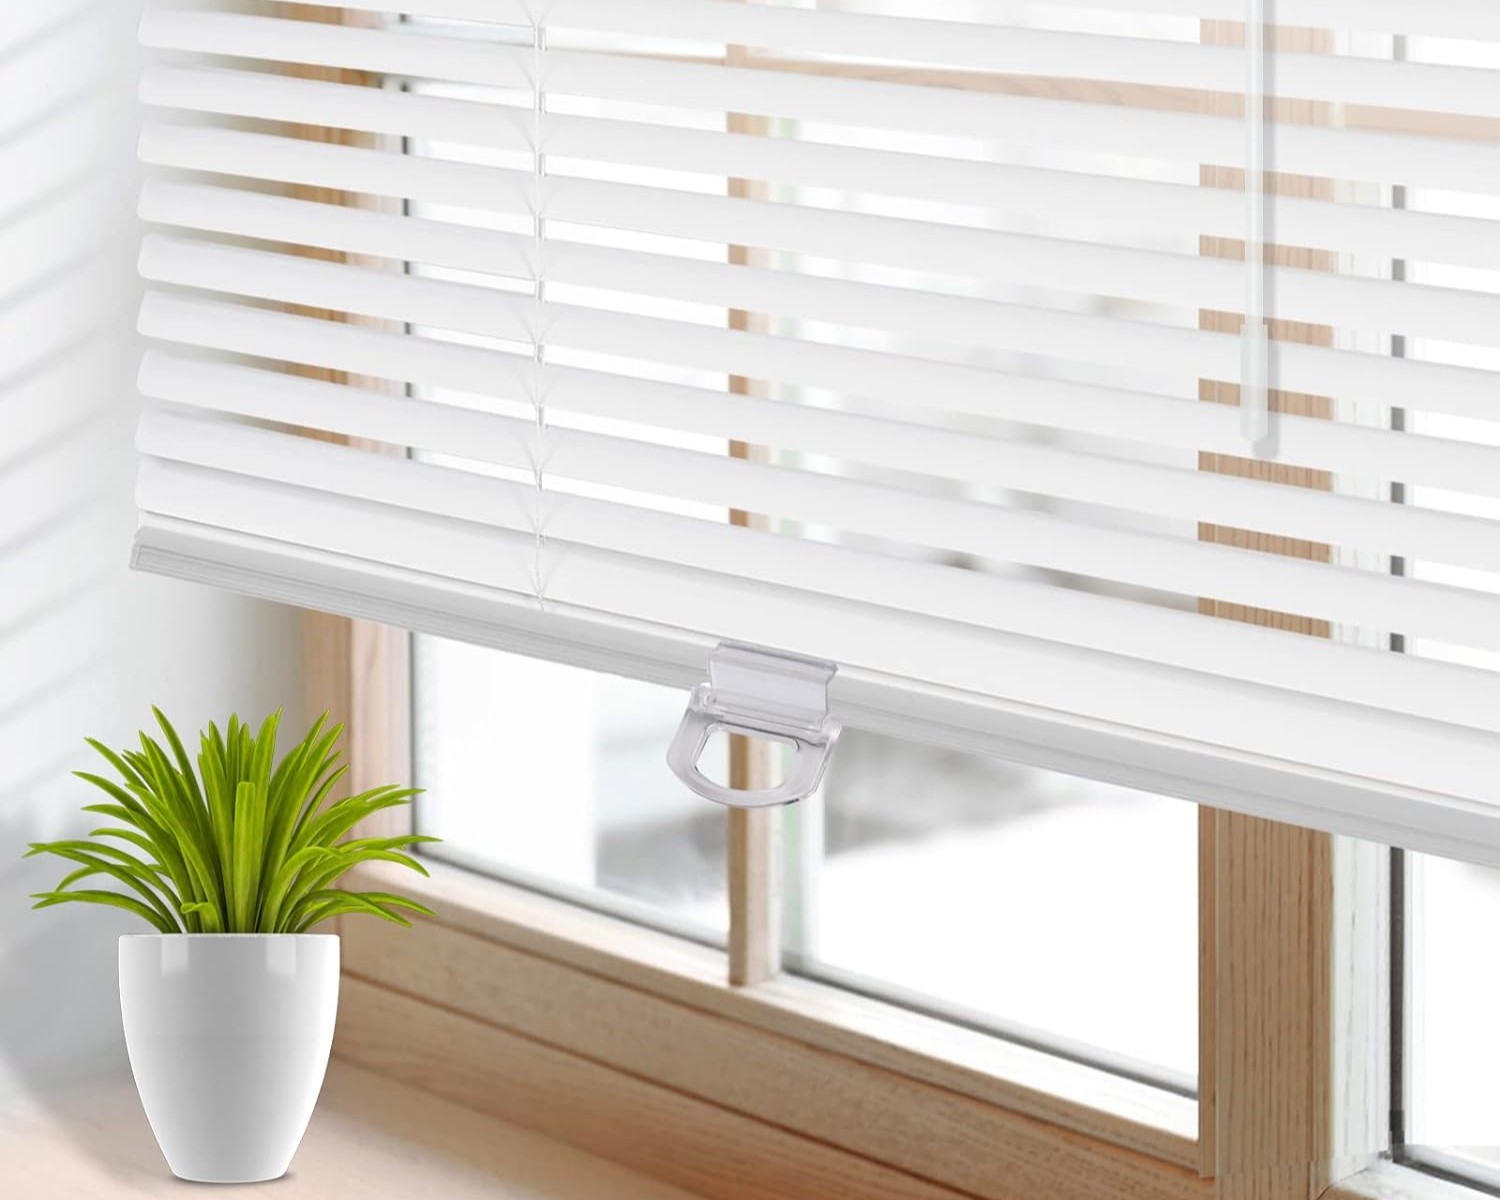
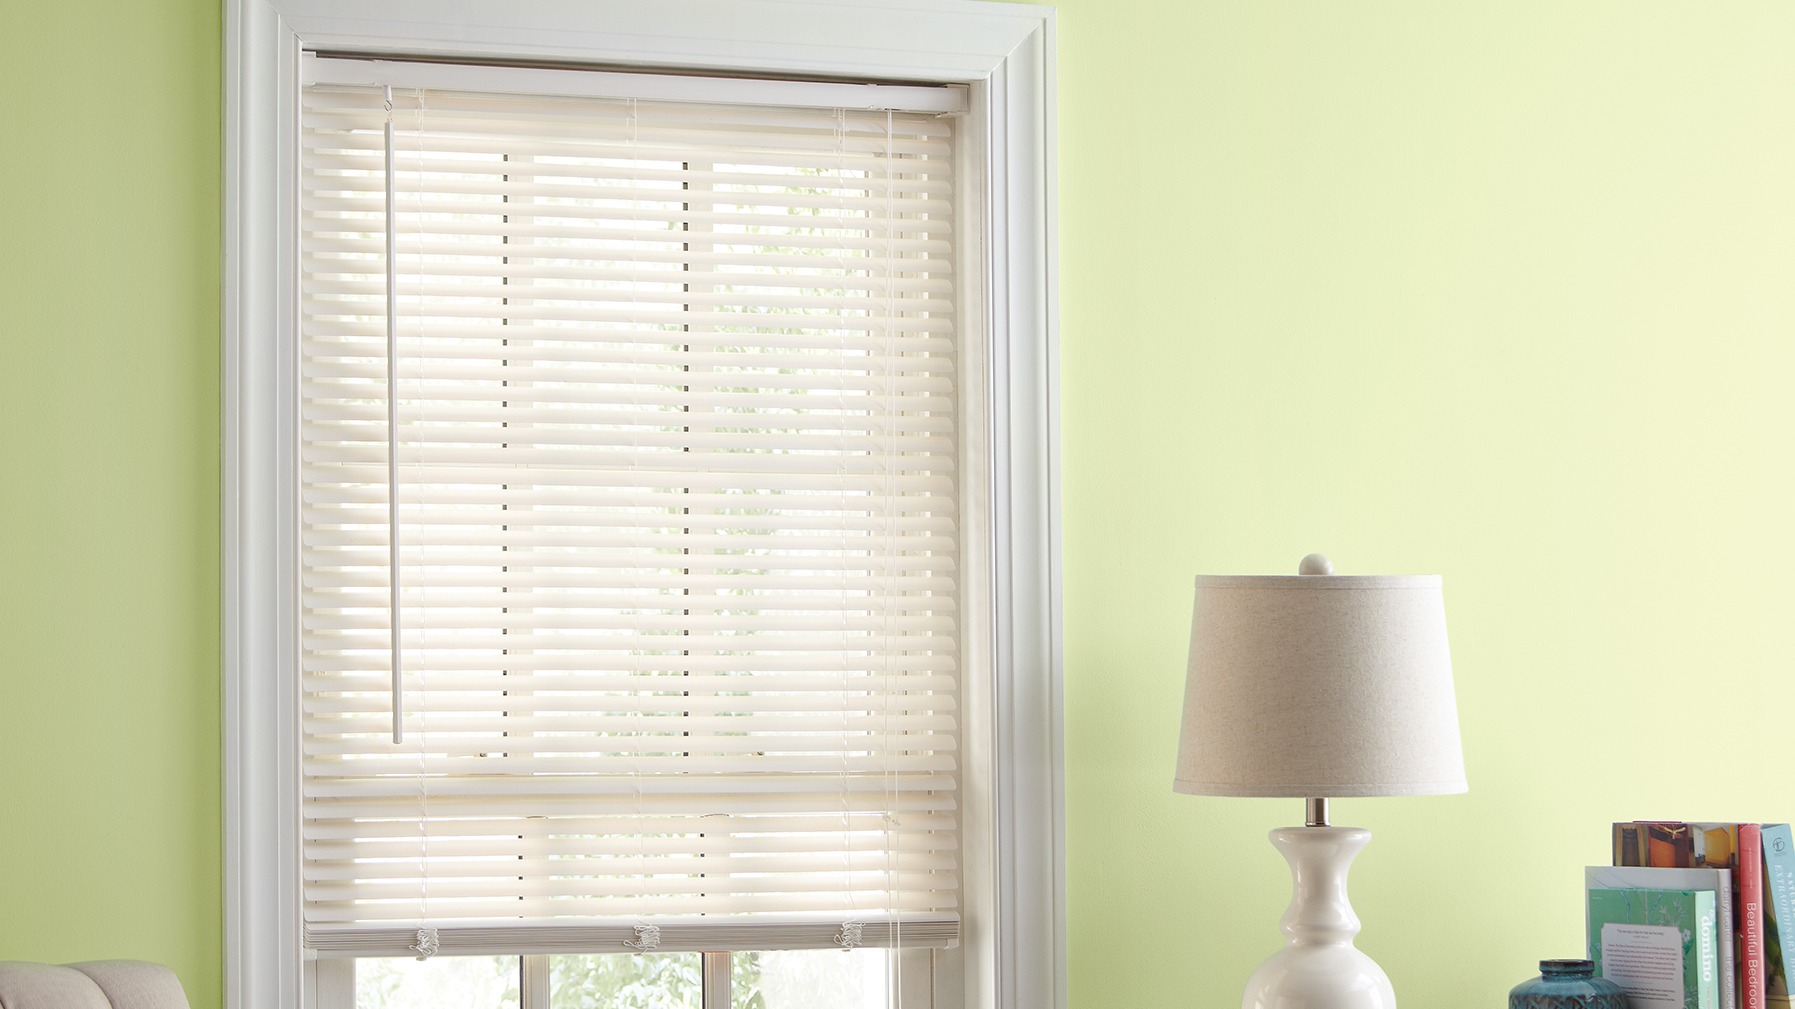
- Mini blinds: Choose a set of mini blinds that are the appropriate width for your window. The length doesn’t matter as much since we’ll be altering it.
- Fabric: Select a fabric of your choice that matches your decor and window measurements. Make sure it is durable and opaque enough to provide privacy and block out light.
- Scissors: You’ll need a good pair of fabric scissors to cut the fabric to size.
- Tape measure: This will be essential for taking accurate measurements of your window and fabric.
- Ruler or straight edge: You’ll need this to create straight lines and fold the fabric properly.
- Fabric glue or sewing supplies: Depending on your preference and sewing skills, you can use fabric glue or opt for sewing supplies like a sewing machine, thread, and needle.
- Iron and ironing board: Ironing the fabric will help create crisp folds and remove any wrinkles.
- Mounting hardware: You’ll need screws or brackets to attach the Roman shade to the window frame or wall.
- Screwdriver or drill: Depending on the type of mounting hardware you choose, you’ll need a screwdriver or drill to install it.
Once you have gathered all these materials, you’ll be ready to move on to the next step of the process: removing the slats from the mini blinds.
Step 2: Remove Slats from Mini Blinds
Now that you have all the materials ready, it’s time to disassemble the mini blinds and remove the slats. Here’s how you can do it:
- Start by fully extending the mini blinds and lock them in place.
- Remove the plastic end caps located at the bottom of the blinds. These can usually be easily popped off with a flathead screwdriver or by hand.
- Next, pull out the lift cords from the holes at the bottom of the blinds. The slats should now be free to move.
- Gently push up on the bottom rail to release the tension and remove it from the blinds.
- Continue to remove the slats one by one, sliding them out of the ladder tape or string that holds them in place. Be careful not to bend or damage the slats as you remove them.
- Once you have removed all the slats, set them aside for future use or discard them if you don’t need them.
By removing the slats, you are essentially transforming the mini blinds into the frame for your Roman shade. The next step is to measure and mark the fabric.
Step 3: Measure and Mark Fabric
With the slats removed from the mini blinds, it’s time to measure and mark the fabric that will be used for your Roman shade. Here’s how you can do it:
- Start by measuring the width and length of your window. Add an extra inch to the width measurement for seam allowance.
- Spread out your fabric on a clean, flat surface and use a tape measure to mark the measurements you took in the previous step. Use a ruler or straight edge to ensure straight lines.
- Measure and mark an additional 4-6 inches at the top of the fabric. This will be used for creating a rod pocket for hanging the Roman shade.
- Using fabric scissors, carefully cut along the marked lines to create your fabric panel.
Once you have your fabric panel cut to size, you’re ready to move on to the next step: ironing or hemming the edges of the fabric.
Step 4: Cut Fabric
With the measurements and markings in place, it’s time to cut the fabric for your Roman shade. Follow these steps:
- Lay the fabric flat on a clean, flat surface, ensuring that it is smooth and free from wrinkles.
- Use fabric scissors to carefully cut along the marked lines, following them precisely to ensure clean and straight edges.
- Double-check the dimensions of the fabric panel to ensure it matches the size of your window.
- If needed, make any necessary adjustments by trimming the fabric. Remember to leave a little extra on all sides for seam allowance.
- Once you have the fabric cut to size, set aside any leftover pieces for future use or discard them if they are no longer needed.
By cutting the fabric accurately, you are one step closer to creating your custom-made Roman shade. Continue to the next step to iron or hem the edges of the fabric.
Read more: What Are Roman Blinds
Step 5: Iron or Hem the Edges
Now that you have the fabric cut to size, it’s time to iron or hem the edges to give your Roman shade a polished and finished look. Follow these steps:
- Start by folding over each edge of the fabric about ¼ inch and press it down with an iron.
- Once you’ve created a small folded edge, fold it over a second time to create a double-fold hem.
- Press the double-folded hem with the iron, ensuring that it stays in place.
- Repeat this process for all four edges of the fabric panel.
- Alternatively, if you prefer a no-sew method, you can use fabric glue to secure the folded edges. Simply apply a thin line of fabric glue along each folded edge and press them down firmly to create a hem.
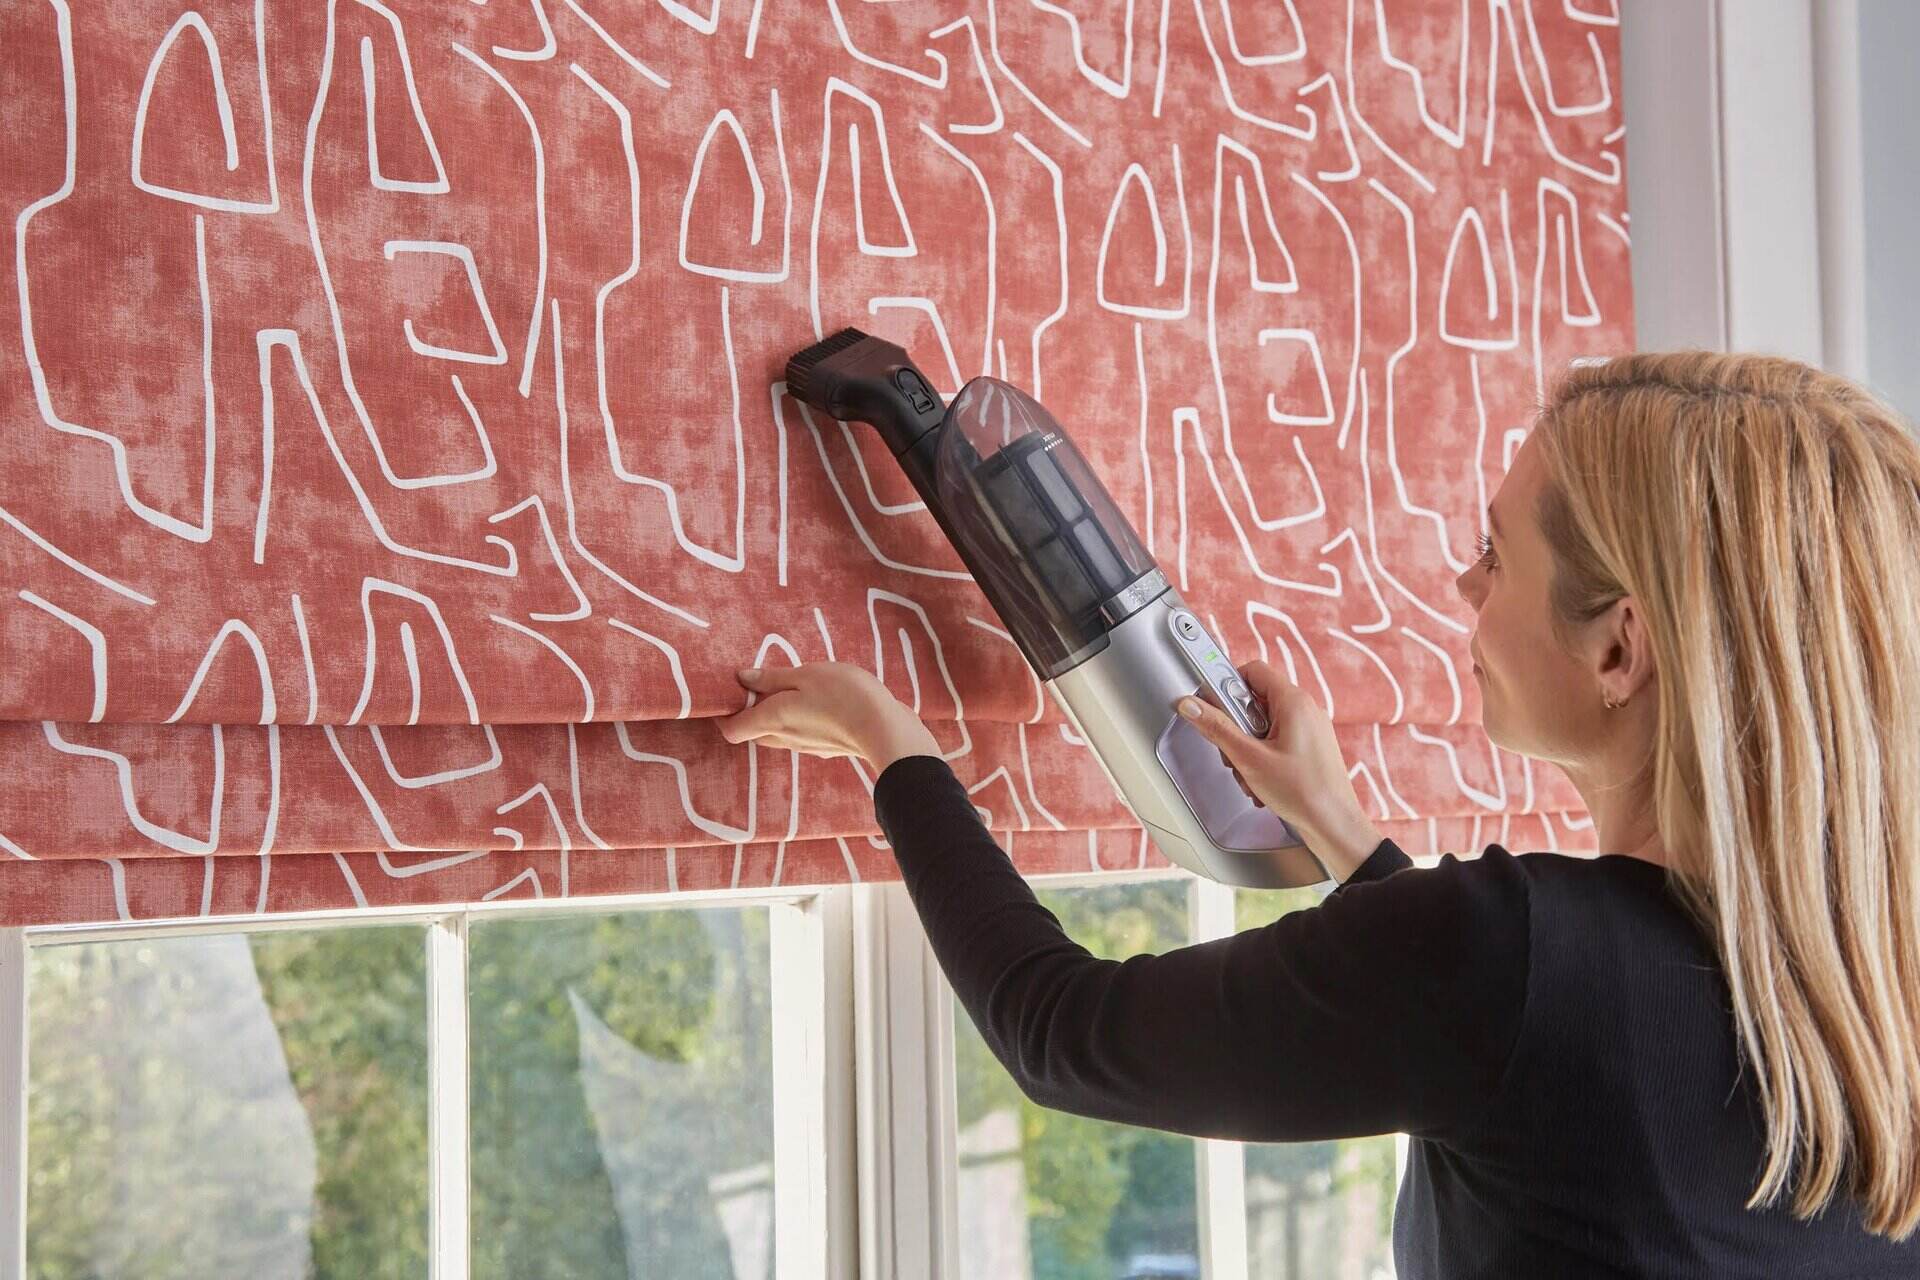
Ironing or hemming the edges of the fabric is important to prevent fraying and give your Roman shade a professional look. It also ensures that the edges are neat and sturdy. Once you’ve finished hemming the edges, you’re ready to move on to the next step: attaching the fabric to the mini blind headrail.
When measuring for your Roman shade, be sure to account for the depth of the mini blinds when calculating the fabric size to ensure a proper fit.
Step 6: Attach Fabric to Mini Blind Headrail
With the fabric edges neatly hemmed, it’s time to attach the fabric to the mini blind headrail. Follow these steps:
- Lay the fabric panel with the right side facing down on a clean, flat surface.
- Position the mini blind headrail on top of the fabric, aligning it with the top edge of the fabric panel.
- Using fabric glue or a sewing machine, attach the fabric to the mini blind headrail along the top edge. If using fabric glue, apply a thin line of glue along the top edge and press the fabric firmly onto the headrail. If using a sewing machine, stitch a straight line along the top edge to secure the fabric.
- Once the top edge is attached, fold the fabric over the mini blind headrail and secure it along the sides. You can use fabric glue or sew it in place, making sure the fabric is taut and smooth.
- Continue folding and securing the fabric along the bottom edge of the mini blind headrail, ensuring that it is evenly distributed.
By attaching the fabric to the mini blind headrail, you are transforming the basic blinds into a fully functional Roman shade. The next step is to create fold lines on the fabric to achieve the characteristic Roman shade look.
Step 7: Create Fold Lines
Creating fold lines is an essential step in achieving the elegant and characteristic look of a Roman shade. Follow these steps to create the fold lines:
- Start by lowering the mini blind headrail to its fully extended position.
- Using your fingers or a ruler, gently fold the fabric at regular intervals along the length of the shade. The number of folds will depend on the desired look and the height of your window. Typically, Roman shades have three to six evenly spaced folds.
- Secure the folds in place by using small pieces of fabric glue or by hand-stitching along the fold lines. This will ensure that the folds stay in place when the shade is raised or lowered.
- Double-check the fold lines to ensure they are straight and evenly spaced. Make any necessary adjustments before proceeding.
Creating the fold lines gives your Roman shade the classic cascading appearance when it’s raised. It adds depth and sophistication to the overall design. Once you’re satisfied with the fold lines, it’s time to move on to the next step: installing the Roman shade.
Step 8: Install Roman Shade
With your Roman shade fully assembled, it’s time to install it in your window. Follow these steps to properly install your Roman shade:
- Decide on the mounting style: Choose whether you want to mount the shade inside the window frame or on the wall above the window. This will depend on your preference and the type of window you have.
- Position the shade in the desired location: Place the Roman shade in the window or on the wall, ensuring that it is level and centered.
- Mark the mounting holes: Use a pencil or marker to mark the locations of the mounting holes on the window frame or wall.
- Install mounting hardware: Depending on the type of mounting hardware you have, such as screws or brackets, use a screwdriver or drill to attach the hardware to the marked locations. Make sure it is securely fastened.
- Attach the Roman shade to the mounting hardware: If your Roman shade has built-in hooks or tabs, simply hang them on the mounting hardware. If not, you may need to use curtain rings or clips to attach the shade to the hardware.
- Test the Roman shade: Gently raise and lower the shade to check that it operates smoothly. Make any necessary adjustments to ensure proper functionality.
Once your Roman shade is successfully installed, step back and admire the beautiful transformation it brings to your window and room. You’re almost done, but there’s one final step to complete.
Read more: How To Measure For Roman Blinds
Step 9: Test and Adjust
After installing your Roman shade, it’s important to test its functionality and make any necessary adjustments to ensure it operates smoothly and fits your desired specifications. Follow these steps to test and adjust your Roman shade:
- Gently raise and lower the shade: Test the mechanism of the Roman shade by gently pulling the lift cord or using the designated mechanism. Ensure that the shade raises and lowers smoothly and evenly.
- Check for even distribution: As you raise and lower the shade, observe if the folds are evenly distributed and if any adjustments need to be made to achieve a symmetrical appearance.
- Adjust the fold lines: If you notice any areas where the folds are uneven or not aligned properly, you can make adjustments by hand-stitching or using small pieces of fabric glue to secure the fabric in place.
- Ensure proper fit: Check that the Roman shade fits your window properly, covering the entire window with the desired amount of coverage. If adjustments need to be made, you may need to trim the fabric or make alterations to the shade’s dimensions.
- Test for smooth operation: Continuously test the Roman shade by raising and lowering it several times to ensure it operates smoothly without any obstructions or snags.
By carefully testing and adjusting your Roman shade, you can ensure that it not only looks visually appealing but also functions well for years to come. Once you are satisfied with the operation and appearance of your Roman shade, you can sit back and enjoy the beauty and functionality it adds to your space.
Conclusion
Congratulations! You have successfully learned how to transform ordinary mini blinds into a stunning Roman shade. By following these step-by-step instructions, you were able to create a custom window treatment that fits your style and window dimensions.
Making your own Roman shade not only allows you to save money but also gives you the freedom to choose fabrics that match your existing decor. With just a few materials and some basic sewing or gluing skills, you can achieve a professional-looking window treatment that adds elegance and sophistication to any room.
Remember, the key to a successful DIY Roman shade project is taking accurate measurements, using quality materials, and paying attention to detail. Take your time during each step, ensuring that everything is aligned and secure before moving on to the next. By doing so, you’ll create a long-lasting and visually appealing Roman shade.
Now go ahead and enjoy the fruits of your labor. Sit back, have a cup of tea, and admire the transformation you have brought to your windows and your space. Your Roman shade not only provides privacy and light control but also becomes a beautiful statement piece in your home.
We hope this tutorial has been helpful to you. Happy crafting!
Frequently Asked Questions about How To Make A Roman Shade Out Of Mini Blinds
Was this page helpful?
At Storables.com, we guarantee accurate and reliable information. Our content, validated by Expert Board Contributors, is crafted following stringent Editorial Policies. We're committed to providing you with well-researched, expert-backed insights for all your informational needs.