
Articles
How To Clean The Glass On A Toaster Oven
Modified: October 29, 2024
Looking for articles on how to clean the glass on a toaster oven? Get expert tips and tricks to keep your toaster oven sparkling and efficient.
(Many of the links in this article redirect to a specific reviewed product. Your purchase of these products through affiliate links helps to generate commission for Storables.com, at no extra cost. Learn more)
Introduction
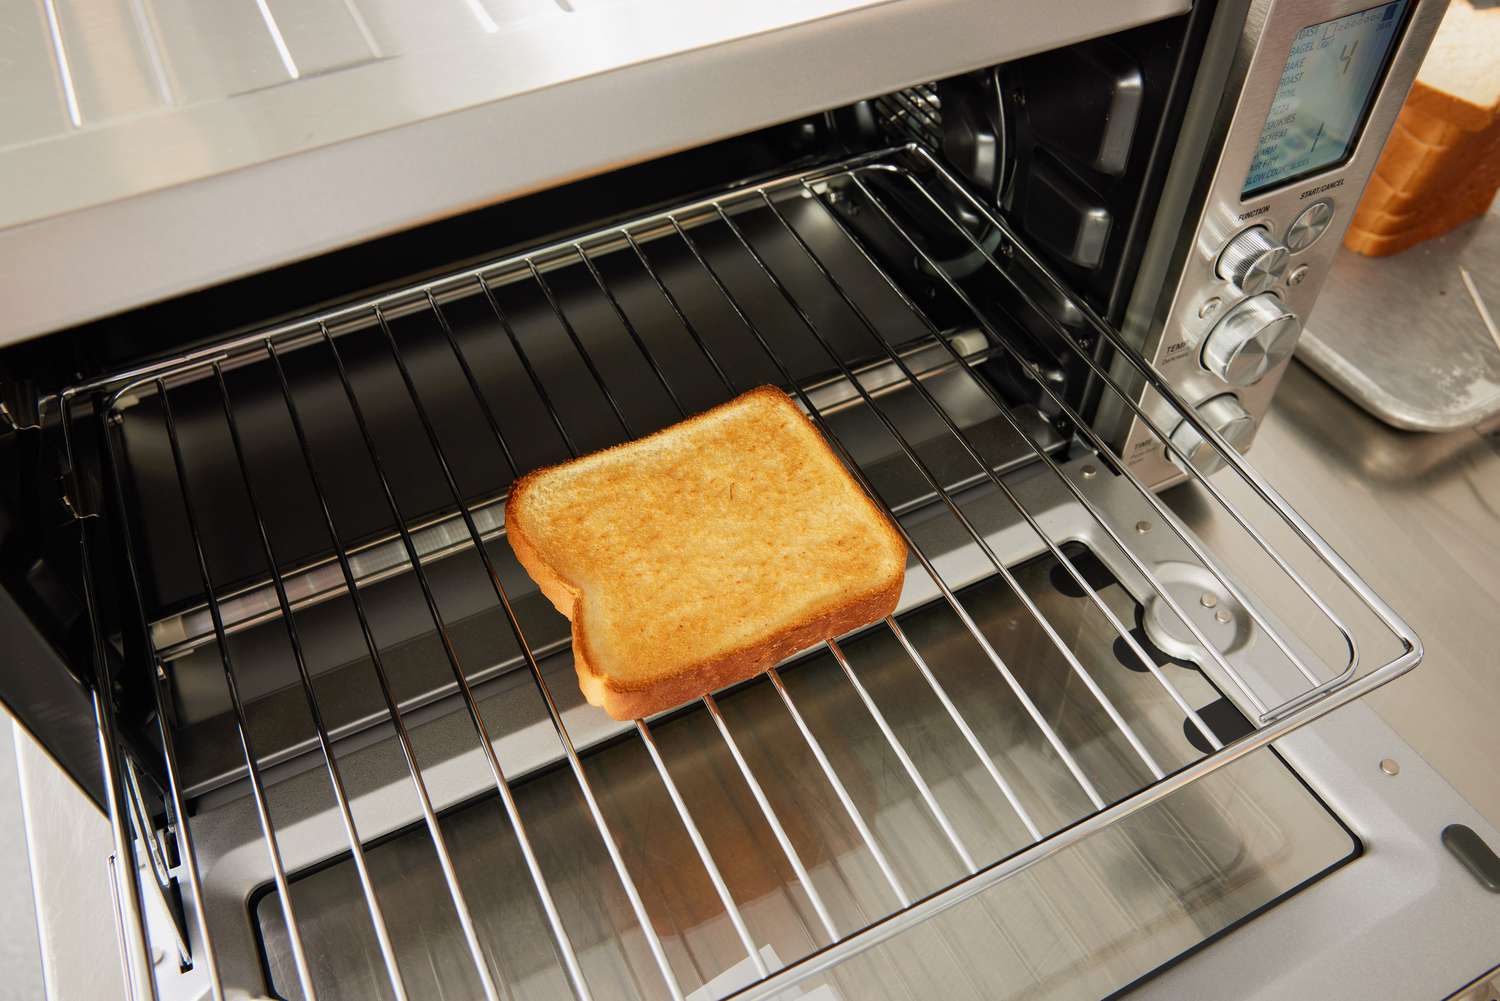
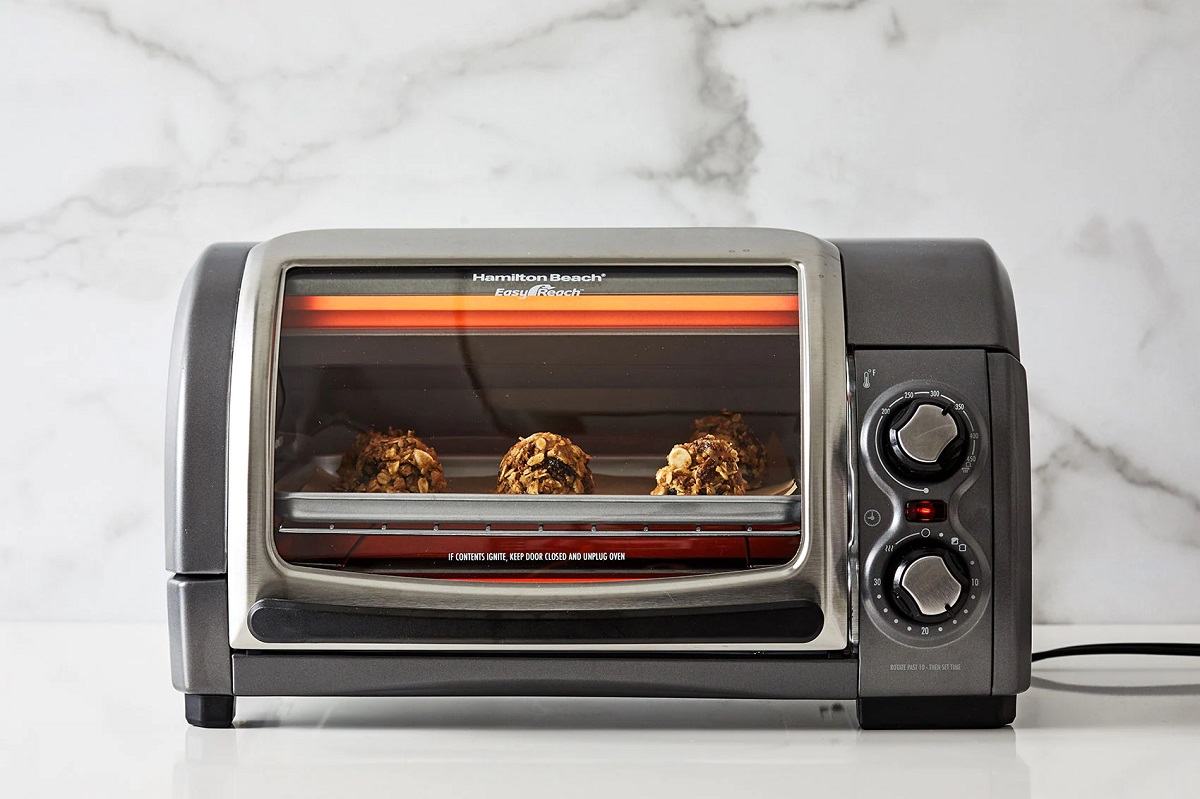
Welcome to the comprehensive guide on how to clean the glass on a toaster oven. Toasters ovens have become a staple in many kitchens due to their versatility and convenience. However, over time, the glass on the door of the toaster oven can become dirty and covered in grease, making it difficult to see the food inside. Regular cleaning of the glass not only improves the aesthetic appeal of the appliance but also ensures better visibility while monitoring the cooking process.
In this article, we will walk you through the step-by-step process of cleaning the glass on a toaster oven. We will also provide some safety precautions to keep in mind before and during the cleaning process. So, grab your cleaning supplies and let’s get started!
Key Takeaways:
- Regularly cleaning the glass on your toaster oven not only improves its aesthetic appeal but also ensures clear visibility while monitoring the cooking process, contributing to optimal cooking performance and longevity of the appliance.
- Prioritize safety by following the recommended precautions, using gentle cleaning methods, and incorporating regular cleaning into your kitchen routine to maintain the functionality and appearance of your toaster oven.
Read more: How To Clean a Toaster Oven Safely at Home
Safety Precautions
Before you begin cleaning the glass on your toaster oven, it’s important to prioritize safety. Here are some safety precautions to keep in mind:
- Ensure that the toaster oven is unplugged before you start the cleaning process. This reduces the risk of electric shock.
- Allow the toaster oven to cool down completely before attempting to clean the glass. The interior and exterior may still be hot, which can cause burns.
- Wear protective gloves to protect your hands from any chemicals or sharp edges.
- Read the manufacturer’s instructions or user manual for any specific cleaning recommendations or warnings.
- Avoid using abrasive cleaners or sharp objects that may scratch or damage the glass. Stick to gentle cleaning methods to preserve the quality of the glass.
- Work in a well-ventilated area to avoid inhaling any cleaning solution fumes.
By following these safety precautions, you can ensure a safe and effective cleaning process for the glass on your toaster oven. Now that you’ve taken the necessary precautions, let’s move on to the next step: gathering your supplies.
Gather Supplies
Before you begin the cleaning process, it’s important to gather all the necessary supplies. Here’s a list of items you’ll need:
- Mild dish soap or glass cleaner
- Warm water
- Non-abrasive sponge or microfiber cloth
- Cotton swabs
- Soft-bristle brush
- Vinegar (optional)
Make sure you have all these supplies within arm’s reach to make the cleaning process more efficient. Once you have everything ready, proceed to the next step: unplugging the toaster oven.
Unplug the Toaster Oven
Before you start cleaning the glass on your toaster oven, it’s important to ensure that it is unplugged from the power source. This is crucial for your safety and to prevent any accidental electric shock.
Verify that the toaster oven is completely turned off and disconnected from the power supply. This will help avoid any potential accidents while handling the appliance during the cleaning process.
Once you have confirmed that the toaster oven is unplugged, it is time to move on to the next step: removing the removable parts.
Remove Removable Parts
In order to clean the glass on a toaster oven effectively, it’s important to remove any removable parts that may obstruct your access to the glass. Here are the steps to follow:
- Refer to the toaster oven’s user manual to identify which parts are removable. The most common removable parts include the crumb tray and racks.
- Gently pull out the crumb tray located at the bottom of the toaster oven. Dispose of any accumulated crumbs or debris.
- If your toaster oven has removable racks, carefully take them out and place them in a sink or on a clean surface for cleaning later.
Removing these parts will make it easier to access the glass and clean it thoroughly. Now that the removable parts are out of the way, it’s time to move on to cleaning the glass door.
Read more: How To Clean Grease Off Toaster Oven
Clean the Glass Door
Now that you have removed the removable parts, it’s time to focus on cleaning the glass door of the toaster oven. Follow these steps:
- Prepare a solution of warm water and mild dish soap or use a glass cleaner. You can also mix equal parts of vinegar and water as a natural alternative.
- Dip a non-abrasive sponge or microfiber cloth into the cleaning solution. Wring out any excess liquid to avoid dripping.
- Gently wipe the sponge or cloth over the glass door in a circular motion. Pay special attention to areas with stubborn stains or grease buildup.
- If there are any hardened food particles on the glass, use a soft-bristle brush or a cotton swab to gently scrub them away.
- Once you have thoroughly cleaned the glass door, use a clean, damp cloth to remove any remaining soap or cleaner residue.
Take care not to apply excessive pressure or use abrasive materials that may scratch the glass. Remember to always use gentle and controlled movements while cleaning.
Now that the glass door is clean, it’s time to move on to cleaning the interior glass of the toaster oven.
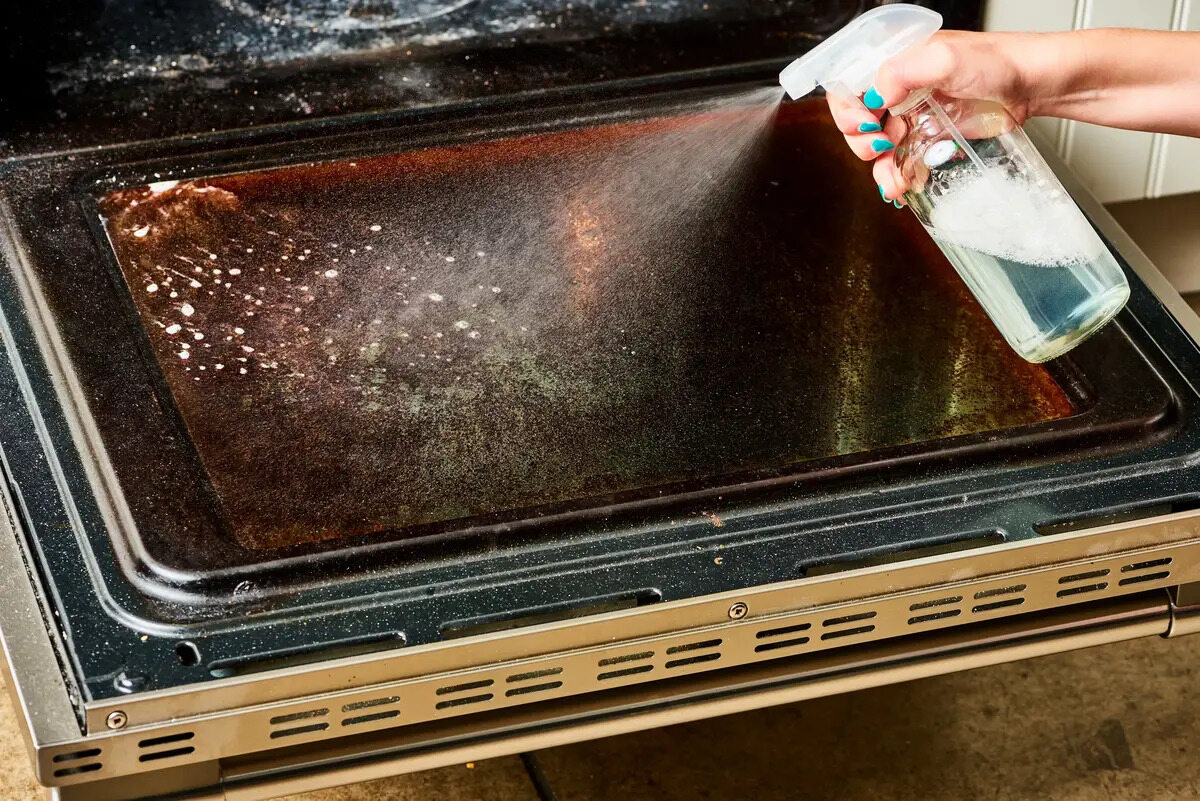
Use a mixture of equal parts water and vinegar to clean the glass on a toaster oven. Spray the solution onto the glass, let it sit for a few minutes, then wipe it clean with a microfiber cloth.
Clean the Interior Glass
Keeping the interior glass of your toaster oven clean is essential for maintaining its functionality and ensuring clear visibility while cooking. Follow these steps to clean the interior glass:
- Prepare a cleaning solution by mixing warm water with mild dish soap or using a glass cleaner.
- Dampen a non-abrasive sponge or microfiber cloth with the cleaning solution. Make sure to wring out any excess liquid.
- With gentle movements, wipe the sponge or cloth over the interior glass of the toaster oven. Pay attention to any areas with stubborn stains or residue.
- If there are any hardened food particles or grease, use a soft-bristle brush or a cotton swab to gently scrub them away.
- Rinse the sponge or cloth and wipe down the interior glass again to remove any cleaning solution or residue.
Remember to be cautious and avoid using excessive force or abrasive materials that may scratch the interior glass. Taking care of the interior glass will ensure the optimal performance of your toaster oven. Now it’s time to move on to cleaning the exterior glass.
Clean the Exterior Glass
While the interior glass is important for cooking visibility, the exterior glass of the toaster oven contributes to its overall appearance. Here are the steps to clean the exterior glass:
- Dampen a non-abrasive sponge or microfiber cloth with warm water and mild dish soap or your preferred glass cleaner.
- Gently wipe the sponge or cloth over the exterior glass of the toaster oven. Be sure to cover all areas, including the sides and top.
- If there are any stains or tough grime, apply a bit more pressure while cleaning. However, be cautious not to scratch the glass.
- If necessary, use a soft-bristle brush or cotton swab to reach tight corners or crevices around the exterior glass.
- Rinse the sponge or cloth and go over the exterior glass again to remove any soapy residue or cleaner.
After cleaning the exterior glass, take a moment to appreciate the renewed clarity and shine it brings to your toaster oven. Now, let’s move on to cleaning the control panel.
Clean the Control Panel
The control panel of your toaster oven not only houses the settings and buttons but also contributes to the overall functionality and aesthetic appeal. Here’s how you can clean the control panel:
- First, ensure that the toaster oven is unplugged to avoid any accidental operations or electric shocks.
- Dampen a soft cloth with warm water and mild dish soap. Wring out any excess liquid to avoid dripping.
- Gently wipe the cloth over the control panel, paying attention to each button, dial, or display.
- If there are any stubborn stains or residue, use a cotton swab dipped in the cleaning solution to clean those specific areas.
- Wipe down the control panel once again with a clean, damp cloth to remove any residual soap or cleaner.
Take care not to press any buttons while wiping the control panel to avoid accidental operations. Cleaning the control panel regularly will ensure smooth functioning and easy readability of the settings. Once you’ve cleaned the control panel, it’s time to move on to the next step: replacing the removable parts.
Read more: What To Use To Clean Oven Glass
Replace Removable Parts
Now that you have cleaned the glass and control panel of your toaster oven, it’s time to reassemble the appliance by replacing the removable parts. Follow these steps:
- Ensure that all the removable parts, such as the crumb tray and racks, are clean and dry.
- Carefully slide the crumb tray back into its designated slot at the bottom of the toaster oven.
- If your toaster oven has removable racks, align them with the grooves or brackets inside the oven and slide them back into place.
- Make sure that all the parts are securely in position and that they fit properly to avoid any malfunctions.
By properly replacing the removable parts, your toaster oven will be ready to use again with restored functionality. Now that you’ve completed this step, it’s crucial to plug in the toaster oven, but before doing so, let’s recap what we’ve covered so far.
Plug in the Toaster Oven
Now that you have completed the cleaning process and reassembled your toaster oven, it’s time to plug it back in. Follow these steps:
- Ensure that the toaster oven is in a safe, stable position on a heat-resistant surface.
- Check that the power cord is in good condition and free from any damage before plugging it into a functioning electrical outlet.
- Make sure the power outlet is compatible with the voltage requirements of your toaster oven.
- Insert the plug into the outlet firmly, ensuring that it is connected securely.
- Double-check that the toaster oven is turned off to avoid any accidental operations.
Once you have plugged in the toaster oven, you can now enjoy its clean and clear glass, allowing you to monitor your food while it cooks. Keep in mind that regular cleaning and maintenance will help prolong the life of your toaster oven and ensure optimal performance.
Before we conclude, let’s do a quick recap of the cleaning process and the importance of cleaning the glass on a toaster oven.
Conclusion
Cleaning the glass on a toaster oven is an essential part of its maintenance and ensures clear visibility while cooking. By following the step-by-step process outlined in this guide, you can effectively clean the glass and restore the aesthetic appeal of your appliance.
Remember to prioritize safety by unplugging the toaster oven and allowing it to cool down before starting the cleaning process. Use mild dish soap, glass cleaner, or a mixture of vinegar and water to clean the glass. Be gentle and avoid using abrasive materials to prevent scratching.
In addition to cleaning the glass, don’t forget to clean the interior glass, the exterior glass, and the control panel of your toaster oven. By regularly cleaning these areas, you can maintain the functionality and appearance of your appliance.
Lastly, reassemble the toaster oven by replacing the removable parts and carefully plug it back in once you are done cleaning. By following these steps and incorporating regular cleaning into your kitchen routine, you can extend the lifespan of your toaster oven and enjoy optimal cooking performance.
So, roll up your sleeves, gather your cleaning supplies, and give your toaster oven’s glass the care and attention it deserves. Happy cleaning!
Frequently Asked Questions about How To Clean The Glass On A Toaster Oven
Was this page helpful?
At Storables.com, we guarantee accurate and reliable information. Our content, validated by Expert Board Contributors, is crafted following stringent Editorial Policies. We're committed to providing you with well-researched, expert-backed insights for all your informational needs.


0 thoughts on “How To Clean The Glass On A Toaster Oven”