Home>Home Maintenance>How To Clean a Toaster Oven Safely at Home

Home Maintenance
How To Clean a Toaster Oven Safely at Home
Modified: December 6, 2023
Learning how to clean a toaster oven properly can help avoid kitchen accidents at home. Discover some tips and tricks in cleaning a toaster oven here.
(Many of the links in this article redirect to a specific reviewed product. Your purchase of these products through affiliate links helps to generate commission for Storables.com, at no extra cost. Learn more)
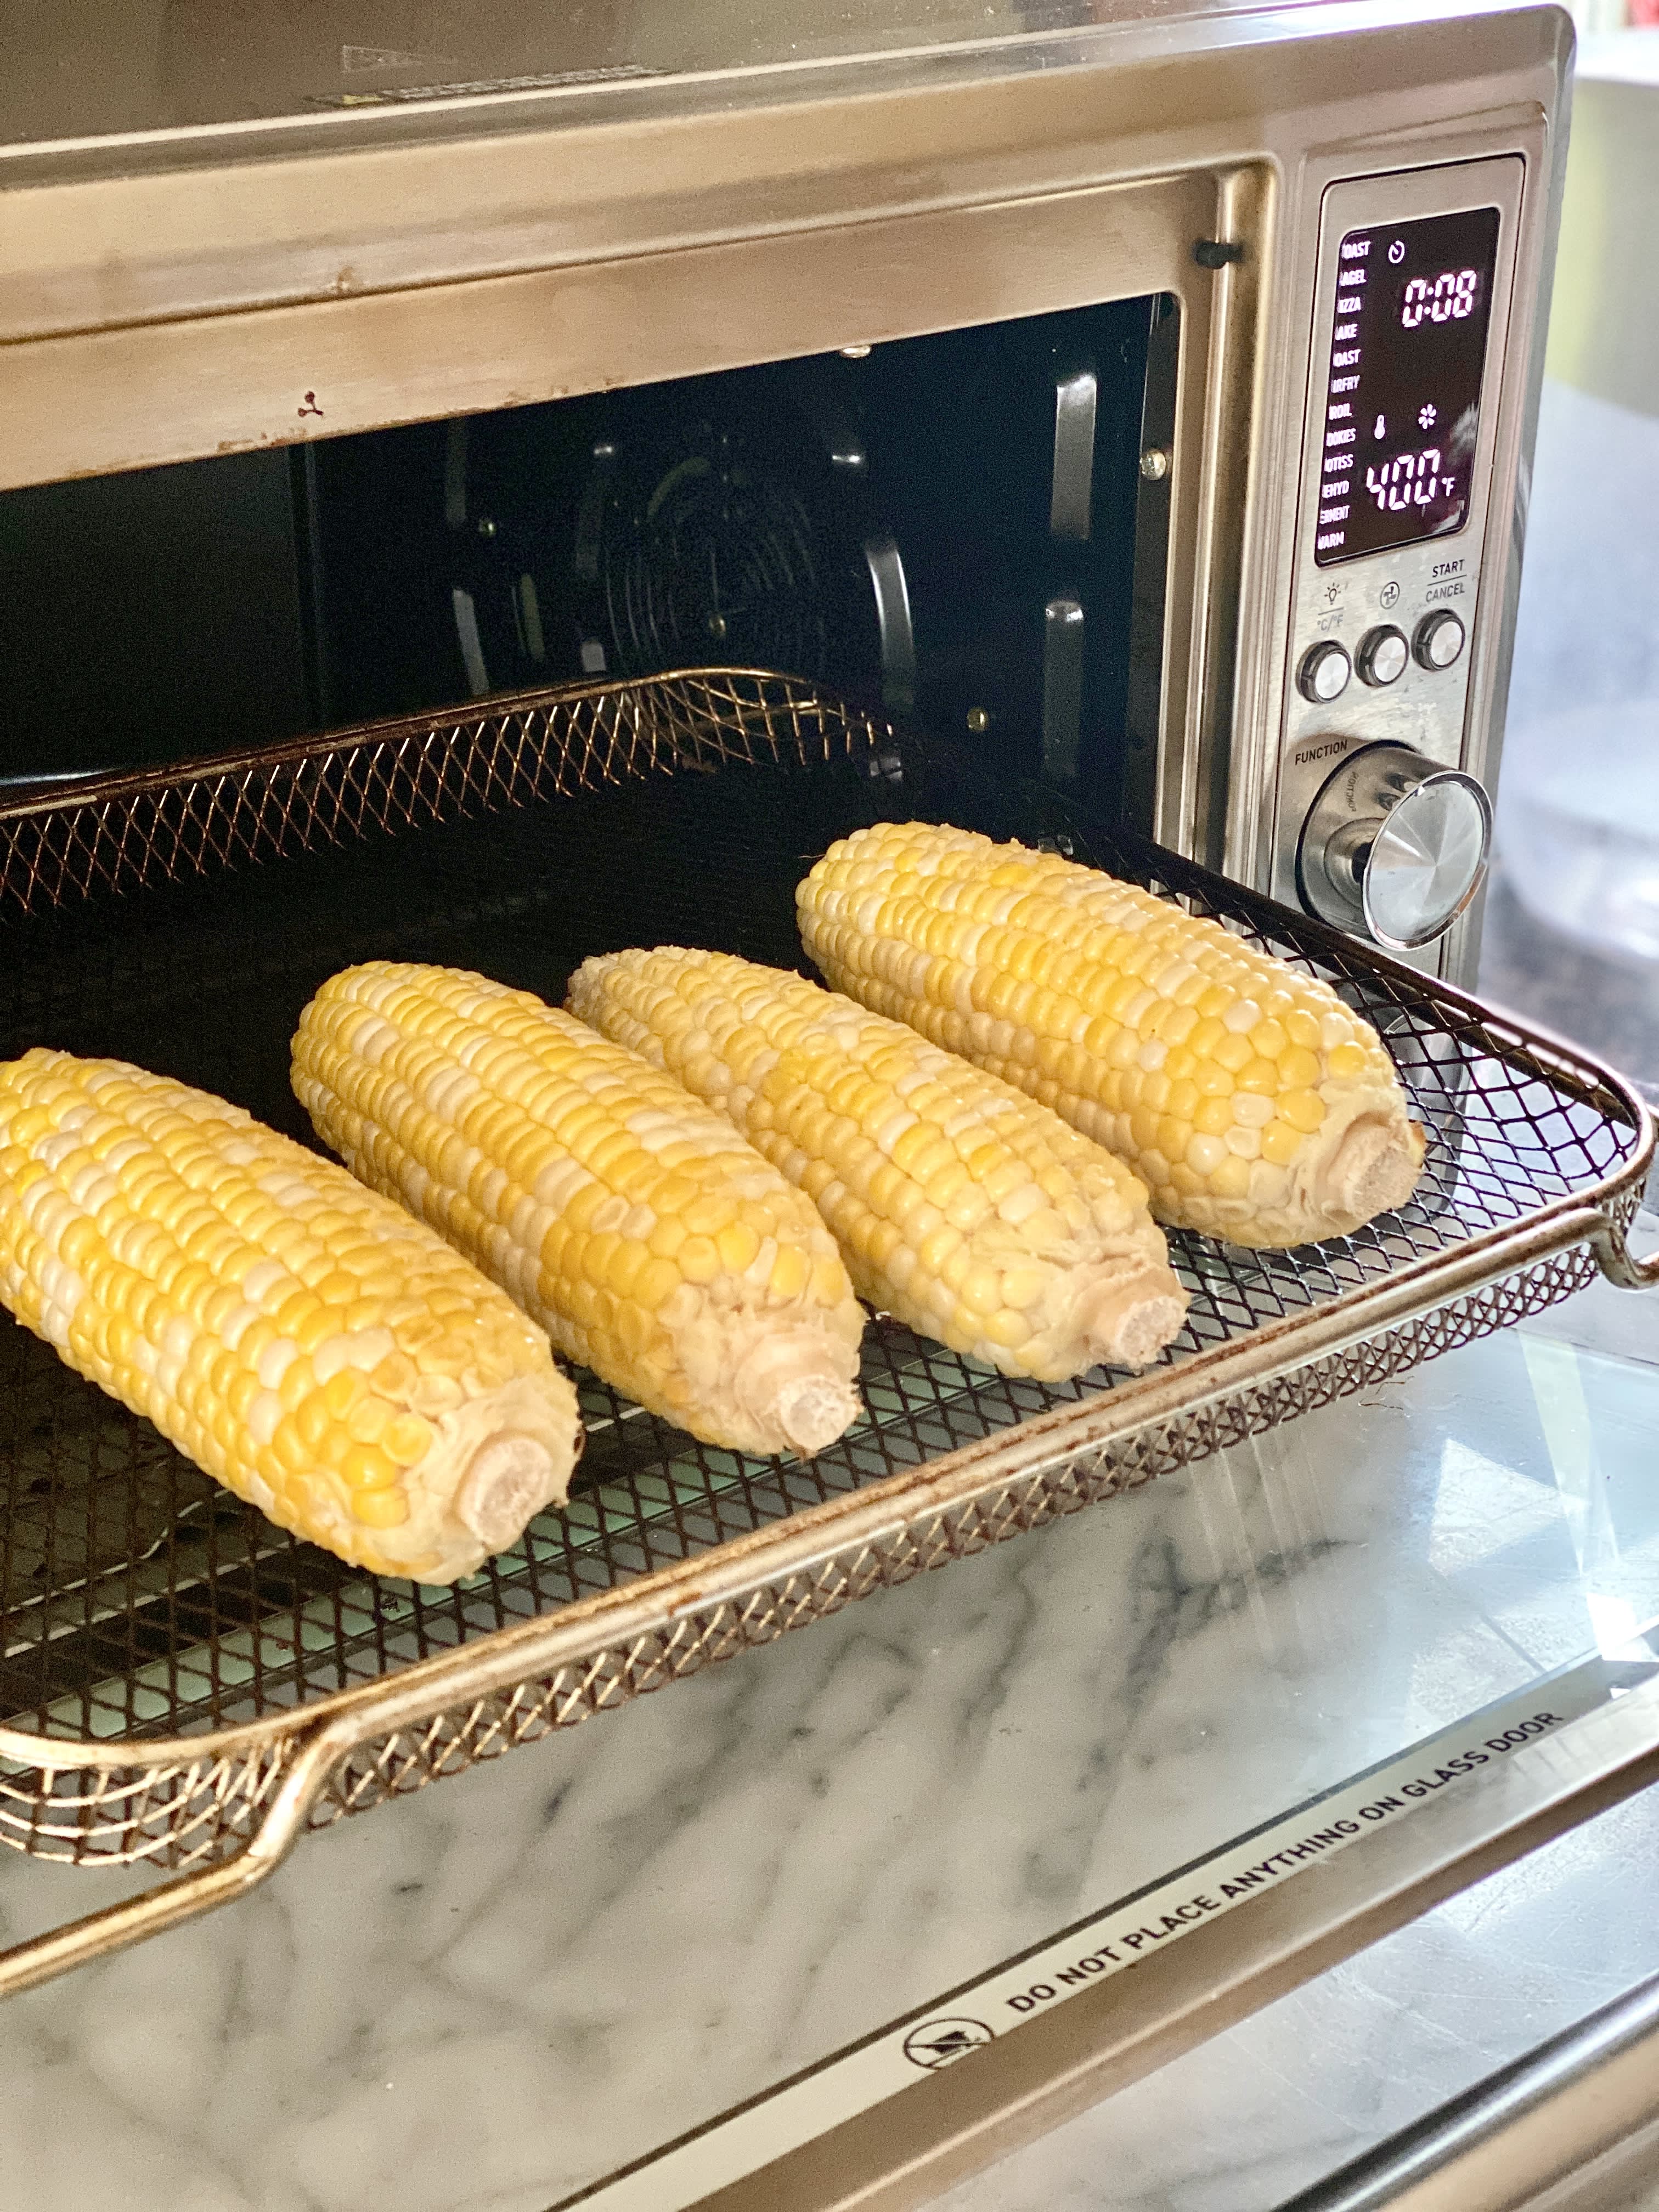
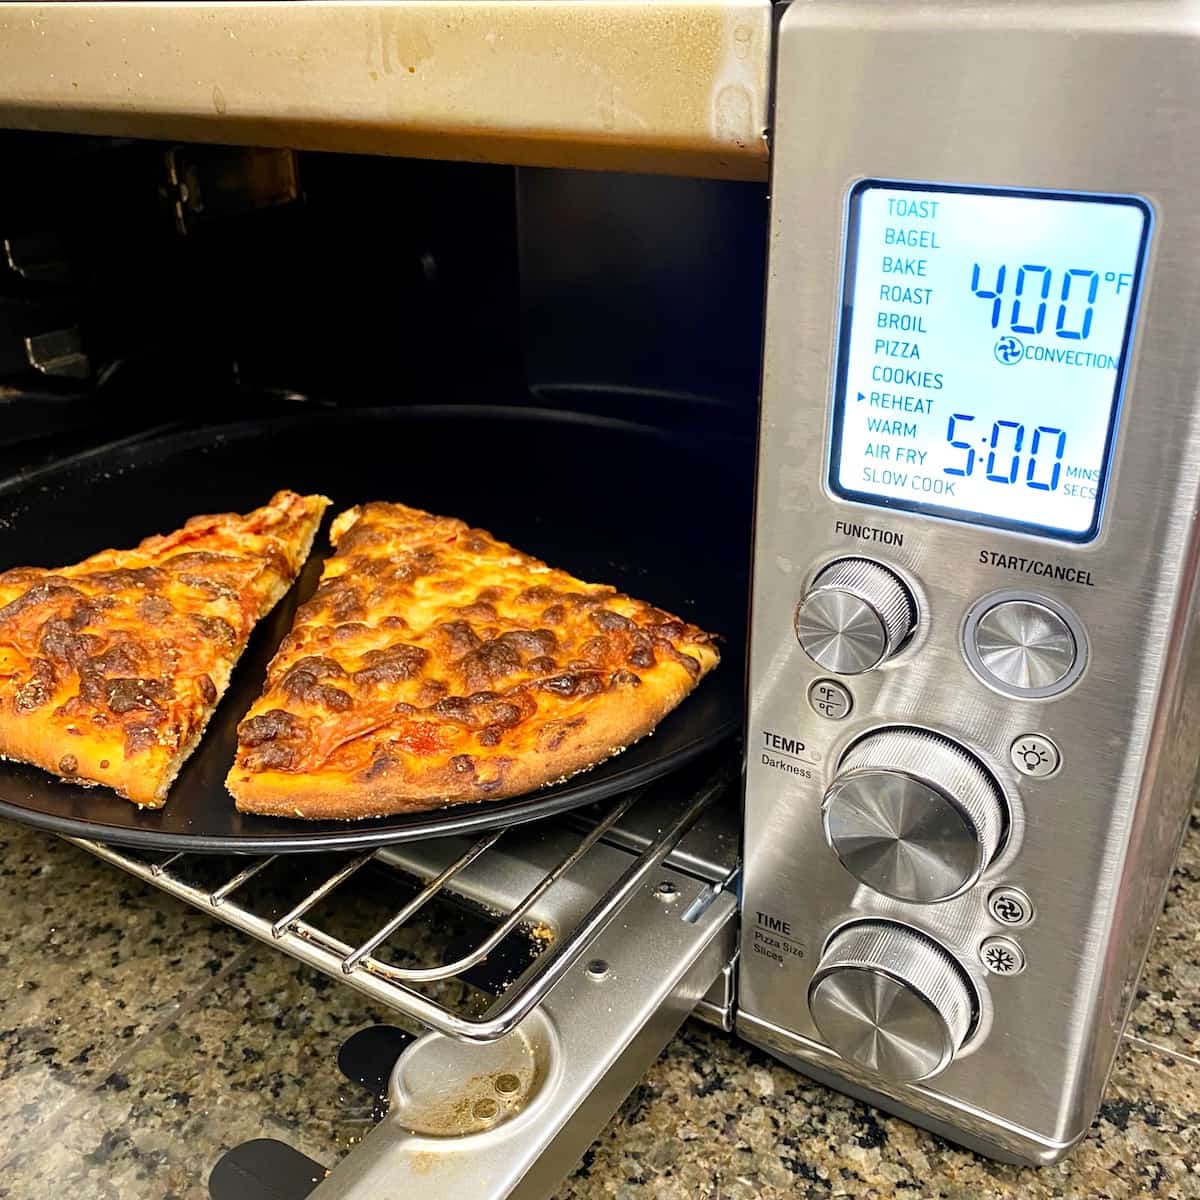
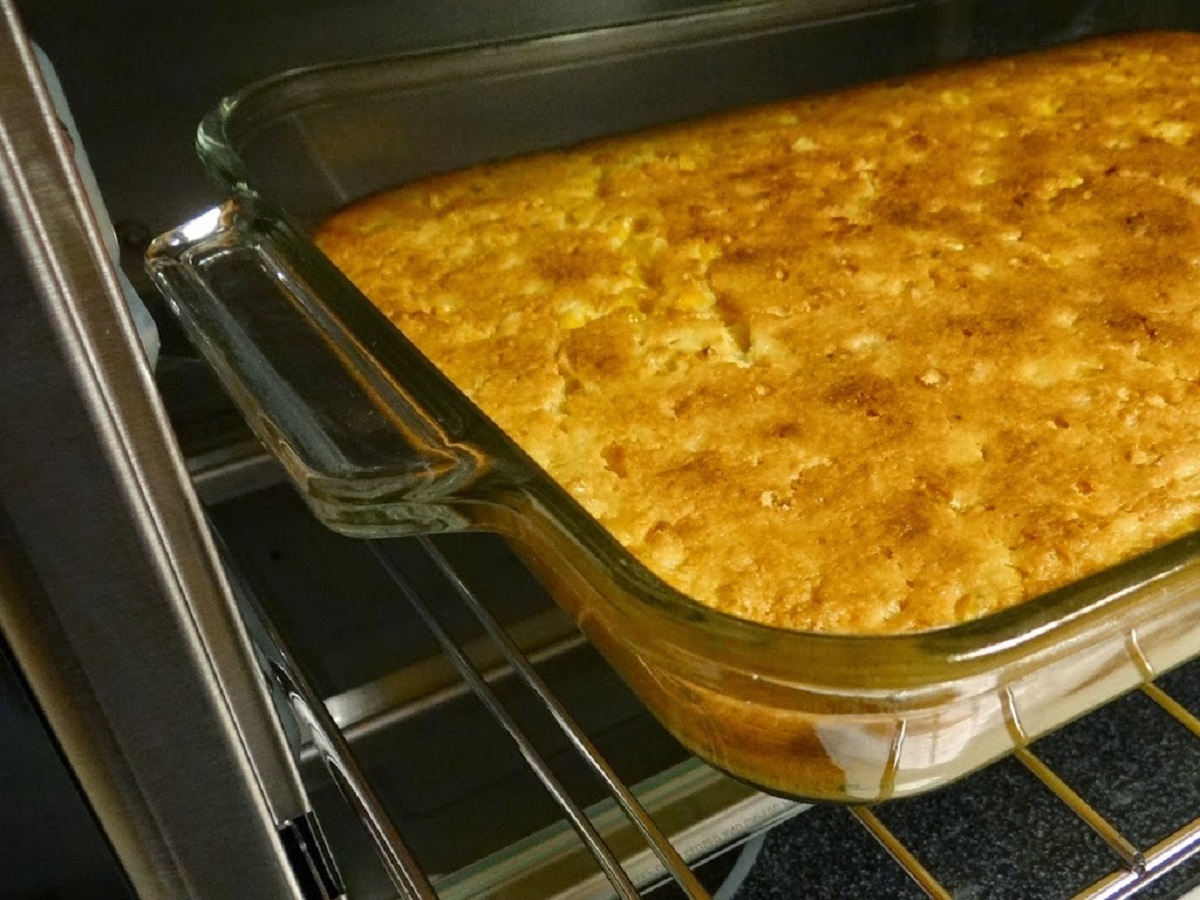
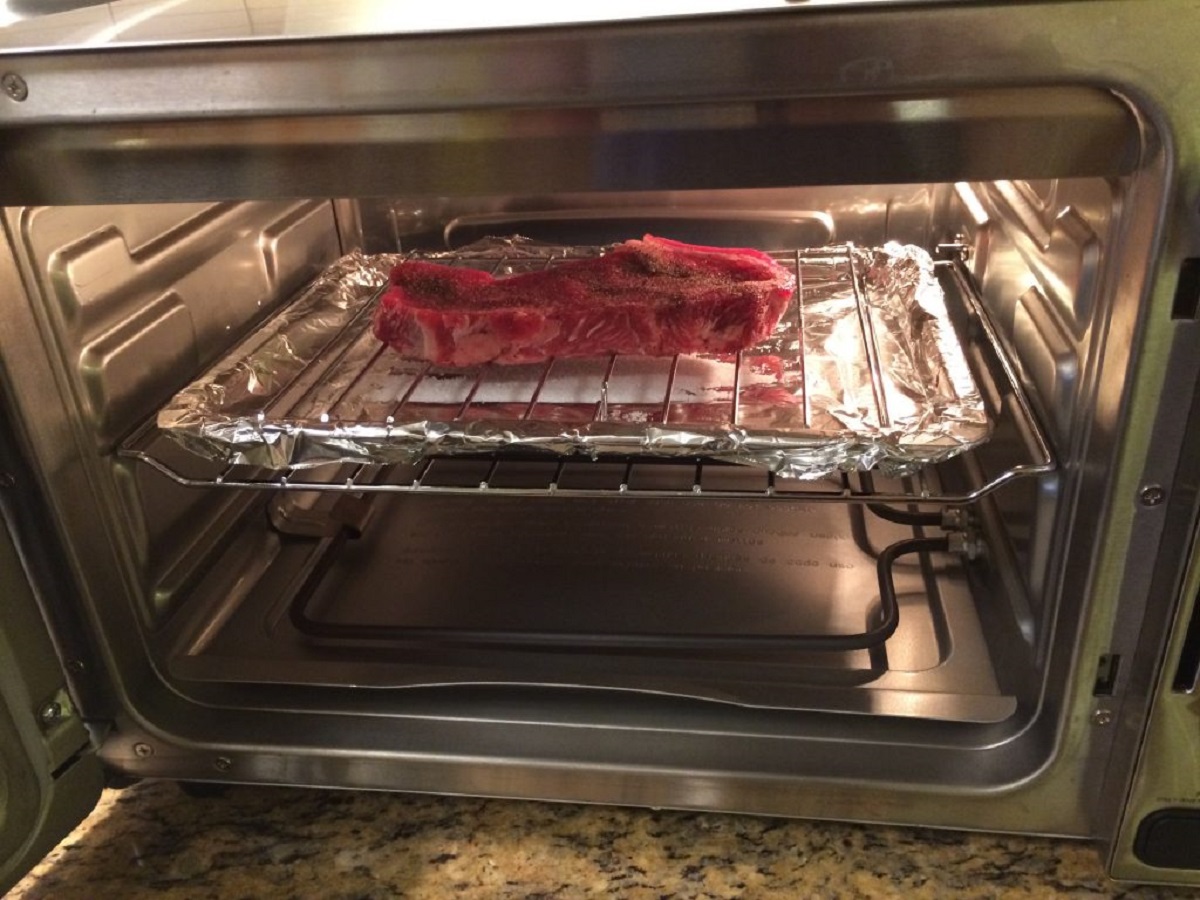
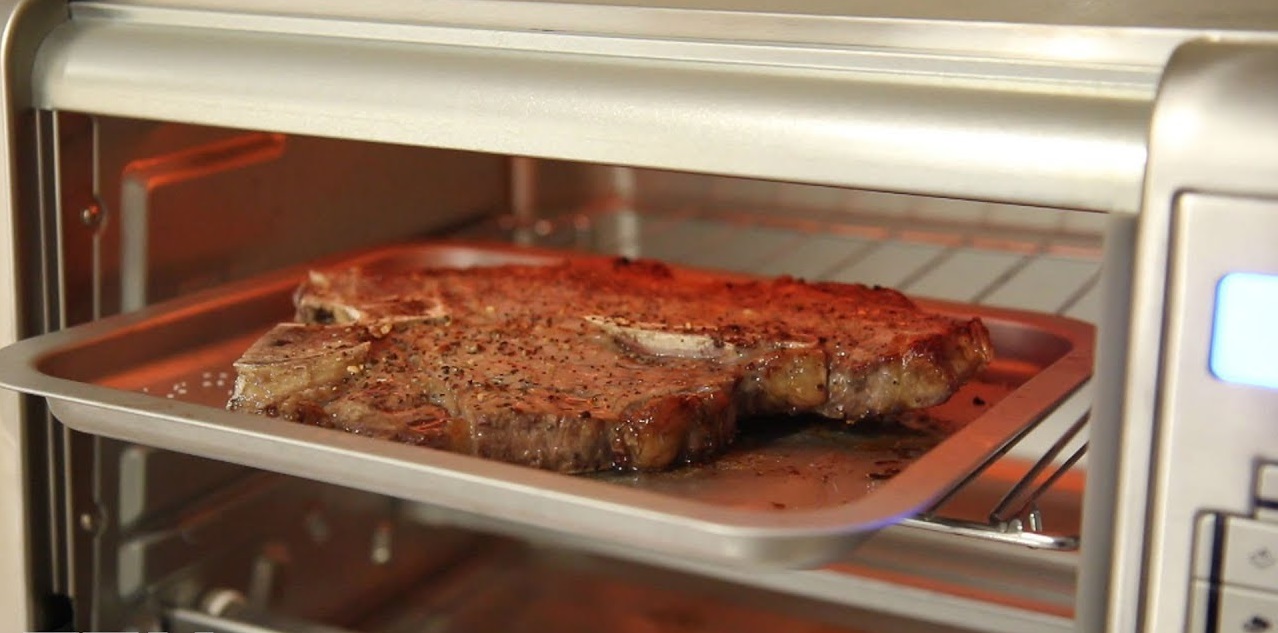
Toaster ovens are versatile kitchen appliances. You can use it to roast a whole chicken, toast bread, bake pastries, make pizza, and reheat food! Because of its wide range of uses, most of us would use a toaster oven almost every day. This causes the oil, grease, and food splatters to build up inside. If yours is already filthy, don’t worry! We prepared an in-depth guide on how to clean a toaster at home. Keep on reading to learn how.
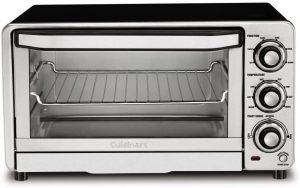
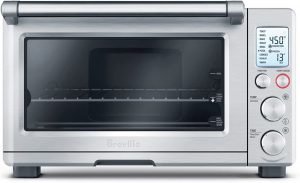
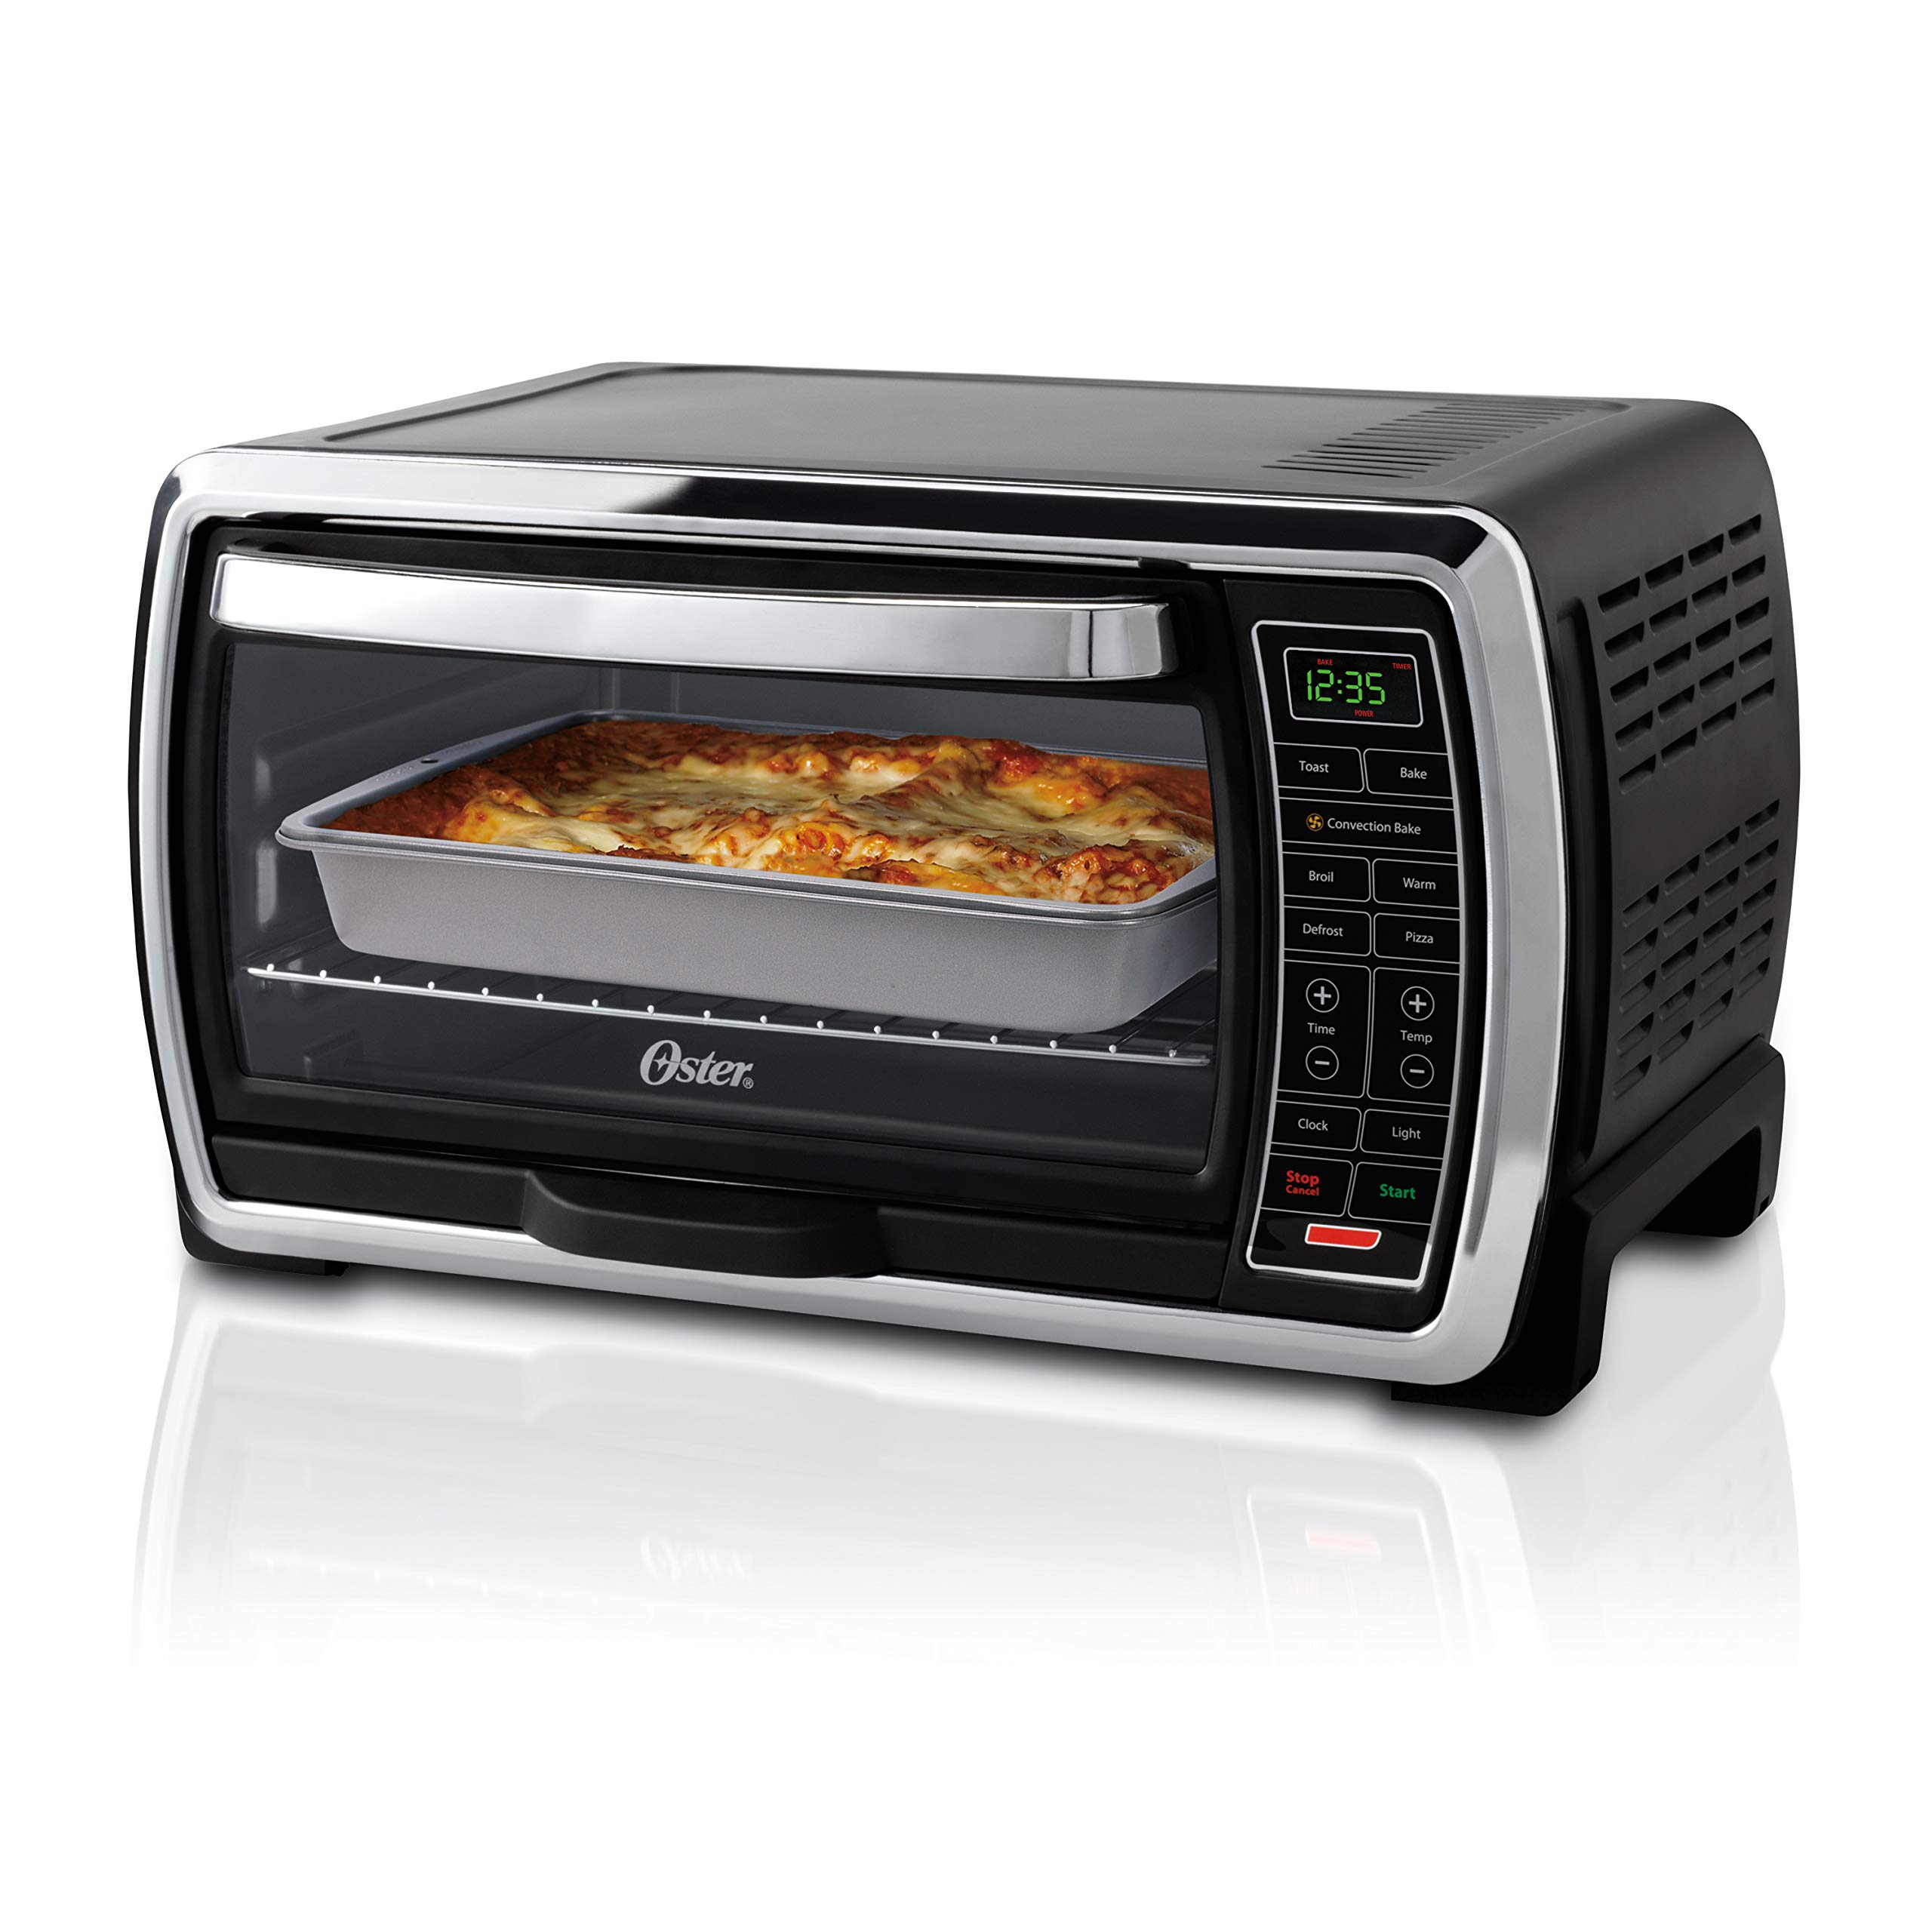
Best Toaster Ovens

Read more: How To Clean The Glass On A Toaster Oven
How to Clean a Toaster Oven: Deep Cleaning 101
Not all of us have the time to clean our toaster oven. However, leaving it dirty can affect its performance and cause kitchen hazards. We will elaborate more on the importance of maintaining this useful appliance later, but for now, here is a detailed guide on how to deep clean a toaster oven.
Step 1: Make Sure Your Toaster Oven is Unplugged!
This step is a no-brainer, but it is vital to emphasize this because electrocution is a serious hazard. Toaster ovens are just like other kitchen appliances that use electric power. If a person cleans the toaster oven with a damp cloth while it is still plugged in, he won’t just experience a quick zap. He can also get contact burns that damage the internal tissues of the skin. Worse, an electric shock can lead to a loss of consciousness and cardiac arrest.
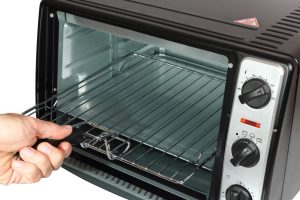
Step 2: Take Out the Metal Rack & Pan For Washing

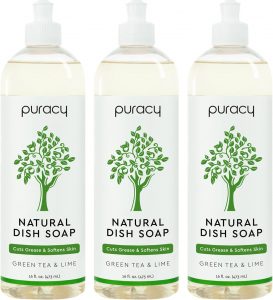
Cleaning your oven’s interior with the rack and pan inside can be difficult, so remove them first. Start with the metal pan and dump the leftover crumbs into the trash bin. Next, fill the sink with hot water and mild dish soap. Submerge your dirty pan and rack in this water. If the sink is not spacious enough, you may use a plastic storage bin as an alternative. Leave them to soak for about an hour to loosen up the baked-on grease. You can leave them overnight if the metal surface is too dirty.
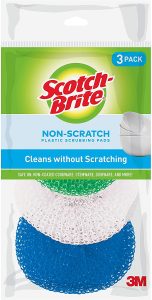
After soaking the rack and pan overnight, start scrubbing them with a plastic scouring pad to remove stubborn grime. Avoid using scourer sponges as they are coated with abrasive minerals that can leave scratches on metal pans and racks.
Step 3: Remove the Crumbs Inside


The logic behind this step is the same as having to sweep the floor first before mopping. The crumbs inside are just like the dust on the floor that will stick on the surface if you instantly wipe it with a damp cloth. So, make sure to remove the crumbs first by simply wiping them with a clean, dry cloth. Alternatively, you may use a pastry brush to remove the crumbs at the corners and other hard-to-reach areas.
This is optional, but you can also try lightly tapping the sides of the oven to remove the small crumbs hidden in the nooks and crannies of your toaster oven.
Read more: How To Clean Grease Off Toaster Oven
Step 4: Make a Natural Cleaning Solution to Clean the Inside Walls

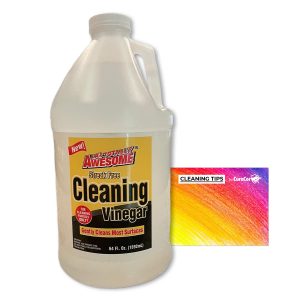

Cleaning the interior of a toaster oven is almost the same as cleaning a regular oven. The first step is to make a natural cleaning solution by simply mixing equal parts of vinegar and water in your spray bottle. Vinegar helps dissolve grime because of its high acid content, while hot water aids in melting grease and baked-on food. You can also add some dish soap as an extra cleaning agent. Alternatively, you can use store-bought non-toxic cleaners, but a DIY cleaner is safer because it is free from chemicals.
Next, grab a pair of rubber gloves, spray your natural cleaner on a dishcloth, and start wiping. You can also use a soft, dish sponge to wipe the interior. Be careful not to spray directly on the walls to avoid drenching the exposed heating elements. You can remove the heating elements, but not all models have this kind of design, so read the care and maintenance guide provided by the manufacturer first.
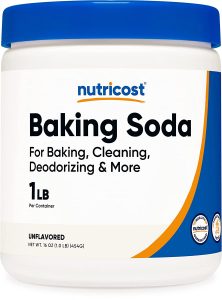
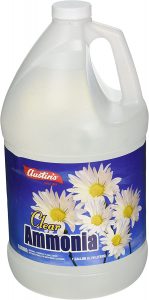
As for the stubborn grime, make a cleaning paste with three tablespoons of baking soda and one tablespoon of ammonia. Smear a dish sponge with the cleaning paste and start wiping the inside walls in a circular motion. Let it sit for a while, and then remove the paste with a damp cloth or a soft, bristled brush. We also recommend using a nylon scrubber if you still see some stuck-on dirt. Do the same process when cleaning the heating elements but skip the ammonia. Use warm water instead.
Step 5: Wipe the Glass Window

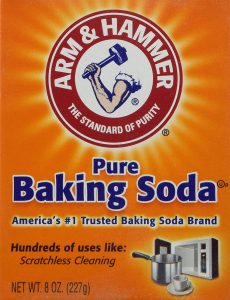

As for cleaning the glass window, we will use baking soda again, but instead of mixing it with ammonia, water will be used to create a cleaning paste. First, grab a clean dishcloth and smear a generous amount of cleaning paste. Wipe the glass and let the baking soda sit for a couple of hours. After that, use a clean dishcloth to wipe the baking soda off. For stubborn stains, dampen a magic eraser and gently scrape on the glassy surface.
Step 6: Proceed to Clean the Exterior
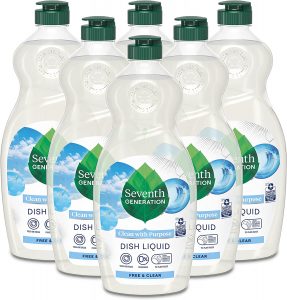


Cleaning the exterior of a toaster oven is easier than the interior. You just have to grab a dishcloth and dampen it with warm water and dishwashing soap. Use this to wipe the outside of the toaster oven. You can also use a soft, bristled brush to clean and reach into the nooks and crannies. Next, get a microfiber cloth to buff dry your toaster oven. Once done, put back the metal rack and pan.
Importance of Cleaning Your Toaster Oven
After learning how to clean a toaster oven, most likely you will feel overwhelmed knowing that it takes multiple steps to finish the task. Yes, it requires time and effort, but cleaning is important to keep the toaster oven efficient. If that’s not motivation enough, here are some other benefits:
Read more: How To Use A Toaster Oven
Avoids Unpleasant Food Odors
Food will have a burnt smell if the toaster oven is dirty. This is because when food is cooked in a toaster oven, oil and grease will drip on the heating elements, causing them to produce smoke. Not cleaning the toaster oven can also cause leftover food crumbs to build up over time. This can result in cross-contamination, causing the food to taste and smell bad after reheating or cooking.
Increases the Lifespan of Your Toaster Oven
Most modern toaster ovens typically last for five to eight years. However, just like other kitchen appliances, they can break easily if the interior is clogged with dirt and grease. This also results in uneven toasting and cooking. So, make the most of a toaster oven and increase its lifespan by regularly cleaning it!
Improves Energy Efficiency
Toaster ovens are one of the most energy-efficient kitchen appliances. Since they have a compact design, they consume less energy than conventional electric ovens. Make sure to keep the toaster oven clean to improve its energy efficiency. This way, you can save a lot on your monthly power bill.
Care and Maintenance Tips for Toaster Ovens
Knowing how to clean a toaster oven is not enough. You should also know some maintenance tips to ensure a safe and efficient toaster oven cleaning. Check out these tips below.
Read also: 9 Best Toaster Oven With Toaster For 2025
Allow Your Toaster Oven to Cool Before Cleaning
It is tempting to wipe off the crumbs right after using the toaster oven, but this can be dangerous as the inside walls are still hot. You risk getting burned from attempting to clean the interior. Although most burn injuries from touching hot surfaces are nothing serious and can be treated with a couple of home remedies, they can still cause pain. Moreover, burns can take days (or even) weeks to heal completely.
Wipe Off Spills and Crumbs After Use
As much as possible, avoid going out of the kitchen while waiting for the toaster oven to cool. This will ensure that you don’t forget to wipe off the spills and crumbs after use. Doing this simple task helps prevent grime build-up, keeping the toaster oven in tip-top condition.
Avoid Using a Dripping Wet Sponge/Cloth When Cleaning
Electric shocks can occur if the heating elements of a toaster oven get wet. This is why the sponge or dishcloth should not be dripping wet when cleaning. If you have to clean the heating elements, use a baking soda paste instead of a soapy sponge to remove the dirt and grease. After that, wipe off with a dry, microfiber cloth.
How Often Should You Clean Your Oven Toaster?
How often you clean your toaster oven depends on how often you use it. Ideally, you should clean it after every use, but since toaster ovens should be cooled first before cleaning, the task is often forgotten. If regular cleaning seems difficult, you may schedule a deep cleaning once a week (or month).
Read more: What Is A Toaster Oven Good For
Final Word
Most people think that cleaning a toaster oven is difficult. In reality, the process is simple and everything you need is already in your kitchen. And besides, keeping it clean is essential to prevent fire hazards and food contamination. So, learn how to clean a toaster oven safely at home with our guide above!
Was this page helpful?
At Storables.com, we guarantee accurate and reliable information. Our content, validated by Expert Board Contributors, is crafted following stringent Editorial Policies. We're committed to providing you with well-researched, expert-backed insights for all your informational needs.


0 thoughts on “How To Clean a Toaster Oven Safely at Home”