Home>Furniture & Design>Interior Design Trends>How To Clean Oven Glass
Interior Design Trends
How To Clean Oven Glass
Modified: March 19, 2024
Learn the best interior design trends for cleaning oven glass. Discover effective tips and tricks for a sparkling clean oven interior. Keep your kitchen looking stylish and spotless!
(Many of the links in this article redirect to a specific reviewed product. Your purchase of these products through affiliate links helps to generate commission for Storables.com, at no extra cost. Learn more)
Introduction
Cleaning the oven glass may seem like a daunting task, but with the right approach and a few simple supplies, you can restore the clarity and sparkle to your oven door. Over time, grease, food splatters, and baked-on residue can accumulate on the glass, obscuring the view into the oven and detracting from the overall cleanliness of your kitchen. However, by following a few straightforward steps, you can effectively remove the buildup and achieve a crystal-clear oven door.
Whether you're preparing for a special occasion, tackling spring cleaning, or simply striving to maintain a pristine kitchen, taking the time to clean your oven glass can make a noticeable difference in the appearance of your cooking space. A sparkling oven door not only enhances the aesthetic appeal of your kitchen but also allows you to easily monitor the progress of your culinary creations without opening the oven door.
In the following guide, we will walk you through the process of cleaning your oven glass, providing detailed instructions and helpful tips to ensure a successful outcome. By gathering the necessary supplies and following the step-by-step approach outlined in this article, you can effectively remove stubborn stains and grime, leaving your oven glass looking as good as new.
Embark on this cleaning journey with confidence, knowing that a clear and gleaming oven door awaits at the end of the process. Let's dive into the steps that will help you achieve a spotless oven glass, allowing you to cook and bake with a clear view and a sense of pride in your well-maintained kitchen.
Key Takeaways:
- Say goodbye to grime! Follow these steps to restore your oven glass to a sparkling, transparent state, enhancing the visual appeal and functionality of your kitchen.
- Achieve a spotless oven door with ease. By diligently following the detailed steps, you can cook and bake with a clear view and a sense of pride in your well-maintained kitchen.
Read more: What To Clean Oven Glass With
Step 1: Gather Your Supplies
Before embarking on the task of cleaning your oven glass, it's essential to gather the necessary supplies to ensure a thorough and effective cleaning process. Having the right tools and cleaning agents at your disposal will streamline the task and contribute to achieving optimal results. Here's a comprehensive list of supplies you'll need:
-
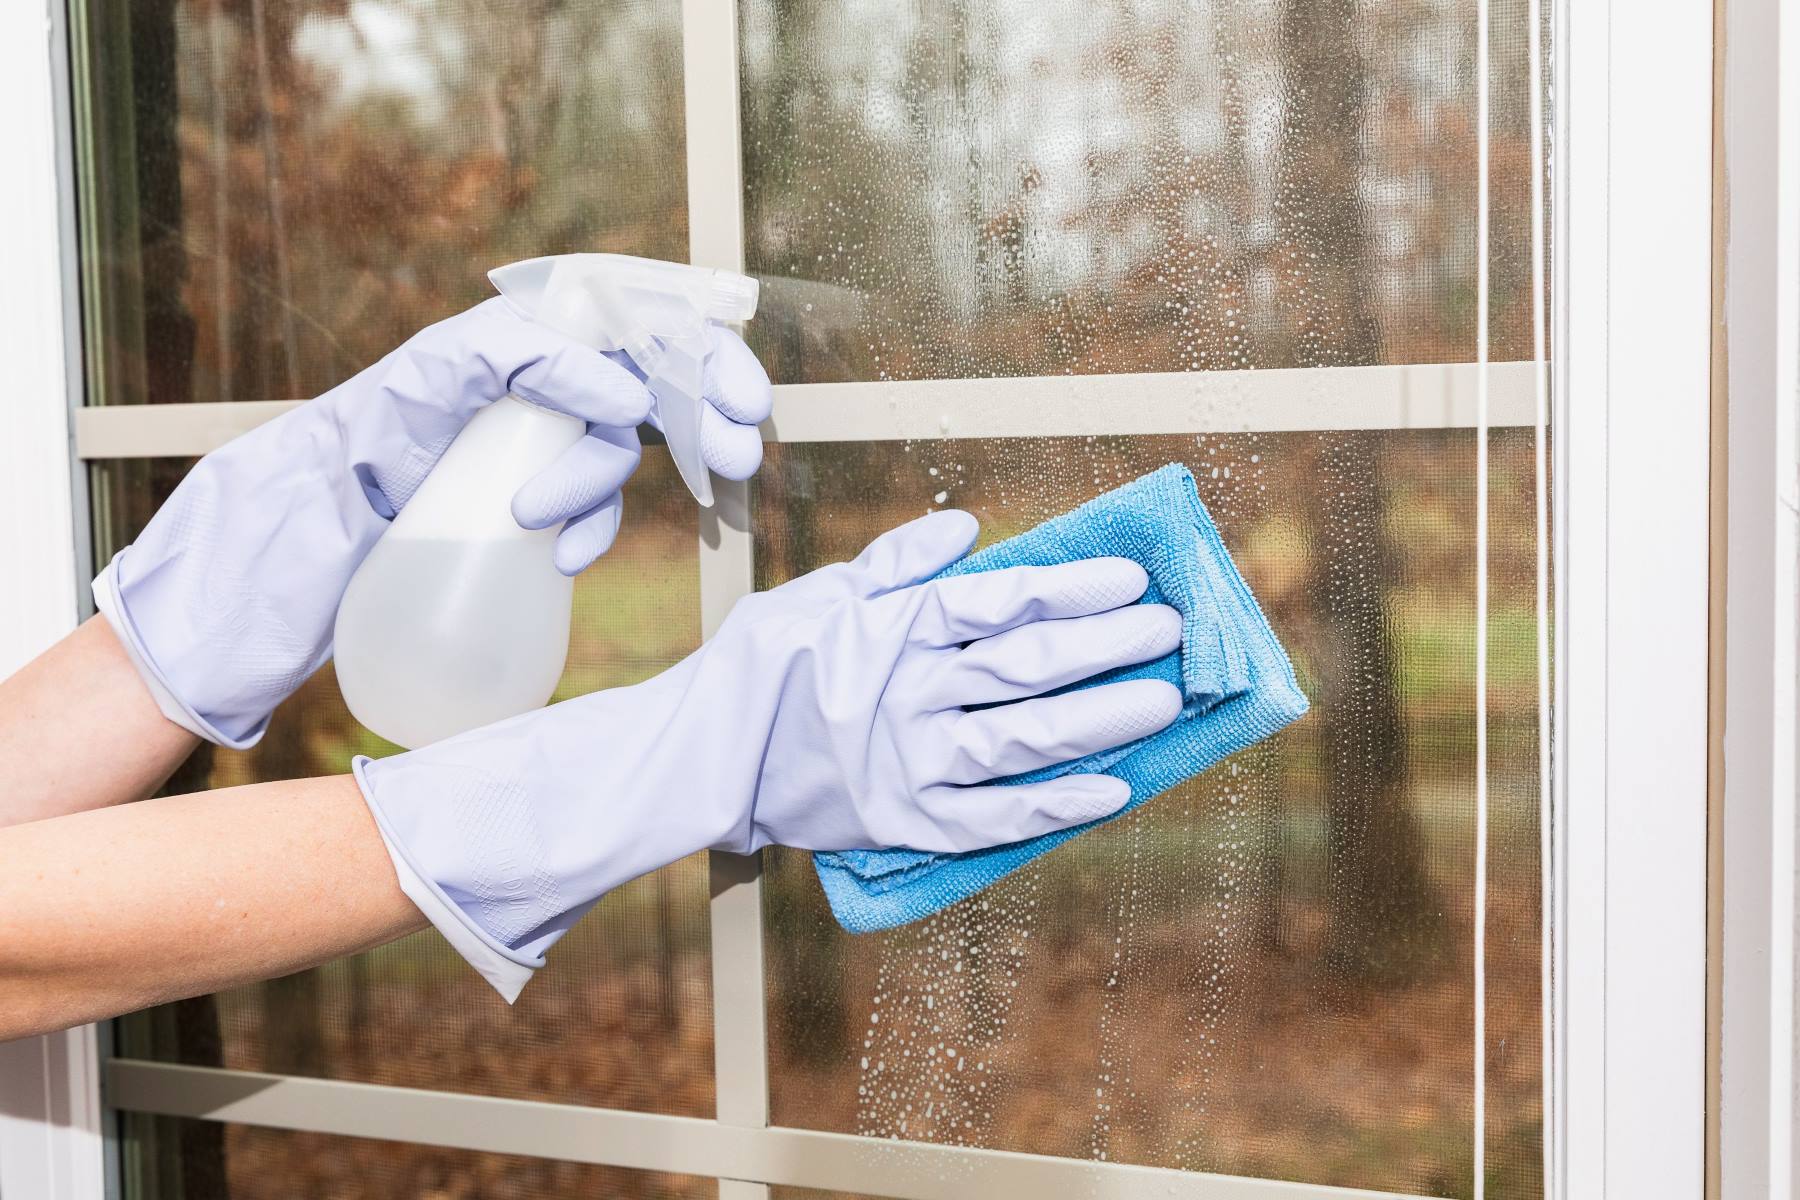
Protective Gear: Start by ensuring your safety with protective gear such as rubber gloves and safety goggles. These items will shield your hands and eyes from any cleaning solutions or debris, providing a layer of protection as you work on restoring the clarity of your oven glass.
-
Cleaning Solution: Select a suitable cleaning solution for tackling the grime and grease on your oven glass. You can opt for a commercial oven cleaner, a homemade solution using vinegar and baking soda, or a mild dish soap. Each option offers effective cleaning properties, so choose the one that aligns with your preferences and availability.
-
Vinegar and Baking Soda: If you prefer a natural and eco-friendly approach, vinegar and baking soda can be combined to create a powerful cleaning paste. This mixture is gentle yet effective in breaking down stubborn stains and residue on the oven glass.
-
Microfiber Cloth or Sponge: A soft microfiber cloth or sponge is essential for applying the cleaning solution and scrubbing the oven glass. These gentle yet absorbent materials help lift and remove grime without scratching the glass surface.
-
Razor Blade or Scraper: For particularly stubborn spots or baked-on residue, a razor blade or specialized glass scraper can be used to carefully remove the buildup without causing damage to the glass.
-
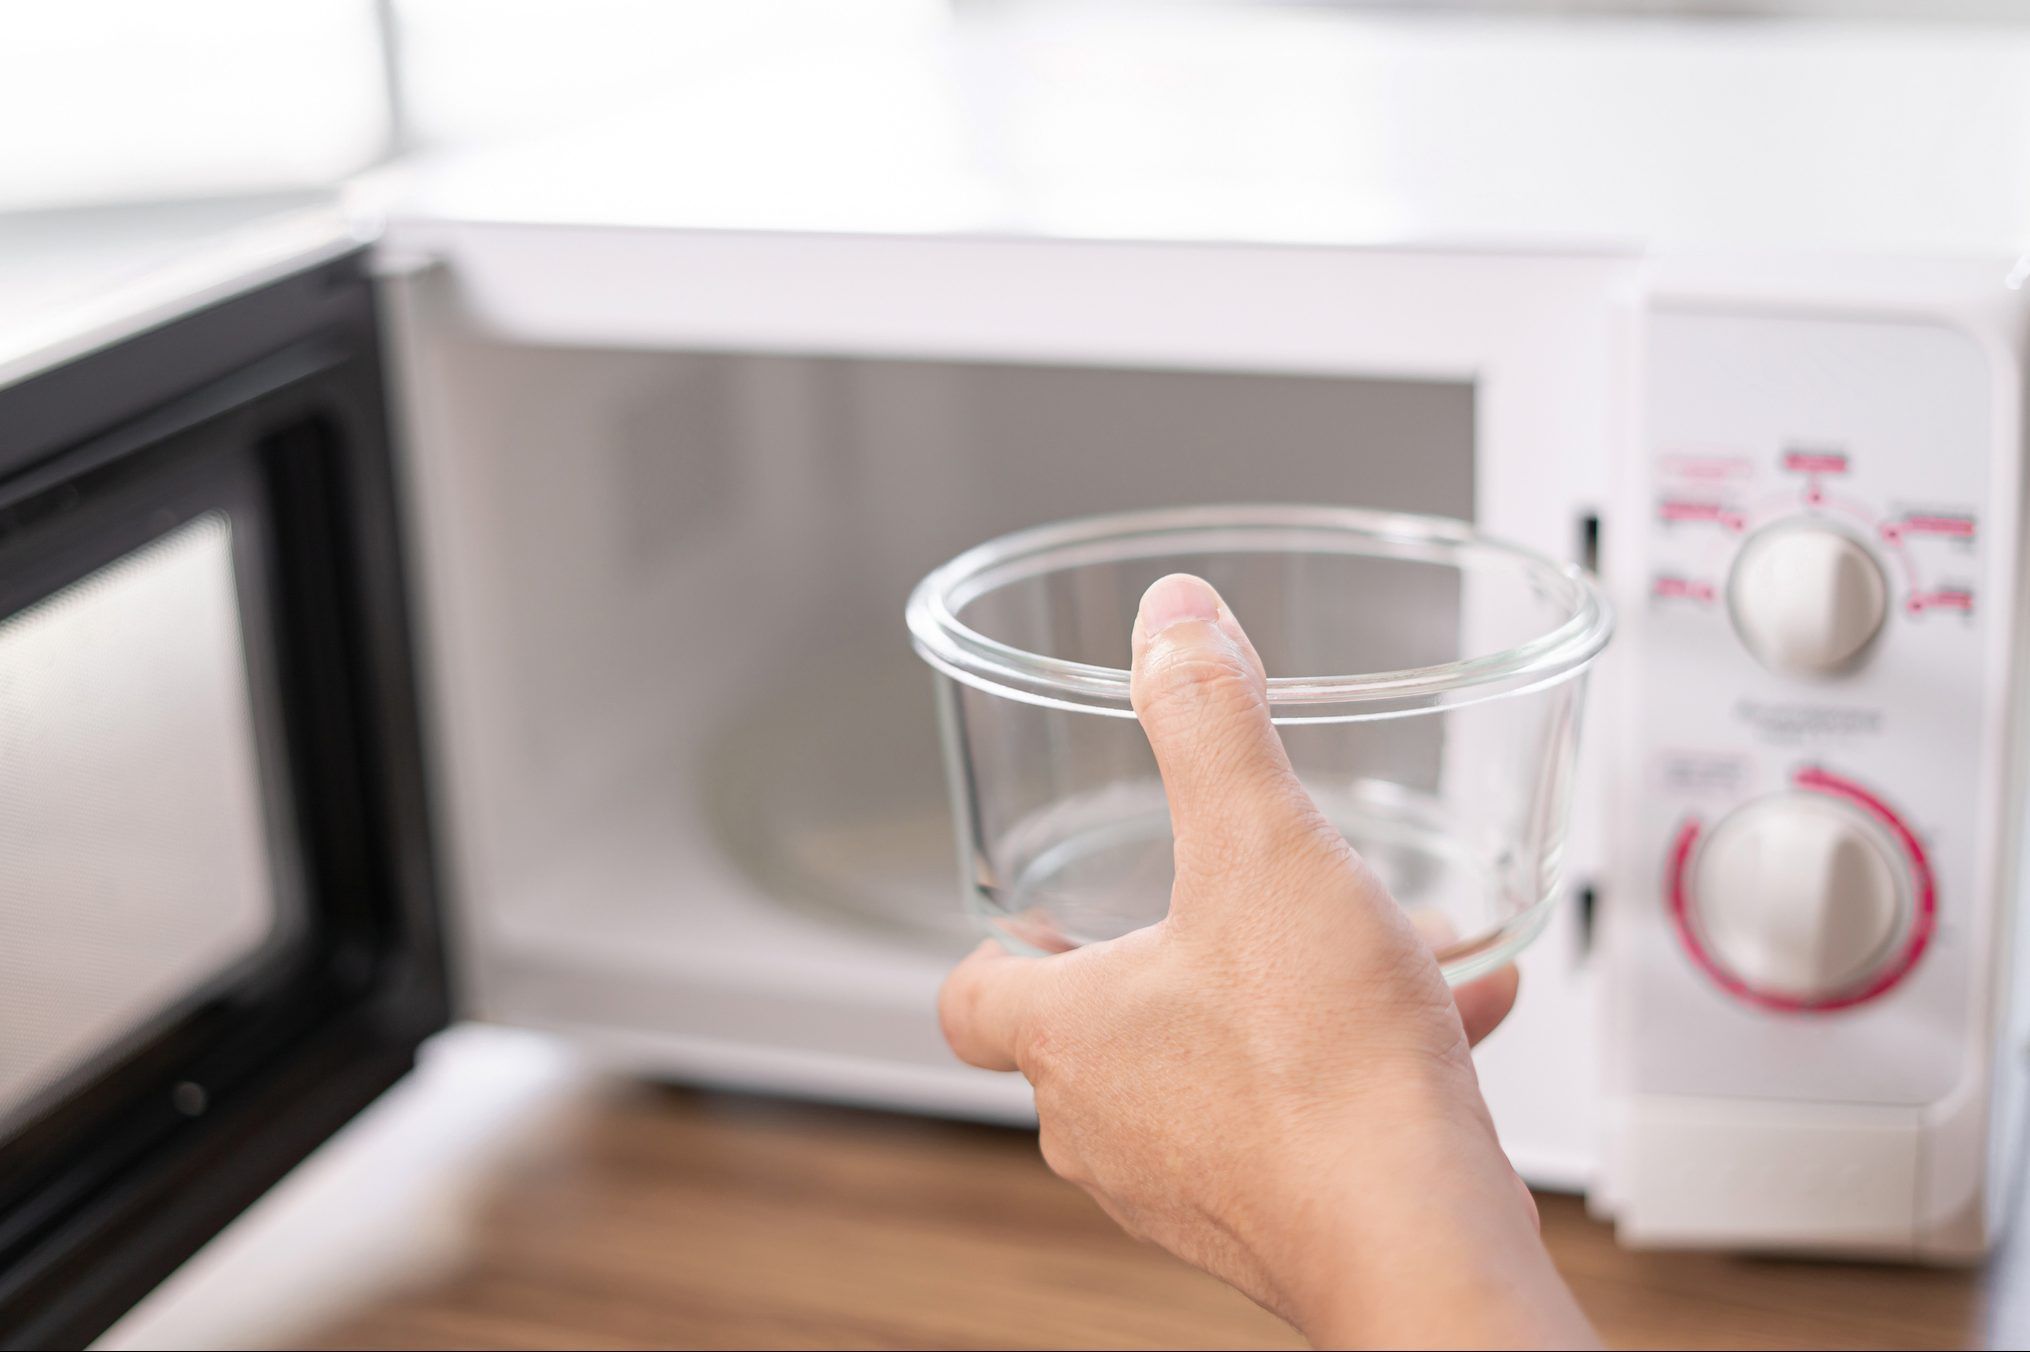
Warm Water: Have a bowl or bucket of warm water ready for rinsing the cleaning cloth or sponge during the process. This will ensure that you're working with a clean tool as you continue to clean the oven glass.
-
Dry Towel or Cloth: Once the cleaning process is complete, a dry towel or cloth will be needed to wipe down the oven glass, removing any remaining moisture and leaving behind a streak-free, polished surface.
By gathering these supplies before you begin, you'll be well-equipped to tackle the task of cleaning your oven glass with confidence and efficiency. With the right tools and cleaning agents at your disposal, you can proceed to the next steps, ready to restore the clarity and shine to your oven door.
Step 2: Remove Loose Debris
Before delving into the deep cleaning process, it's crucial to start by removing any loose debris or visible particles from the oven glass. This initial step sets the stage for a more effective and focused cleaning effort, allowing you to address the underlying grime and stains with greater precision. Here's how to effectively remove loose debris from your oven glass:
-
Inspect the Glass: Begin by carefully examining the oven glass to identify any loose debris, food particles, or residue that may be clinging to the surface. Pay close attention to the corners, edges, and any areas where spills or splatters are commonly found.
-
Use a Dry Cloth or Soft Brush: Armed with a dry microfiber cloth or a soft-bristled brush, gently sweep across the oven glass to dislodge and collect any loose debris. Take care to cover the entire surface, ensuring that no particles are overlooked.
-
Focus on Edges and Seams: Pay particular attention to the edges and seams of the oven glass, as these areas are prone to accumulating debris. Use a gentle, circular motion to dislodge any particles, working systematically to cover the entire glass surface.
-
Remove Larger Debris by Hand: If you encounter larger or stubborn debris that cannot be easily brushed away, carefully remove it by hand. Exercise caution to avoid scratching the glass, and use a gentle touch to lift off any sizable particles.
-
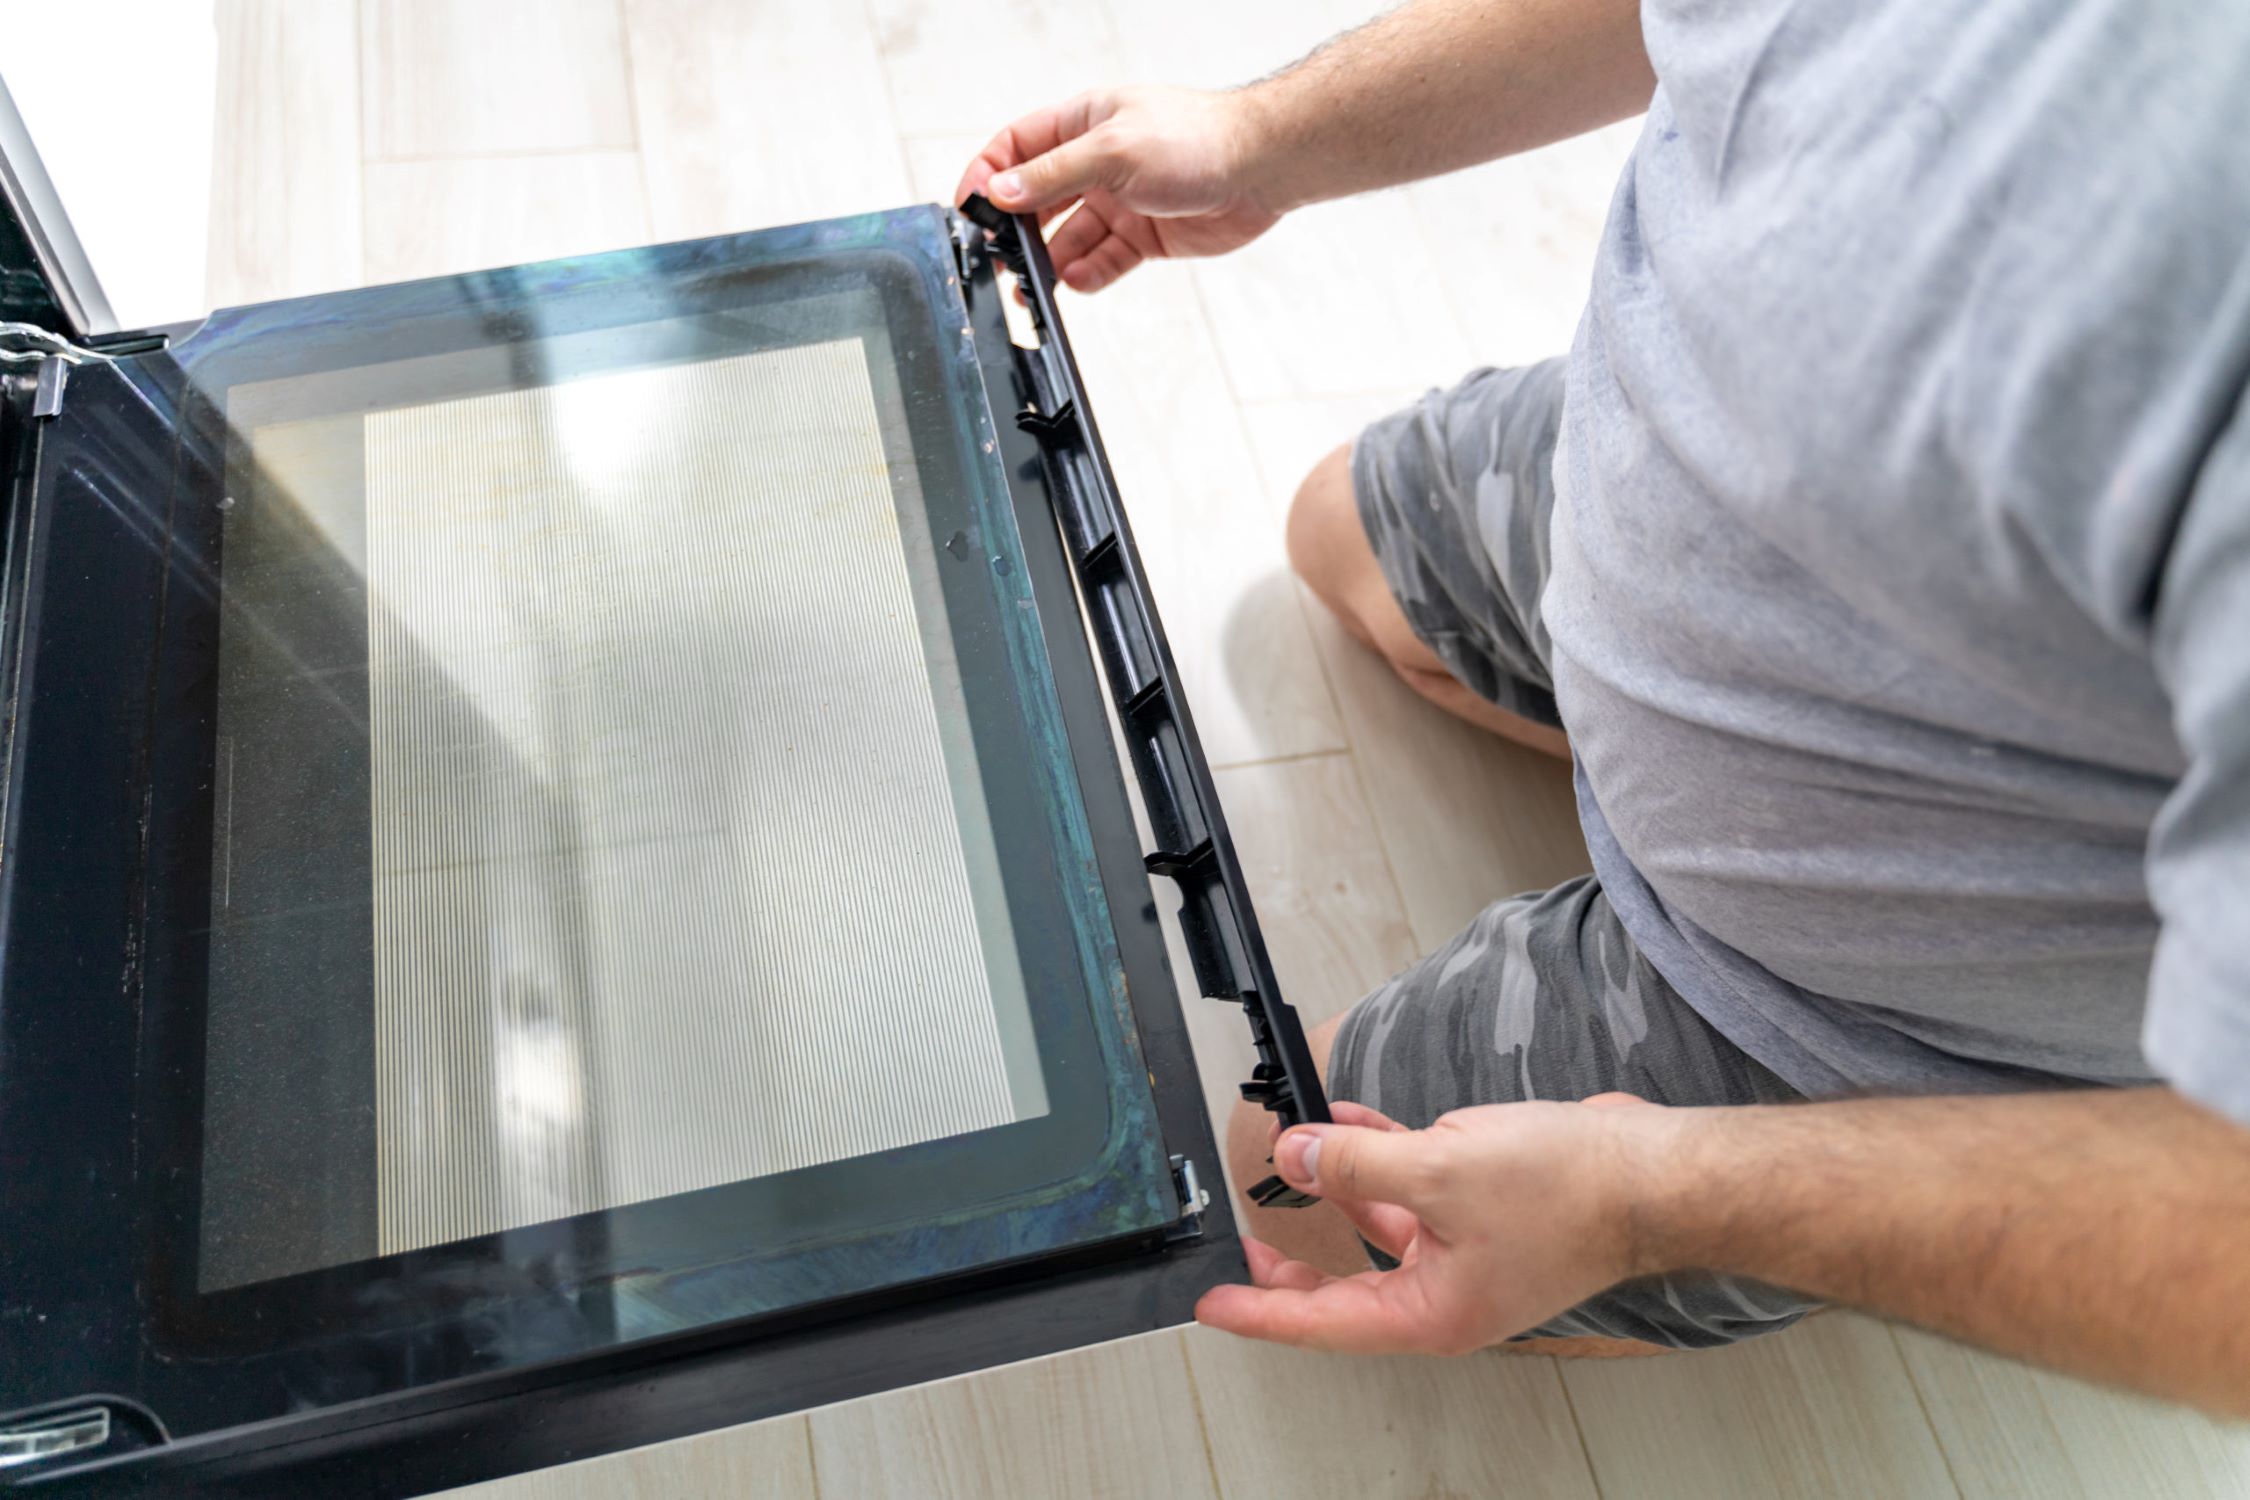
Clear the Door Seals: Don't forget to inspect and clear the door seals surrounding the oven glass. Debris and residue can often accumulate in these areas, so take the time to ensure that they are free from any loose particles.
By diligently removing loose debris from the oven glass, you're preparing the surface for a more thorough cleaning process. This initial step sets the foundation for effectively addressing the deeper-seated grime and stains, allowing you to proceed with the subsequent cleaning steps with greater clarity and focus. With the loose debris cleared away, you're now ready to move on to the next phase of restoring the clarity and shine to your oven glass.
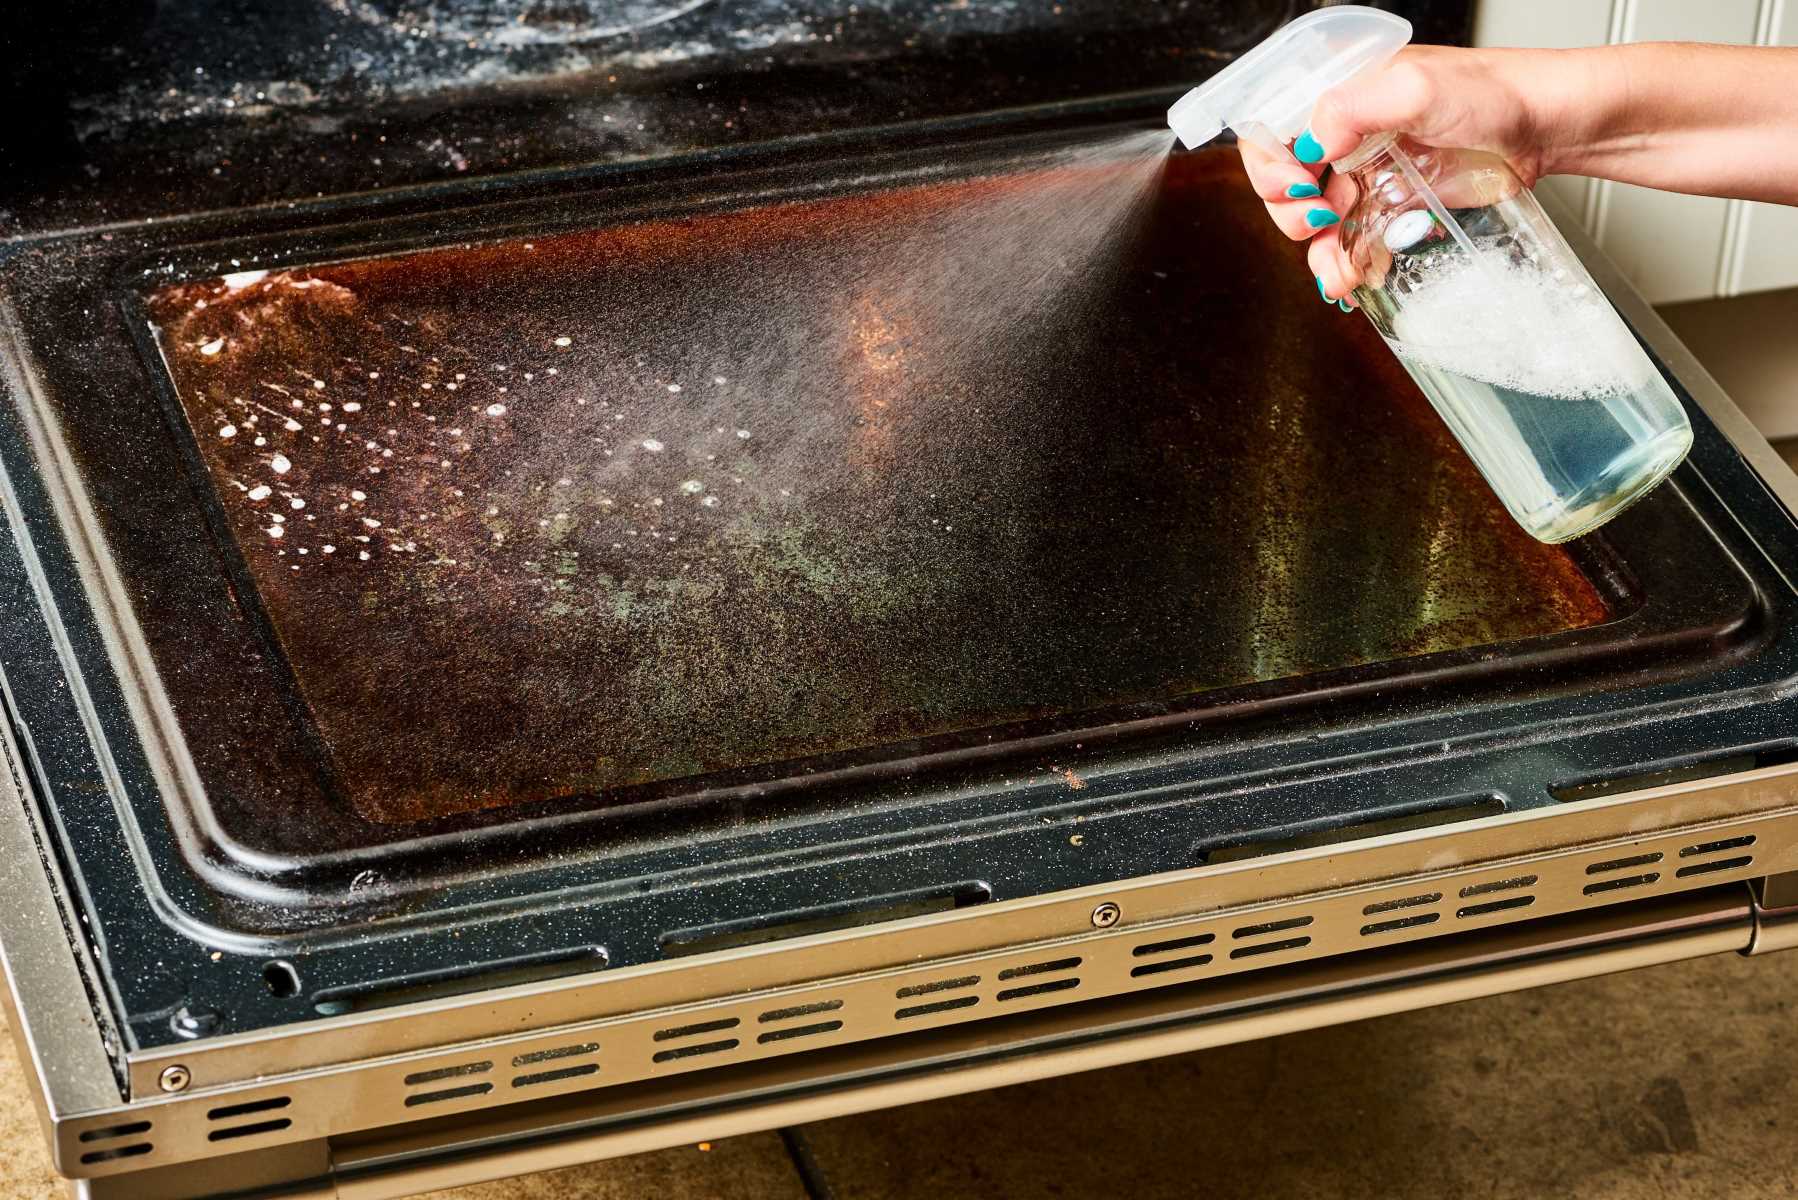
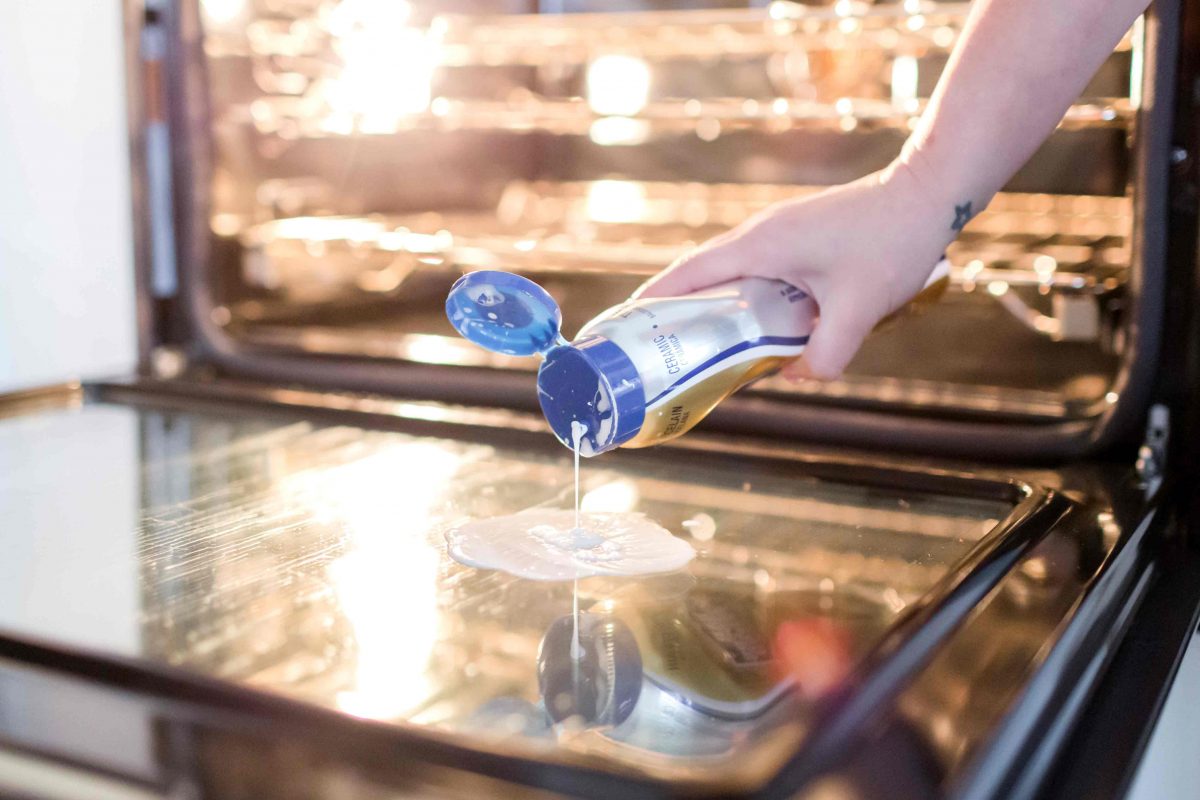
Step 3: Apply Cleaning Solution
With the loose debris cleared from the oven glass, it's time to apply the chosen cleaning solution to begin the process of breaking down stubborn stains and grease. Whether you've opted for a commercial oven cleaner, a homemade vinegar and baking soda paste, or a mild dish soap solution, the application process remains consistent. Here's a detailed guide on how to effectively apply the cleaning solution to your oven glass:
-
Prepare the Cleaning Solution: If you're using a commercial oven cleaner, carefully follow the manufacturer's instructions for preparing the solution. For a homemade vinegar and baking soda paste, mix the two ingredients to form a thick, spreadable consistency. If you've chosen a mild dish soap solution, dilute the soap with water to create a gentle cleaning mixture.
-
Apply the Solution: Using a clean microfiber cloth or sponge, apply the cleaning solution to the oven glass, starting from the top and working your way down. Ensure that the entire glass surface is evenly coated with the solution, paying particular attention to areas with visible stains or buildup.
-
Allow the Solution to Sit: Depending on the type of cleaning solution used, allow it to sit on the oven glass for the recommended duration. This allows the solution to penetrate and loosen the grime, making it easier to remove during the scrubbing phase.
-
Focus on Stubborn Stains: If there are specific areas with particularly stubborn stains or baked-on residue, apply a bit of extra cleaning solution to these spots. Gently massage the solution into the stains, ensuring thorough coverage for effective cleaning.
-
Avoid Dripping into the Oven: While applying the cleaning solution, take care to prevent it from dripping into the oven cavity. If necessary, place a towel or protective barrier along the bottom edge of the oven door to catch any excess solution and prevent it from entering the oven.
By methodically applying the cleaning solution to the oven glass, you're setting the stage for the next crucial step: scrubbing the glass to remove the loosened grime and stains. The application process ensures that the cleaning solution effectively targets the buildup on the glass, preparing it for a thorough cleaning that will restore its clarity and shine.
Mix baking soda and water to form a paste. Spread it on the oven glass and let it sit for 15 minutes. Then, scrub with a non-abrasive sponge and wipe clean with a damp cloth.
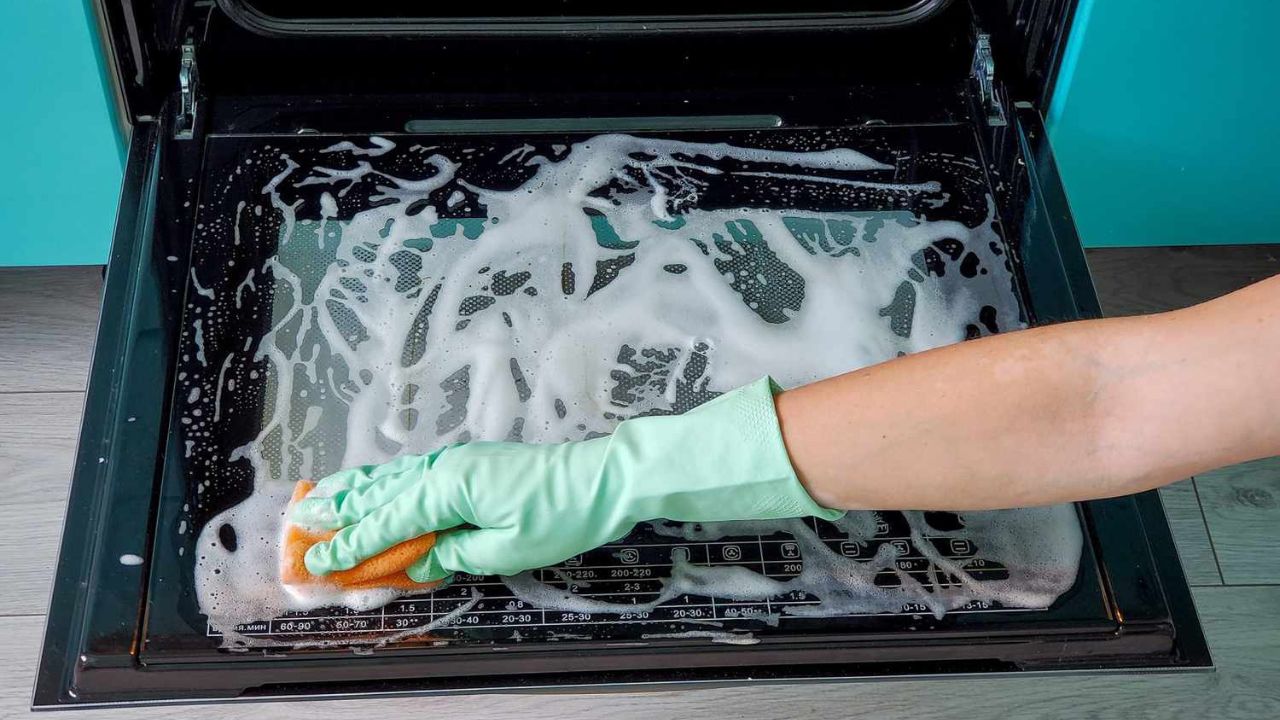
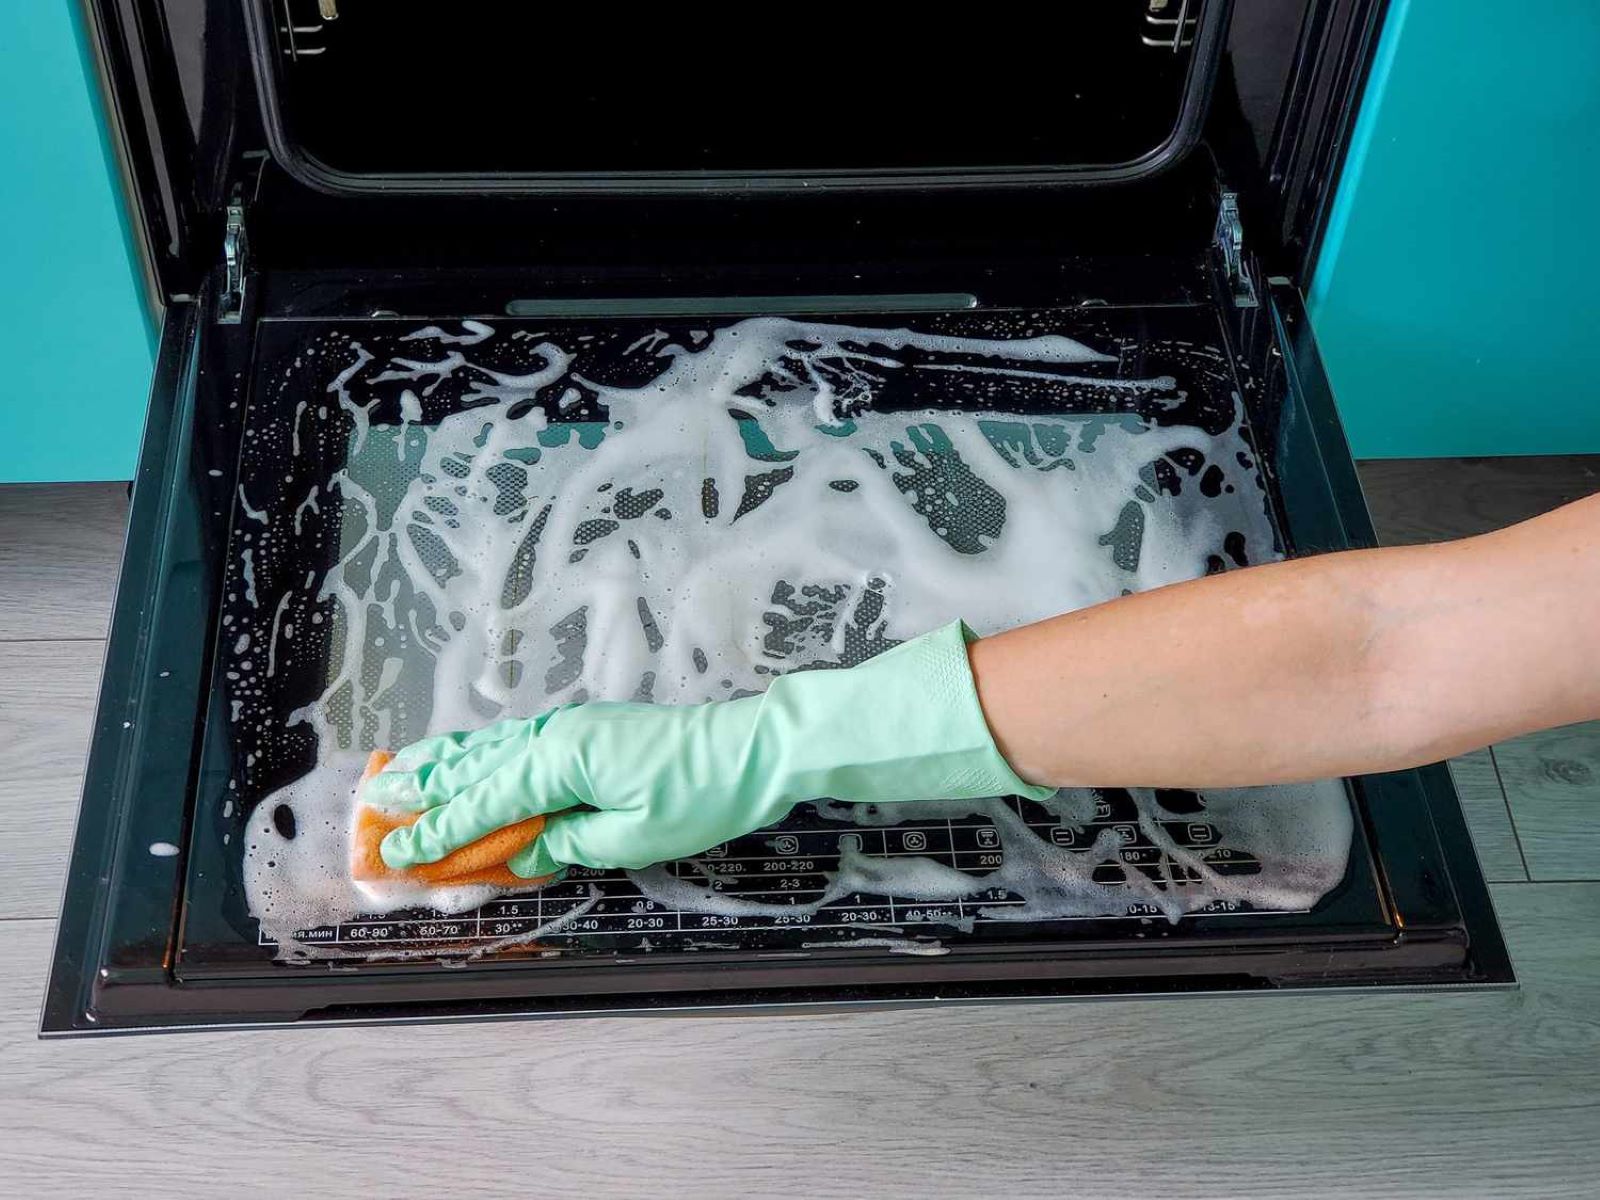
Step 4: Scrub the Glass
With the cleaning solution effectively loosening the grime and stains on the oven glass, it's time to proceed to the crucial step of scrubbing the glass surface. This step requires a gentle yet thorough approach to ensure that the accumulated residue is effectively lifted and removed, revealing a sparkling and clear oven door. Here's a detailed guide on how to effectively scrub the glass of your oven:
-
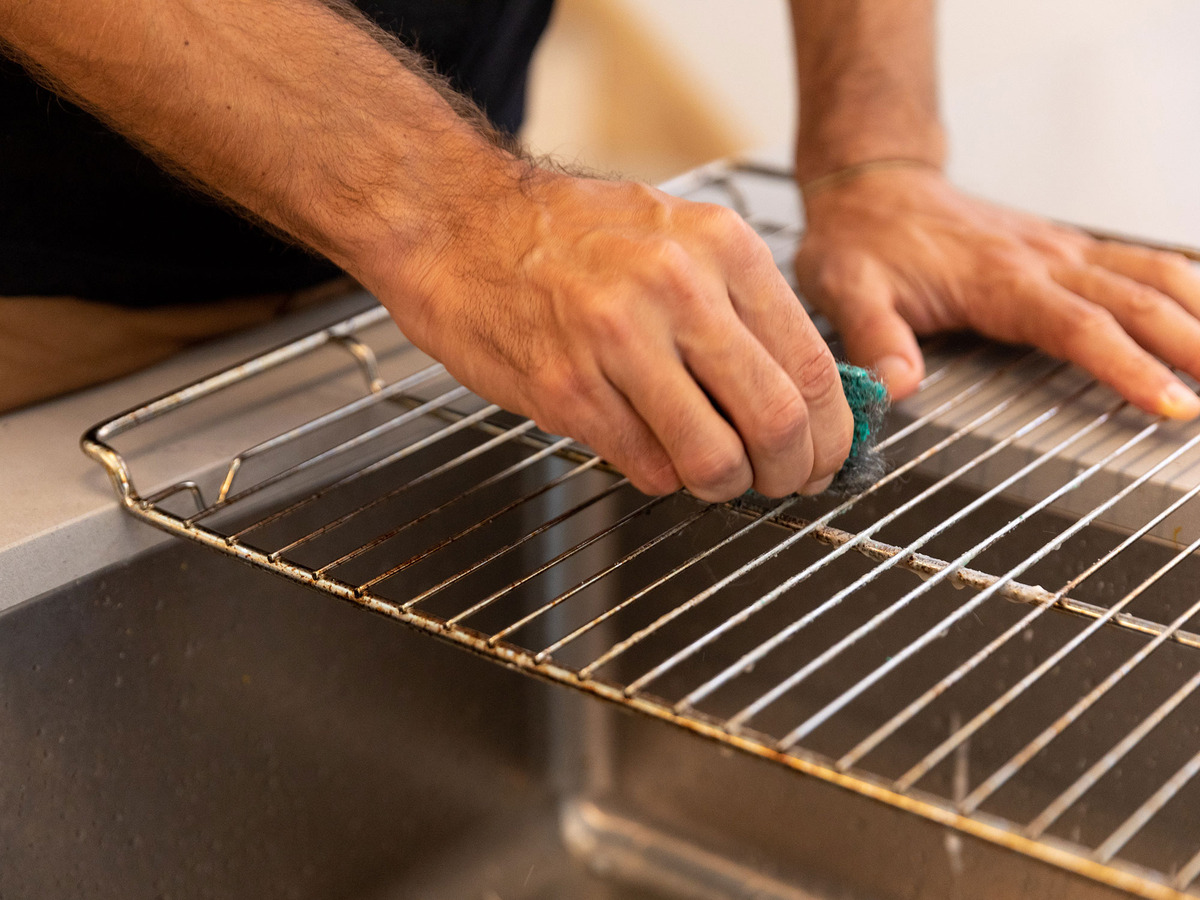
Use a Gentle Scrubbing Motion: Armed with a clean microfiber cloth or sponge, begin scrubbing the oven glass in circular motions, starting from the top and working your way down. Apply gentle pressure as you work, focusing on areas with visible stains or stubborn residue. The goal is to dislodge and lift the loosened grime from the glass surface.
-
Address Stubborn Stains: For areas with particularly stubborn stains or baked-on residue, use a bit of extra elbow grease to concentrate on these spots. Employ a back-and-forth motion to target the stubborn areas, ensuring that the cleaning solution effectively breaks down the buildup.
-
Utilize a Razor Blade or Scraper: If there are persistent spots that resist the initial scrubbing, carefully use a razor blade or specialized glass scraper to gently remove the stubborn residue. Exercise caution and use the blade at a shallow angle to avoid scratching the glass surface. This tool can be particularly effective in addressing tough, baked-on grime.
-
Rinse and Reapply as Needed: Throughout the scrubbing process, periodically rinse the microfiber cloth or sponge in warm water to remove loosened grime and cleaning solution. This ensures that you're working with a clean tool, allowing for more effective scrubbing. If necessary, reapply the cleaning solution to areas that require additional attention.
-
Work Systematically: Approach the scrubbing process systematically, ensuring that you cover the entire glass surface with thorough and consistent scrubbing. Pay attention to corners, edges, and any areas where residue may be concentrated, ensuring that no spot is overlooked.
By methodically scrubbing the oven glass, you're actively working to remove the accumulated grime and stains, revealing the pristine surface beneath. This step is essential in restoring the clarity and sparkle to your oven door, setting the stage for the final phase of the cleaning process.
With the glass effectively scrubbed and the loosened grime lifted, you're now ready to proceed to the next step, which involves wiping the glass clean to remove any remaining residue and moisture. This final phase will ensure that your oven glass is left gleaming and transparent, allowing you to enjoy a clear view into your oven and a sense of accomplishment in maintaining a spotless kitchen.
Read more: How To Clean The Glass On A Toaster Oven
Step 5: Wipe Clean
After successfully scrubbing the oven glass to remove the accumulated grime and stains, the next crucial step involves wiping the glass clean to eliminate any remaining residue and moisture. This final phase of the cleaning process is essential in ensuring that your oven glass is left gleaming and transparent, allowing you to enjoy a clear view into your oven and a sense of accomplishment in maintaining a spotless kitchen.
To effectively wipe the oven glass clean, follow these detailed steps:
-
Use a Clean, Damp Cloth: Begin by dampening a clean microfiber cloth with warm water. Ensure that the cloth is thoroughly wrung out to remove excess moisture, leaving it slightly damp for effective cleaning.
-
Wipe in a Circular Motion: Starting from the top of the oven glass, gently wipe the entire surface in a circular motion, working your way down to cover the entire area. This methodical approach ensures that any remaining grime or cleaning solution is effectively lifted from the glass.
-
Pay Attention to Corners and Edges: Take care to focus on the corners, edges, and seams of the oven glass, as these areas may harbor residual grime or moisture. Use a gentle touch to ensure that these areas are thoroughly wiped clean.
-
Inspect for Streaks or Residue: As you wipe the glass, periodically inspect the surface for any streaks or remaining residue. If you encounter any areas that require additional attention, revisit them with the damp cloth to ensure a thorough cleaning.
-
Dry the Glass with a Clean Towel: Once the glass has been wiped clean, use a dry, lint-free towel to gently dry the surface, removing any remaining moisture and ensuring a streak-free, polished finish. Employ a gentle buffing motion to achieve optimal clarity and shine.
-
Check for Transparency: After wiping and drying the oven glass, step back and inspect it from different angles to ensure that it is transparent and free from streaks or residue. A clear and gleaming oven door signifies the successful completion of the cleaning process.
By diligently wiping the oven glass clean, you're ensuring that the surface is free from any remaining grime, streaks, or moisture, leaving it transparent and sparkling. This final step is essential in achieving a pristine and visually appealing oven door, allowing you to cook and bake with a clear view and a sense of pride in your well-maintained kitchen.
Step 6: Dry and Polish
After successfully wiping the oven glass clean, the final step involves drying and polishing the surface to achieve a streak-free, crystal-clear finish. This essential phase ensures that your oven door not only looks immaculate but also allows for unobstructed visibility into the oven cavity, enhancing both the aesthetic appeal and functionality of your kitchen.
To effectively dry and polish the oven glass, follow these detailed steps:
-
Inspect for Remaining Moisture: Before proceeding with drying and polishing, carefully inspect the glass surface for any remaining moisture or streaks. Address any lingering moisture with a clean, dry microfiber cloth, ensuring that the glass is completely free from water droplets.
-
Utilize a Lint-Free Towel: Select a lint-free towel or cloth specifically designated for polishing glass surfaces. This ensures that no lint or fibers will be left behind, contributing to a pristine and polished finish.
-
Gently Dry the Glass: Using the lint-free towel, gently dry the entire surface of the oven glass, employing a light buffing motion to remove any remaining moisture. Pay particular attention to corners and edges, ensuring that the entire glass surface is thoroughly dried.
-
Polish for Clarity and Shine: Once the glass is dry, proceed to polish the surface to achieve optimal clarity and shine. Employ circular motions with the lint-free towel, working systematically to buff the glass and enhance its transparency.
-
Inspect for Streaks or Residue: As you polish the glass, periodically inspect the surface from different angles to ensure that it is free from streaks or residue. Address any areas that require additional polishing, focusing on achieving a uniform and gleaming finish.
-
Step Back and Admire the Results: After completing the drying and polishing process, step back and admire the gleaming and transparent oven glass. Revel in the satisfaction of achieving a spotless and visually appealing oven door, ready to showcase your culinary creations with clarity and pride.
By diligently drying and polishing the oven glass, you're elevating the overall cleanliness and allure of your kitchen while ensuring a clear view into your oven. This final step culminates in a sparkling and transparent oven door, reflecting the care and attention you've invested in maintaining a pristine cooking environment.
Conclusion
In conclusion, the process of cleaning your oven glass is a rewarding endeavor that yields a sparkling and transparent oven door, enhancing both the visual appeal and functionality of your kitchen. By following the comprehensive steps outlined in this guide, you've embarked on a journey to restore the clarity and shine to your oven glass, allowing you to cook and bake with a clear view and a sense of pride in your well-maintained kitchen.
As you've navigated through the meticulous process of gathering the necessary supplies, removing loose debris, applying the cleaning solution, scrubbing the glass, wiping it clean, and finally drying and polishing the surface, you've demonstrated a commitment to maintaining a spotless and visually appealing cooking environment. Each step was carefully designed to ensure a thorough and effective cleaning process, resulting in a gleaming oven door that reflects your dedication to a well-kept kitchen.
The culmination of your efforts is a transparent and streak-free oven glass that not only enhances the aesthetic allure of your kitchen but also allows you to easily monitor the progress of your culinary creations without obstruction. The clarity and sparkle of your oven door serve as a testament to your attention to detail and your commitment to maintaining a pristine cooking space.
As you step back and admire the results of your cleaning endeavors, take pride in the gleaming oven glass that now graces your kitchen. The transparent and polished surface signifies your dedication to cleanliness and your desire to create an inviting and visually appealing cooking environment. With a clear view into your oven and a sense of accomplishment in maintaining a spotless kitchen, you're now ready to embark on your culinary adventures with renewed clarity and pride.
In the end, the process of cleaning your oven glass transcends the removal of grime and stains; it embodies a commitment to creating a welcoming and well-maintained kitchen where every detail reflects care and attention. Your sparkling oven door stands as a testament to your dedication to a pristine cooking space, inviting you to cook and bake with a clear view and a sense of satisfaction in your beautifully maintained kitchen.
Frequently Asked Questions about How To Clean Oven Glass
Was this page helpful?
At Storables.com, we guarantee accurate and reliable information. Our content, validated by Expert Board Contributors, is crafted following stringent Editorial Policies. We're committed to providing you with well-researched, expert-backed insights for all your informational needs.


0 thoughts on “How To Clean Oven Glass”