
Articles
How To Decorate A Ladder
Modified: January 6, 2024
Learn how to decorate a ladder with these inspiring articles. Transform your ladder into a stylish and functional piece of decor for your home.
(Many of the links in this article redirect to a specific reviewed product. Your purchase of these products through affiliate links helps to generate commission for Storables.com, at no extra cost. Learn more)
Introduction
The humble ladder is not just a practical tool for reaching high places; it can also be a stylish and versatile piece of decor in your home. Whether you have an old wooden ladder lying around or you’re looking to purchase one specifically for this purpose, decorating a ladder can add a unique touch to any room.
When it comes to decorating a ladder, the possibilities are endless. You can transform it into a functional storage unit, a decorative display for plants or books, or even a unique shelving system. The key is to let your creativity flow and personalize it to suit your style and needs.
In this article, we’ll take you through a step-by-step guide on how to decorate a ladder, from choosing the right ladder to displaying it in your home. Whether you’re a DIY enthusiast or just looking for some creative inspiration, we’ve got you covered.
Key Takeaways:
- Transform an ordinary ladder into a captivating piece of decor by choosing the right ladder, cleaning it thoroughly, and preparing it for painting or staining. Add decorative elements and plants to create a personalized and visually appealing display.
- Showcase your decorated ladder by finding the perfect spot to display it, considering the room layout, size, scale, and focal points. Experiment with different placements and configurations to achieve the desired aesthetic and make adjustments as needed.
Step 1: Choose a ladder
The first step in decorating a ladder is to choose the right one for your project. When selecting a ladder, consider the size, material, and style that will best complement your space and desired aesthetic.
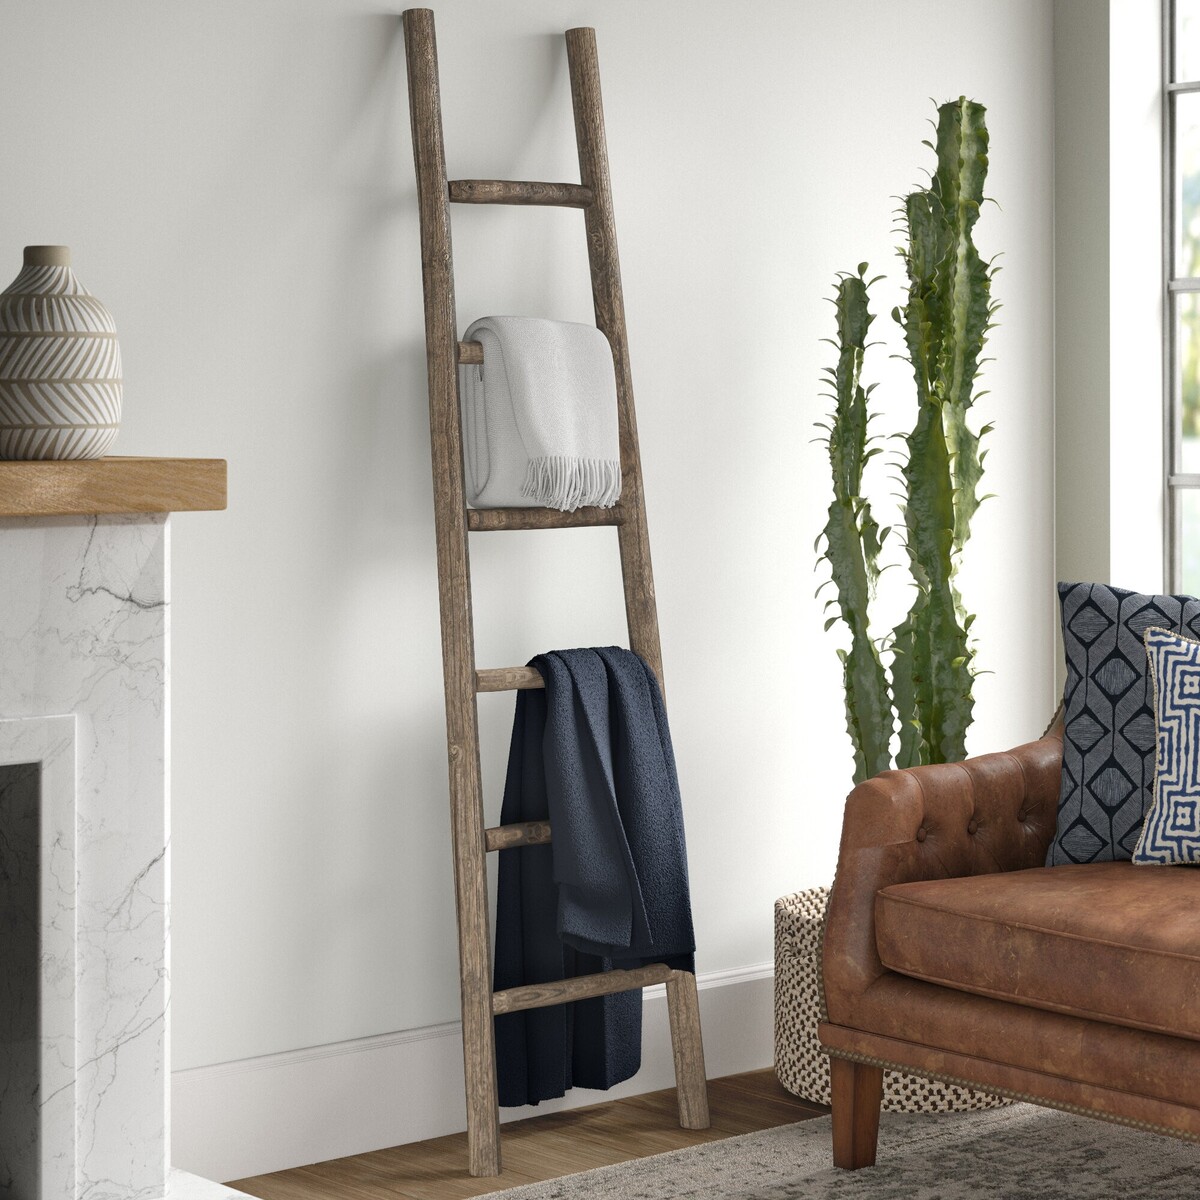
If you’re going for a rustic or vintage look, an old wooden ladder with natural wear and patina can add a charming touch. Look for ladders with sturdy construction and minimal damage. You can often find these at flea markets, antique shops, or even in your own garage.
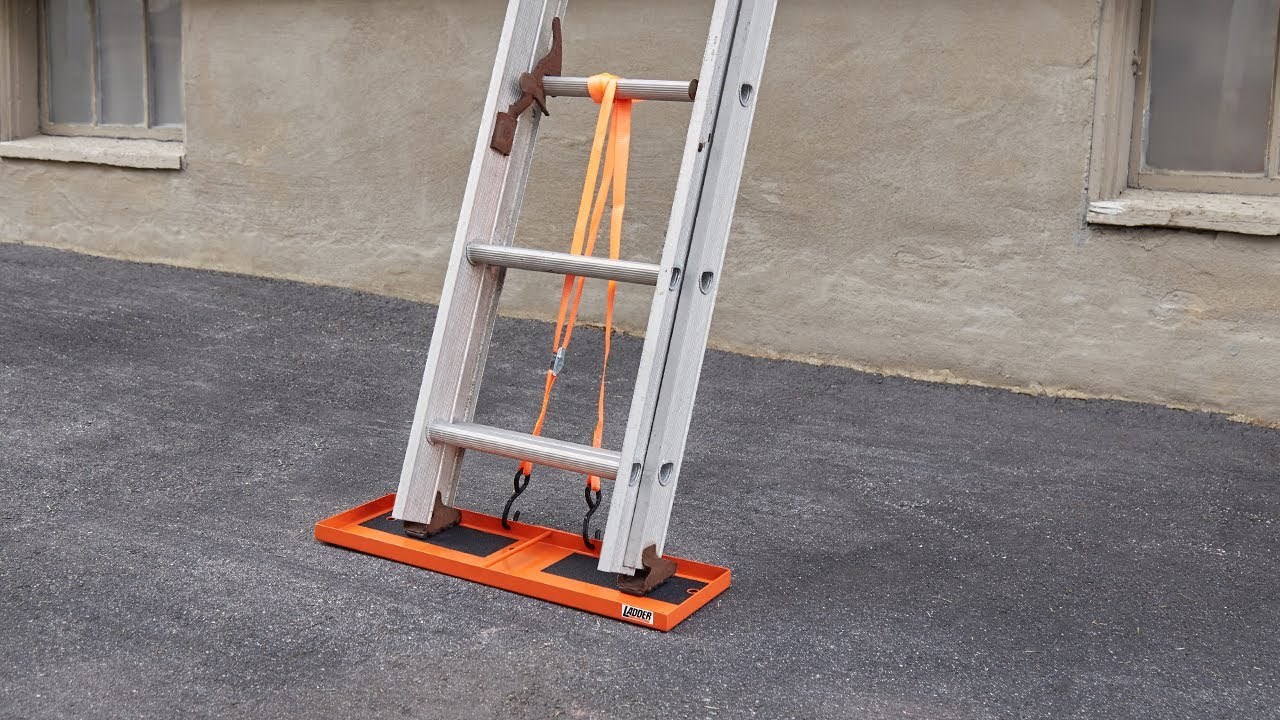
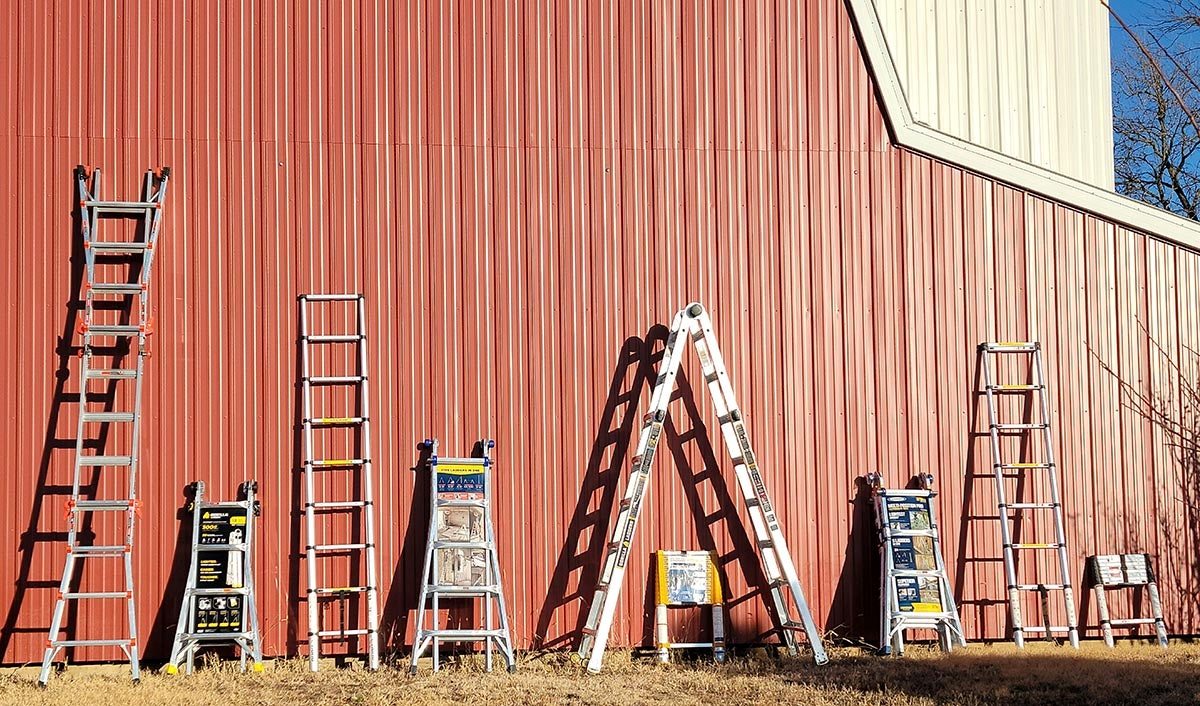
On the other hand, if you prefer a more modern and sleek look, you might opt for a metal or aluminum ladder. These ladders are lightweight, durable, and can be easily painted or coated to match your desired color scheme.
Additionally, consider the size of the ladder in relation to the space where you plan to display it. Measure the height, width, and depth of the area to ensure that the ladder fits comfortably without overpowering the room.
Keep in mind that the ladder you choose should also be functional if you plan to use it for storage or display. Consider the spacing between the rungs and the overall stability of the ladder to ensure it can support the weight of the items you plan to place on it.
Once you’ve found the perfect ladder, clean it thoroughly to remove any dirt, dust, or debris. This will provide a clean canvas for your decorating project and ensure that the final result looks polished and professional.
Now that you’ve chosen and cleaned your ladder, you’re ready to move on to the next step: deciding on a theme or style for your ladder decoration.
Step 2: Clean the ladder
Before you start decorating your ladder, it’s important to give it a thorough cleaning. Over time, ladders can accumulate dust, dirt, and grime, especially if they have been stored in a garage or basement. Cleaning the ladder will not only make it look better but also provide a clean surface for any paint or finishes you may apply.
To clean your ladder, start by removing any loose dirt or debris. Use a brush or a broom to sweep away any dust or cobwebs. Pay attention to the corners and crevices where dirt tends to accumulate. You can also use a vacuum cleaner with a brush attachment to effectively remove any loose particles.
Next, mix a solution of warm water and mild dish soap. Dip a sponge or a soft cloth into the soapy water and gently scrub the ladder, focusing on any particularly dirty or stained areas. Be mindful of the ladder’s material and finish, and avoid using abrasive cleaners or harsh chemicals that could damage it.
If you’re dealing with stubborn stains or residue, you can try using a gentle household cleaner or a vinegar and water solution. Apply the cleaner to a cloth and gently scrub the affected areas. Rinse the ladder thoroughly with clean water to remove any soap residue and dry it with a towel or allow it to air dry before moving on to the next step.
By giving your ladder a good cleaning, you’ll be ready to move on to the exciting part – decorating it to suit your style and vision.
Step 3: Decide on a theme or style
Now that you have a clean and blank canvas in the form of your ladder, it’s time to decide on a theme or style for your decoration. This step will help you narrow down your options and give your ladder a cohesive and visually appealing look.
Consider the overall aesthetic of your home and the room where the ladder will be displayed. Do you lean towards modern and minimalist design, or do you prefer a more eclectic and bohemian style? Think about the colors, textures, and materials that are already present in the space and choose a theme that complements them.
If you’re not sure where to start, gather inspiration from home decor magazines, websites, or even social media platforms like Pinterest. Create a mood board or save images that resonate with you to help visualize the direction you want to go in.
Some popular themes and styles for ladder decorations include:
- Rustic farmhouse: Incorporate natural elements like wooden crates, mason jars, and twine to create a cozy and country-inspired look.
- Industrial chic: Use metal baskets, wire organizers, and metallic accents for a modern and urban vibe.
- Botanical garden: Add hanging planters, potted flowers, or small succulents to bring a touch of nature indoors.
- Bookshelf ladder: Arrange books, magazines, or decorative items on the rungs to create a unique and functional storage space.
- Vintage display: Showcase vintage collectibles, antique cameras, or nostalgic memorabilia for a charming and sentimental feel.
Don’t be afraid to mix and match different elements and styles to create a unique and personalized look. The key is to choose a theme or style that resonates with you and reflects your personality and taste.
Once you’ve decided on a theme or style, it’s time to move on to the next step – preparing the ladder for decoration.
Step 4: Prepare the ladder
Before you start adding any decorative elements to your ladder, it’s important to properly prepare it. This step will ensure that the surface is ready to receive any paint, stain, or finishes you plan to apply and will help enhance the longevity of your decoration.
Start by inspecting the ladder for any loose or damaged parts. Tighten any screws or bolts and repair any wobbly rungs or damaged sections. If necessary, sand down any rough spots or splinters to create a smooth surface for painting or staining.
If you’re planning to paint the ladder, it’s a good idea to prime it first. Primer helps create a smooth and even surface for the paint to adhere to, resulting in a more professional-looking finish. Choose a primer that is suitable for the material of your ladder (such as wood or metal) and apply it according to the manufacturer’s instructions. Allow the primer to dry fully before moving on to the next step.
If you’re opting for a stained finish, prepare the ladder by sanding it lightly. This will help remove any existing finish or sealant and allow the stain to penetrate the wood more effectively. Use a fine-grit sandpaper to avoid creating deep scratches or gouges. After sanding, wipe away any dust with a clean cloth.
For both painted and stained finishes, consider using a sealant or varnish to protect the ladder and prolong its longevity. Apply the sealant or varnish according to the manufacturer’s instructions, making sure to coat all surfaces evenly. This step will help prevent scratches, stains, and general wear and tear on your decorated ladder.
By properly preparing the ladder, you’ll create a solid foundation for your decoration and ensure that it stands the test of time. With the ladder prepared, you’re now ready to move on to the next step – painting or staining.
Use a ladder as a unique shelving unit by adding wooden planks across the rungs. This creates a stylish and functional display for books, plants, or decorative items.
Read more: How To Fix Ladder
Step 5: Paint or stain the ladder
Now that your ladder is clean and prepared, it’s time to add color and personality to it by painting or staining. Whether you want to match your existing decor or make a bold statement, this step allows you to customize your ladder to fit your style.
If you’re going for a painted finish, choose a paint color that complements your chosen theme or style. Consider the color palette of the room where the ladder will be displayed and select a hue that harmonizes with the existing colors. Remember that lighter shades can create an airy and spacious feel, while darker tones can add drama and warmth.
Before applying the paint, make sure to protect the surrounding area with drop cloths or newspapers. Use a brush, roller, or spray paint to apply the paint evenly to all surfaces of the ladder. Start from the top and work your way down, allowing each coat to dry before applying the next. Depending on the desired opacity and coverage, you may need multiple coats of paint.
If you prefer a stained finish, select a stain color that enhances the natural beauty of the wood. Popular stain options include warm browns, rich mahogany, or cool grays. Apply the stain with a brush or cloth, following the wood grain for an even and smooth application. Wipe off any excess stain with a clean cloth and allow it to dry according to the manufacturer’s instructions. To deepen the color, you can apply additional coats of stain as needed.
Remember to take your time during the paint or stain application process to ensure a high-quality finish. Allow the ladder to dry completely before moving on to the next step to avoid smudging or damaging the newly applied paint or stain.
With the ladder painted or stained, it’s time to add decorative elements to make it even more visually appealing. This leads us to the next step – adding decorative elements.
Step 6: Add decorative elements
Now that your ladder has been painted or stained to your desired color and finish, it’s time to add decorative elements that will truly make it stand out. This step allows you to personalize your ladder and add your own unique touch.
There are countless ways to add decorative elements to your ladder, depending on your chosen theme or style. Here are a few ideas to get you started:
- Baskets and bins: Attach baskets or bins to the rungs of your ladder to create storage space for small items like keys, mail, or toiletries.
- Picture frames: Hang picture frames of varying sizes and styles on the rungs, displaying your favorite photos or artwork.
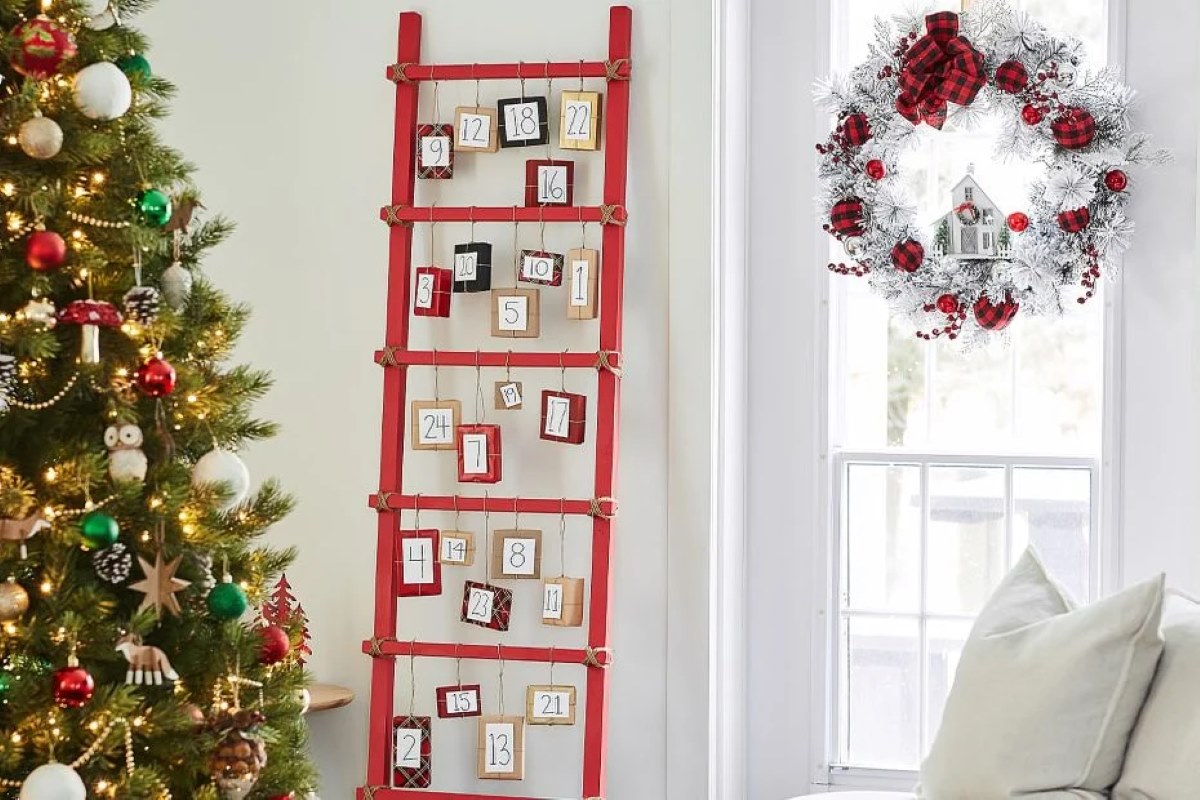
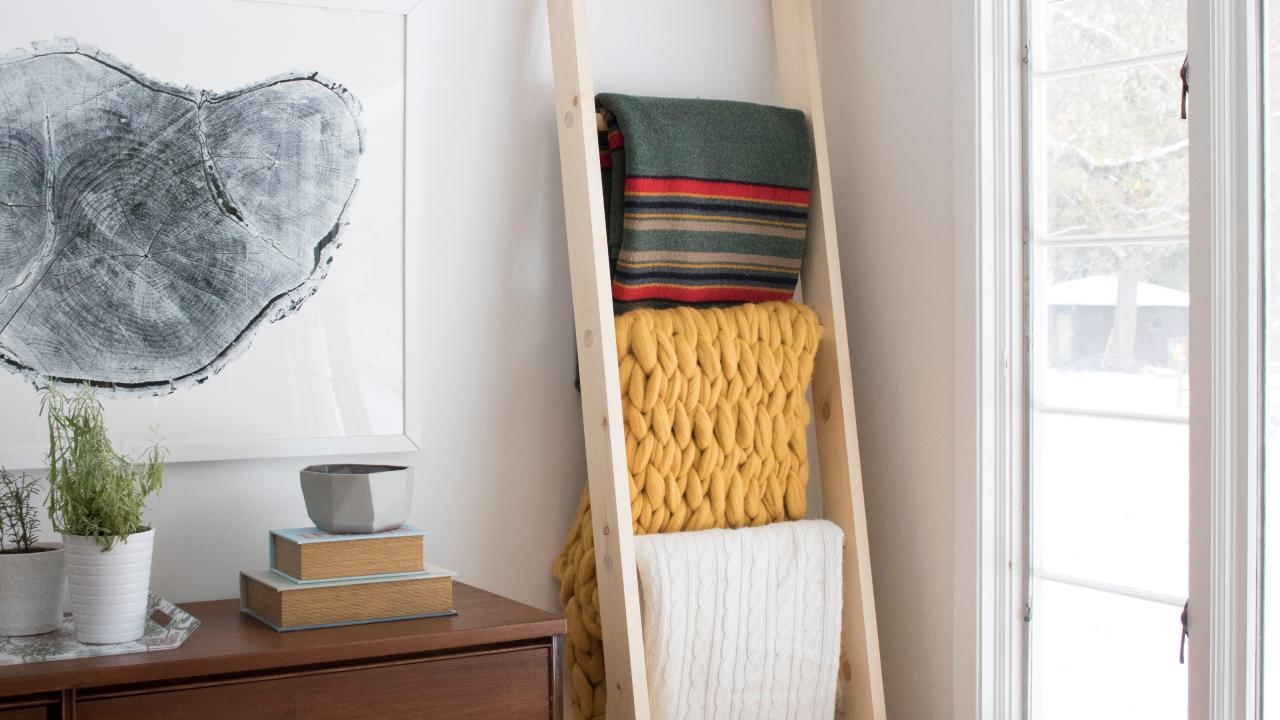
- Hang fabrics: Drape colorful fabrics or scarves from the rungs to add texture and visual interest to your ladder.
- Hang lights: String fairy lights or other decorative lights along the ladder to create a cozy and inviting ambiance.
- Hanging planters: Attach hanging planters or hooks to showcase your favorite houseplants and bring a touch of nature indoors.
- Macrame and wall hangings: Hang macrame pieces or woven wall hangings from the rungs to add a bohemian and artistic vibe.
- Decorative objects: Place vases, figurines, or decorative objects on the rungs or shelves of the ladder for a personalized touch.
Remember to arrange the decorative elements in a balanced and visually pleasing manner. Consider the height, width, and spacing of each item to create a cohesive and well-curated display.
Feel free to get creative and think outside the box when adding decorative elements to your ladder. The goal is to create a visually appealing and personalized display that showcases your style and adds charm to your space.
Once you have added the desired decorative elements, it’s time to take your ladder to the next level – by incorporating plants or flowers.
Step 7: Incorporate plants or flowers
Bringing the beauty of nature into your ladder decoration can add a refreshing and vibrant touch. Incorporating plants or flowers not only adds an organic element but also brings life and color to your space. In this step, we’ll explore different ways to incorporate plants or flowers into your ladder design.
One of the simplest ways to incorporate plants is by placing potted plants on the rungs or shelves of the ladder. Choose plants that thrive in the lighting conditions of your space and consider their watering needs. You can opt for a mix of foliage plants, flowering plants, or a combination of both to create an eye-catching display.
If you prefer a more vertical approach, consider using hanging planters or macrame plant hangers attached to the ladder. This not only saves space but also adds a dynamic and cascading effect. Choose trailing plants like pothos, ivy, or spider plants to create a lush and green aesthetic.
Another option is to create a mini herb or vegetable garden on your ladder. Place small pots or containers filled with herbs, cherry tomatoes, or lettuce on the rungs, providing you with fresh ingredients for your cooking while adding a delightful and fragrant touch to your space.
If you’re looking for a low-maintenance option, consider using artificial plants or flowers. There are numerous realistic and high-quality options available, allowing you to enjoy the greenery without the need for regular watering and maintenance.
When incorporating plants or flowers, consider the size and weight of the pots or planters to ensure the ladder can support them safely. Secure the pots or planters to the rungs or shelves using hooks, brackets, or rope, ensuring they are stable and won’t easily tip over.
With plants or flowers incorporated, your ladder decoration is nearly complete. Now, it’s time to showcase your decorated ladder by finding the perfect spot to display it.
Step 8: Display your ladder
After putting in all the hard work and creativity into decorating your ladder, it’s time to find the perfect spot to showcase your masterpiece. The right placement can make a world of difference in enhancing the overall aesthetic of your space. Here are some tips for displaying your ladder:
Consider the room: Assess the layout and design of the room where you plan to display the ladder. Look for areas that need visual interest or a functional storage solution. Common spots include entryways, living rooms, bedrooms, or even kitchens.
Size and scale: Ensure that the ladder is proportionate to the space where you plan to display it. Avoid overcrowding or overwhelming the room with a ladder that is too large or too small. Take measurements beforehand to ensure a proper fit.
Focus on focal points: Place the ladder near a focal point in the room, such as a fireplace, a large window, or a prominent piece of furniture. This will draw attention to the ladder and create a visual focal point in the space.
Consider the backdrop: Think about how the color and texture of the wall or background will complement your ladder decoration. A plain white wall can make a colorful ladder pop, while a patterned wallpaper can add depth and visual interest.
Balance and symmetry: If you have multiple ladders or plan to decorate the ladder with asymmetrical elements, create balance by positioning them strategically. Play with heights, angles, and spacing to achieve a harmonious and aesthetically pleasing arrangement.
Show off the details: Position the ladder in a way that allows its decorative elements, plants, or flowers to be fully visible and appreciated. Make sure there’s enough natural or artificial light to illuminate the ladder and highlight its unique features.
Reevaluate and adjust: Don’t be afraid to play around with different placements and configurations. Step back and assess the overall look and feel of the room with the ladder in place. Make adjustments as needed to achieve the desired effect.
Once you’ve found the perfect spot for your ladder, stand back and admire your handiwork. Your decorated ladder will not only add a touch of style and personality to your space but also serve as a conversation starter and a focal point of interest.
By following these steps and injecting your own creativity and personal style, you can transform an ordinary ladder into a captivating piece of decor that truly reflects your individuality. So, go ahead and let your imagination take flight as you embark on your ladder decoration journey!
Read more: How To Store A Ladder
Conclusion
Decorating a ladder is a fantastic way to repurpose a functional tool into a unique and eye-catching piece of decor. Whether you’re aiming for a rustic farmhouse look, an industrial chic vibe, or a bohemian oasis, following these steps will help you create a ladder decoration that reflects your personal style and adds charm to your space.
Remember to choose a ladder that suits your needs and matches your desired aesthetic. Clean and prepare the ladder properly before applying paint or stain to ensure a smooth and long-lasting finish. Once the base is set, let your creativity shine by incorporating decorative elements such as baskets, picture frames, or hanging plants.
Placement and display are crucial when it comes to showcasing your ladder decoration. Consider the room, the size and scale, and the focal points to find the perfect spot that enhances the overall aesthetic of your space. Don’t be afraid to experiment and make adjustments until you achieve the desired look.
By following these steps and infusing your own personal touches, you can transform a simple ladder into a stunning and functional piece of decor. Whether you’re looking to add storage, display your favorite items, or simply bring a classic and unique touch to your home, a decorated ladder provides endless possibilities.
So, gather your supplies, ignite your creativity, and let your ladder decoration journey begin. Enjoy the process, as each step brings you closer to a beautiful and personalized ladder that will undoubtedly become a conversation starter and center of attention in your home. Happy decorating!
Frequently Asked Questions about How To Decorate A Ladder
Was this page helpful?
At Storables.com, we guarantee accurate and reliable information. Our content, validated by Expert Board Contributors, is crafted following stringent Editorial Policies. We're committed to providing you with well-researched, expert-backed insights for all your informational needs.






0 thoughts on “How To Decorate A Ladder”