Articles
How To Fix Ladder
Modified: January 19, 2024
Learn the step-by-step process of fixing a ladder with our informative articles. Get expert tips and guidance to tackle ladder repairs efficiently.
(Many of the links in this article redirect to a specific reviewed product. Your purchase of these products through affiliate links helps to generate commission for Storables.com, at no extra cost. Learn more)
Introduction
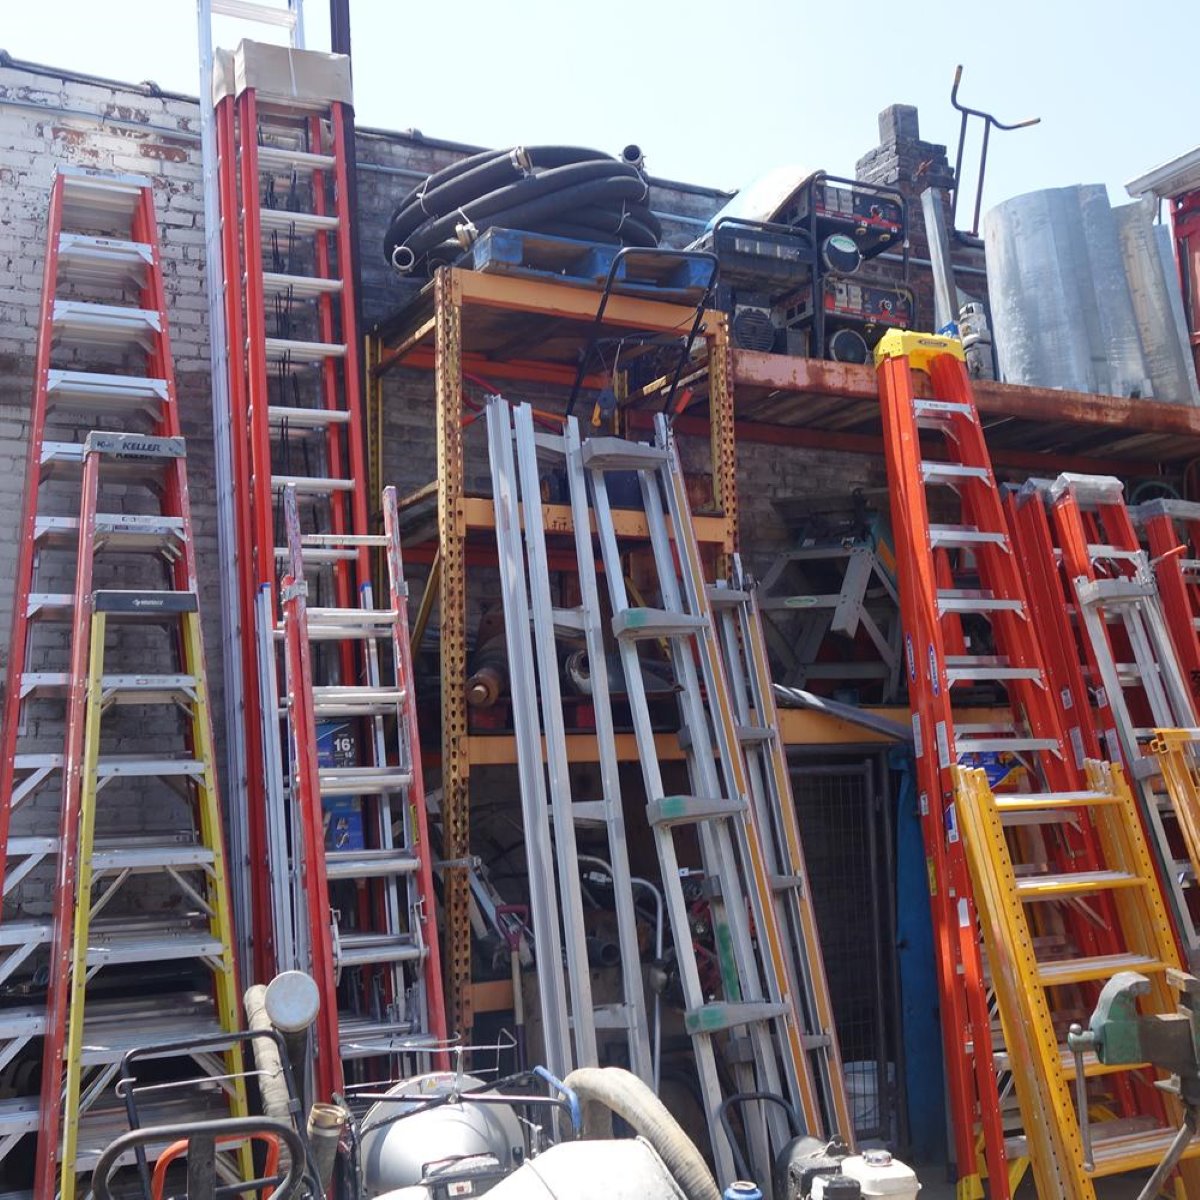
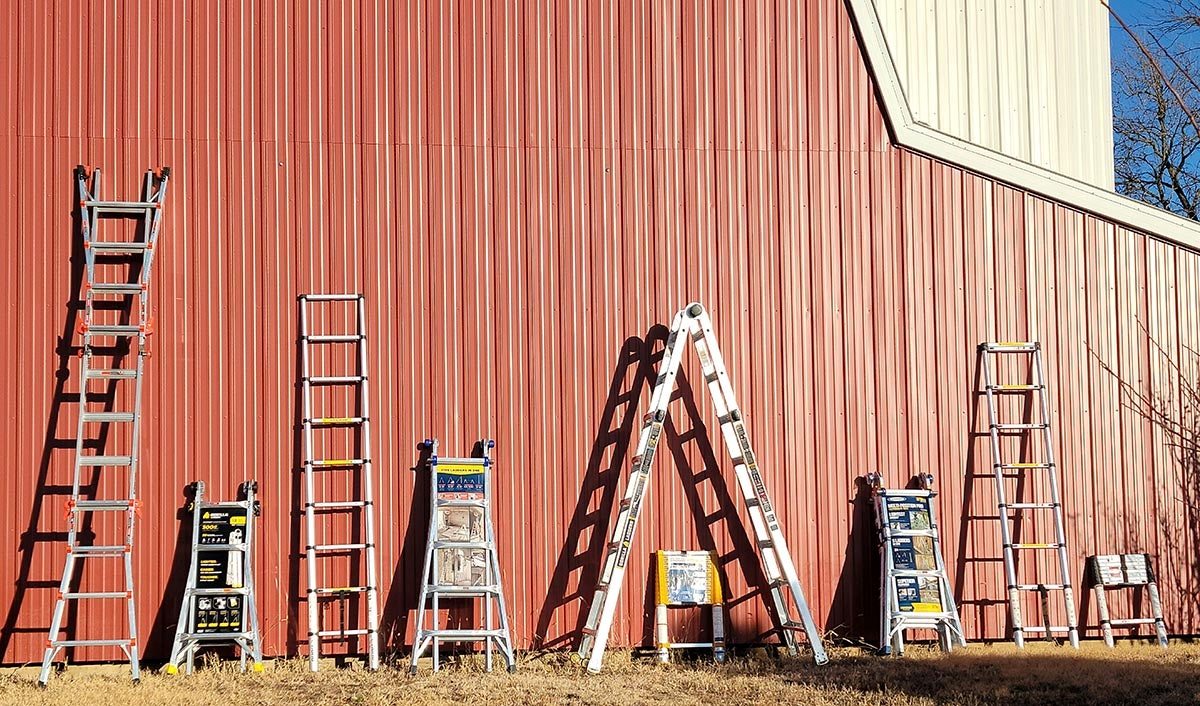
Ladders are essential tools for many tasks, both at home and in various industries. They provide a safe and convenient way to reach heights that would otherwise be inaccessible. However, over time, ladders can experience wear and tear, and may require repair to ensure their safety and functionality.
In this article, we will guide you through the process of fixing a ladder. Whether you have a wooden ladder, a fiberglass ladder, or an aluminum ladder, the steps outlined here can be applied to most types of ladders. By following these steps, you can restore your ladder to its optimal condition and enhance its durability.
Before beginning any ladder repair, it is important to prioritize safety. Inspect the ladder carefully, looking out for any damaged or weakened areas that could pose a safety risk. It is better to take preventive measures and repair the ladder at the first sign of damage, rather than risking accidents or injuries by using a faulty ladder.
Now, let’s dive into the step-by-step process of fixing a ladder.
Key Takeaways:
- Regularly inspect, repair, and maintain your ladder to ensure safety and functionality. Address damaged rungs, loose bolts, and weak sections promptly for a reliable and durable tool.
- Prioritize safety by testing the ladder for stability after repairs. Regular maintenance and proper safety checks create a secure working environment and extend the ladder’s lifespan.
Read more: How To Fix Attic Ladder Spring
Step 1: Assess the Damage
The first step in fixing a ladder is to assess the extent of the damage. This will help you determine the necessary repairs and gather the appropriate tools for the job.
Start by inspecting the ladder thoroughly. Look for any cracks, splits, or breaks in the rungs, side rails, or other components. Check for loose or missing bolts, screws, or rivets. Pay attention to any signs of corrosion, rust, or weakened areas.
If you have a wooden ladder, check for signs of rotting or decay. Look for any signs of insect infestation, such as holes or sawdust.
It is crucial to assess the structural integrity of the ladder. Make sure there are no excessive bends, twists, or deformities that could compromise its stability. Consider the weight and load capacity of the ladder as well. If the ladder appears to be in poor condition or is beyond repair, it may be safer to replace it altogether.
Once you have assessed the damage, make a list of all the repairs that need to be done. This will help you stay organized and ensure that you address each issue effectively.
Remember, safety is paramount when working with ladders. If you are unsure about the extent of the damage or the necessary repairs, it is always best to consult a professional or seek expert advice. Putting your safety at risk is never worth it.
Step 2: Gather the Necessary Tools
Before you can start repairing your ladder, it is essential to gather the necessary tools and materials. Having the right tools at hand will make the repair process much smoother and more efficient.
The specific tools you will need can vary depending on the type of ladder and the repairs required. However, here are some common tools that you may need:
- Screwdriver: A screwdriver, both flathead and Phillips-head, will be useful for tightening screws and removing any damaged components.
- Wrench: A set of wrenches, including both open-end and adjustable wrenches, will help you tighten bolts and nuts securely.
- File or Sandpaper: A file or sandpaper can be used to smooth out any rough edges or splintered areas on wooden ladders.
- Epoxy or Wood Glue: If there are any cracks or splits in the wooden ladder, epoxy or wood glue can be used to strengthen and seal the damaged area.
- Replacement Parts: Depending on the extent of the damage, you may need to purchase replacement parts such as rungs, side rails, or hardware. Make sure to measure the dimensions of the ladder accurately before purchasing new components.
- Safety Equipment: Don’t forget to prioritize safety. Wear protective gear such as gloves, goggles, and a sturdy pair of shoes to protect yourself during the repair process.
Additionally, it is a good practice to have a sturdy workbench or a stable surface to lay the ladder on while making the repairs. This will make it easier to access different parts of the ladder and provide a secure working environment.
By gathering all the necessary tools beforehand, you can avoid delays and frustration during the repair process. Take the time to prepare your workspace and ensure that you have everything you need within reach.
Step 3: Repair or Replace Damaged Rungs
One of the most common issues with ladders is damaged or broken rungs. Rungs bear the weight of the user and are subject to a lot of pressure, which can lead to wear and tear over time. In this step, we will guide you on how to repair or replace damaged rungs.
Here’s how you can proceed:
- Remove the damaged rung: If the rung is cracked or broken, carefully remove it from the ladder. Depending on the ladder’s construction, you may need to remove bolts, screws, or rivets holding the rung in place. Use appropriate tools to detach the damaged rung without causing further damage.
- Repair a wooden rung: If the rung is only slightly damaged, you can often repair it rather than replacing it entirely. Use sandpaper or a file to smoothen any splintered or rough edges. Apply epoxy or wood glue to the damaged area, then press the rung back into place. Allow sufficient time for the adhesive to dry before testing the ladder.
- Replace the rung: If the rung is too severely damaged or cannot be repaired effectively, it’s time to replace it. Measure the dimensions of the original rung to ensure the replacement fits perfectly. Using appropriate hardware, such as screws or rivets, attach the new rung securely to the ladder. Make sure it is aligned correctly and does not wobble or shift.
- Repeat for other damaged rungs: If there are multiple damaged rungs, repeat the same process for each one. Take your time to ensure that each repaired or replaced rung is sturdy and securely attached to the ladder.
Remember, pay attention to the load capacity of the ladder and ensure that the replacement rung can handle the expected weight. If you are unsure about the repair process or need guidance, consult an expert or refer to the ladder’s manufacturer guidelines.
By repairing or replacing damaged rungs, you are restoring the ladder’s strength and stability. Regularly inspect the ladder’s rungs and address any issues promptly to maintain a safe working environment.
Step 4: Check and Tighten Bolts and Fasteners
Bolts, screws, and other fasteners play a crucial role in keeping the ladder stable and secure. Over time, these fasteners can become loose due to regular use or vibrations. In this step, we will guide you on how to check and tighten bolts and fasteners to ensure your ladder’s stability.
Follow these steps:
- Inspect all bolts and fasteners: Carefully examine the ladder and identify all the bolts, screws, rivets, and other fasteners. Check for any signs of looseness or missing fasteners. It’s essential to inspect both the steps and the hardware attaching the ladder’s components together.
- Tighten loose bolts: Using the appropriate tools, tighten any loose bolts or fasteners. Use a screwdriver or a wrench depending on the type of fastener. Ensure that each bolt is tightened securely but be careful not to over-tighten, as it can cause damage.
- Replace missing or damaged fasteners: If you come across any missing or damaged fasteners, replace them promptly. Make sure to use high-quality replacements that are compatible with your ladder’s construction. Consult the manufacturer’s guidelines or seek professional advice if you are unsure.
- Check for rust or corrosion: Rust or corrosion can weaken fasteners and compromise the ladder’s stability. If you notice any signs of rust, use appropriate rust removal techniques to clean the affected areas. If necessary, replace the rusted fasteners with new ones to maintain the ladder’s strength.
It is important to check and tighten bolts and fasteners regularly, not just when you are repairing your ladder. Make it a part of your maintenance routine to ensure that the ladder remains secure and safe to use.
Remember, safety should always be your top priority. If you encounter any complicated or extensive issues with the ladder’s fasteners, it is recommended to consult a professional or contact the ladder’s manufacturer for guidance. Avoid using a ladder with loose or missing fasteners, as it can pose a significant safety risk.
Inspect the ladder for any visible damage or wear and tear. Tighten any loose screws or bolts, and replace any damaged or worn out parts. Always follow the manufacturer’s instructions for proper maintenance and repair.
Read more: When Is A Cage Required On A Fixed Ladder
Step 5: Reinforce Weak or Wobbly Sections
A ladder with weak or wobbly sections can be hazardous to use. In this step, we will guide you on how to reinforce these sections to enhance the ladder’s stability and safety.
Follow these steps:
- Identify weak or wobbly sections: Carefully inspect the ladder and identify any areas that feel weak or wobbly when pressure is applied. This can include side rails, connecting joints, or other parts of the ladder that show signs of instability.
- Reinforce the weak sections: Depending on the specific issue, there are several ways to reinforce weak or wobbly sections. For wooden ladders, you can use bracing or additional screws to strengthen weak joints or connections. For fiberglass or aluminum ladders, consider using adhesive-backed rubber padding or grip tape to provide extra stability.
- Apply additional support: In some cases, you may need to add additional support to reinforce weak sections. This can be done by installing braces or brackets made from sturdy materials such as metal or fiberglass. Ensure that the additional support is securely attached to the ladder and does not interfere with its functionality.
- Test for stability: Once you have reinforced the weak sections, test the ladder for stability. Apply weight or pressure to those areas and check if they remain firm and stable. If there are any further concerns or signs of instability, reassess the reinforcement methods or seek professional assistance.
Remember, reinforcement methods may vary depending on the ladder’s construction materials and design. Consider consulting the ladder’s manufacturer guidelines or seeking expert advice for specific reinforcement techniques.
Regular inspections and reinforcement of weak or wobbly sections will help maintain the ladder’s stability and prevent accidents. Do not ignore any signs of instability, as they can worsen over time and compromise your safety.
Step 6: Clean and Maintain the Ladder
Maintaining a clean and well-maintained ladder not only enhances its appearance but also prolongs its lifespan. In this step, we will guide you on how to clean and maintain your ladder.
Follow these steps:
- Remove dirt and debris: Start by removing any dirt, dust, or debris from the ladder. Use a soft-bristle brush or a cloth to wipe away loose particles. Pay attention to hard-to-reach areas and corners.
- Wash the ladder: Fill a bucket with warm water and add a mild detergent. Use a sponge or a soft brush to gently scrub the ladder’s surface. Be cautious not to use abrasive materials or harsh chemicals that could damage the ladder’s finish.
- Rinse with clean water: After washing, rinse the ladder thoroughly with clean water to remove any soap residue. This will prevent the ladder from becoming slippery when in use.
- Dry the ladder: Allow the ladder to air dry completely before storing or using it. Ensure that it is placed in a well-ventilated area to facilitate drying and prevent moisture buildup.
- Inspect for any damages: While cleaning, take the time to inspect the ladder for any signs of damage or wear. Look for cracks, bends, or other issues that may require repair. Address any repairs promptly to maintain the ladder’s safety.
- Store properly: When not in use, store the ladder in a dry and secure location to prevent exposure to excessive moisture or harsh weather conditions. If possible, keep it away from direct sunlight, which can cause fading or weakening of certain materials.
- Regular maintenance: Implement a regular maintenance routine for your ladder. This may include inspecting the ladder periodically, tightening bolts and fasteners as needed, and addressing any minor repairs promptly. Regular maintenance will help extend the ladder’s lifespan and ensure its safe and reliable use.
Remember, safety is paramount when cleaning and maintaining your ladder. Always follow proper ladder safety practices, such as using a stable support and wearing appropriate protective gear, when working with your ladder.
By cleaning and maintaining your ladder regularly, you not only keep it in optimal condition but also contribute to a safer working environment.
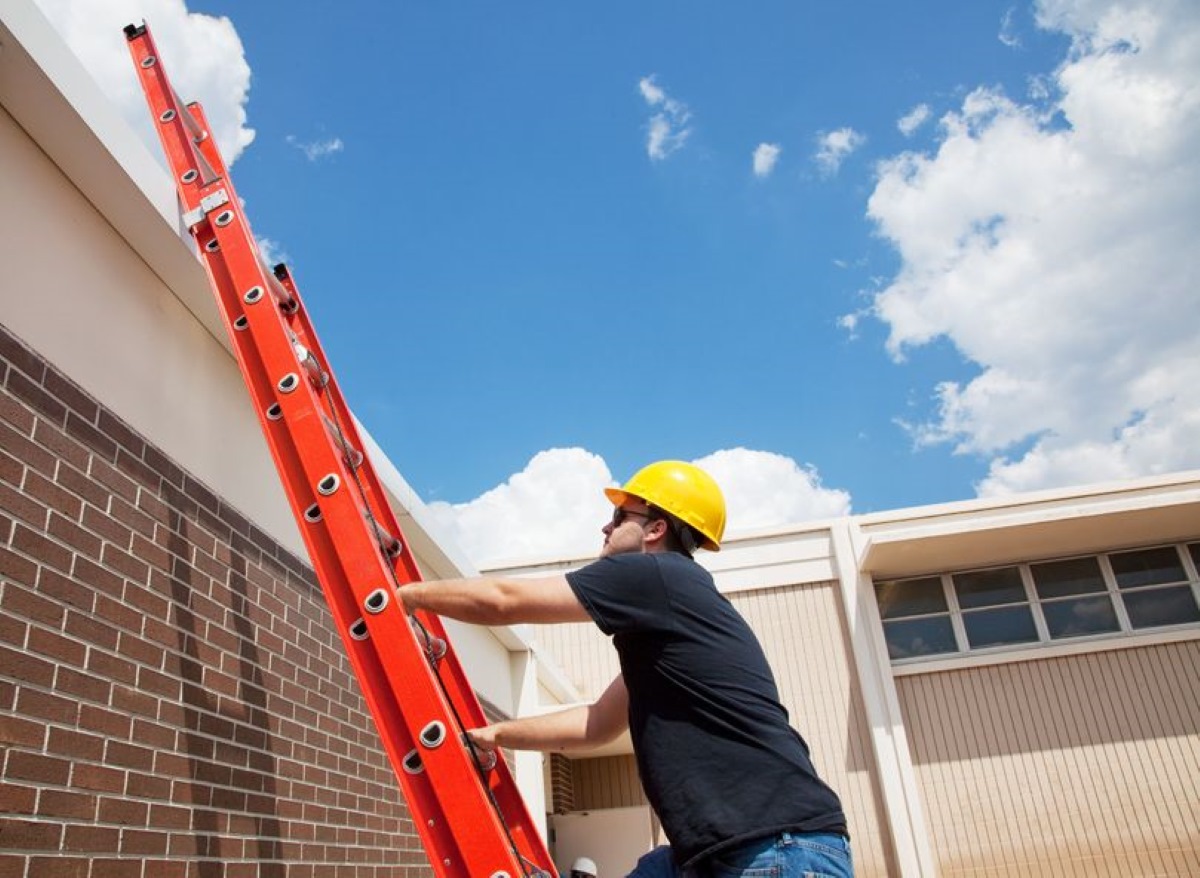
Step 7: Test the Ladder for Safety
The final step in fixing a ladder is to test its safety before using it for any tasks. Testing the ladder will ensure that all the repairs and maintenance work you have done have been effective and that the ladder is safe to use.
Follow these steps to test the ladder for safety:
- Set up the ladder on a flat, stable surface: Find a location where you can safely set up the ladder. Ensure that the ground is level and free from any obstacles or debris that could compromise the ladder’s stability.
- Climb up the ladder cautiously: When climbing up the ladder, do so slowly and deliberately. Pay attention to how the ladder feels beneath you, ensuring that it is stable and secure. If it feels wobbly or unstable, do not continue to climb.
- Test each rung and step: As you climb the ladder, test each rung and step for stability. Put your weight on each one and ensure that it can support you without any signs of weakness or movement. Take note of any rungs or steps that feel loose or unsafe.
- Check the ladder’s stability against the surface it is resting on: While on the ladder, gently shift your weight from side to side to check its stability. Ensure that the ladder doesn’t rock or sway excessively.
- Inspect the ladder for any signs of further damage: While on the ladder, inspect it for any signs of additional damage or issues that may have been missed during the repair process. Pay attention to the rungs, side rails, and other components.
- Listen for any unusual sounds or creaks: Pay attention to any unusual sounds or creaks that the ladder may be making while you are on it. These sounds may indicate underlying problems that need to be addressed.
If, during the testing process, you notice any potential safety concerns or issues with the ladder, do not use it until the necessary repairs are made. It’s better to take the time to fix the ladder properly rather than risking accidents or injuries.
Regularly testing the ladder for safety is essential even after you have completed the repair process. Ladders are subject to wear and tear over time, and periodic safety checks will help ensure its continued safe use.
By following these steps and conducting a proper safety test, you can have confidence in the reliability and safety of your ladder for various tasks.
Conclusion
Fixing a ladder is a crucial step in ensuring its safety and functionality for various tasks. By following the steps outlined in this article, you can effectively repair and maintain your ladder, prolonging its lifespan and creating a safe working environment.
Remember, safety should always be your top priority when working with ladders. Assessing the damage, gathering the necessary tools, and addressing issues such as damaged rungs, loose bolts, weak sections, and cleaning are all key elements of ladder maintenance.
Regular inspection and maintenance will help you catch potential problems early on, preventing further damage and ensuring the ladder’s stability. Additionally, testing the ladder for safety before use is crucial to minimize the risk of accidents or injuries.
If you are unsure about the repair process or encounter more complex issues, it is recommended to consult a professional or contact the ladder’s manufacturer for guidance and expert advice.
By taking the time to fix and maintain your ladder, you are investing in safety and creating a reliable tool that will serve you well for years to come. Remember to always prioritize safety and follow proper ladder usage guidelines to ensure a secure and successful experience.
Frequently Asked Questions about How To Fix Ladder
Was this page helpful?
At Storables.com, we guarantee accurate and reliable information. Our content, validated by Expert Board Contributors, is crafted following stringent Editorial Policies. We're committed to providing you with well-researched, expert-backed insights for all your informational needs.


0 thoughts on “How To Fix Ladder”