
Articles
How To Build An Attic Ladder
Modified: December 7, 2023
Discover step-by-step articles on how to build your own attic ladder, providing convenient access to your attic space.
(Many of the links in this article redirect to a specific reviewed product. Your purchase of these products through affiliate links helps to generate commission for Storables.com, at no extra cost. Learn more)
Introduction
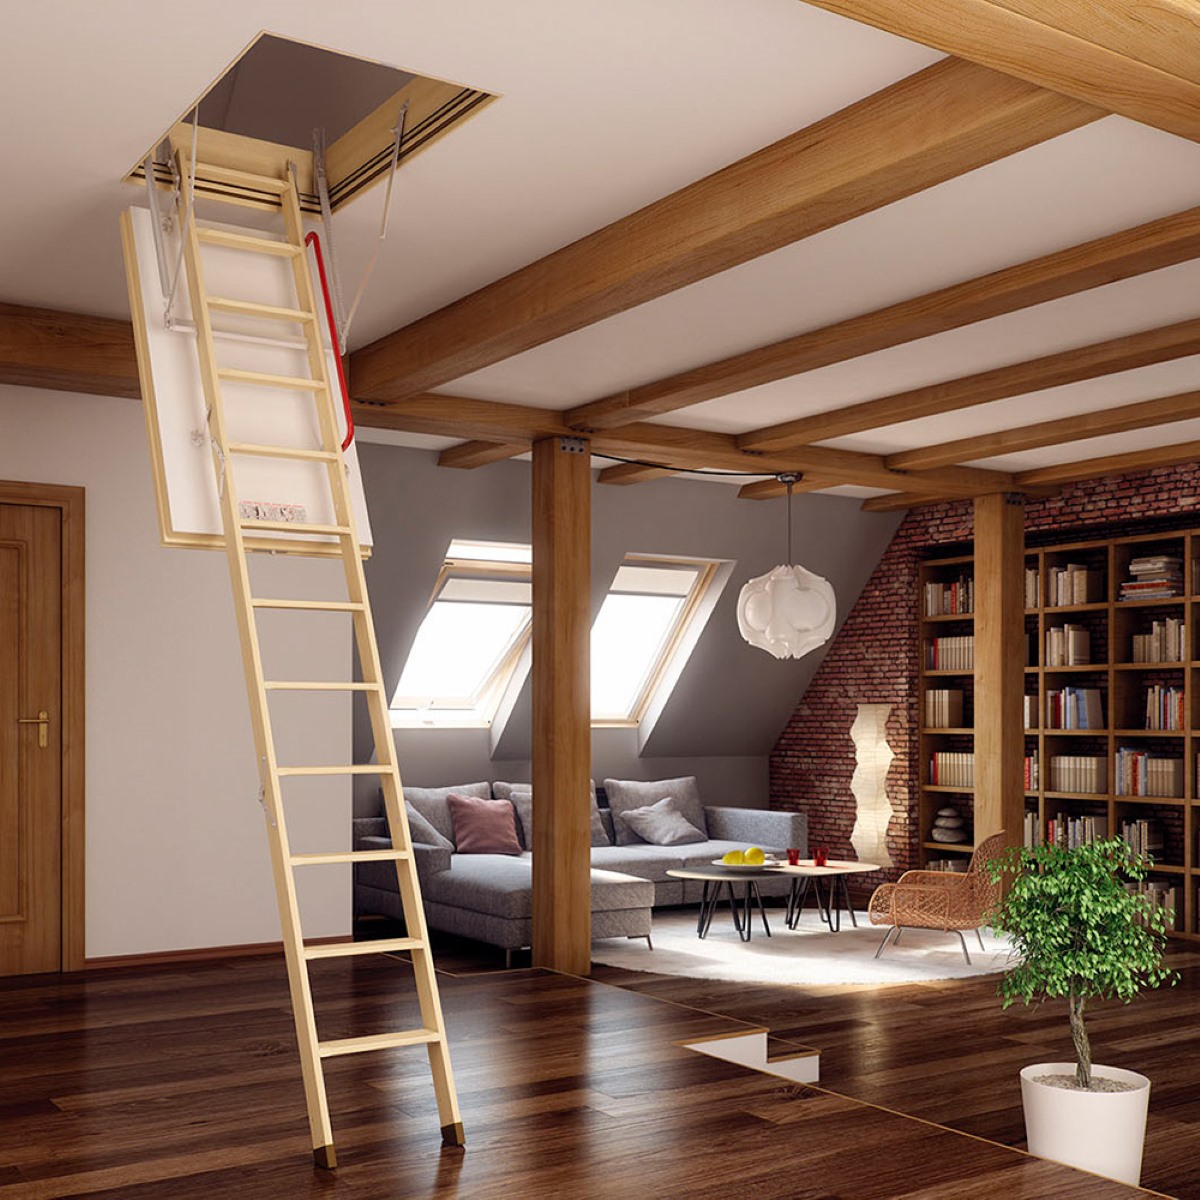
Having an attic in your home is a wonderful asset as it provides valuable storage space or the potential for an additional room. However, accessing the attic may prove to be a challenge if you don’t have a proper ladder in place. Building an attic ladder is a practical solution that allows easy and safe access to your attic space.
In this comprehensive guide, we will walk you through the step-by-step process of building an attic ladder. Whether you are a seasoned DIY enthusiast or a beginner, this tutorial will provide you with the necessary knowledge and instructions to tackle this project with confidence.
We will cover each stage of the process, from gathering materials to installing and testing the ladder. By the end of this guide, you will have the skills and information needed to create a functional and sturdy attic ladder that meets your specific needs.
Before we dive into the details, it’s important to note that building an attic ladder requires a certain level of handyman skills and tools. If you don’t feel comfortable with the necessary tasks or lack the tools, it’s recommended to consult a professional carpenter or contractor to assist you. Safety should always be the top priority when working on any project, so take all necessary precautions and consult with experts if needed.
Now, let’s get started with Step 1: Gathering Materials, where we will outline the necessary tools and supplies you’ll need for this project.
Key Takeaways:
- Building an attic ladder requires careful planning, precise measurements, and sturdy construction. Safety should always be a top priority, and regular maintenance is essential to ensure its longevity and reliability.
- Implementing safety measures such as handrails, proper lighting, and regular inspections are crucial for ensuring the functionality and security of your attic ladder. Always prioritize safety and consult professionals when in doubt.
Read more: How To Close Attic Ladder
Step 1: Gathering Materials
Before you begin building your attic ladder, it’s important to ensure you have all the necessary materials and tools. Here is a list of what you will need:
- Wood: Choose a sturdy and durable wood material for constructing the ladder frame and steps. Common options include pine or oak.
- Screws or nails: You will need these for securing the different components of the ladder together.
- Measuring tape: Essential for accurate measurements.
- Saw: A saw will be required to cut the wood to the appropriate lengths.
- Drill: Use a drill to create pilot holes and attach screws.
- Sanding paper: Smooth out any rough edges or surfaces.
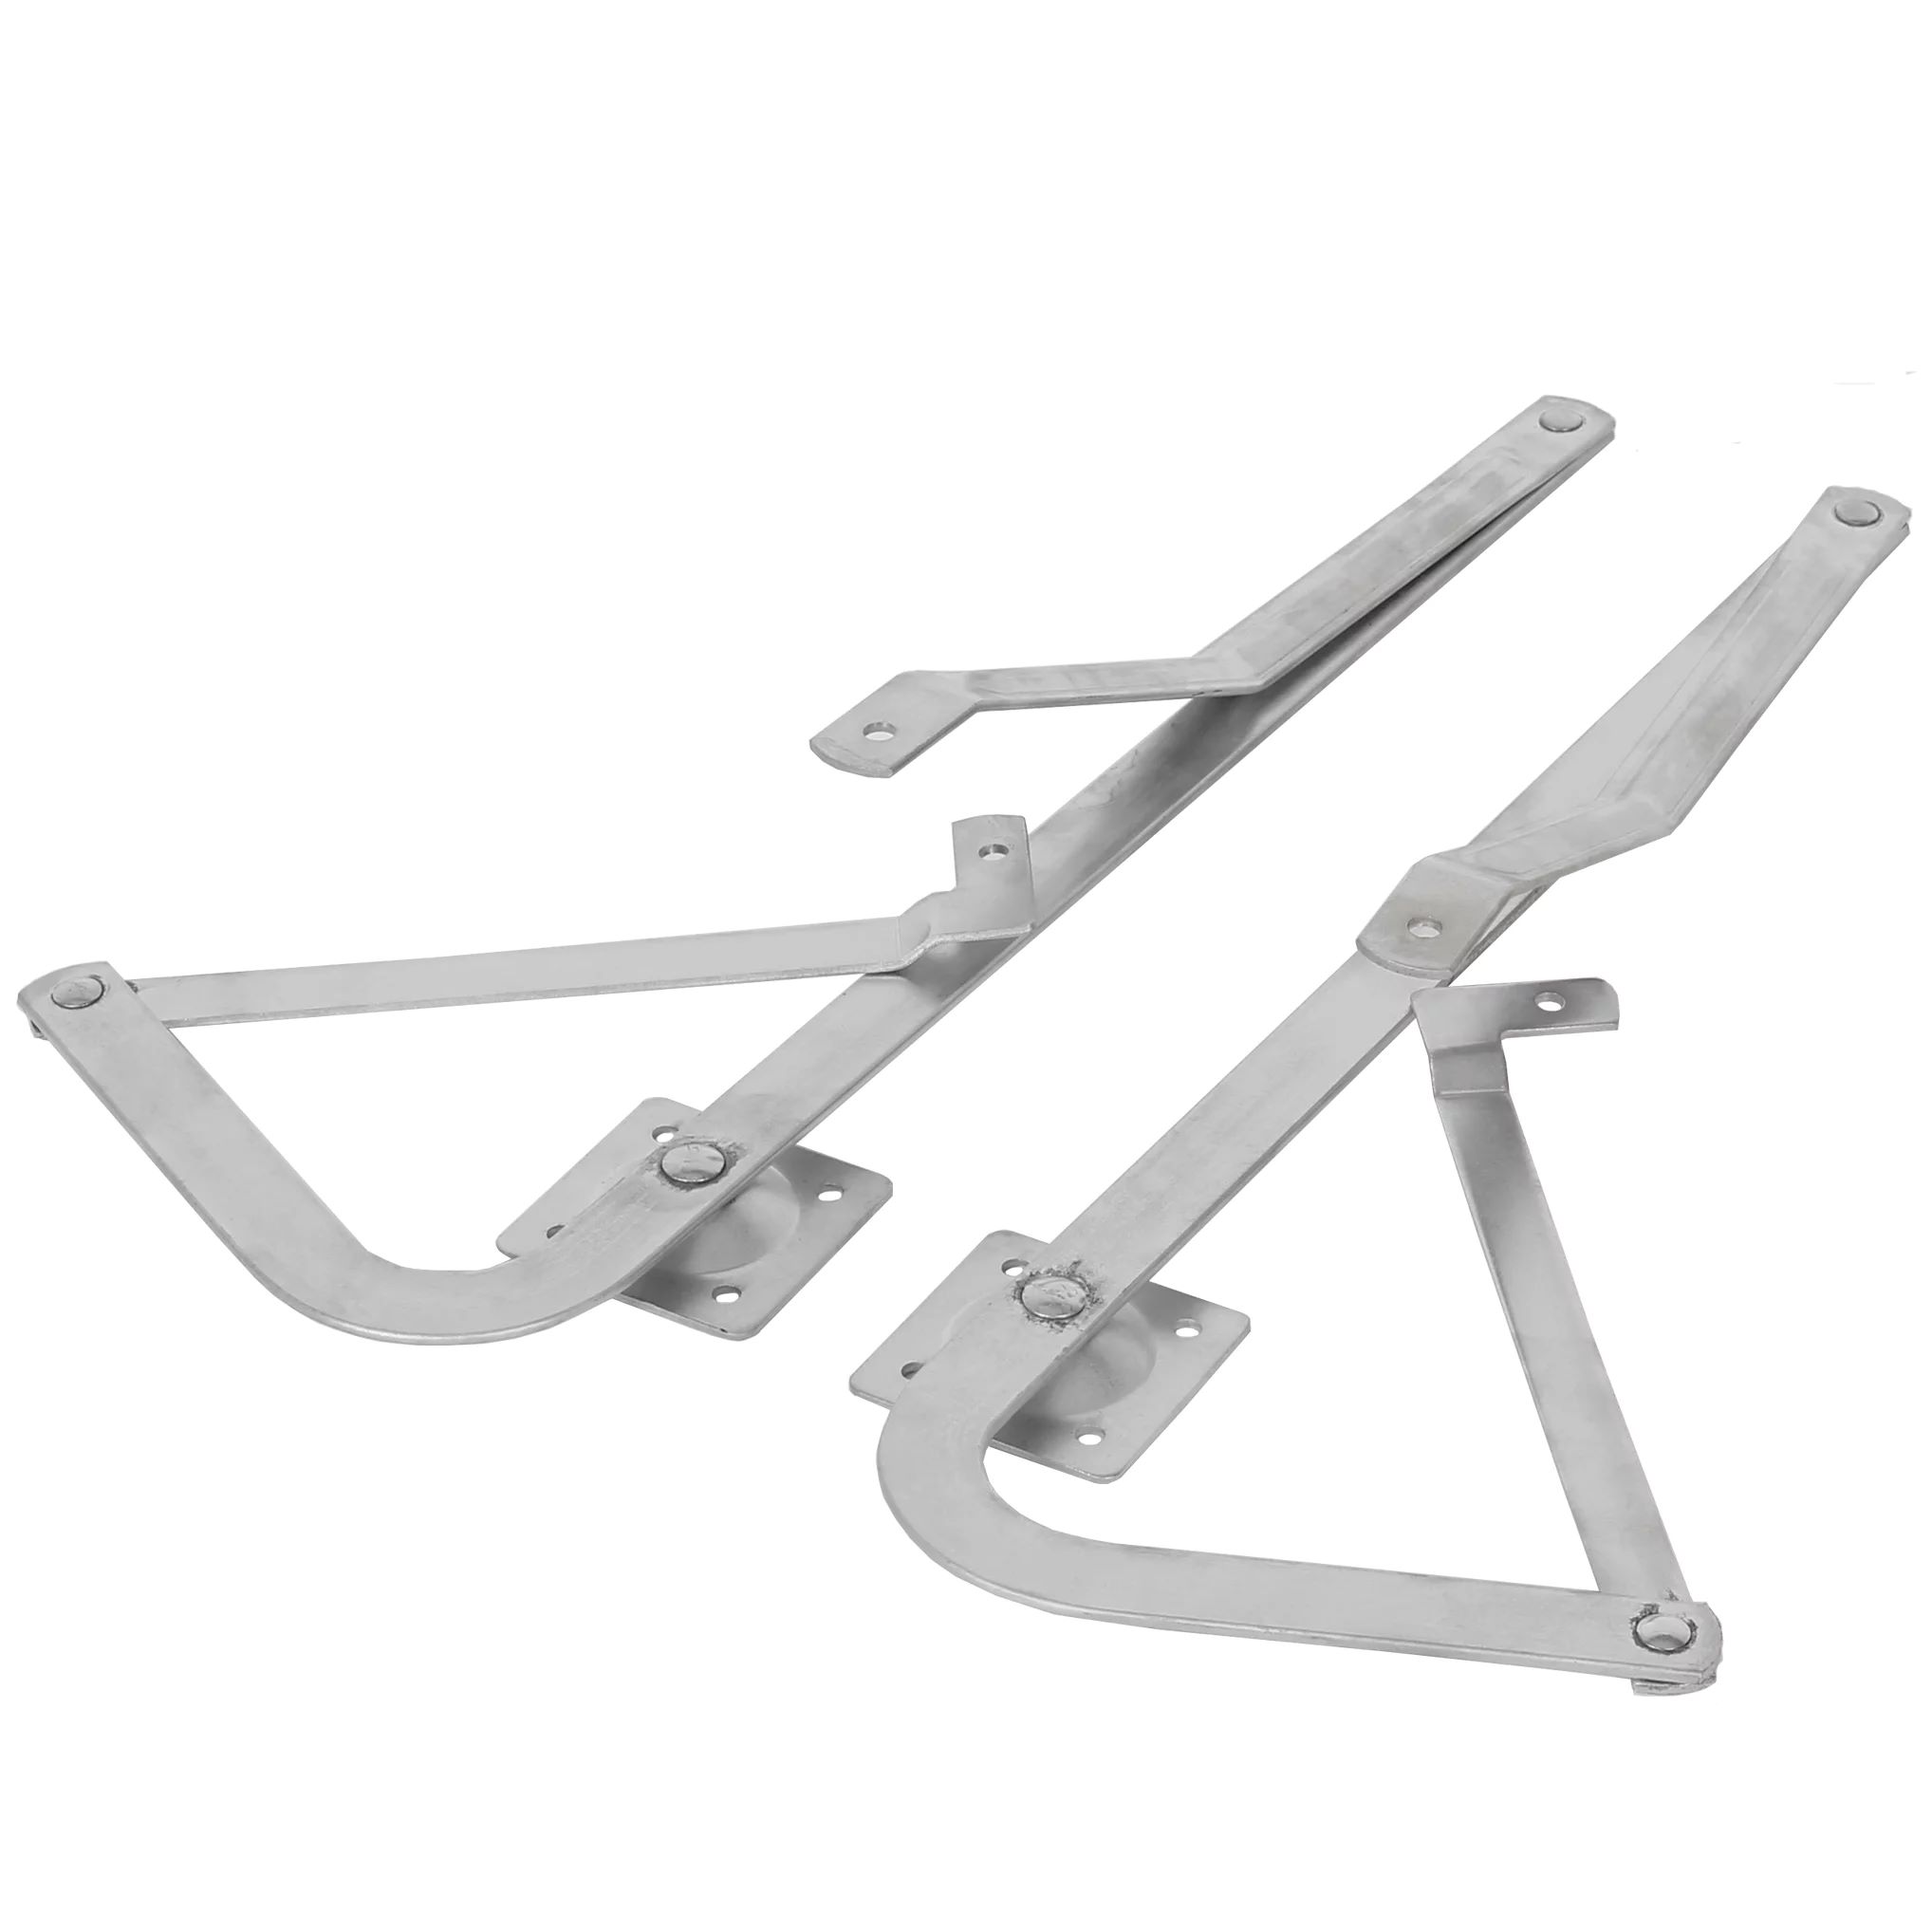
- Hinges: Select sturdy hinges that will allow the ladder to fold and unfold easily.
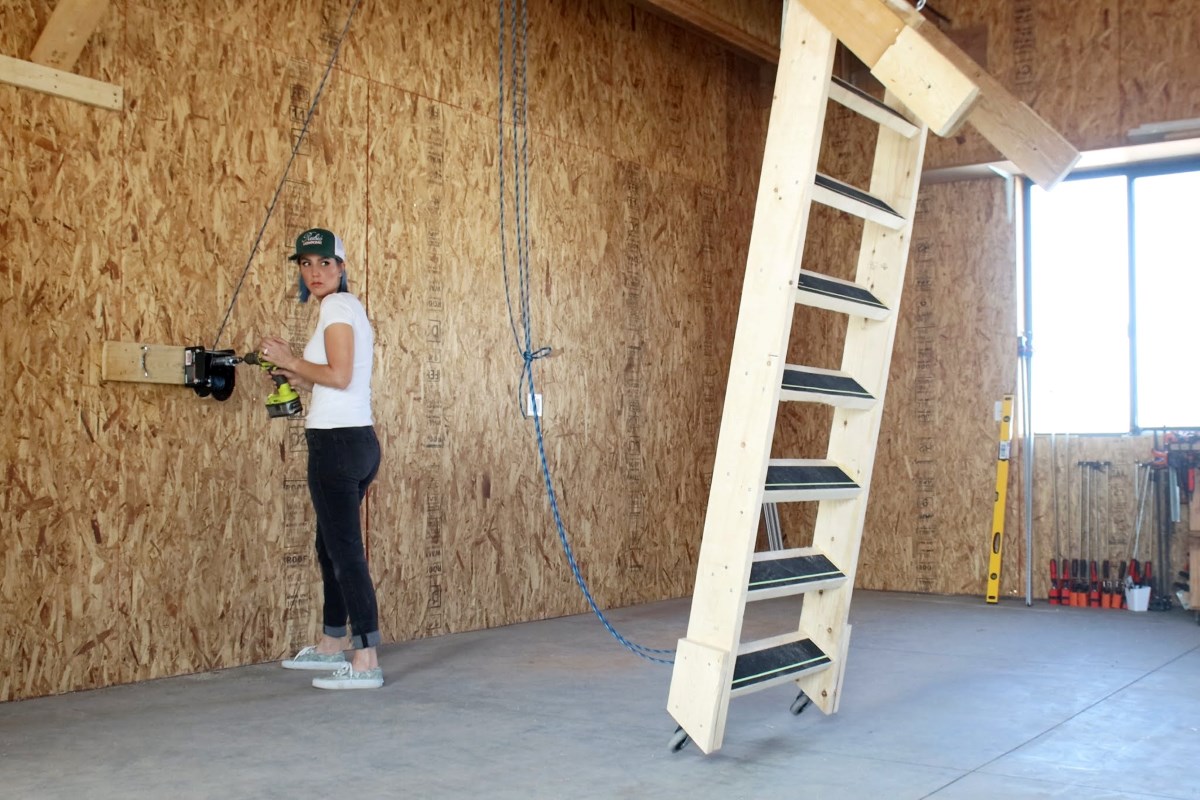
- Pulley system (optional): If you prefer added convenience, you may opt for a pulley system to assist with lifting and lowering the ladder.
- Safety equipment: Don’t forget to gather safety goggles, gloves, and a ladder for accessing the attic during the construction process.
Once you have gathered all the materials and tools, you will be ready to move on to the next step: Measuring and Planning. This crucial stage will ensure that your attic ladder fits perfectly in your attic opening.
Step 2: Measuring and Planning
Before you start building the ladder frame, you need to accurately measure the dimensions of your attic opening to ensure a perfect fit. Follow these steps:
- Measure the width: Use a measuring tape to determine the width of the attic opening. Measure between the two sidewalls or studs to get the correct measurement.
- Measure the height: Measure the height from the floor to the highest point of the ceiling in the attic. This will determine the overall height of your ladder.
- Measure the depth: Measure the depth or distance from the front edge of the attic opening to the back wall. This will dictate the length of your ladder when fully extended.
- Consider the angle: Decide on the angle of the ladder. The standard angle is around 65 to 75 degrees. Keep in mind that a steeper angle will take up more space in the room below the attic.
With the accurate measurements in hand, you can now plan the design and layout of your ladder. Sketch out the ladder, showing the dimensions and the location of each step. This will give you a clearer idea of how the ladder will fit into your attic. Make adjustments as necessary to ensure it aligns with your space constraints and personal preferences.
During the planning stage, it’s also important to consider any weight restrictions or load-bearing capacity your ladder will need to accommodate. This will help you determine the appropriate thickness and spacing for the steps and framing materials.
Once you have completed the measuring and planning stage, you’re ready to move on to building the ladder frame in Step 3.
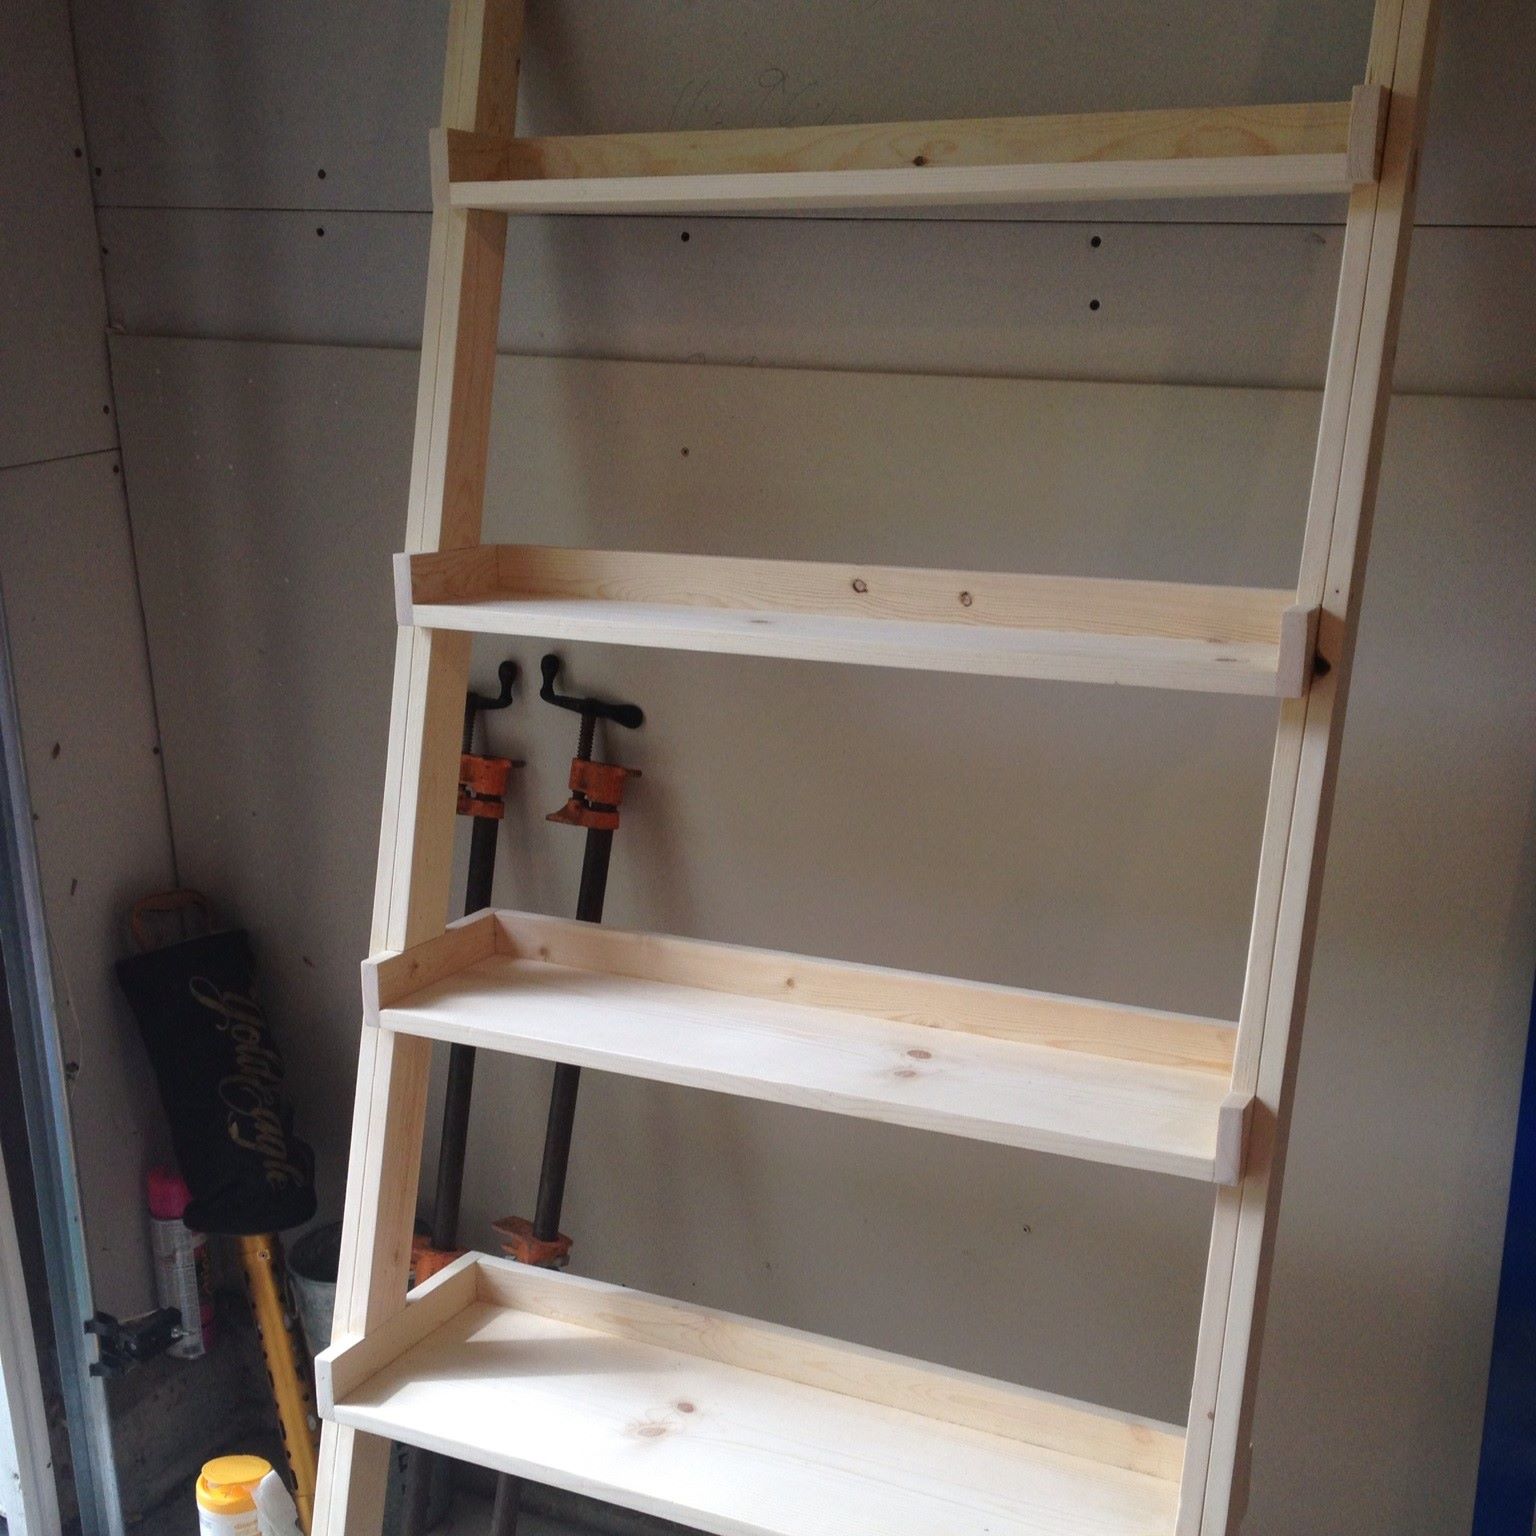
Step 3: Building the Ladder Frame
Building the ladder frame is an essential step in constructing your attic ladder. Follow these instructions to create a sturdy and reliable frame:
- Cut the side rails: Using your measurements, cut two long pieces of wood to serve as the side rails of the ladder. These should be the same length as the height measurement you took earlier.
- Attach the rungs: Measure and mark equal spacing along the length of the side rails where the ladder rungs will go. Cut shorter pieces of wood to fit between the side rails at these marked spots. Attach them securely using screws or nails.
- Reinforce the joints: To strengthen the ladder, you can add additional pieces of wood diagonally across the corners of the ladder frame. These cross bracing pieces should be cut to fit and attached using screws or nails.
- Sand and smooth: Use sandpaper to smooth out any rough edges or surfaces on the ladder frame. This will help prevent splinters and ensure safe use.
- Apply a finish: Optionally, you can apply a coat of paint or stain to protect the wood and enhance the appearance of the ladder.
It’s important to take your time with this step and ensure the ladder frame is built securely and aligned properly. Double-check your measurements and make any necessary adjustments as you go. The frame should be stable and rigid, with all joints and connections firmly secured.
Now that your ladder frame is complete, you’re ready to move on to Step 4: Attaching the Steps. This is where your ladder will start to take shape and become a functional piece.
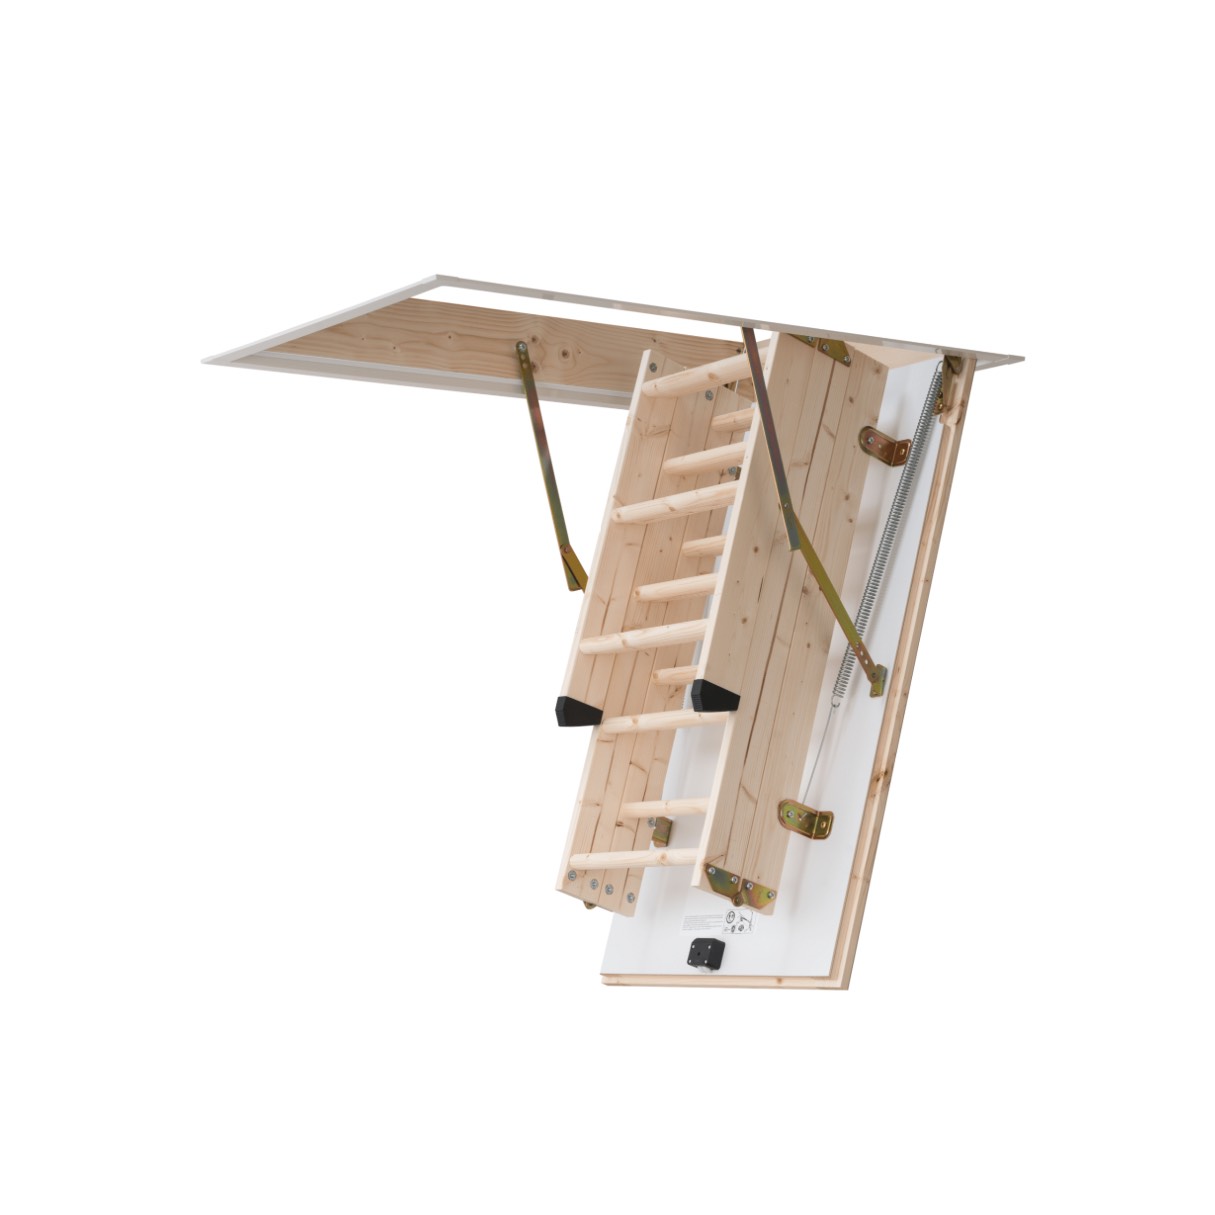
When building an attic ladder, make sure to measure the opening accurately to ensure a proper fit. Use sturdy materials and follow safety guidelines for installation.
Step 4: Attaching the Steps
Attaching the steps to the ladder frame is a crucial part of building your attic ladder. Follow these steps to ensure a secure and stable ladder:
- Measure and mark: Measure and mark the desired spacing for each step along the ladder frame. The spacing should be uniform and comfortable for climbing.
- Cut the steps: Cut pieces of wood to the appropriate length for each step. Ensure they are wide enough to provide a stable platform for climbing.
- Attach the steps: Position each step on the ladder frame at the marked locations. Use screws or nails to attach them securely. It is recommended to attach the steps from the sides of the ladder frame to provide extra stability.
- Reinforce the connections: To further strengthen the ladder, consider adding extra support underneath each step. This can be done by attaching pieces of wood between the step and the ladder frame.
- Sand and smooth: Once all the steps are attached, use sandpaper to smooth out any rough edges or surfaces. This will prevent splinters and ensure safe use.
- Apply a finish: Optionally, you can apply a coat of paint or stain to protect the wood and enhance the appearance of the ladder.
As you attach each step, ensure it is level and securely fastened to the ladder frame. Check for any wobbling or instability and make any necessary adjustments. Your goal is to create a ladder that is safe and reliable for climbing.
With the steps attached, your attic ladder is taking shape. In the next step, Step 5: Installing the Ladder in the Attic Opening, we will guide you through the process of properly installing the ladder for seamless access to your attic.
Read more: How To Measure An Attic Ladder
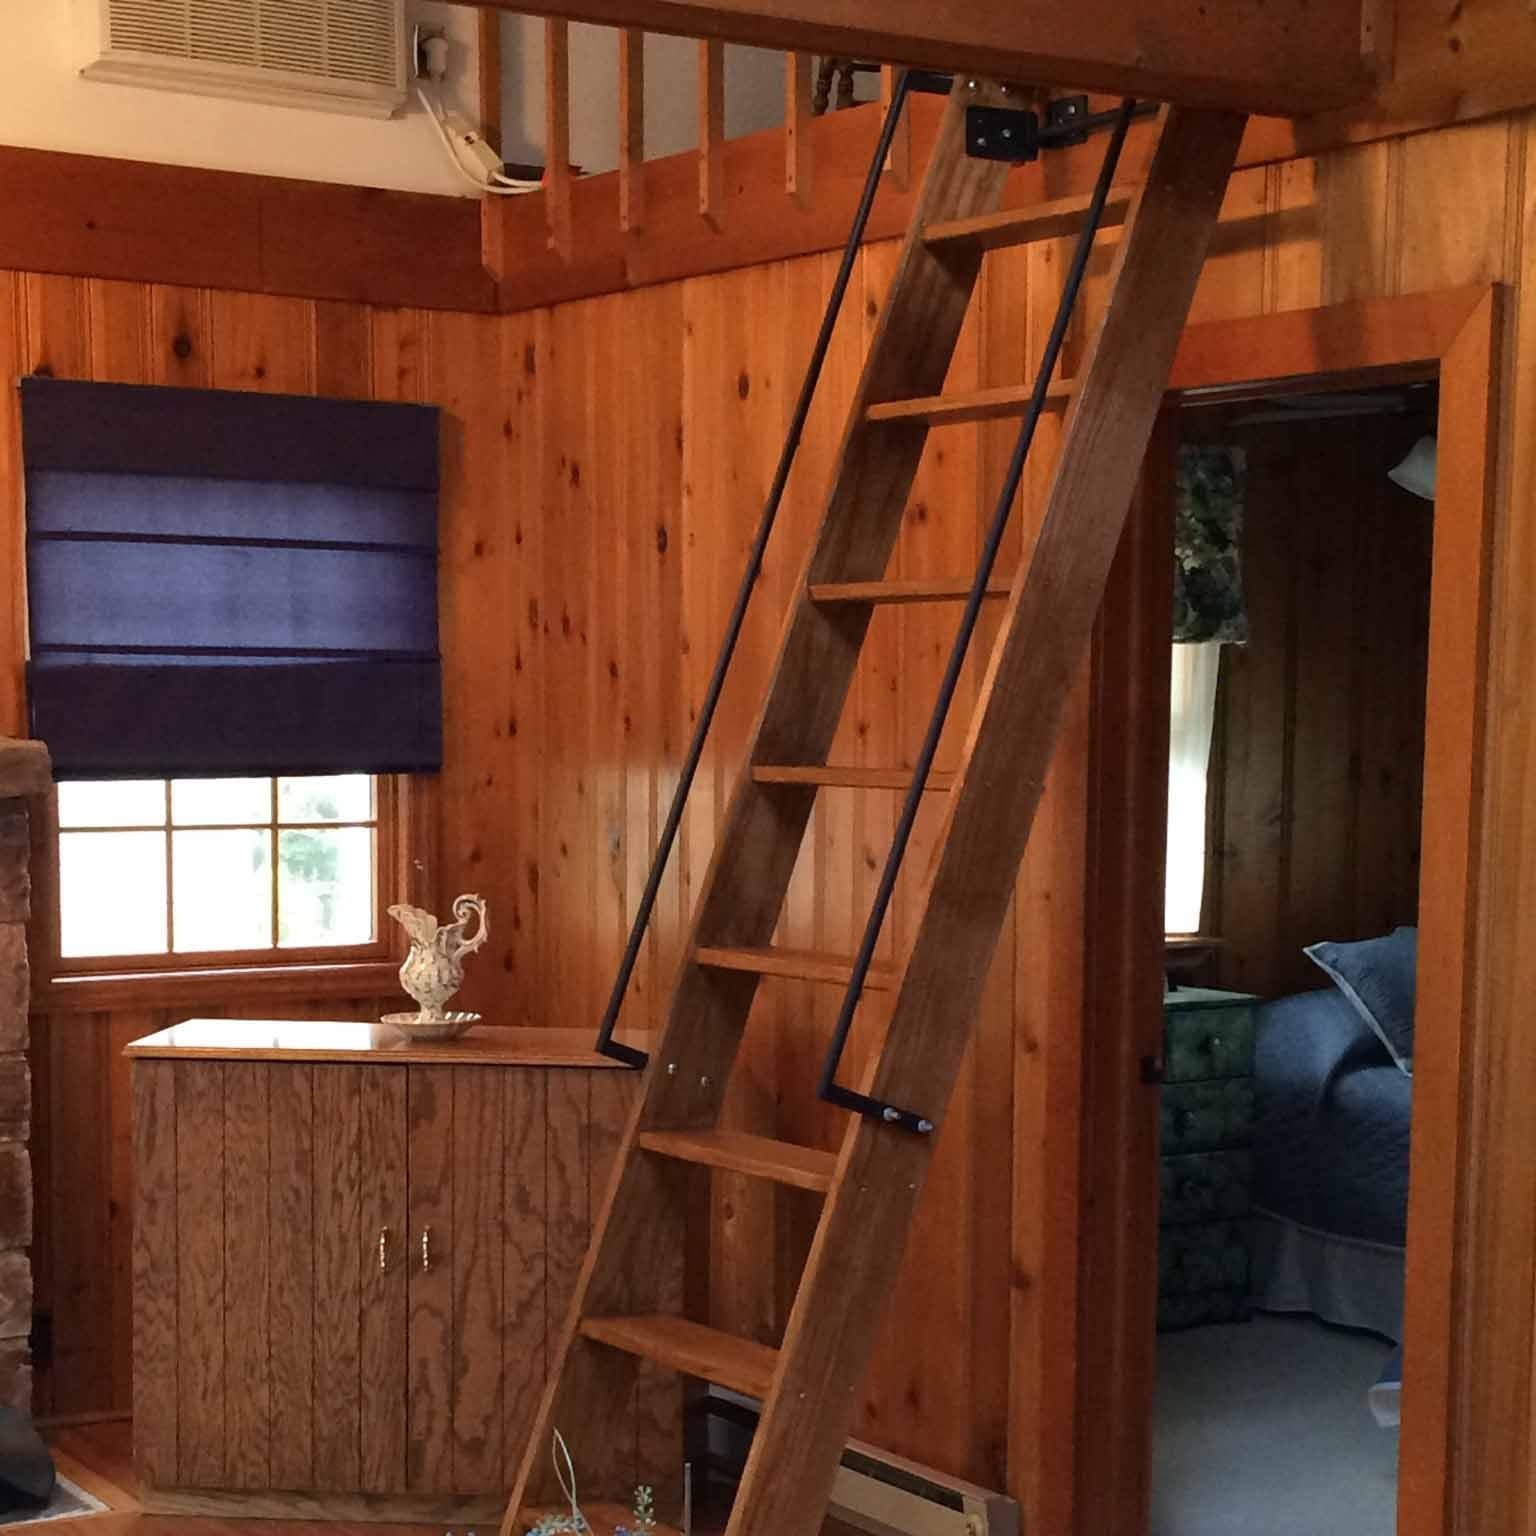
Step 5: Installing the Ladder in the Attic Opening
Now that you’ve built the ladder frame and attached the steps, it’s time to install the ladder in the attic opening. Follow these steps for a smooth installation process:
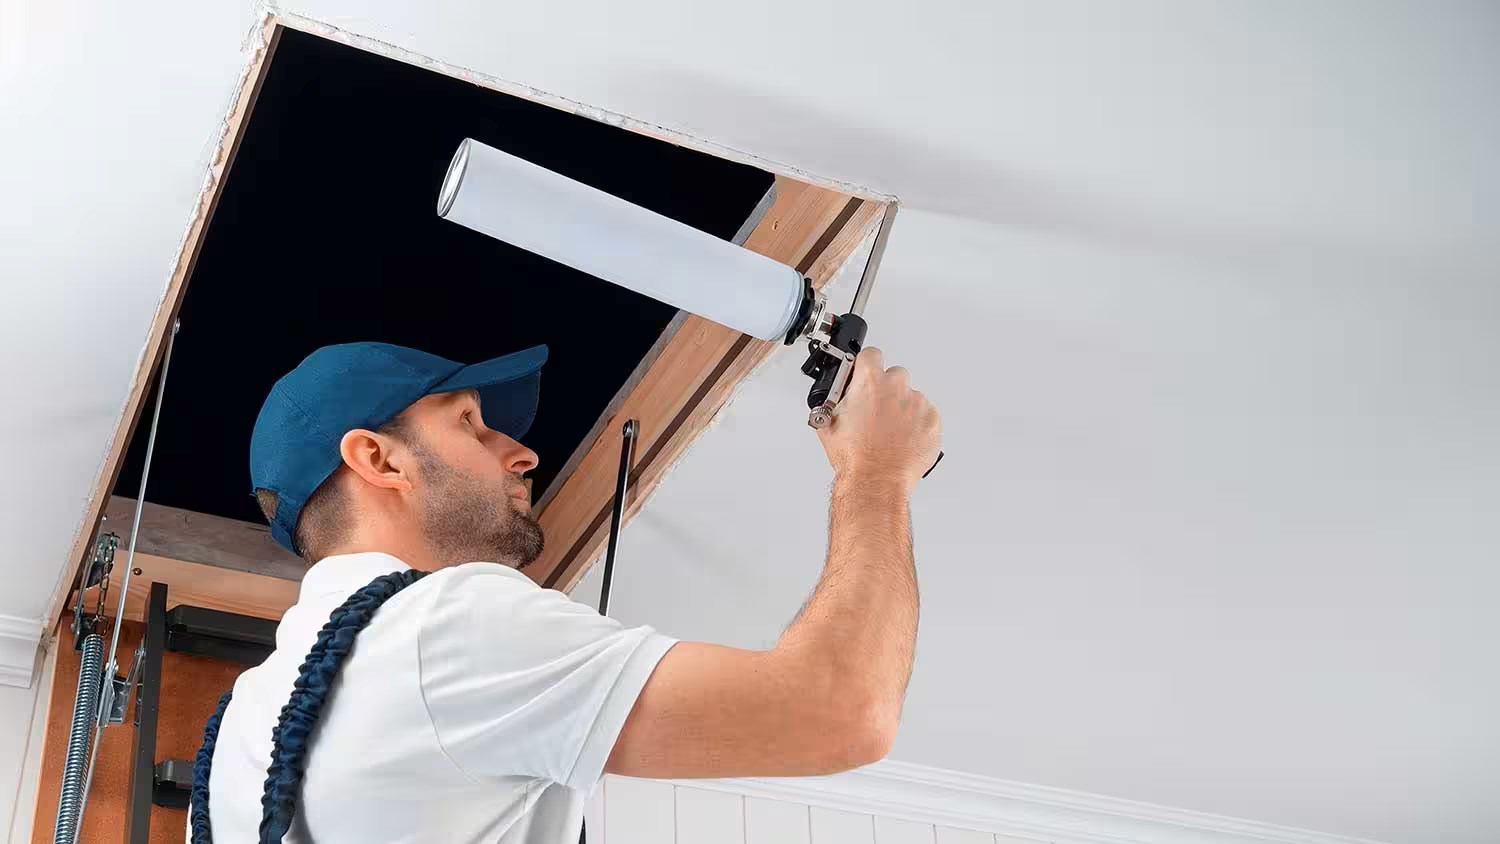
- Prepare the attic opening: Clear away any obstructions or debris from the attic opening. Ensure the area is clean and safe to work in.
- Position the ladder: Place the ladder frame in the attic opening, ensuring it is centered and level. Use a level tool to make sure the ladder is straight and aligned properly.
- Secure the ladder: Attach hinges to the top of the ladder frame, securing it to the attic opening. Make sure the hinges are sturdy and properly aligned. Use screws or nails to secure the hinges to the attic framing.
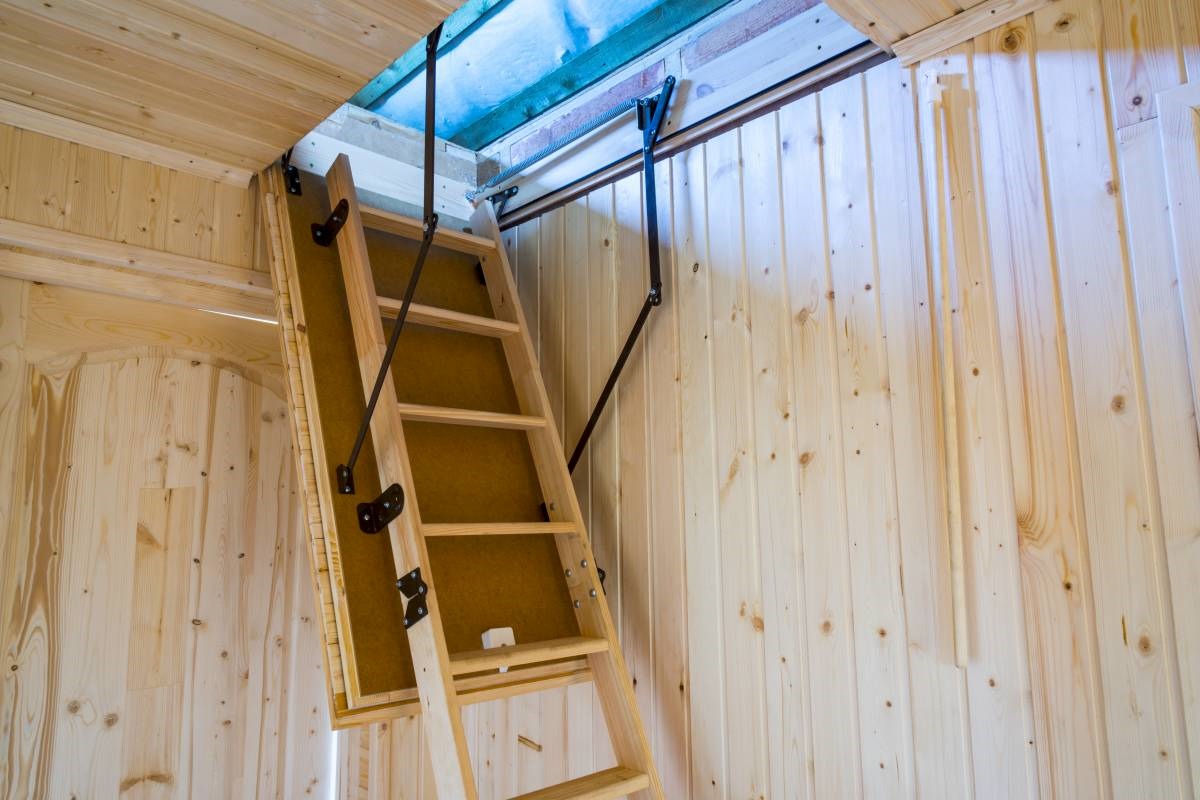
- Test the ladder: Carefully unfold the ladder and ensure it extends fully and smoothly. Test each step to ensure it is secure and can support weight without any issues.
- Make any necessary adjustments: If you notice any wobbling or instability, reinforce the ladder connections or make adjustments to ensure proper stability and safety.
- Install a handrail (optional): If desired, install a handrail on one or both sides of the ladder for added safety and convenience. Ensure it is securely attached to the ladder frame.
Once the ladder is installed, take the time to carefully inspect the entire structure for any potential safety hazards or areas that may need reinforcement. Your goal is to have a solid and stable ladder that can be easily folded and unfolded as needed.
Now that your ladder is securely installed in the attic opening, it’s time to move on to Step 6: Testing and Safety Measures. This final step ensures your ladder is fully functional and safe for use.
Step 6: Testing and Safety Measures
After installing your attic ladder, it’s essential to conduct thorough testing and implement safety measures to ensure its functionality and prevent accidents. Follow these steps to complete the process:
- Test the ladder’s functionality: Carefully test the ladder by folding and unfolding it multiple times. Ensure it moves smoothly and locks securely in both the open and closed positions.
- Inspect the ladder for stability: Ascend the ladder and verify its stability. Pay attention to any wobbling or unevenness. If you notice any issues, reinforce connections or adjust any necessary components.
- Check weight capacity: Confirm that the ladder can support the weight it is designed for. This information should be provided in the ladder’s specifications or guidelines. Avoid exceeding the weight limit to prevent accidents.
- Implement safety measures: Install grab bars or handrails on the ladder or in the attic space for added safety. These will provide extra support and stability while climbing up or down the ladder.
- Ensure proper lighting: Install adequate lighting in the attic space to enhance visibility and reduce the risk of accidents. Proper lighting is crucial for safe navigation on the ladder and in the attic.
- Keep the ladder clear: Avoid blocking the ladder with any objects or debris when not in use. Keep the area around the ladder clear to ensure easy and safe access when needed.
- Regular maintenance: Periodically inspect the ladder for any signs of wear and tear. Replace any damaged or worn-out components promptly to maintain its safety and functionality.
By following these testing processes and implementing necessary safety measures, you can ensure that your attic ladder is secure and reliable for regular use. Safety should always be a priority, so be diligent in keeping up with maintenance and making any required adjustments as needed.
Congratulations! You have successfully completed the process of building and installing your attic ladder. Now you can enjoy easy and convenient access to your attic space whenever needed.
As a final note, remember to consult relevant building codes and regulations in your area to ensure compliance with safety standards. If you have any doubts or concerns about the construction or installation process, consider seeking guidance from a professional carpenter or contractor.
With your new attic ladder in place, you can now make the most of your attic space for storage, additional living areas, or any other purpose you have in mind. Happy climbing!
Conclusion
Building an attic ladder is a rewarding DIY project that provides easy and safe access to your attic space. Throughout this comprehensive guide, we have walked you through the step-by-step process, from gathering materials to testing and implementing safety measures. By following these instructions and taking necessary precautions, you can create a functional and sturdy attic ladder that meets your specific needs.
Remember, safety should always be your top priority throughout the construction and installation process. Consult professionals if needed and adhere to relevant building codes and regulations. Take the time to measure and plan properly, ensuring a perfect fit for your ladder within the attic opening. Building a strong and stable ladder frame, attaching the steps securely, and installing the ladder in the attic opening are crucial steps to create a durable and reliable structure.
Once installed, conduct thorough testing to ensure the ladder’s functionality and stability. Implement additional safety measures such as handrails and proper lighting to further enhance safety. Regularly inspect and maintain your attic ladder to prevent accidents and ensure its longevity.
Now that you have successfully completed your attic ladder, you can enjoy the convenience and accessibility it provides. Utilize your attic space for storage, create an additional room, or explore other possibilities according to your preferences and needs.
We hope this guide has empowered you with the knowledge and confidence to build your own attic ladder. Remember, if you ever feel unsure or uncomfortable with any aspect of the project, it’s always best to consult a professional for assistance.
Happy building and enjoy your new attic ladder!
Frequently Asked Questions about How To Build An Attic Ladder
Was this page helpful?
At Storables.com, we guarantee accurate and reliable information. Our content, validated by Expert Board Contributors, is crafted following stringent Editorial Policies. We're committed to providing you with well-researched, expert-backed insights for all your informational needs.


0 thoughts on “How To Build An Attic Ladder”