Articles
How To Do Floating Candles
Modified: December 7, 2023
Discover the art of creating stunning ambiance with floating candles in this comprehensive step-by-step guide. Explore tips, techniques, and expert articles for a captivating display.
(Many of the links in this article redirect to a specific reviewed product. Your purchase of these products through affiliate links helps to generate commission for Storables.com, at no extra cost. Learn more)
Introduction
Floating candles add a touch of enchantment to any setting, whether it’s for a special occasion or just to create a relaxing ambiance at home. Watching the gentle glow of a flame dancing atop the water can instantly create a sense of tranquility and serenity. While it may seem like a complex craft, creating your own floating candles is actually a simple and enjoyable DIY project.
In this article, we will guide you through the step-by-step process of making your own floating candles. We will cover everything from preparing the candles to creating the floating base and adding decorative touches. So, grab your materials and get ready to embark on a creative journey that will result in stunning floating candles.
Before we dive into the process, let’s take a quick look at the materials you’ll need for this project.
Key Takeaways:
- Create a mesmerizing ambiance with handmade floating candles by following simple DIY steps. Enjoy the enchanting glow and tranquility they bring to any setting, from romantic evenings to special occasions.
- Infuse personal style and creativity into stunning floating candles. From preparing the candles to adding decorative touches, embark on a rewarding DIY journey that captivates and mesmerizes with each flickering flame.
Read more: How Long Do Floating Candles Last
Materials Needed
Before you get started, make sure you have the following materials:
- Moldable candle wax
- Wicks
- Essential oils (optional for fragrance)
- Candle dye (optional for color)
- Heat-resistant container or double boiler
- Stirring utensil (such as a wooden stick or spoon)
- Measuring cup or scale
- Heat source (stovetop or hot plate)
- Decorative elements (such as dried flowers, shells, or glitter)
- Glass containers (wide and shallow for floating, or votive holders)
- Water
Now that you have gathered all the necessary materials, let’s move on to the step-by-step process of creating your own floating candles.
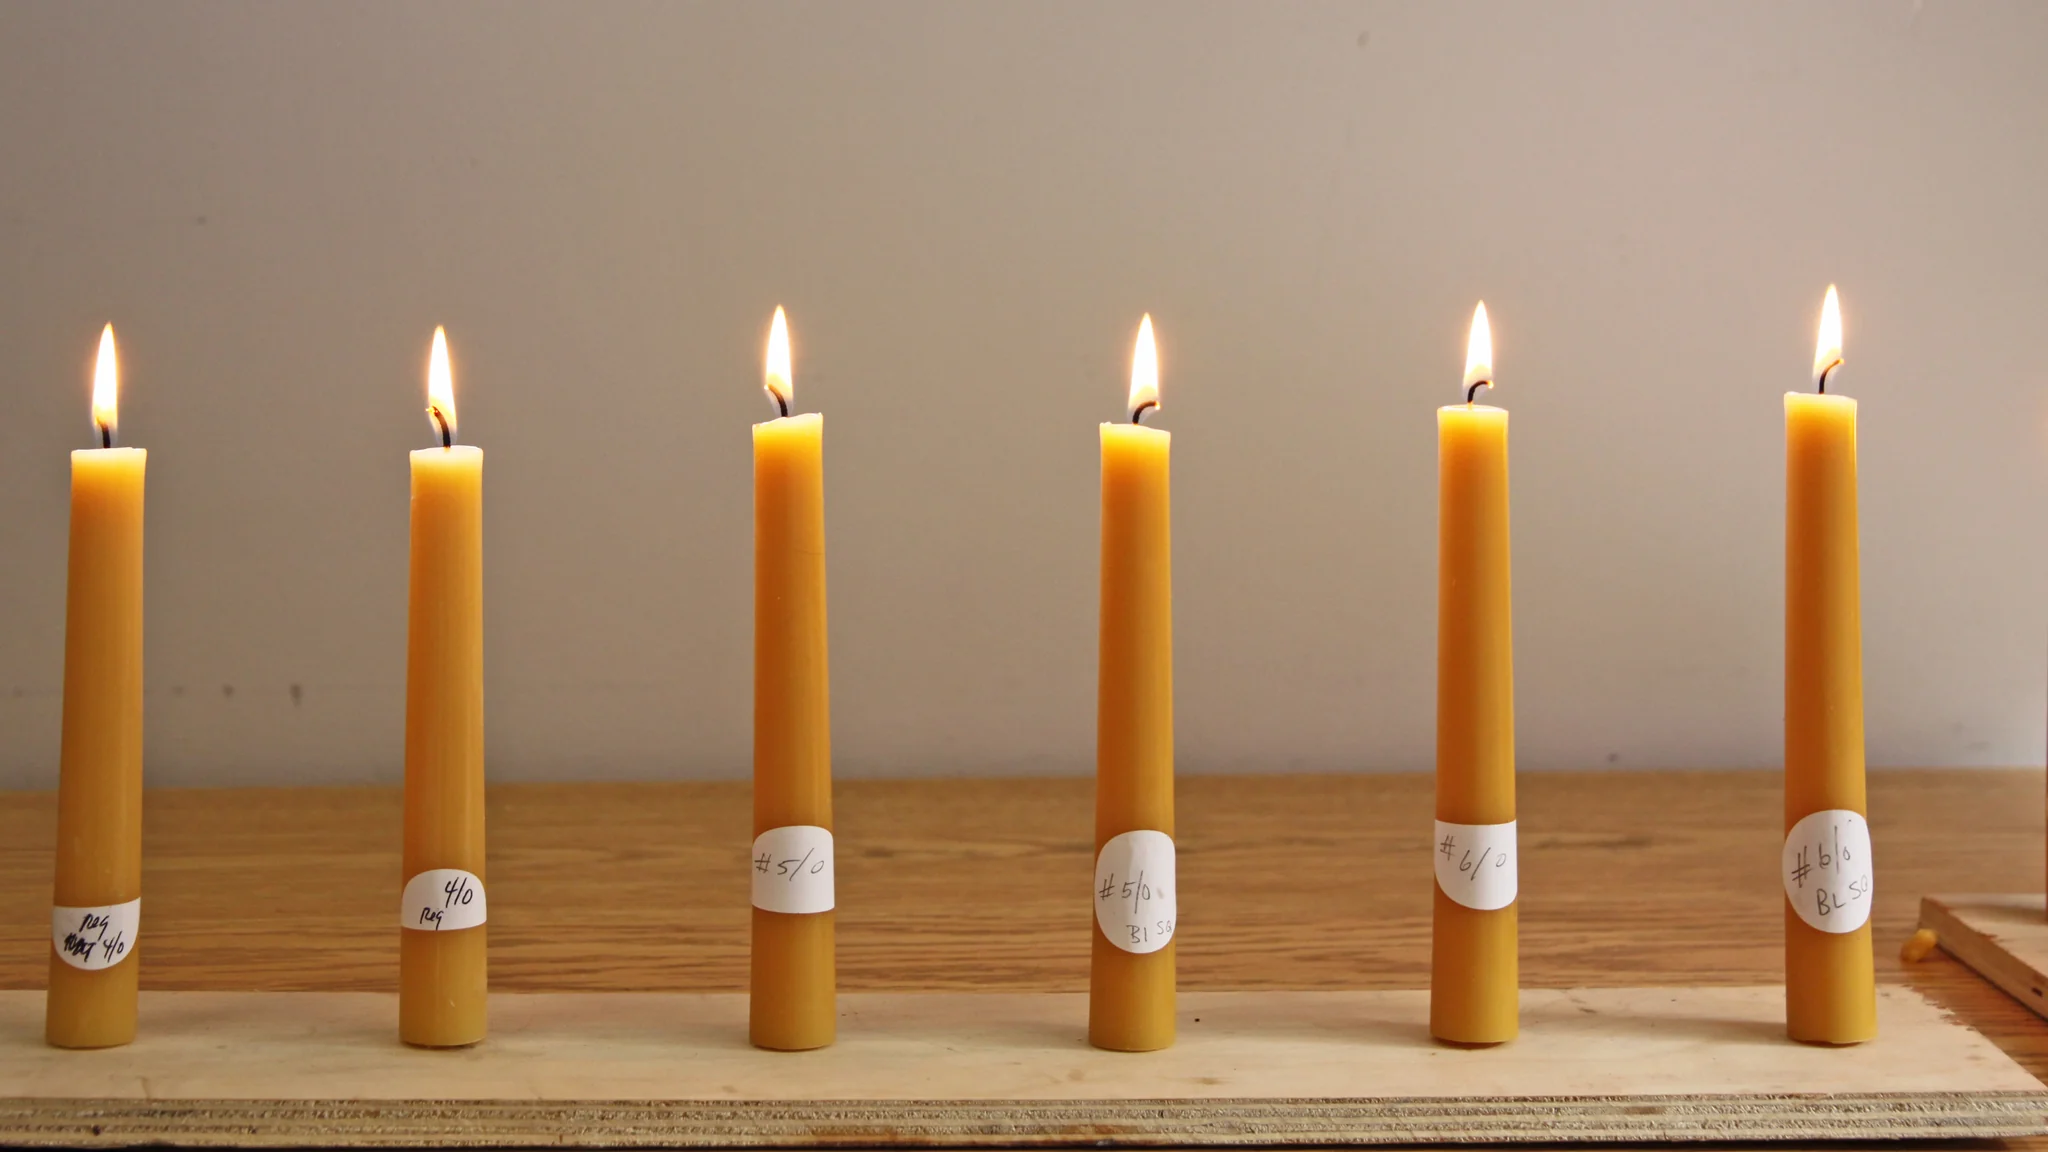
Step 1: Preparing the Candle
The first step in creating your floating candles is preparing the candle itself. Follow these instructions:
- Begin by melting the moldable candle wax in a heat-resistant container or double boiler. If using a double boiler, fill the bottom pot with water and place the wax in the top pot.
- Heat the wax slowly over a low heat source until it is completely melted. Stir occasionally to ensure even melting.
- If desired, add a few drops of essential oil to the melted wax to create a pleasant fragrance for your candles. You can also add candle dye to achieve the desired color.
- Prepare the wicks by cutting them to the desired length, allowing for a little extra length to trim later.
- Dip the wicks in the melted wax and immediately press them onto the bottom center of your glass containers or votive holders. Hold them in place until the wax hardens and the wick is secure.
- Set aside a small amount of melted wax for later use in creating the floating base. Keep it warm and liquid by placing it on the hot plate or keeping it on a low heat source.
- Pour the remaining melted wax into the glass containers, leaving some space at the top to prevent overflow when the candles are lit.
- Allow the candles to cool and harden completely before moving on to the next step.
Once your candles have hardened, they are ready for the next step of creating the floating base. Follow the instructions in the next section to continue the process.
Step 2: Creating the Floating Base
Now that you have prepared the candles, it’s time to create the floating base. Follow these simple instructions:
- Take the small amount of melted wax that you set aside earlier and pour it into a separate heat-resistant container.
- If desired, add some decorative elements to the wax at this stage. You can use dried flowers, shells, or even a sprinkle of glitter to add a touch of personalization to your floating candles.
- Place the heat-resistant container with the wax on a hot plate or low heat source to keep it in a liquid state.
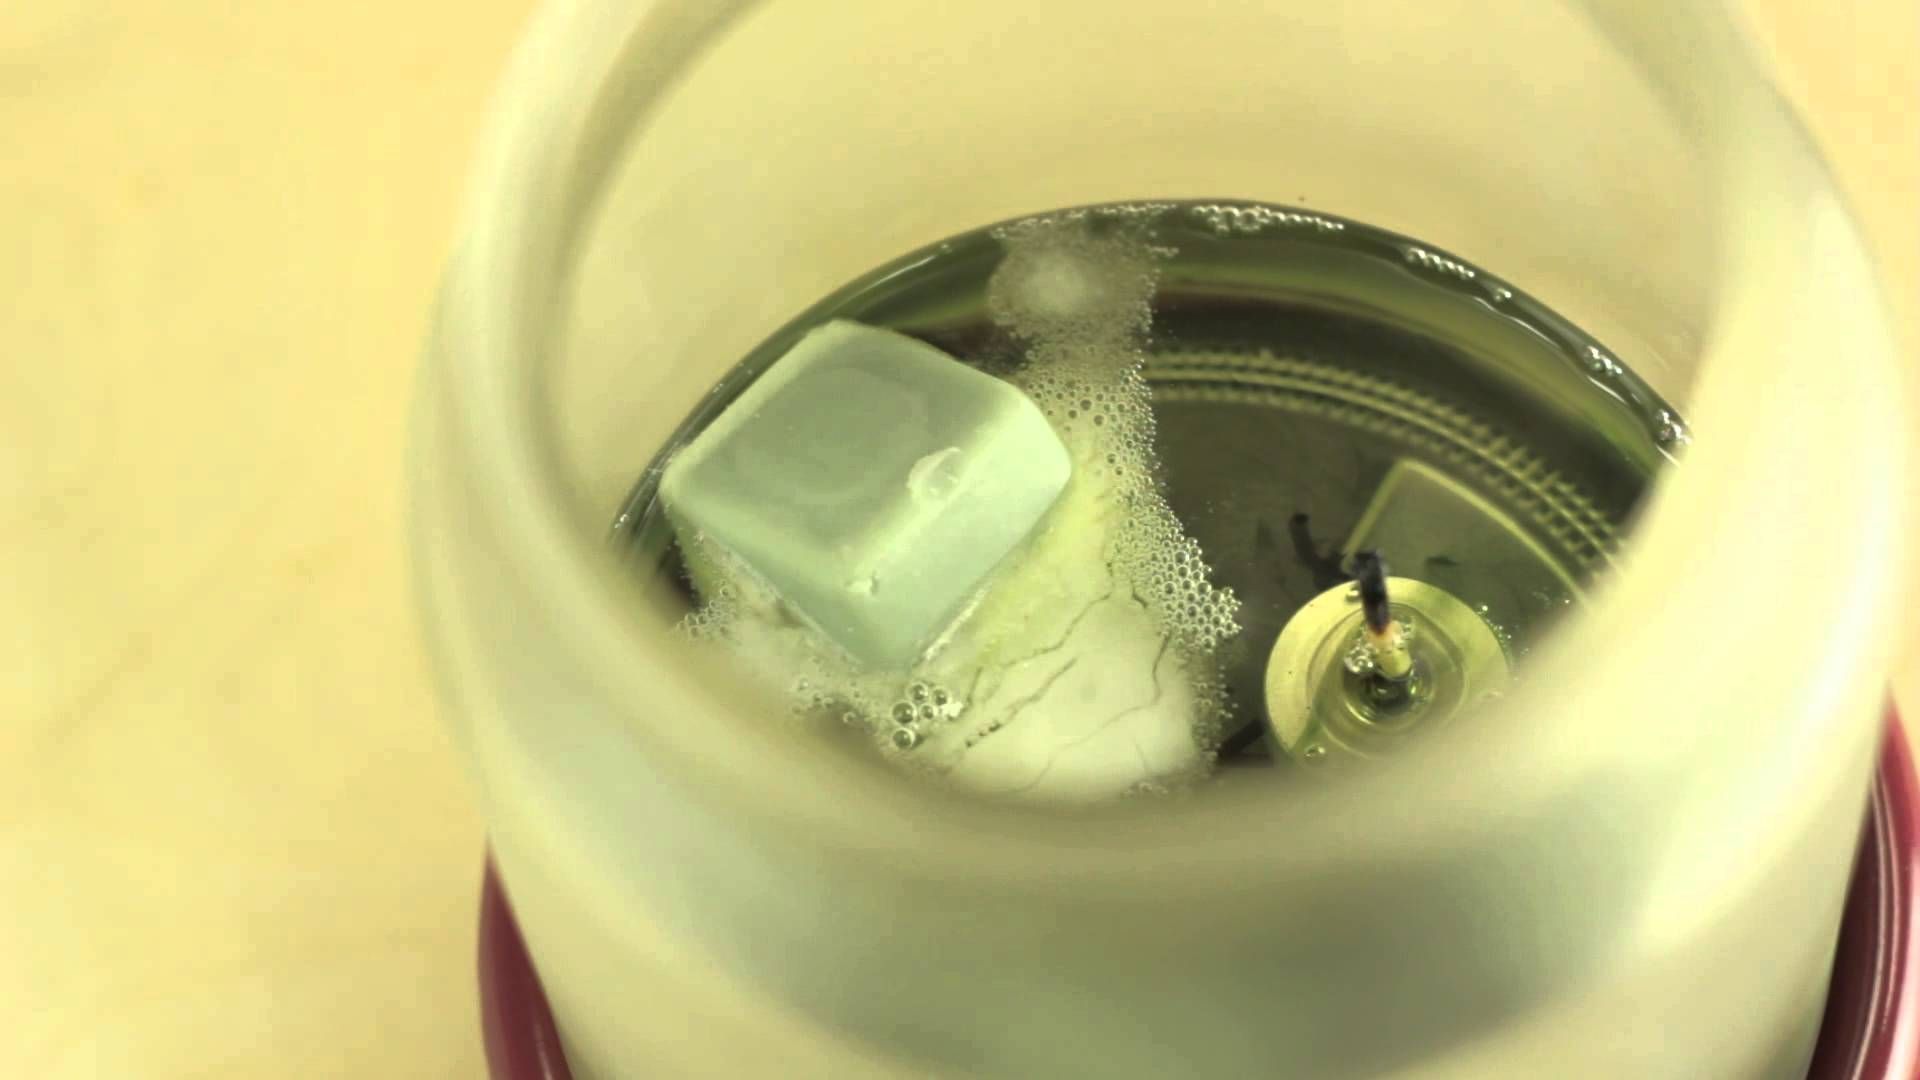
- Fill a large, wide bowl or basin with water. The water should be deep enough to submerge the bottom of your glass containers without overflowing.
- Take each glass container with the hardened candle and carefully dip the bottom into the water for a few seconds. This will wet the bottom of the container and create a surface for the floating base to adhere to.
- Remove the container from the water and immediately dip the wet bottom into the melted wax. Hold it in the wax for a few seconds to allow the wax to adhere to the glass.
- Quickly place the container back in the water and press down gently to ensure the floating base is level and stable.
- Repeat this process for each glass container and allow the floating base to cool and harden completely.
Once the floating base has hardened, you can move on to the next step of adding decorative touches to your floating candles. This step is optional but can elevate the visual appeal of your creations. Read on to learn more in the next section.
When using floating candles, make sure to use a container that is wide and shallow to prevent the candles from tipping over. This will ensure a beautiful and safe display.
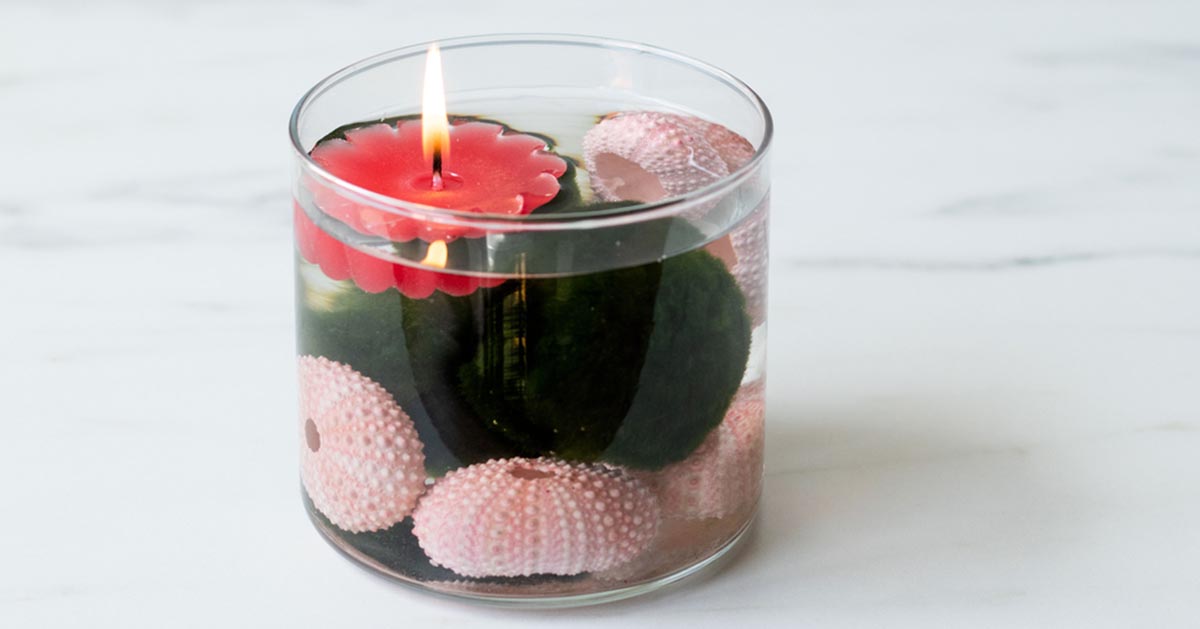
Step 3: Adding Decorations (Optional)
If you want to enhance the aesthetic appeal of your floating candles, you can add decorative elements. Follow these optional instructions to personalize your creations:
- Gather the desired decorative elements such as dried flowers, shells, or glitter. Ensure that the chosen decorations are heat-resistant and safe to use around flames.
- Once the floating base has completely hardened, carefully place the chosen decorations onto the wax surface. You can arrange them in any pattern or design that appeals to you.
- Press the decorations gently into the wax to ensure they adhere firmly. Be mindful not to apply too much pressure, as it can cause the base to lose stability.
- Continue adding decorations until you achieve the desired look for your floating candles. You can experiment with different combinations and arrangements to create unique and visually captivating designs.
Remember that the decorations should be positioned away from the wick and flame to avoid any fire hazards.
Once you are satisfied with the decorative elements, allow the floating candles to cool and harden completely before moving on to the next step of testing and adjusting.
Read more: How To Make Candles Float On Water
Step 4: Testing and Adjusting
After successfully adding decorations to your floating candles, it’s important to test and adjust them to ensure they maintain their float and provide a safe and enjoyable experience. Follow these instructions:
- Fill a large basin or bathtub with water deep enough to submerge the floating base of the candles.
- Gently place each floating candle into the water and observe its buoyancy. The candles should float evenly and remain stable without tipping over.
- If a candle doesn’t float properly or tips over, carefully remove it from the water and make the necessary adjustments. This can include trimming the wick or adding more wax to the floating base to provide additional stability.
- Continue testing and adjusting each candle until you are satisfied with the results.
It’s crucial to ensure that each floating candle is stable and balanced before using it in any setting to prevent accidents or damage.
Once you have tested and adjusted your floating candles, they are ready to be enjoyed. Let’s move on to the final step and learn how to create a mesmerizing ambiance with your creations.
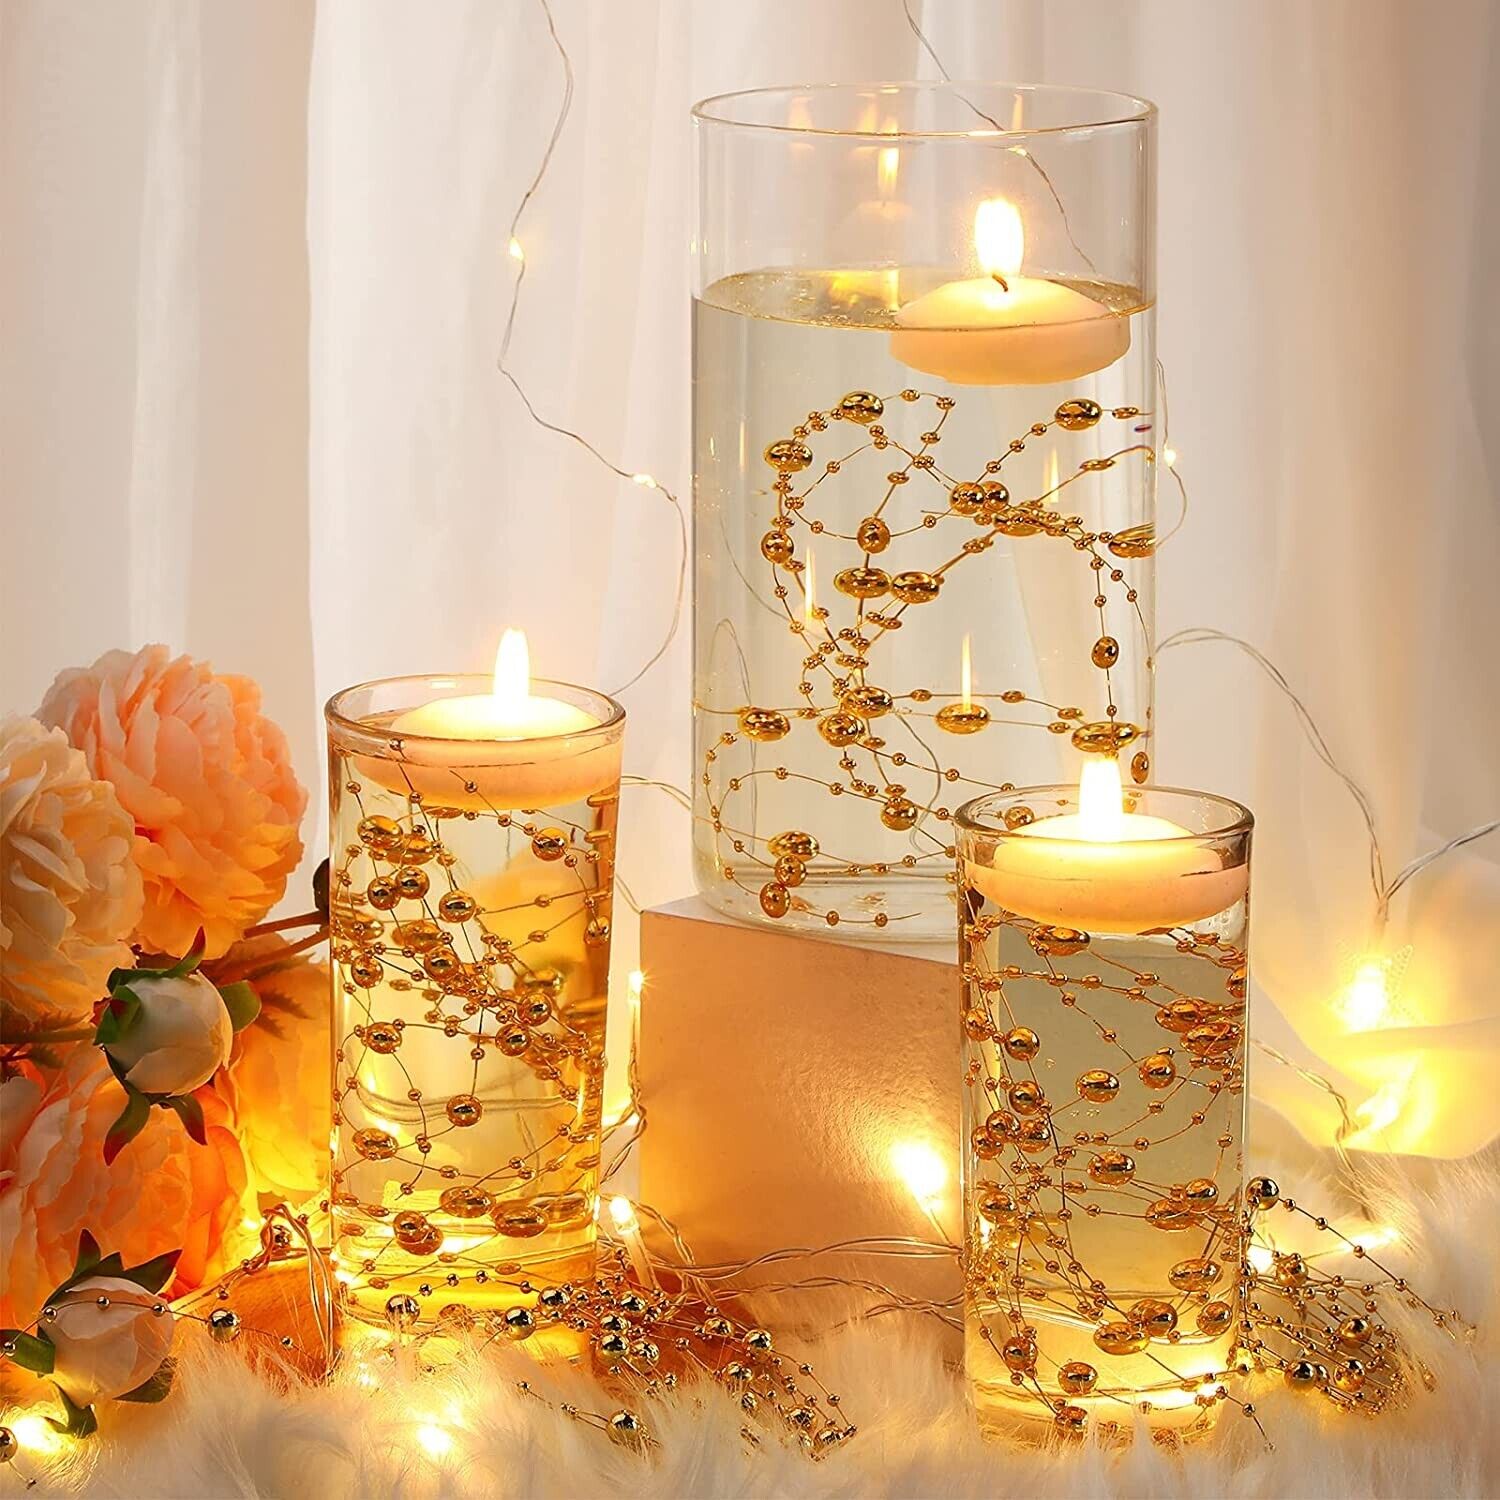
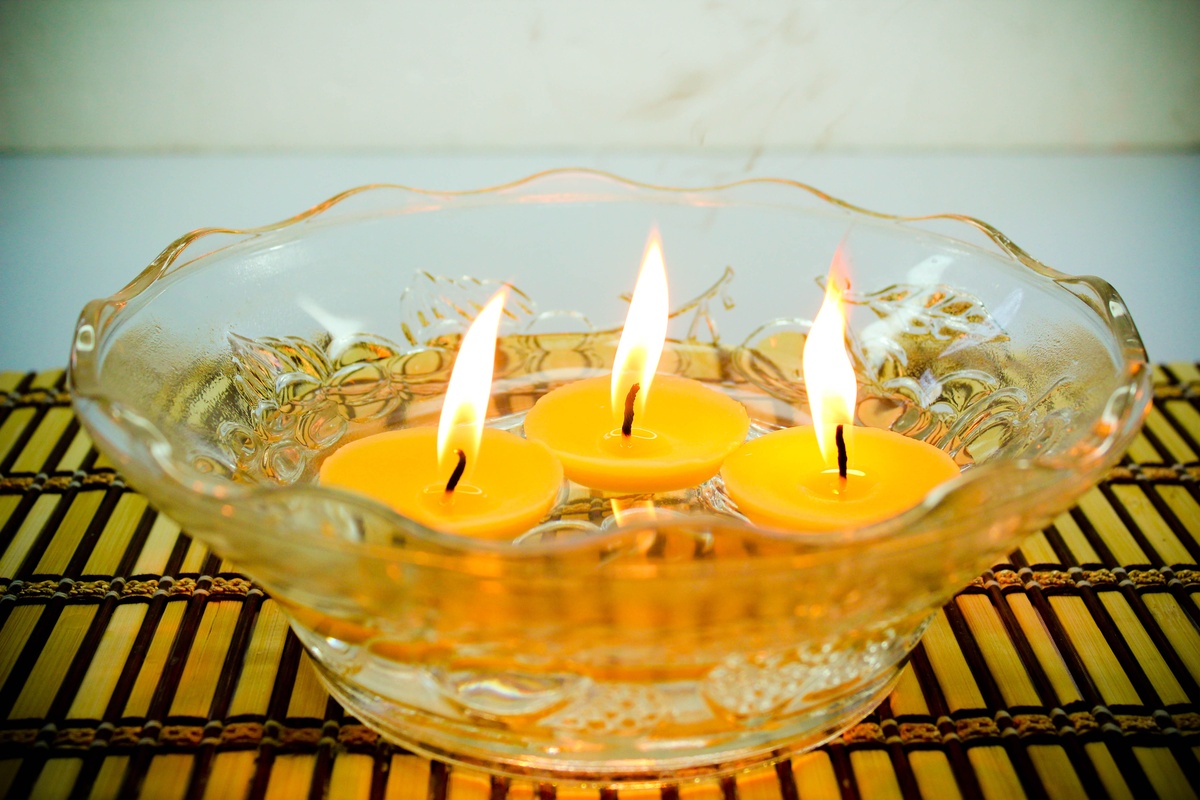
Step 5: Enjoying Your Floating Candles
Now that your floating candles are ready, it’s time to set the stage for a captivating ambiance. Follow these steps to enjoy the enchanting glow of your creations:
- Select a clean and safe area to display your floating candles. It could be a decorative bowl filled with water, a pond, a swimming pool, or any other body of water that can accommodate the floating candles.
- Safely light the wicks of the floating candles using a long-reach lighter or matches. Ensure that you keep a close eye on the candles at all times while they are lit.
- Place the lit floating candles gently into the chosen body of water. They will naturally float and create a mesmerizing display of light and reflection.
- Dim the lights in the surrounding area to enhance the ambiance and allow the flickering flames to take center stage.
- Enjoy the soothing and enchanting glow of your floating candles as they create a serene atmosphere. They are perfect for romantic evenings, relaxing baths, or special occasions like weddings or parties.
- Exercise caution and never leave the floating candles unattended while they are lit. Always extinguish the flames properly before removing them from the water.
Remember to monitor the floating candles closely and remove them from the water after use to prevent any potential hazards.
With these simple steps, you can create an atmosphere of tranquility and beauty with your own handmade floating candles. Enjoy the magical experience they provide!
Conclusion
Creating your own floating candles is a rewarding and enjoyable DIY project that adds a touch of enchantment to any setting. By following the step-by-step process outlined in this article, you can craft stunning floating candles that will captivate and mesmerize.
From preparing the candles and creating the floating base to adding optional decorative touches, each step allows you to infuse your personal style and creativity into the final product. Whether you choose to use them for special occasions or simply to create a peaceful ambiance at home, these floating candles will provide a serene and captivating experience.
Remember to always exercise caution when handling lit candles and never leave them unattended. Safety should always be a priority when enjoying the beauty of these handmade creations.
So, gather your materials, unleash your creativity, and embark on the journey of creating your own floating candles. Whether you choose to display them in a decorative bowl, a pond, or a swimming pool, the soft glow of the flickering flames will create a magical and serene atmosphere that will leave a lasting impression on all who experience it.
Enjoy the tranquility and beauty that your handmade floating candles bring, and let them illuminate your surroundings and your spirit.
Frequently Asked Questions about How To Do Floating Candles
Was this page helpful?
At Storables.com, we guarantee accurate and reliable information. Our content, validated by Expert Board Contributors, is crafted following stringent Editorial Policies. We're committed to providing you with well-researched, expert-backed insights for all your informational needs.