Articles
How To Dye Wax For Candles
Modified: February 25, 2024
Learn how to dye wax for candles with our informative articles. Get step-by-step instructions and tips for creating beautiful and vibrant candle colors.
(Many of the links in this article redirect to a specific reviewed product. Your purchase of these products through affiliate links helps to generate commission for Storables.com, at no extra cost. Learn more)
Introduction
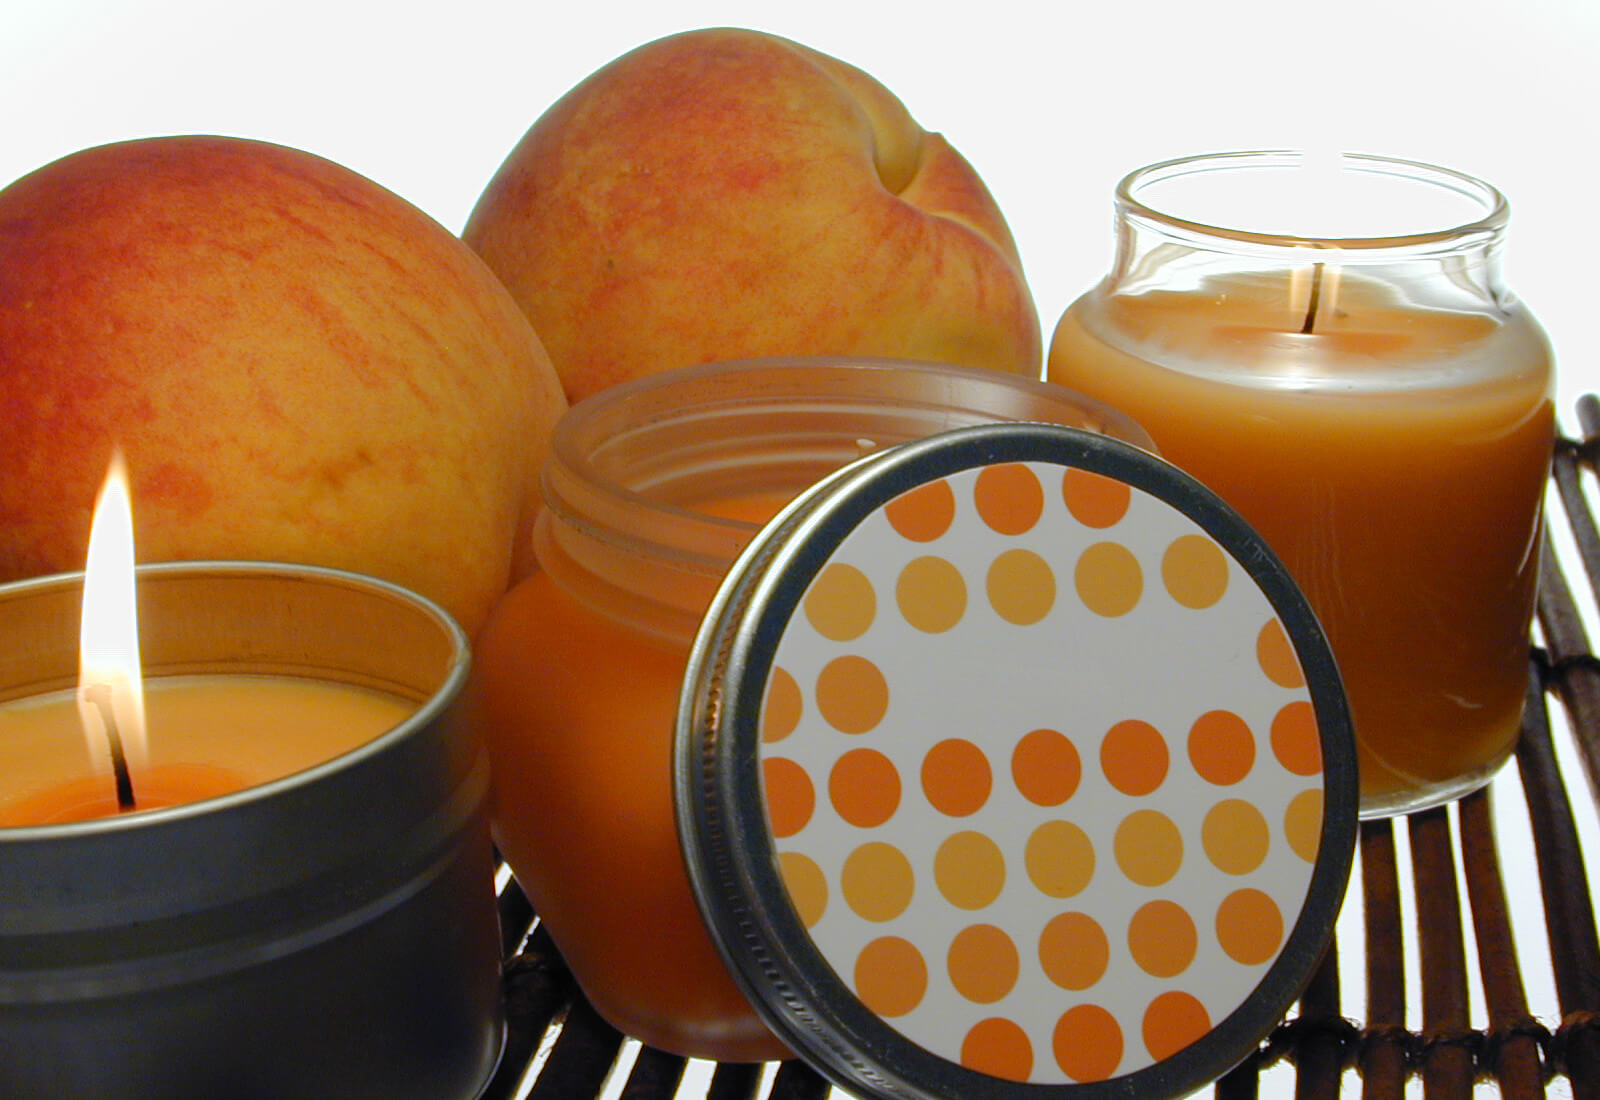
Welcome to the exciting world of candle making! If you’re looking to add a pop of color to your homemade candles, dyeing the wax is a fantastic way to do it. Whether you’re a beginner or a seasoned candle maker, this article will guide you through the process of dyeing wax for candles.
Adding color to your candles not only enhances their visual appeal but also allows you to match them to a specific theme or decor. With a wide range of dye options available, you can create candles that suit any occasion and personal style.
Before we dive into the process of dyeing wax, it’s important to choose the right type of wax for your candles. Different waxes have different melting points, which can affect how they absorb and maintain the color. So let’s start by discussing how to select the appropriate wax.
[Continue to the next section: Choosing the Right Wax]
Key Takeaways:
- Choosing the right wax is crucial for successful dyeing. Consider factors like color retention, compatibility with dyes, and the specific requirements of your candle-making project to achieve vibrant and long-lasting colored candles.
- Experiment with different dye options and techniques to unleash your creativity. Start with small dye amounts, test color swatches, and control the temperature to achieve successful and visually stunning results in your candle dyeing journey.
Read more: How To Store Candle Wax
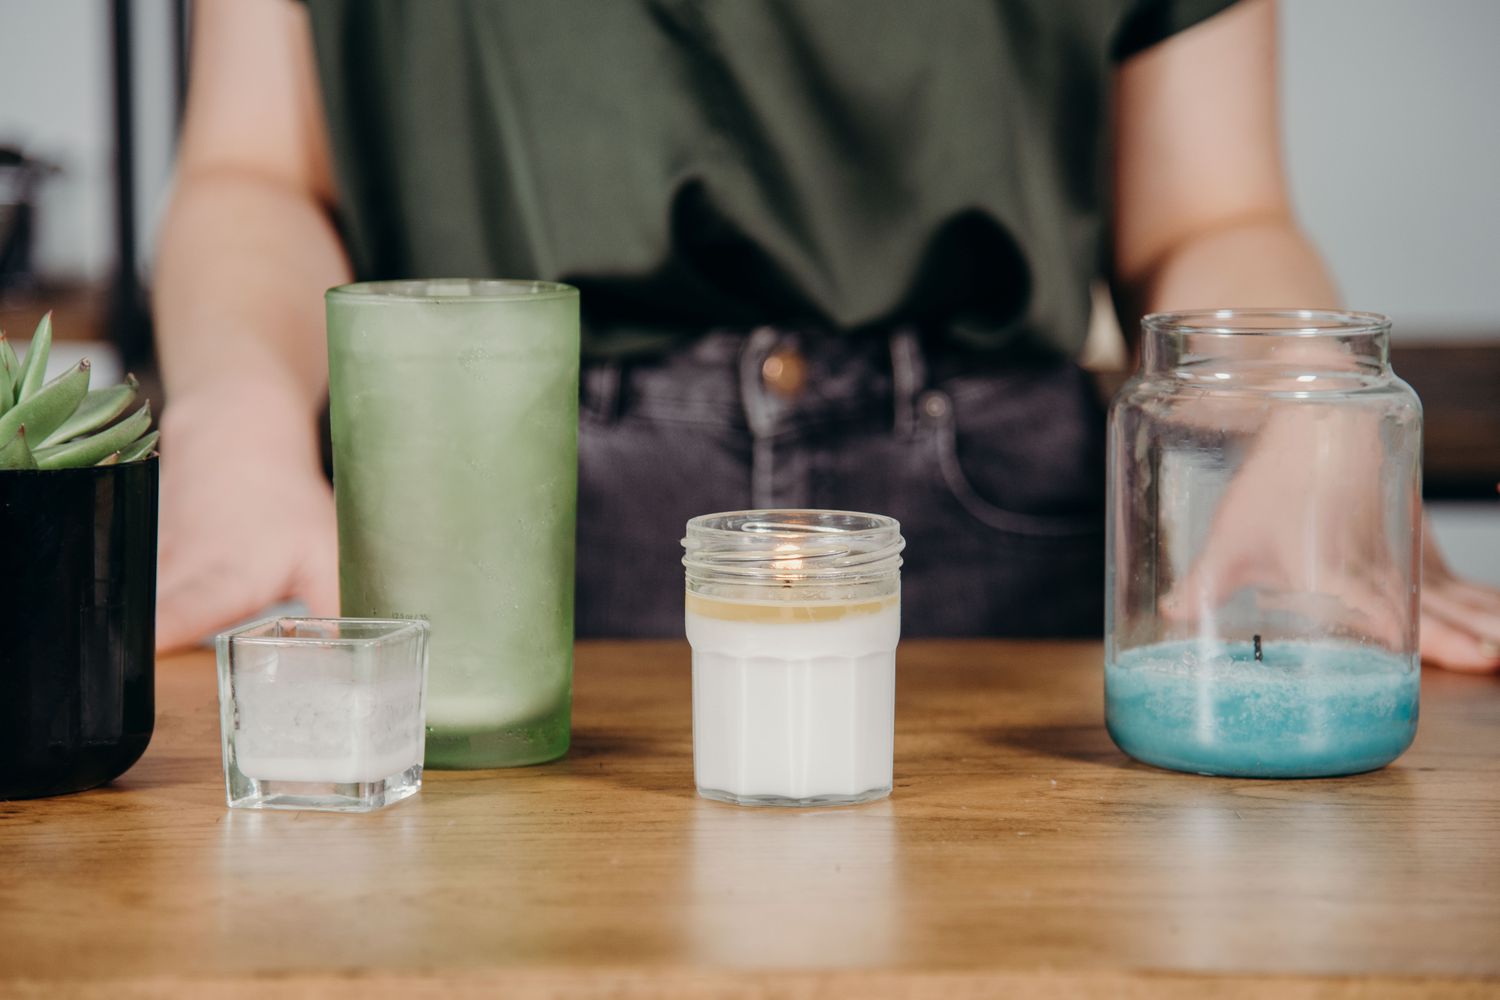
Choosing the Right Wax
When it comes to choosing the right wax for your candles, there are a few factors to consider. The type of wax you use not only affects the overall quality of your candles but also how well they absorb and hold the dye.
Here are some common types of waxes used in candle making:
- Paraffin Wax: Paraffin wax is one of the most commonly used waxes in candle making. It is affordable, easy to work with, and produces a smooth, glossy finish. However, paraffin wax may not hold color as well as other waxes, so it’s important to choose dyes specifically formulated for paraffin wax.
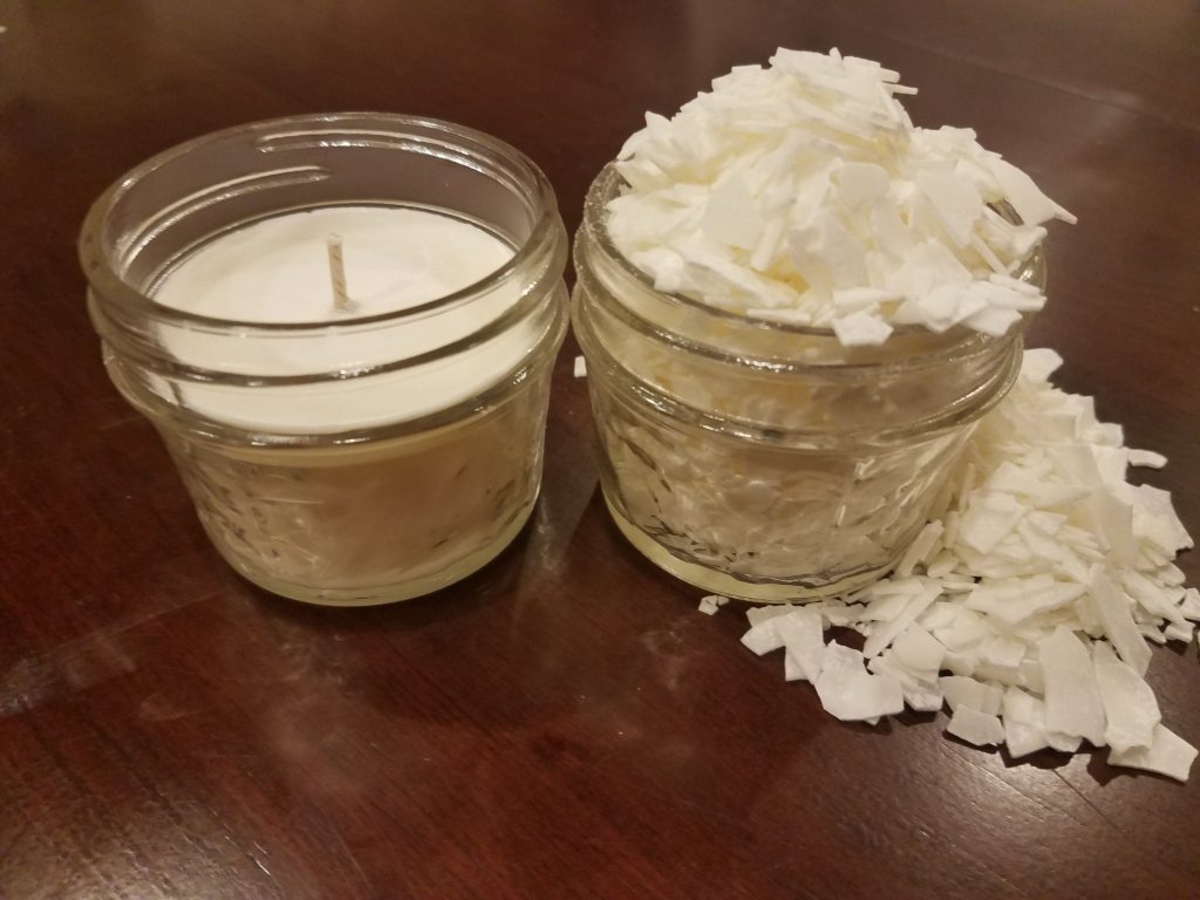
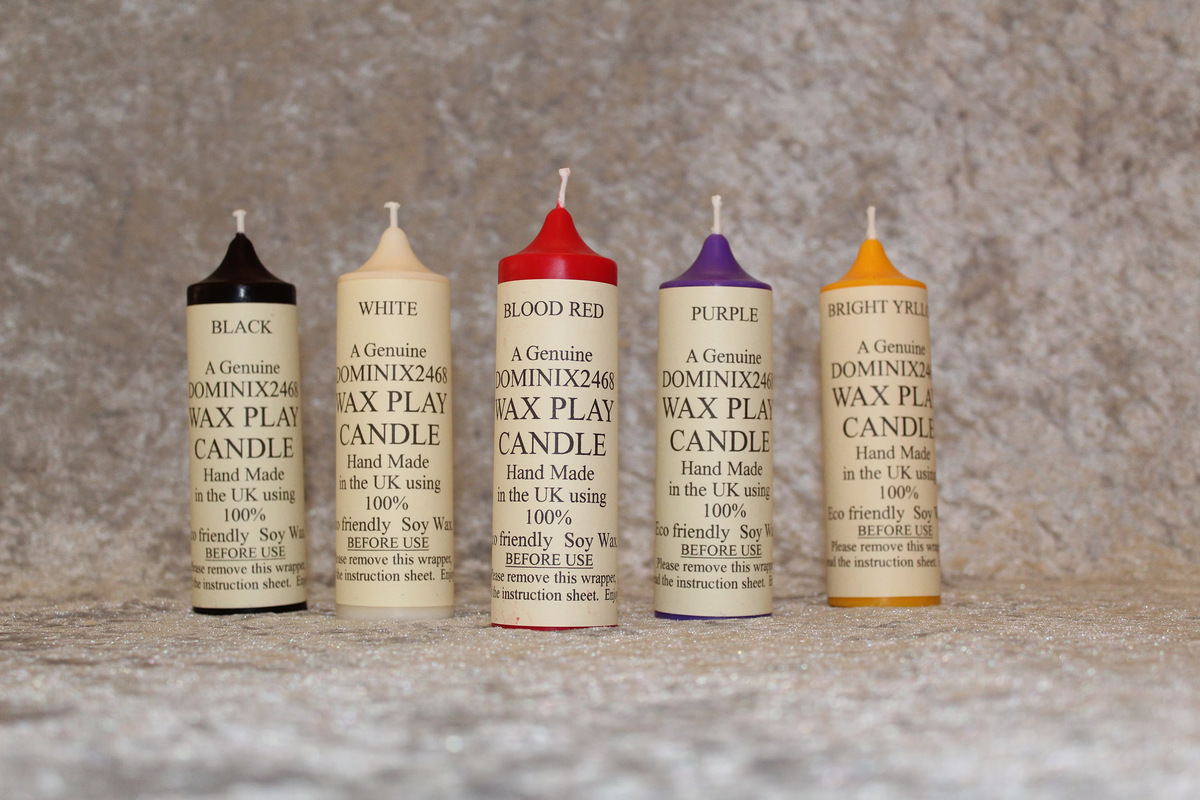
- Soy Wax: Soy wax is a popular choice for eco-conscious candle makers. It is derived from soybean oil, making it a renewable and biodegradable option. Soy wax has a lower melting point than paraffin wax, which can make it easier to work with when dyeing. It also tends to hold color well, resulting in vibrant and long-lasting candles.
- Beeswax: Beeswax is a natural and luxurious wax that is often used in high-end candle making. It has a warm, honey-like scent and a beautiful natural color. However, beeswax can be more challenging to dye compared to other waxes. It is recommended to use dyes specifically designed for beeswax to achieve satisfactory results.
- Vegetable Wax Blends: Vegetable wax blends combine different types of waxes to achieve specific characteristics. These blends often include soy wax, palm wax, and other natural waxes. They offer a balance between affordability, eco-friendliness, and color absorption.
When selecting a wax, it’s important to consider the specific requirements of your candle-making project. Think about the desired scent throw, burn time, and the type of dye you plan to use. Different waxes have different heat resistance and compatibility with certain types of dyes, so it’s essential to choose a wax that aligns with your desired outcome.
[Continue to the next section: Preparing the Wax]
Preparing the Wax
Now that you have chosen the right wax for your candles, it’s time to prepare it for dyeing. Properly preparing the wax ensures that it absorbs the dye evenly and that the color remains vibrant throughout the candle-making process.
Here are the steps to prepare your wax for dyeing:
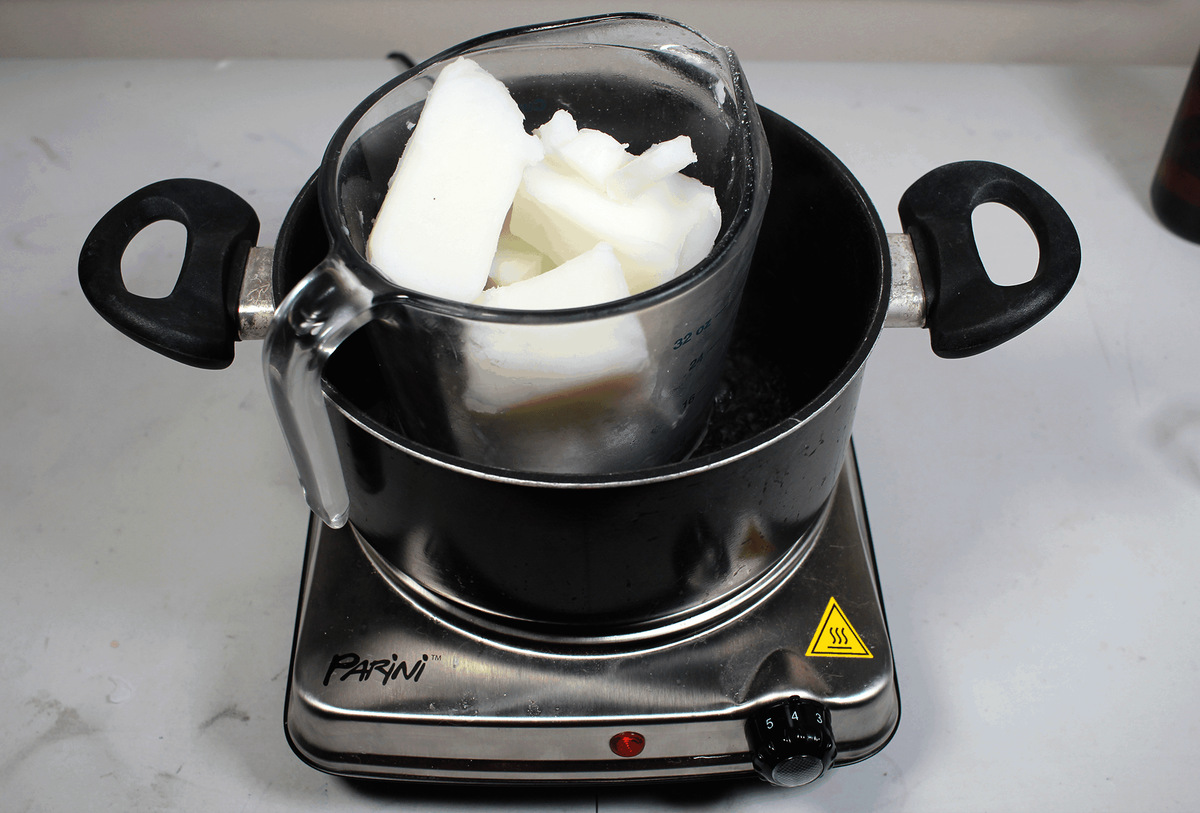
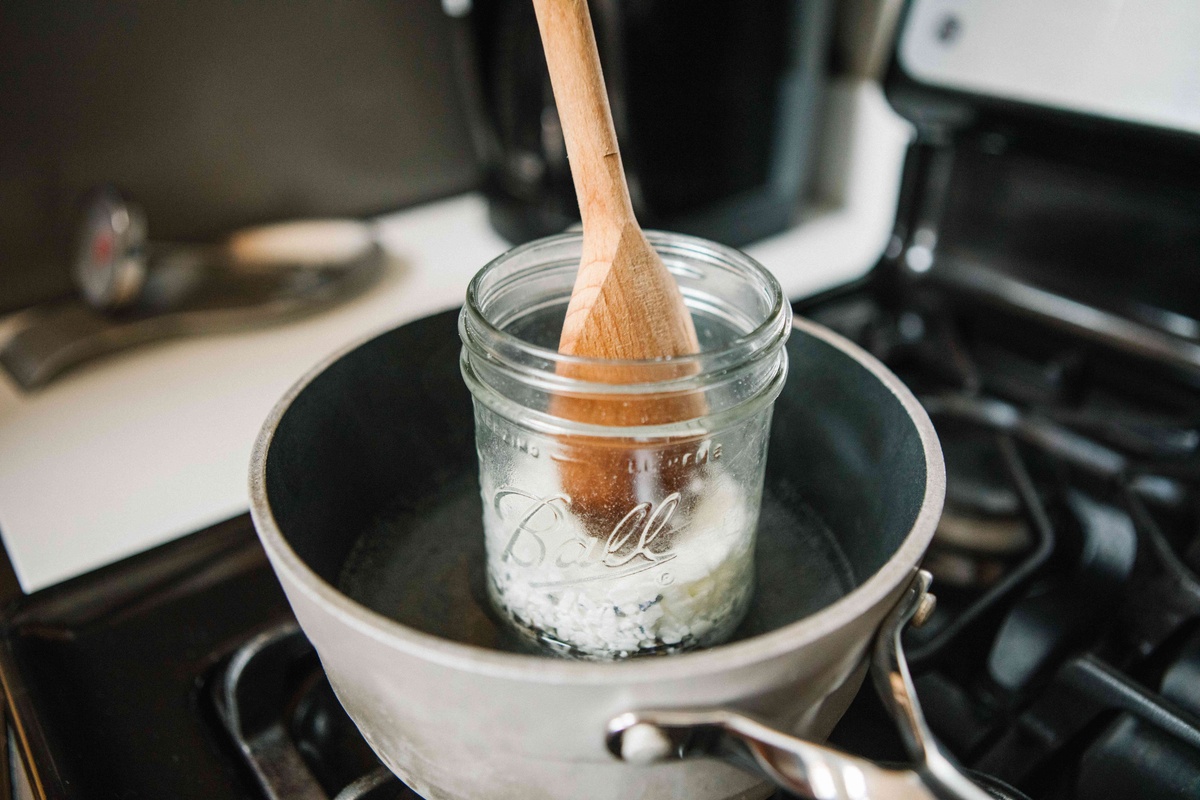
- Clean and melt the wax: If you are using a pre-packaged wax, you may skip this step. However, if you prefer to make your own wax from scratch or are using raw beeswax, start by cleaning any impurities or debris from the wax. Then, melt the wax using a double boiler or a wax melter. Follow the manufacturer’s instructions for the recommended melting temperature.
- Stir the wax: Once the wax has melted completely, gently stir it to ensure a consistent texture. This will help distribute the dye evenly throughout the wax, resulting in a uniform color.
- Check the temperature: Before adding the dye, it’s important to check the temperature of the melted wax. Different dyes have specific temperature requirements for optimal color absorption. Refer to the instructions provided with your chosen dye to determine the ideal temperature range.
- Pre-dissolve dye: Some dyes require pre-dissolving before adding them to the wax. This step helps prevent clumping and ensures better color dispersion. Follow the instructions provided with your dye to pre-dissolve it, if necessary.
- Add the dye: Slowly add the dye to the melted wax, stirring continuously to ensure thorough incorporation. Start with a small amount of dye and gradually increase it until you achieve the desired color intensity. Remember, it’s always easier to add more dye than to remove excess color.
- Stir and monitor: After adding the dye, continue stirring the wax gently but consistently to maintain an even distribution of color. Keep an eye on the temperature, ensuring it remains within the recommended range for the specific dye you are using.
By following these steps, you can prepare your wax for dyeing and ensure that the color is well incorporated. Next, let’s move on to the next section to learn about selecting the right dye for your candles.
[Continue to the next section: Selecting the Dye]
Selecting the Dye
When it comes to dyeing wax for candles, there are a variety of dye options available to choose from. The type of dye you select will determine the color intensity, vibrancy, and compatibility with different types of wax. Here are some common types of dyes used in candle making:
- Liquid Dyes: Liquid dyes are popular for their ease of use and ability to create vibrant colors. They are typically pre-dissolved in a liquid form, making them easy to incorporate into the melted wax. Liquid dyes are available in a wide range of colors and can be mixed to create custom shades.
- Dye Chips or Blocks: Dye chips or blocks are concentrated colorants that come in solid form. They can be shaved or melted directly into the melted wax to achieve the desired color. Dye chips offer versatility as they can be blended together to create unique color combinations.
- Powdered Dyes: Powdered dyes are finely ground pigments that can be mixed into the wax to create a wide range of colors. They offer excellent color saturation and are suitable for both paraffin and soy waxes. Powdered dyes are ideal for achieving pastel or muted shades.
- Oil-Based Dyes: Oil-based dyes are specifically designed for coloring candle wax. They are highly concentrated and typically come in small liquid or powder form. These dyes are compatible with various types of waxes and offer excellent color dispersion.
When selecting a dye, consider the type of wax you’re using, the desired color intensity, and the specific application method you plan to use. It’s also important to ensure that the dye is specifically formulated for use in candles. This will ensure optimal color retention and compatibility with the wax.
Experimentation is key when selecting dyes for your candles. You can start with a small amount of dye and gradually increase it until you achieve the desired color. Keep in mind that different waxes and dye brands may require different concentration levels to achieve the same color intensity.
Now that you’ve selected the wax and dye, it’s time to explore various methods of dyeing wax to create beautiful and colorful candles.
[Continue to the next section: Different Methods of Dyeing Wax]
Different Methods of Dyeing Wax
There are several methods you can use to dye wax for candles, each offering a unique result and level of color variation. The method you choose will depend on the desired effect you want to achieve. Here are three popular methods of dyeing wax:
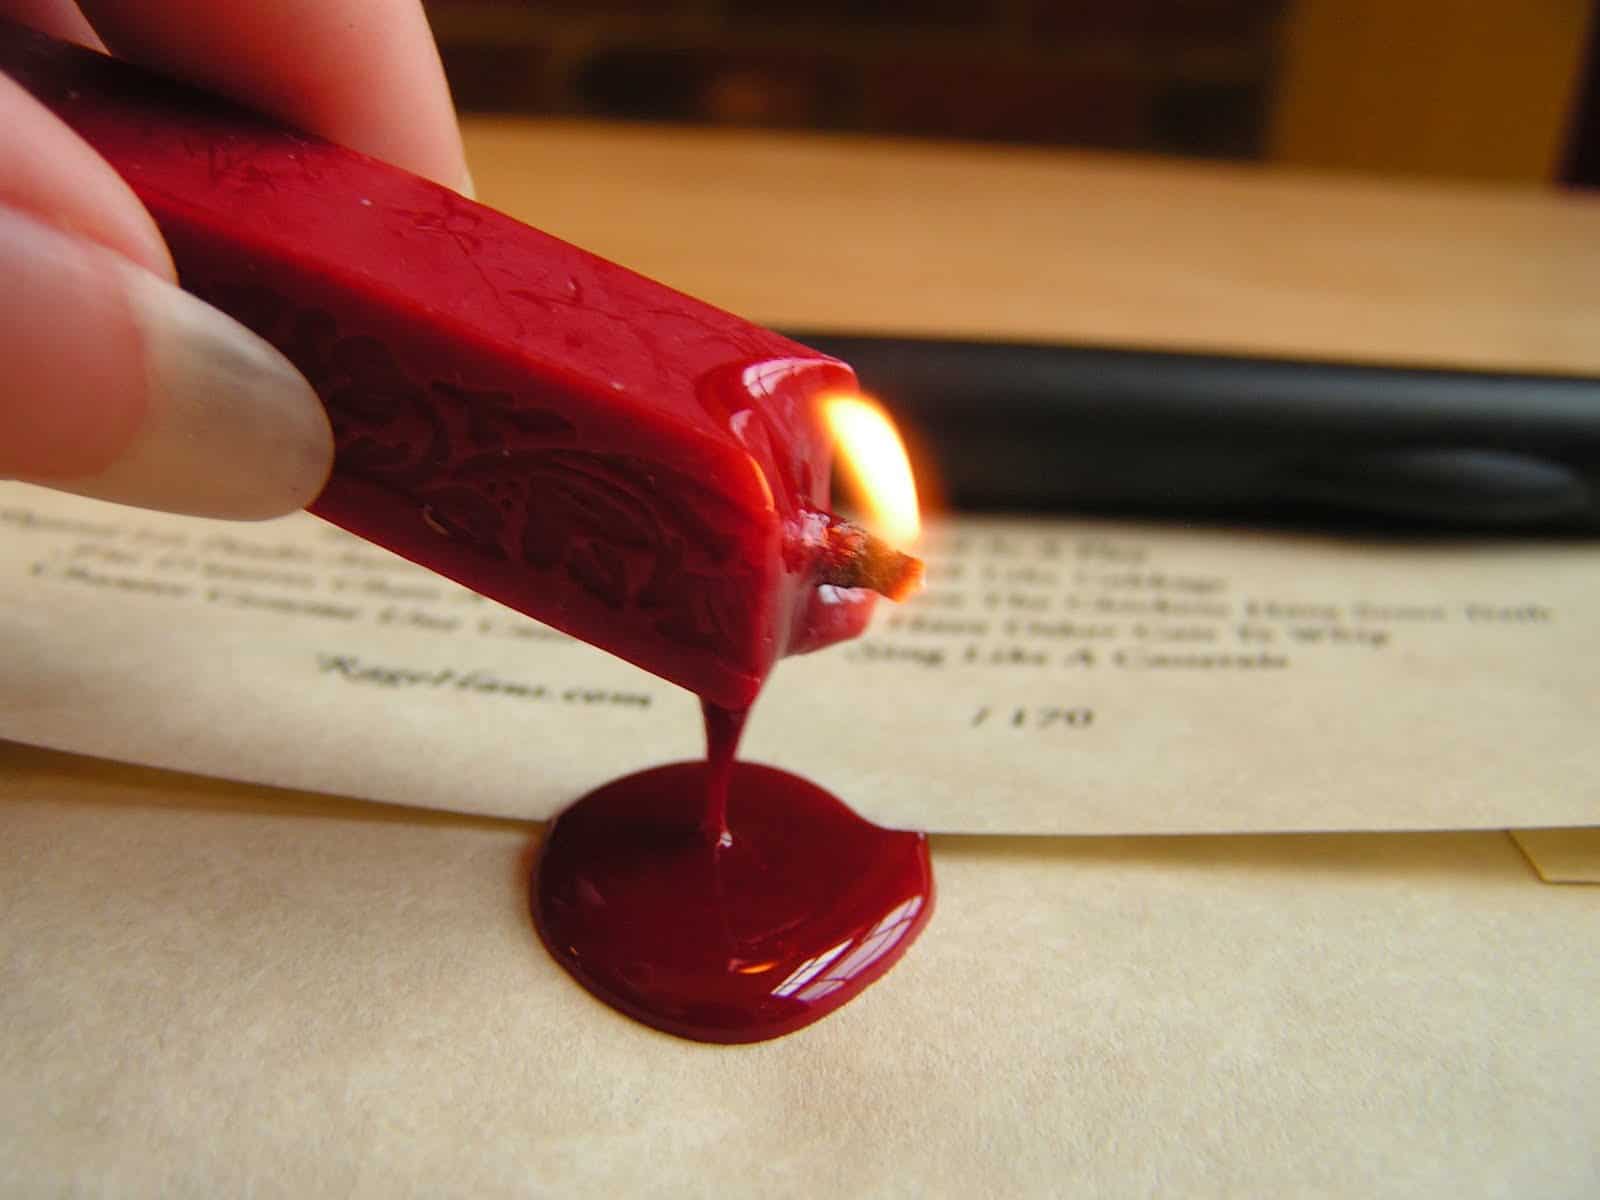
- Dip Dye Technique: This method involves dipping a pre-wicked candle into a container of colored wax. Start by heating the desired amount of colored wax in a separate container. Once the wax reaches the desired temperature, dip the bottom portion of the candle into the wax for a few seconds, allowing it to soak up the color. Slowly remove the candle from the container and let it cool and harden. Repeat the process if you want to add multiple layers of color.
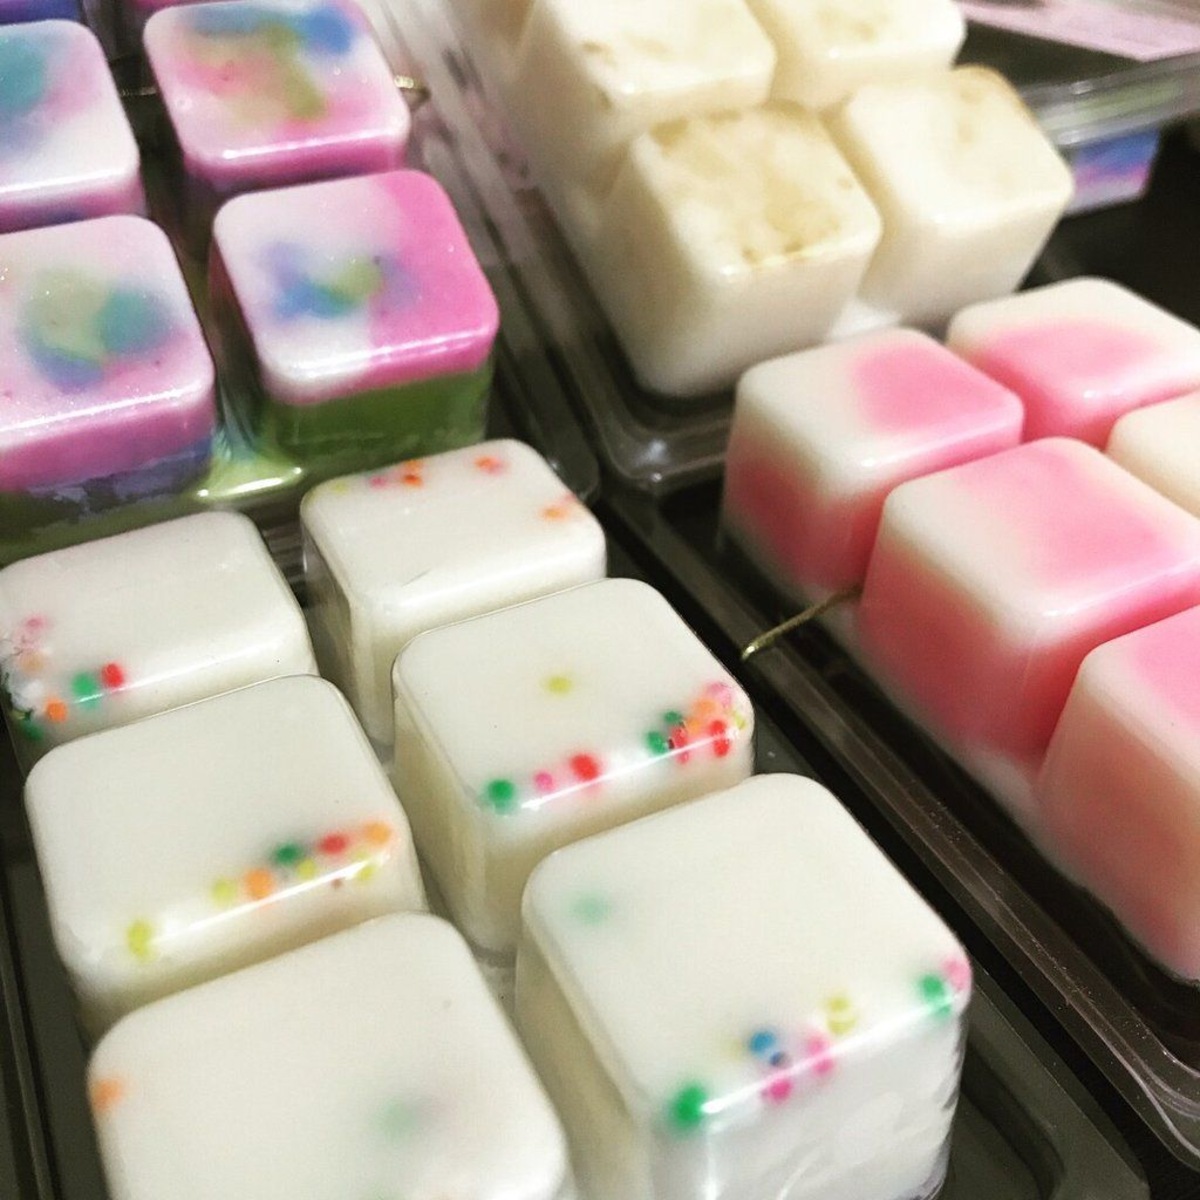
- Layered Dye Technique: The layered dye technique involves pouring different colored layers of wax into a container or mold. To begin, prepare different batches of colored wax. Pour a layer of one color into the container or mold and allow it to cool and harden. Repeat this process with subsequent layers of different colors, allowing each layer to set before adding the next. The result will be a candle with distinct color layers.
- Marbled Dye Technique: The marbled dye technique creates a beautiful swirling effect in the wax. Start by melting the desired amount of wax and adding your chosen colors. Pour small amounts of each color into the melted wax and use a stir stick or skewer to gently swirl the colors together. Be careful not to overmix, as you want the colors to remain distinct. Once the desired marbled effect is achieved, pour the wax into the desired container or mold and allow it to cool and harden.
These methods open up endless possibilities for creating unique and vibrant candles. Feel free to experiment with different colors, layering techniques, and even combining the methods to achieve your desired results. Don’t be afraid to get creative and let your imagination run wild!
Now that you’re familiar with different dyeing methods, let’s explore some tips and tricks for successful dyeing and troubleshoot common issues that may arise along the way.
[Continue to the next section: Tips and Tricks for Successful Dyeing]
Read more: How To Store Candle Wax
Dip Dye Technique
The dip dye technique is a simple yet effective method for adding color to your candles. This technique involves dipping a pre-wicked candle into a container of colored wax to achieve a gradient or single-color effect. Follow these steps to master the dip dye technique:
- Prepare the colored wax: Start by melting the desired amount of wax in a separate container. Add the chosen dye to achieve the desired color intensity. Stir well to ensure the dye is evenly dispersed in the melted wax.
- Heat the wax: Ensure that the colored wax is at the optimal temperature for dipping. Refer to the dye instructions for the recommended temperature range. Keep in mind that different dyes may have varying temperature requirements.
- Dip the candles: Hold the pre-wicked candle by the wick and slowly and steadily dip it into the container of colored wax. Allow the candle to soak in the wax for a few seconds, ensuring that the desired portion is submerged. You can create a gradient effect by dipping the candle in various depths or submerge the entire candle for a uniform color.
- Remove and dry: Slowly lift the candle out of the colored wax, allowing any excess wax to drip off. Be cautious not to shake or move the candle excessively, as it may cause uneven color distribution. Place the dipped candle on a cooling rack or a wax paper-lined surface to dry. Avoid touching the dipped portion until the wax has completely hardened.
- Repeat or layer: If you want to add multiple layers of color or create a more defined gradient effect, repeat the dipping process once the previous layer has dried. For a layered effect, wait for each layer to dry before dipping the candle into the next color.
- Trim the wick: Once the dipped candles are completely dry, trim the wick to the desired length using a wick trimmer or scissors. This will ensure a clean and even burn when you light the candle.
The dip dye technique allows you to create visually appealing candles with varying levels of color intensity. By experimenting with different dipping depths, colors, and layering, you can customize your candles to match your desired aesthetic.
Now that you’re familiar with the dip dye technique, let’s explore other methods such as the layered dye technique and the marbled dye technique, offering even more creative possibilities for dyeing your candles
[Continue to the next section: Layered Dye Technique]
When dyeing wax for candles, use dye specifically made for candle making to ensure the color is consistent and the candle burns properly.
Layered Dye Technique
The layered dye technique is an excellent way to create stunning candles with distinct color layers. By pouring different colored wax in layers, you can achieve a beautiful gradient effect or create candles with contrasting colors. Follow these steps to master the layered dye technique:
- Prepare the wax: Start by preparing different batches of colored wax. Melt each batch in separate containers and add the desired dye to achieve the desired color for each layer. Stir the wax well to ensure that the dye is evenly mixed.
- Pour the first layer: Begin by pouring a thin layer of the first colored wax into the container or mold of your choice. Allow the wax to cool and harden, but ensure it is still slightly tacky to ensure adhesion with the subsequent layers.
- Repeat with subsequent layers: Once the first layer has set, pour the next layer of a different colored wax on top of it. Be mindful of the height and thickness of each layer to achieve the desired effect. Allow each layer to cool and harden before adding the next one.
- Create patterns if desired: To add visual interest, you can create patterns or designs within each layer. Use a skewer or a toothpick to gently swirl or draw patterns on the semi-hardened wax before pouring the next layer. This will create unique and eye-catching effects.
- Repeat the layering process: Continue pouring and layering different colors until you have achieved the desired number of color layers. You can experiment with different color combinations and thicknesses to create candles that suit your aesthetic.
- Allow the candle to fully cool: Once you have completed the layering process, allow the candle to cool completely and harden before removing it from the container or mold. This ensures that the different layers set and adhere together, resulting in a cohesive and visually appealing finished candle.
- Trim the wick: After the layered candle has fully cooled and hardened, trim the wick to the desired length using a wick trimmer or scissors. This will ensure a clean and even burn when the candle is lit.
The layered dye technique offers endless possibilities for creating unique and visually striking candles. Experiment with different color combinations, layer thicknesses, and patterns within each layer to achieve your desired aesthetic.
Next, let’s explore another exciting dyeing technique—the marbled dye technique, which creates beautiful swirling patterns within the wax.
[Continue to the next section: Marbled Dye Technique]
Marbled Dye Technique
The marbled dye technique is a captivating method that creates mesmerizing swirling patterns within the wax of your candles. This technique allows you to achieve unique and eye-catching designs by blending different colors together. Follow these steps to master the marbled dye technique:
- Prepare the wax: Start by melting the desired amount of wax in a container. You can use a double boiler or a wax melter. Ensure that the wax reaches the proper melting temperature as recommended by the manufacturer.
- Add the dye: Once the wax has melted, add your chosen dyes to create the desired colors. Using a dropper or a small spoon, drop small amounts of different colored dyes onto the melted wax. Spread the drops evenly across the surface of the wax.
- Create swirls: Use a skewer, toothpick, or any other suitable tool to gently swirl the colors together. Create simple swirling patterns or more intricate designs, depending on your preference. Be careful not to overmix the colors, as you want the distinct hues to remain visible.
- Pour the wax: Once you are satisfied with the marbled effect, carefully pour the wax into your desired container or mold. Ensure that the colors are evenly distributed throughout the wax. You can experiment with different pouring methods to achieve different patterns and designs.
- Allow the candle to cool and harden: Let the candle cool and harden completely before removing it from the mold. This ensures that the marbled pattern retains its shape and is not disturbed during the removal process.
- Trim the wick: Once the candle has fully cooled, trim the wick to the desired length using a wick trimmer or scissors. This will ensure a clean and even burn when you light the candle.
The marbled dye technique offers a creative and artistic approach to candle making. Each candle you create will have a unique and visually captivating design. Let your creativity flow by experimenting with different color combinations, swirling techniques, and pouring methods.
Now that you’re familiar with the marbled dye technique, let’s move on to the next section where we’ll share some valuable tips and tricks for successful dyeing.
[Continue to the next section: Tips and Tricks for Successful Dyeing]
Tips and Tricks for Successful Dyeing
Dyeing wax for candles can be a fun and rewarding process, and with the following tips and tricks, you can ensure successful and vibrant results:
- Start with small dye amounts: When adding dye to your wax, start with a small amount and gradually increase it until you achieve the desired color intensity. Remember, it’s easier to add more dye than to remove excess color.
- Test color swatches: Before dyeing a large batch of wax, it’s helpful to create color swatches by melting small amounts of wax and adding different dye concentrations. This will allow you to preview the color before committing to a larger batch.
- Mix dye thoroughly: Whether using liquid dyes, dye chips, or powdered dyes, make sure to mix them thoroughly into the wax to ensure even color distribution. Stir gently but consistently to avoid introducing air bubbles into the wax.
- Use wax-specific dyes: Ensure that the dyes you use are specifically formulated for candle wax. Different dyes have different heat resistance and compatibility with specific types of wax. Using the right dye will result in optimal color retention and vibrancy.
- Consider fragrance interaction: If you plan to add fragrance to your candles, be mindful of its potential interaction with the dye. Some fragrances can discolor the wax or alter the final color. Test the fragrance with a small batch before adding it to your main wax mixture.
- Control the temperature: Proper temperature control is crucial when dyeing wax. Follow the recommended temperature ranges provided by the dye manufacturer. Maintaining the correct temperature ensures better color absorption and prevents the wax from becoming too hot or cold.
- Keep records of dye combinations: If you create a unique color or achieve a desired shade, make a note of the dye combinations and quantities used. This will help you recreate the color in the future or adjust it if needed.
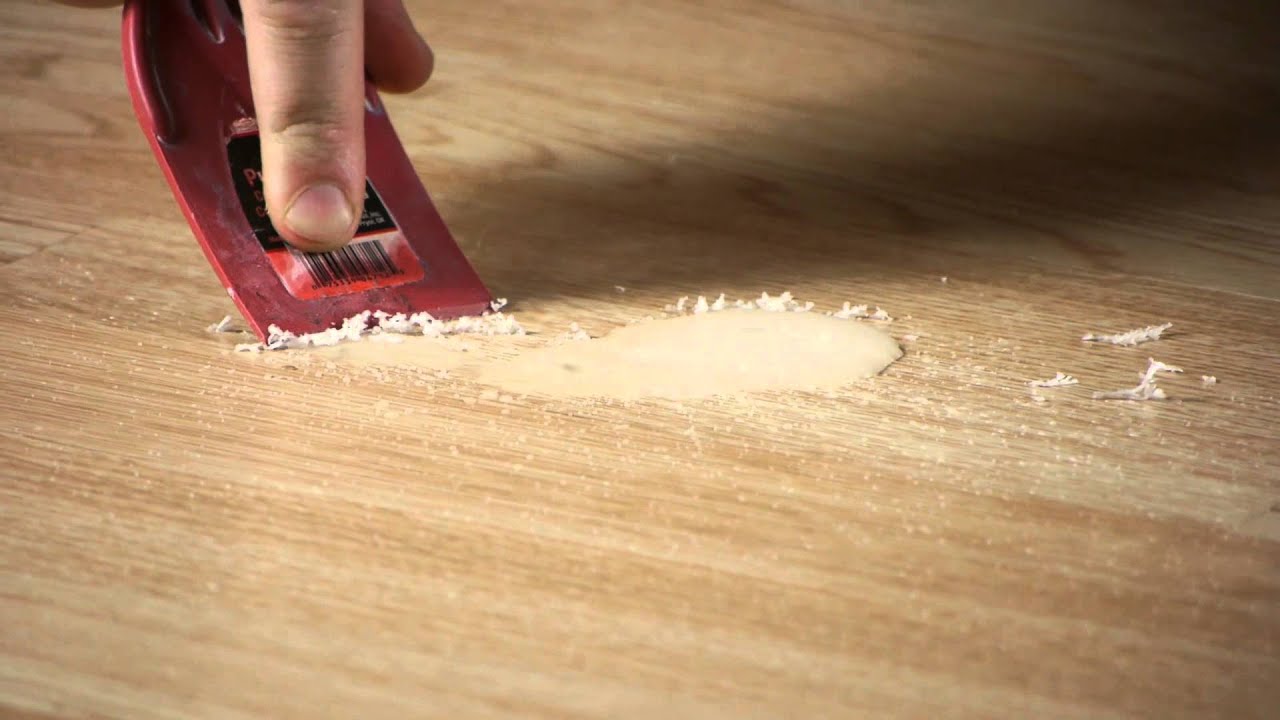
- Protect your workspace: Dyeing wax can be messy, so be sure to protect your workspace by using a heat-resistant surface, covering it with wax paper, or using a dedicated dyeing area. This will make it easier to clean up any spills or drips.
- Practice safety precautions: When working with hot wax and dyes, it’s important to prioritize safety. Wear heat-resistant gloves to protect your hands, use proper ventilation in your workspace, and follow the safety instructions provided by the dye and wax manufacturers.
- Store dyes properly: To maintain the potency and quality of your dyes, store them in a cool, dry place away from direct sunlight. Keep them tightly sealed to prevent moisture or air from affecting their performance.
By following these tips and tricks, you can enhance your dyeing process and produce beautifully colored candles. Remember, practice makes perfect, so don’t be discouraged if your initial results are not exactly as expected. Keep experimenting, learning, and refining your dyeing techniques to create candles that truly reflect your creativity and style.
[Continue to the next section: Troubleshooting Common Issues]
Read more: How To Make Wax For Candles At Home
Troubleshooting Common Issues
While dyeing wax for candles is generally a straightforward process, it’s not uncommon to encounter a few challenges along the way. Here are some common issues that may arise during the dyeing process and how to troubleshoot them:
- Poor color absorption: If you find that the wax is not absorbing the dye well or the colors appear muted, the issue may lie with the dye concentration. Try increasing the amount of dye gradually until you achieve the desired color intensity. Additionally, ensure that you are using dyes specifically formulated for the type of wax you are using.
- Uneven color distribution: Uneven color distribution can occur if the dye is not mixed thoroughly into the wax or if the wax is not heated evenly. Make sure to stir the dye well into the melted wax to achieve consistent color. Use a double boiler or a wax melter to ensure even heating of the wax.
- Fading of color: If your dyed candles are fading over time, it could be due to the type of dye used or exposure to UV light. To prevent color fade, choose dyes that are known to have good color retention properties and store your finished candles in a cool, dry place away from direct sunlight.
- Bleeding of color: Bleeding occurs when the dye transfers onto other surfaces or when different colors bleed into one another. To prevent bleeding, ensure that your candles are fully cooled and hardened before handling or packaging them. Additionally, avoid placing different colored candles in close contact with one another, especially when they are still warm or in hot temperatures.
- Wax discoloration: Certain fragrances, additives, or impurities in the wax can cause discoloration. To minimize wax discoloration, use high-quality, pure wax without any additives or impurities. Test fragrances with a small batch of wax to ensure they do not cause discoloration before using them in larger quantities.
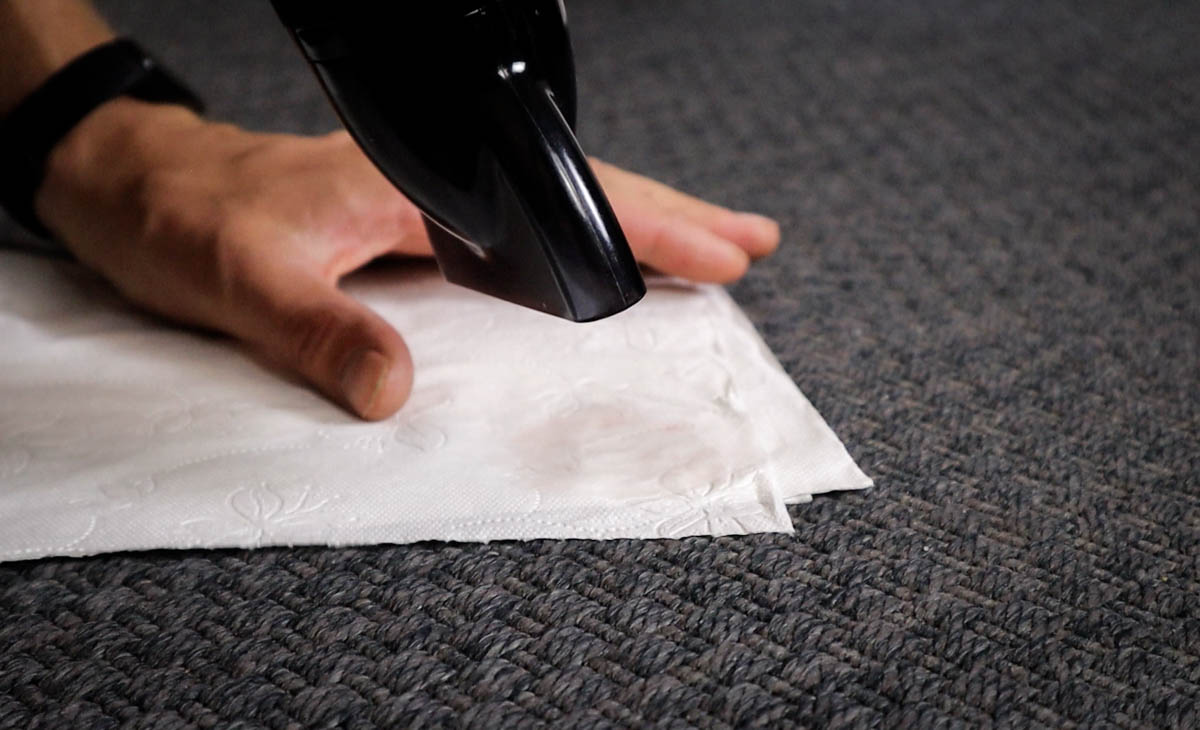
- Poor adhesion: If layers of different colored wax are not adhering well, make sure that each layer is still slightly tacky when pouring the next layer. This will help the layers bond together and prevent separation. If necessary, lightly heat the surface of the previous layer with a heat gun or a hairdryer before pouring the next layer.
- Air bubbles: Air bubbles can form when stirring the dye into the wax too vigorously or when pouring the wax into the container. To minimize air bubbles, stir the dye gently but consistently, and pour the wax slowly and steadily into the container or mold. If air bubbles do appear, you can try gently tapping the container or using a toothpick to pop them before the wax completely sets.
If you encounter any other issues not mentioned here, don’t hesitate to consult candle-making forums or reach out to experienced candle makers for advice. Troubleshooting common issues is a valuable learning experience that will enhance your overall candle-making skills.
[Conclude the article with a concluding statement to wrap up the content]
Conclusion
Congratulations on completing this comprehensive guide on dyeing wax for candles! Now, armed with the knowledge and techniques outlined in this article, you have the skills to add vibrant color to your homemade candles and let your creativity shine.
We started by discussing the importance of choosing the right wax for your candles, considering factors such as color retention and compatibility with dyes. Then, we moved on to the preparation of the wax, ensuring it is clean and properly melted before adding the dye.
Next, we explored different dye options, including liquid dyes, dye chips, and powdered dyes, each offering different benefits and effects. We also delved into three popular dyeing techniques: the dip dye technique, layered dye technique, and marbled dye technique, allowing you to create a variety of visually stunning candles.
Additionally, we shared valuable tips and tricks to make your dyeing process successful, including starting with small dye amounts, testing color swatches, and controlling the temperature. We also addressed common troubleshooting issues, such as poor color absorption and uneven distribution, offering practical solutions to overcome these challenges.
Remember, the key to mastering the art of dyeing wax for candles is practice, experimentation, and a touch of creativity. Don’t be afraid to push boundaries, try different color combinations, and develop your unique style. Enjoy the process and embrace the joy of creating beautifully colored candles that bring light and ambiance to any space.
Now that you have a good understanding of the dyeing process, it’s time to let your creativity take flight. Get started on your dyeing journey and unleash your inner candle maker!
Frequently Asked Questions about How To Dye Wax For Candles
Was this page helpful?
At Storables.com, we guarantee accurate and reliable information. Our content, validated by Expert Board Contributors, is crafted following stringent Editorial Policies. We're committed to providing you with well-researched, expert-backed insights for all your informational needs.