Articles
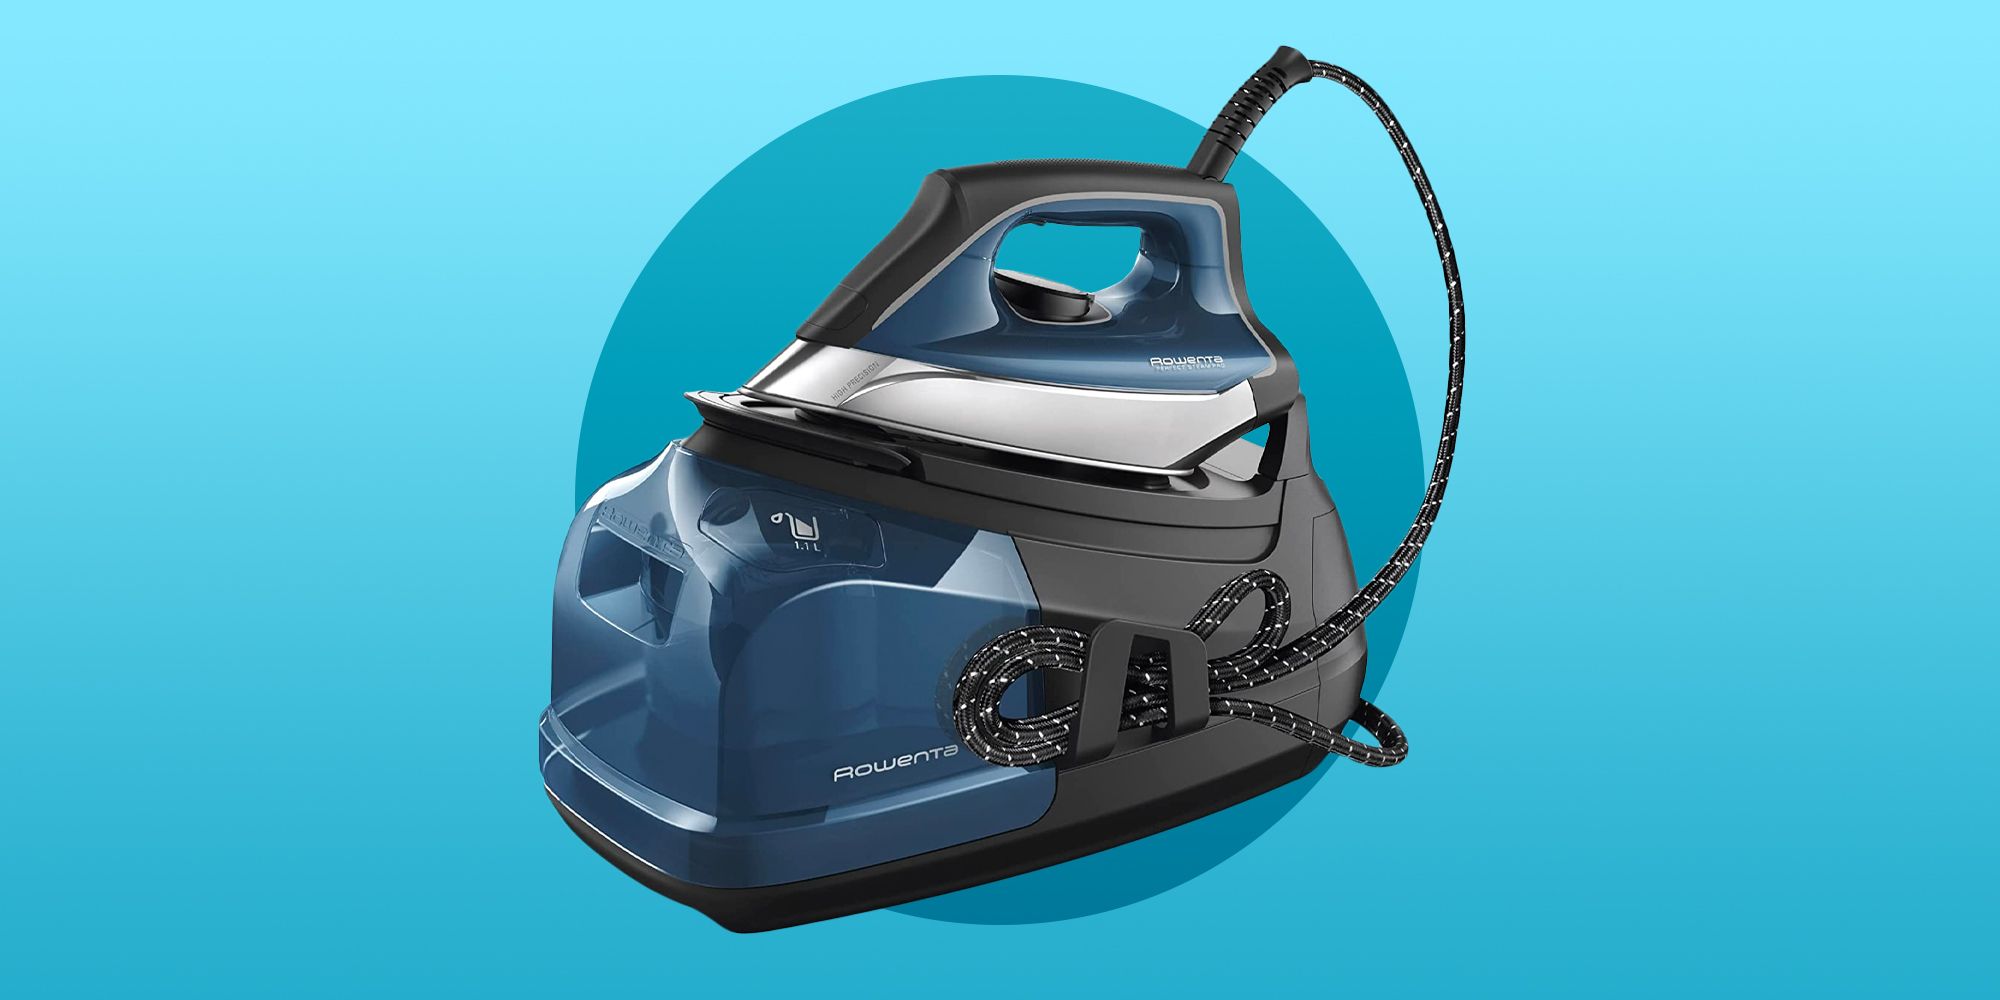
How To Fill A Steamer With Water
Modified: February 28, 2024
Learn how to fill a steamer with water using these helpful articles. Get step-by-step instructions and make the process quick and easy.
(Many of the links in this article redirect to a specific reviewed product. Your purchase of these products through affiliate links helps to generate commission for Storables.com, at no extra cost. Learn more)
Introduction
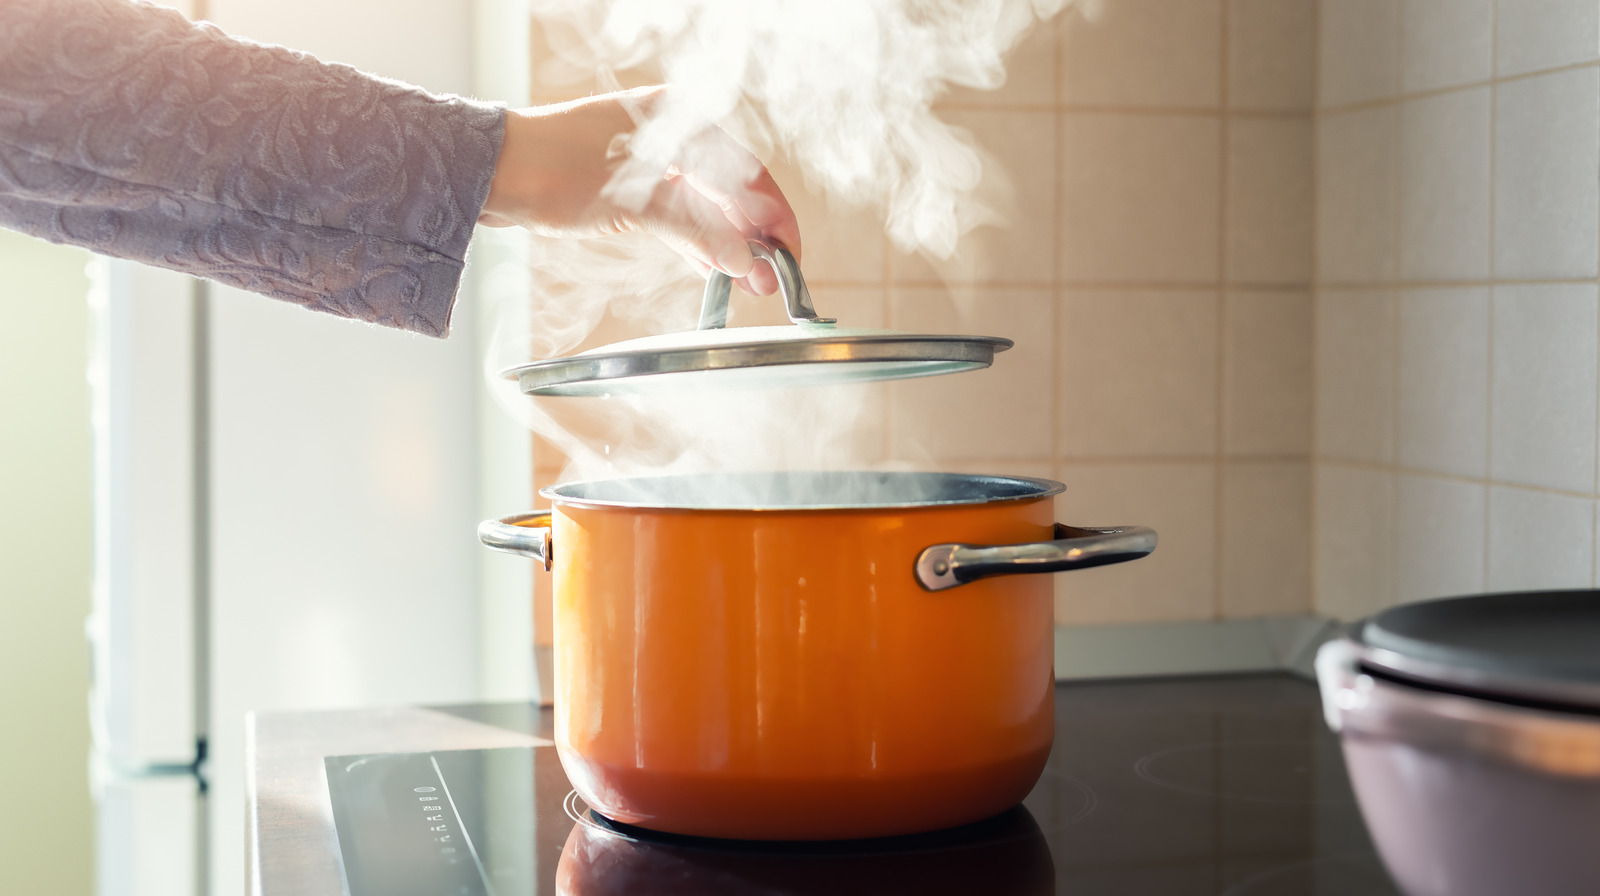
Steamers are a fantastic tool for cooking delicious, healthy meals. They use the power of steam to cook food quickly and evenly, without the need for excess oils or fats. However, before you can begin steaming, one crucial step is to fill the steamer with water. In this guide, we will walk you through the step-by-step process of filling a steamer with water, ensuring that you can use your steamer effectively and safely. So, let’s dive in!
Before we get started, it’s important to note that the exact steps may vary slightly depending on the type and model of your steamer. It’s always a good idea to consult the user manual that came with your specific steamer for any additional instructions or precautions.
Now, without further ado, let’s explore how to fill a steamer with water!
Key Takeaways:
- Properly preparing and filling your steamer with water is essential for successful and safe steaming. Follow the step-by-step guide to ensure cleanliness, correct water levels, and secure attachments, unlocking the full potential of your steamer for healthy and delicious meals.
- By following the detailed instructions for filling your steamer with water, you can confidently and easily enjoy the benefits of quick, even, and nutritious cooking. Remember to consult your steamer’s user manual for specific instructions and maintenance tips to ensure its longevity and continued performance.
Read more: How To Fill Water In Conair Steamer
Step 1: Prepare the steamer
The first step in filling your steamer with water is to ensure that it is properly prepared for use. Start by thoroughly cleaning the steamer to remove any dirt or residue from previous use. This will help maintain the freshness and flavor of your food.
Next, inspect the steamer to ensure that all the components are in good working order. Check the power cord for any damages, make sure the control buttons are functioning, and ensure that the steamer is securely assembled.
If your steamer has multiple tiers or compartments, make sure they are properly aligned and securely attached. This will ensure that the steam is evenly distributed and that your food cooks uniformly.
Lastly, check that there is enough space around the steamer for proper ventilation. Steamers generate heat and moisture, so it’s essential to keep them away from any flammable materials or sensitive surfaces.
Once you have completed these preparatory steps, you are ready to move on to the next phase of filling your steamer with water.
Step 2: Locate the water tank
Now that you have prepared the steamer, it’s time to locate the water tank. In most steamers, the water tank is located at the base or on the side of the appliance. Look for a removable compartment or a designated area specifically designed to hold water.
If you are unsure about the exact location of the water tank, refer to the user manual provided with your steamer. It will have detailed instructions and illustrations to help you locate the water tank easily.
Some steamers also have a water level indicator that shows the minimum and maximum levels of water required. This indicator helps you determine the amount of water needed to fill the tank correctly, preventing overfilling or insufficient water for steaming.
Once you have located the water tank, you are ready to move on to the next step of filling it with water.
Step 3: Remove the water tank cap
Now that you have located the water tank, it’s time to remove the water tank cap. The water tank cap is the cover that seals the water tank and prevents any leakage during the steaming process.
Look for a cap or lid on top of the water tank, and depending on the steamer model, it may twist off or simply lift off. If you are unsure about the type of cap on your steamer, refer to the user manual for specific instructions.
Before removing the cap, make sure that the steamer is powered off and unplugged. This will ensure your safety and prevent any accidental burns or electric shocks.
Gently grip the cap and rotate it counterclockwise if it’s a screw-on cap. If it’s a lift-off cap, simply lift it upwards to remove it. Be cautious not to force the cap or apply excessive pressure, as this may cause damage to the steamer or the cap itself.
Once the cap is removed, set it aside in a safe place where it won’t get lost or damaged. Now, you’re ready for the next step of filling the water tank.
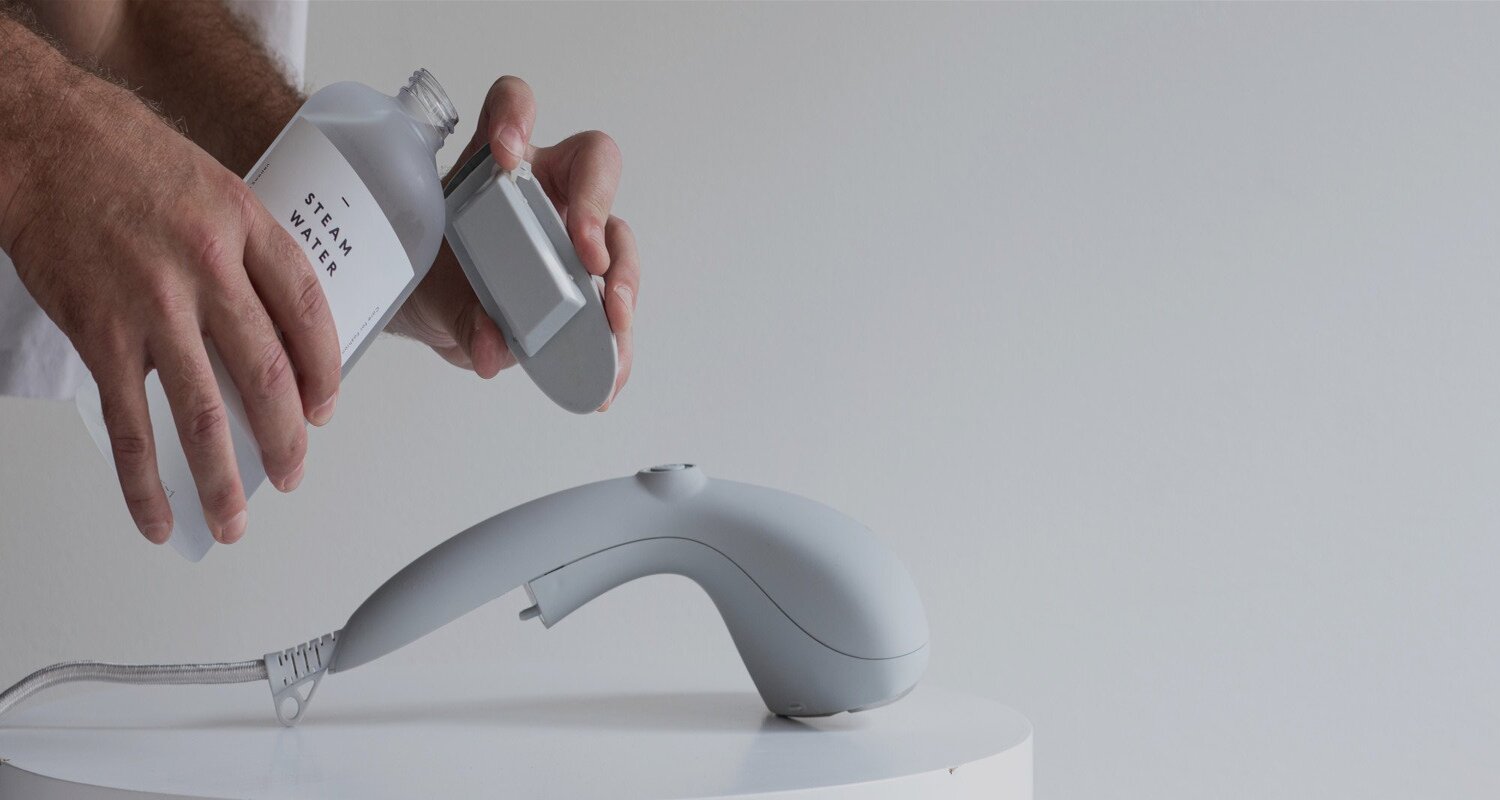
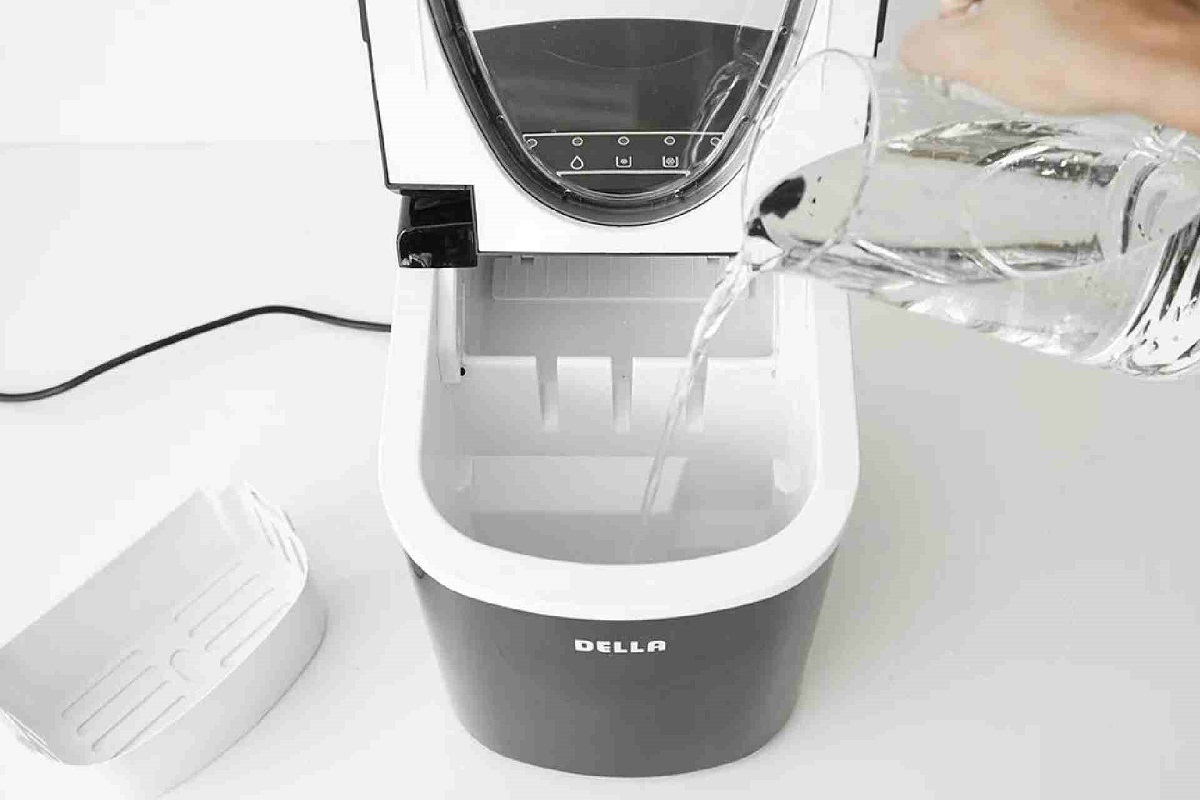
Step 4: Fill the water tank
With the water tank cap removed, you can now proceed to fill the water tank of your steamer. While the exact capacity may vary depending on the size and model of your steamer, it’s important to fill it with the appropriate amount of water for optimal steaming.
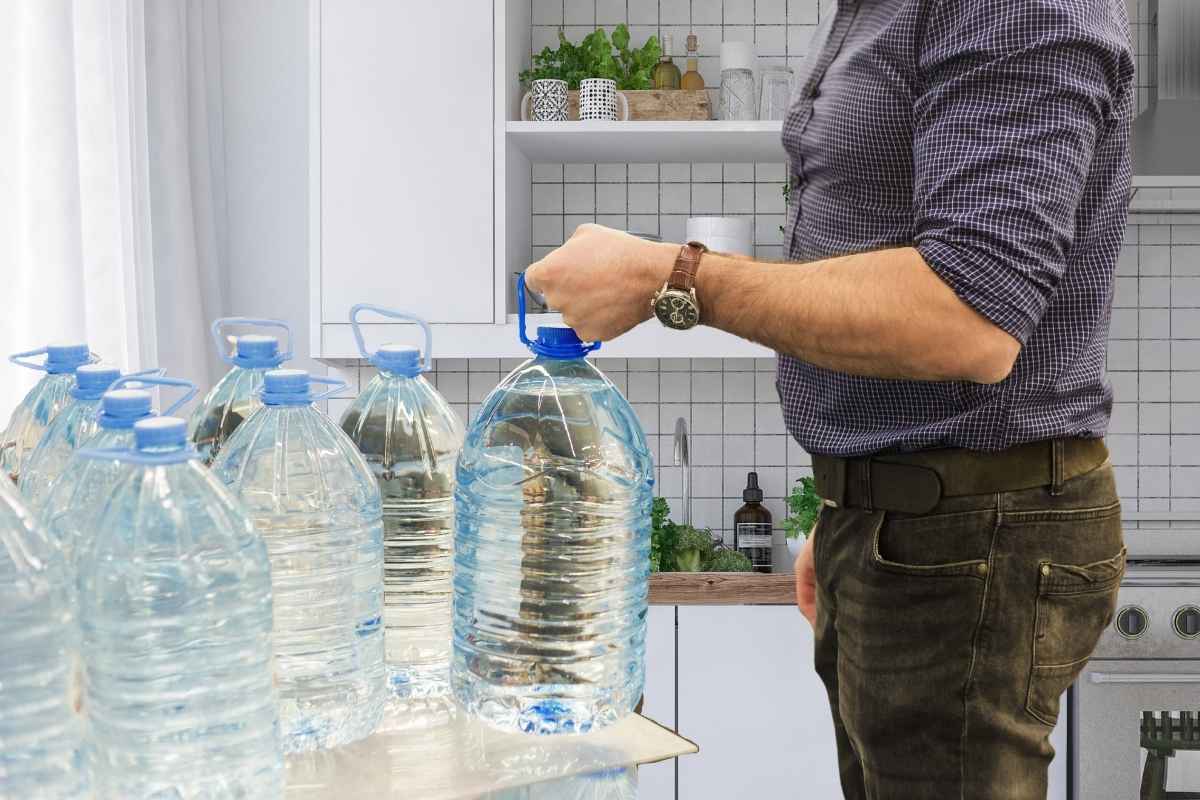
Using a clean jug or faucet, slowly pour filtered or distilled water into the water tank. Avoid using tap water if it is heavily chlorinated or contains impurities, as this may affect the taste and quality of your steamed food.
Be mindful not to overfill the water tank. Check the water level indicator, if available, and ensure that you do not exceed the maximum fill line. Overfilling can cause water to spill out during the steaming process, leading to potential hazards or damage to the appliance.
If your steamer does not have a water level indicator, a general rule of thumb is to fill the tank with enough water to last for the entire cooking duration. Keep in mind that the water will evaporate, so ensure that you have sufficient water to complete your desired cooking time.
As you fill the water tank, try to pour the water evenly across the tank rather than concentrating it in one area. This will help distribute the steam more evenly throughout the steamer, leading to consistent cooking results.
Once the water tank is filled to the desired level, you are ready to move on to the next step of closing the water tank cap.
Before filling a steamer with water, make sure to check the manufacturer’s instructions for the specific model. Use cold water and fill the reservoir to the recommended level to avoid overfilling.
Read more: How To Store Filled Water Balloons
Step 5: Close the water tank cap tightly
After filling the water tank with the appropriate amount of water, it’s crucial to ensure that the water tank cap is securely closed. The water tank cap forms a tight seal to prevent any leaks or spills during the steaming process.
Take the water tank cap that you set aside and position it back onto the water tank. Align the cap with the designated groove or threads on the tank, ensuring a proper fit.
If your steamer has a screw-on cap, hold the cap and rotate it clockwise until it is securely in place. Make sure not to overtighten the cap to avoid damaging the threads. If your steamer has a lift-off cap, press it down firmly until it sits flush with the water tank.
Double-check that the cap is tightly closed by giving it a gentle twist or push. There should be no wiggling or movement, indicating a secure seal.
Ensuring a tight closure of the water tank cap is essential to maintain the steam’s integrity and prevent any water leakage, which can interfere with the cooking process and potentially cause damage to the steamer.
Once the water tank cap is properly closed, you can proceed to the next step of attaching the water tank back to the steamer.
Step 6: Attach the water tank back to the steamer
Now that you have filled and securely closed the water tank, it’s time to attach it back to the steamer. The water tank is an essential component that contains the water necessary for generating steam during the cooking process.
Locate the designated area on the steamer where the water tank is supposed to be placed. It is typically located at the base or on the side of the appliance, specifically designed to accommodate the water tank.
Align the water tank with the corresponding slots or connectors on the steamer. Gently slide the water tank into place, making sure that it is properly seated and securely attached.
Some steamers may have additional locking mechanisms or buttons to ensure a firm connection between the water tank and the steamer. If your steamer has such features, follow the manufacturer’s instructions to properly lock or secure the water tank in place.
Give the water tank a gentle push or wiggle to confirm that it is securely attached. There should be no movement or wobbling, indicating a proper connection.
Once the water tank is securely attached to the steamer, you are now ready to power on the steamer and begin the steaming process.
Step 7: Power on the steamer
Now that the water tank is properly attached, it’s time to power on your steamer. Most steamers have a power switch or button located either on the front panel or the base of the appliance.
Ensure that the steamer is placed on a stable surface, away from any flammable materials or water-sensitive areas. This will help prevent accidents and ensure the safe operation of the steamer.
Locate the power switch or button on your steamer and turn it on by either flipping the switch or pressing the button. Depending on your steamer model, you may need to hold the button for a few seconds to initiate the power-up sequence.
Once the steamer is powered on, you may notice indicator lights or display panels that indicate the steaming process has begun. This can vary depending on the features and controls of your specific steamer model.
It’s important to be patient and allow the steamer some time to heat up and generate steam. This typically takes a few minutes, but the exact time may vary depending on the size and power of your steamer.
Now that your steamer is powered on and heating up, you can move on to the final step of starting the steaming process.
Step 8: Start steaming
With your steamer powered on and preheated, it’s time to start the steaming process and cook your delicious meal. Follow these steps to ensure a successful and enjoyable steaming experience:
- Prepare the food: While the steamer is heating up, take this time to prepare the food you want to steam. Clean and chop the ingredients as needed and place them in the steaming baskets or trays.
- Arrange the food: Arrange the food evenly in the steaming compartments, making sure not to overcrowd them. Proper spacing will allow the steam to circulate freely and cook the food evenly.
- Set the cooking time: Depending on the type of food and your desired level of doneness, set the cooking time on your steamer. Most steamers have a built-in timer or digital display that allows you to select the desired cooking time.
- Start the steaming process: Once you have set the cooking time, press the start or steam button on your steamer. This will initiate the steaming process, and you will see the steam starting to rise from the steaming compartments.
- Monitor the cooking process: Throughout the cooking process, keep an eye on the steaming progress and check the food for doneness. Avoid opening the steamer unnecessarily, as this will release the steam and disrupt the cooking process.
- Adjust cooking time if needed: If you find that the food requires more cooking time, you can adjust the timer on your steamer accordingly. You may also check for doneness by testing the food with a fork or thermometer.
- Turn off the steamer: Once the cooking time is complete and the food is cooked to your desired doneness, turn off the steamer. Be cautious when handling the steamer as it will be hot, and use oven mitts or tongs to remove the food.
- Serve and enjoy: Carefully transfer the steamed food to serving plates or bowls. You can season the food with your favorite sauces or spices and enjoy the healthy and flavorful meal you have prepared.
Remember, always exercise caution when handling a hot steamer and follow the manufacturer’s instructions for safe operation and maintenance of your specific model.
By following these steps, you can easily and confidently steam your favorite dishes, unlocking the full potential of your steamer for healthy and delicious meals.
Read more: How To Fill A Hot Water Heater
Conclusion
Filling a steamer with water is a simple yet crucial step in utilizing this versatile cooking appliance. By following the step-by-step guide provided in this article, you can ensure that your steamer is properly prepared and filled with water, setting the stage for successful and enjoyable steaming sessions.
Remember to start by preparing the steamer, ensuring cleanliness and functionality. Locate the water tank and remove the cap, allowing for easy access to fill it with water. Be mindful of the recommended water level and pour the water evenly into the tank.
Once the water tank is filled, close the cap tightly to form a secure seal and attach the water tank back to the steamer. Power on the steamer and allow it to heat up, generating the necessary steam for cooking.
Finally, start the steaming process by arranging your food in the steaming compartments and setting the desired cooking time. Monitor the cooking process and adjust the time if needed. When the food is cooked to perfection, turn off the steamer, and carefully serve your delicious steamed meal.
By following these steps and utilizing your steamer correctly, you can enjoy the benefits of healthy and nutritious meals that are cooked quickly and without the need for excessive oil or fat.
Remember to consult your steamer’s user manual for any specific instructions related to your particular model. Proper maintenance and care of your steamer will ensure its longevity and continued performance.
So, equip yourself with the knowledge provided in this article, and start exploring the world of steaming, unlocking a whole new realm of flavorful and healthy cooking possibilities.
Frequently Asked Questions about How To Fill A Steamer With Water
Was this page helpful?
At Storables.com, we guarantee accurate and reliable information. Our content, validated by Expert Board Contributors, is crafted following stringent Editorial Policies. We're committed to providing you with well-researched, expert-backed insights for all your informational needs.
0 thoughts on “How To Fill A Steamer With Water”