Articles
How To Fill A Hot Water Heater
Modified: August 27, 2024
Learn how to fill a hot water heater with this informative article. Get step-by-step instructions and expert tips. Start saving money on your energy bills today!
(Many of the links in this article redirect to a specific reviewed product. Your purchase of these products through affiliate links helps to generate commission for Storables.com, at no extra cost. Learn more)
Introduction
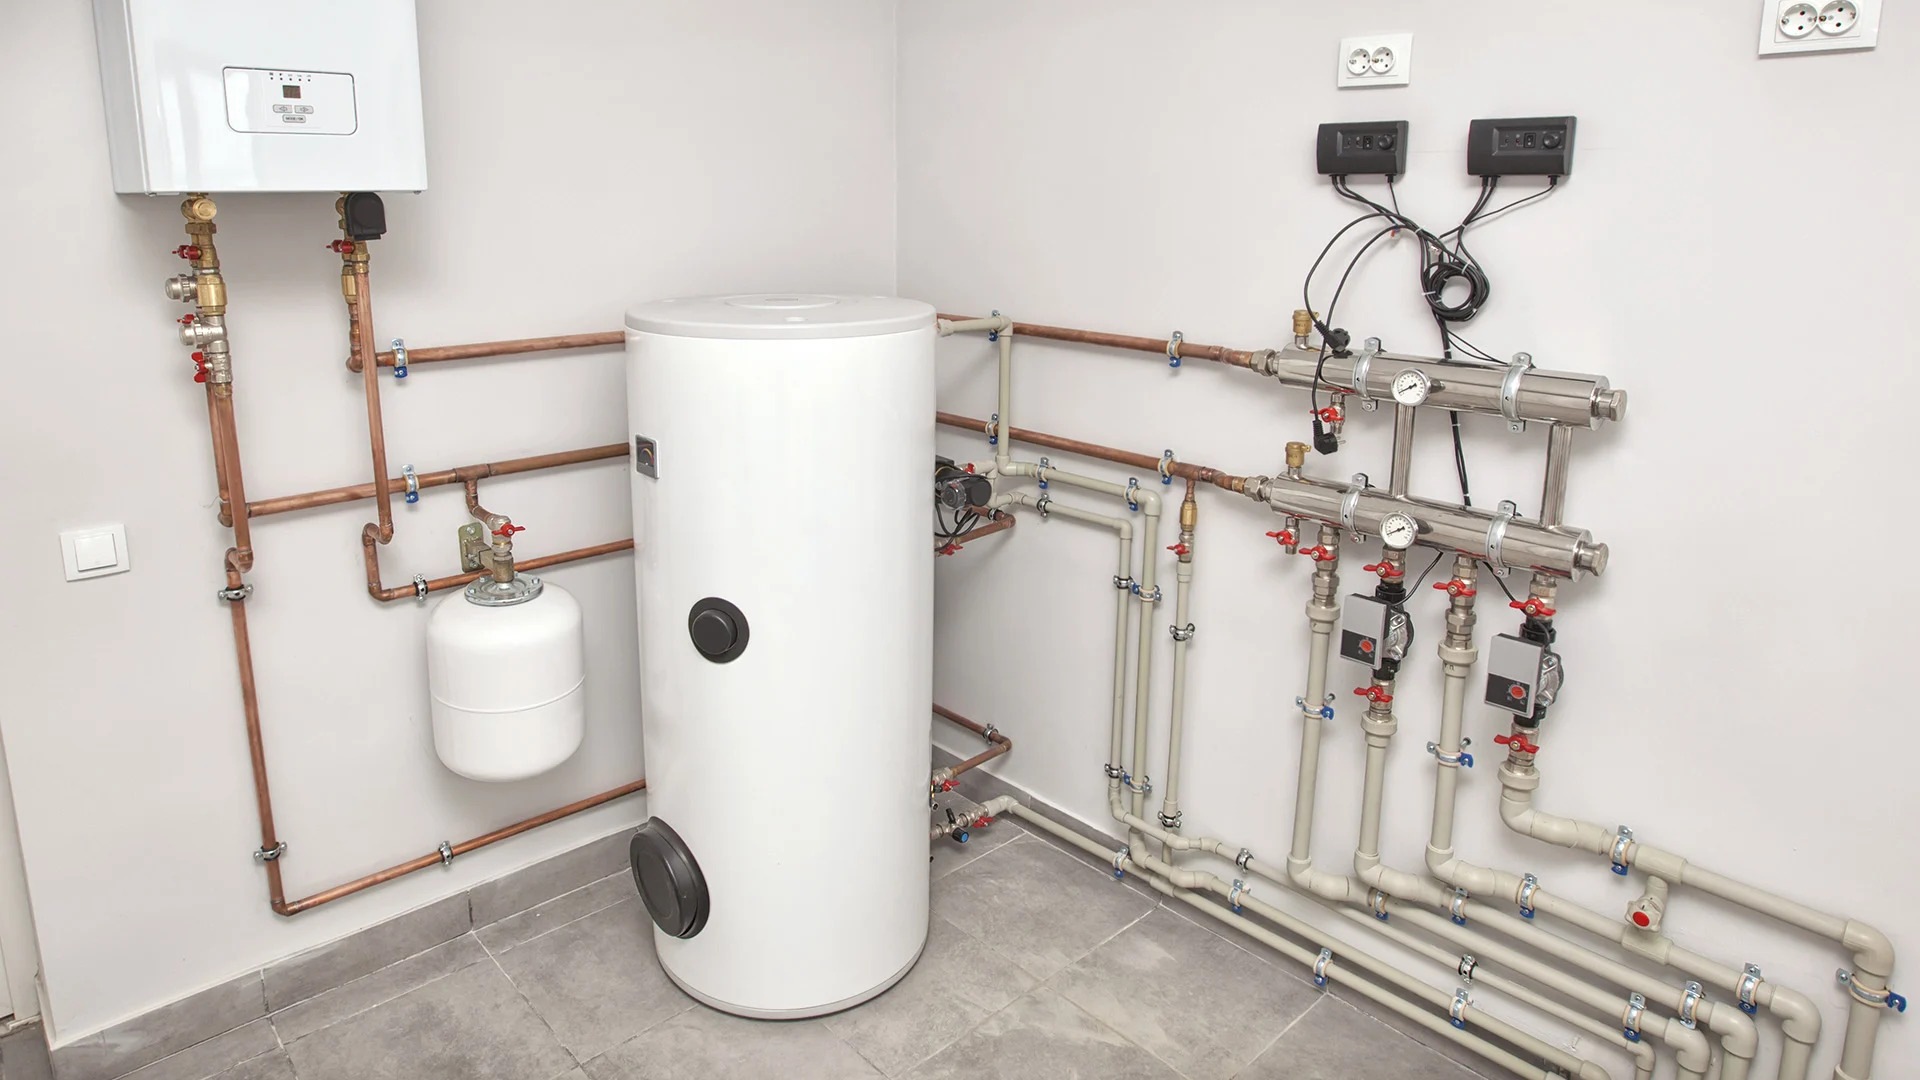
Welcome to this comprehensive guide on how to fill a hot water heater. Whether you are a homeowner or a DIY enthusiast, knowing how to properly fill a hot water heater is an essential skill to have. Regularly filling your hot water heater helps maintain its efficiency and prolong its lifespan. In this article, we will walk you through the step-by-step process of filling a hot water heater, ensuring that you have hot water flowing smoothly in no time.
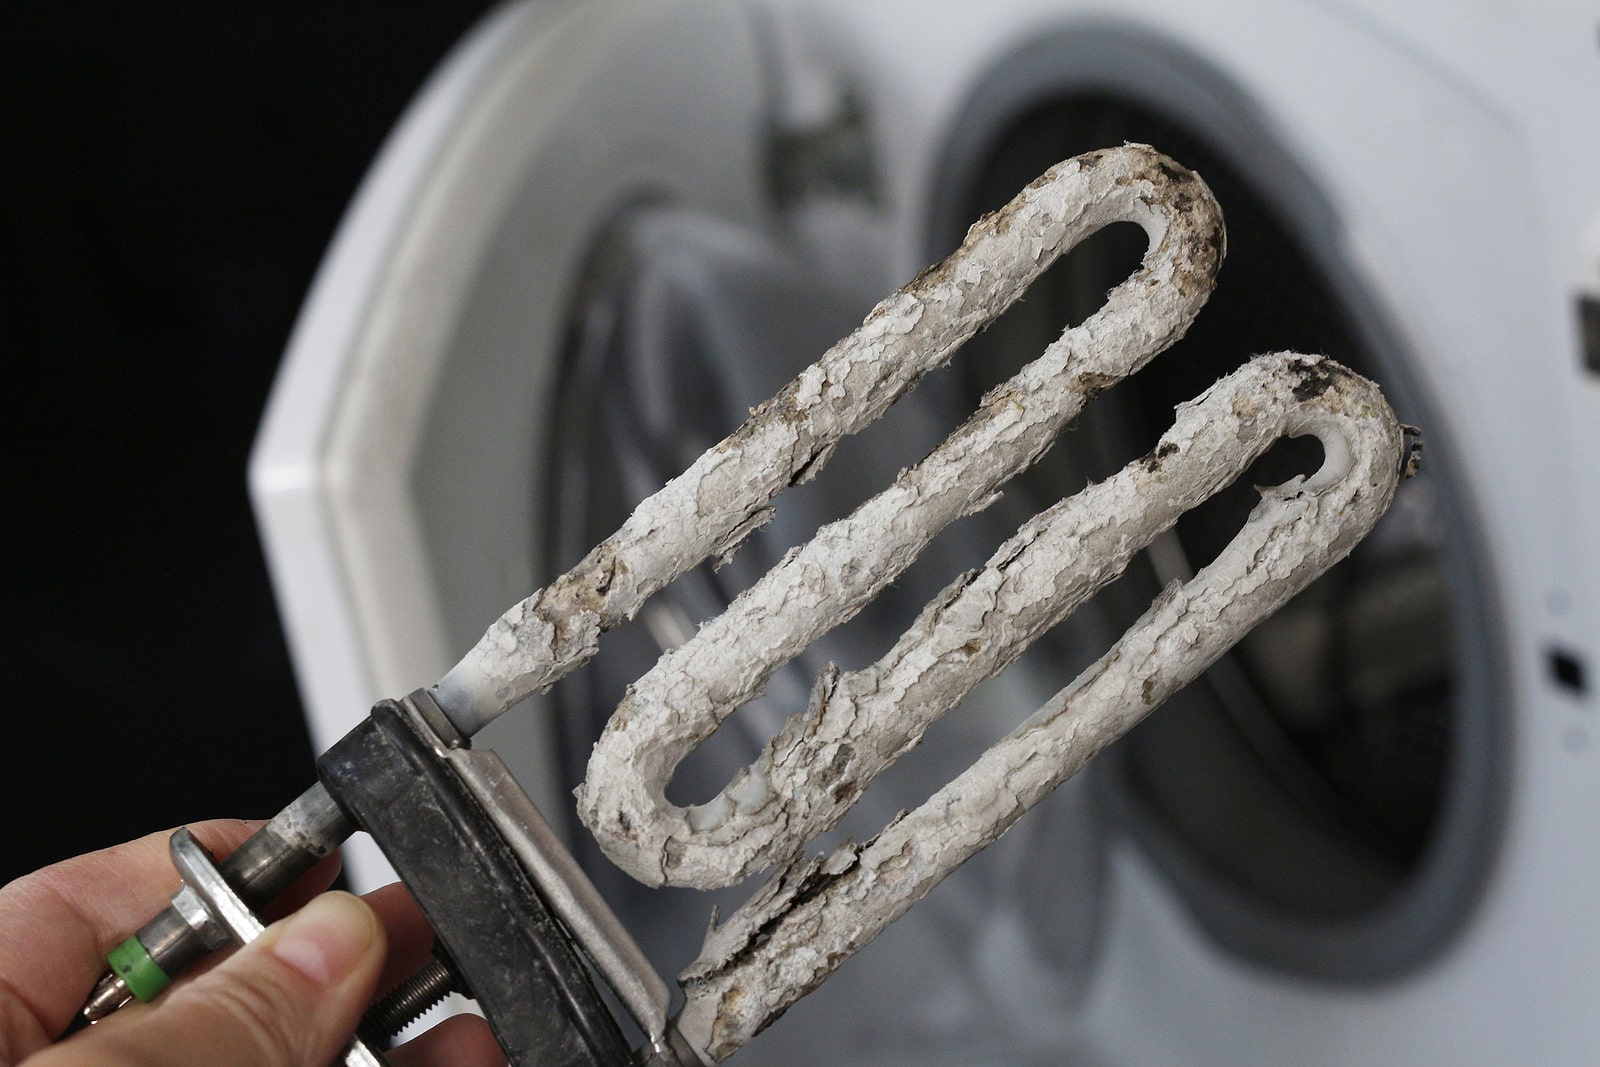
Before we dive into the steps, it’s important to understand the importance of proper maintenance and care for your hot water heater. Over time, sediment and mineral deposits can accumulate at the bottom of the tank, affecting its performance and efficiency. Draining and refilling the hot water heater helps to flush out these impurities, ensuring optimal performance and extending the life of the unit.
Now, let’s get started with the first step: gathering the necessary tools and materials.
Key Takeaways:
- Regularly maintaining and filling your hot water heater is crucial for optimal performance, longevity, and uninterrupted hot water supply. Prioritize safety, gather necessary tools, and follow the step-by-step guide for efficient filling.
- After refilling and restoring power, test the hot water heater to ensure proper functionality. Check for consistent hot water supply, proper temperature, and any signs of leaks or malfunctions. Regular maintenance and professional inspections further enhance performance and efficiency.
Read more: How To Maintain Hot Water Heater
Step 1: Gather the necessary tools and materials
Before you begin the process of filling a hot water heater, it’s important to ensure you have all the necessary tools and materials ready. This will help make the process smoother and more efficient. Here are the items you will need:
- A garden hose
- A pair of pliers or adjustable wrench
- Teflon tape
- A bucket or drain pan
- A towel or rag
- A water supply source
The garden hose will be used to drain the hot water heater and refill it. Make sure the hose is long enough to reach from the hot water heater to a suitable drainage location. The pliers or adjustable wrench will be necessary for opening and closing the drain valve on the hot water heater.
Teflon tape is used to ensure a tight seal on the connections between the garden hose and the hot water heater. This will help prevent any leaks during the filling process. The bucket or drain pan is used to collect any water that may spill during the draining process.
A towel or rag will come in handy to wipe up any spills or drips. Lastly, you will need a water supply source to replenish the hot water heater once it has been drained.
Once you have gathered all the necessary tools and materials, you are ready to move on to the next step: shutting off the power supply to the hot water heater.
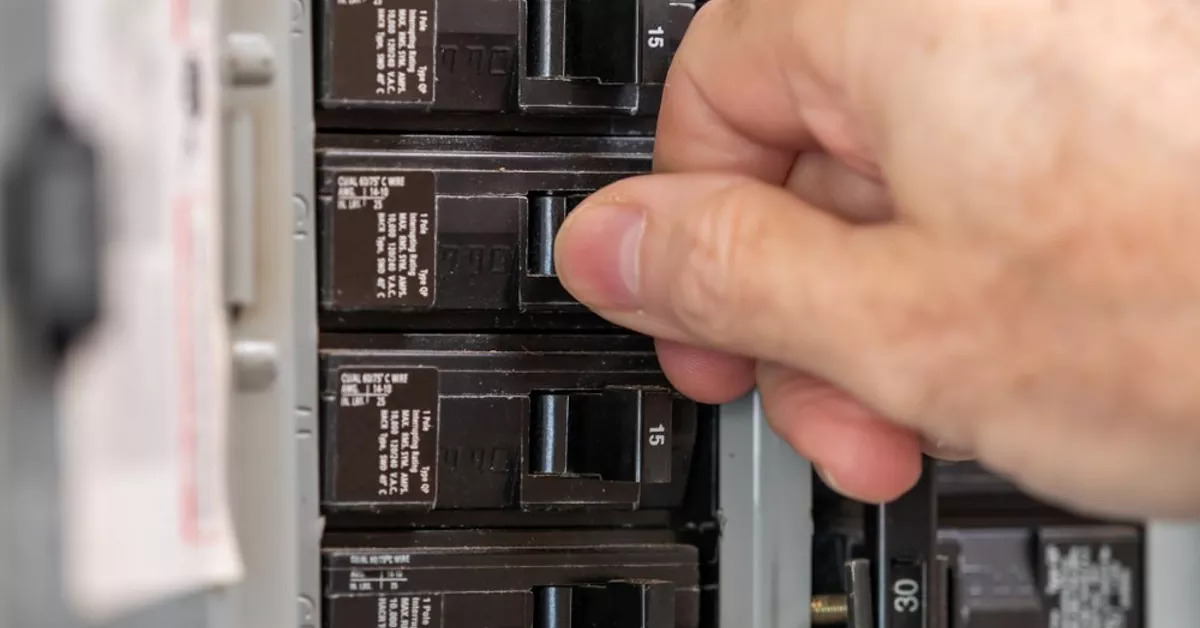
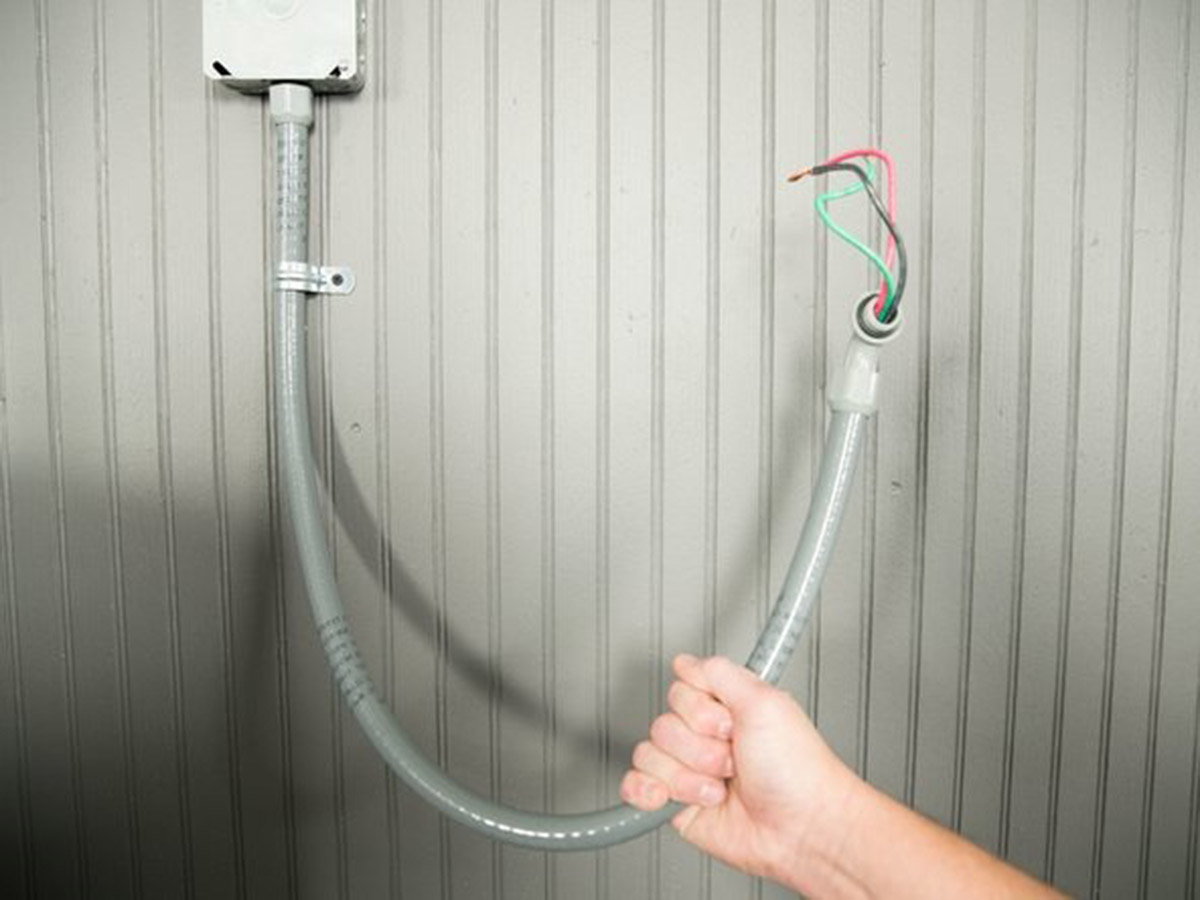
Step 2: Shut off the power supply to the hot water heater
Before you begin any work on the hot water heater, it is crucial to ensure that the power supply is turned off. This step is essential for your safety and to prevent any accidental damage to the unit.
The power supply to the hot water heater is usually controlled by a circuit breaker or a switch located in your home’s electrical panel. Locate the circuit breaker or switch that controls the hot water heater and flip it to the “Off” position.
Once you have turned off the power supply, confirm that the hot water heater is not receiving any electrical power. You can do this by attempting to turn on a hot water faucet in your home. If no hot water comes out, it means that the power supply has been successfully shut off.
It is important to follow proper electrical safety procedures while working with the hot water heater. If you are uncertain about how to safely shut off the power supply or require assistance, it is recommended to consult a qualified professional.
With the power supply to the hot water heater turned off, you are now ready to proceed to the next step: turning off the water supply to the hot water heater.
Step 3: Turn off the water supply to the hot water heater
Before you can begin draining the hot water heater, you need to turn off the water supply. This step ensures that no additional water enters the tank while you are in the process of draining it.
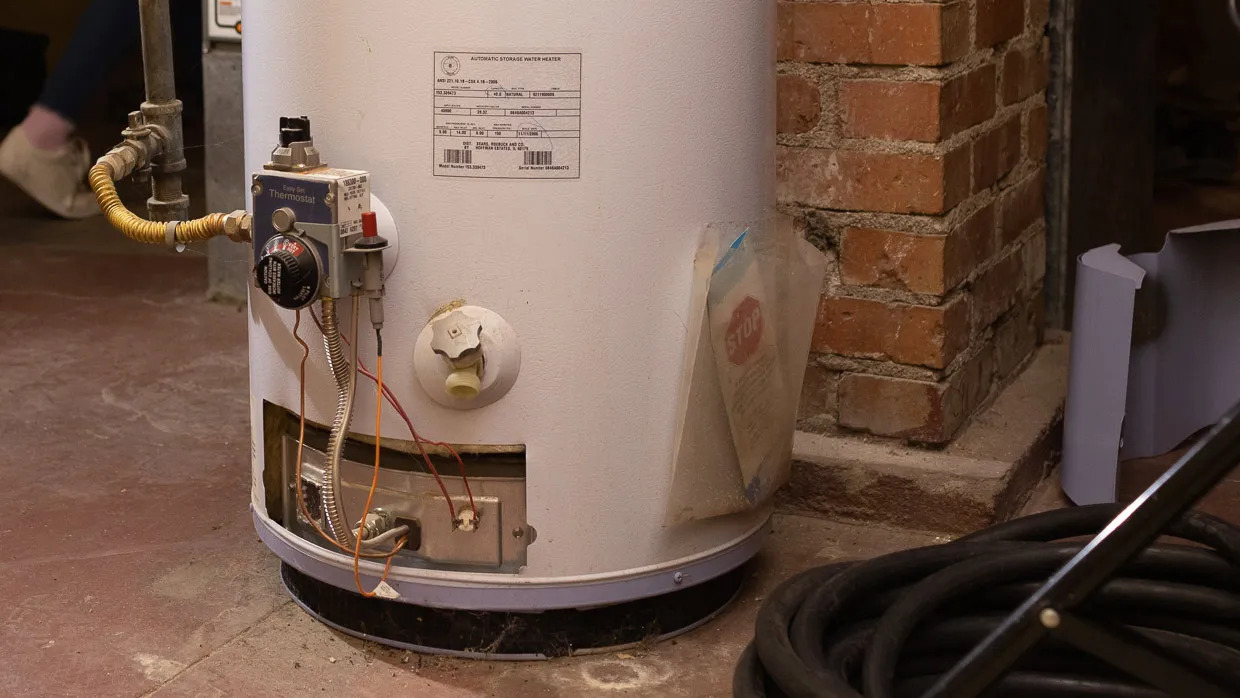
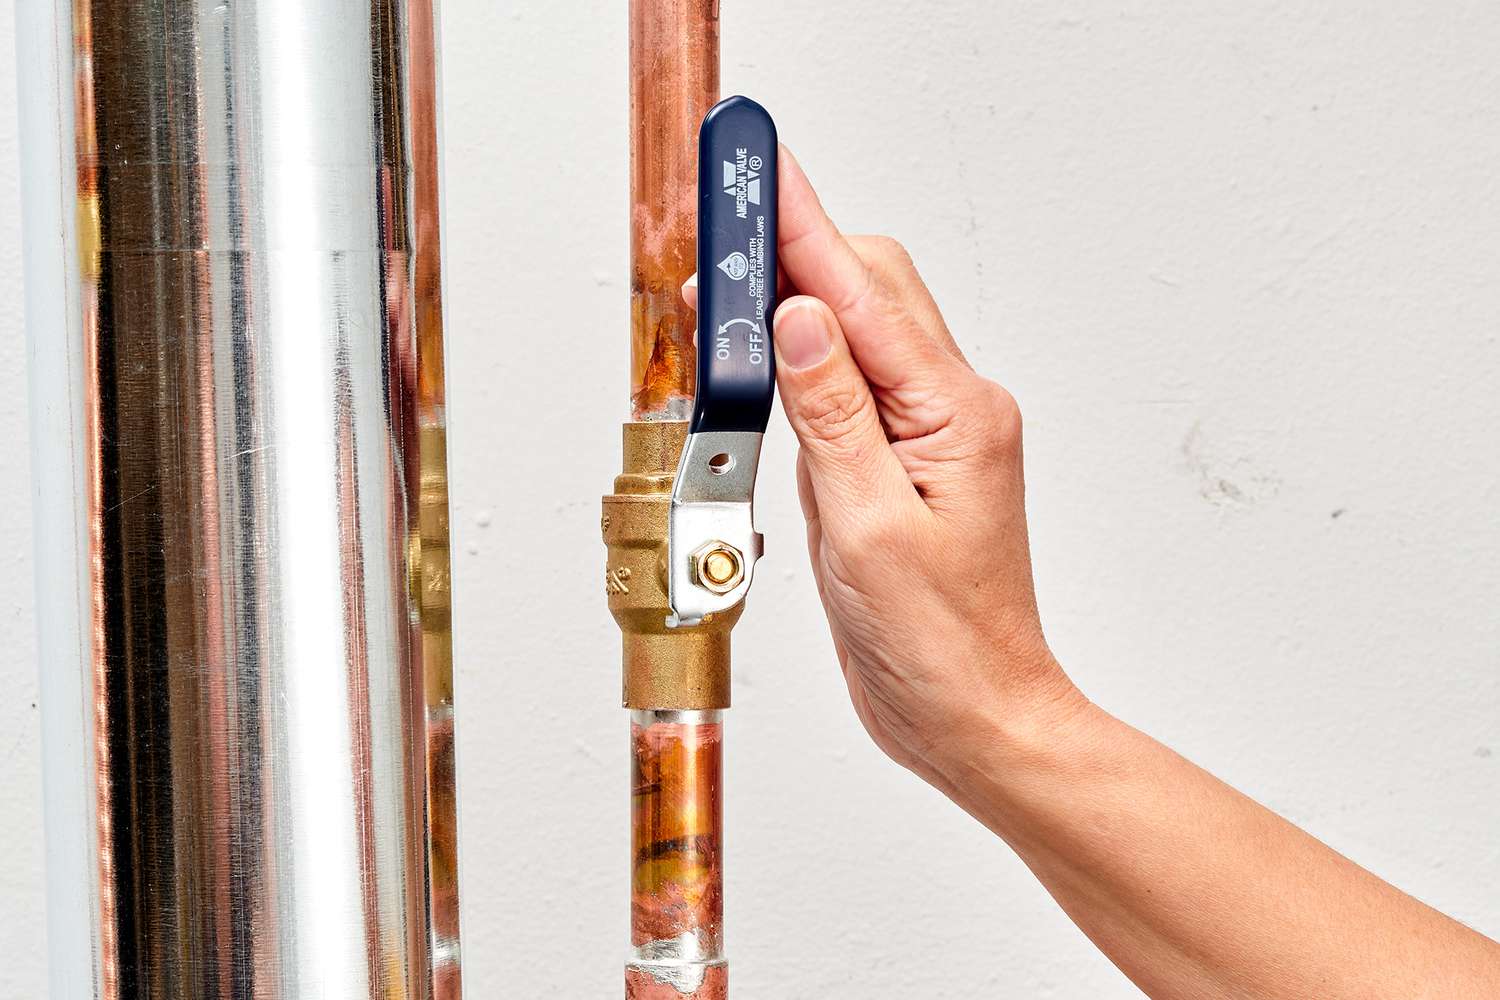
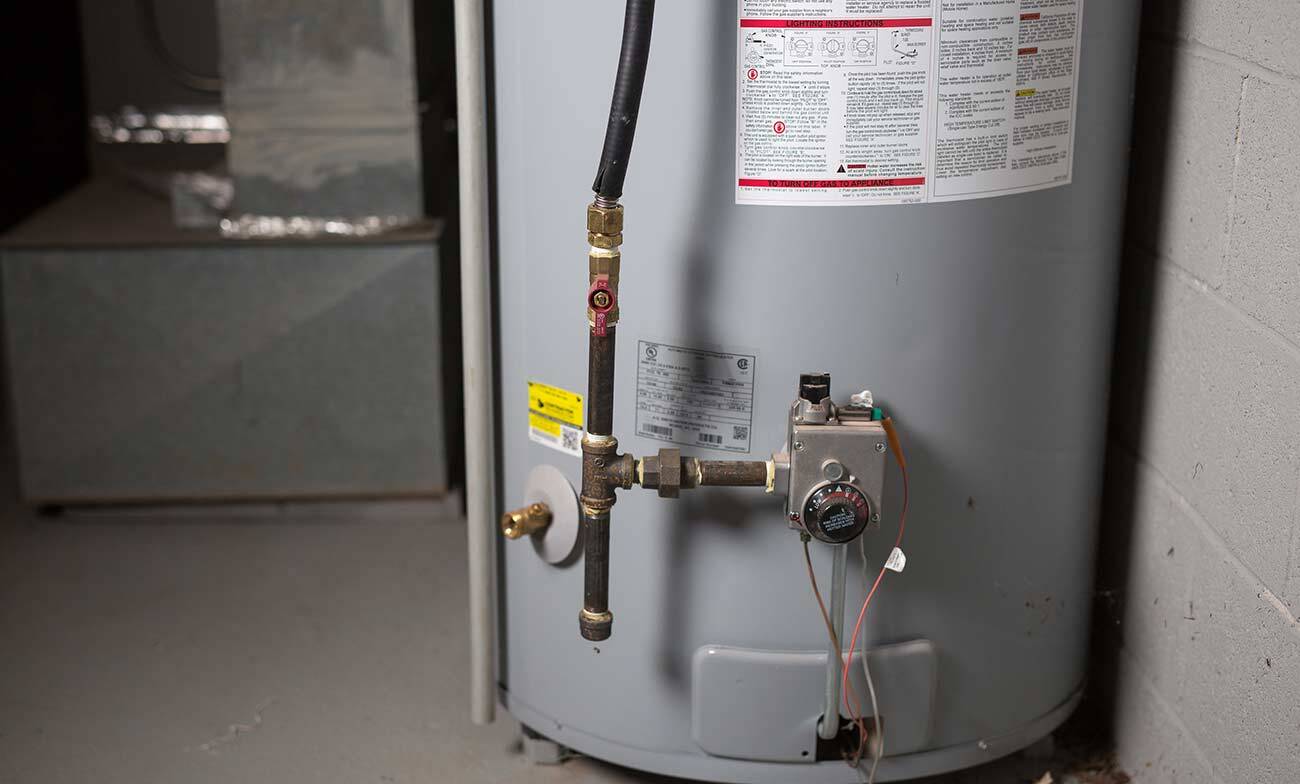
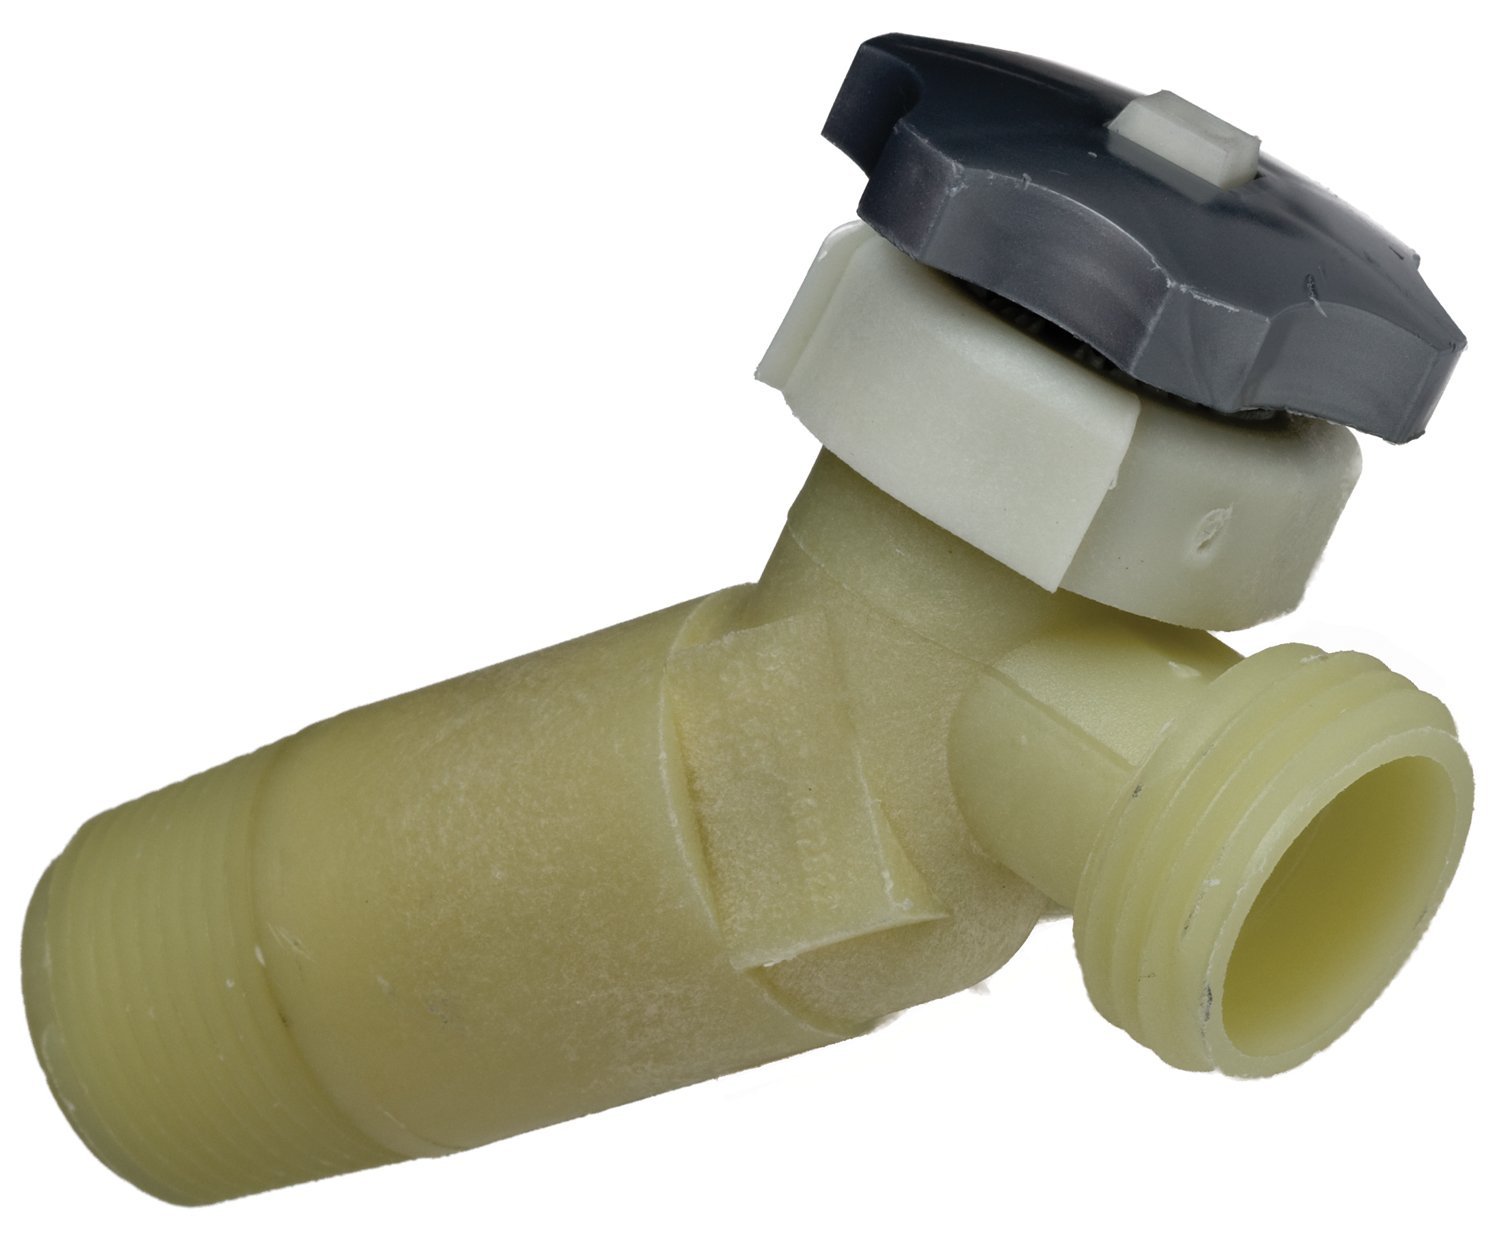
To turn off the water supply to the hot water heater, locate the cold water supply valve. This valve is typically located on the top of the hot water heater, on the side where the water enters the tank.
Using either your hand or a wrench, turn the valve clockwise until it is fully closed. This will shut off the flow of water into the hot water heater. It is important to ensure that the valve is fully closed to prevent any water from entering the tank while you are draining it.
Once you have fully closed the cold water supply valve, it’s a good practice to test it by turning on a hot water faucet in your home. If no water flows from the faucet, it means that the water supply to the hot water heater has been successfully turned off.
Now that the water supply has been shut off, you can move on to the next step: draining the hot water heater.
Step 4: Drain the hot water heater
Draining the hot water heater is an important step in maintaining its performance and preventing the buildup of sediment and mineral deposits. Here’s how you can effectively drain the hot water heater:
- Attach one end of the garden hose to the drain valve located at the bottom of the hot water heater. Make sure the hose is securely attached and tightly sealed using Teflon tape to prevent any leaks.
- Place the other end of the garden hose in a suitable drainage location, such as a floor drain, an outdoor area, or a large bucket.
- Open a hot water faucet in your home to allow air into the system and help facilitate the draining process. This will prevent a vacuum from forming in the pipes.
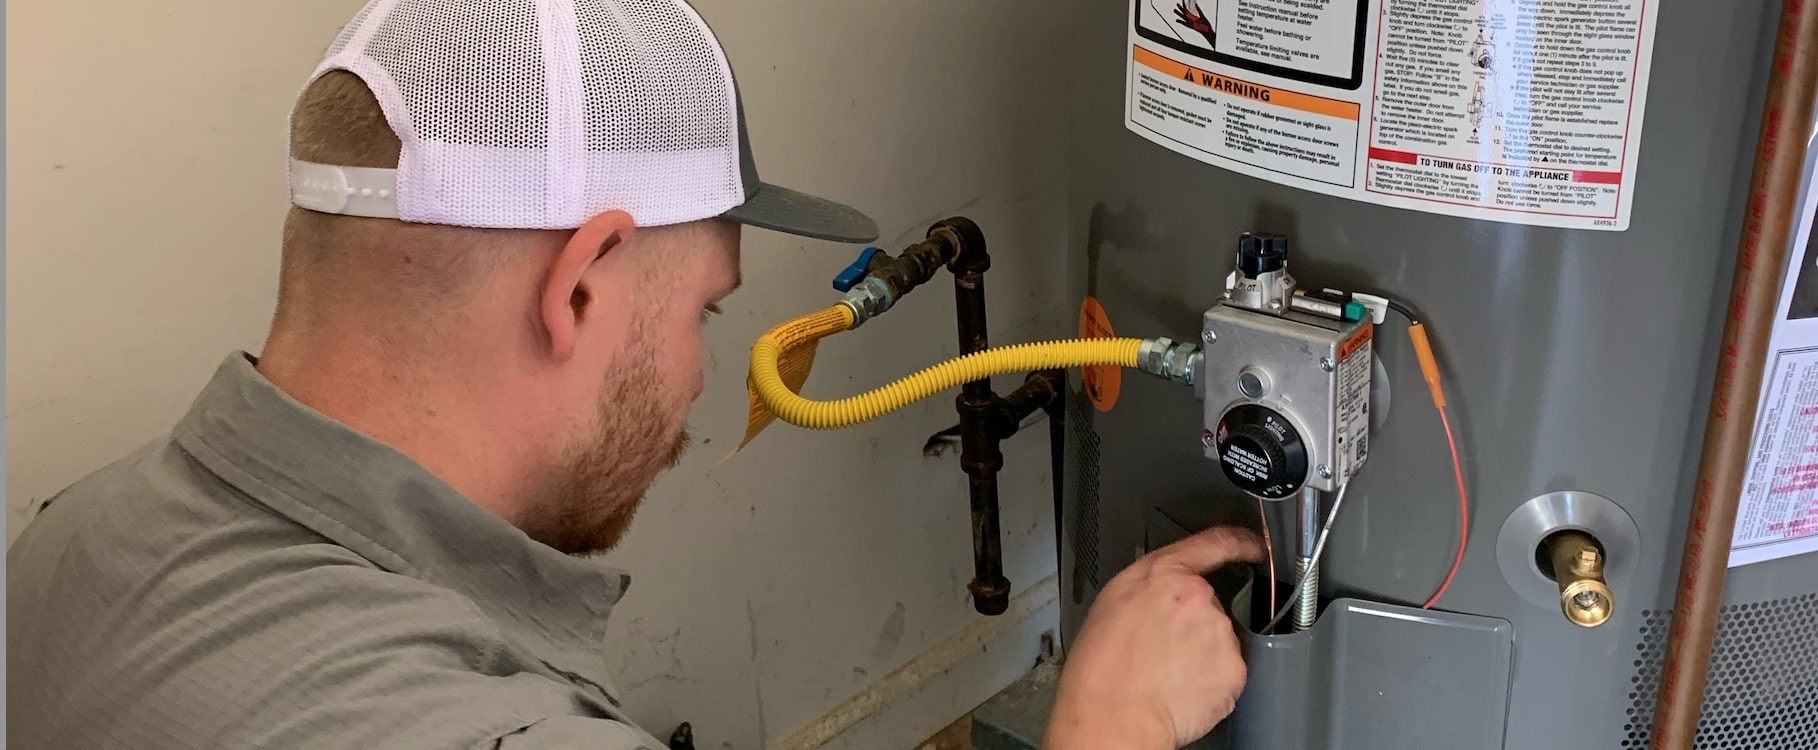
- Carefully open the drain valve on the hot water heater using pliers or an adjustable wrench. Be prepared for hot water and sediment to start flowing out of the hose.
- Allow the hot water heater to drain completely. You can monitor the progress by checking the water flowing out of the hose. It may take some time for all the water to drain, depending on the size of the tank.
- Once the hot water heater has drained, close the drain valve tightly to prevent any water from entering the tank.
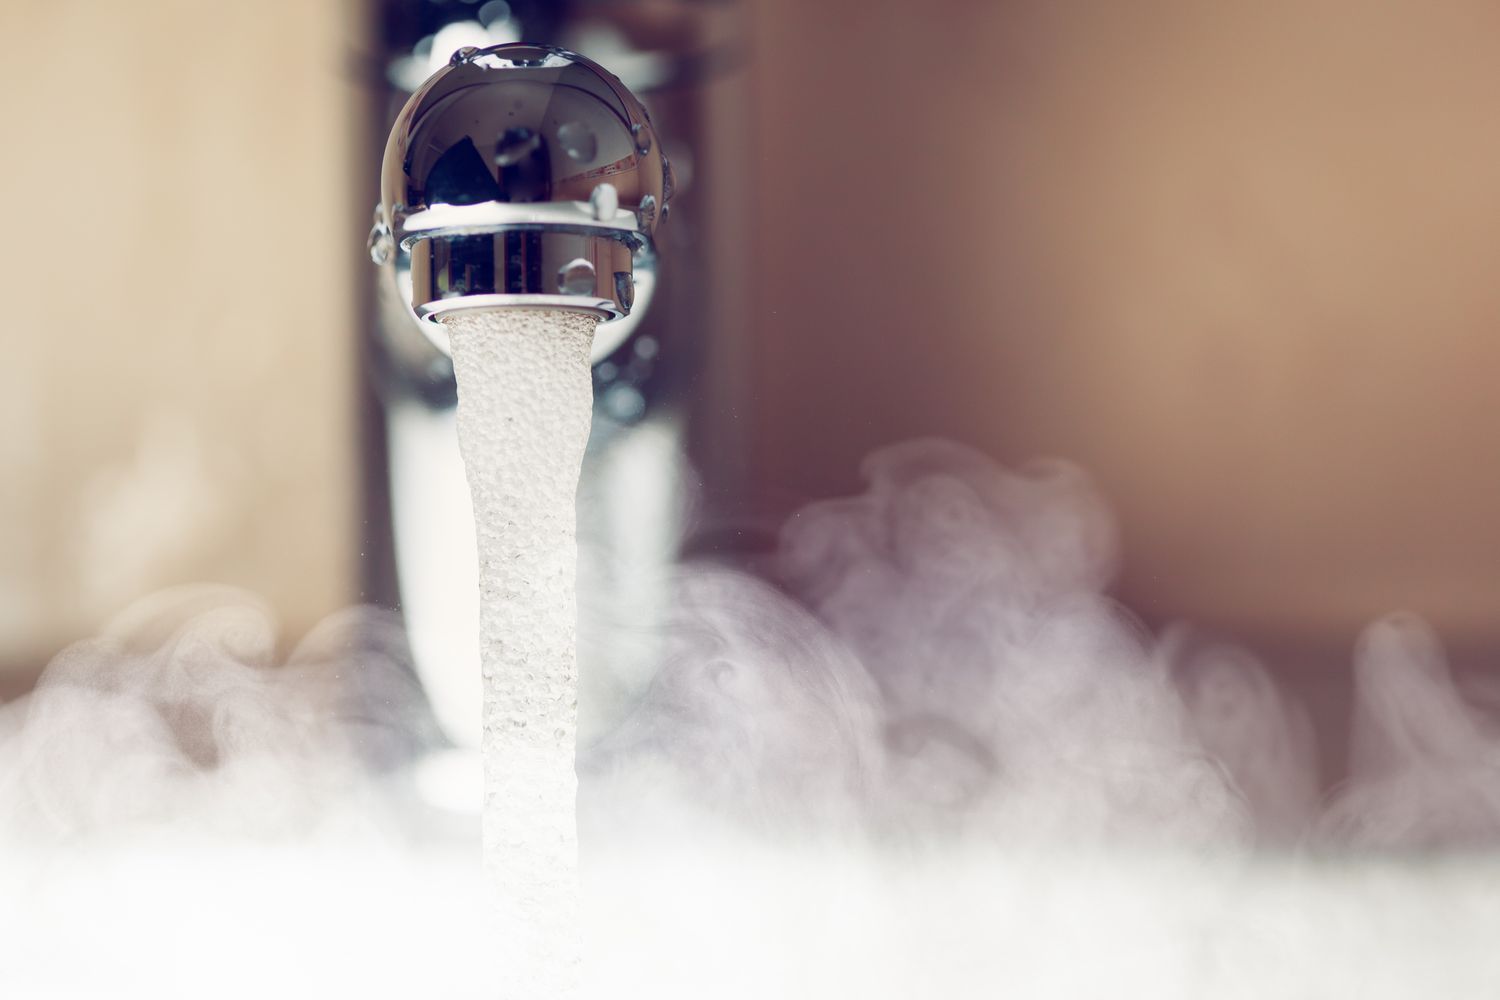
It’s important to note that the water draining from the hot water heater may be hot, so exercise caution to avoid any burns. Additionally, the water might contain sediment and debris, so ensure that you direct it to an appropriate drainage area.
Now that the hot water heater has been drained, you can proceed to the next step: refilling the hot water heater.
Before filling a hot water heater, make sure to turn off the power or gas supply to the unit. This will prevent any potential accidents or damage while filling the tank.
Read more: How To Relight A Hot Water Heater
Step 5: Refill the hot water heater
After successfully draining the hot water heater, it’s time to refill it to restore hot water supply to your home. Refilling the hot water heater involves introducing clean and fresh water into the tank. Follow these steps to ensure a proper refill:
- Close the drain valve on the hot water heater if you haven’t already done so.
- Disconnect the garden hose from the drain valve and remove any residual water.
- Locate the cold water supply valve, which you previously closed in Step 3. Turn it counterclockwise to fully open it.
- Allow the water to flow into the tank slowly. This helps to prevent any potential damage from a sudden rush of water.
- While the tank is refilling, go to a nearby hot water faucet and open it. This will help release any trapped air in the system.
- Keep the hot water faucet open until a steady stream of water flows from it without any air bubbles. Once the water is flowing smoothly, close the faucet.
- Monitor the progress of the filling process and check for any leaks around the connections. If you notice any leaks, tighten the connections using pliers or an adjustable wrench.
- Continue filling the hot water heater until you have reached the desired water level indicated on the side of the tank.
- Once the tank has been refilled, turn off the hot water faucet that you previously opened.
It’s important to ensure a slow and steady flow of water when refilling the hot water heater to prevent any sudden pressure changes. This helps to protect the tank and its components from potential damage.
With the hot water heater successfully refilled, you can now move on to the next step: turning on the water supply and checking for leaks.
Step 6: Turn on the water supply and check for leaks
Now that you have refilled the hot water heater, it’s time to turn on the water supply and ensure that there are no leaks in the system. Follow these steps to complete this important step:
- Locate the cold water supply valve that you previously opened in Step 5.
- Using either your hand or a wrench, turn the valve clockwise to close it partially.
- Observe the hot water heater as the water begins to flow into the tank. Check for any signs of leaks around the connections and the drain valve.
- If you detect any leaks, tighten the connections using pliers or an adjustable wrench. Ensure that the connections are tightly sealed to prevent any future leaks.
- Once you have confirmed that there are no leaks, fully open the cold water supply valve by turning it counterclockwise.
- As the tank continues to fill, keep an eye on the pressure relief valve, which is usually located on the top or side of the hot water heater. Look for any signs of leaks or dripping.
- If you notice any leaks from the pressure relief valve, it may need to be replaced. Consult the hot water heater’s manual or contact a professional for further assistance.
It’s important to be thorough in checking for leaks before fully opening the cold water supply valve. Addressing any leaks promptly can prevent water damage and ensure the proper functioning of your hot water heater.
With the water supply turned on and no leaks detected, you are ready for the next step: restoring the power supply to the hot water heater.
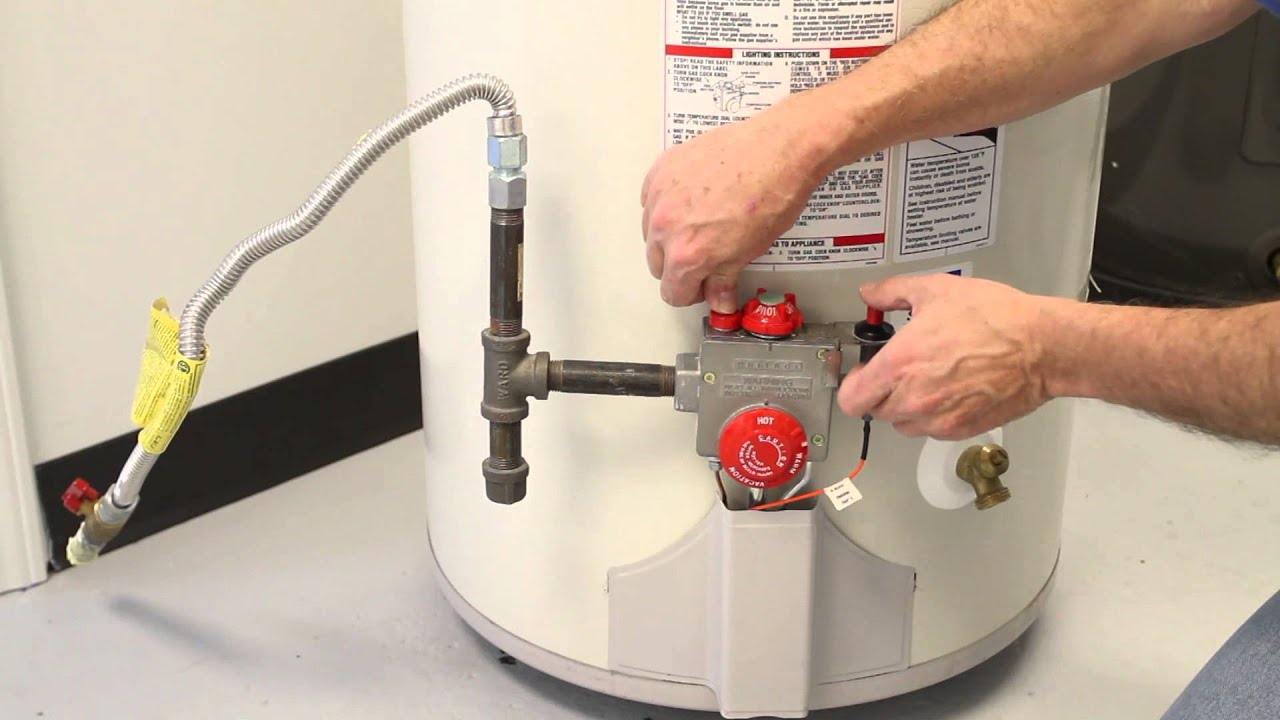
Step 7: Restore the power supply to the hot water heater
Now that you have ensured that the water supply is on and there are no leaks, it’s time to restore the power supply to the hot water heater. Follow these steps to complete this final step:
- Locate the circuit breaker or switch that controls the hot water heater in your home’s electrical panel.
- Flip the circuit breaker or switch to the “On” position to restore power to the hot water heater.
- Wait for the hot water heater to go through its heating cycle. This may take some time, depending on the size of the tank and the temperature setting.
- You may hear the hot water heater heating up as it warms the water. Be aware that it may take a while for the water to reach the desired temperature.
- Monitor the hot water faucet that you previously opened. Once the water flows consistently and reaches the desired temperature, you can close the faucet.
With the power supply restored and the hot water heater in the heating cycle, you can now enjoy the benefits of a properly filled and functional hot water heater in your home. You can confidently use hot water for your daily needs, such as showering, washing dishes, and doing laundry.
It’s important to note that if you encounter any issues or if the hot water heater does not seem to be functioning properly, it is advisable to consult a professional plumber or contact the manufacturer for further assistance.
Congratulations! You have successfully filled your hot water heater and ensured its proper functioning. Regularly maintaining and filling your hot water heater will help extend its lifespan and provide you with consistent hot water supply for your daily needs.
Step 8: Test the hot water heater and ensure proper functioning
After filling and restoring power to your hot water heater, it’s essential to test its performance and ensure everything is functioning correctly. Follow these steps to complete this final verification:
- Wait for the hot water heater to go through a complete heating cycle. This typically takes around an hour, but it may vary depending on the size and model of your hot water heater.
- Once the heating cycle is complete, go to a nearby hot water faucet and turn it on. Allow the water to flow and check if it is hot and at the desired temperature.
- Let the hot water run for a few minutes to ensure a continuous supply of hot water without any fluctuations in temperature.
- Check all the hot water faucets in your home to ensure consistent hot water supply throughout.
- If you notice any issues such as lukewarm water, inconsistent temperature, or insufficient hot water, there may be a problem with your hot water heater. In such cases, it is recommended to seek the assistance of a professional to diagnose and resolve the issue.
- Periodically check for any signs of leaks around the hot water heater, such as water pooling on the floor or dampness around the connections.
- Keep an eye on the temperature and pressure relief valve to ensure it functions correctly and does not release water excessively.
By following these steps and testing your hot water heater, you can ensure that it is in proper working order and providing you with hot water as needed. Regularly monitoring for any issues or signs of malfunction will help you address them promptly and avoid any potential damage or inconvenience.
Congratulations! You have successfully filled your hot water heater and verified its functionality. With proper maintenance and regular checks, your hot water heater will continue to provide reliable hot water for your daily needs.
Remember to periodically perform maintenance tasks such as flushing out sediment and scheduling professional inspections to keep your hot water heater in optimal condition.
Read more: How To Repair Hot Water Heater
Conclusion
Congratulations on successfully filling your hot water heater! By following the step-by-step guide outlined in this article, you have learned how to properly fill your hot water heater, ensuring its efficiency, longevity, and uninterrupted hot water supply.
Regularly maintaining and filling your hot water heater is essential for optimal performance. By draining the tank, removing sediment and mineral deposits, and refilling it with fresh water, you prevent clogs and maintain efficient operation.
Remember to gather all the necessary tools and materials before starting the process, and always prioritize your safety by shutting off the power supply. Take your time to ensure proper draining, and carefully refill the tank to avoid leaks or sudden pressure changes.
After refilling the tank and restoring power, don’t forget to test the hot water heater to ensure it’s working correctly. Check for consistent hot water supply, proper temperature, and any signs of leaks or malfunctions.
Regular maintenance of your hot water heater, including flushing out sediment, can further enhance its performance and efficiency. Remember to schedule periodic professional inspections to address any potential issues before they become major problems.
By following these guidelines, you can ensure that your hot water heater continues to provide you with reliable hot water for many years to come. Enjoy the convenience and comfort of a properly filled and functioning hot water heater in your home!
Frequently Asked Questions about How To Fill A Hot Water Heater
Was this page helpful?
At Storables.com, we guarantee accurate and reliable information. Our content, validated by Expert Board Contributors, is crafted following stringent Editorial Policies. We're committed to providing you with well-researched, expert-backed insights for all your informational needs.

0 thoughts on “How To Fill A Hot Water Heater”