Articles
How To Prime A Soap Dispenser
Modified: August 16, 2024
Learn how to prime a soap dispenser with our informative articles. Find step-by-step guides and tips to ensure a smooth and efficient operation of your dispenser.
(Many of the links in this article redirect to a specific reviewed product. Your purchase of these products through affiliate links helps to generate commission for Storables.com, at no extra cost. Learn more)
How To Prime A Soap Dispenser
Introduction
Soap dispensers are a convenient and hygienic way to keep your hands clean. Whether it’s in your bathroom or kitchen, having a functional soap dispenser is essential. However, sometimes you may encounter issues with the soap dispenser not working properly or dispensing soap unevenly. This is where the process of priming a soap dispenser comes in.
Priming a soap dispenser is the act of getting it ready for use by ensuring that the soap flows smoothly and consistently. It involves getting rid of any air bubbles or blockages that may be hindering the proper functioning of the dispenser. By priming the soap dispenser, you can enjoy a hassle-free handwashing experience and ensure that your soap dispenser performs optimally.
Understanding how to prime a soap dispenser is a valuable skill that can save you time and frustration. Not only will it ensure the efficient operation of your soap dispenser, but it will also help you maintain proper hygiene in your home or workplace.
In this article, we will guide you through the process of priming a soap dispenser step by step. We will also provide you with troubleshooting tips and answers to frequently asked questions to address any concerns you may have. So, let’s dive in and learn how to prime a soap dispenser!
Key Takeaways:
- Keep your soap dispenser in top condition by understanding the importance of priming. Regular maintenance ensures a smooth and hygienic handwashing experience, preventing blockages and promoting efficient operation.
- With just a few simple steps and minimal tools, you can easily prime your soap dispenser for optimal performance. Troubleshoot any issues and maintain proper hygiene for hassle-free handwashing every time.
Read more: How To Change Soap In Gojo Soap Dispenser
Understanding Soap Dispensers
Before we delve into the process of priming a soap dispenser, it’s important to have a basic understanding of how soap dispensers work. Soap dispensers are designed to dispense liquid or foam soap in a controlled and hygienic manner.
There are various types of soap dispensers available in the market, including manual, automatic, and touchless dispensers. Manual soap dispensers require you to press a button or pump to dispense the soap, while automatic and touchless dispensers use sensors to detect motion and dispense the soap accordingly.
Soap dispensers typically consist of a container or reservoir where the soap is stored, a pump or mechanism to dispense the soap, and a nozzle or spout through which the soap is released. The pump or mechanism is responsible for drawing the soap from the container and pushing it out through the nozzle.
Soap dispensers are commonly used in bathrooms, kitchens, public restrooms, and other areas where hand hygiene is crucial. They provide a convenient and efficient way to access soap, reduce waste, and maintain cleanliness.
It’s important to note that soap dispensers come in different sizes and capacities. Some are designed for personal use, while others are intended for commercial or industrial settings. The type of soap dispenser you have may affect the specific priming process, so it’s always recommended to refer to the manufacturer’s instructions for guidance.
Why Priming is Important
Priming a soap dispenser may seem like an extra step, but it serves a crucial purpose in ensuring the proper functioning of the dispenser. Here are a few reasons why priming is important:
- Removes Air Bubbles: Soap dispensers, especially those that have been sitting unused for a while, may develop air bubbles in the soap or within the dispenser mechanism. These air bubbles can hinder the smooth flow of soap and result in inconsistent dispensing. Priming helps to remove these air bubbles, allowing the soap to flow freely.
- Clears Blockages: Over time, soap residue, impurities, or debris can accumulate within the dispenser, clogging the pump or nozzle. This can lead to reduced soap flow or complete blockage. By priming the soap dispenser, you can clear any blockages and ensure that the soap is dispensed smoothly and evenly.
- Ensures Efficient Operation: A properly primed soap dispenser ensures efficient operation. It helps to prevent soap wastage by ensuring that only the required amount of soap is dispensed. It also prevents clogs that can damage the dispenser or require costly repairs.
- Promotes Hygiene: Priming a soap dispenser is essential for maintaining proper hygiene. Over time, soap dispensers can accumulate germs, bacteria, and other contaminants. Priming allows you to flush out any stagnant or contaminated soap, ensuring that you have a clean and hygienic soap dispenser for handwashing.
Tools and Materials Needed
When it comes to priming a soap dispenser, you don’t need a lot of tools or materials. In fact, you probably already have most of them readily available. Here are the tools and materials you will need:
- Soap Dispenser: Of course, you will need the soap dispenser that you want to prime. This can be a manual, automatic, or touchless dispenser, depending on your preference and the type you have.
- Soap: You will need the soap that you plan to use with the dispenser. Make sure it is a liquid or foam soap that is compatible with your dispenser.
- Warm Water: You will need warm water to help loosen any soap residue or debris that may be causing a blockage in the dispenser.
- Clean Cloth or Sponge: Having a clean cloth or sponge on hand will be helpful for wiping down the exterior of the dispenser while priming it.
- Paper Towels: Keep some paper towels nearby to help absorb any excess water or soap that may spill during the priming process.
- Tool (Optional): Depending on the type of soap dispenser you have, you may need a small tool like a screwdriver or Allen wrench to access certain parts for cleaning or priming. Refer to the manufacturer’s instructions to determine if any specific tools are required.
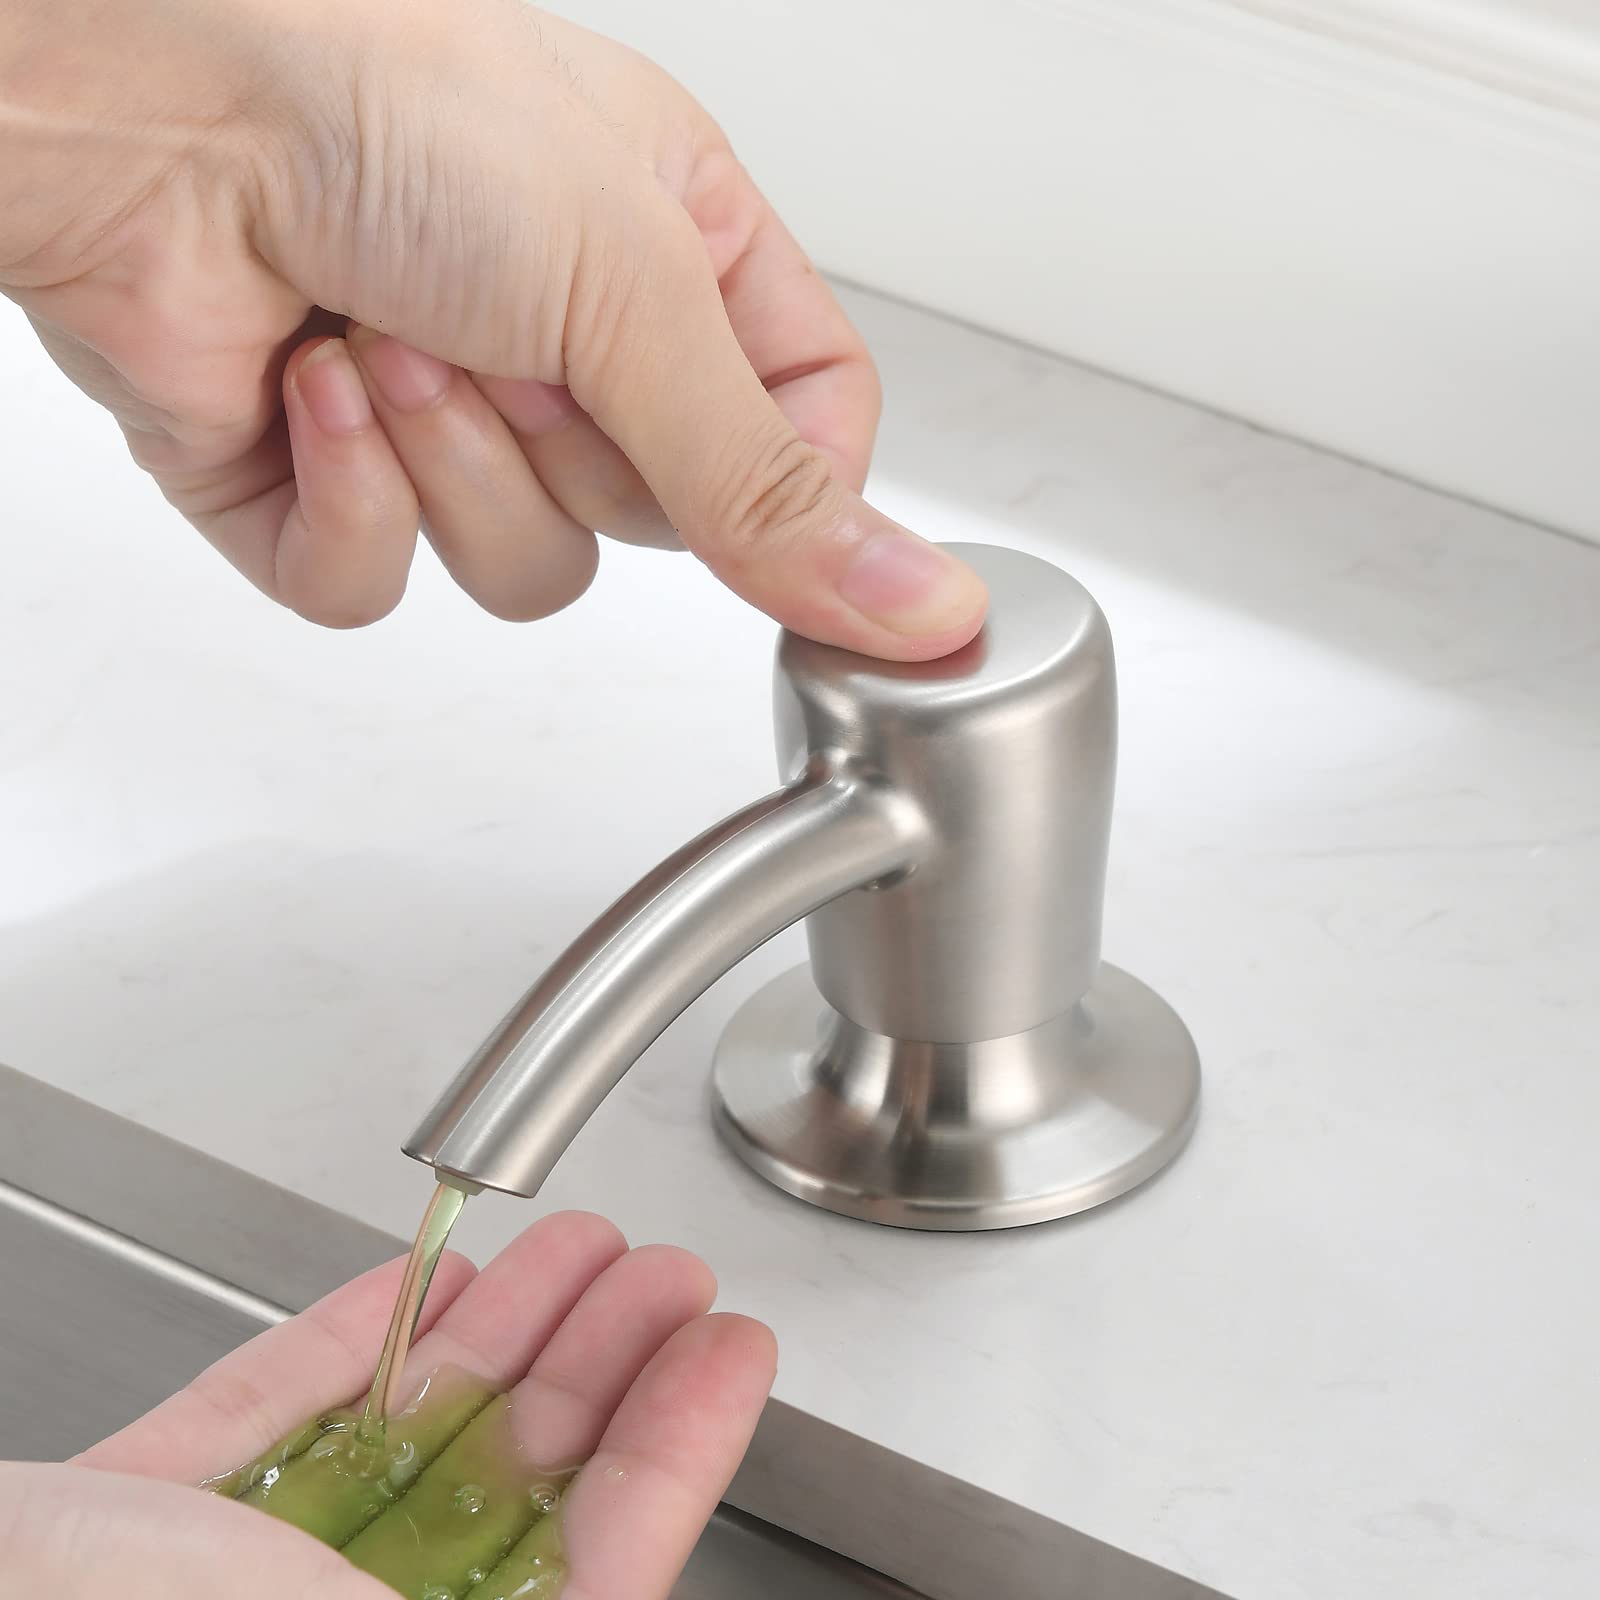
When priming a soap dispenser, fill it with water and pump the dispenser several times to remove any air bubbles. Then, empty the water and fill with soap. This will help the dispenser work smoothly.
Step-by-Step Guide to Priming a Soap Dispenser
Now that you understand the importance of priming a soap dispenser and have gathered all the necessary tools and materials, let’s walk through the step-by-step process of priming a soap dispenser:
- Prepare the Soap Dispenser: Ensure that the soap dispenser is empty or has minimal soap left in it. This will make it easier to prime and prevent any spills or messes.
- Remove the Soap Container: Depending on the type of soap dispenser you have, you may need to remove the soap container. Consult the manufacturer’s instructions to determine how to safely remove the container, if necessary.
- Clean the Dispenser: Take a clean cloth or sponge and dampen it with warm water. Gently wipe the interior and exterior of the dispenser to remove any dirt, soap residue, or debris. Pay close attention to the pump, nozzle, and any other areas that may be prone to blockages.
- Rinse the Dispenser: Fill a sink or basin with warm water. Submerge the soap container in the water to rinse out any remaining soap residue. Use your hand or a clean cloth to agitate the water and dislodge any stubborn residue.
- Flush the Pump: With the soap container still submerged in water, pump the dispenser multiple times to flush out any remaining soap or debris. This will help to clear any blockages and ensure that the pump is free from obstructions.
- Reassemble the Dispenser: Once you have thoroughly rinsed and flushed the dispenser components, reassemble the soap dispenser according to the manufacturer’s instructions. Ensure that all parts are tightly secured and properly aligned.
- Add Soap and Test: Fill the soap container with your preferred liquid or foam soap. Place the container back into the dispenser and ensure it is secure. Test the dispenser by pumping or activating the sensor to dispense the soap. Check for a smooth and consistent flow of soap.
- Adjust if Necessary: If the soap is not dispensing correctly, check for any air bubbles or blockages that may still be present. Repeat the priming process if needed or consult the manufacturer’s instructions for troubleshooting guidance.
Read more: How To Put Soap In A Soap Dispenser
Troubleshooting and Tips
While priming a soap dispenser is a straightforward process, you may encounter some challenges along the way. Here are some troubleshooting tips and additional tips to help ensure a successful priming:
- If the soap dispenser is not priming: If the dispenser is not priming or the soap is not flowing smoothly, check for any blockages or air bubbles. Ensure that all parts are securely assembled and that the soap container is properly inserted. If the issue persists, refer to the manufacturer’s instructions for specific troubleshooting steps.
- Use the right soap: Ensure that you are using the appropriate liquid or foam soap that is compatible with your dispenser. Using the wrong type of soap can result in clogs or inconsistent dispensing.
- Regularly clean and maintain the dispenser: To prevent future blockages and ensure optimal performance, regularly clean the soap dispenser and remove any soap residue or debris. Follow the manufacturer’s recommended maintenance guidelines.
- Check for leaks: Occasionally, soap dispensers may develop leaks. If you notice any leaks, check for loose connections or damaged seals. Tighten any loose parts or replace faulty seals to prevent further leakage.
- Experiment with soap viscosity: If you find that the soap is not flowing smoothly, you can experiment with adjusting the viscosity of the soap. Adding a small amount of warm water to the soap can help make it thinner and easier to dispense.
- Keep the dispenser clean externally: Besides ensuring the interior cleanliness of the dispenser, regularly wipe down the exterior to remove any dirt or residue. This will help maintain the overall appearance and hygiene of the dispenser.
- Refer to the manufacturer’s instructions: If you encounter any issues or have specific questions regarding your soap dispenser, always consult the manufacturer’s instructions. They will provide detailed guidance tailored to your particular dispenser model.
Frequently Asked Questions
Here are some commonly asked questions about priming soap dispensers:
Q: How often should I prime my soap dispenser?
A: Ideally, you should prime your soap dispenser whenever you notice any issues with soap flow or dispensing. However, regular cleaning and maintenance can help prevent the need for frequent priming. It’s recommended to clean and maintain your soap dispenser according to the manufacturer’s instructions.
Q: Can I use any type of soap to prime a dispenser?
A: It’s important to use a liquid or foam soap that is specifically designed for use in soap dispensers. The soap should be compatible with your dispenser to ensure proper flow and dispensing. Avoid using bar soap or thick, gel-like soaps as they may cause clogs or difficulty in priming.
Q: What should I do if my soap dispenser is not dispensing any soap?
A: If your soap dispenser is not dispensing any soap, check if the soap container is properly inserted and secure. Ensure that there are no blockages in the pump, nozzle, or any other parts of the dispenser. If the issue persists, refer to the manufacturer’s instructions for troubleshooting steps.
Q: Can I use warm water to prime my soap dispenser?
A: Warm water can be used to help loosen soap residue and debris during the priming process. However, it’s important to follow the manufacturer’s instructions and guidelines for your specific soap dispenser model. Some dispensers may have specific temperature requirements, so always refer to the instructions provided.
Q: How can I prevent air bubbles in my soap dispenser?
A: To prevent air bubbles in your soap dispenser, ensure that the soap container is properly filled and tightly sealed. Avoid shaking the dispenser vigorously as this can introduce air bubbles. Additionally, regularly clean and maintain the dispenser to prevent soap residue buildup that can contribute to air bubbles.
Q: Can I prime a touchless soap dispenser?
A: Yes, touchless soap dispensers can also be primed. The process may vary slightly depending on the specific model, so refer to the manufacturer’s instructions for guidance on priming a touchless soap dispenser.
Remember, if you have any specific concerns or questions about your soap dispenser, it’s always best to consult the manufacturer’s instructions or reach out to their customer support for assistance.
Conclusion
Priming a soap dispenser is a crucial step in ensuring its proper functioning and optimal performance. By following the step-by-step guide provided in this article, you can easily prime your soap dispenser and enjoy a smooth and consistent flow of soap for your handwashing needs.
Understanding how soap dispensers work and why priming is important helps you maintain the hygiene of your soap dispenser and prevent issues such as blockages and inconsistent soap flow. By regularly cleaning your dispenser and priming it when necessary, you can ensure a hassle-free handwashing experience and promote proper hygiene in your home or workplace.
With the right tools, materials, and knowledge, priming a soap dispenser becomes a simple task that can be done in just a few minutes. Whether you have a manual, automatic, or touchless dispenser, the priming process will help remove air bubbles, clear blockages, and ensure efficient and hygienic operation.
Remember to troubleshoot any issues you may encounter during the priming process and refer to the manufacturer’s instructions for specific guidance. By following these steps and tips, you can enjoy a well-primed soap dispenser that dispenses soap smoothly and enhances your handwashing experience.
Don’t forget to regularly clean and maintain your soap dispenser to prevent future issues and ensure its longevity. With proper care, your soap dispenser will continue to serve you and your hygiene needs effectively.
So, take the time to prime your soap dispenser and enjoy clean and effortless handwashing every time!