Articles
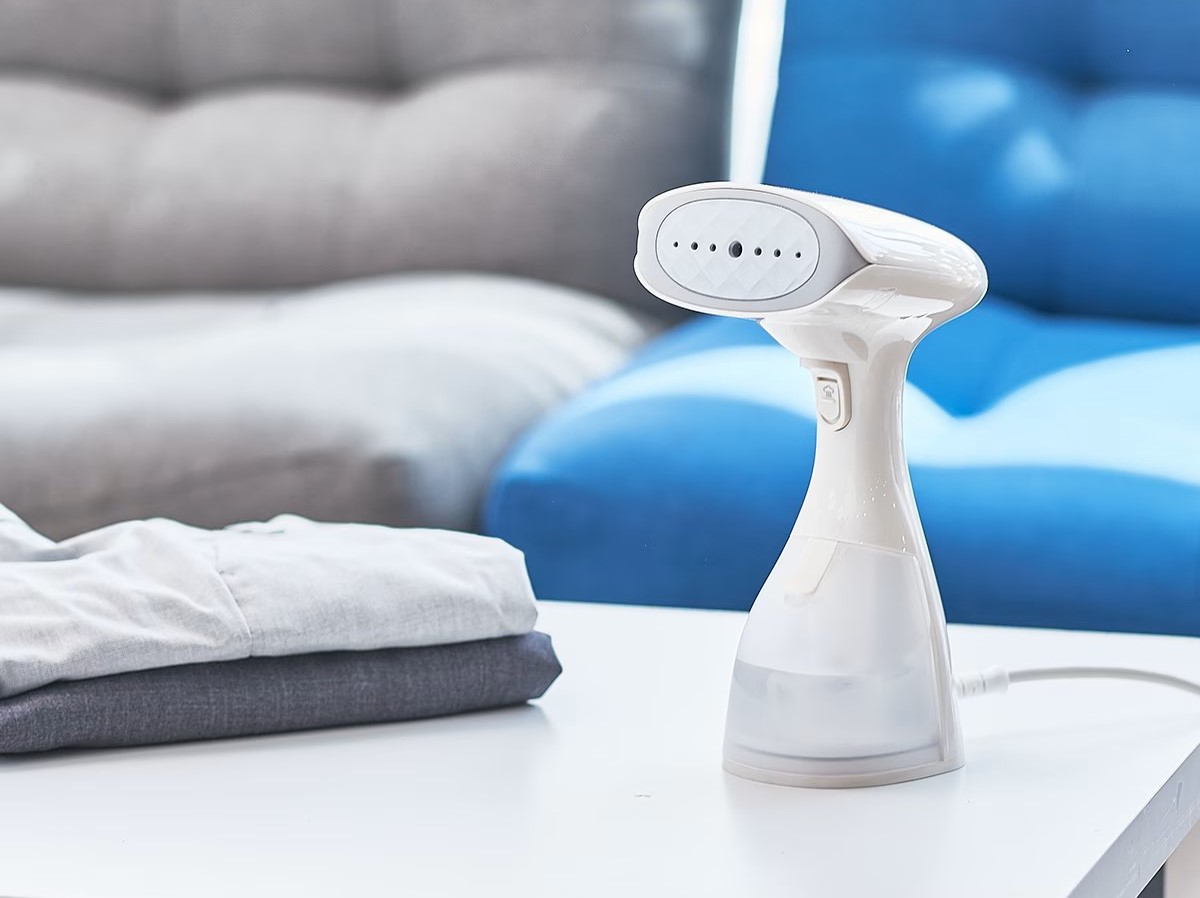
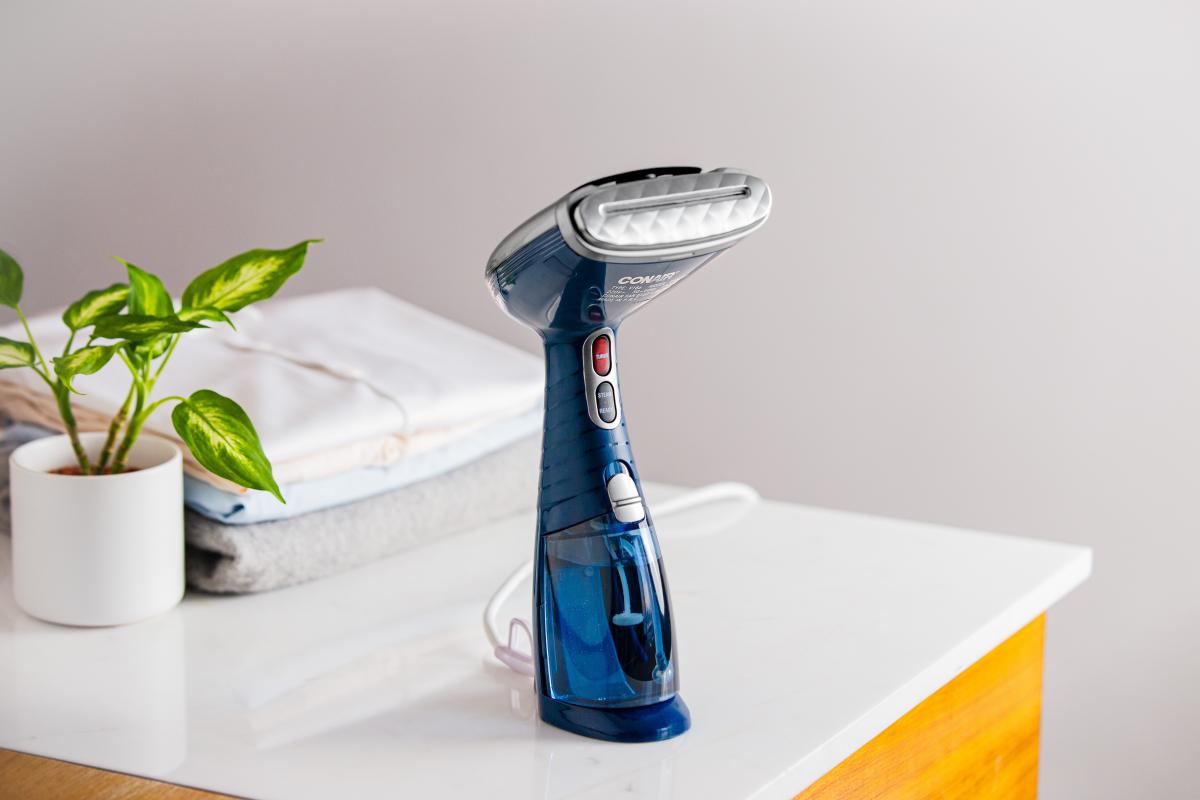
How To Fill Water In Conair Steamer
Modified: August 19, 2024
Learn how to fill water in your Conair steamer with these step-by-step articles. Find expert tips and tricks to maximize its efficiency.
(Many of the links in this article redirect to a specific reviewed product. Your purchase of these products through affiliate links helps to generate commission for Storables.com, at no extra cost. Learn more)
Introduction
Welcome to our guide on how to fill water in a Conair steamer. If you are new to using a Conair steamer or simply need a refresher, we’re here to help! Conair steamers are a convenient and effective way to remove wrinkles and freshen up clothing, as well as other fabrics such as curtains and upholstery. By following a few simple steps, you’ll be able to fill water in your Conair steamer and get ready to enjoy wrinkle-free clothes in no time.
Before we get started, it’s important to note that safety should always be your top priority. Make sure to follow all of the manufacturer’s instructions and recommendations while handling your Conair steamer. Now, let’s dive into the step-by-step process of filling water in your Conair steamer.
Key Takeaways:
- Safely and effectively fill water in your Conair steamer by following step-by-step instructions, safety precautions, and maintenance tips provided in this comprehensive guide.
- Ensure a hassle-free and enjoyable steaming experience with your Conair steamer by prioritizing safety, using distilled water, and following proper maintenance practices outlined in this article.
Read more: How To Work A Conair Steamer
Safety Precautions
Before filling water in your Conair steamer, it’s crucial to observe some safety precautions to ensure a safe and hassle-free experience. Here are a few key safety tips to keep in mind:
- Read the user manual: Familiarize yourself with the user manual provided by Conair. It contains important safety guidelines specific to your steamer model.
- Unplug the steamer: Always make sure that your Conair steamer is unplugged and cooled down before filling it with water. This will prevent any accidental electrical shocks or injuries.
- Use clean water: Use only clean, distilled water in your Conair steamer. Tap water may contain impurities that can clog the steamer’s mechanism over time. Clean water also helps maintain the longevity of your appliance.
- Handle with care: When handling the water tank or any other parts of the steamer, be cautious and avoid rough handling. Dropping or mishandling the steamer can cause damage and potentially result in injuries.
- Check for leaks: Before filling the water tank, inspect it for any leaks or cracks. A damaged tank can lead to water leakage and compromise the performance of the steamer.
- Keep away from children and pets: Store your Conair steamer in a secure place out of reach of children and pets. It contains hot water and can cause burns if mishandled.
By following these safety precautions, you can ensure a safe and enjoyable experience while using your Conair steamer. Now that we have covered the safety measures, let’s move on to the equipment you’ll need for filling water in your steamer.
Equipment Needed
Before filling the water in your Conair steamer, gather the following equipment:
- Conair Steamer: Of course, you’ll need your Conair steamer, specifically the model that you own. Different models may have variations in the design and filling mechanism, so it’s important to reference your specific manual.
- Distilled Water: It’s essential to use distilled water to prevent mineral build-up and ensure the optimal performance of your Conair steamer. Distilled water can usually be found in grocery stores or pharmacies.
- Water Measuring Cup: Some Conair steamers come with a designated water measuring cup. If not, you can use any measuring cup with clear markings to measure the appropriate amount of water.
- Clean Cloth or Paper Towel: Keep a clean cloth or paper towel nearby to wipe any water spills or drips while filling the steamer.
Having these items ready beforehand will make the process of filling water in your Conair steamer smooth and hassle-free. Once you have gathered all the necessary equipment, you’re ready to proceed with the step-by-step guide for filling the water tank.
Step 1: Preparing the Conair Steamer
Before filling water in your Conair steamer, it’s important to properly prepare the steamer for the task. Follow these steps to ensure that your steamer is ready:
- Unplug and cool down: Ensure that the steamer is unplugged from the power source and has had sufficient time to cool down. This will prevent any accidents or injuries during the filling process.
- Remove any attachments: If your Conair steamer has any attachments, such as fabric brushes or crease attachments, remove them for now. We will reattach them once the tank is filled with water.
- Inspect the tank: Check the water tank for any residue or debris. If you notice any, clean it thoroughly using a mild detergent and water. Rinse the tank well and dry it completely before proceeding.
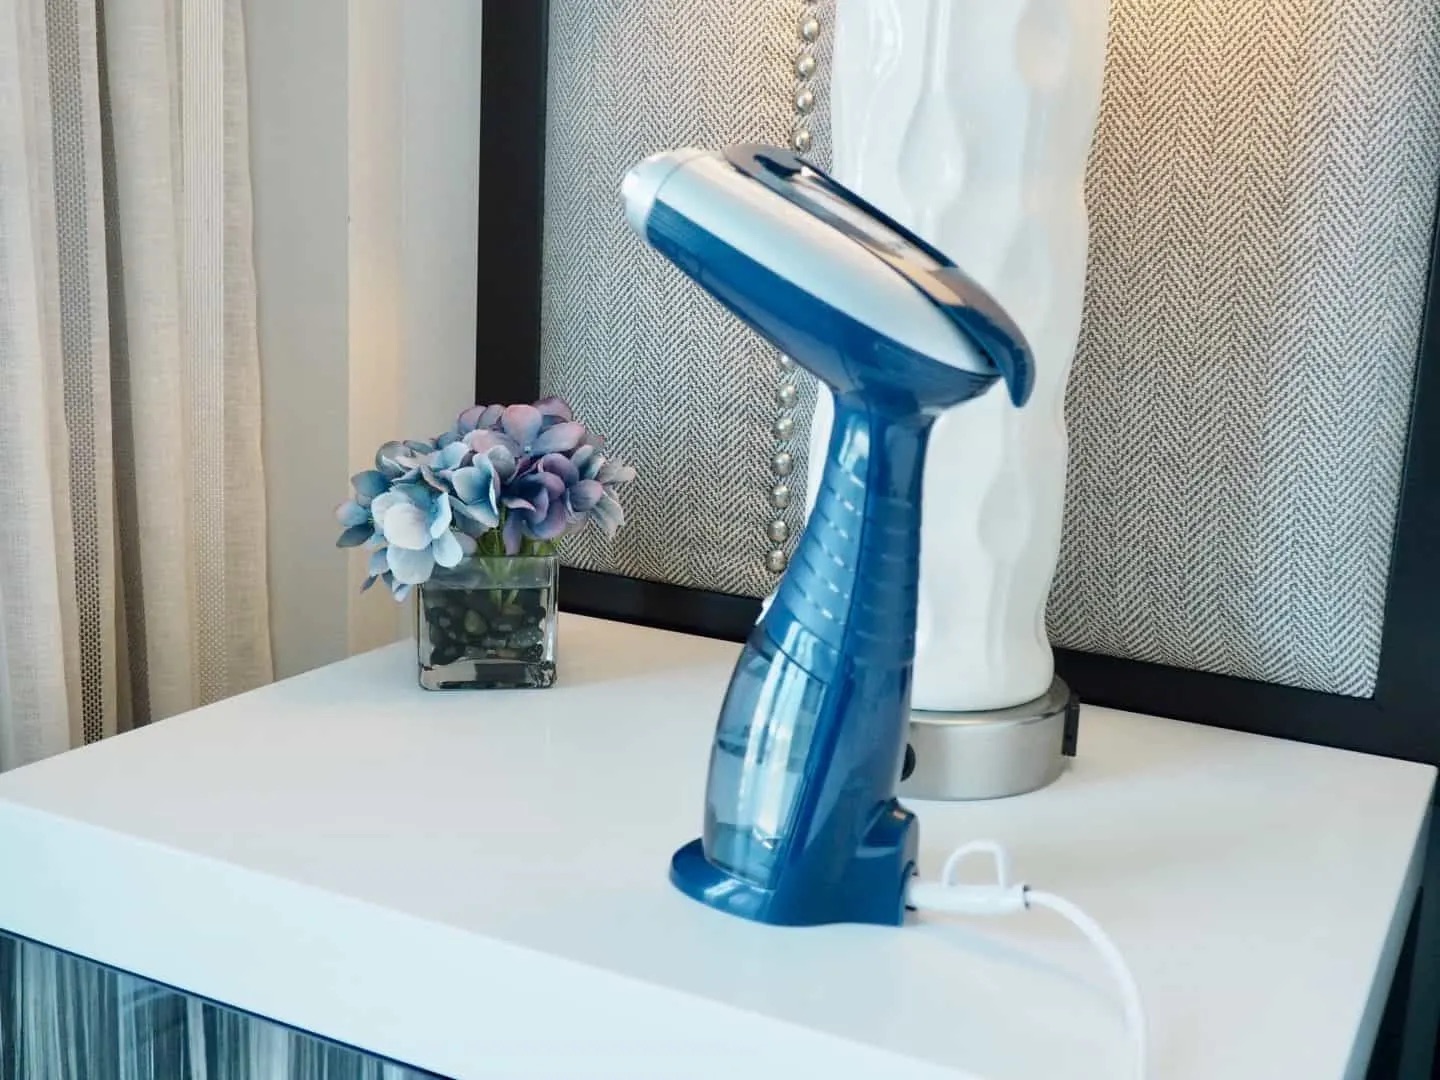
- Position the steamer: Find a stable and flat surface to place your Conair steamer. Make sure there is enough room for the water tank to be easily accessible during the filling process.
Following these preparation steps will ensure that your Conair steamer is in an optimal condition to be filled with water. Once you have prepared the steamer, it’s time to move on to the next step: filling the water tank.
Step 2: Filling the Water Tank
Now that your Conair steamer is properly prepared, it’s time to fill the water tank. Follow these steps to fill the tank:
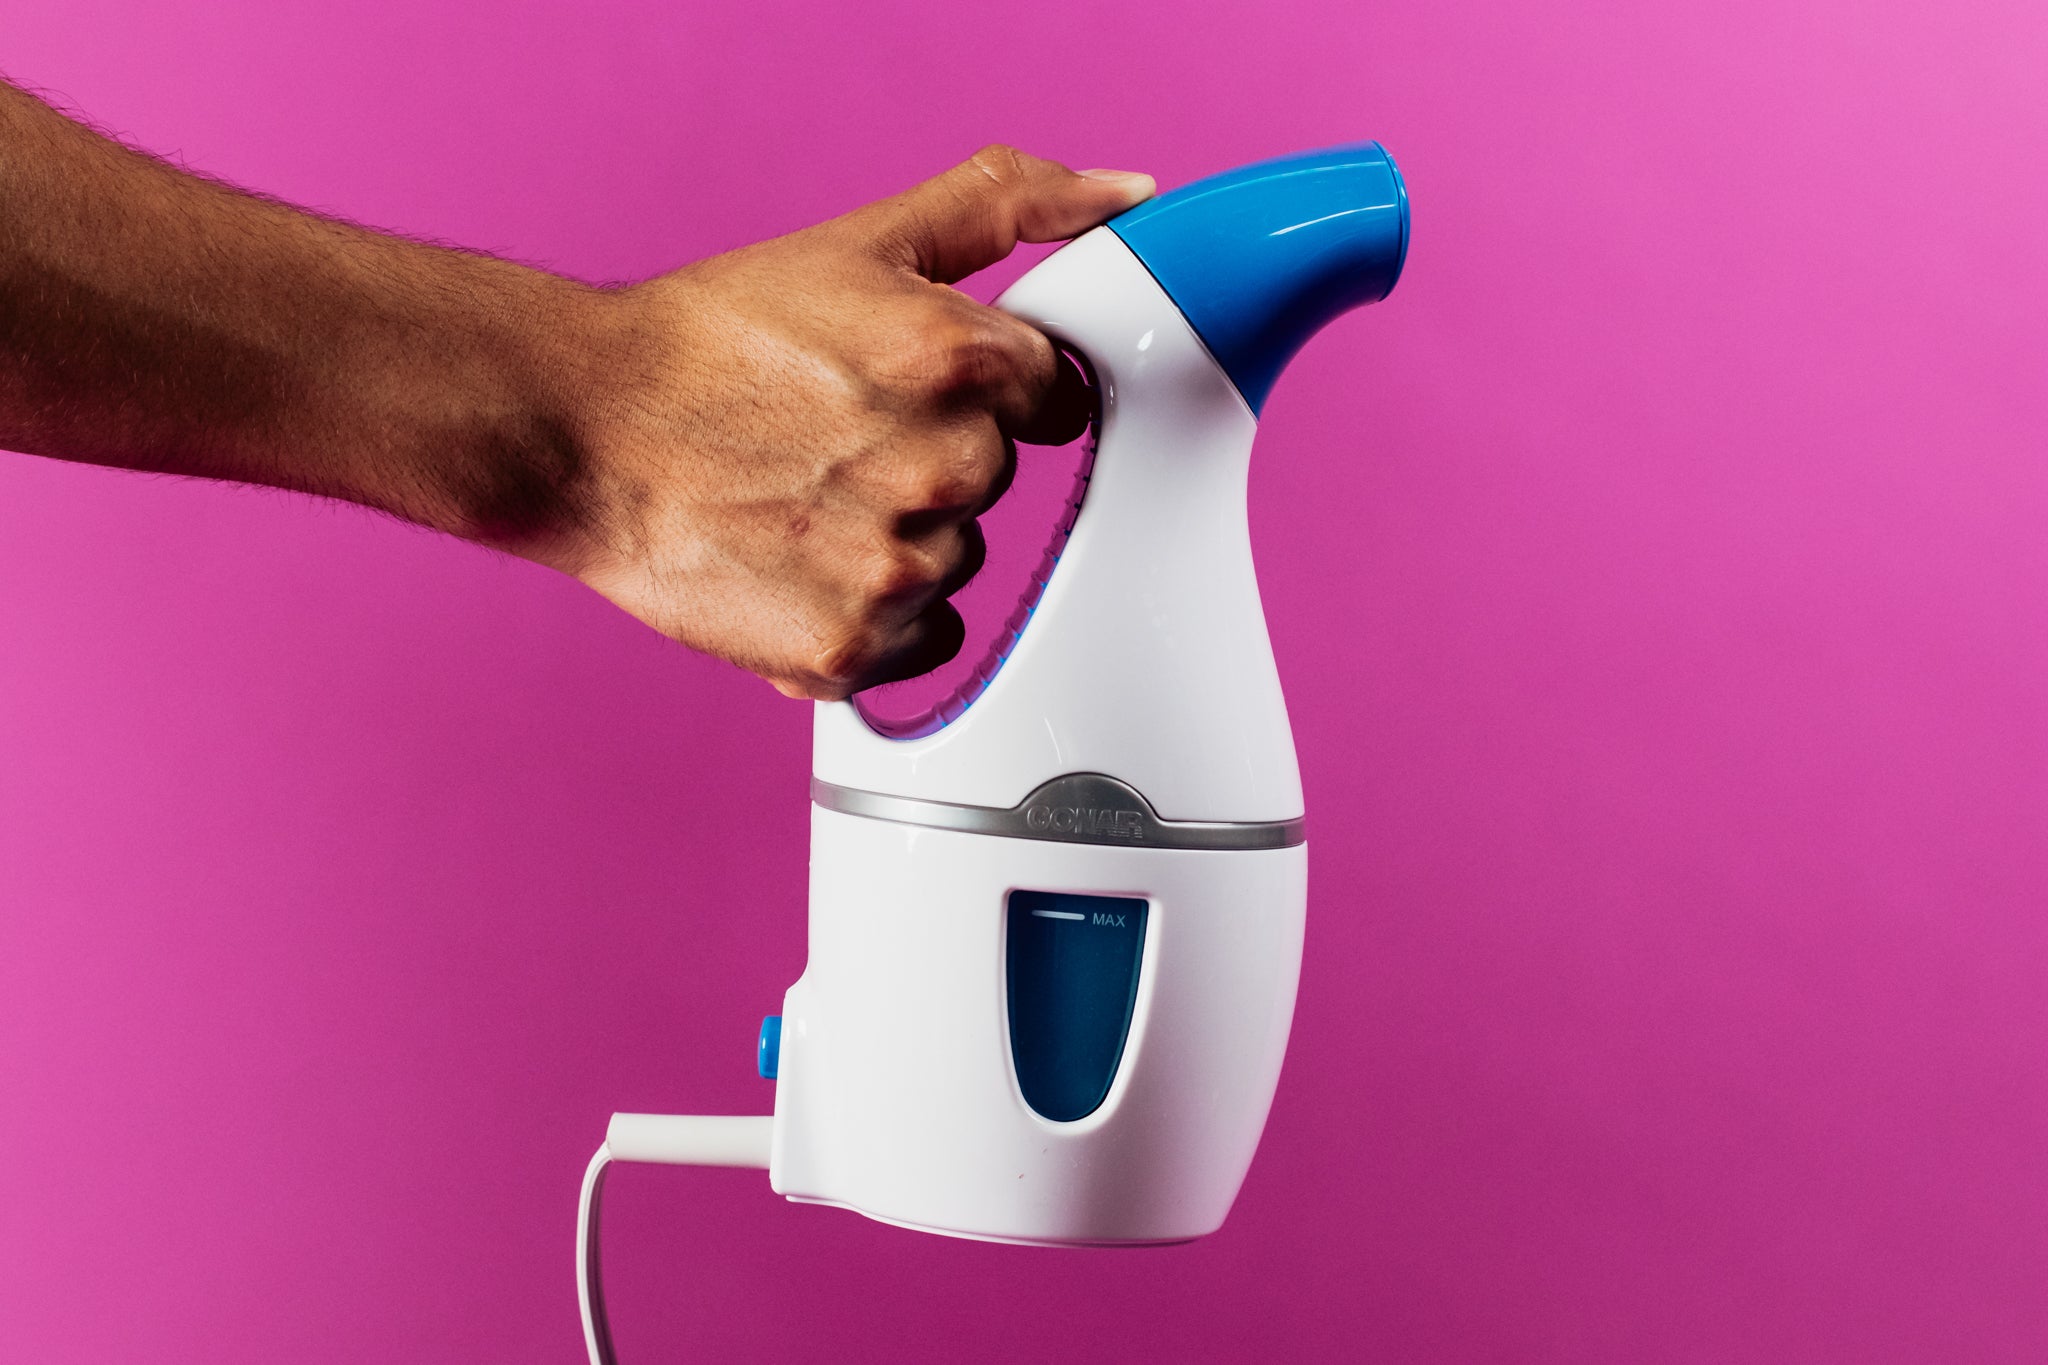
- Locate the water tank: Identify the water tank of your Conair steamer. It is usually located at the base of the appliance, and you may need to unlock or open a compartment to access it.
- Remove the water tank: Depending on your Conair steamer model, you may need to twist or unlock the water tank. Carefully remove it from the steamer and place it on a stable surface.
- Open the water tank cap: Locate the cap on the top of the tank. It is typically a twist-off or flip-up cap. Rotate the cap counterclockwise or lift it up to open the tank.
- Check the fill line: Inside the water tank, there is usually a fill line indication. Ensure that you do not surpass this line while filling the tank with water. Overfilling the tank can lead to leakage and affect the steamer’s performance.
- Fill the tank with water: Use the distilled water and the measuring cup to pour the water into the tank. Slowly add the water until you reach the fill line. Take your time to avoid spills or overfilling.
It’s important to note that some Conair steamers have a detachable water tank that you can take to the sink for filling. If your model has this feature, follow the manufacturer’s instructions regarding filling the tank.
Once you have filled the tank with water, you can proceed to the next step: closing the water tank securely.
Make sure to use distilled water in your Conair steamer to prevent mineral buildup and prolong the life of the steamer. Fill the water tank to the designated level indicated in the user manual to avoid overfilling.
Read more: Conair Turbo Steamer How To Use
Step 3: Closing the Water Tank
After filling the water tank of your Conair steamer, it’s crucial to securely close the tank to prevent any water leakage during operation. Follow these steps to close the water tank:
- Replace the water tank cap: Take the cap that you previously removed and place it back onto the water tank. Make sure it aligns properly with the opening and is in the correct position.
- Tighten the cap: Depending on your Conair steamer model, you may need to twist the cap clockwise or press it down firmly to seal the tank securely. Ensure that the cap is tight enough to prevent any water from leaking out.
- Double-check for any gaps: After closing the water tank, inspect it closely for any gaps or openings. Gently press on the cap to confirm that it is sealed tightly. If you notice any gaps, remove and reposition the cap until it is properly closed.
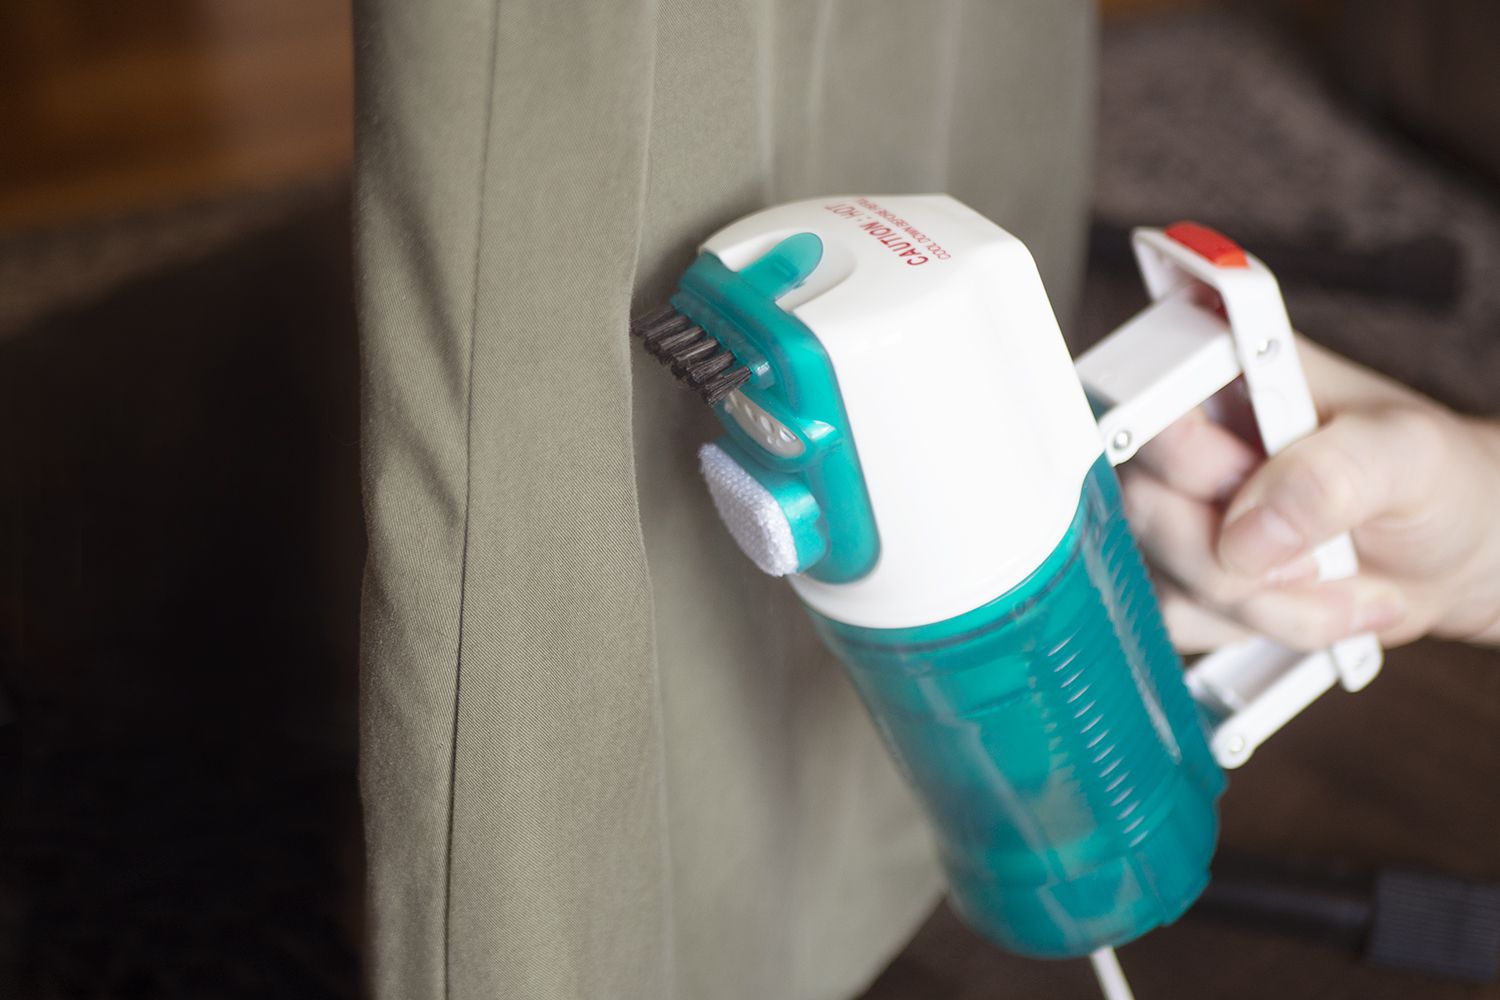
- Reattach any attachments: If you had removed any attachments earlier, now is the time to reattach them. Follow your Conair steamer’s manual to properly attach the fabric brushes, crease attachments, or any other accessories that came with your model.
It’s essential to ensure that the water tank is closed securely before using the Conair steamer. A properly closed tank will prevent water leakage and allow the steamer to generate steam effectively. With the water tank securely closed, it’s time to move on to the next step: testing the steamer.
Step 4: Testing the Steamer
Once you have filled and closed the water tank of your Conair steamer, it’s important to test the steamer to ensure everything is working properly. Follow these steps to test your Conair steamer:
- Plug in the steamer: Locate a nearby power outlet and plug in your Conair steamer. Ensure that the electrical cord is properly connected and secure.
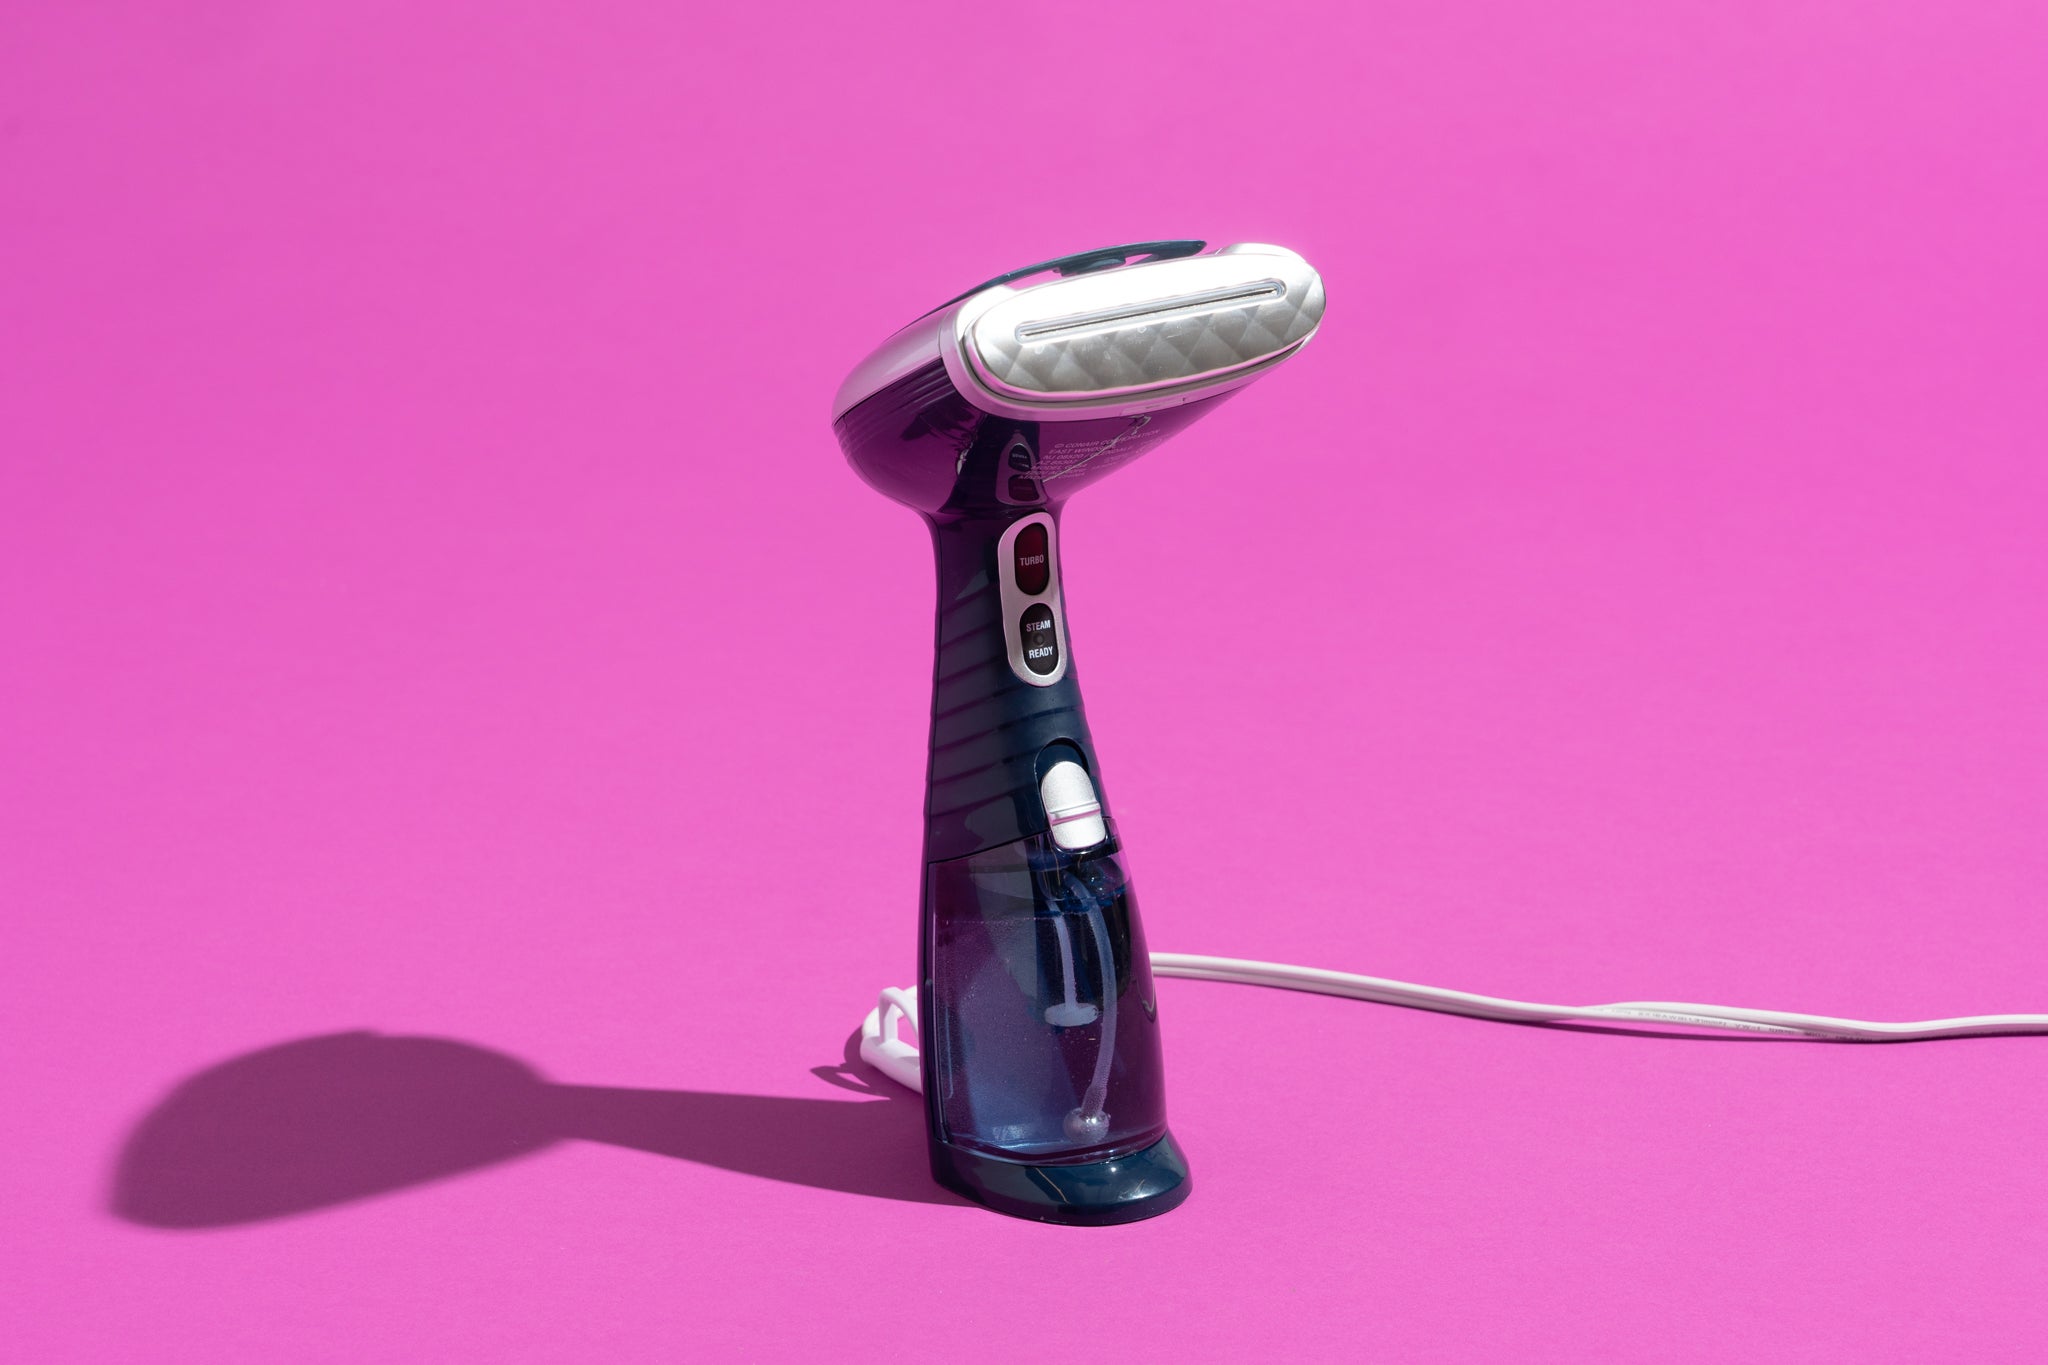
- Preheat the steamer: Most Conair steamers require a brief preheating period to generate steam. Consult your user manual to determine how long your specific model needs to preheat. Typically, it takes about a minute or two for the steam to start flowing.
- Turn on the steamer: Locate the power switch on your Conair steamer and turn it on. Depending on your model, this switch may be located on the handle or the main body of the steamer.
- Observe the steam: Once the steamer is turned on, observe the steam output. It should start flowing steadily from the nozzle or steam head. If you do not see any steam or notice any irregularities, consult your user manual for troubleshooting steps.
- Test on a fabric: To further ensure that the steamer is functioning properly, test it on a small area of fabric. Gently press the steam head onto the fabric and move it in an even back-and-forth motion. The steam should effectively relax the fabric and remove wrinkles.
If you experience any issues during the testing phase or if the steam output is insufficient, refer to your user manual or contact Conair customer support for assistance.
With the steamer successfully tested, you’re now ready to move on to the final step: additional tips and troubleshooting.
Step 5: Additional Tips and Troubleshooting
Now that you have filled water in your Conair steamer and tested it successfully, here are some additional tips and troubleshooting steps to enhance your steaming experience:
- Use distilled water: For optimal performance and to prevent mineral build-up, always use distilled water in your Conair steamer. This will help extend the lifespan of your appliance.
- Empty the water tank after each use: Once you have finished using the steamer, make sure to empty any remaining water from the tank. This will prevent water from stagnating and causing odors or damage to the steamer.
- Clean the steamer regularly: Over time, mineral deposits or residue may accumulate inside your Conair steamer. Refer to the user manual for instructions on how to clean your specific model. Regular cleaning will keep your steamer in optimal condition.
- Avoid overfilling the tank: Make sure to follow the fill line indication inside the water tank. Overfilling can cause water to leak from the tank and affect the steamer’s performance.
- Check for clogs: If you notice a decrease in steam output or uneven steaming, there may be a clog in the nozzle or steam head. Refer to the user manual to learn how to clean and unclog these parts.
- Allow the steamer to cool down: After using your Conair steamer, allow it to cool down completely before storing it. This will prevent any accidental burns or damage.
If you encounter any specific issues or difficulties with your Conair steamer, consult the troubleshooting section of your user manual or contact Conair customer support for assistance. They will be able to provide you with specialized guidance.
Congratulations! You have successfully filled water in your Conair steamer and are ready to enjoy wrinkle-free clothes. With these tips and troubleshooting steps, you can confidently use your steamer to freshen up your garments with ease.
Remember to always prioritize safety and follow the manufacturer’s instructions when using any electrical appliance. Happy steaming!
Conclusion
Congratulations! You have now learned how to fill water in your Conair steamer. By following the step-by-step guide, safety precautions, and additional tips provided in this article, you can confidently and effectively use your Conair steamer to remove wrinkles and freshen up your clothes.
Remember, safety should always be your top priority when handling any electrical appliance. Be sure to read and follow the manufacturer’s instructions and take necessary precautions to ensure a safe and enjoyable steaming experience.
Additionally, using distilled water, regularly cleaning your steamer, and properly maintaining it will help prolong its lifespan and optimize its performance. By adhering to these maintenance practices, you can ensure that your Conair steamer continues to deliver excellent results for years to come.
If you encounter any issues or have further questions about your Conair steamer, refer to the user manual or reach out to Conair customer support for assistance. They are equipped with the knowledge and expertise to help troubleshoot any challenges you may face.
Now that you are armed with the knowledge to fill water in your Conair steamer, it’s time to enjoy the benefits of wrinkle-free clothing. Whether you’re preparing for a special occasion, getting ready for work, or simply want to refresh your wardrobe, your Conair steamer will be your handy companion.
Thank you for reading our guide, and we hope your steaming experience with your Conair steamer is convenient, efficient, and satisfying. Happy steaming!
Now that you've mastered filling water in your Conair steamer, why not boost your steaming game even further? Check out our latest collection of must-have steamer accessories. From innovative tools to enhance performance to gadgets that simplify your steaming tasks, this guide covers everything needed to make your steaming experience more efficient and enjoyable. Don’t miss out on discovering ways to optimize your steamer’s potential!
Frequently Asked Questions about How To Fill Water In Conair Steamer
Was this page helpful?
At Storables.com, we guarantee accurate and reliable information. Our content, validated by Expert Board Contributors, is crafted following stringent Editorial Policies. We're committed to providing you with well-researched, expert-backed insights for all your informational needs.


0 thoughts on “How To Fill Water In Conair Steamer”