Articles
How To Fix A Whirlpool Washer
Modified: October 20, 2024
Learn helpful tips and tricks from our articles on how to fix a Whirlpool washer. Fix common problems and ensure your washer runs smoothly.
(Many of the links in this article redirect to a specific reviewed product. Your purchase of these products through affiliate links helps to generate commission for Storables.com, at no extra cost. Learn more)
Introduction
Dealing with a malfunctioning washer can be a frustration that no homeowner wants to face. But when it comes to Whirlpool washers, you’re in luck! Whirlpool is known for manufacturing reliable and high-quality appliances, and their washers are no exception. With a little troubleshooting and some basic repairs, you can often get your Whirlpool washer back up and running in no time.
In this article, we will guide you through the process of fixing common issues that may arise with a Whirlpool washer. Whether it’s a simple clog in the drain hose or a faulty door lock, we’ll provide you with step-by-step instructions to help you diagnose and resolve the problem.
Before we dive into the troubleshooting steps, let’s make sure you have all the tools and materials you’ll need for the job.
Key Takeaways:
- Troubleshoot common Whirlpool washer issues by checking power supply, water valves, door lock, hoses, and running diagnostic tests to identify and resolve problems efficiently.
- Regularly clean and maintain your Whirlpool washer to prevent issues, extend its lifespan, and ensure optimal performance. Incorporate maintenance cycles and run self-cleaning options as recommended.
Tools and Materials Needed
Before you begin troubleshooting your Whirlpool washer, it’s important to gather the necessary tools and materials to ensure a smooth repair process. Here is a list of items that you may need:
- Screwdriver set – Phillips and flathead
- Pliers
- Adjustable wrench
- Bucket or container
- Towels or absorbent pads
- Replacement parts (if necessary)
While you may not need all of these tools for every repair, having them readily available can save you time and frustration. It’s also a good idea to keep any relevant documentation, such as the user manual or a troubleshooting guide, nearby for reference.
Now that you have your tools and materials in order, let’s move on to troubleshooting the washer.
Troubleshooting the Washer
When your Whirlpool washer is giving you trouble, it’s important to start by identifying the issue. This will help you determine the best course of action to take for a successful repair. Here are some troubleshooting steps to follow:
- Check the power supply: Ensure that the washer is properly plugged in and that there is power to the outlet. You can try plugging in a different appliance to confirm if the outlet is working.
- Inspect the water supply: Make sure that the water valves to the washer are fully open. If the washer is not filling with water, it can indicate a problem with the water supply.
- Examine the door lock: If your washer has a door lock mechanism, check if it is functioning properly. Sometimes, a faulty door lock can prevent the washer from starting or progressing through the cycles.
- Clean the filter: Whirlpool washers often have a filter that can become clogged with lint, debris, or small objects. Locate the filter and clean it thoroughly to improve the washer’s performance.
- Inspect the hoses: Check the inlet and drain hoses for any kinks, obstructions, or leaks. Any damage to the hoses can disrupt the flow of water and cause issues during the wash cycle.
- Run diagnostic tests: Some Whirlpool washers have a diagnostic mode that can help identify specific problems. Consult your user manual to access the diagnostic features and follow the instructions provided.
- Listen for unusual sounds: Pay attention to any strange noises coming from the washer. Grinding, squealing, or banging sounds may indicate a mechanical issue that requires further investigation.
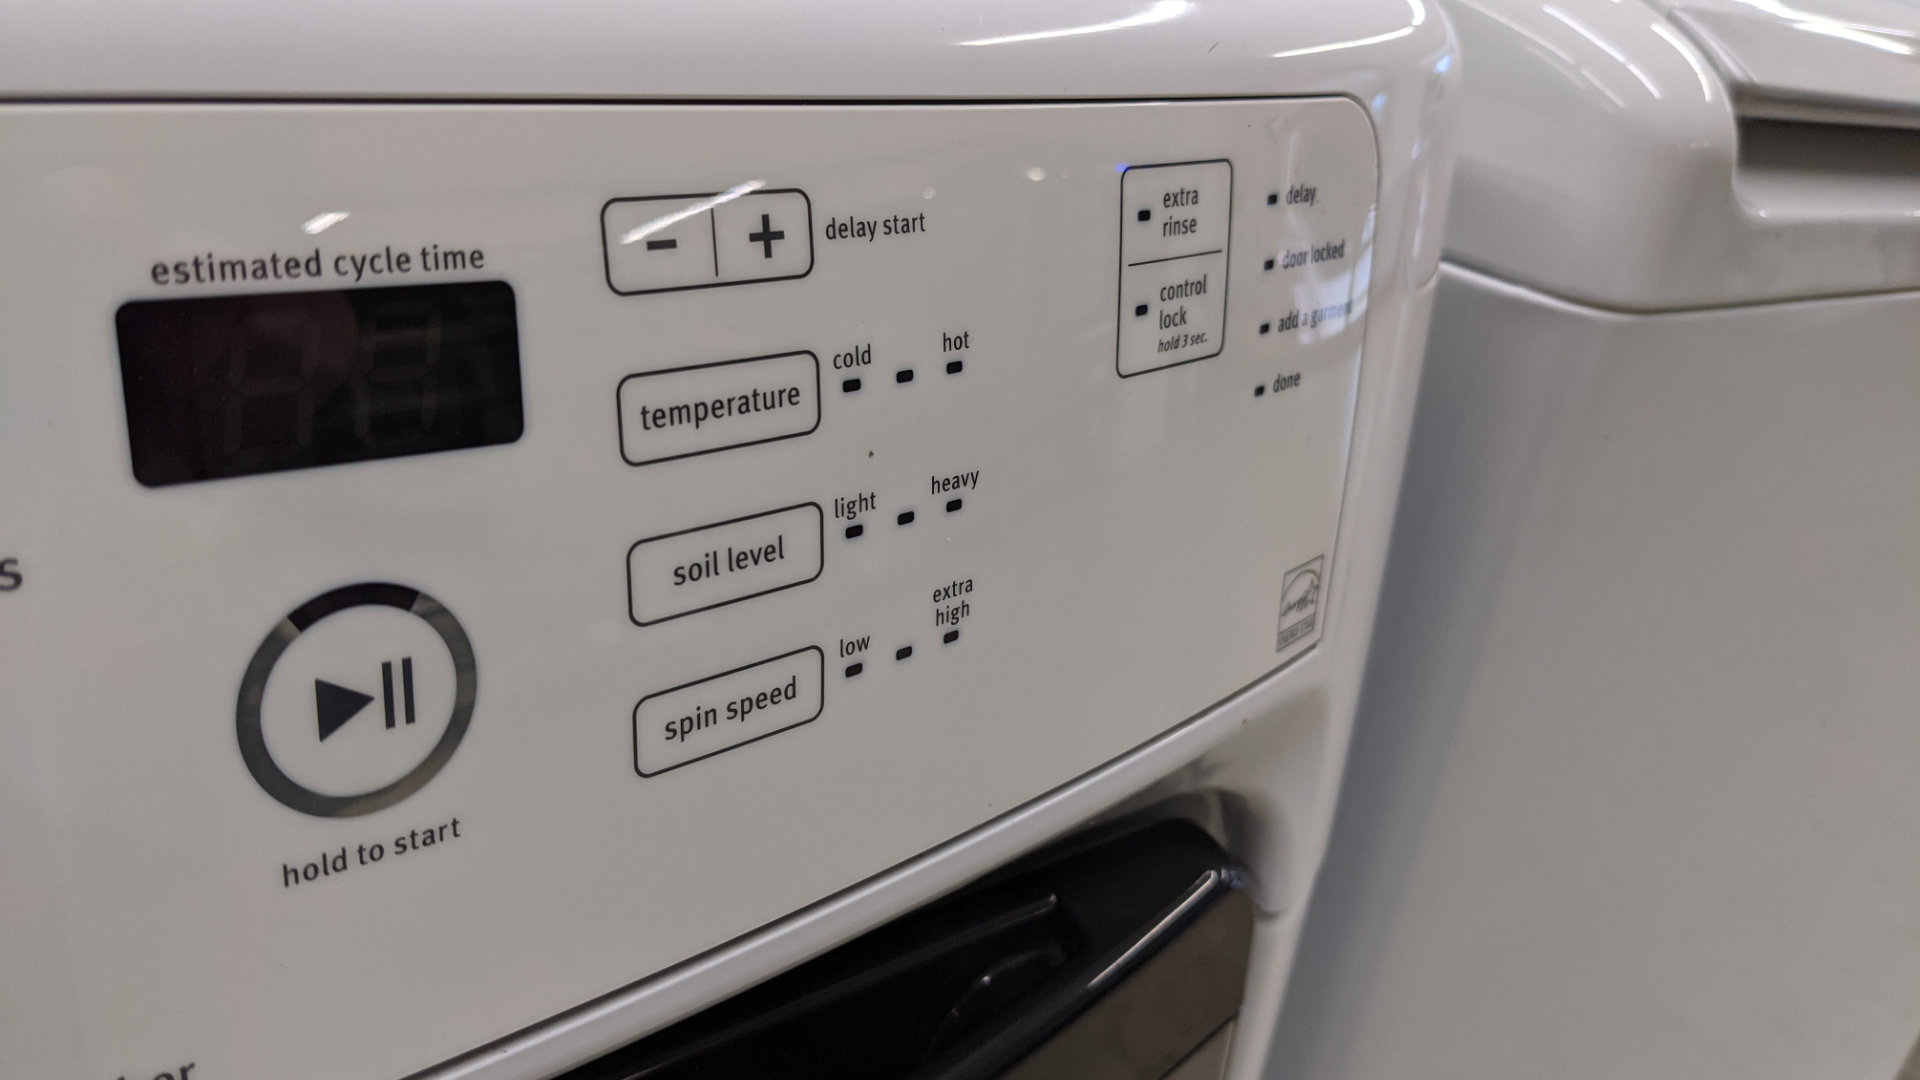
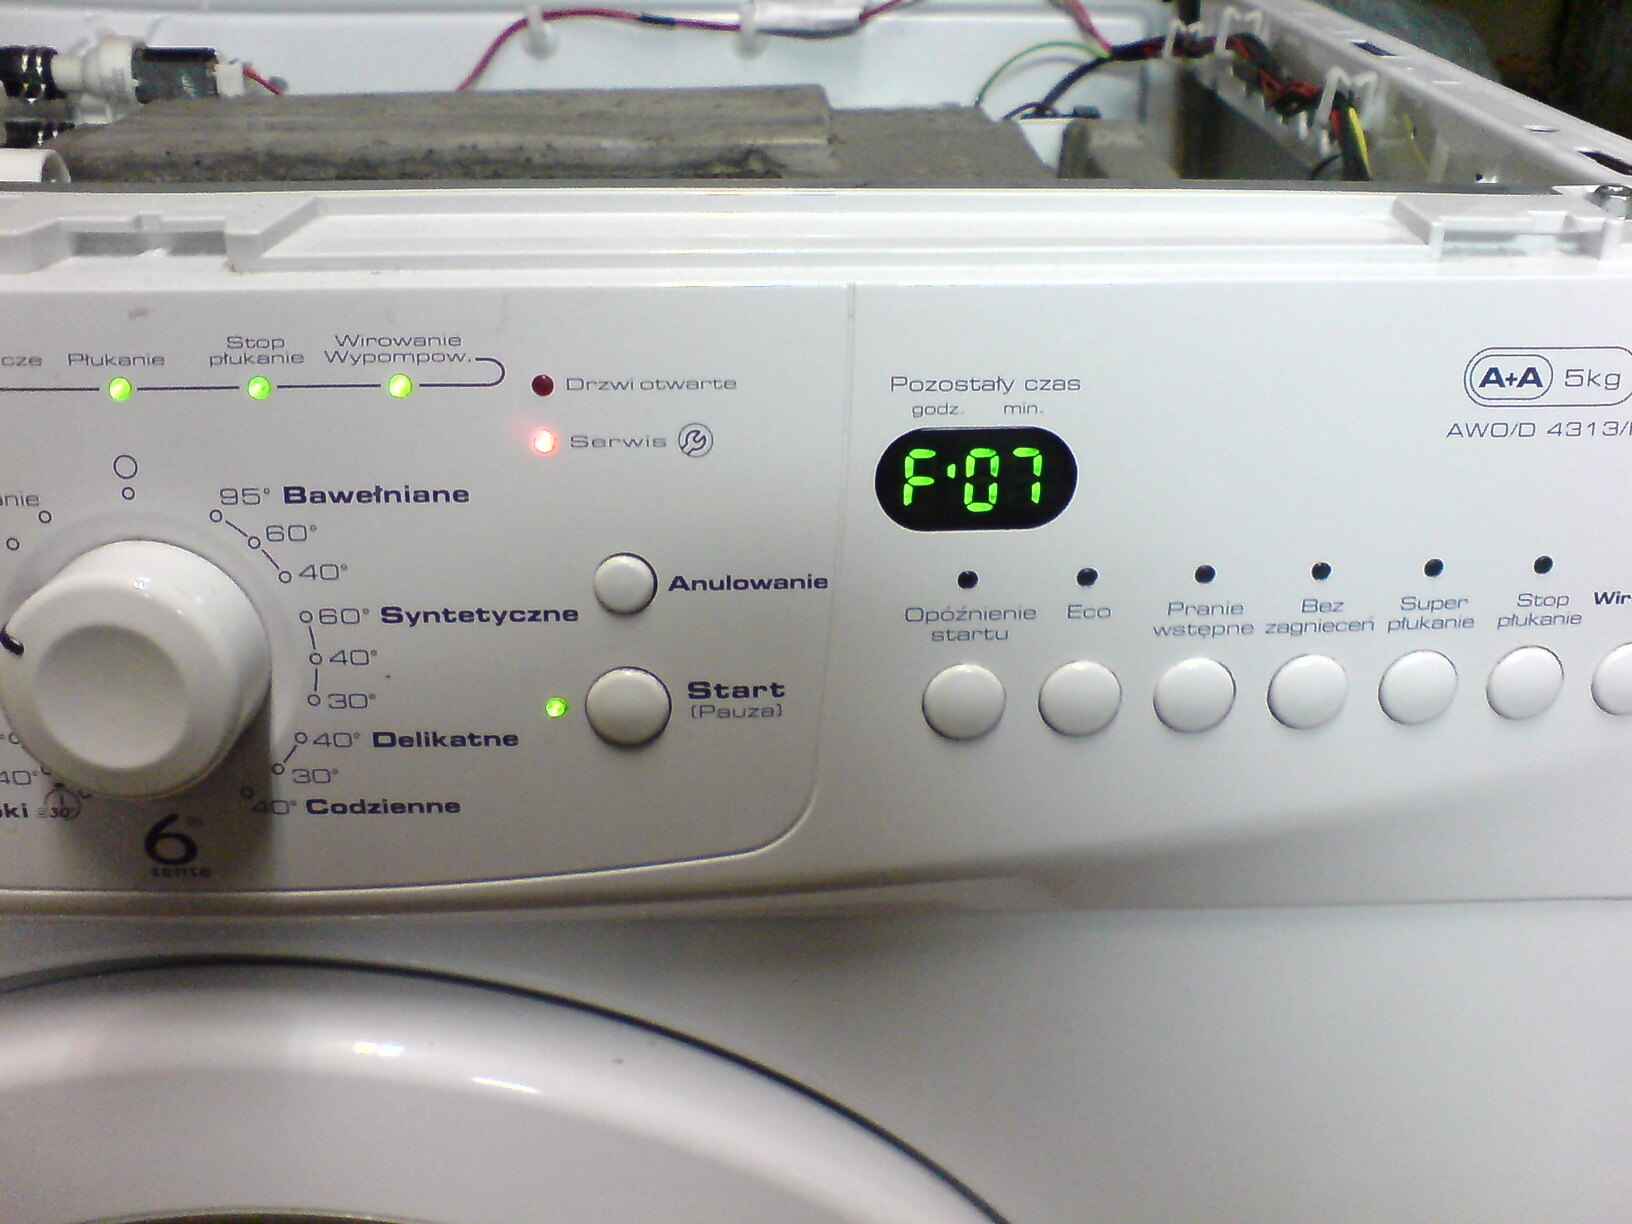
- Check error codes: If your Whirlpool washer displays an error code on the control panel, consult the user manual to interpret the code and determine the corresponding problem.
By following these troubleshooting steps, you can narrow down the issue and have a better understanding of what needs to be fixed. In the next section, we will discuss some common washer issues and their solutions.
Common Washer Issues and Solutions
Whirlpool washers, like any other appliance, can experience various issues over time. Here are some common problems you may encounter with your washer and their potential solutions:
- Washer not spinning: If your washer is not spinning, it could indicate a problem with the motor, belt, or lid switch. Check the motor and belt for any signs of damage or wear, and ensure that the lid switch is functioning properly. If necessary, replace the faulty component.
- Water not draining: If the water is not draining from the washer, it may be due to a clogged drain hose or pump. Check the drain hose for any obstructions and clean it if necessary. If the pump is not functioning correctly, it may need to be replaced.
- Washer not filling with water: If the washer is not filling with water, check the water inlet valve for any blockages or malfunctions. You can also check the water pressure in your home to ensure it meets the washer’s requirements. Replace the valve if necessary.
- Leaks: Leaks can occur in various parts of the washer, such as the hoses, pump, or door seal. Inspect these components for any signs of damage or loose connections. Tighten or replace any faulty parts to prevent further leakage.
- Excessive vibrations: Excessive vibrations during the wash cycle can be caused by an unbalanced load or an uneven surface. Ensure that the washer is level and try redistributing the load to achieve better balance.
- Foul odor: Over time, residues and debris can build up in the washer, leading to a foul odor. Run a cleaning cycle by adding white vinegar or a washer cleaner to eliminate any bacteria or mold. Regularly wipe down the interior of the washer and leave the door open between uses to promote air circulation.
Remember to refer to your user manual or contact Whirlpool customer support for specific troubleshooting steps and solutions tailored to your model. Regular cleaning and maintenance can also help prevent potential issues from arising.
In the next section, we will discuss the importance of cleaning and maintaining your Whirlpool washer.
Check the power source and make sure the washer is plugged in and the circuit breaker is not tripped. If the power source is fine, check the door latch and the water supply to troubleshoot further.
Cleaning and Maintenance
Proper cleaning and maintenance of your Whirlpool washer not only help improve its performance but also extend its lifespan. Here are some essential cleaning and maintenance tips to keep in mind:
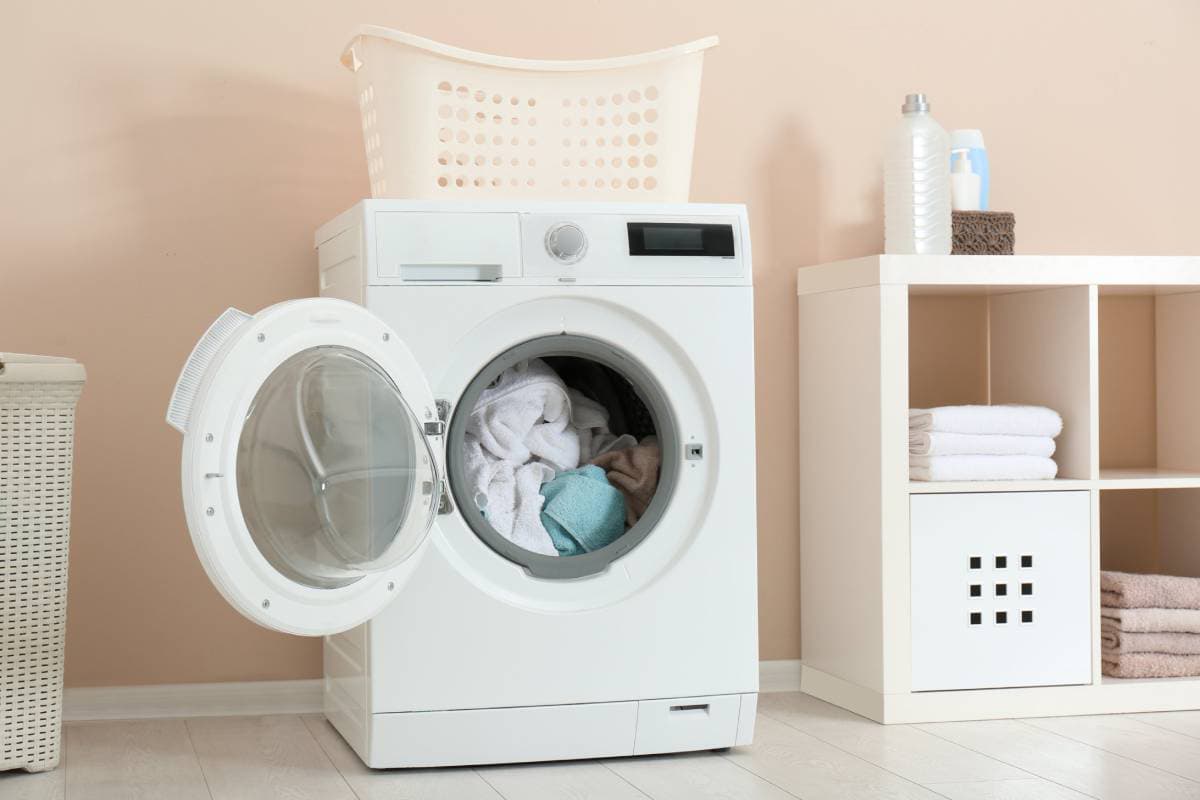
- Regularly clean the drum: Wipe down the drum with a damp cloth after each use to remove any detergent residue, lint, or debris. This helps prevent buildup and eliminates potential odor issues.
- Clean the detergent dispenser: Remove the detergent dispenser and rinse it under warm water to remove any clogs or buildup. Use a small brush or toothbrush to clean any hard-to-reach areas effectively.
- Inspect and clean the seal: Check the door seal for any signs of mold or mildew. Wipe it down with a mixture of equal parts water and vinegar to disinfect and remove any buildup.
- Check and clean the drain filter: Locate and clean the drain filter regularly to prevent clogs and ensure proper water drainage. Refer to your user manual for instructions on how to access and clean the filter.
- Keep the exterior clean: Wipe down the exterior of the washer with a soft, damp cloth to remove any dust or dirt. Avoid using abrasive cleaners or harsh chemicals that can damage the surface.
- Inspect and tighten connections: Regularly check the hoses and connections for any leaks or loose fittings. Tighten any loose connections and replace any damaged hoses to prevent potential water damage.
- Run maintenance cycles: Whirlpool washers often have maintenance cycles or self-cleaning options. Follow the instructions in your user manual to run these cycles periodically to keep your washer in optimal condition.
By incorporating these cleaning and maintenance practices into your routine, you can ensure that your Whirlpool washer operates efficiently and lasts for years to come.
In some cases, you may need to replace certain parts to fix more serious issues with your washer. Let’s delve into that in the next section.
Replacing Parts
If you’ve identified a specific component in your Whirlpool washer that needs to be replaced, don’t worry! With the right tools and a little patience, you can successfully replace the necessary parts. Here’s a general guide to help you through the process:
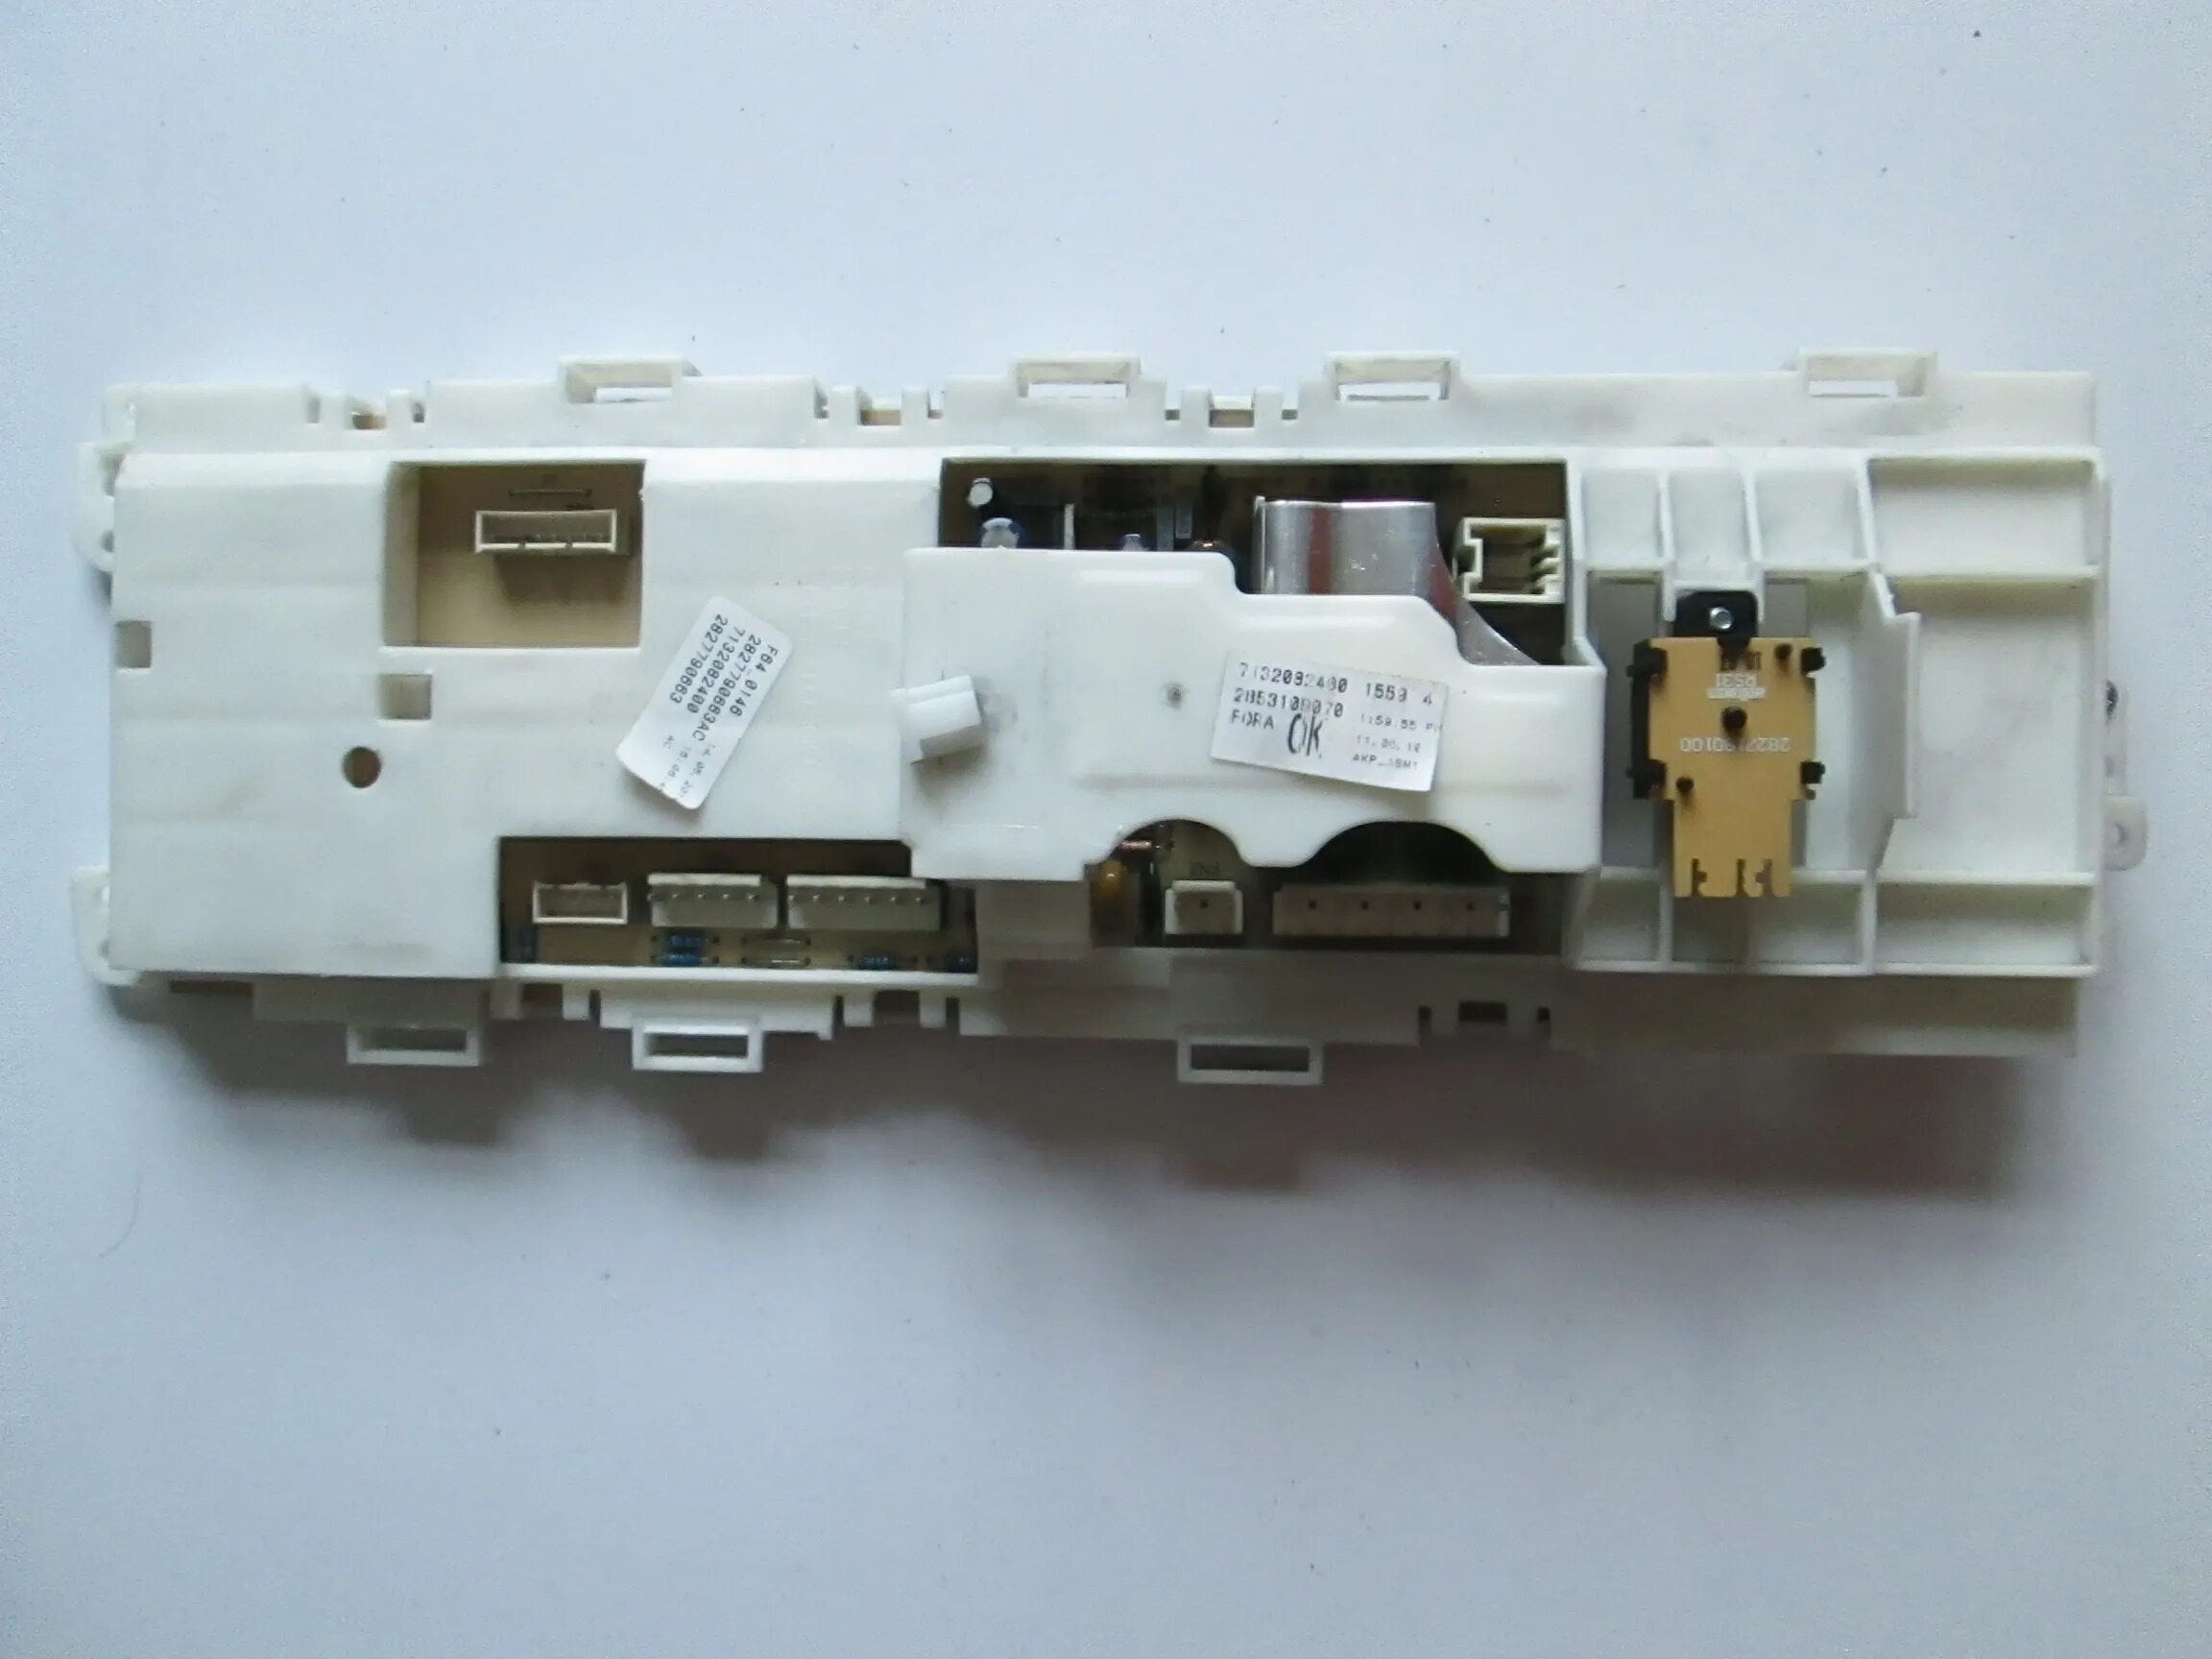
- Identify the faulty part: Determine which specific component needs to be replaced. This could be anything from a belt or motor to a water inlet valve or control board.
- Order the replacement part: Look up the model number of your washer and find the correct replacement part. You can order it from an authorized Whirlpool parts distributor or an online retailer.
- Gather the necessary tools: Refer to the user manual or online resources to determine the tools required for the specific replacement. Common tools may include a screwdriver set, pliers, and an adjustable wrench.
- Disconnect power and water supply: Before starting any repairs, make sure to unplug the washer from the power source and shut off the water supply to prevent any accidents.
- Follow the manufacturer’s instructions: Consult the user manual or online resources for detailed instructions on how to remove the faulty part and install the replacement. Take pictures or notes during the process to help with reassembly.
- Install the new part: Carefully install the replacement part, making sure it is securely attached and properly aligned. Double-check all connections and fasteners to ensure they are tight.
- Reconnect power and water supply: Once the new part is installed, plug the washer back in and turn on the water supply. Test the washer to ensure that the replacement has resolved the issue.
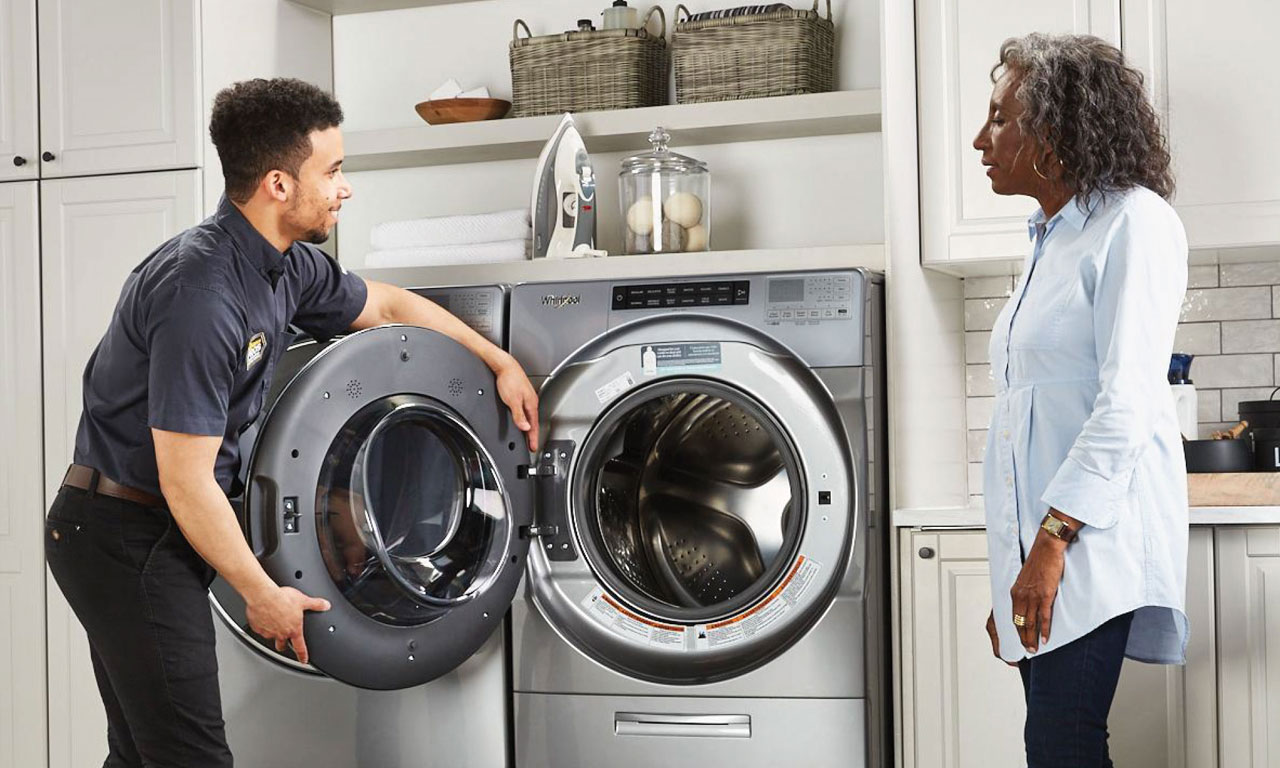
It’s important to note that some repairs may require advanced knowledge or professional assistance. If you’re unsure about any step or feel uncomfortable attempting the repair yourself, it’s best to contact a certified technician or Whirlpool customer support for assistance.
Lastly, let’s wrap up with some final thoughts and additional tips for maintaining your Whirlpool washer.
Final Thoughts and Tips
Fixing a Whirlpool washer can be a rewarding experience that saves you time and money. Here are some final thoughts and tips to keep in mind as you work on your washer:
- Safety First: Always prioritize safety when working on any appliance. Remember to unplug the washer and shut off the water supply before starting any repairs.
- Refer to the User Manual: Your Whirlpool washer’s user manual is a valuable resource that provides specific instructions, troubleshooting tips, and maintenance guidelines. Refer to it whenever you have questions or need guidance.
- Take Pictures: When disassembling your washer to replace parts, taking pictures or labeling connections can be helpful during reassembly.
- Use Genuine Parts: Always use genuine Whirlpool replacement parts to ensure proper compatibility and optimal performance.
- Maintain a Regular Cleaning Schedule: Regular cleaning and maintenance not only keep your washer functioning properly but also help prevent issues from arising in the first place.
- Don’t Hesitate to Seek Professional Help: If you’re unsure about a repair, don’t hesitate to reach out to a certified technician or Whirlpool customer support for expert assistance.
- Keep Up with Regular Inspections: Periodically inspect your washer for any signs of wear, leaks, or unusual noises. Addressing issues early can help prevent further damage and costly repairs.
Remember, troubleshooting and fixing your Whirlpool washer can be a rewarding experience, but it’s essential to know your limits. If a repair seems too daunting or complex, it’s always best to seek professional help.
By following these steps, you can effectively troubleshoot, repair, and maintain your Whirlpool washer, extending its lifespan and ensuring it continues to provide you with clean clothes for years to come.
Frequently Asked Questions about How To Fix A Whirlpool Washer
Was this page helpful?
At Storables.com, we guarantee accurate and reliable information. Our content, validated by Expert Board Contributors, is crafted following stringent Editorial Policies. We're committed to providing you with well-researched, expert-backed insights for all your informational needs.


0 thoughts on “How To Fix A Whirlpool Washer”