Articles
How To Fix Dryer Heating Element
Modified: October 18, 2024
Learn how to fix a dryer heating element with our informative articles. Find step-by-step guides and troubleshooting tips to get your dryer working efficiently again.
(Many of the links in this article redirect to a specific reviewed product. Your purchase of these products through affiliate links helps to generate commission for Storables.com, at no extra cost. Learn more)
Introduction
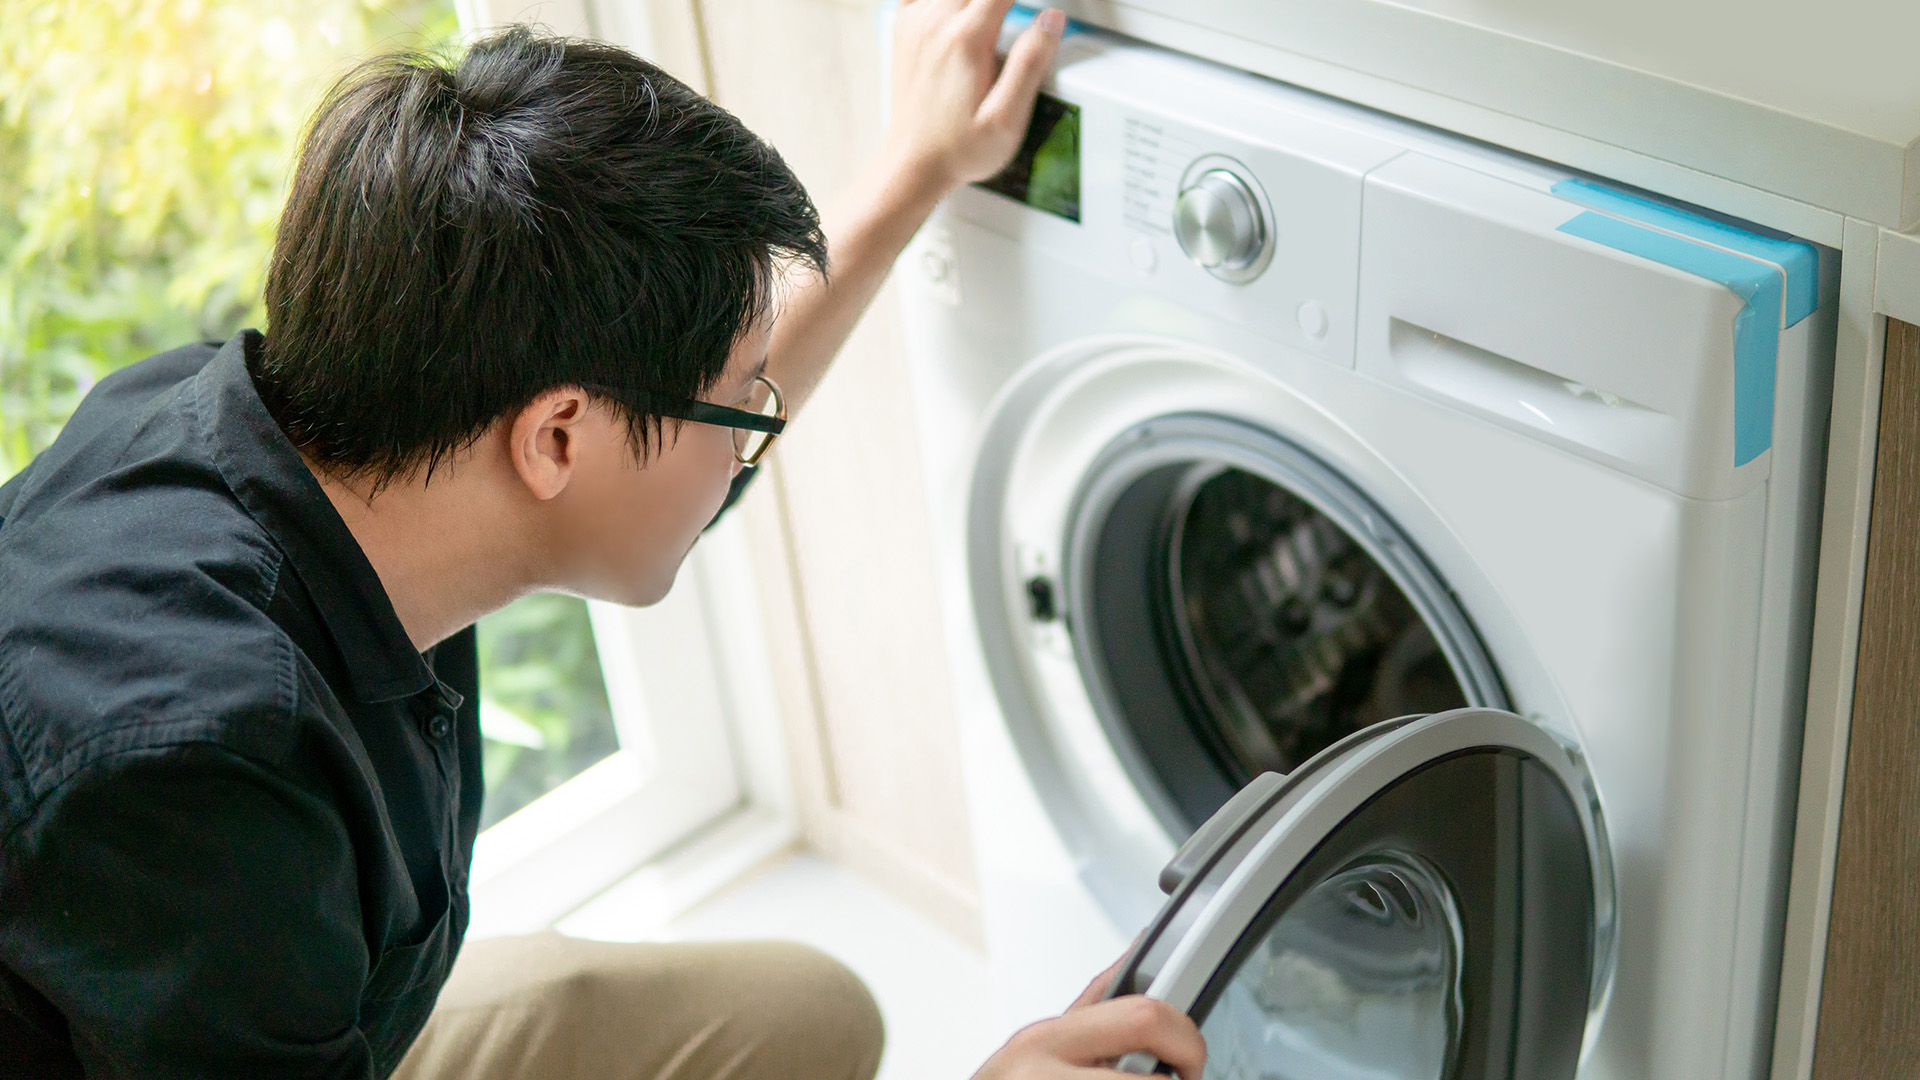
Having a dryer is a convenient way to dry your clothes quickly and efficiently. However, if you find that your dryer is not producing enough heat or not heating at all, it could be due to a faulty heating element. The heating element is a crucial component in your dryer that generates the heat required to dry your clothes. Over time, it may wear out or malfunction, leading to a need for replacement.
In this article, we will walk you through the process of fixing a dryer heating element. Whether you have experience with DIY repairs or you’re a complete novice, we will provide step-by-step instructions to help you troubleshoot and resolve the issue. Before we delve into the technical details, it’s essential to understand how the dryer heating element works and the necessary safety precautions to take.
By following this guide, you can save time and money by fixing the problem yourself, rather than calling a professional. So, let’s get started on diagnosing and fixing your dryer heating element!
Key Takeaways:
- Safety First!
Before attempting to fix your dryer’s heating element, prioritize safety by disconnecting the power, allowing the dryer to cool down, wearing protective gear, and working in a well-ventilated area. Always follow the manufacturer’s safety guidelines. - DIY Repair Guide
With the right tools and step-by-step instructions, you can diagnose and replace a faulty heating element in your dryer. Save time and money by following the repair process, but remember to seek professional help if unsure.
Read more: How To Test A Dryer Heating Element
Understanding the Dryer Heating Element
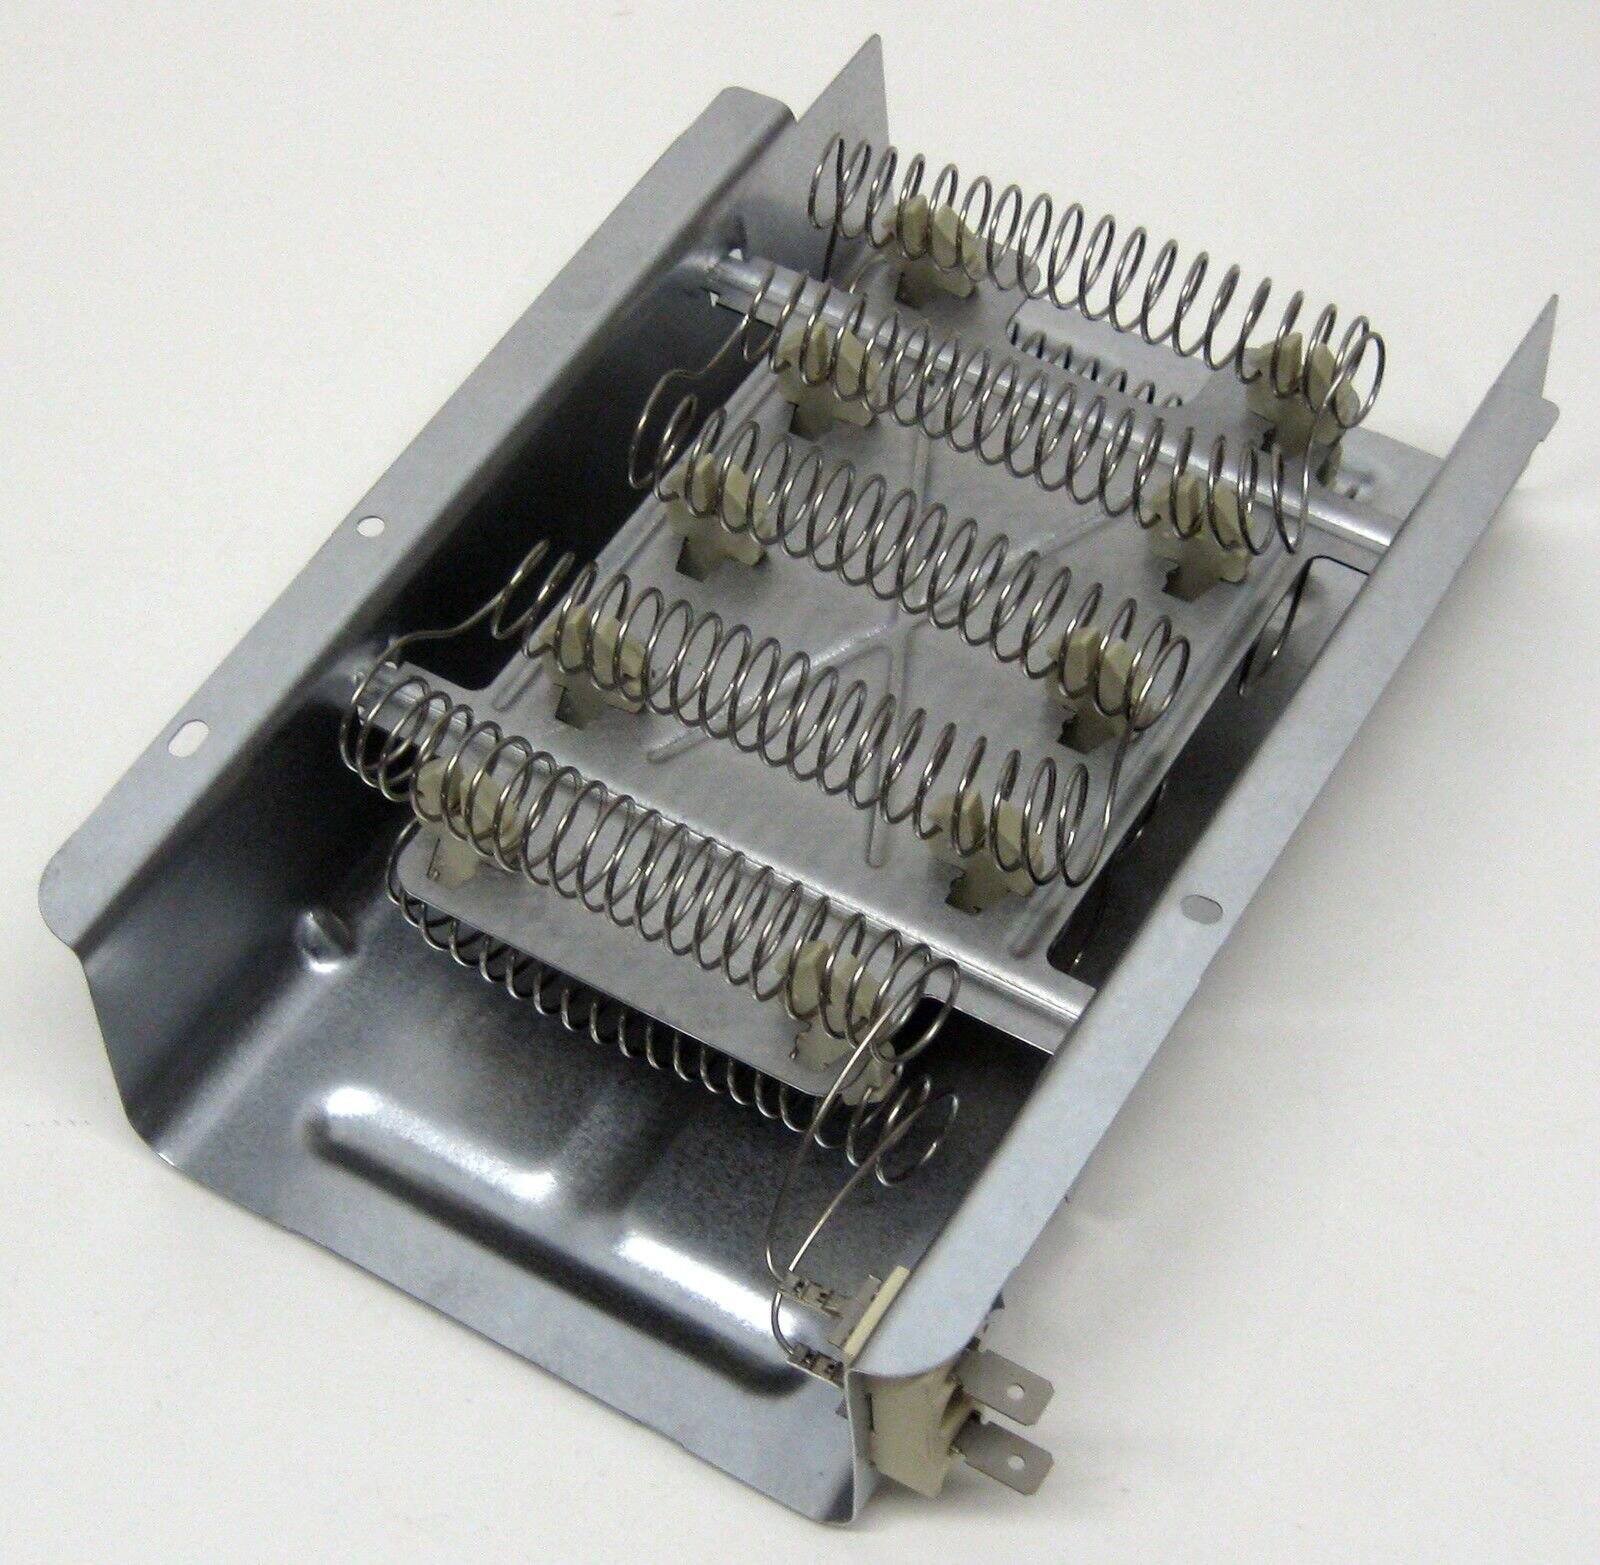
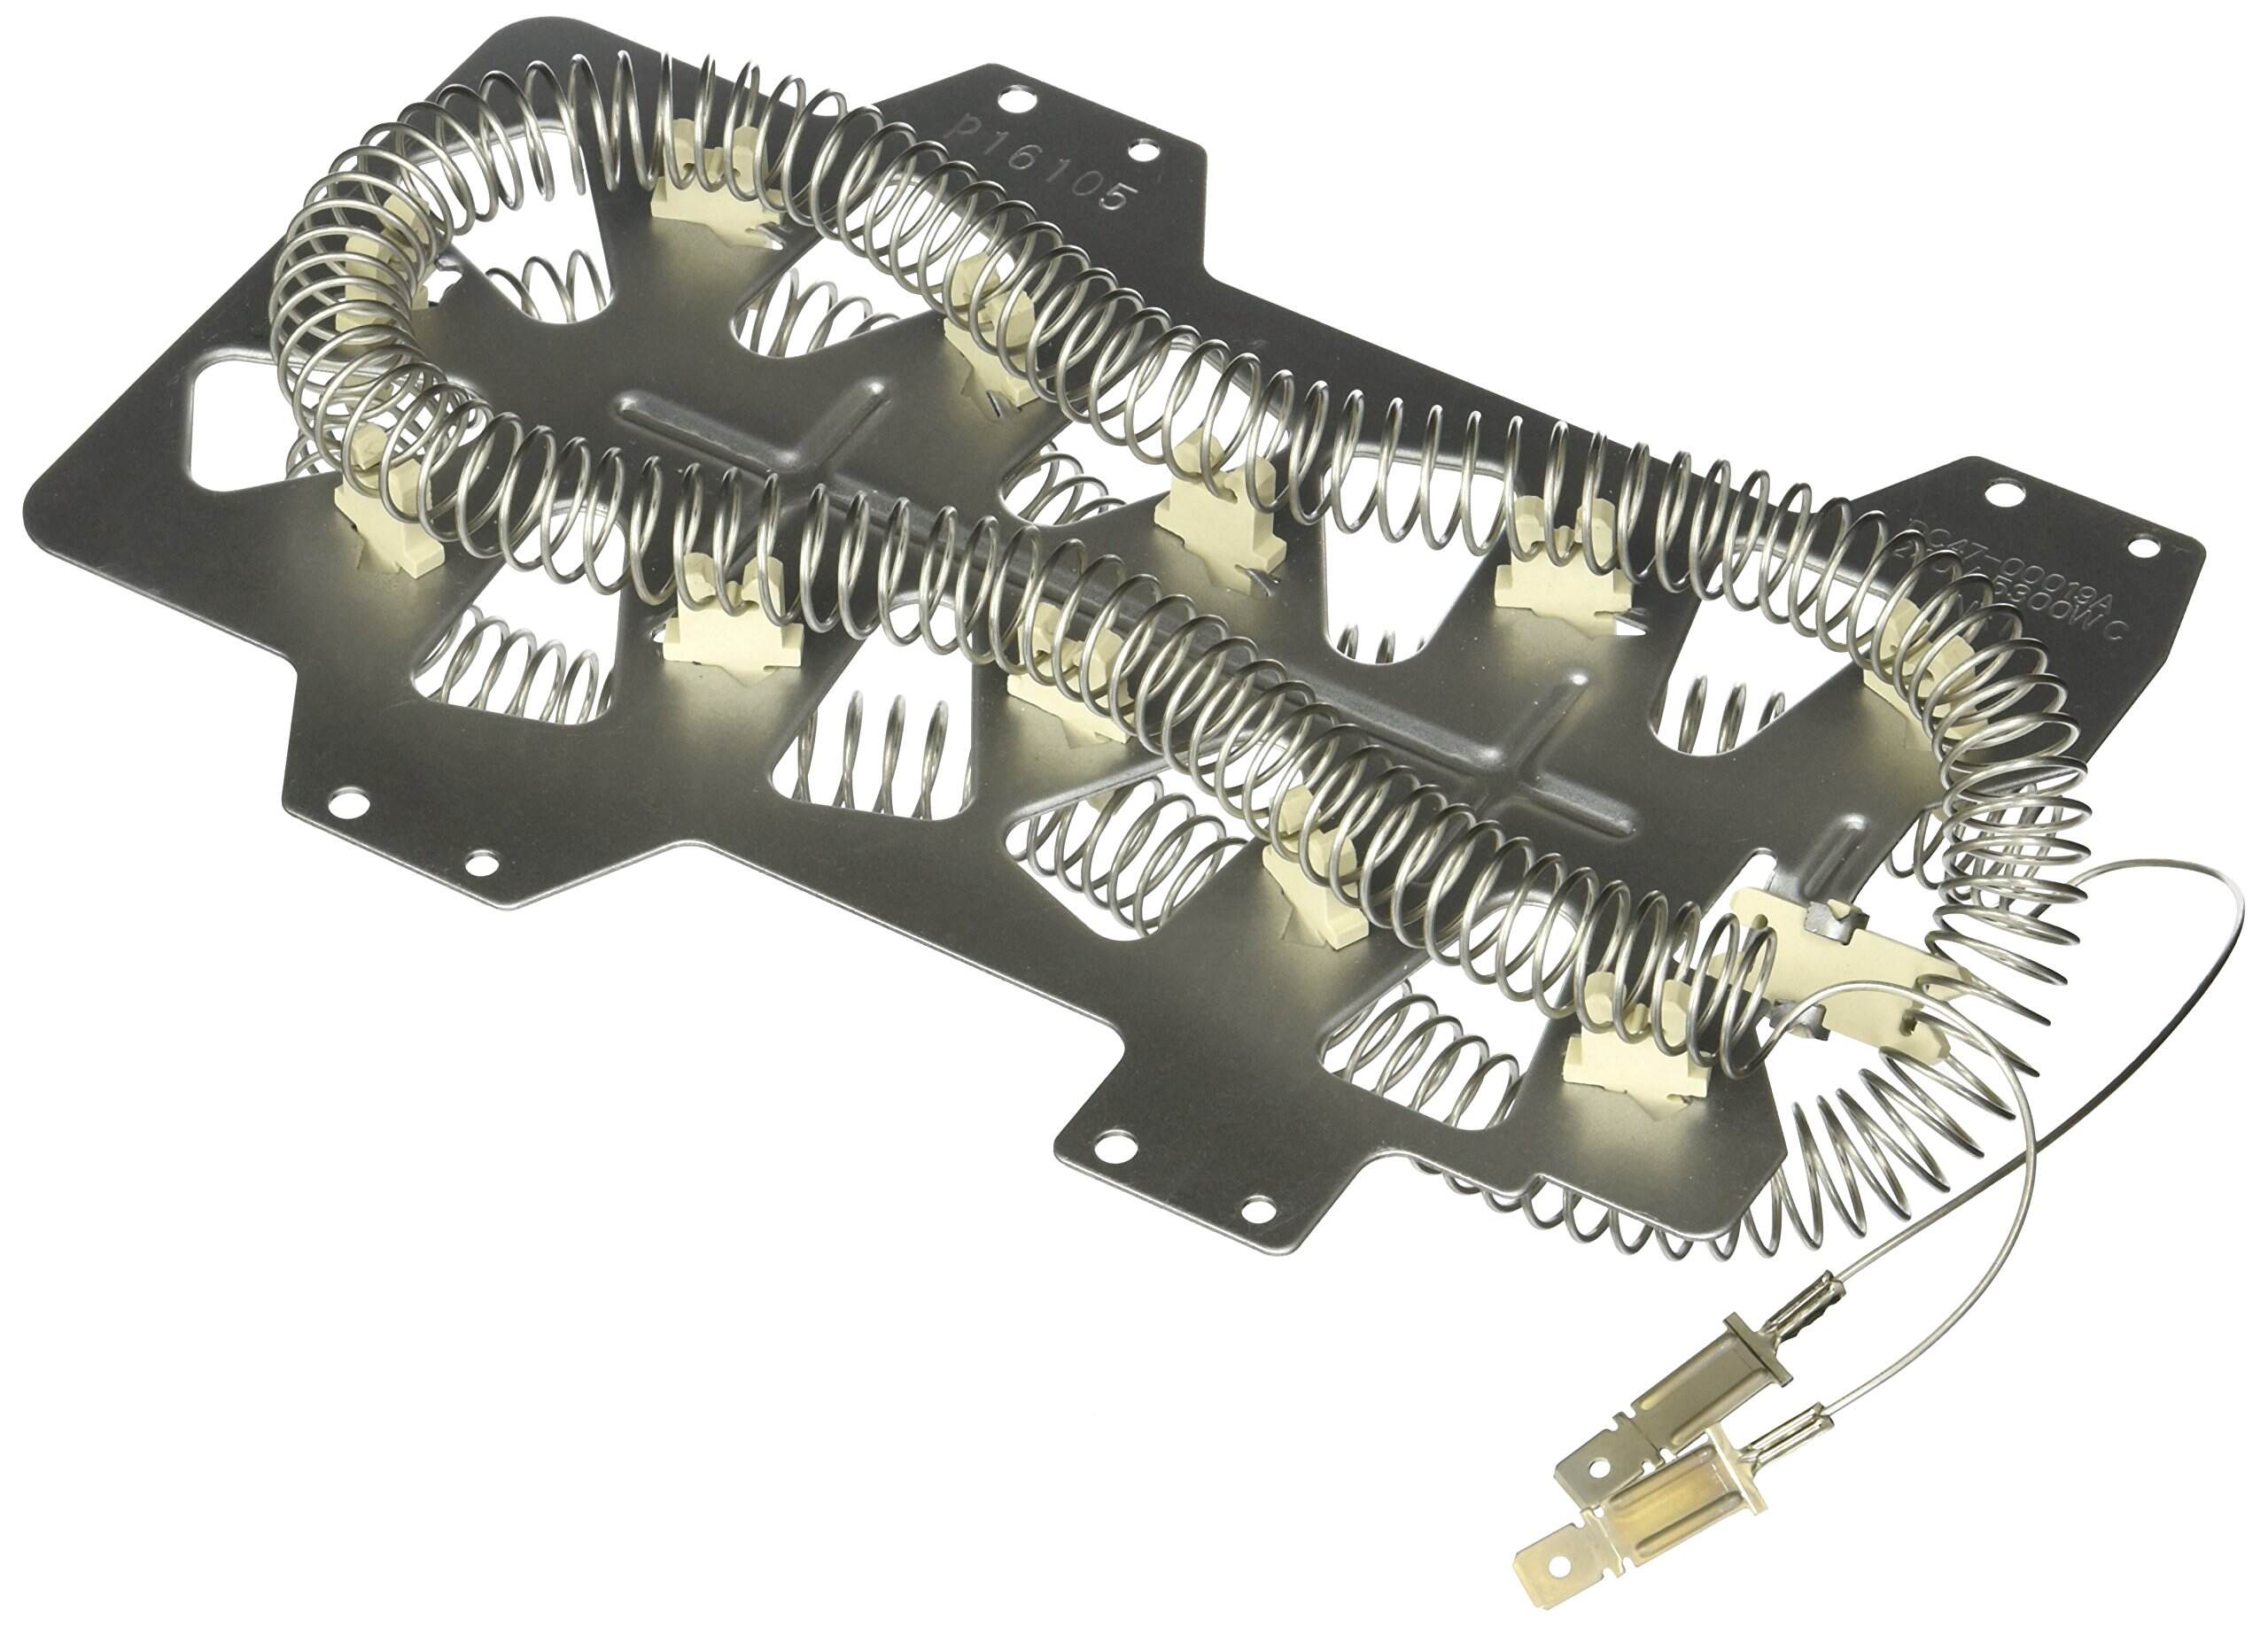
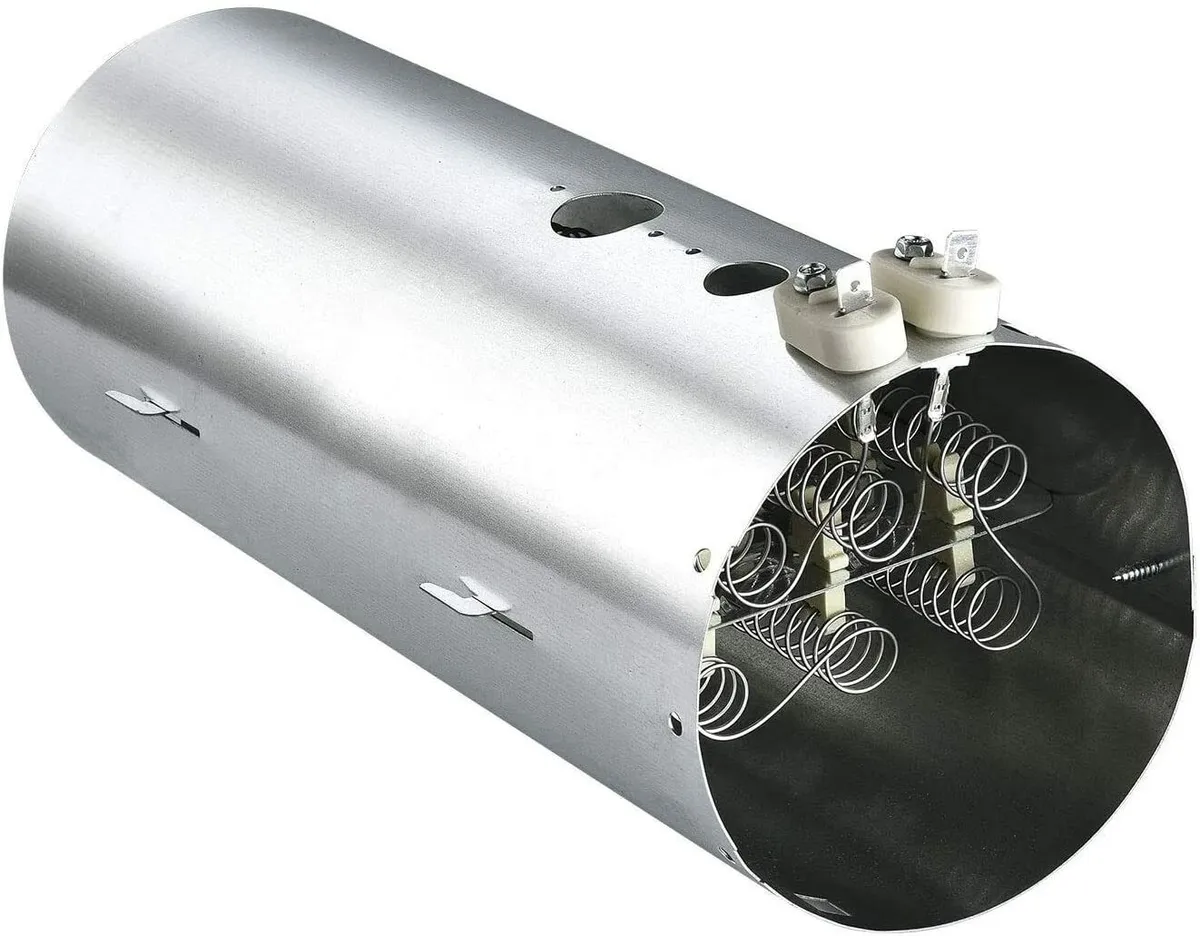
The dryer heating element is responsible for producing the heat that dries your clothes. It is a coil of wire that heats up when an electrical current passes through it. As the air from the dryer passes over the heating element, it becomes hot and then circulates inside the drum, drying your clothes in the process.
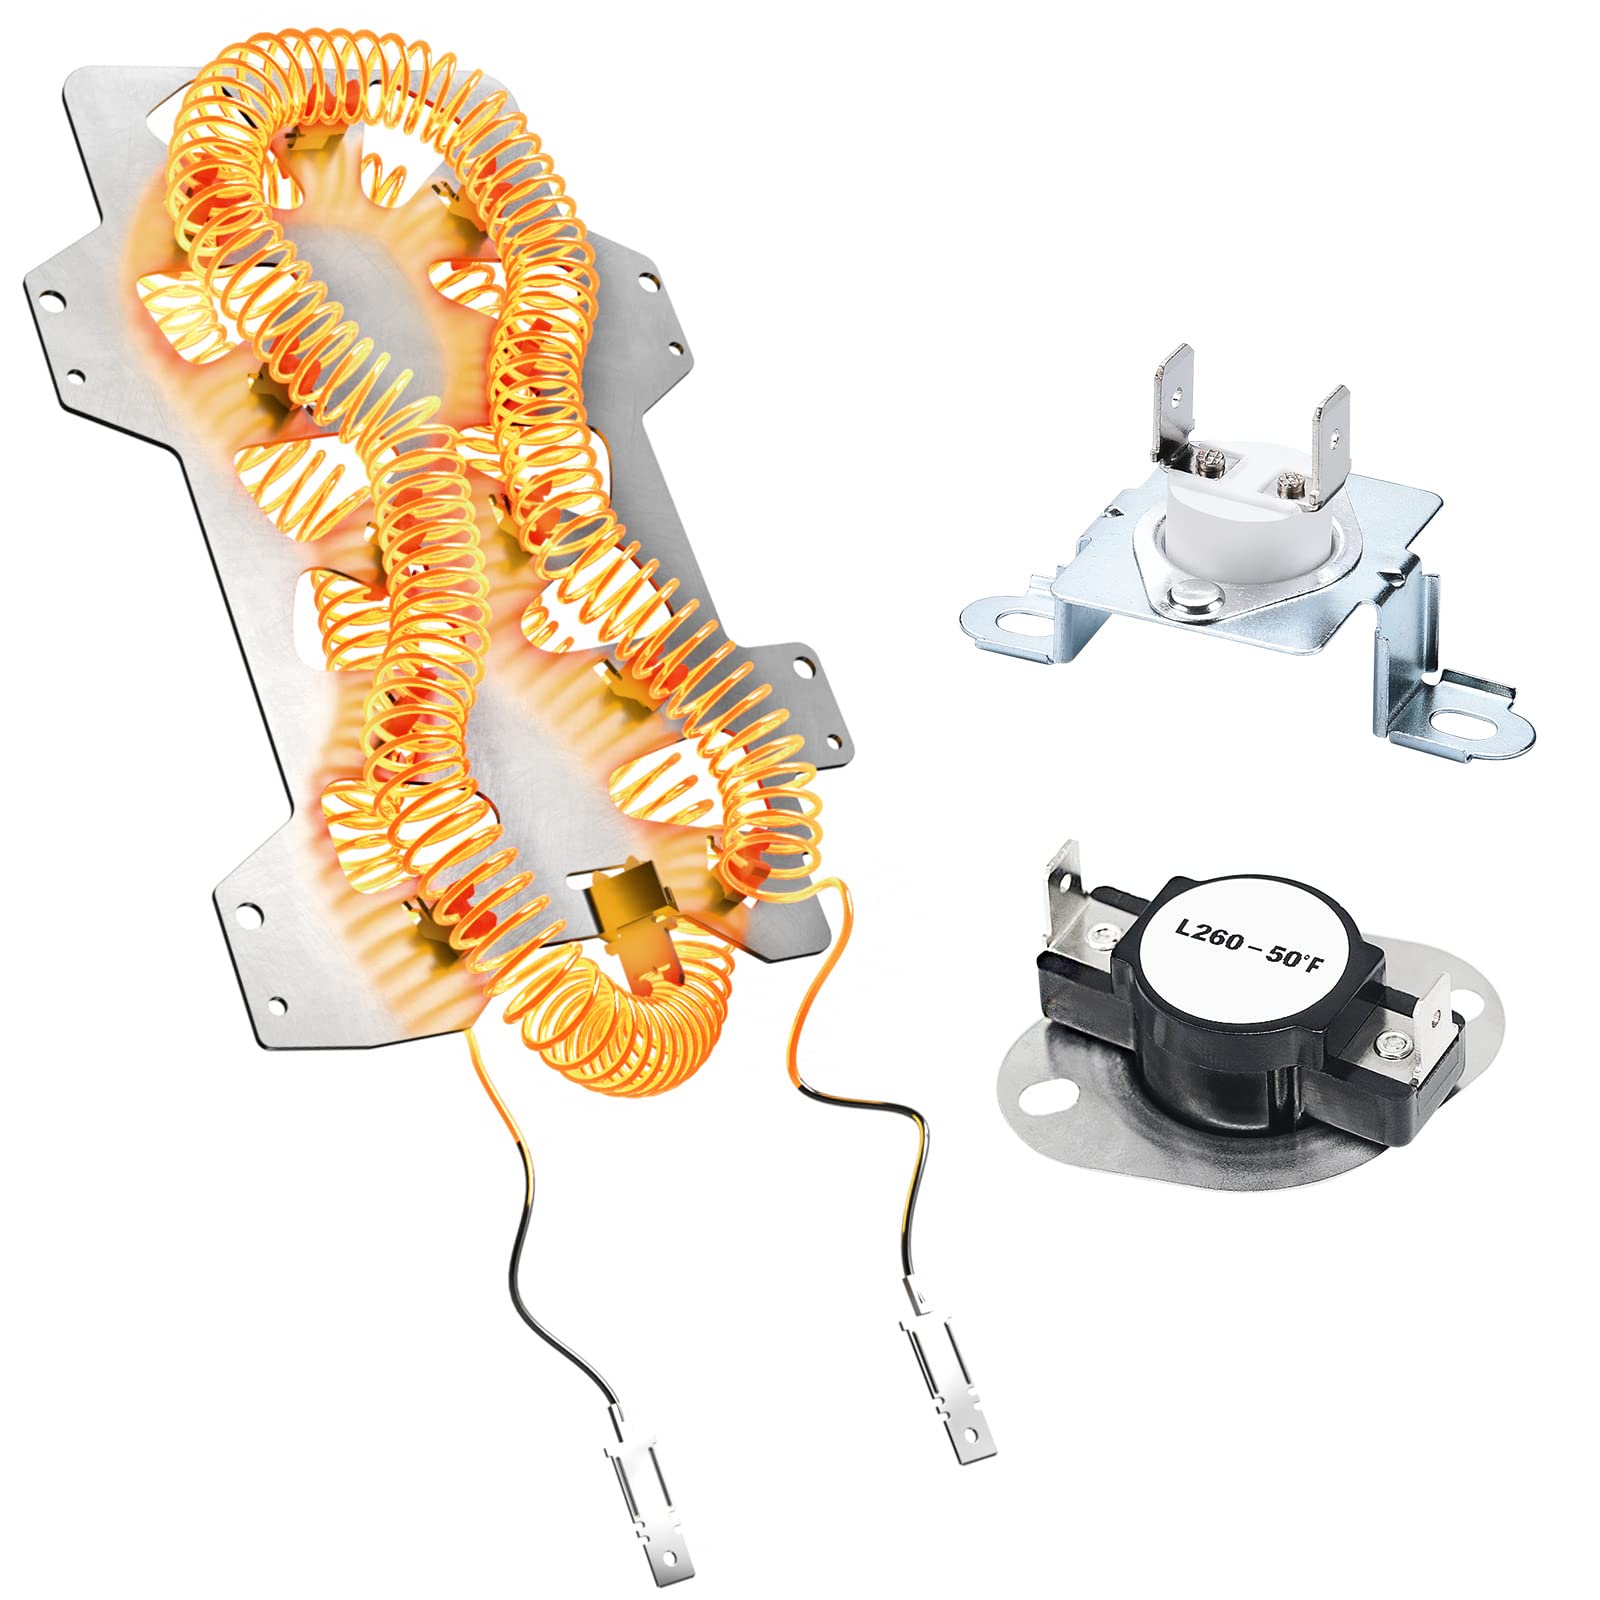
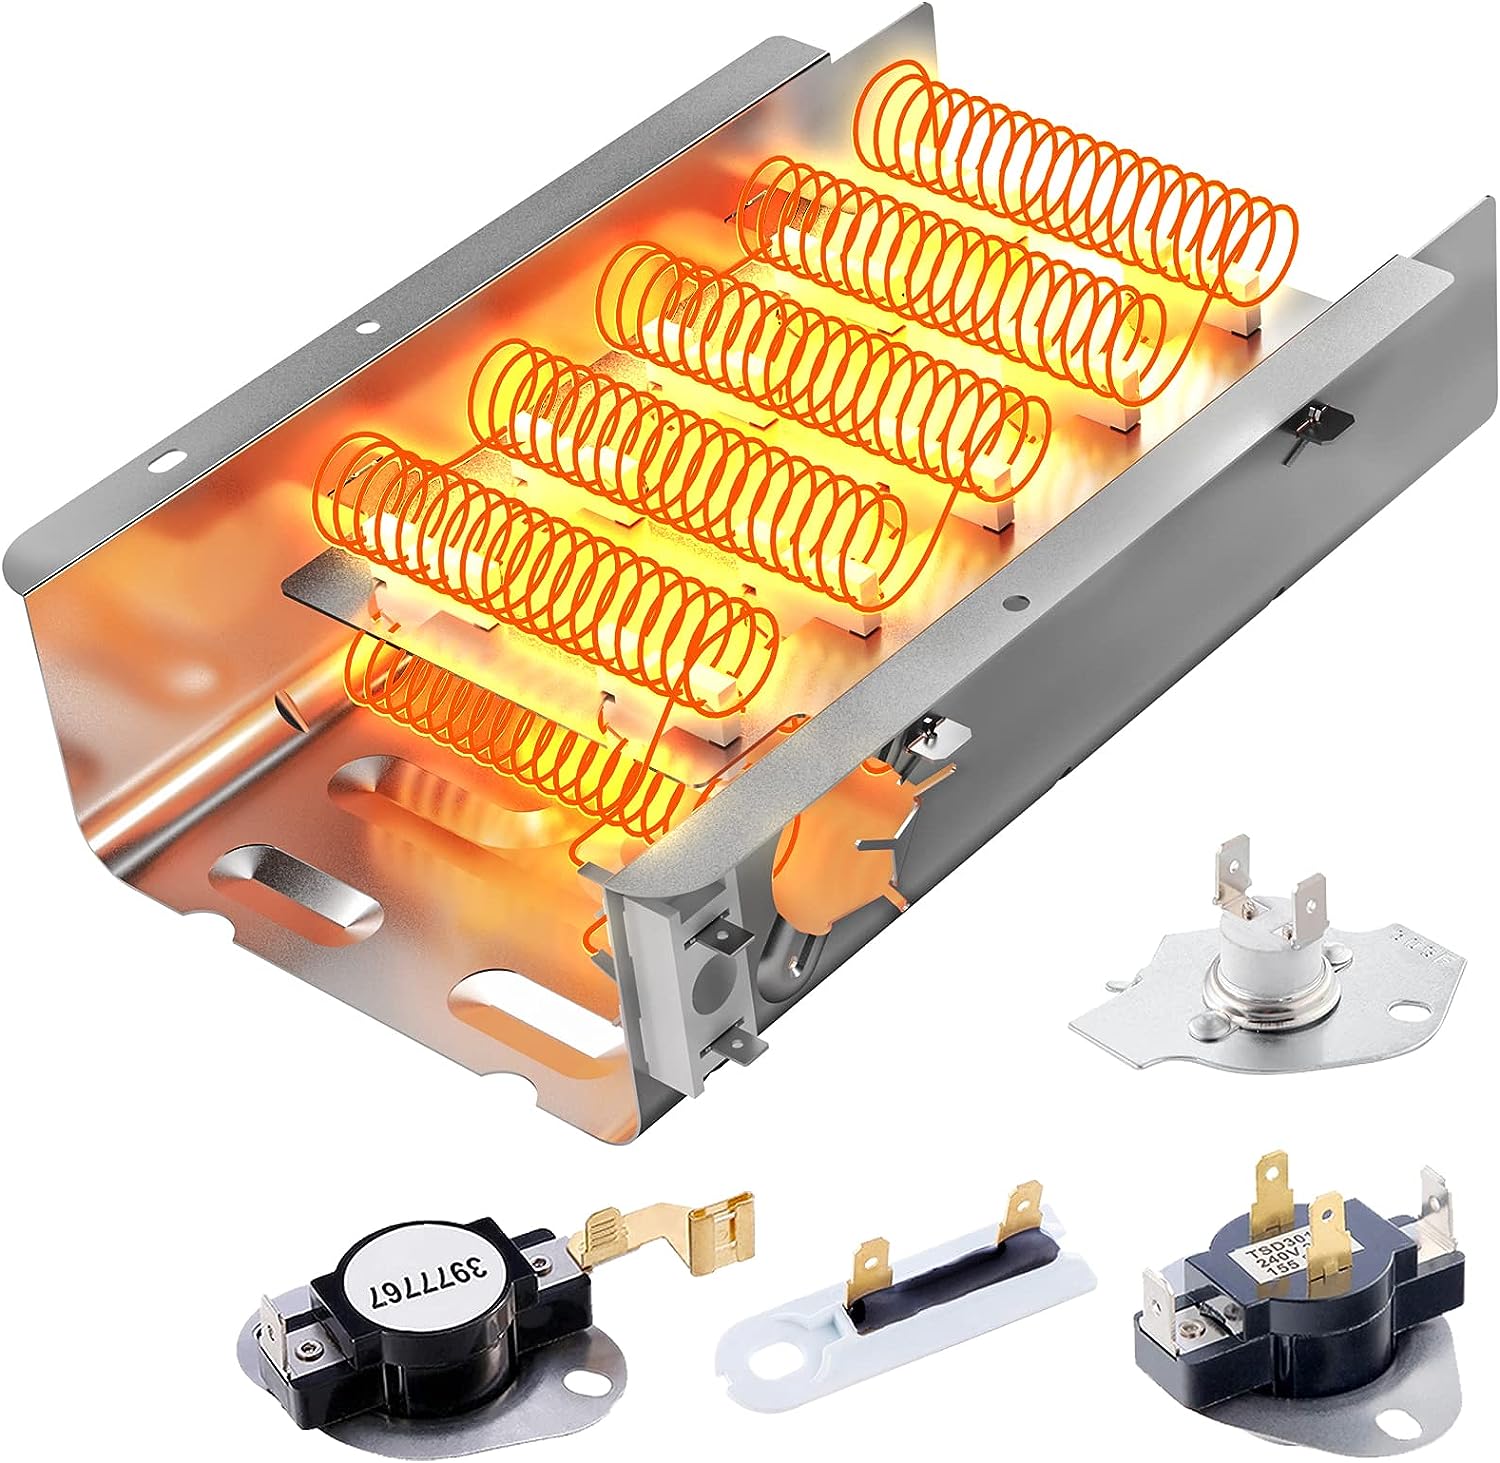
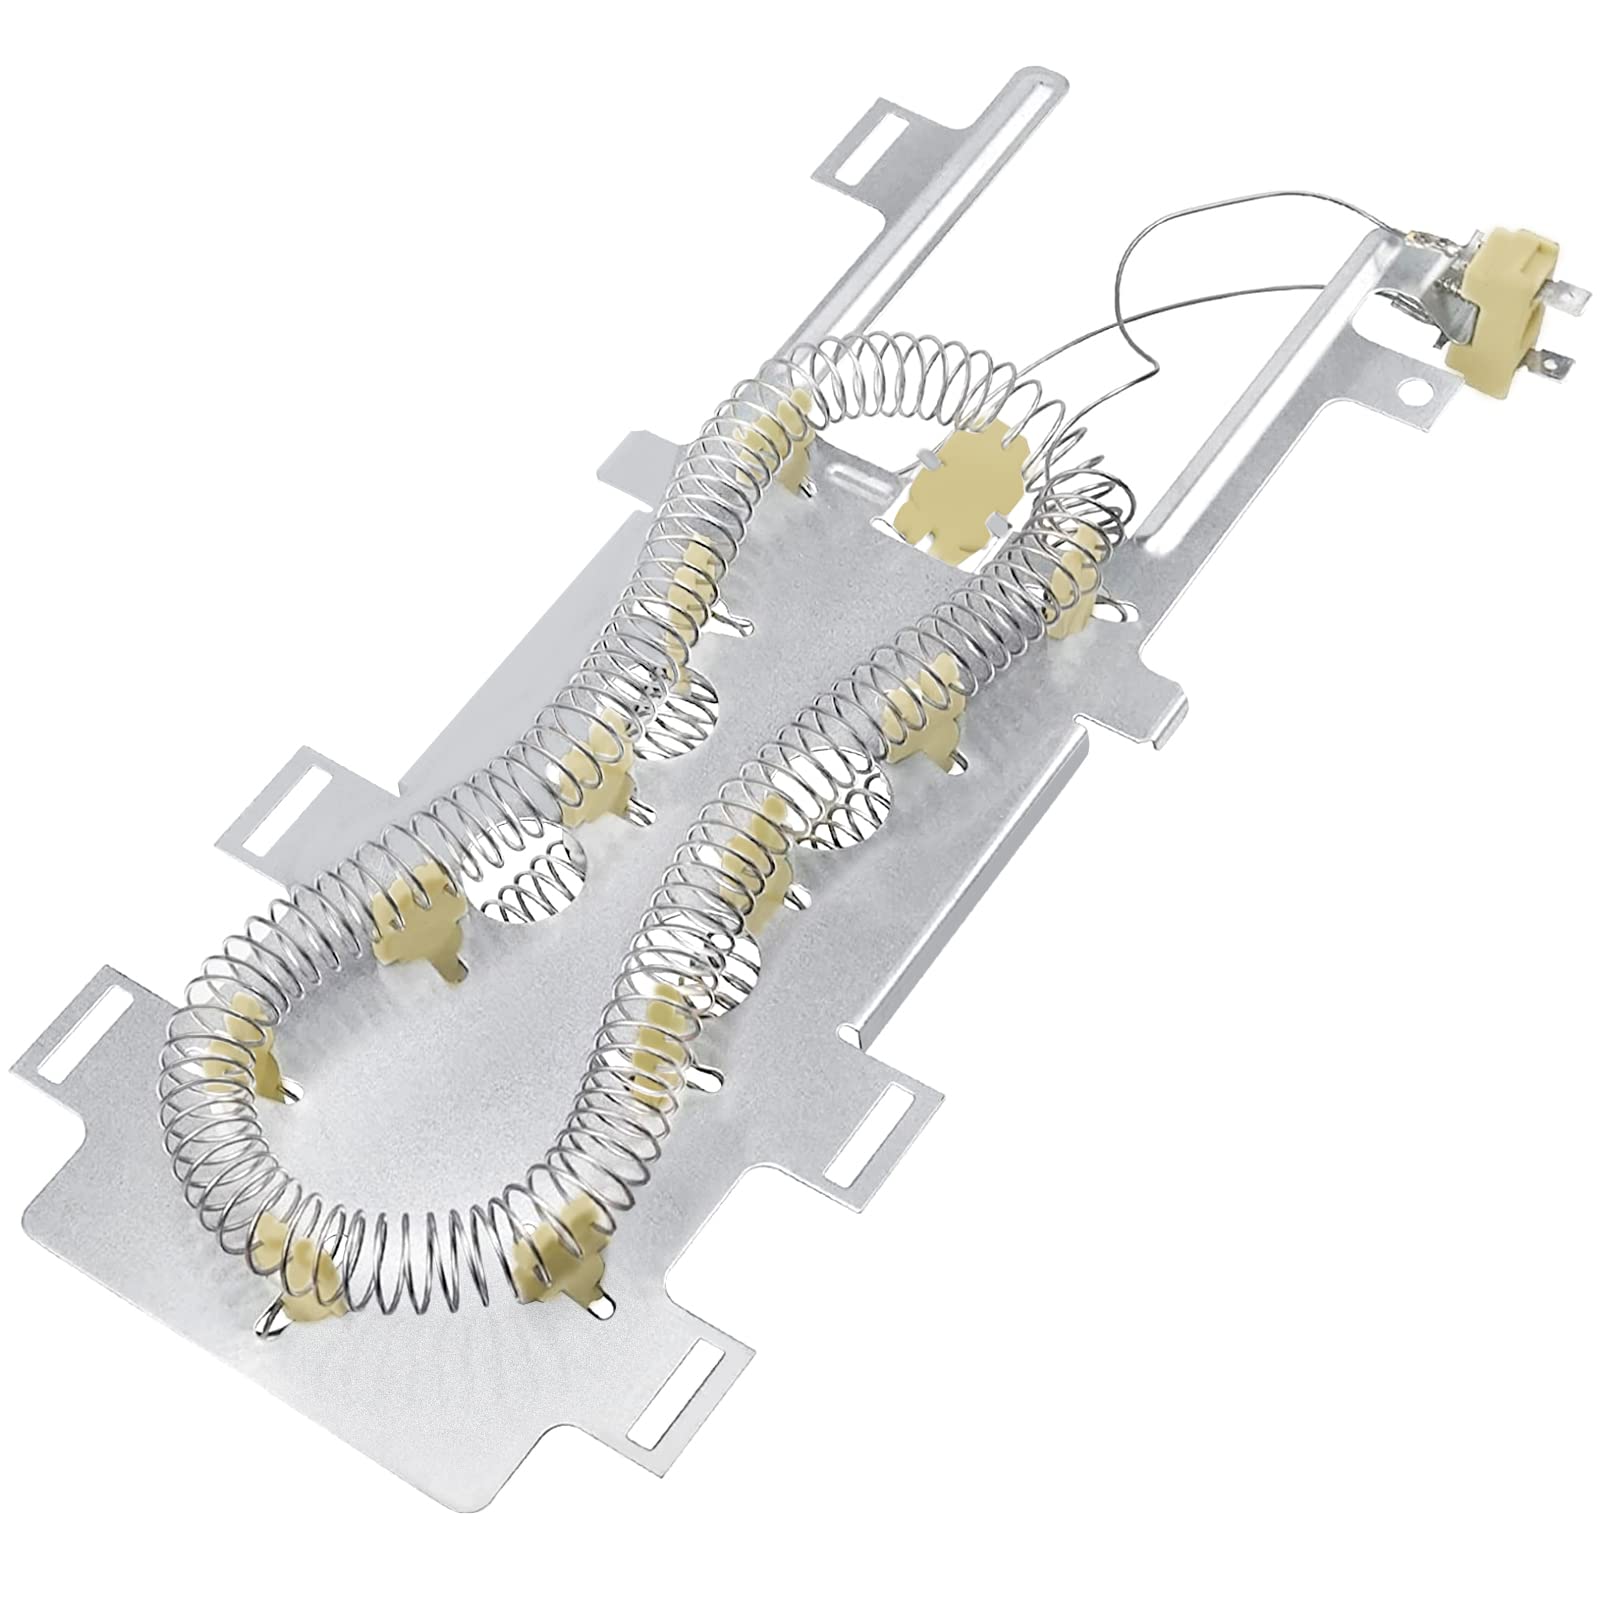
Typically, dryer heating elements are made of a coiled wire, often made from nickel-chromium alloy, known for its high resistance to heat. This wire is housed in a metal casing to protect it and direct the heat towards the drum. The heating element is located at the rear or bottom of the dryer, depending on the model.
Over time, with regular use, the heating element can wear out or become damaged, resulting in a lack of heat or no heat at all. This can be caused by various factors such as excessive lint buildup, power surges, or component failure. Identifying and troubleshooting the heating element will help you determine if it needs to be repaired or replaced.
It’s important to note that not all dryers have the same type of heating element. Some may use a simple wire coil design, while others may incorporate additional components such as a thermal cut-off fuse or a high-limit thermostat for added safety. Understanding the specific design and components of your dryer’s heating element is crucial when it comes to troubleshooting and repair.
In the next section, we will discuss the safety precautions you need to take before attempting any repairs on your dryer’s heating element.
Safety Precautions
Before you begin any repairs on your dryer’s heating element, it is important to prioritize safety. Electricity and heat can pose risks, so taking proper precautions is crucial to avoid accidents or injuries. Here are some key safety measures to keep in mind:
- Turn off the power: Start by unplugging the dryer or shutting off the circuit breaker that supplies power to it. This step ensures that you are not working with live electricity, reducing the risk of electric shock.
- Allow the dryer to cool down: Give the dryer ample time to cool down before you start any repairs. The heating element can reach incredibly high temperatures during operation, and working on a hot element can lead to burns or injuries.
- Protective gear: It is recommended to wear safety goggles and gloves to protect your eyes and hands during the repair process. Additionally, wearing long sleeves and closed-toe shoes can provide an extra layer of protection.
- Work in a well-ventilated area: Ensure that you are working in a well-ventilated area to prevent the buildup of fumes and ensure proper air circulation.
- Read the manufacturer’s instructions: Familiarize yourself with the specific safety guidelines provided by the manufacturer of your dryer. Different dryer models may have unique safety measures that need to be followed.
- Seek professional help if unsure: If you are uncertain about any aspect of the repair process or feel uncomfortable working with electrical components, it is recommended to seek the assistance of a professional technician. Your safety should always be the top priority.
By following these safety precautions, you can minimize the risk of accidents and create a safer working environment. Once you have taken the necessary safety measures, you can proceed with the repair process confidently.
Tools and Materials Needed
Before you begin fixing your dryer’s heating element, gather the necessary tools and materials to ensure a smooth repair process. Here is a list of items you will need:
- Screwdriver: A screwdriver is essential for removing screws and accessing the internal components of the dryer. Depending on the model, you may need a Phillips or flathead screwdriver.
- Multi-meter: This tool is used to test the continuity and voltage of electrical components, including the heating element. It helps diagnose whether the element is faulty or if there are any other electrical issues.
- Needle-nose pliers: Pliers are useful for gripping and manipulating small components, such as wires or connectors.
- Wire cutter/stripper: If you need to replace any wires during the repair process, a wire cutter/stripper will come in handy for cutting and stripping the insulation off the wires.
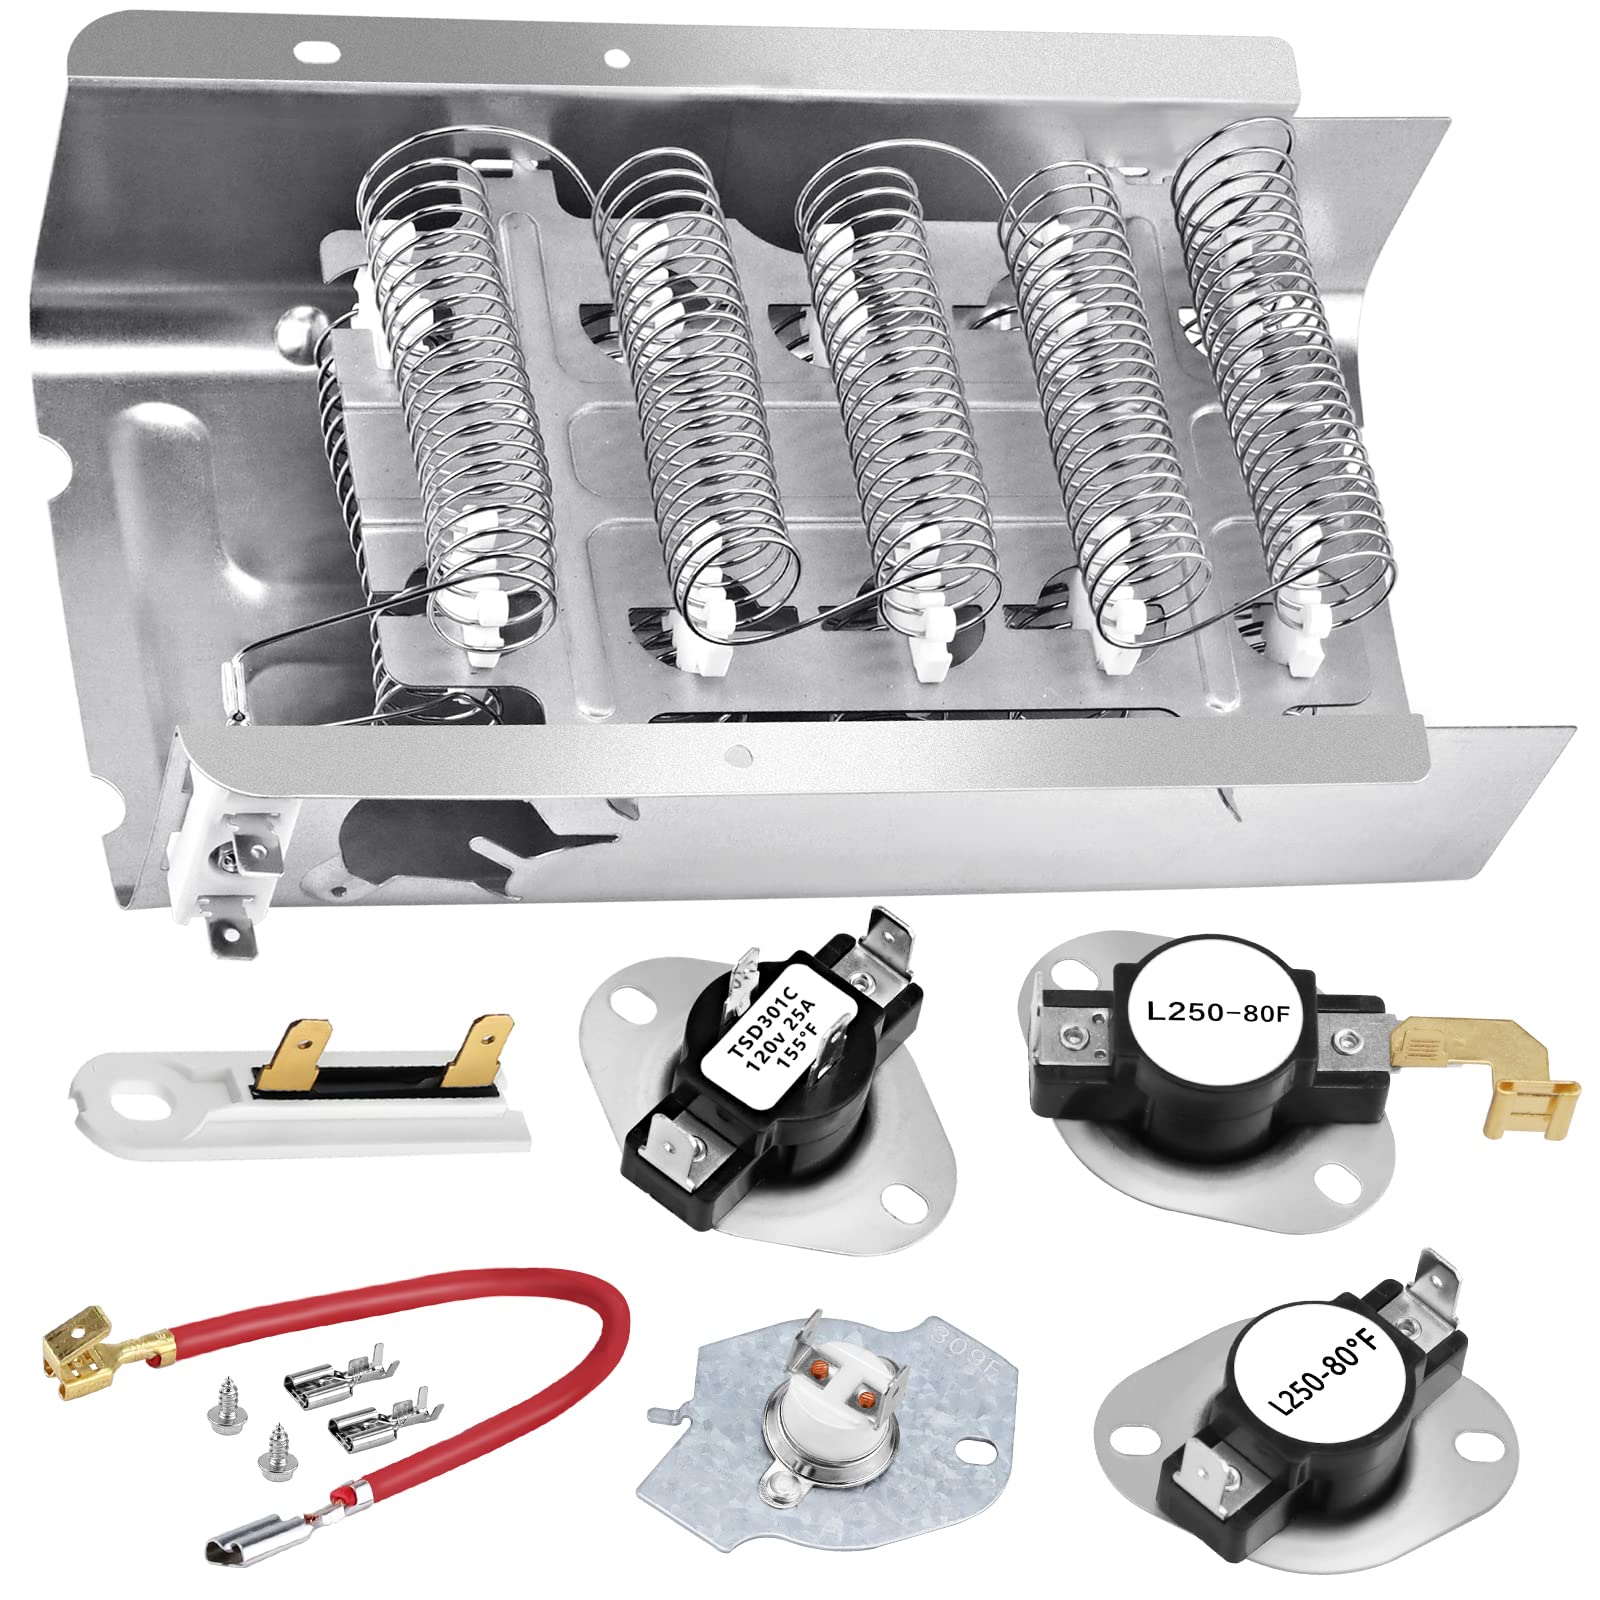
- Replacement heating element: Depending on the diagnosis, you may need to purchase a new heating element specifically designed for your dryer model. Ensure you have the correct replacement part before starting the repair.
- Gloves and safety goggles: As mentioned earlier, it’s important to protect your hands and eyes during the repair process, so gloves and safety goggles are essential items to have.
- Vent cleaning brush: While not directly related to repairing the heating element, it’s a good idea to clean the dryer vent to prevent lint buildup, which can impact the performance of the heating element.
- Owner’s manual: Retrieve the owner’s manual for your specific dryer model. It may contain additional information on troubleshooting and the location of the heating element.
Having these tools and materials ready before you begin the repair will save you time and ensure you have everything you need to complete the job. It’s always better to be prepared!
Step 1: Disconnection and Inspection
The first step in fixing your dryer’s heating element is to disconnect the dryer from the power source and perform a thorough inspection of the unit. Follow these steps:
- Unplug the dryer: Disconnect the power cord from the electrical outlet or switch off the circuit breaker that supplies power to the dryer. This step is crucial to ensure your safety while working on the appliance.
- Move the dryer: Carefully move the dryer away from the wall to create adequate space for working. It’s a good idea to lay down a protective sheet or towel to prevent any damage to the floor or scratching the surface of the dryer.
- Inspect the power cord and outlet: Examine the power cord for any signs of damage, such as frayed wires or exposed insulation. Similarly, inspect the outlet for any visible damage or loose connections. If you notice any issues, it’s important to address them before proceeding with the repair.
- Check the lint filter and vent: Remove the lint filter from the dryer and clean off any lint buildup. Additionally, inspect the dryer vent to ensure it is clear of any obstruction or excessive lint. A clogged vent can affect the performance of the heating element.
- Inspect the heating element housing: Carefully examine the area around the heating element for any signs of damage, such as melted wires or burnt marks. This is an important step as it will help identify any potential causes of a faulty heating element.
By performing a detailed inspection of your dryer, you can identify any visible issues that may be causing the heating element problem. If you notice any significant damage or are unsure about any findings, it is advisable to contact a professional technician to further assess the situation.
Read more: How To Replace Maytag Dryer Heating Element
Step 2: Removing the Dryer Back Panel
After inspecting the dryer and identifying any visible issues, the next step is to remove the dryer’s back panel. This will provide access to the internal components, including the heating element. Follow these steps:
- Safety first: Before proceeding, ensure that the dryer is still disconnected from the power source to prevent any potential accidents.
- Locate the screws: Look for the screws that secure the back panel to the dryer. These screws are typically located along the edges of the panel.
- Use the appropriate screwdriver: Select the correct type and size of screwdriver for the screws. This could be a Phillips or flathead screwdriver, depending on the dryer model.
- Remove the screws: Carefully unscrew all the screws that attach the back panel to the dryer. Keep track of each screw and consider setting them aside in a container or magnetic dish to avoid misplacing them.
- Remove the back panel: Once all the screws are removed, gently pull the back panel away from the dryer, taking care not to damage any wires or components that may be attached to it.
Removing the back panel will provide a clear view of the dryer’s internal components, allowing you to access the heating element and other parts that may require inspection or replacement. However, it’s important to proceed with caution and gentle handling to avoid any damage to the internal wiring or components.
Now that the back panel has been removed, you are ready to locate the heating element. Proceed to the next step in the repair process to continue resolving the issue with your dryer’s heating element.
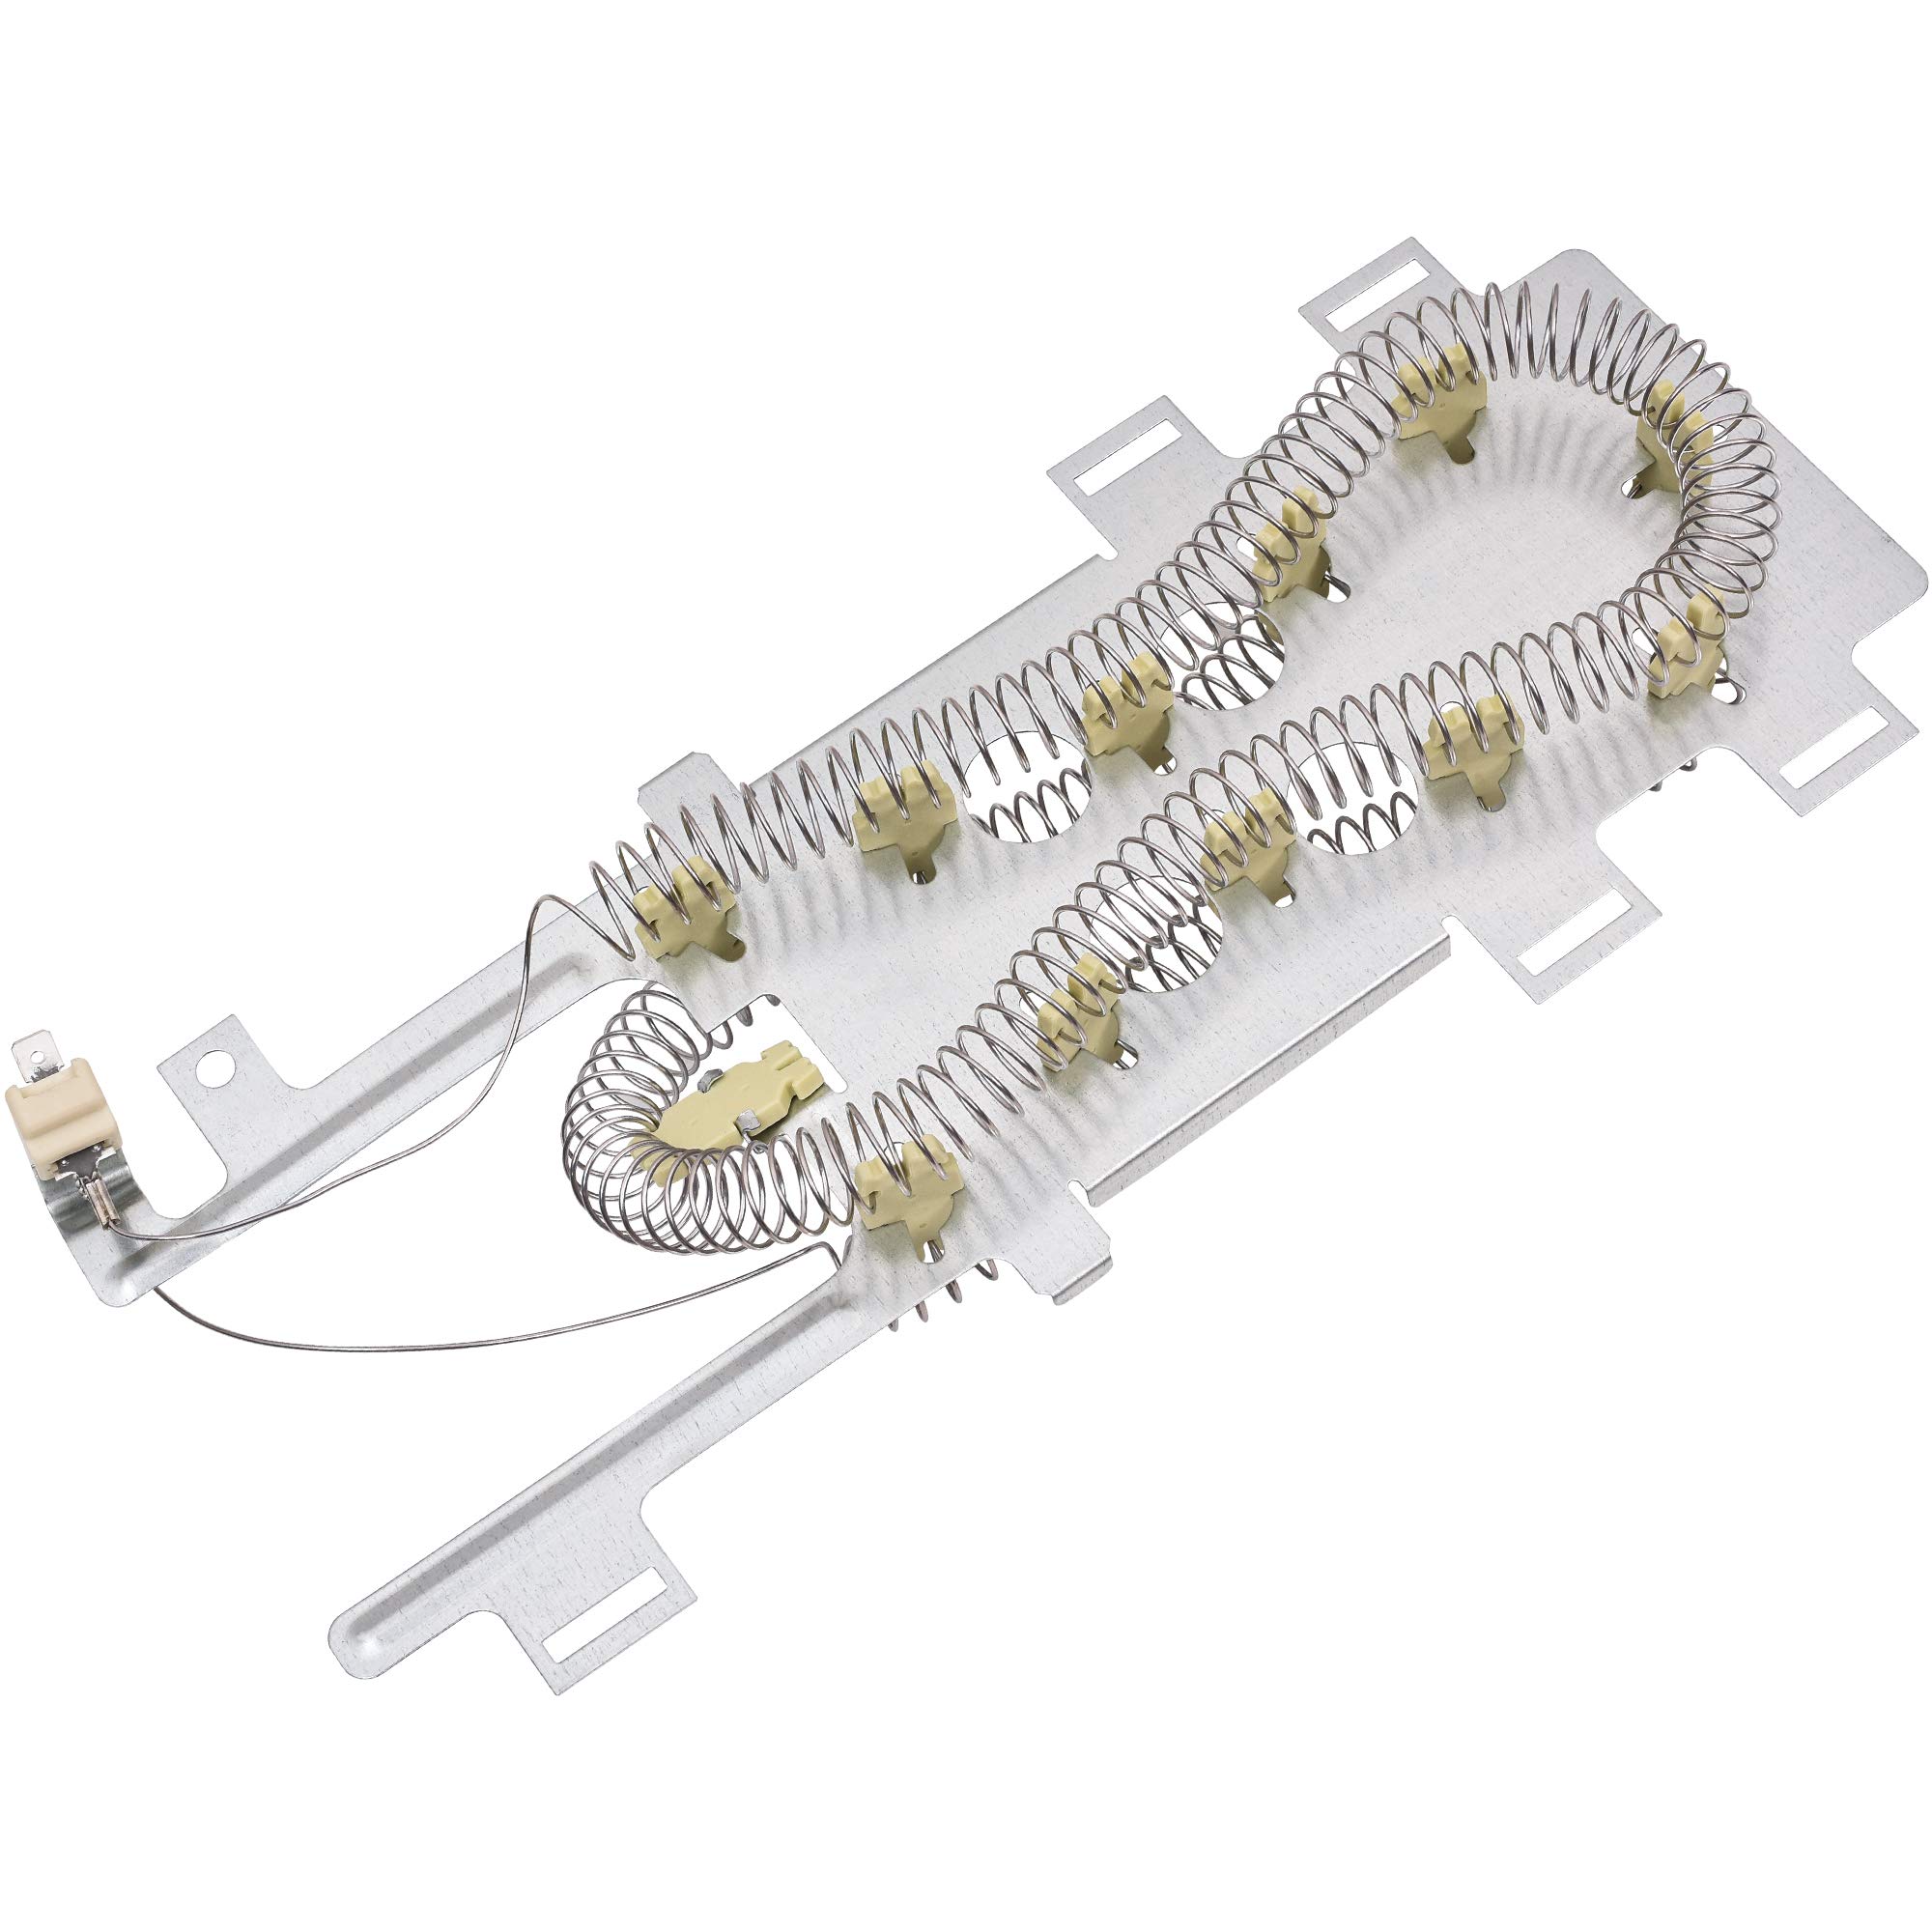
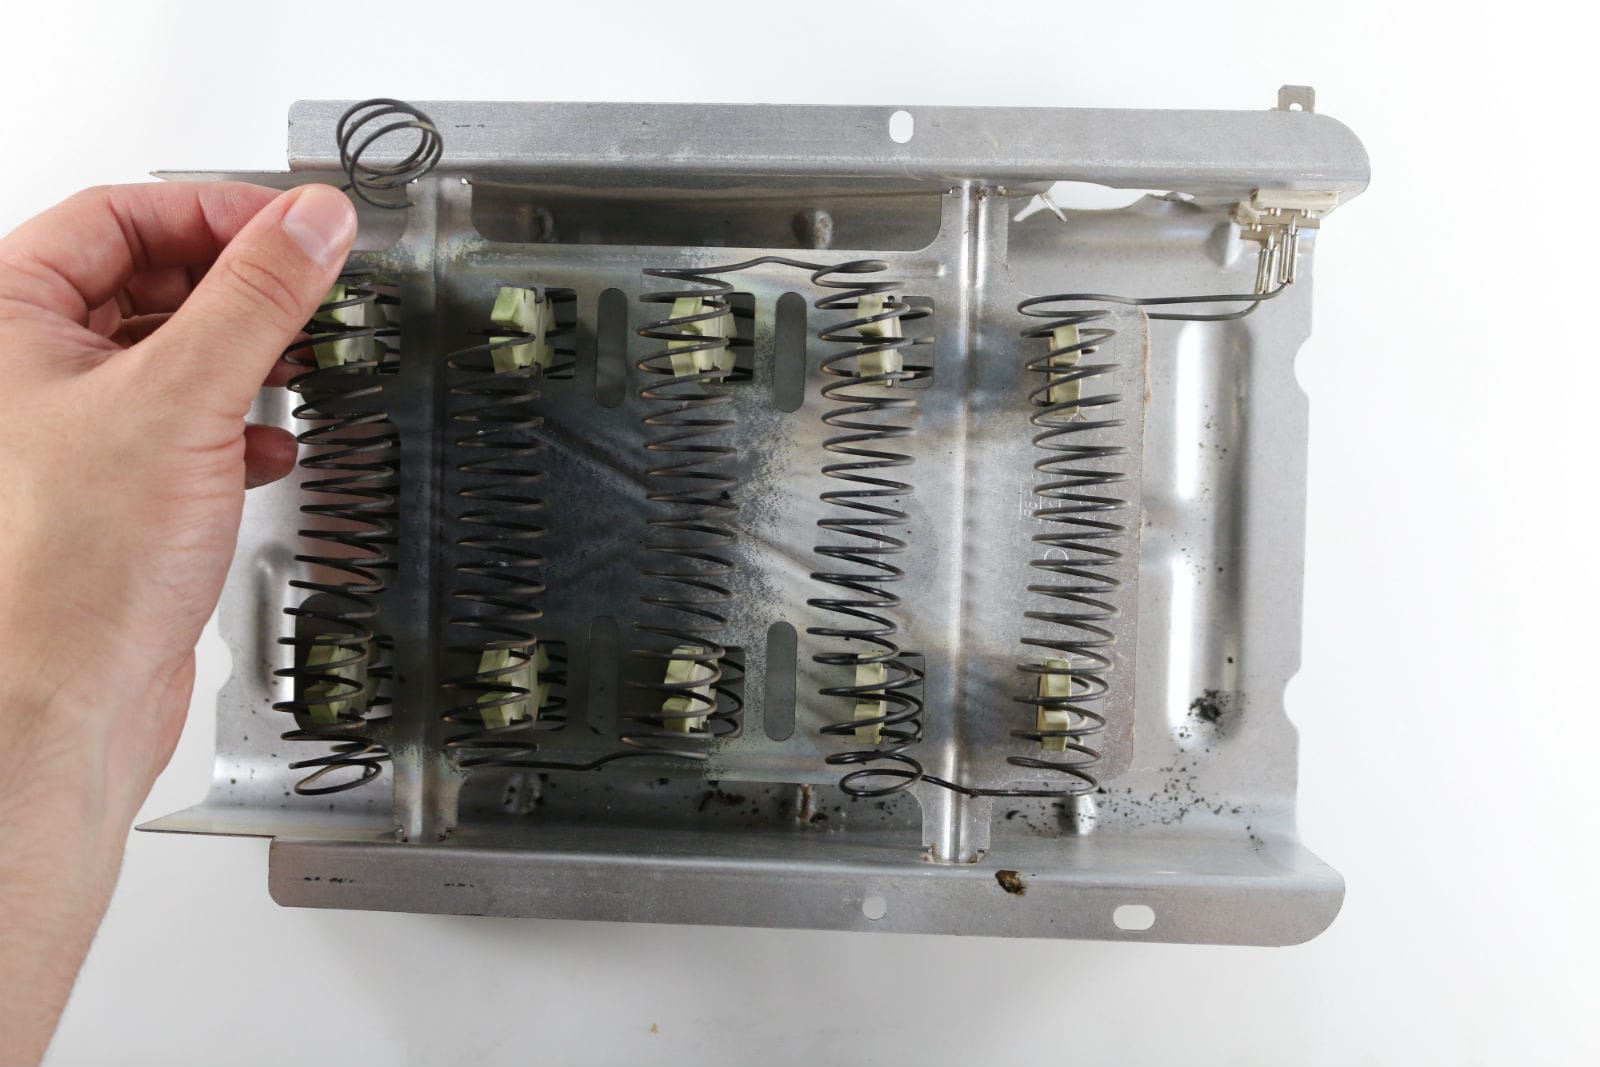
Check the heating element for any visible damage or breakage. If it looks damaged, it will need to be replaced. Be sure to unplug the dryer before attempting any repairs.
Step 3: Locating the Heating Element
Now that you have removed the back panel of your dryer, it’s time to locate the heating element. The exact location of the heating element can vary depending on the make and model of your dryer, so refer to your owner’s manual if needed. Follow these general steps:
- Familiarize yourself with the dryer’s layout: Take a moment to observe the internal components of the dryer, paying attention to the wiring and other visible parts.
- Identify the heating element housing: Look for a metal or plastic casing that encloses the heating element. It is usually located at the rear of the dryer, but it can also be found at the bottom or side, depending on the dryer’s design.
- Check for any attachments: The heating element may be connected to other components such as a thermal cut-off fuse or a high-limit thermostat. Take note of these connections as they may require further inspection or replacement.
- Inspect for any visible damage: Carefully examine the heating element and its housing for any signs of damage, such as burnt marks, broken wires, or melted parts. This visual inspection will help determine if the heating element is faulty and in need of replacement.
It’s important to note that in some dryer models, the heating element may be located inside a removable metal box or duct. In such cases, you may need to remove additional screws or attachments to access the heating element.
If you are unsure about the location of the heating element or need assistance with identifying any specific components, refer to the owner’s manual or consult a professional technician for guidance.
Once you have located the heating element, proceed to the next step to test its functionality and determine if it needs to be replaced.
Step 4: Testing the Heating Element
After locating the heating element in your dryer, it’s time to test its functionality to determine if it’s the cause of the heating issue. Follow these steps to conduct a basic test:
- Safety precautions: Before proceeding with any electrical tests, ensure that the dryer is still disconnected from the power source to prevent any accidents.
- Set your multi-meter: Turn on your multi-meter and set it to the continuity or resistance mode. Consult the user manual for specific instructions on your particular model.
- Disconnect the heating element: Carefully detach the wires or connectors that are connected to the heating element. Take note of their positions, as you will need to reconnect them later.
- Test for continuity: Place the probes of the multi-meter on the terminals of the heating element. If the reading on the multi-meter displays continuity (ideally close to zero ohms), it means that the heating element is functioning properly. However, if there is no continuity (infinity or OL on the display), it indicates a faulty heating element that needs to be replaced.
- Inspect for any visible damage: While conducting the test, also examine the heating element for any visible signs of damage, such as broken or burnt wires. If you notice any significant damage, it further confirms the need to replace the heating element.
If the heating element fails the continuity test or shows signs of damage, it is likely the main cause of the heating issue in your dryer. In that case, proceed to the next step to replace the heating element.
However, if the heating element passes the continuity test and shows no signs of damage, the problem may lie elsewhere in the heating circuit, such as a malfunctioning thermostat or thermal fuse. In such cases, it is advisable to consult a professional technician for further diagnosis and repair.
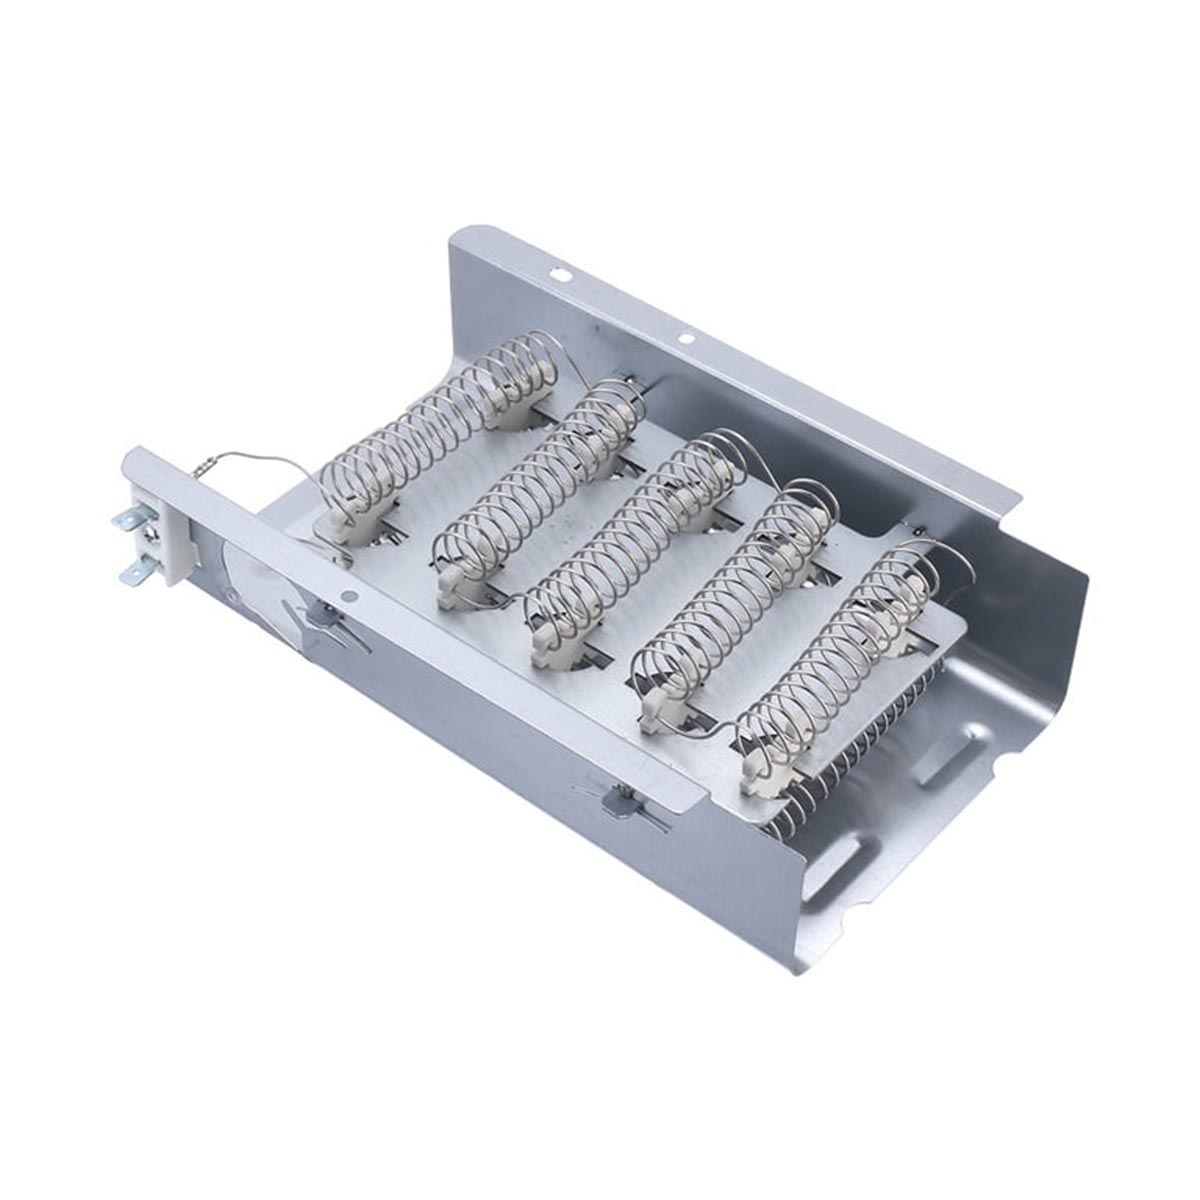
Step 5: Replacing the Heating Element
If you have determined that the heating element in your dryer is faulty or damaged, it’s time to replace it. Follow these steps to replace the heating element:
- Ensure safety: Disconnect the dryer from the power source to avoid any accidents while working on the appliance.
- Remove the old heating element: Disconnect any wires or connectors attached to the heating element. Take note of their positions for proper reconnection later. Unscrew any screws or bolts that secure the heating element in place. Gently remove the old heating element from its housing.
- Install the new heating element: Take the new heating element and position it in the same location where the old one was removed. Secure it in place using the screws or bolts that were removed earlier. Be sure to follow any specific instructions outlined in the owner’s manual or provided with the replacement part.
- Reconnect the wires: Carefully reconnect the wires or connectors to their respective terminals on the new heating element. Ensure they are securely fastened to maintain proper electrical connections.
- Reassemble the dryer: Put the back panel of the dryer back into position and reattach it using the screws. Ensure all the screws are tightened securely.
Once the new heating element is installed and all connections are reestablished, you can proceed to reassemble the dryer. Make sure that all the components are properly aligned and that there are no loose screws or parts.
After completing the replacement, it’s important to perform a final check to ensure everything is functioning correctly. Reconnect the dryer to the power source and run a test cycle to verify that the heating element is producing the appropriate heat. Monitor the dryer closely during the test to ensure there are no abnormal sounds, smells, or malfunctions.
If the dryer operates as expected and produces the desired heat, congratulations! You have successfully replaced the heating element.
However, if the issue persists or you encounter any difficulties during the replacement process, it’s recommended to seek the assistance of a professional technician to avoid further damage or potential safety hazards.
Read also: 13 Best Dryer Heating Element For 2025
Step 6: Reassembling and Testing the Dryer
Now that you have replaced the heating element in your dryer, it’s time to reassemble the unit and perform a final test to ensure everything is functioning properly. Follow these steps:
- Double-check connections: Before reassembling the dryer, ensure that all wires and connectors are securely attached to the heating element and any other components that were disconnected during the repair process. Also, make sure that any screws or bolts are tightened appropriately.
- Reinstall the back panel: Align the back panel with the dryer and gently slide it into place. Use the screws or bolts removed earlier to secure the panel tightly. Verify that all the screws are properly tightened.
- Plug the dryer back in: Reconnect the power cord to the electrical outlet or switch on the circuit breaker to restore power to the dryer.
- Run a test cycle: Turn on the dryer and run a test cycle to check if the heating element is working correctly. Select a heat setting and monitor the dryer during the cycle to ensure that it is producing the appropriate amount of heat.
- Observe for any issues: Pay close attention to the dryer’s operation, listening for any unusual sounds, checking for any burning smells, or noticing any malfunctioning. If you encounter any issues, promptly turn off the dryer and seek professional assistance.
If the dryer functions properly and produces the desired level of heat, congratulations! You have successfully reassembled and repaired your dryer’s heating element. Your dryer should now be ready to effectively dry your clothes again.
Remember, it’s essential to perform regular maintenance, such as cleaning the lint filter and vent, to ensure optimal performance and prevent future issues with the heating element. Regular maintenance will also help extend the lifespan of your dryer.
However, if you encounter any ongoing problems with the heating element or if the issue persists even after replacing it, it may be wise to consult a professional technician. They will have the expertise to diagnose the problem accurately and recommend the best course of action.
Conclusion
Fixing a faulty or damaged heating element in your dryer can save you time and money compared to calling a professional technician. By following the step-by-step guide provided in this article, you can successfully diagnose and repair your dryer’s heating element. However, it is important to prioritize safety throughout the process and seek professional help if needed.
Understanding how the dryer heating element works and the necessary safety precautions to take is crucial before attempting any repairs. By disconnecting and inspecting your dryer, locating the heating element, testing its functionality, and replacing it if necessary, you can tackle the problem effectively. Reassembling the dryer and running a test cycle will ensure that the repair was successful and that your dryer is working optimally.
Remember to always follow the manufacturer’s instructions and refer to your specific dryer model’s owner’s manual for any additional guidance or precautions. If at any point you feel unsure or uncomfortable with the repair process, it is best to seek professional assistance to avoid any potential risks or damage to your appliance.
Regular maintenance, including cleaning the lint filter and vent, will help keep your dryer functioning smoothly and extend its lifespan. Paying attention to warning signs such as inadequate heating and addressing them promptly can prevent further damage to the heating element and other components in your dryer.
By taking the initiative to fix your dryer’s heating element, you not only gain a sense of accomplishment but also save time and money. With a properly functioning heating element, you can enjoy the convenience of a dryer that effectively and efficiently dries your clothes, making laundry day a breeze once again.
Remember, if you have any doubts or concerns about repairing your dryer’s heating element, it’s always best to consult a professional technician who can provide expert guidance and assistance.
Frequently Asked Questions about How To Fix Dryer Heating Element
Was this page helpful?
At Storables.com, we guarantee accurate and reliable information. Our content, validated by Expert Board Contributors, is crafted following stringent Editorial Policies. We're committed to providing you with well-researched, expert-backed insights for all your informational needs.


0 thoughts on “How To Fix Dryer Heating Element”