Articles
How To Install Dryer Vent Hose
Modified: October 20, 2024
Learn how to install a dryer vent hose with these helpful articles. Get step-by-step instructions and expert tips to ensure proper installation and avoid safety hazards.
(Many of the links in this article redirect to a specific reviewed product. Your purchase of these products through affiliate links helps to generate commission for Storables.com, at no extra cost. Learn more)
Introduction
Welcome to our guide on how to install a dryer vent hose. If you’ve recently purchased a new dryer or your existing vent hose needs replacement, this article is here to help you through the installation process. Properly installing a dryer vent hose is essential for efficient and safe operation of your dryer.
Installing a dryer vent hose allows the hot air and moisture generated by your dryer to be safely vented outside your home. It helps to prevent the build-up of excess heat and moisture, which can lead to mold growth and potential fire hazards. By following the steps outlined in this guide, you can ensure that your dryer is properly ventilated and operating at its best.
Before we get started, it’s important to note that the specific steps and requirements may vary depending on the type of dryer you have, the layout of your laundry area, and local building codes. Always consult the manufacturer’s instructions and any applicable building codes for your specific situation.
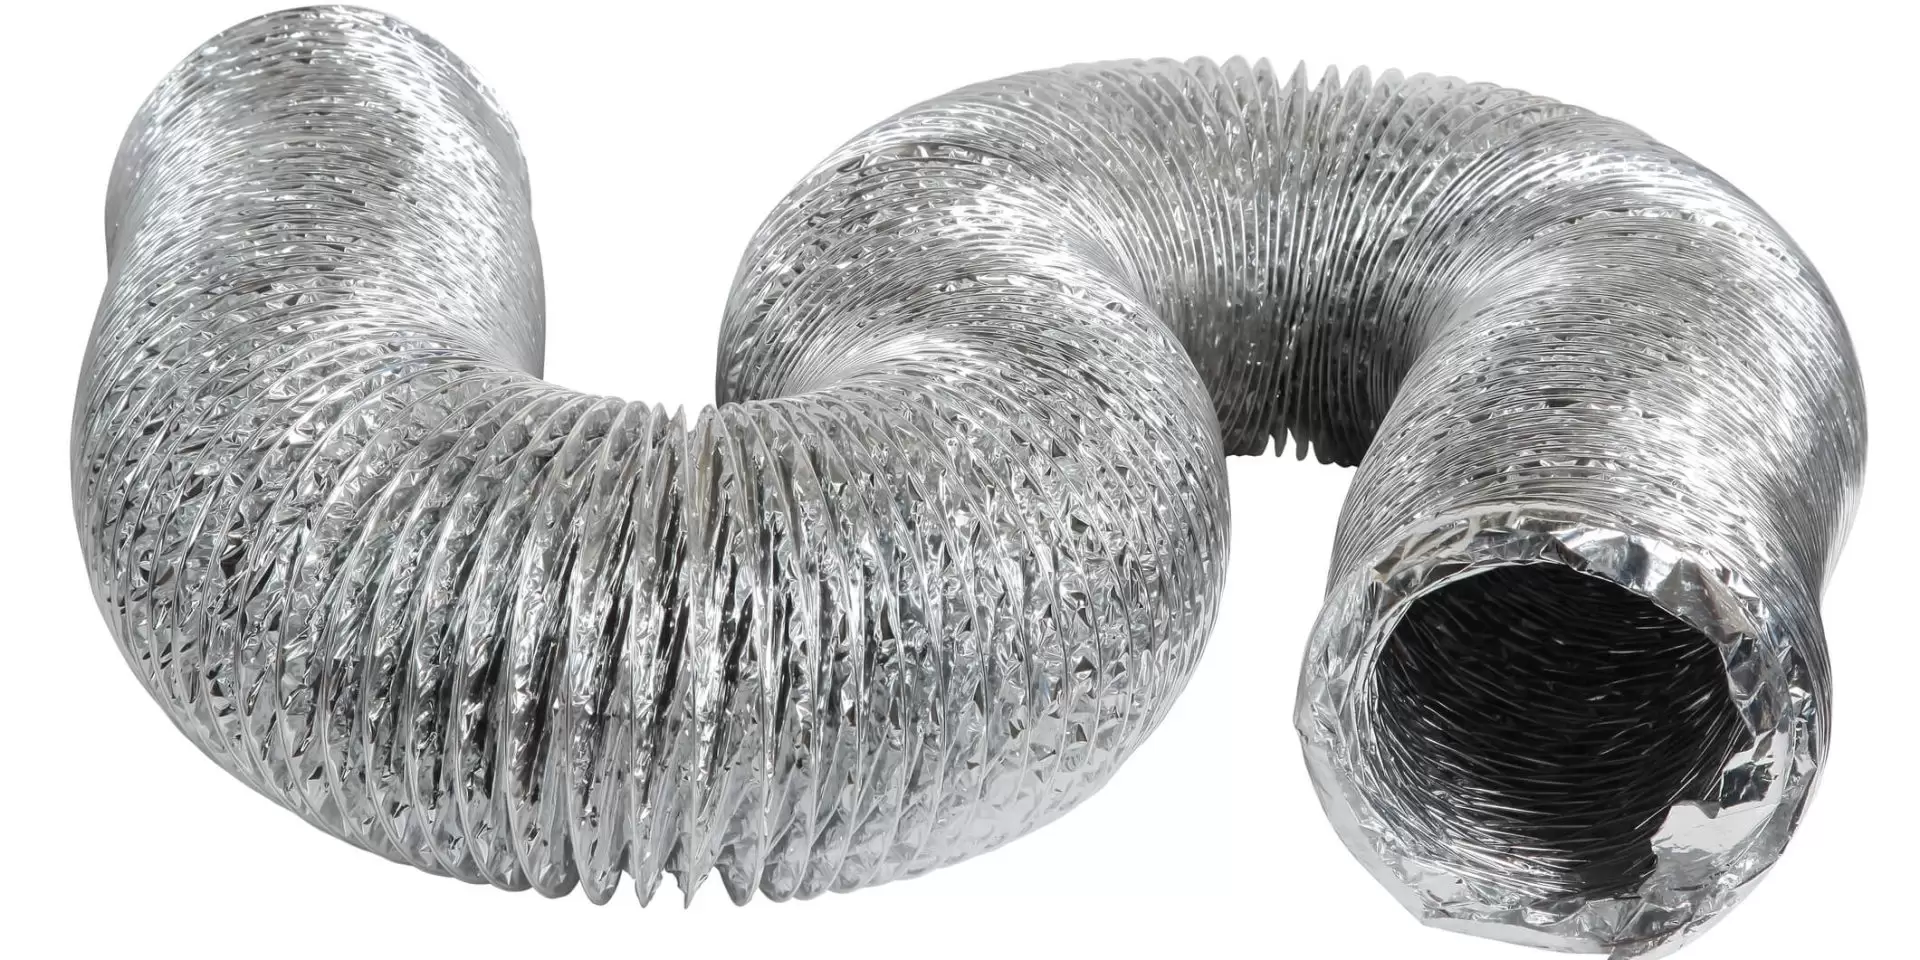
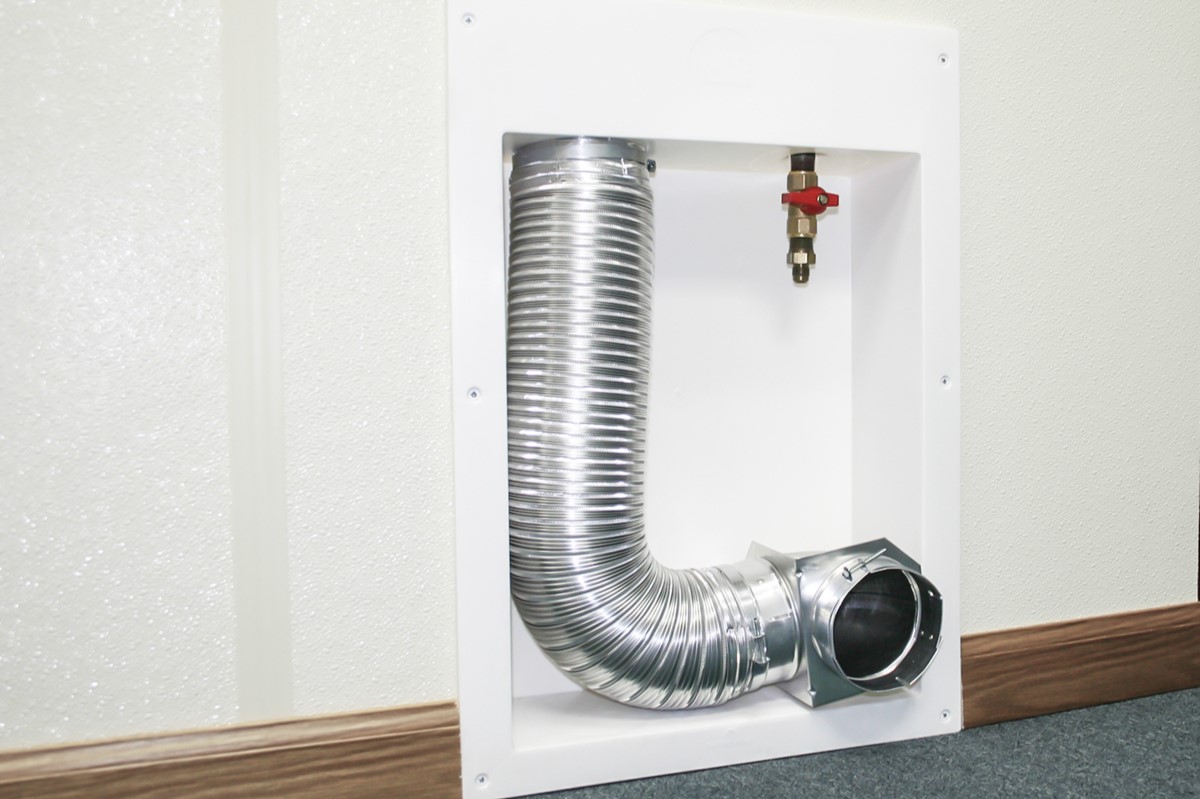
In this guide, we will walk you through the process of installing a flexible aluminum vent hose, which is a common and versatile option. Let’s get started!
Key Takeaways:
- Properly installing a dryer vent hose is crucial for efficient and safe dryer operation, preventing mold growth and fire hazards. Follow the step-by-step guide for a properly ventilated and effective dryer.
- Regular maintenance, including annual vent cleaning, is essential for optimal dryer performance. Test the installation and seek professional assistance if needed to ensure safety and efficiency.
Read more: How To Connect A Dryer Vent Hose
Step 1: Gather the Necessary Tools and Materials
Before you begin the installation process, it’s important to gather all the necessary tools and materials. Having everything ready beforehand will make the installation process smoother and more efficient. Here’s a list of what you’ll need:
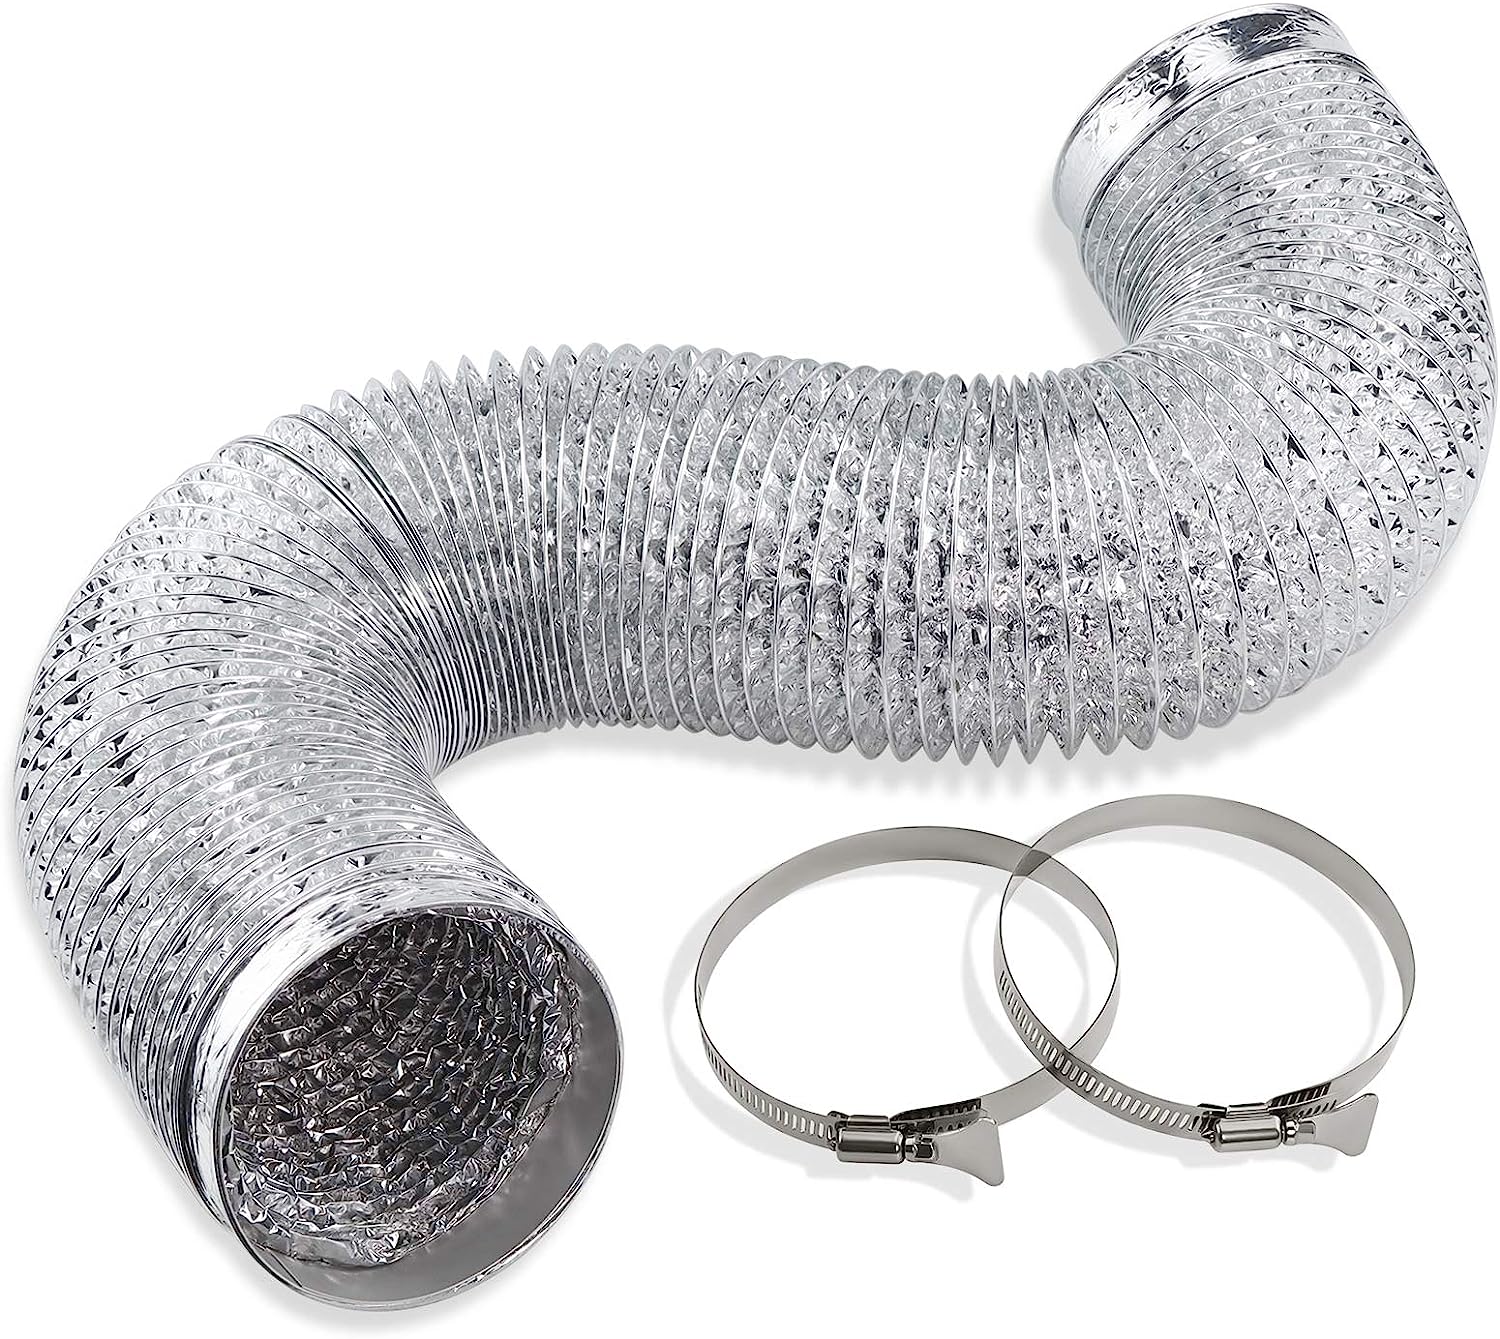
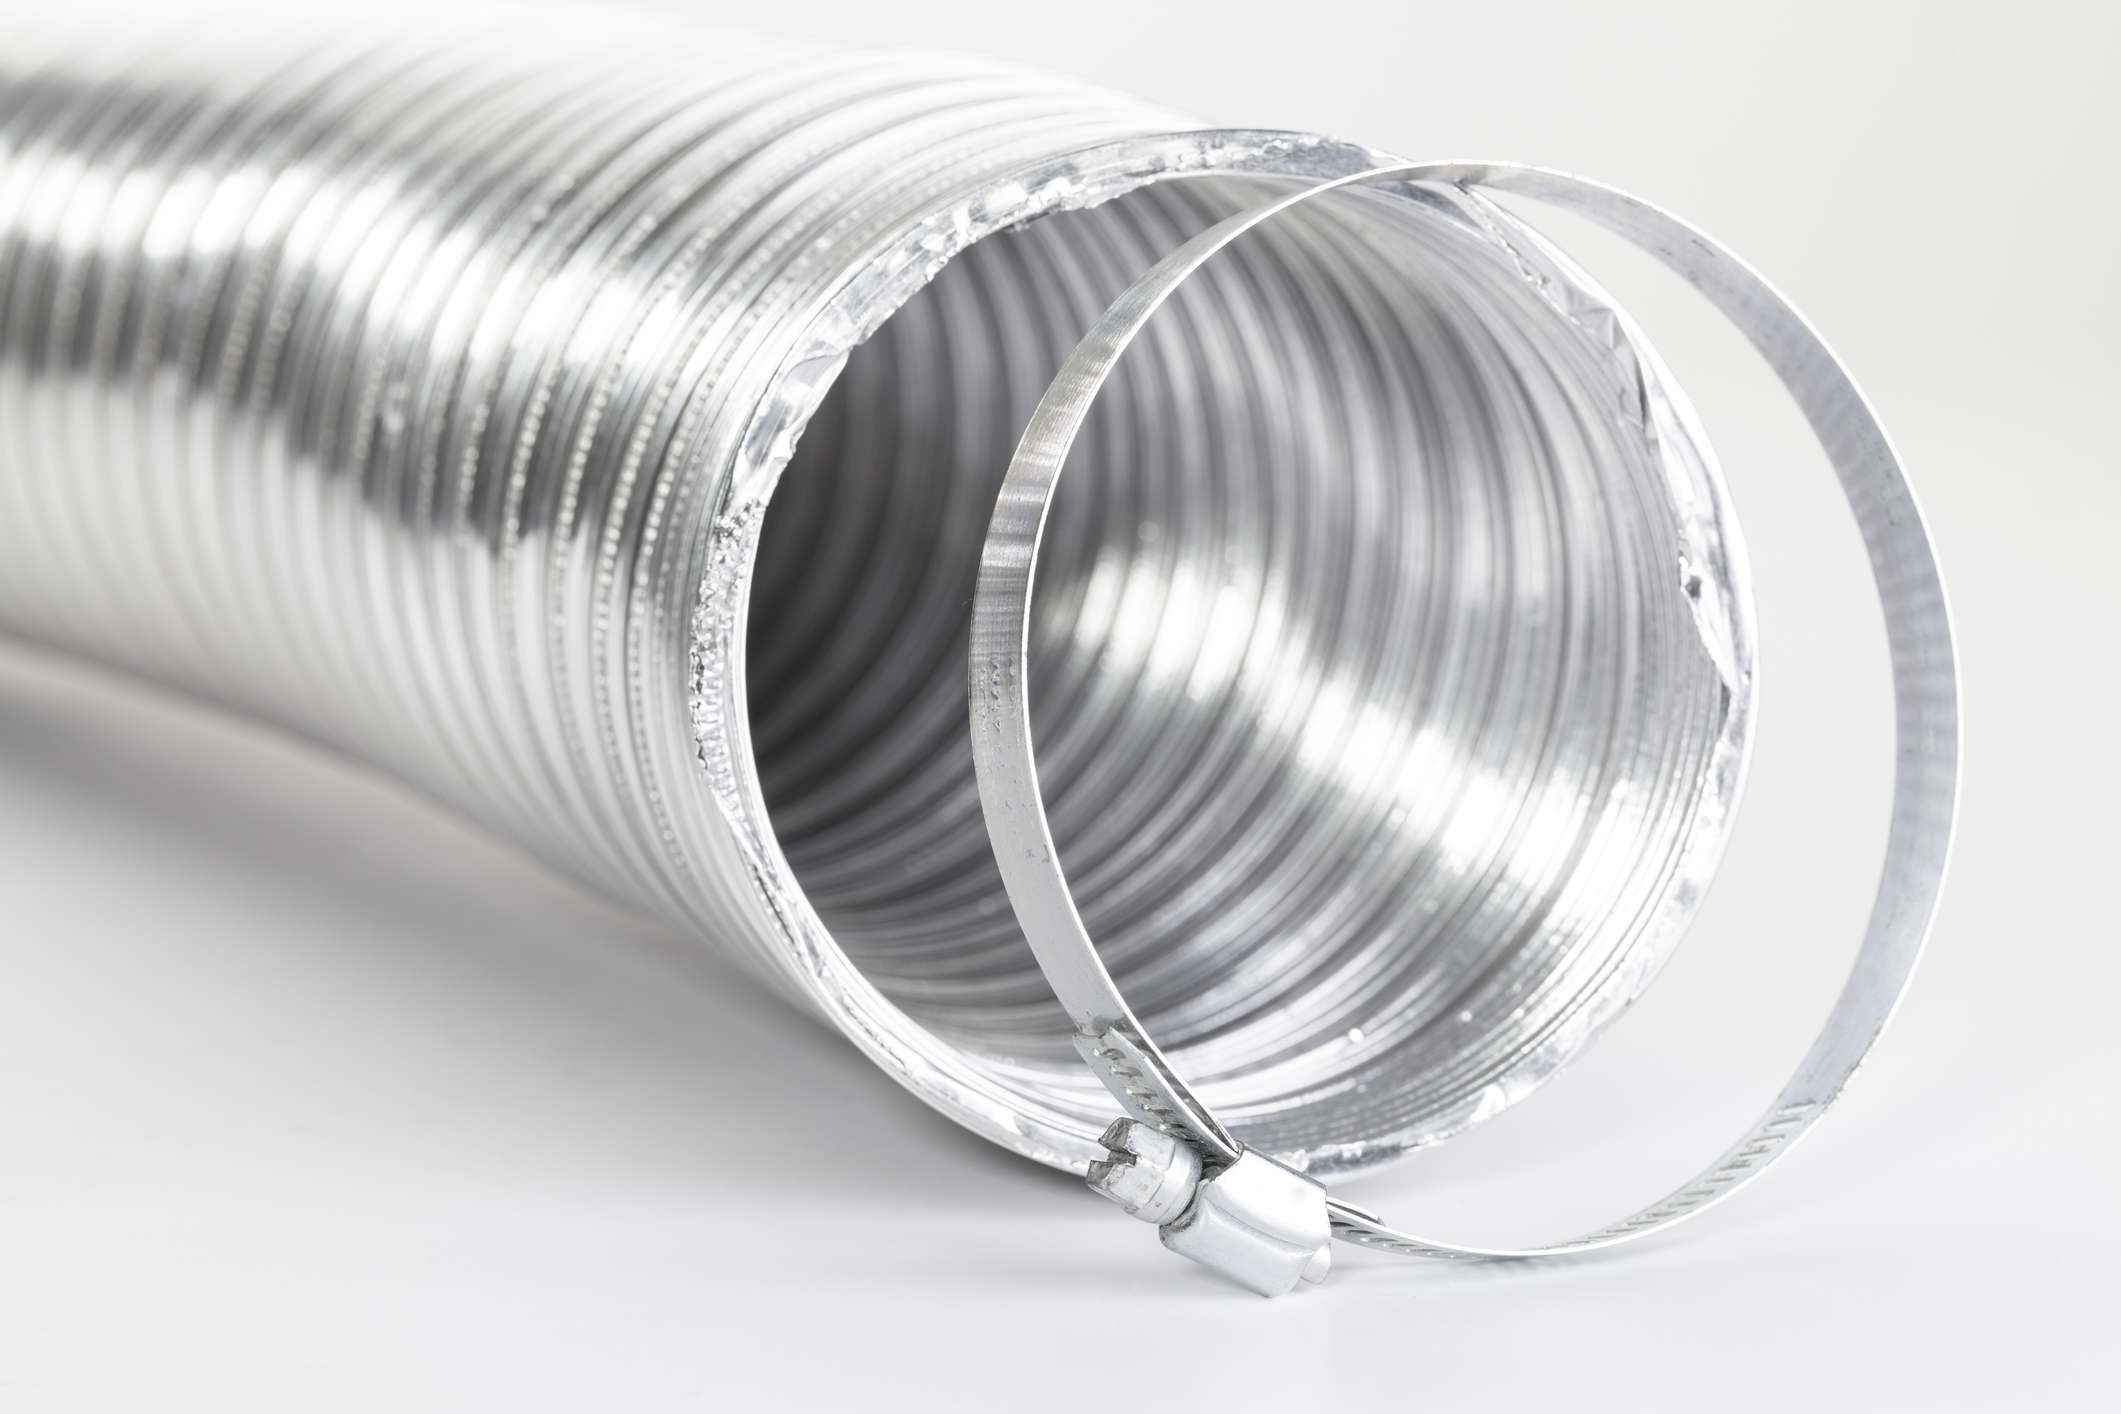
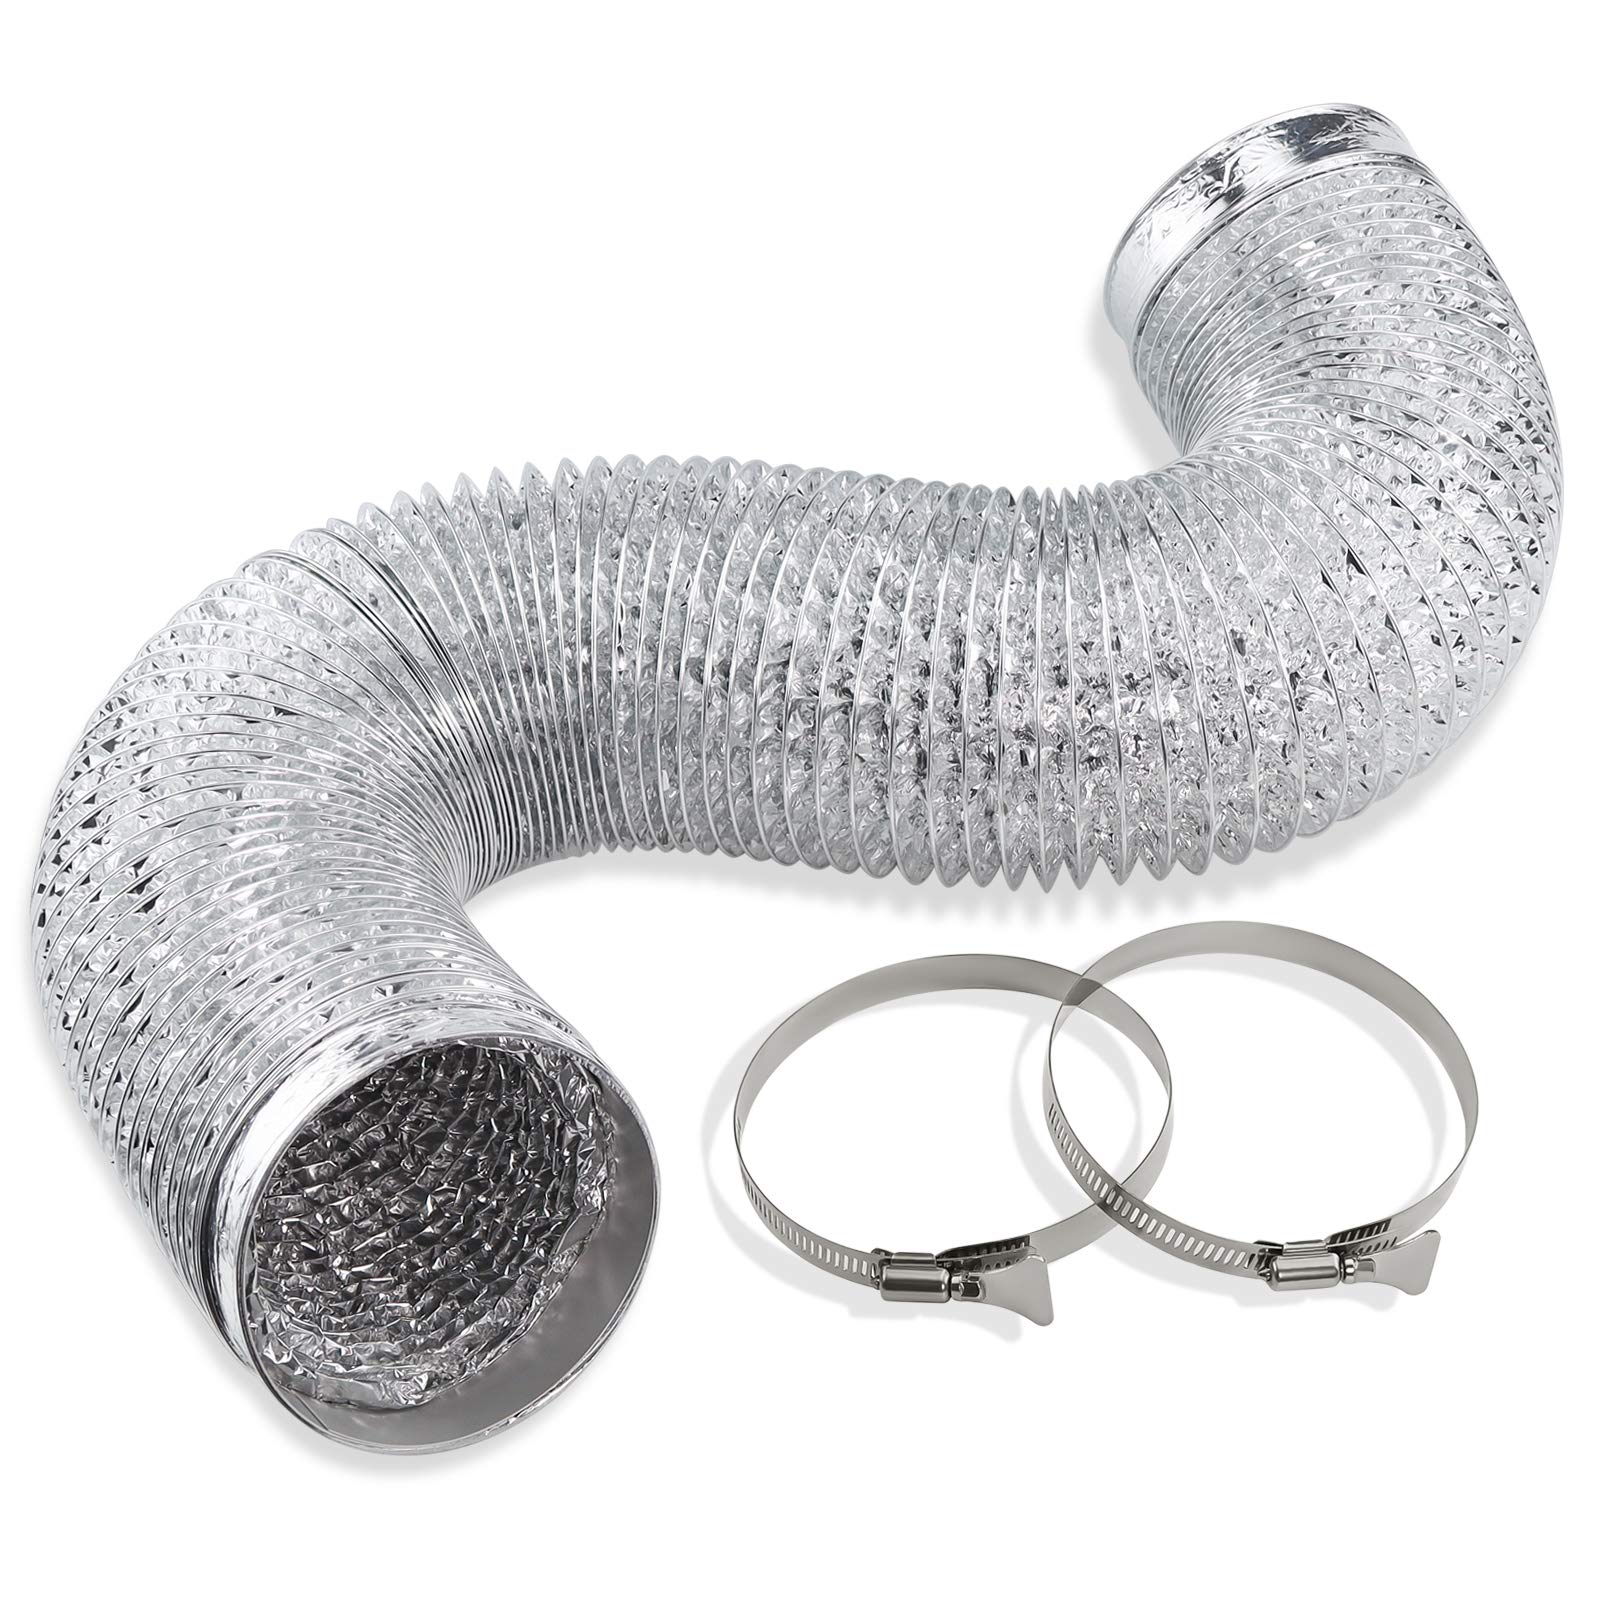
- Flexible aluminum dryer vent hose
- Tape measure
- Pencil or marker
- Screwdriver
- Drill
- Hood vent
- Screws
- Duct tape
- Protective gloves
- Safety goggles
The flexible aluminum vent hose is the most common type used for dryer installations. It’s durable and allows for easy maneuverability, making it ideal for tight spaces. Make sure to measure the length of the vent hose you’ll need, taking into account any bends or twists required to reach the venting area.
Additionally, you’ll need a tape measure to ensure accurate measurements, a pencil or marker to mark the areas where you’ll be making cuts or attaching the hose, a screwdriver for securing the vent hose, and a drill for creating any necessary holes.
The hood vent is the external component that allows the hot air and moisture to be safely vented outside. It’s important to choose a hood vent that is compatible with your specific dryer and local building codes. The hood vent should come with screws for installation. If not, make sure to have screws of the appropriate size on hand.
Duct tape can be used for securing the vent hose to the dryer and the vent hood, providing an extra layer of stability. Finally, don’t forget to protect yourself during the installation process by wearing protective gloves and safety goggles.
Once you have gathered all the necessary tools and materials, you’re ready to move on to the next step, preparing the installation area.
Step 2: Preparing the Installation Area
Before you start installing the dryer vent hose, it is essential to prepare the installation area properly. Here are the steps to follow:
- Locate the desired exit point: Determine where you want the vent hose to exit the house. Ideally, it should be positioned on an exterior wall for efficient venting.
- Measure and mark the exit point: Use a tape measure to measure the distance between the dryer and the desired exit point. Mark this measurement on the interior and exterior walls, ensuring that the markings line up.
- Create a pilot hole: Use a drill with a small drill bit to create a pilot hole at the interior marking. This will serve as a reference point for the exterior hole.
- Drill the exterior hole: Move to the outside of the house and align the drill with the pilot hole. Use a larger drill bit to create the exterior hole. Make sure to drill straight through the wall.
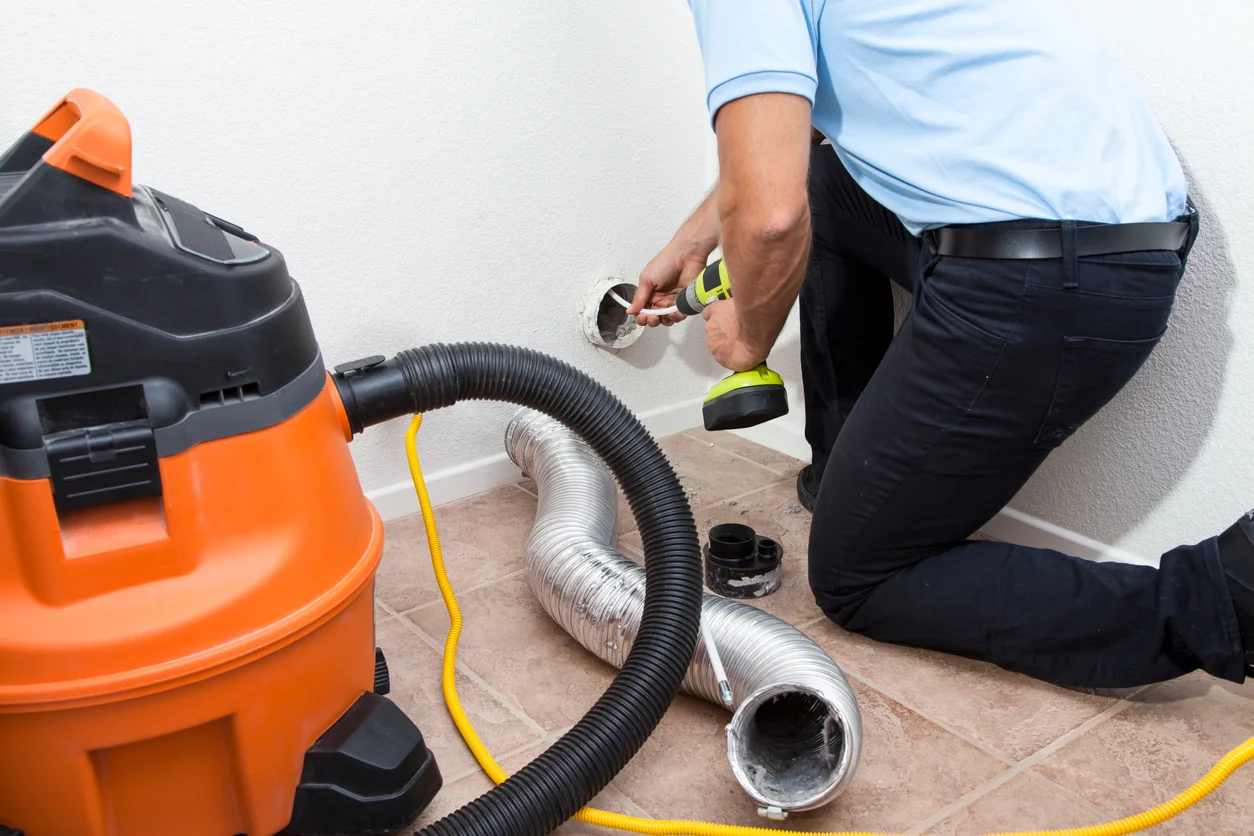
- Clear the debris: Once the hole is drilled, remove any debris using a brush or vacuum cleaner. This will ensure a clean pathway for the vent hose.
Preparing the installation area is crucial as it determines the efficiency and effectiveness of your dryer venting system. It’s important to choose a suitable exit point and ensure a clear pathway for the vent hose to avoid any blockages or obstructions.
By following these steps, you will be ready to move on to the next step – attaching the hose to the dryer.
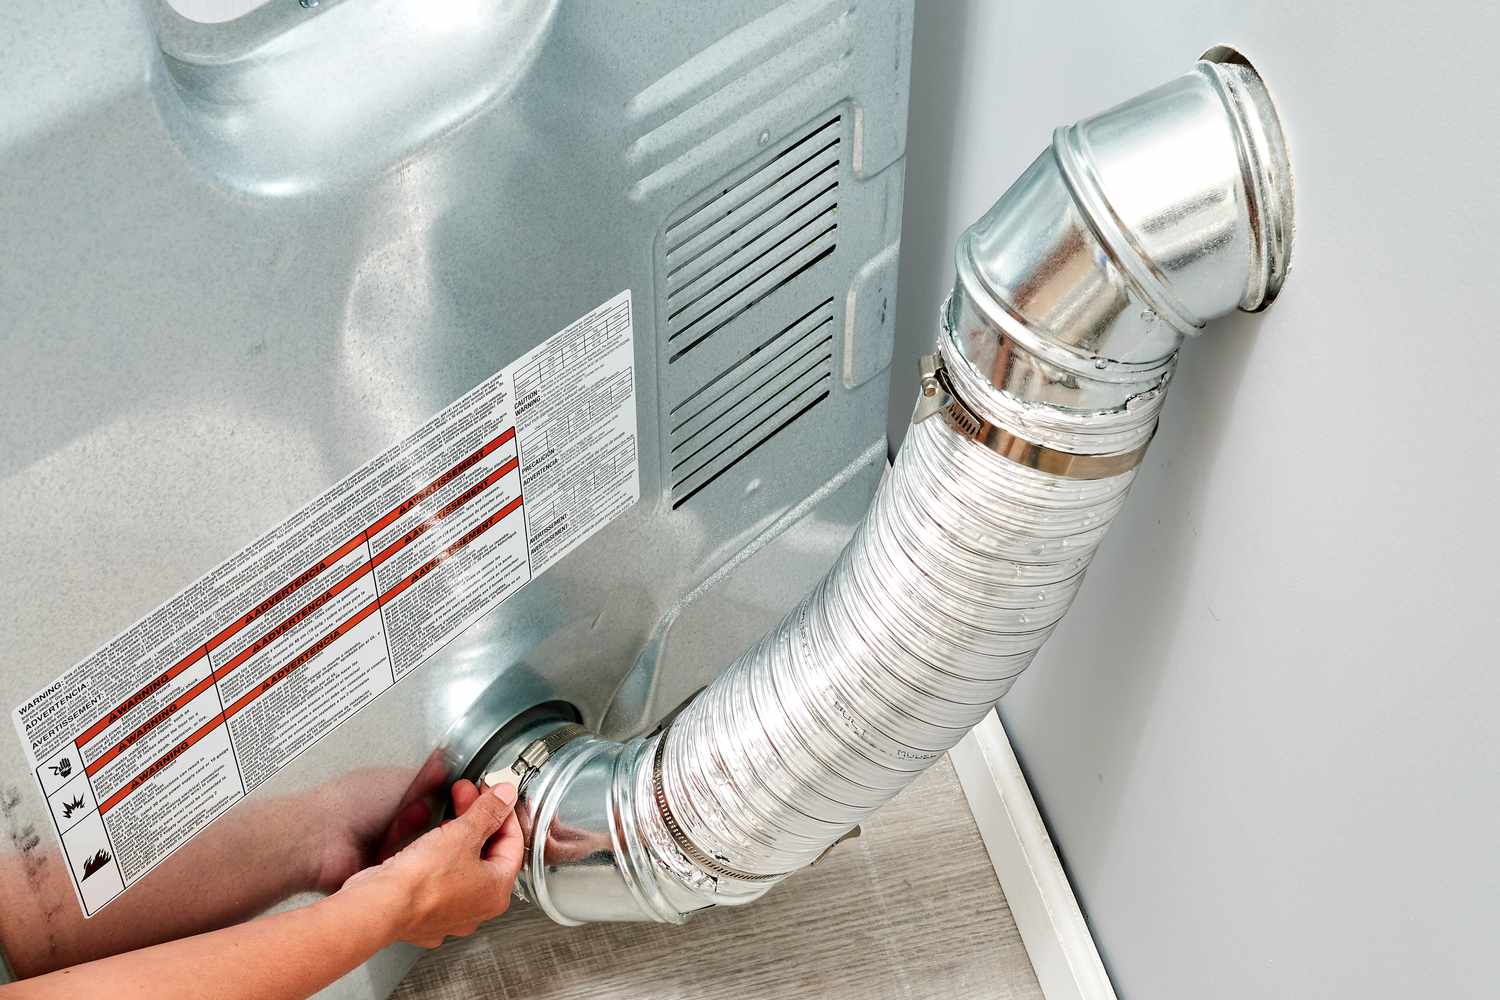
Step 3: Attach the Hose to the Dryer
Now that you have prepared the installation area, it’s time to attach the vent hose to the dryer. Follow these steps:
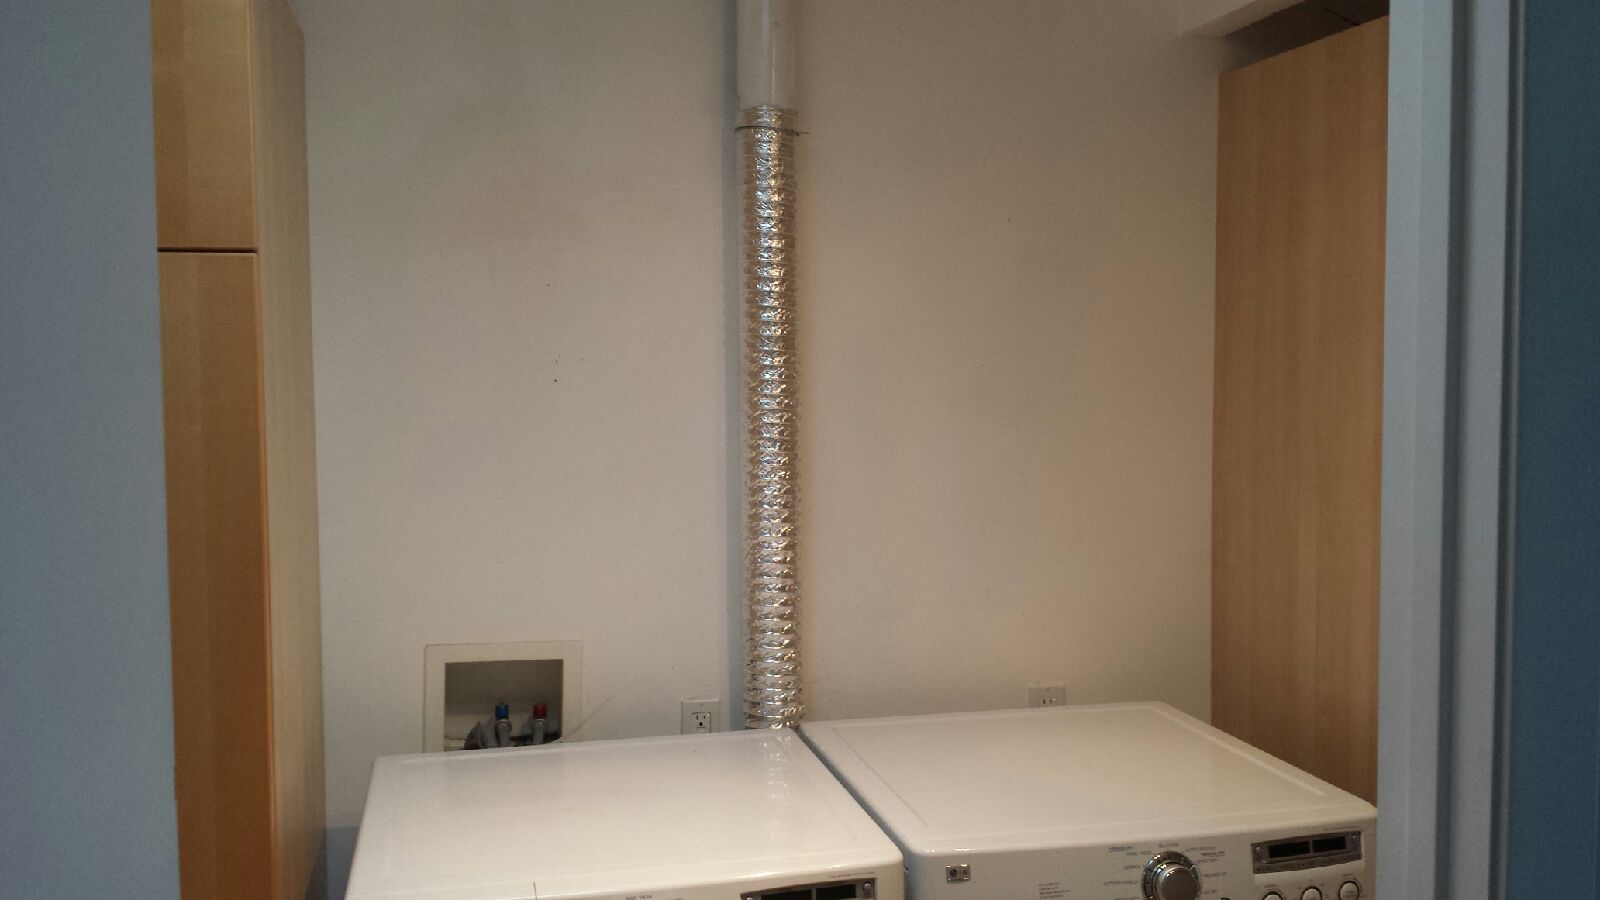
- Position the dryer near the installation area: Move the dryer close to the wall where the vent hose will be attached. Be careful not to crush or kink the hose during this process.
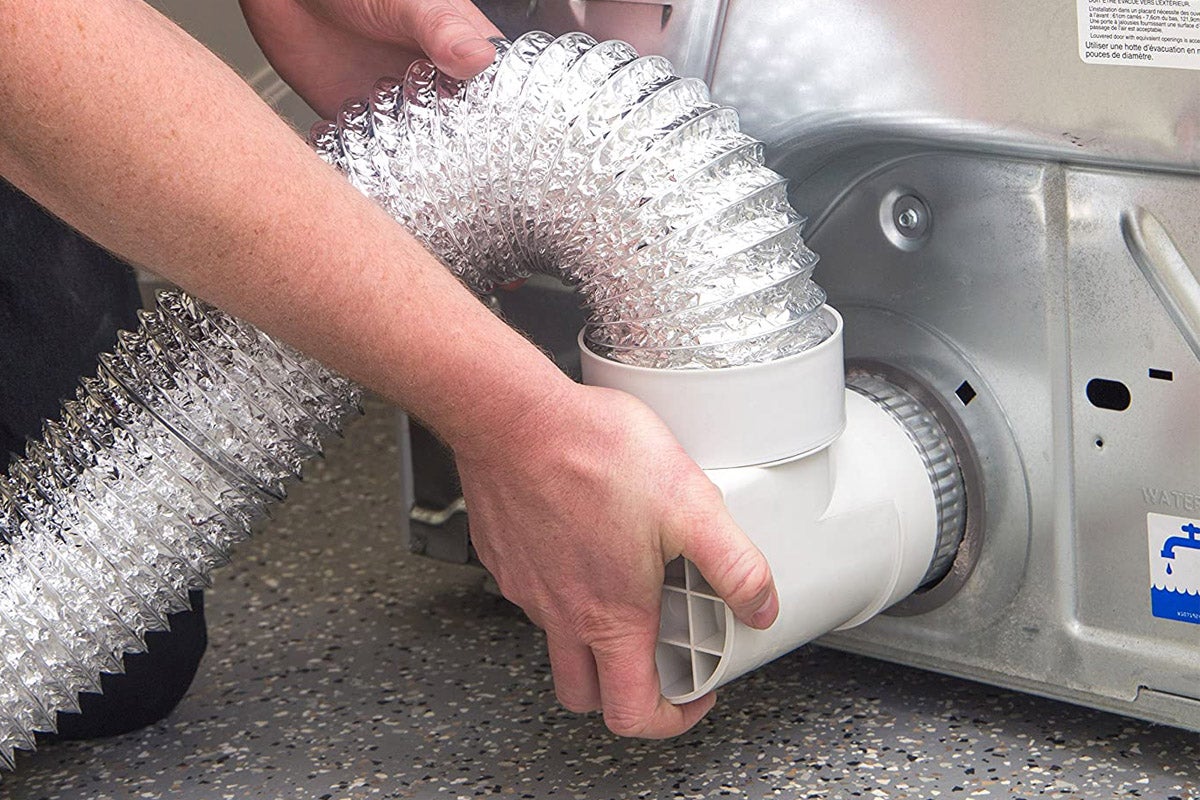
- Attach the hose to the dryer outlet: Slide one end of the vent hose over the dryer’s outlet. It should fit securely and snugly.
- Secure the hose with a clamp: Use a screwdriver to tighten the clamp around the hose and the dryer’s outlet. This will ensure a secure connection.
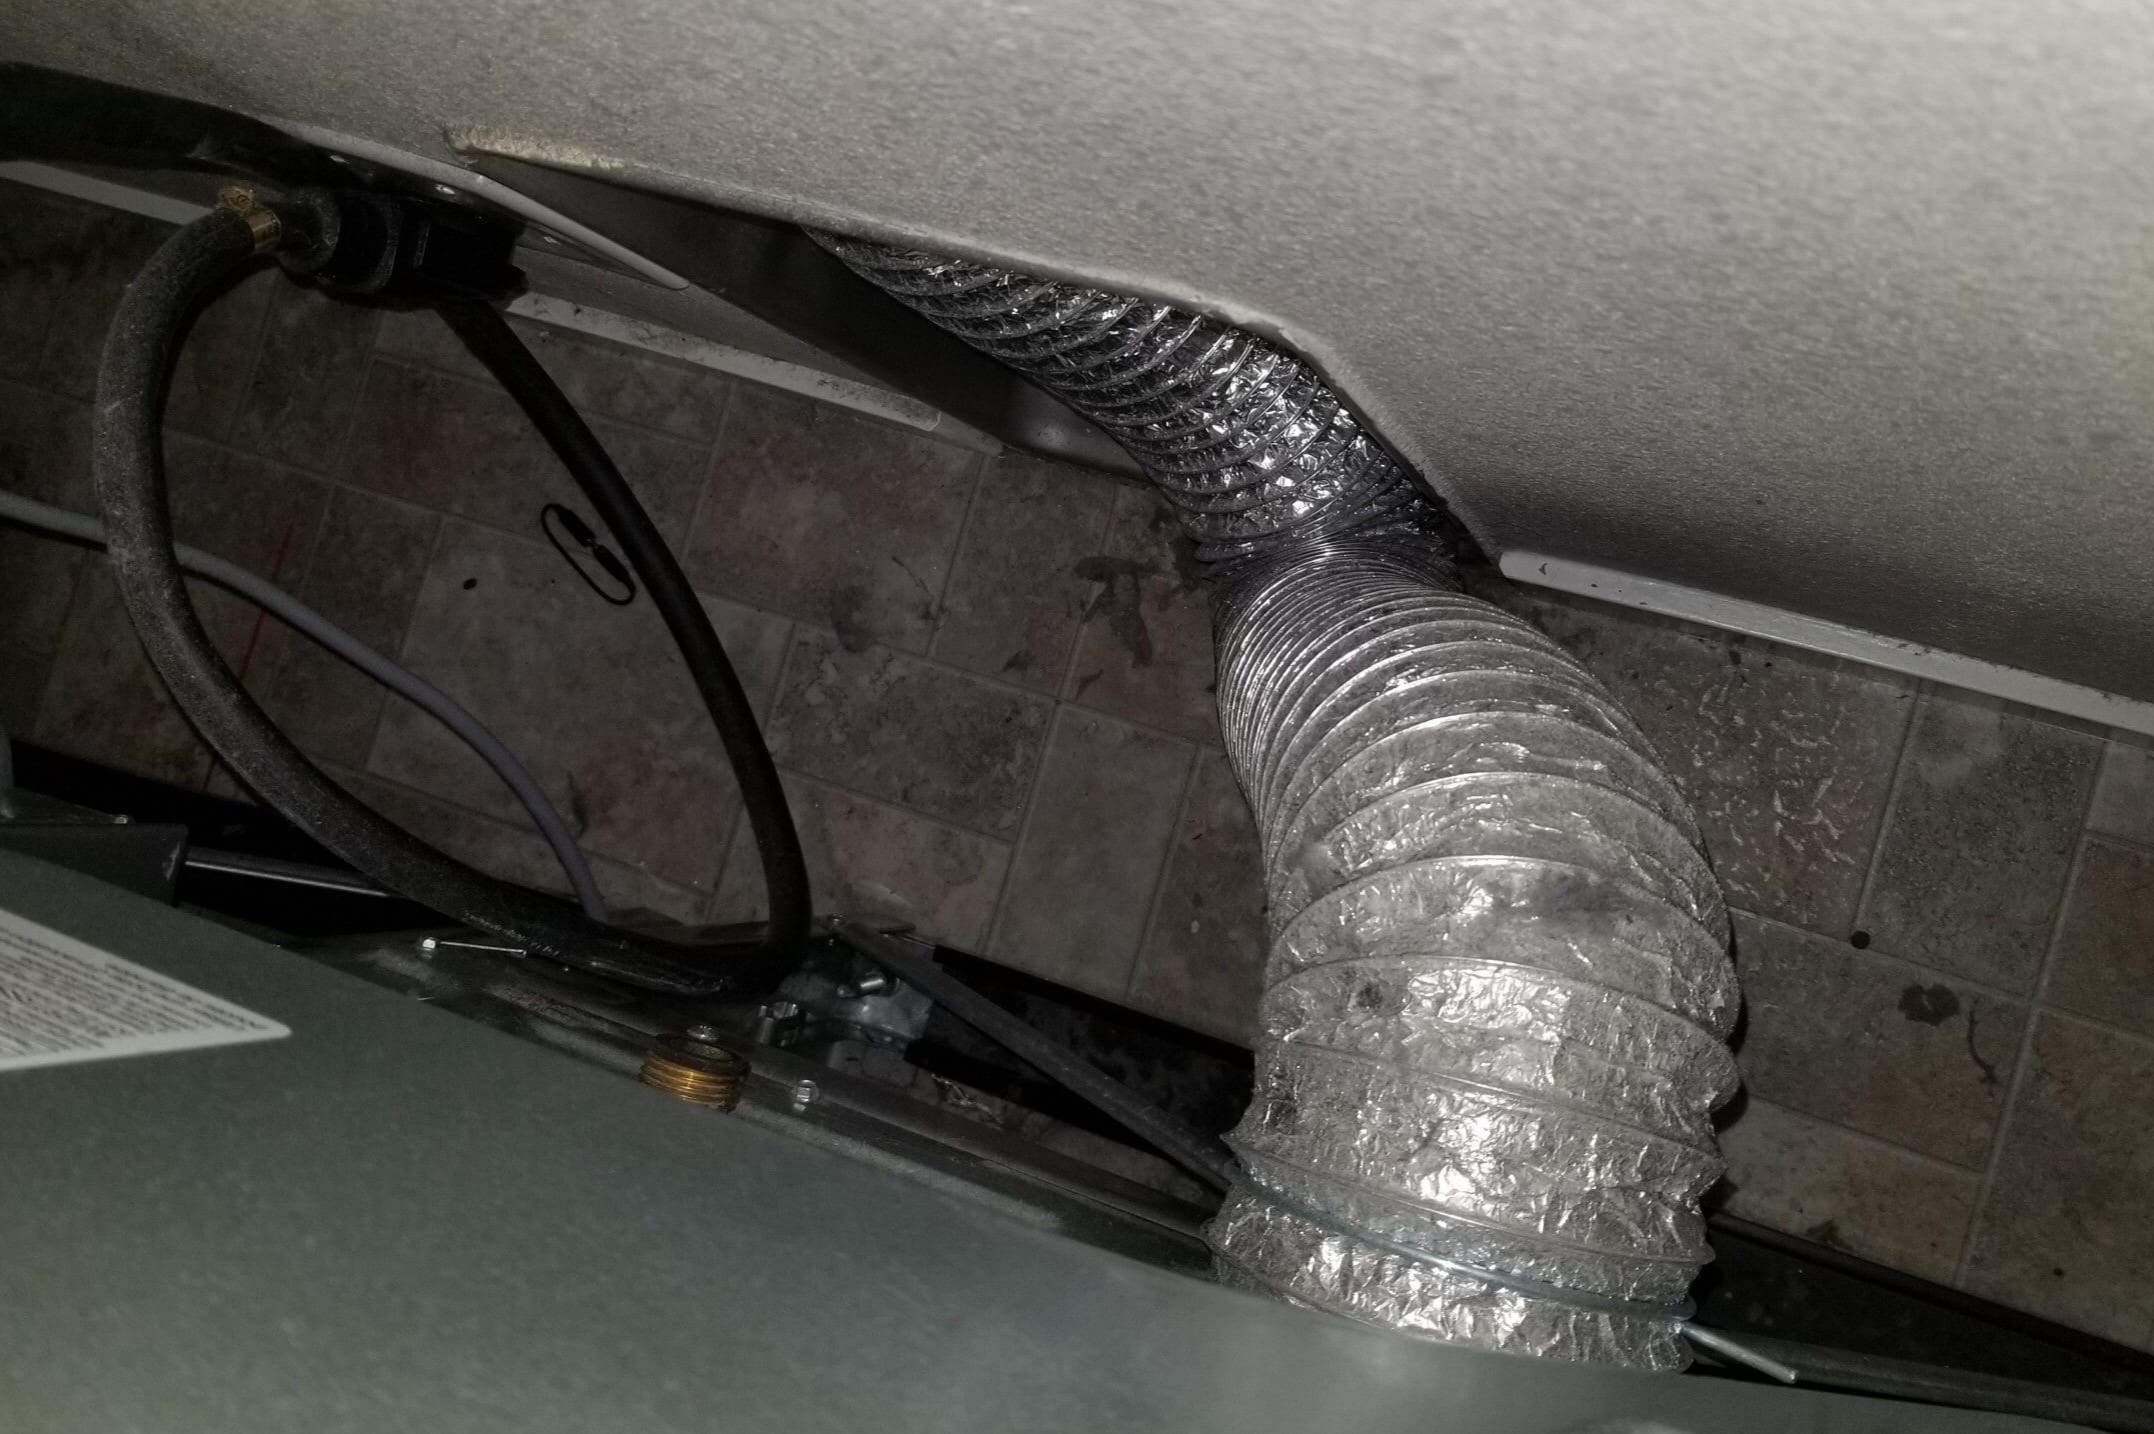
- Straighten the hose: Carefully straighten any bends or kinks in the vent hose. A smooth and straight path allows for optimal airflow.
- Secure the hose with duct tape: To provide additional stability and minimize the risk of the hose coming loose, wrap a few layers of duct tape around the connection between the hose and the dryer’s outlet.
By properly attaching the vent hose to the dryer, you ensure that the hot air and moisture are channeled out of the appliance effectively. A secure connection also prevents any leaks, improving the efficiency of your dryer.
Now that the hose is firmly attached to the dryer, you’re ready to move on to the next step – installing the vent hood.
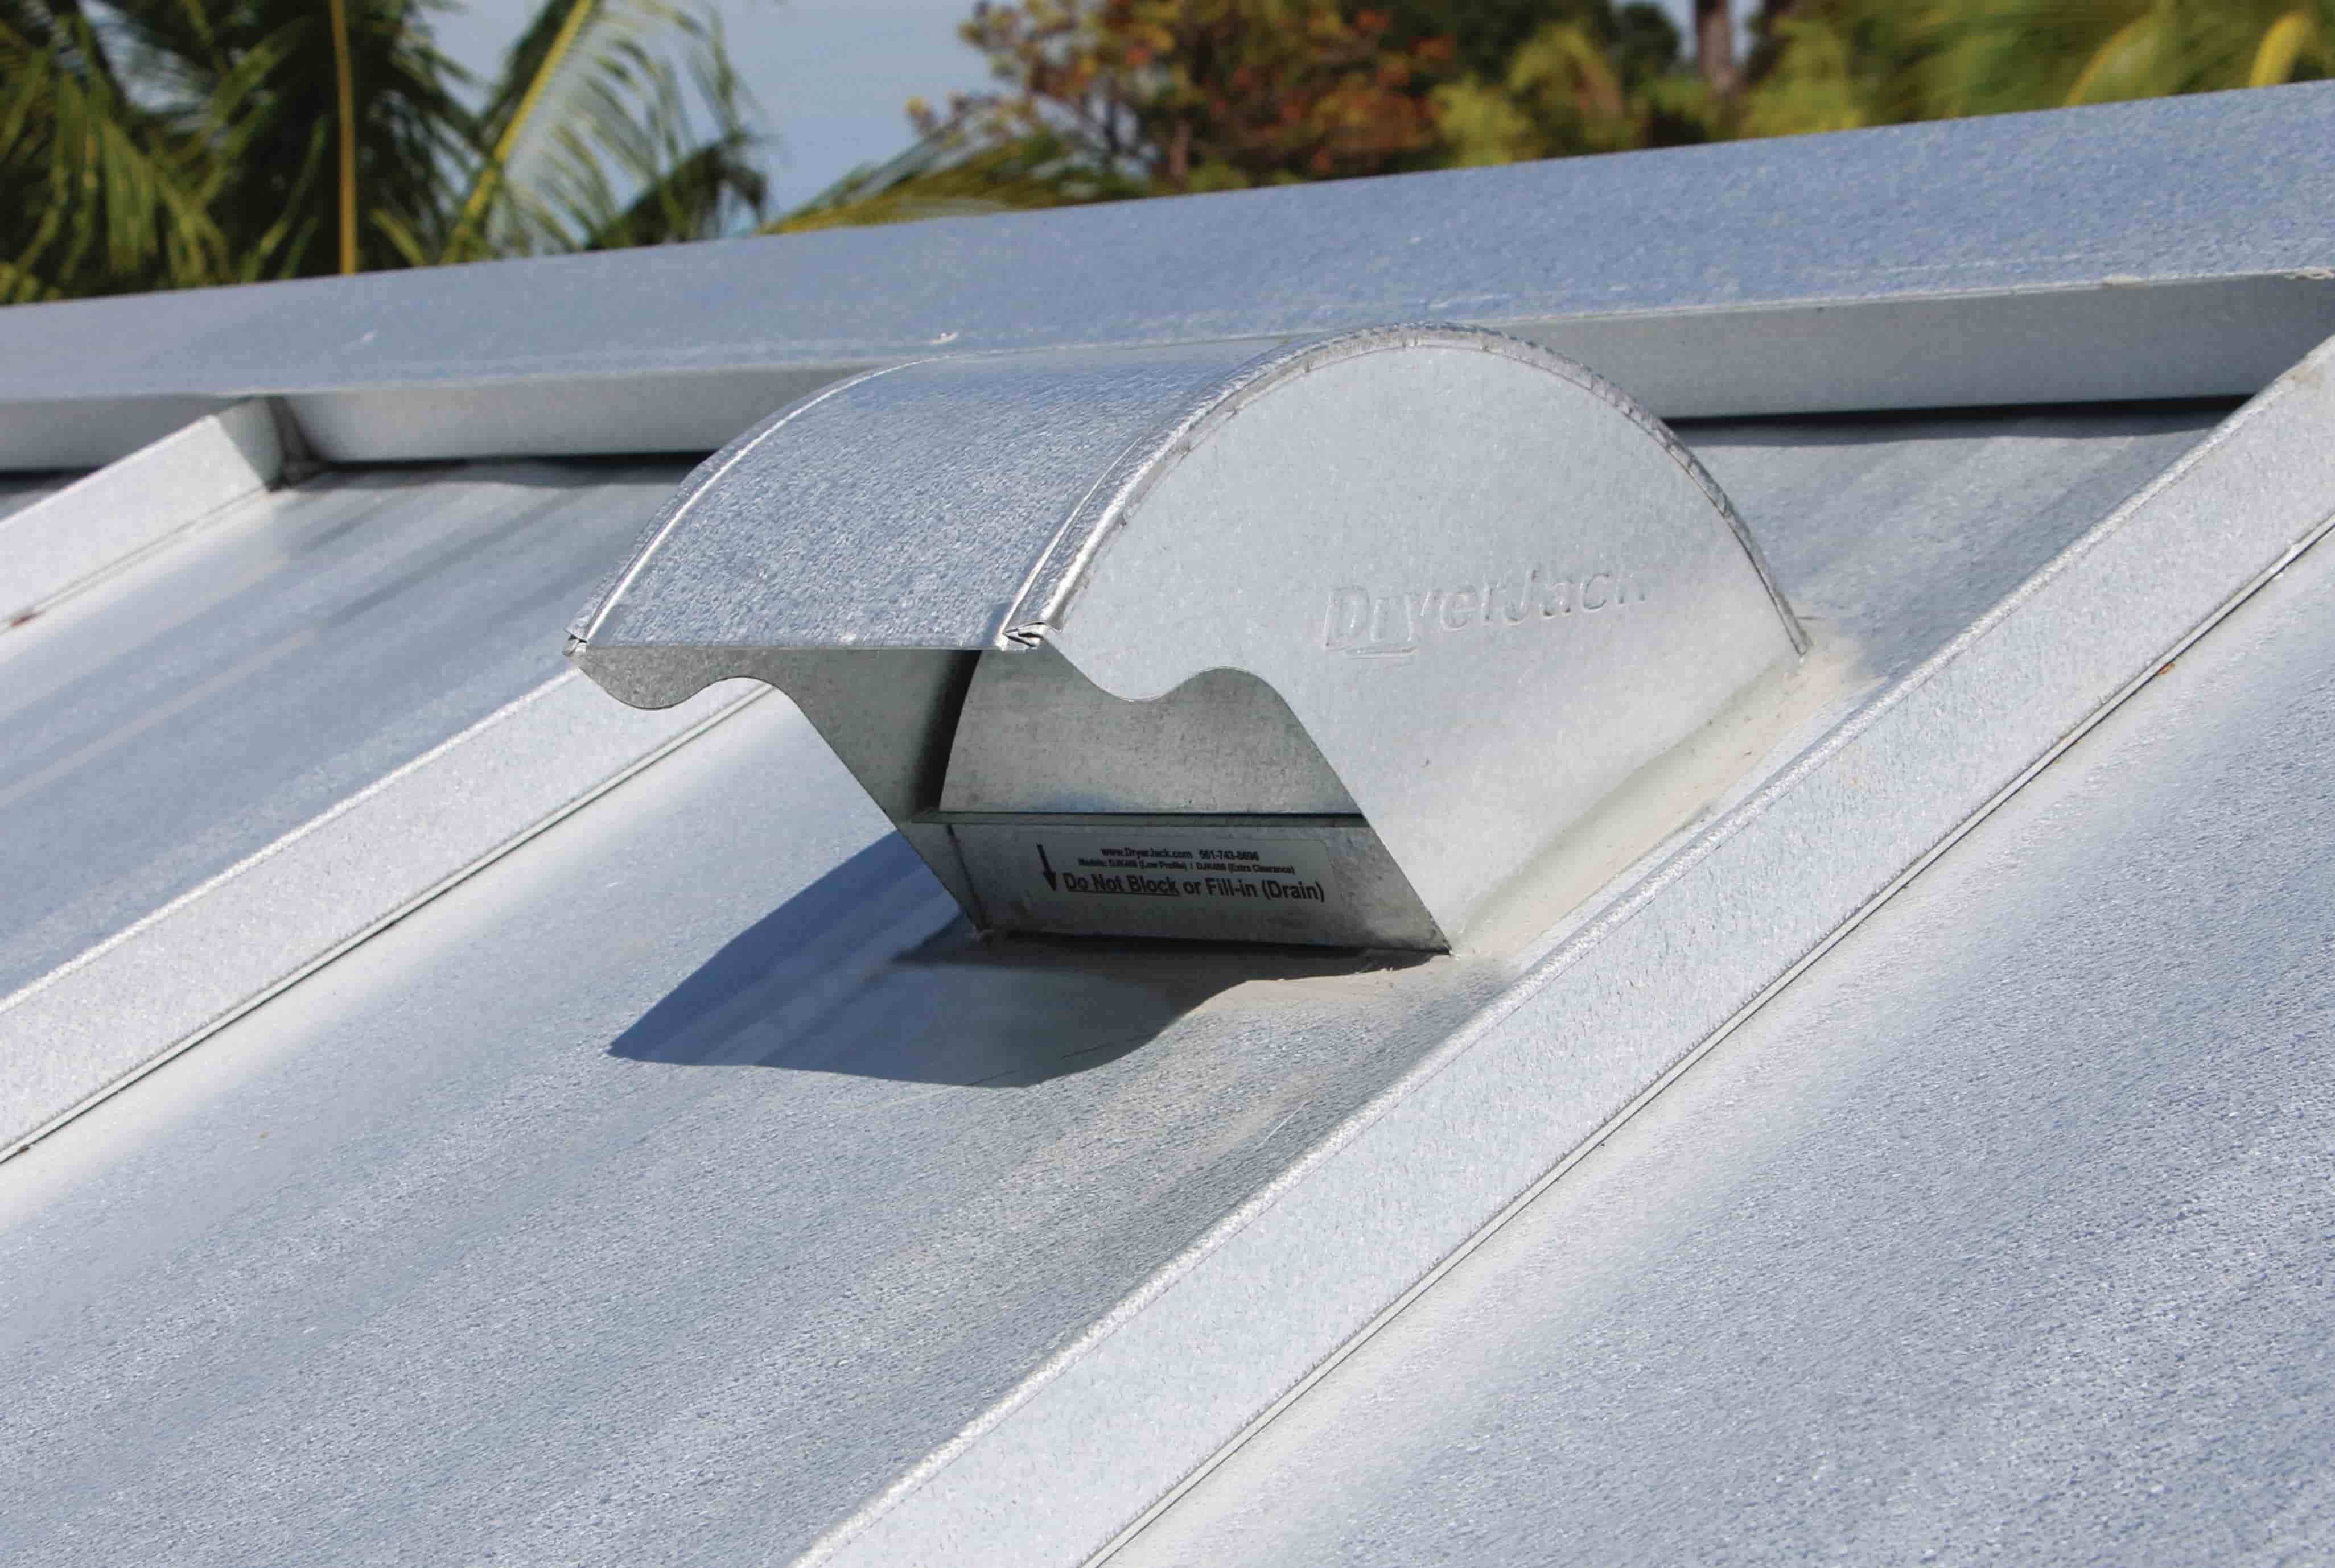
Step 4: Install the Vent Hood
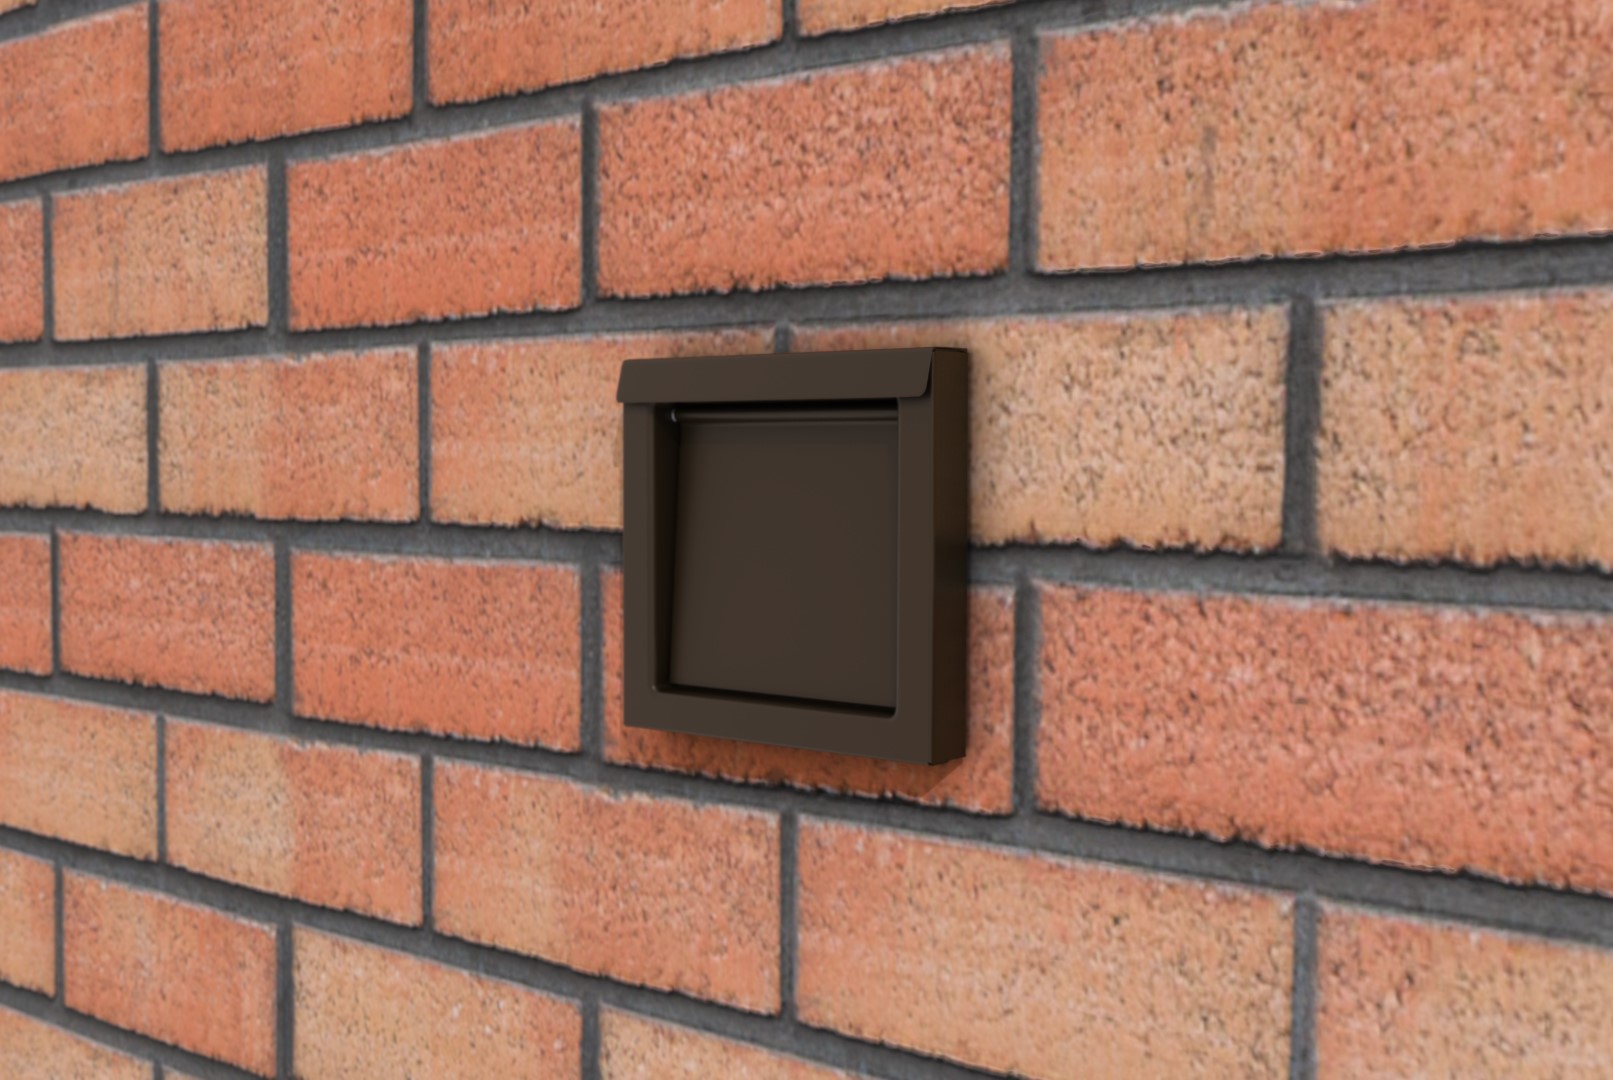
Now that you have attached the hose to the dryer, it’s time to install the vent hood. The vent hood is the exterior component that allows the hot air and moisture to be safely vented outside. Follow these steps:
- Position the vent hood: Determine the desired location for the vent hood on the exterior wall. Ensure that it is aligned with the previously drilled hole.
- Mark the screw hole locations: Use a pencil or marker to mark the positions where the screws will go to secure the vent hood in place.
- Attach the vent hood: Use a screwdriver to secure the vent hood to the exterior wall using the marked screw holes. Make sure it is securely fastened.
Installing the vent hood is an important step as it allows for proper ventilation and prevents any backdraft of air or moisture into your home. It also protects the vent hose from weather elements and ensures a clean and efficient airflow.
Once you have successfully installed the vent hood, it’s time to move on to the next step – securing the hose to the vent hood.
When installing a dryer vent hose, make sure it is the proper length and size for your dryer. Use aluminum or rigid metal venting to prevent lint buildup and ensure proper airflow. Always follow the manufacturer’s guidelines for installation.
Read more: How To Shorten A Dryer Vent Hose
Step 5: Secure the Hose to the Vent Hood
Now that you have installed the vent hood, it’s time to secure the hose to the vent hood. Properly securing the hose ensures a tight seal and prevents any air leaks. Follow these steps:
- Slide the end of the vent hose over the opening of the vent hood. Ensure that it fits snugly and covers the opening completely.
- Use duct tape to wrap around the connection between the hose and the vent hood. This will provide extra stability and prevent any air leaks.
- Wrap a few layers of duct tape around the hose and vent hood, making sure to cover the entire connection securely.
Securing the hose to the vent hood is crucial for proper functioning of the dryer vent system. It prevents any air leaks or disconnections that can compromise the efficiency and safety of the system.
With the hose securely attached to the vent hood, we’re ready to move on to the next step – connecting the hose to the exterior vent.
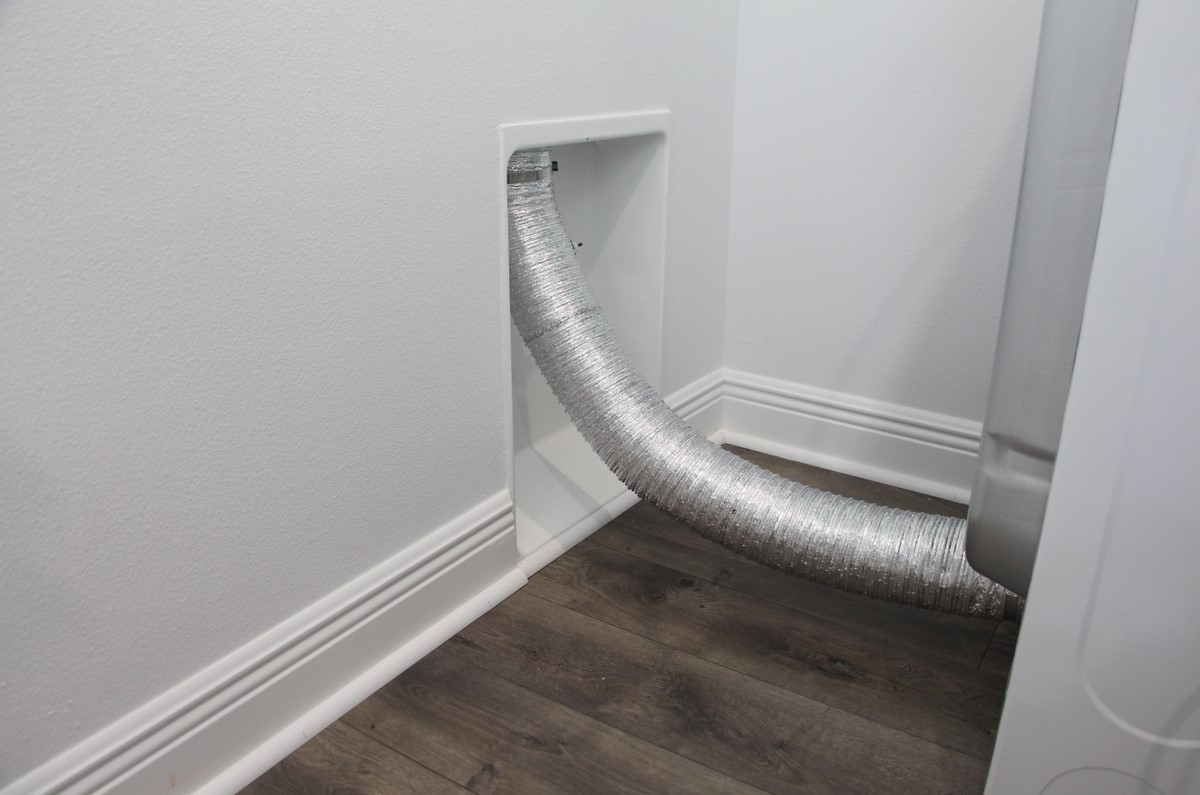
Step 6: Connect the Hose to the Exterior Vent
Now that you have secured the hose to the vent hood, it’s time to connect the other end of the hose to the exterior vent. This is the final step in completing the installation process. Follow these steps:
- Position yourself outside near the exterior vent opening.
- Slide the other end of the vent hose over the opening of the exterior vent. Ensure that it fits snugly and covers the opening completely.
- Use duct tape to wrap around the connection between the hose and the exterior vent. This will provide extra stability and prevent any air leaks.
- Wrap a few layers of duct tape around the hose and exterior vent, making sure to cover the entire connection securely.
Connecting the hose to the exterior vent is an essential step to ensure proper airflow and ventilation. It allows the hot air and moisture to be safely expelled outside your home, preventing any build-up or potential damage.
With the hose successfully connected to the exterior vent, you have completed the installation process. But before you call it a day, there’s one more step remaining – testing the dryer vent installation.
Step 7: Test the Dryer Vent Installation
After completing the installation of the dryer vent hose, it’s crucial to test the installation to ensure that everything is working properly and safely. Follow these steps:
- Make sure the dryer is plugged in and turned on.
- Run the dryer for a full cycle on the highest heat setting.
- While the dryer is running, go outside and check the vent hood. You should feel warm air coming out and see steady airflow.
- Inspect the interior of your home to ensure there is no condensation, excess heat, or moisture accumulation.
- Monitor the dryer during a few more cycles to ensure consistent performance.
Testing the dryer vent installation is crucial to verify that the hose is properly connected and that there are no blockages or leaks that could affect the performance and safety of your dryer. If you notice any issues during the testing process, such as weak airflow or excessive heat indoors, it may indicate a problem that needs to be addressed.
If you encounter any issues or have concerns about the dryer vent installation, it’s always a good idea to consult a professional. They can provide expert advice and ensure that your dryer vent system is functioning correctly.
Congratulations! You have successfully installed your dryer vent hose. A properly installed and maintained dryer vent system will help keep your dryer working efficiently and reduce the risk of fire hazards. Remember to clean the vent regularly to remove lint buildup and ensure optimal performance.
With this installation complete, you can enjoy the peace of mind that comes with knowing your dryer is operating safely and effectively.
Thank you for following this guide, and we hope it has been helpful in your dryer vent installation journey!
Conclusion
Installing a dryer vent hose is an essential step in ensuring the efficient and safe operation of your dryer. It allows for the proper ventilation of hot air and moisture, preventing potential hazards such as mold growth and fire risks.
Throughout this guide, we have walked you through the step-by-step process of installing a dryer vent hose. From gathering the necessary tools and materials to testing the installation, we have covered all the important aspects of the process.
By following the steps outlined in this guide and consulting the manufacturer’s instructions and local building codes, you can confidently install a dryer vent hose in your home. Remember to choose a suitable exit point, secure the hose properly to the dryer, vent hood, and exterior vent, and test the installation to ensure optimal performance.
Regular maintenance of your dryer vent system, including cleaning the vent and checking for any blockages, is crucial for maintaining its efficiency and preventing potential issues. It is recommended to clean the vent at least once a year or more frequently if needed.
If you encounter any difficulties or have concerns during the installation process, do not hesitate to seek assistance from a professional. They can provide expert guidance and ensure that your dryer vent system is installed correctly and in compliance with all safety regulations.
By following the proper installation procedures and taking necessary precautions, you can enjoy the benefits of a properly ventilated dryer and peace of mind knowing that your home and family are safe from potential dryer-related hazards.
We hope that this guide has been helpful and that your dryer vent installation is a success. Thank you for reading, and best of luck with your dryer vent installation!
Frequently Asked Questions about How To Install Dryer Vent Hose
Was this page helpful?
At Storables.com, we guarantee accurate and reliable information. Our content, validated by Expert Board Contributors, is crafted following stringent Editorial Policies. We're committed to providing you with well-researched, expert-backed insights for all your informational needs.

0 thoughts on “How To Install Dryer Vent Hose”