Articles
How To Fix Hammer Holster On Tool Belt
Modified: August 31, 2024
Learn how to fix your hammer holster on your tool belt with these helpful articles. Find step-by-step instructions and tips for a secure and functional hammer holster.
(Many of the links in this article redirect to a specific reviewed product. Your purchase of these products through affiliate links helps to generate commission for Storables.com, at no extra cost. Learn more)
Introduction
Welcome to our guide on how to fix a hammer holster on a tool belt. If you’re a handyman or a DIY enthusiast, you know how essential it is to have your tools easily accessible while working on projects. One of the most important tools to have within arm’s reach is your trusty hammer. However, if your hammer holster on your tool belt is loose or damaged, it can be quite frustrating and hinder your workflow.
In this article, we will walk you through the process of fixing a hammer holster on your tool belt. We’ll discuss the tools you’ll need and provide you with a step-by-step guide to ensure a seamless repair. Additionally, we’ll address common issues you may encounter along the way and offer troubleshooting tips. By the end of this guide, you’ll have a securely attached and functional hammer holster, allowing you to work efficiently and with ease.
So, let’s jump right in and learn how to fix your hammer holster on your tool belt!
Key Takeaways:
- Ensure your hammer holster is securely attached and functional for efficient workflow. Follow the step-by-step guide and troubleshoot common issues for a seamless repair process.
- Invest in quality materials, regularly maintain your tool belt, and personalize your setup for a comfortable and efficient working experience.
Understanding Hammer Holster on Tool Belt
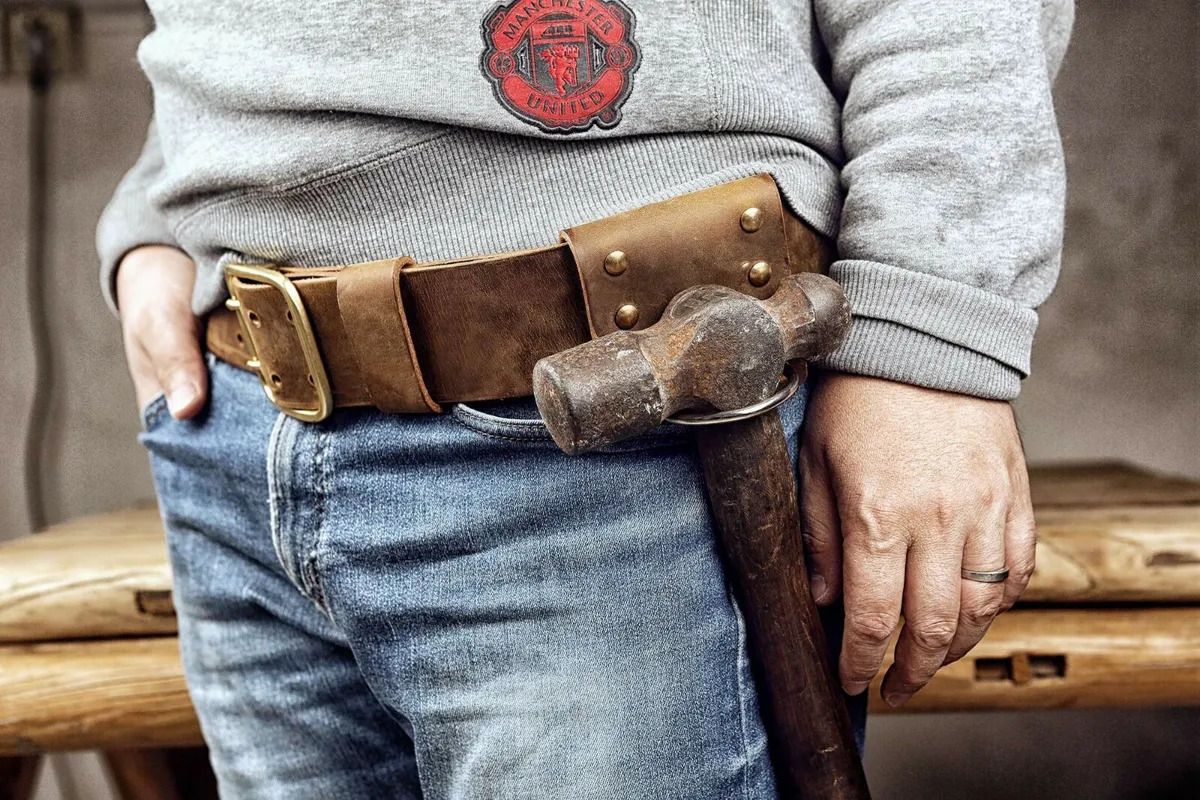
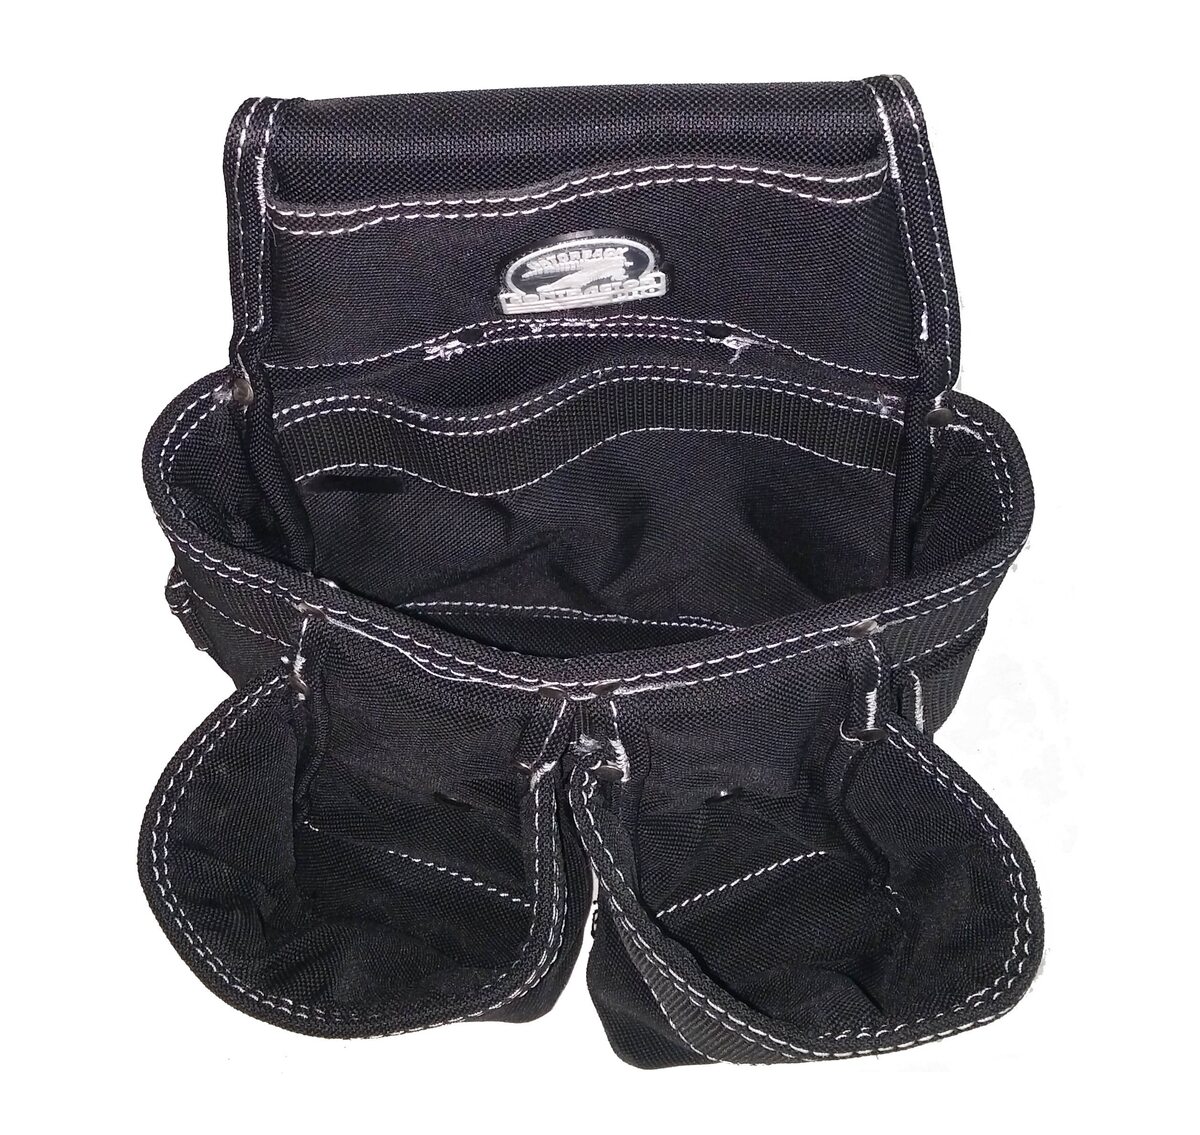
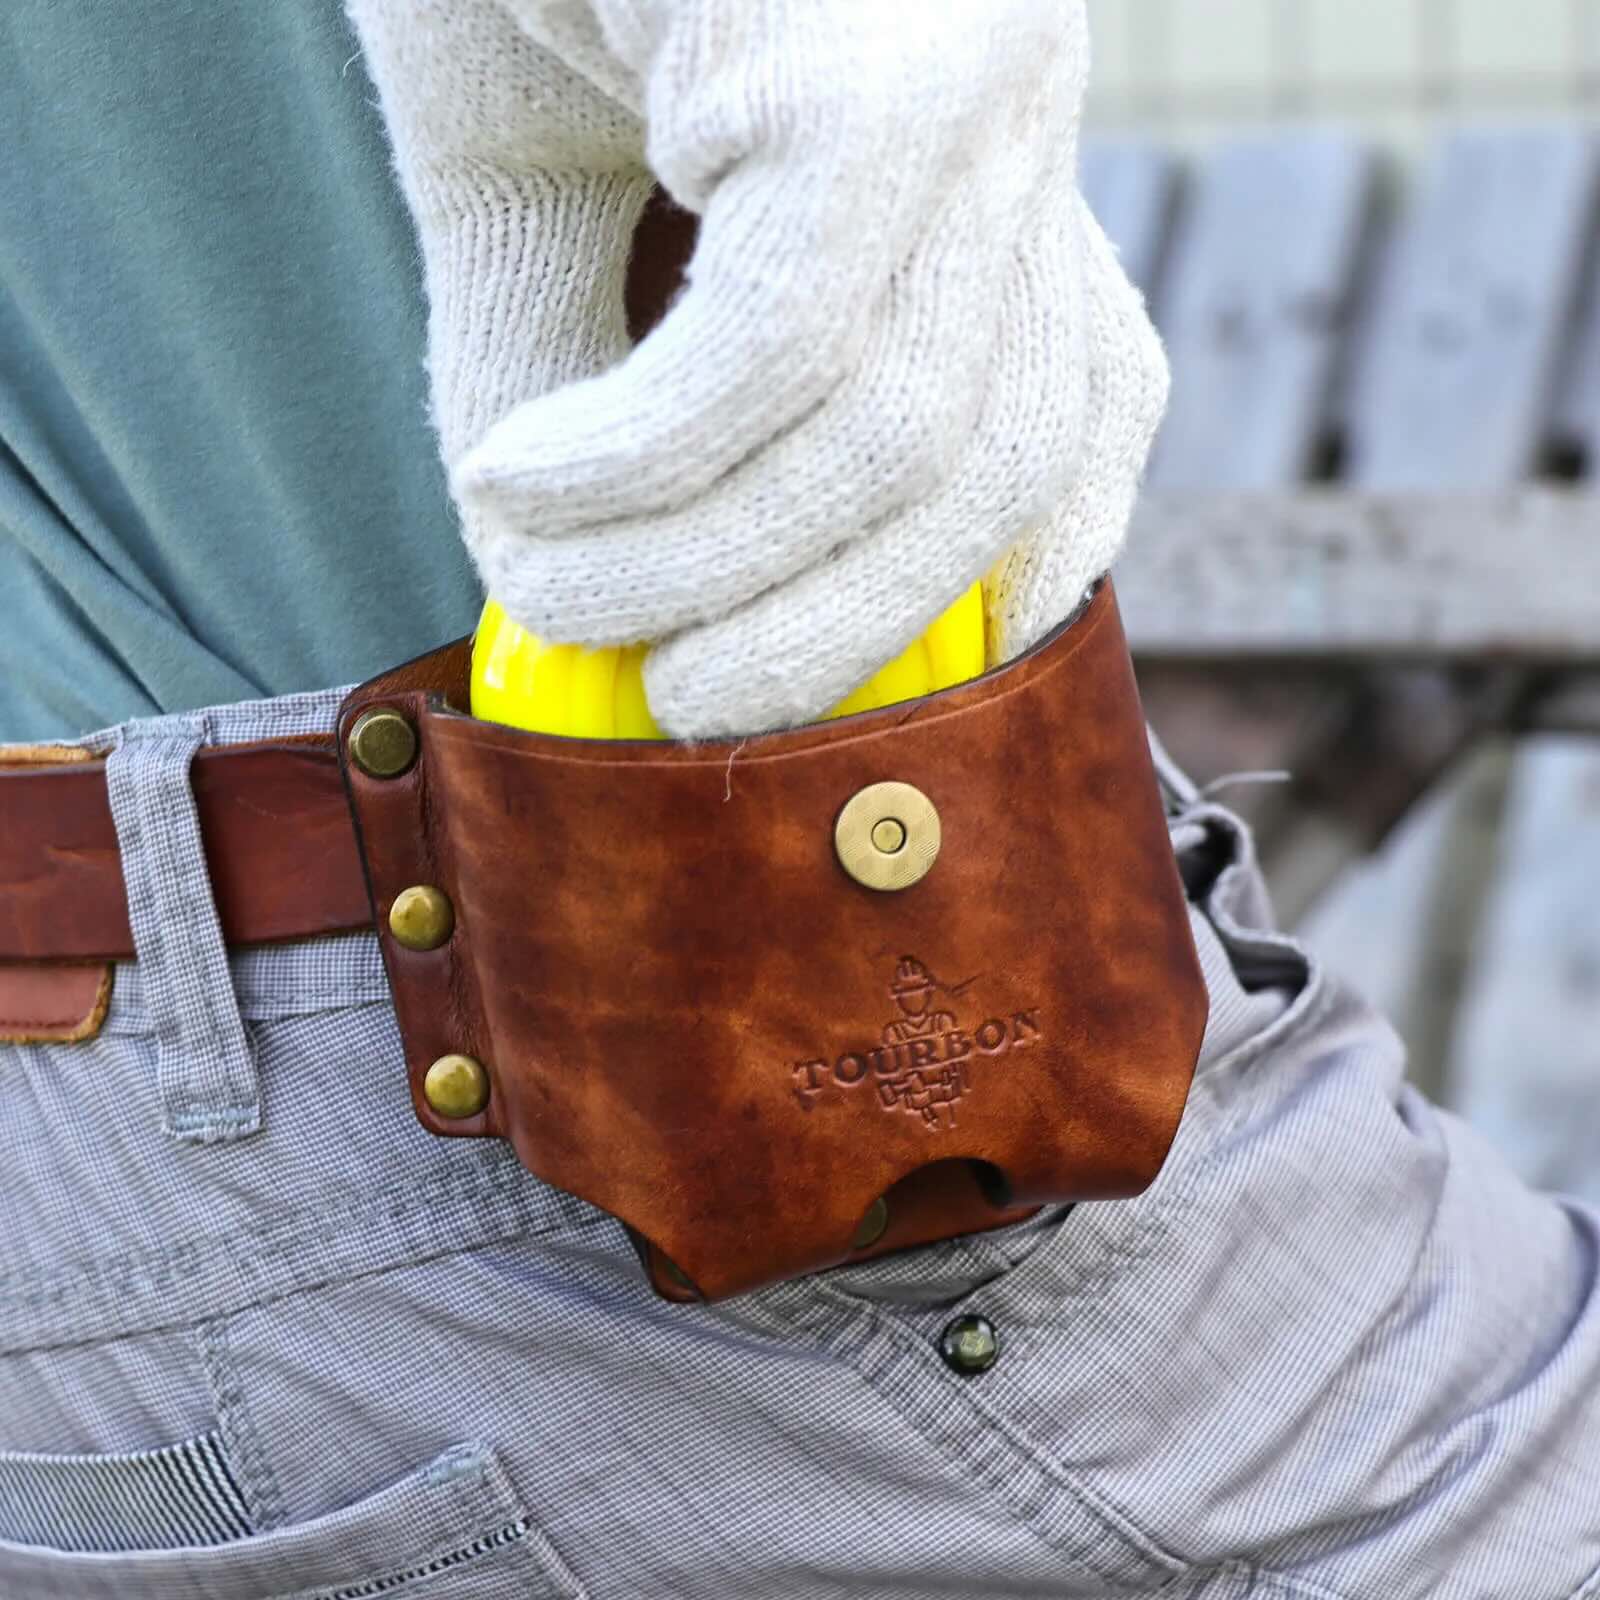
Before we dive into the process of fixing a hammer holster on a tool belt, let’s first understand the purpose and functionality of a hammer holster. A hammer holster is a specialized loop or pouch designed to securely hold a hammer on a tool belt. It is typically located on the side or front of the belt for easy access and quick retrieval.
The hammer holster serves several important functions. Firstly, it keeps the hammer in a stable and fixed position, preventing it from moving around or falling off while you’re working. This ensures safety and allows you to focus on the task at hand without worrying about your hammer constantly shifting or getting misplaced. Additionally, a properly attached hammer holster increases your overall efficiency, as you can quickly grab your hammer and use it without any delays.
Understanding the mechanics of a hammer holster is crucial when it comes to fixing it. Most hammer holsters are designed to be adjustable, allowing you to accommodate different sizes and types of hammers. They usually consist of a loop made of sturdy material, such as leather or nylon, and are secured to the tool belt through various means, such as snaps, hooks, or Velcro.
However, over time, the hammer holster may become loose, damaged, or detached from the tool belt. This can happen due to regular wear and tear, excessive use, or poor quality craftsmanship. Regardless of the cause, a malfunctioning hammer holster can significantly impede your productivity and pose a potential safety hazard.
Now that we have a good understanding of what a hammer holster is and its importance, let’s move on to the tools you’ll need to fix it.
Tools Needed for Fixing Hammer Holster
Before you begin fixing your hammer holster on your tool belt, gather the necessary tools to ensure a smooth and efficient repair process. Here are the key tools you’ll need:
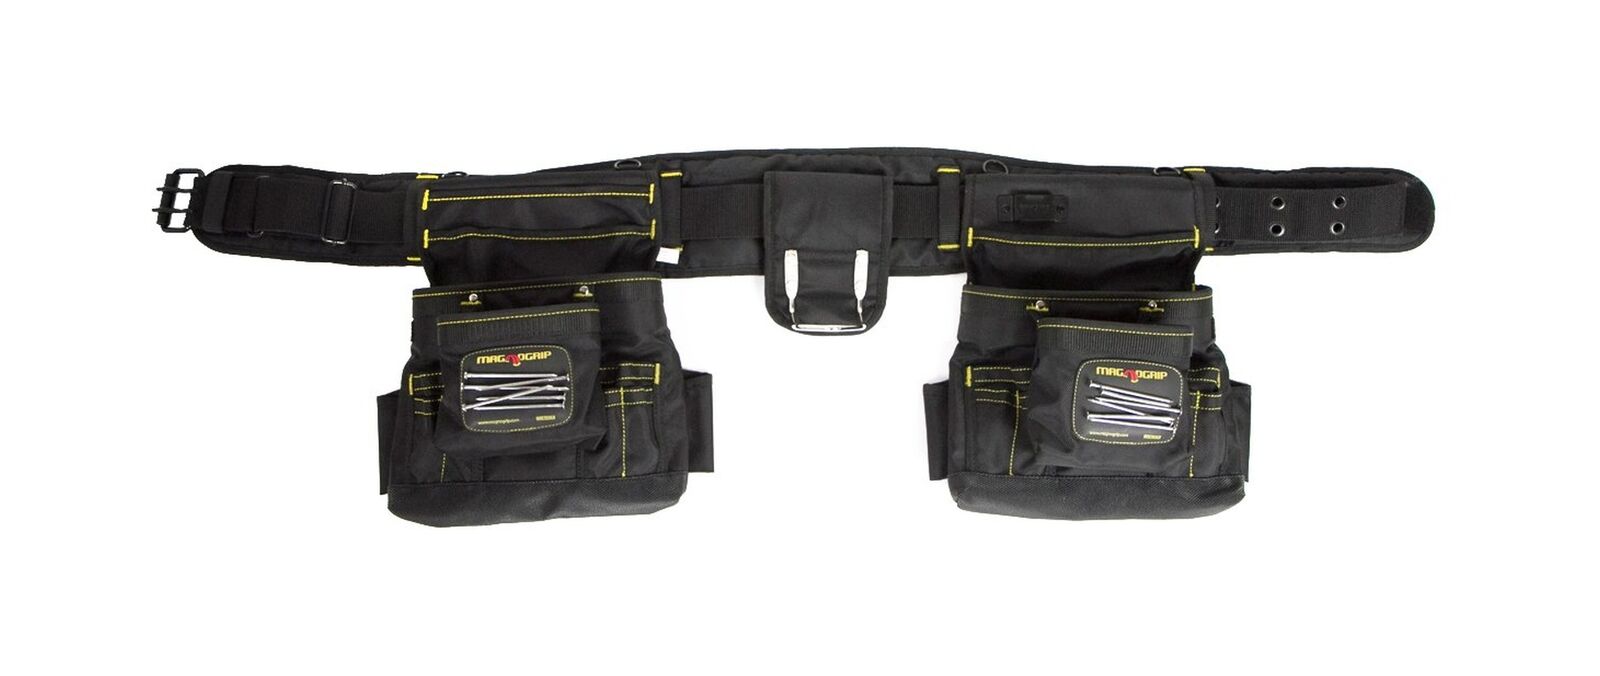
- Hammer Holster: Depending on the extent of the damage, you may need to replace the entire hammer holster. Ensure you have a suitable replacement holster that fits your belt and hammer.
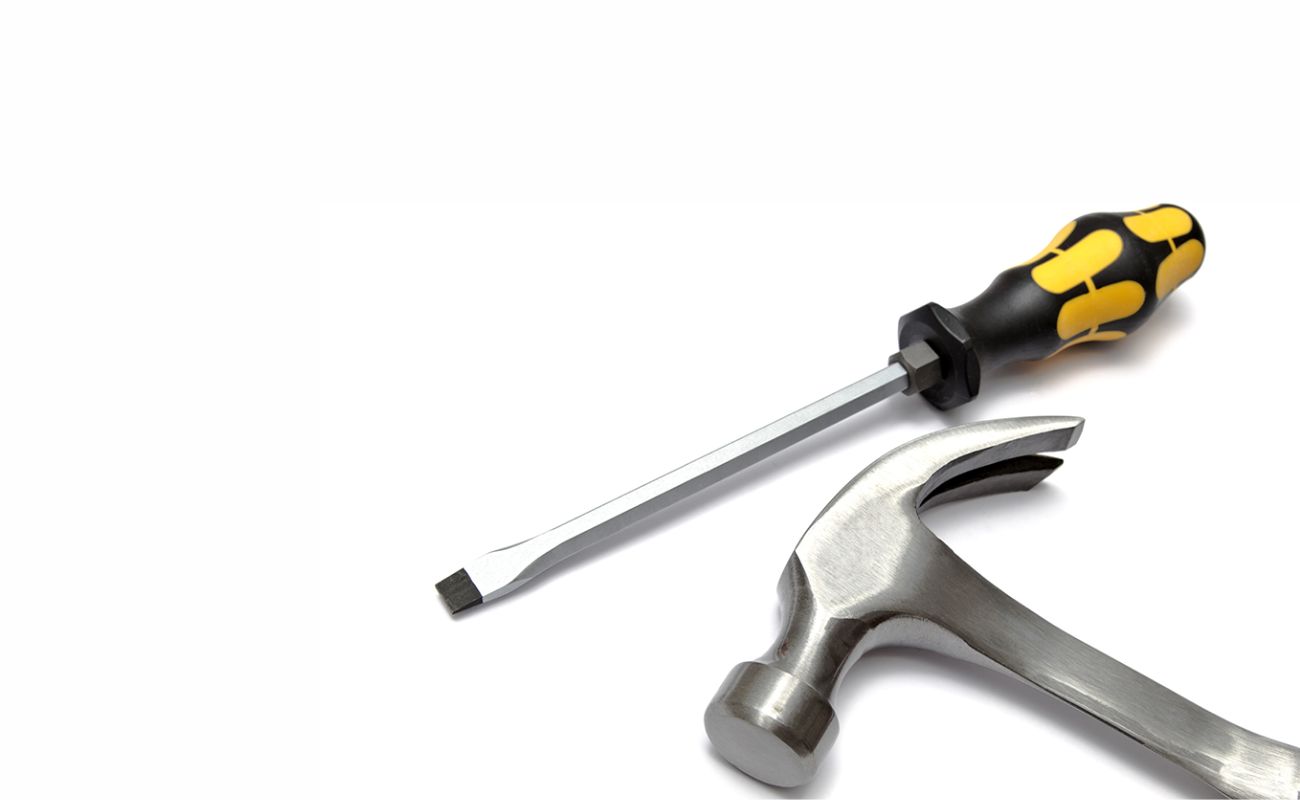
- Screwdriver: Depending on the construction of your existing hammer holster, you may need a screwdriver to remove any screws or fasteners holding it in place.
- Needle and Thread or Stitching Machine: If your hammer holster is made of fabric or leather and has torn or frayed edges, you’ll need needle and thread or a stitching machine to mend any tears and reinforce the holster.
- Velcro or Snaps: Check if your hammer holster attaches to your tool belt using Velcro or snaps. If these fasteners are damaged or worn out, you’ll need to replace them with new ones.
- Mallet or Small Hammer: A mallet or small hammer will come in handy when attaching a new hammer holster or securing any loose components.
Having these tools readily available will streamline the repair process and ensure you have everything you need to fix your hammer holster on your tool belt. Once you have gathered the necessary tools, let’s move on to the step-by-step guide to fix the hammer holster.
Step-by-Step Guide to Fix Hammer Holster on Tool Belt
Follow these steps to fix a hammer holster on your tool belt:
- Assess the Damage: Examine your existing hammer holster and determine the extent of the damage. If it’s a minor issue like loose stitching or a worn-out Velcro or snap, you may be able to repair it. However, if the holster is severely damaged or cannot be fixed, you’ll need to replace it.
- Remove the Old Holster (if necessary): If your hammer holster is damaged beyond repair or you have a replacement holster, remove the old one from your tool belt. Use a screwdriver or remove any screws or fasteners that may be holding it in place.
- Position the New Holster: If you have a replacement holster, position it on your tool belt where you want it to be located. Ensure it is in a convenient and easily accessible spot.
- Secure the Holster: Depending on the design of the holster, secure it to your tool belt using screws, snaps, or Velcro. Use a screwdriver or follow the manufacturer’s instructions to properly attach it.
- Reinforce Stitching (if necessary): If your existing holster has minor tears or loose stitches, use a needle and thread or a stitching machine to mend them. This will reinforce the durability of the holster and prevent further damage.
- Test the Stability: Once the new holster is securely attached or the existing one is repaired, test its stability. Ensure that the hammer fits snugly into the holster and doesn’t slide or fall out easily when moving or bending.
- Make Adjustments (if necessary): If you find that the holster is not positioned correctly or the hammer doesn’t fit securely, make any necessary adjustments. You may need to reposition the holster on your tool belt or tighten any screws or fasteners.
- Test Again: Give the repaired or newly attached holster a final test by inserting your hammer and performing some movements. Make sure it stays in place and doesn’t impede your movement or cause discomfort.
Following these steps will help you successfully fix your hammer holster on your tool belt. Remember to take your time and ensure that the holster is securely attached and functioning properly before resuming your projects.
When fixing a hammer holster on a tool belt, ensure that the holster is securely attached with strong stitching or rivets. Test the holster with a heavy hammer to ensure it can support the weight.
Common Issues and Troubleshooting
While fixing a hammer holster on a tool belt is a relatively straightforward process, you may encounter some common issues along the way. Here are a few common problems and troubleshooting tips:
Issue: Loose Holster
If you find that your hammer holster is still loose or doesn’t grip the hammer securely, try the following troubleshooting tips:
- Double-check the attachment: Ensure that the holster is properly secured to the tool belt using the appropriate screws, snaps, or Velcro.
- Consider a different holster design: If the problem persists, consider using a different design or style of hammer holster that provides a tighter grip on the hammer.
- Inspect the holster material: Check if the holster material has become worn or stretched over time. If so, it may be necessary to replace it with a new one.
Issue: Torn or Frayed Holster
If your hammer holster has tears or frayed edges, follow these troubleshooting tips:
- Repair with needle and thread: Use a needle and thread or a stitching machine to mend the tears and reinforce the holster. Make sure to use a durable thread that can withstand the weight of the hammer.
- Consider patching: If the tears are significant or the material is too damaged to mend, consider patching the affected areas with a suitable material to strengthen the holster.
- Replace the holster: If the damage is severe or the holster cannot be repaired adequately, it may be necessary to replace it with a new one.
Issue: Incompatible Holster and Belt
If you’re experiencing compatibility issues between the holster and tool belt, try the following troubleshooting tips:
- Ensure the correct size: Check if the holster and tool belt are the appropriate size and compatible with each other. Make sure they are designed to work together.
- Consider a different holster or belt: If the compatibility issue persists, you may need to explore alternative options for both the holster and tool belt.
- Consult the manufacturer: Reach out to the manufacturer of the holster or tool belt for guidance and to check if there are any specific compatibility requirements.
By troubleshooting these common issues, you can overcome potential obstacles and ensure that your hammer holster is securely fixed on your tool belt, allowing you to work efficiently and safely.
Read also: 8 Best Masonry Hammer For 2025
Final Tips and Recommendations
As you finish fixing your hammer holster on your tool belt, here are some final tips and recommendations to keep in mind:
Invest in Quality: When purchasing a new hammer holster or tool belt, opt for high-quality materials and construction. This ensures durability and longevity, reducing the likelihood of future issues.
Regular Maintenance: Periodically inspect your tool belt and hammer holster for any signs of wear and tear. Repair or replace any damaged components as soon as possible to prevent further problems.
Proper Hammer Selection: Make sure the hammer you use is appropriate for the type of work you’re doing. Using a hammer that is too heavy or oversized for the holster can lead to instability and discomfort.
Comfort and Ergonomics: Ensure that the hammer holster’s position on your tool belt is comfortable and ergonomic for your body. This will minimize strain and fatigue during prolonged use.
Secure Other Tools: While fixing the hammer holster, take the opportunity to evaluate the attachment of other tools on your tool belt. Make sure they are properly secured and easily accessible for efficient workflow.
Adjust as Needed: Even after fixing the holster, periodically check the attachment and adjust as necessary to maintain a secure and functional setup.
Personalize Your Set-Up: Customize your tool belt and hammer holster arrangement to suit your specific needs and preferences. Experiment with different placements and configurations to find the most comfortable and efficient setup for you.
Consider Professional Help: If you encounter complex issues or are unsure about the repair process, seek assistance from a professional or contact the manufacturer of your tool belt or hammer holster for guidance.
By following these tips and recommendations, you can ensure that your hammer holster is fixed properly and that you have a comfortable and functional tool belt setup for your projects.
Conclusion
Fixing a hammer holster on a tool belt is an essential skill for any DIY enthusiast or professional tradesperson. By ensuring that your hammer is securely attached and easily accessible, you can work efficiently and with peace of mind. In this guide, we’ve provided you with a step-by-step process to fix your hammer holster, along with common troubleshooting tips and recommendations.
Remember, understanding the purpose and mechanics of a hammer holster is key to successful repairs. Assess the damage, remove the old holster if necessary, position and secure the new one, and reinforce stitching if needed. Address common issues such as a loose holster or torn material, and troubleshoot accordingly. Don’t forget to invest in quality materials and regularly maintain your tool belt and hammer holster for longevity.
By following these guidelines and taking the time to fix your hammer holster properly, you’ll have a safe and efficient setup for your projects. Enjoy the convenience of having your hammer readily available and within arm’s reach, allowing you to tackle any task with ease.
Now, armed with the knowledge and steps outlined in this guide, you’re ready to fix your hammer holster on your tool belt and get back to tackling your next project with confidence!
Frequently Asked Questions about How To Fix Hammer Holster On Tool Belt
Was this page helpful?
At Storables.com, we guarantee accurate and reliable information. Our content, validated by Expert Board Contributors, is crafted following stringent Editorial Policies. We're committed to providing you with well-researched, expert-backed insights for all your informational needs.

0 thoughts on “How To Fix Hammer Holster On Tool Belt”