Articles
How To Repair Tool Belt Stitching
Modified: August 31, 2024
Learn how to repair tool belt stitching with these informative articles. Find step-by-step instructions and tips to keep your tool belt in top condition.
(Many of the links in this article redirect to a specific reviewed product. Your purchase of these products through affiliate links helps to generate commission for Storables.com, at no extra cost. Learn more)
Introduction
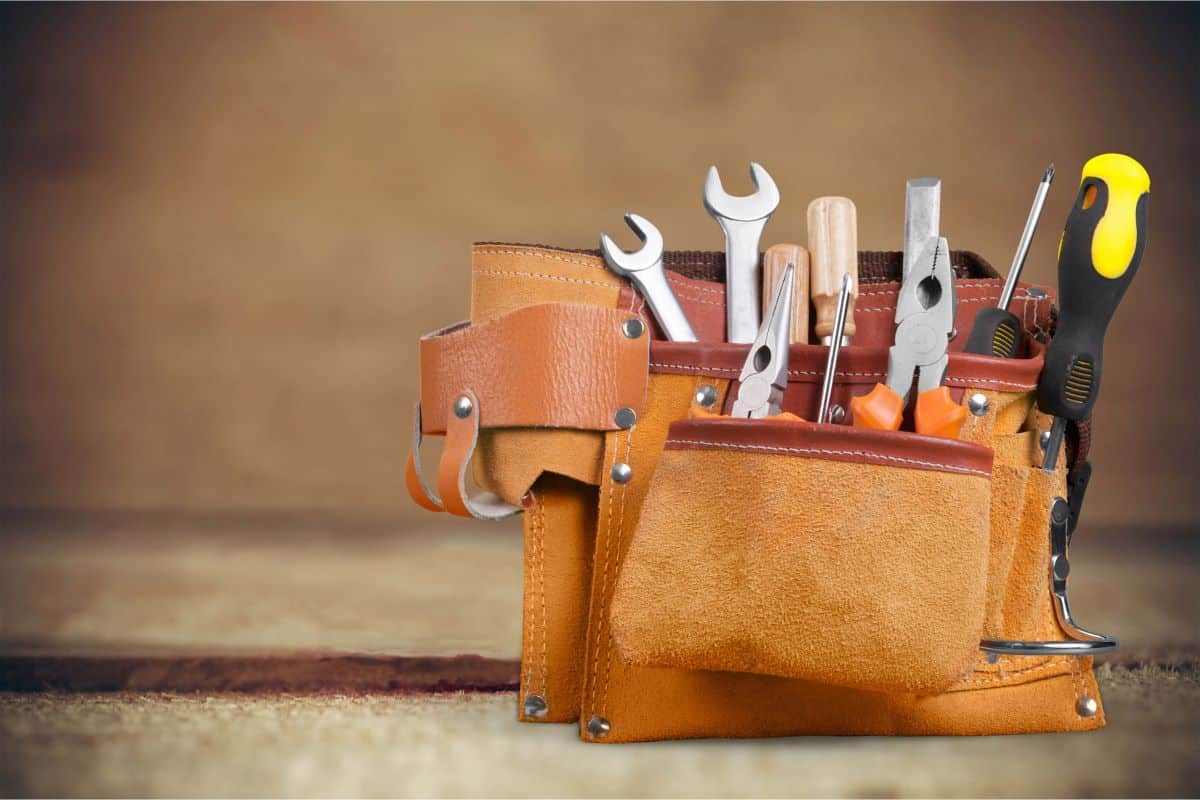
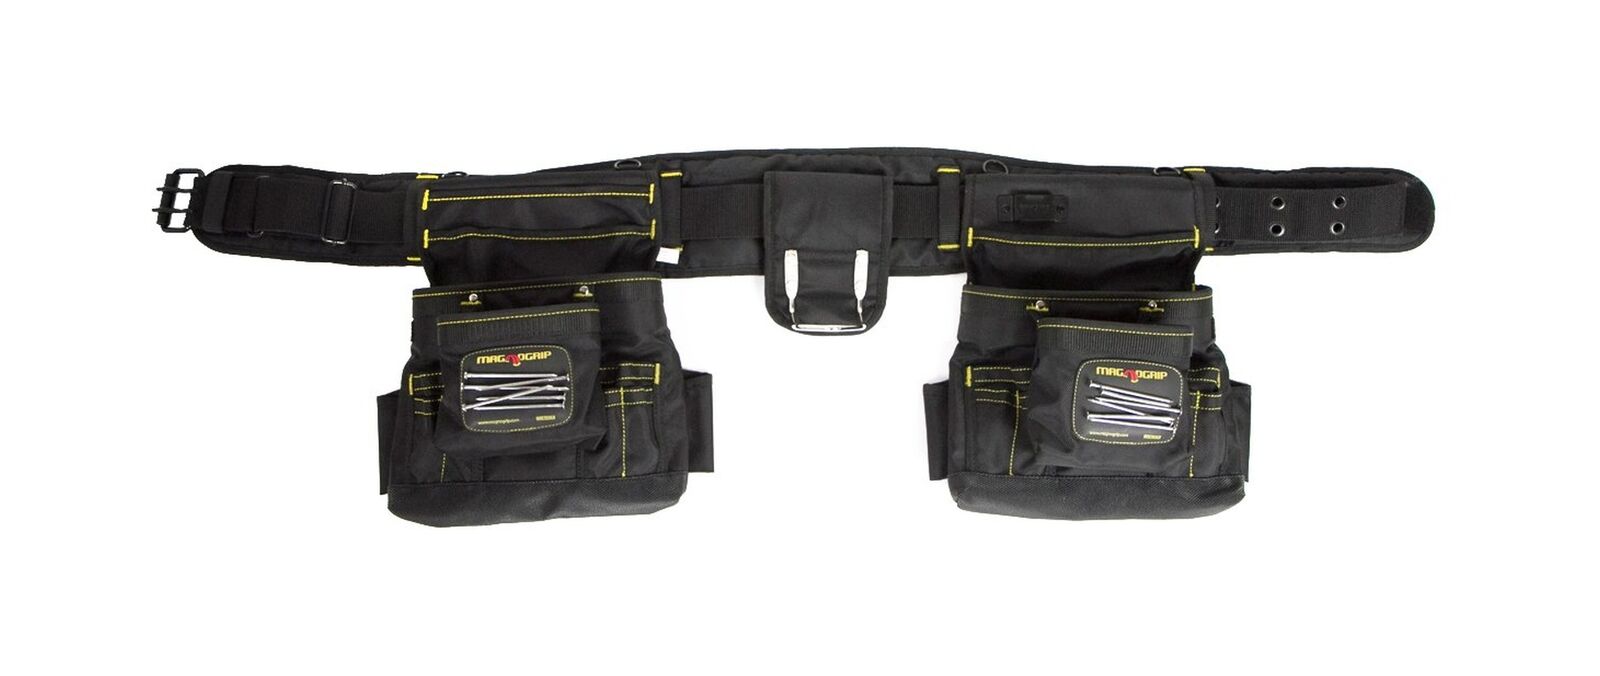
Having a reliable tool belt is essential for any professional working in construction, carpentry, or any other trade that requires easy access to tools. However, over time, the stitching on your tool belt may start to come undone, making it less secure and less effective for holding your tools.
While it may be tempting to immediately go out and purchase a new tool belt, you can actually save money and extend the life of your current belt by repairing the stitching yourself. It’s a relatively simple process that requires just a few tools and some basic sewing skills.
In this article, we will guide you through the step-by-step process of repairing your tool belt stitching. By following these instructions, you’ll be able to restore your tool belt to its optimal condition, ensuring that it can continue to serve you well on the job.
Key Takeaways:
- Save money and extend the life of your tool belt by repairing the stitching yourself. With basic sewing skills and a few tools, you can restore your belt to optimal condition and keep your tools secure.
- Proper assessment, precise stitching, and thorough testing are essential for a successful repair. By following the step-by-step process, you can confidently maintain a reliable and functional tool belt for your professional endeavors.
Read more: How To Crochet Mattress Stitch
Tools Needed
Before you begin repairing your tool belt stitching, make sure you have the following tools on hand:
- Scissors – for cutting thread and trimming excess fabric.
- Seam ripper – for removing any damaged or loose stitching.
- Thread – choose a heavy-duty thread in a color that matches your tool belt.
- Needles – opt for sewing needles that are sharp and durable.
- Thimble – to protect your finger while pushing the needle through tough fabric.
- Tape measure – for measuring and marking the stitching lines.
- Pins – to hold the fabric securely in place while stitching.
- Awl – for making small holes in the fabric if needed.
- Ruler – to ensure precise measurements while repairing the stitching.
Having these tools readily available will help make the repair process smoother and more efficient.
Step 1: Assess the Damage
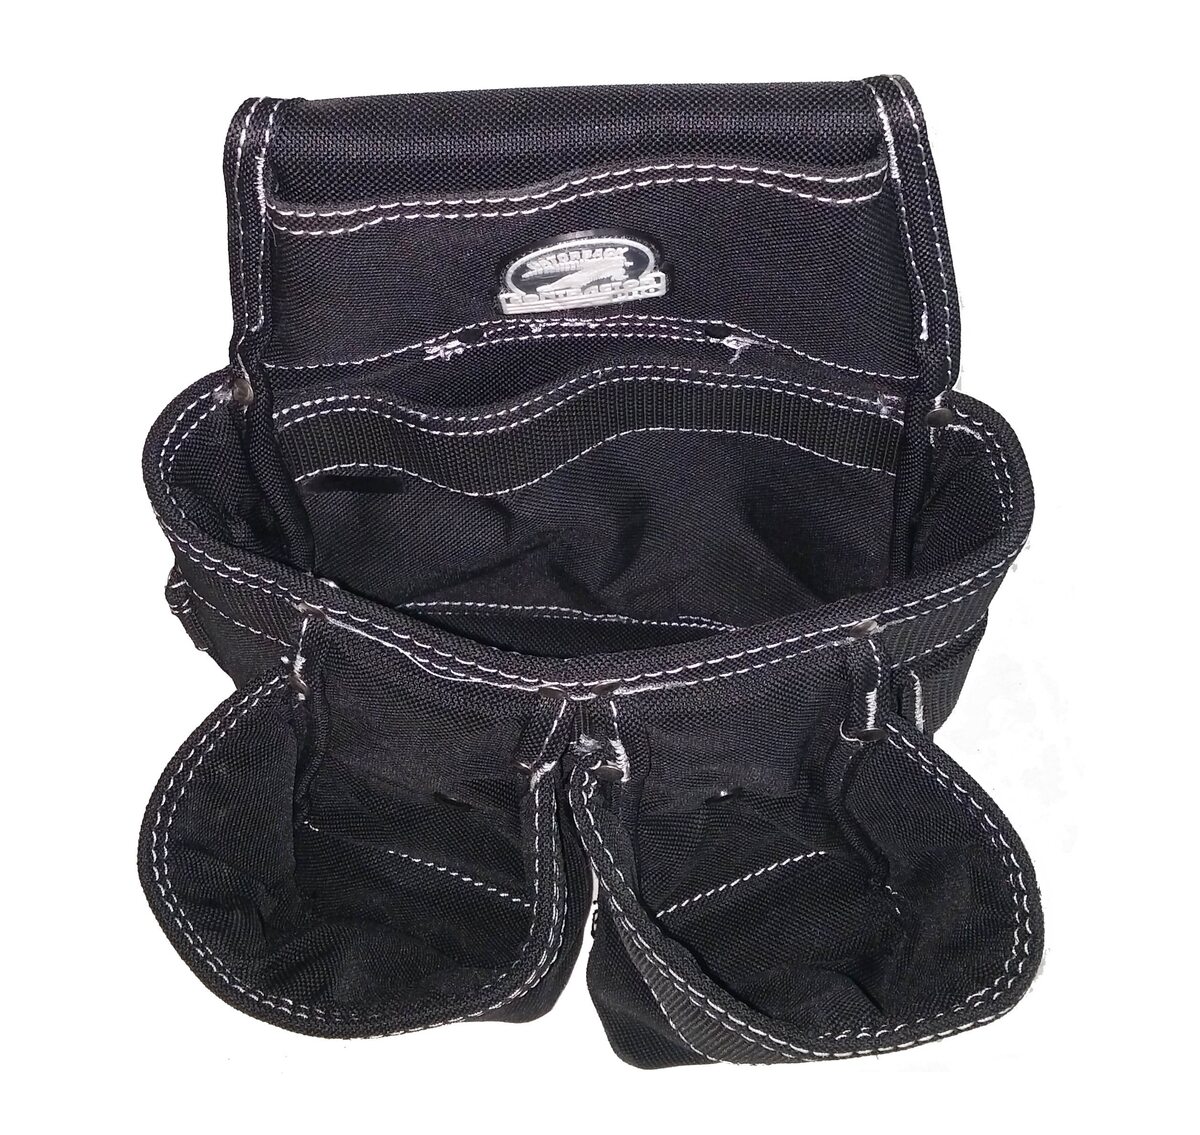
The first step in repairing your tool belt stitching is to assess the extent of the damage. Take a close look at your tool belt and identify any areas where the stitching is coming undone or has completely unraveled.
Examine the entire belt, including the seams and pockets, to ensure you don’t miss any weak spots. Look for loose threads, frayed edges, or any signs of stress or wear. It’s important to identify all areas that require stitching repair to ensure the durability of your tool belt.
If you have any pockets or compartments that are torn or have holes, take note of those as well. These areas may require additional reinforcement or stitching to prevent further damage.
Once you’ve assessed the overall condition of your tool belt, you’ll have a better idea of the amount of repair work needed and can plan accordingly.
Remember, it’s always better to address the stitching issues sooner rather than later. Delaying the repair can lead to further unraveling of the stitching and potential tool loss while on the job.
Step 2: Gather Materials
Before you begin repairing the stitching on your tool belt, gather all the necessary materials to ensure a smooth and efficient repair process.
First and foremost, you’ll need a heavy-duty thread that is suitable for sewing tough materials like canvas or leather. Choose a thread color that closely matches the original stitching on your tool belt for a seamless repair.
Next, make sure you have an appropriate needle for sewing. Look for a needle that is sharp and sturdy, as you’ll be stitching through thick fabric. If necessary, you can also use a thimble to protect your finger when pushing the needle through tough material.
Additionally, have a pair of scissors on hand for cutting thread and trimming any excess fabric. A seam ripper can be helpful in removing any damaged or loose stitching before starting the repair.
You may also need a tape measure or ruler to ensure accurate measurements while repairing the stitching. This will help maintain the proper spacing and alignment of your stitches.
Pins can be useful for temporarily holding the fabric in place while you stitch. They will help prevent the fabric from shifting or moving during the repair process.
Lastly, an awl can be handy for making small holes in the fabric if needed. This can help guide the needle through tough or layered material.
By gathering all the necessary materials before you begin, you’ll have everything you need within reach, making the repair process more efficient and hassle-free.
Step 3: Thread the Needle
Once you have gathered all the necessary materials, it’s time to thread the needle. This may seem like a simple task, but it’s important to do it correctly to ensure smooth and effective stitching.
Start by cutting a length of thread that is approximately double the length of the stitching line you will be repairing. This will provide enough thread to work with without constantly needing to rethread the needle.
Take one end of the thread and insert it through the eye of the needle. If you are having difficulty threading the needle, you can use a needle threader to help guide the thread through the eye.
Once the thread is through the eye of the needle, pull it through until both ends of the thread are equal in length. Tie a small knot at the end of the thread to secure it in place. This knot will prevent the thread from slipping out as you stitch.
Some seamstresses prefer to use a double thread for added strength. To do this, pull the thread through the needle but do not cut it. Instead, fold the thread in half and then tie a knot at the end. You will be working with the looped end of the thread instead of a single strand.
After threading the needle and securing the thread, you are now ready to move on to repairing the stitching on your tool belt.
Having the thread properly threaded and secured will ensure that the stitches hold up well and provide the necessary support to your tool belt.
Read more: How To Change A Dryer Belt
Step 4: Secure the Belt
Before you begin stitching, it’s important to secure your tool belt to ensure stability and prevent any unnecessary movement while you work on the repair.
First, find a flat surface where you can lay out your tool belt. Ensure the surface is clean and free from any debris that could potentially interfere with the repair process.
Next, open the tool belt and lay it flat with the side that needs stitching facing up. Make sure that the belt is evenly spread out and any pockets or compartments are open and exposed.
To prevent the belt from shifting or moving while you stitch, you can use pins to temporarily secure it in place. Slide pins through the fabric, making sure they go through both layers being stitched, keeping the fabric taught and aligned.
If pins are not available, you can use heavy objects such as small weights or even some tools to hold down the belt’s edges. This will help keep the fabric steady and prevent it from shifting while you work on repairing the stitching.
By securing the belt properly, you will be able to maintain control and accuracy during the repair process. This will ensure that the stitching is done smoothly and in the correct position.
Now that your tool belt is securely positioned, you’re ready to move on to the next step and start stitching.
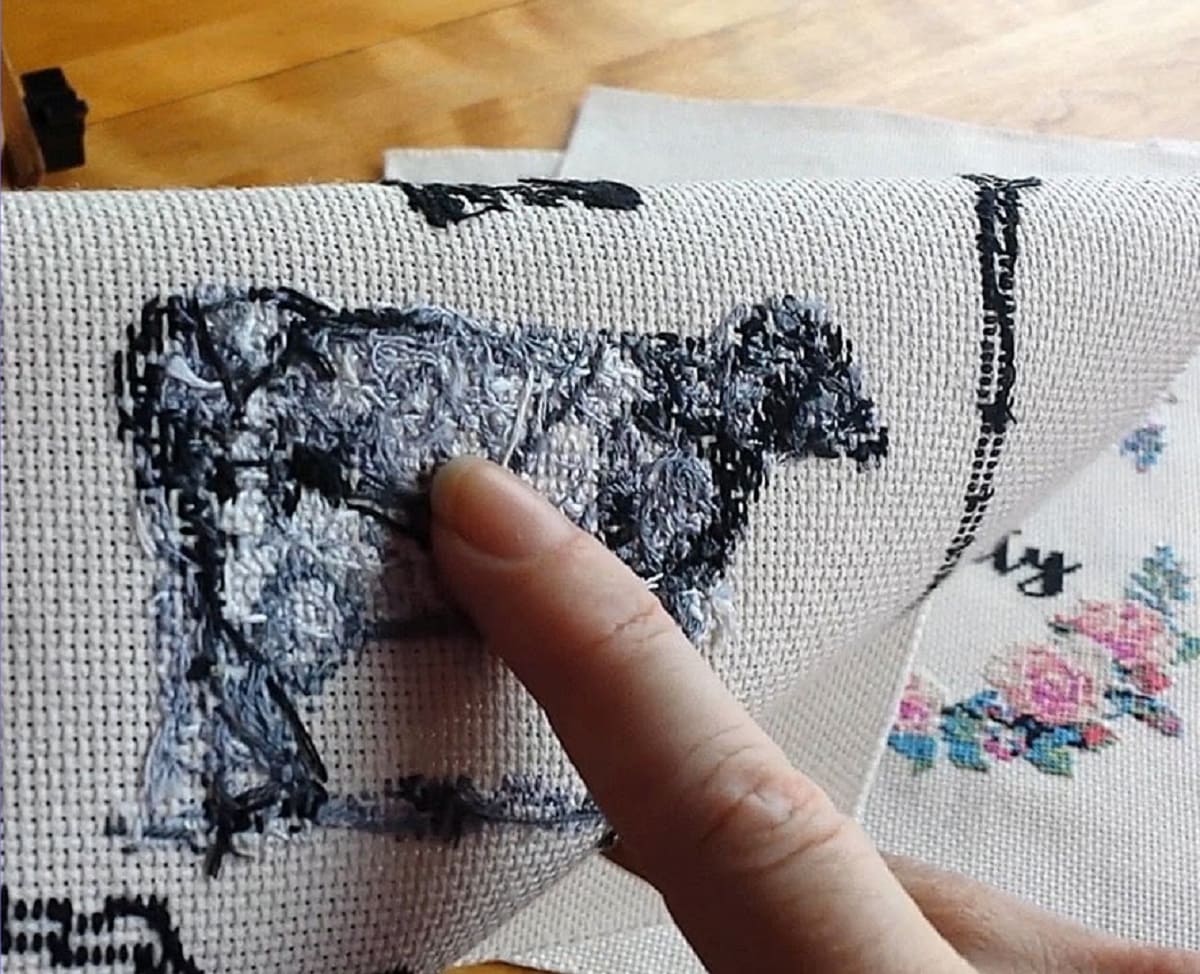
Use a heavy-duty thread and a curved needle to re-stitch any loose or broken stitching on your tool belt. Make sure to double stitch for added durability.
Step 5: Start Stitching
With your tool belt securely positioned and the necessary materials ready, it’s time to start stitching to repair the damaged areas.
Begin by positioning the needle at one end of the stitching line where the repair is needed. Push the needle through both layers of fabric, making sure to follow the original stitching path as closely as possible.
As you stitch, use a straight, even motion to create consistent and tight stitches. Pull the thread gently but firmly, taking care not to pull it too tight which could cause the fabric to pucker or bunch up.
Continue stitching along the entire length of the repair, following the original stitching pattern. Aim to create stitches that are evenly spaced and of similar length to ensure a uniform appearance.
If you’re working with a thicker material like leather, you may find it helpful to use an awl to create small holes along the stitching line before inserting the needle. This will make it easier to penetrate the fabric without applying excessive force.
As you stitch, periodically check the tension of your stitches to ensure they are secure but not overly tight. Adjust the tension if necessary by gently pulling on the thread before completing each stitch.
Take your time and stitch carefully, as this will ensure a strong and professional-looking repair. Remember to maintain the original alignment and spacing of the stitches to maintain the integrity of your tool belt.
If you run out of thread before completing the repair, simply secure the end of the thread with a knot and start a new thread. Make sure to tie the new thread to the existing stitch line to connect them seamlessly.
Continue stitching until you reach the end of the stitching line or until all damaged areas are repaired.
Once you have completed the stitching, move on to the next step to reinforce the repair with a double back stitch.
Step 6: Double Back Stitching
Now that you have completed the initial stitching to repair the damaged areas of your tool belt, it’s time to reinforce the repair with a double back stitch.
A double back stitch adds extra stability and strength to the stitching line, ensuring that it can withstand the stress and strain of holding your tools.
To start the double back stitch, position the needle at the end of the initial stitching line where you began stitching. Insert the needle through the fabric, following the same path as the initial stitches.
Next, bring the needle back approximately half an inch from where the needle emerged. Insert the needle through the fabric, creating a small backstitch.
Now, instead of continuing forward, bring the needle back to the beginning of the initial stitching line. Insert the needle through the fabric, following the same stitching path as before. This creates the first double back stitch.
Repeat this process, creating multiple double back stitches along the entire length of the stitching line. Make sure to maintain consistent spacing and tension to ensure even and secure stitches.
The double back stitch reinforces the stitching line, preventing unraveling and ensuring the longevity of your repair. It adds an extra layer of durability, particularly in high-stress areas where tools are attached to the belt.
Continue double back stitching until you reach the end of the stitching line or until you have reinforced all damaged areas of your tool belt.
Once you have completed the double back stitching, proceed to the next step to secure the thread with a knot.
Step 7: Knot the Thread
After completing the stitching and double back stitching to repair your tool belt, it’s time to secure the thread with a knot to prevent it from unraveling.
To knot the thread, position the needle at the end of the stitching line. Insert the needle through the fabric, making sure to follow the same stitching path as before.
Before pulling the thread all the way through, leave a small loop between the fabric and the needle. Pass the needle through the loop, creating a small looped knot.
Tighten the looped knot by pulling the thread gently but firmly. Take care not to pull it too tight, as it could pucker or distort the fabric.
Once the looped knot is tightened, repeat the process to create a second knot. Insert the needle through the fabric, creating another looped knot.
Tighten the second knot by pulling the thread gently. This will secure the stitching and prevent it from coming undone.
If desired, you can trim the excess thread close to the knot with scissors, leaving a short tail. This will help prevent the thread from snagging or getting in the way while you wear your tool belt.
By knotting the thread at the end of the stitching line, you ensure that your repair remains intact and durable, with no risk of unraveling.
Once you have secured the thread with a knot, you can move on to the next step to trim any excess thread.
Read more: How To Store Cross Stitch Projects
Step 8: Trim Excess Thread
With the stitching and knot securely in place, it’s time to trim any excess thread to give your repair a clean and professional finish.
Take a pair of scissors and carefully trim the excess thread close to the knot. Be sure to cut as close to the fabric as possible without cutting into the stitches.
By trimming the excess thread, you not only improve the appearance of your repair but also prevent any loose threads from tangling or getting caught on objects while you work.
Take your time while trimming to ensure that you don’t accidentally cut any of the stitching or fabric. It may be helpful to hold the thread taut with one hand while cutting with the other.
Once you have trimmed the excess thread, take a moment to inspect the repair. Ensure that the stitches are secure, the knots are tight, and there are no loose ends or stray threads.
If you notice any areas that need further trimming or adjustment, use the scissors to carefully make any necessary adjustments. Take caution not to cut any of the surrounding fabric or stitching.
By trimming the excess thread, you provide a neat and finished appearance to your repair, making it blend seamlessly with the rest of your tool belt.
Now that you have trimmed the excess thread, you’re ready to move on to the next step: testing the repair to ensure its effectiveness.
Step 9: Test the Repair
After completing the stitching, double back stitching, knotting, and trimming of excess thread, it’s important to test the repair to ensure its effectiveness and durability.
Put on your tool belt and load it with a few of your commonly used tools. Take a moment to carefully inspect the repaired areas, paying close attention to the stitching and the overall integrity of the repair.
Move around, bend, and twist your body to simulate the movements you would make while working. This will help determine if the stitching holds up under normal use and the weight of your tools.
Pay attention to any signs of strain or stress on the repaired areas. Check for any potential weaknesses or areas where the stitching may need reinforcement.
If you notice any issues during your testing, such as loose stitches or areas where the repair is coming undone, don’t worry. Simply retrace your steps and revisit the corresponding steps to reinforce or fix the repair.
Testing the repair is an essential part of the process as it ensures that your tool belt is ready to withstand the demands of your work. It’s better to identify and address any remaining issues now rather than discovering them in the middle of a job.
Once you are confident in the repair and it has passed your testing, you can rest assured knowing that your tool belt is ready to provide you with secure storage and accessibility for your tools.
Congratulations! You have successfully repaired the stitching on your tool belt, saving yourself the cost of buying a new one and ensuring that your tools are always within reach when you need them most.
Remember, regular maintenance and prompt repairs are key to prolonging the life of your tool belt and ensuring it remains a reliable and essential tool for your work.
If you encounter any further issues or need to make additional repairs in the future, simply refer back to these steps and follow the same process to keep your tool belt in optimal condition.
Keep up the good work and let your repaired tool belt accompany you on many successful projects!
Conclusion
Repairing the stitching on your tool belt is a practical and cost-effective way to extend its lifespan and maintain its functionality. By following the step-by-step process outlined in this article, you can easily and confidently repair the damaged areas of your tool belt.
Assessing the damage, gathering the necessary tools and materials, threading the needle, securing the belt, stitching, double back stitching, knotting the thread, trimming excess thread, and testing the repair are crucial steps in the process.
Properly assessing the damage allows you to identify all areas in need of repair, ensuring a thorough and comprehensive fix. Gathering the necessary tools and materials beforehand enables you to work efficiently and effectively.
Threading the needle and securing the belt properly are essential for precise and secure stitching. Stitching and double back stitching provide strength and durability to the repair, ensuring that it can withstand everyday use and the weight of your tools.
Knotting the thread and trimming excess thread give your repair a neat and professional finish. Testing the repair guarantees its effectiveness and durability, giving you the confidence that your tool belt is ready for action.
Remember to take your time through each step, ensuring accuracy and attention to detail. Don’t be afraid to make adjustments or reinforce the repair as needed.
By repairing the stitching on your tool belt, you not only save money but also maintain a reliable and functional tool that will serve you well in your professional endeavors.
Continue to take care of your tool belt by regularly inspecting it for any signs of wear or damage. By promptly addressing any issues and making necessary repairs, you can ensure that your tool belt remains in optimal condition for years to come.
Now, armed with the knowledge and skills to repair your tool belt stitching, you’re ready to tackle this DIY task with confidence. Enjoy the satisfaction of restoring your tool belt to its former glory and continue to excel in your trades with a reliable and well-maintained tool belt by your side.
Frequently Asked Questions about How To Repair Tool Belt Stitching
Was this page helpful?
At Storables.com, we guarantee accurate and reliable information. Our content, validated by Expert Board Contributors, is crafted following stringent Editorial Policies. We're committed to providing you with well-researched, expert-backed insights for all your informational needs.


0 thoughts on “How To Repair Tool Belt Stitching”