
Articles
How To Fix Flat Truck With Hand Tools
Modified: October 20, 2024
Learn how to fix flat hand tools on your truck with our informative articles. Get step-by-step instructions and expert tips.
(Many of the links in this article redirect to a specific reviewed product. Your purchase of these products through affiliate links helps to generate commission for Storables.com, at no extra cost. Learn more)
Introduction
Hand tools are essential for accomplishing various tasks, whether it’s fixing a leaky faucet, assembling furniture, or working on a DIY project. However, over time, these trusty tools can become worn out, rusty, or damaged, rendering them less effective or even unusable. When faced with a set of flat hand tools, it’s important to know how to revive and restore them to their former glory.
In this article, we will guide you through the process of fixing flat hand tools to help you maintain their functionality and longevity. By following these steps, you can ensure that your tools remain in excellent condition, saving you money and frustration in the long run.
Before diving into the step-by-step guide, it’s crucial to emphasize the importance of safety. Always wear appropriate protective equipment such as gloves and safety goggles when handling tools, particularly when using power tools or dealing with sharp objects. Safety should be your top priority throughout the repair process.
So let’s get started and learn how to fix your flat hand tools!
Key Takeaways:
- Revive and restore flat hand tools by assessing, cleaning, and repairing them. Straighten bent tools, remove rust, sharpen blades, replace handles, and lubricate moving parts for optimal functionality and longevity.
- Properly store and maintain flat hand tools to prevent damage and ensure they remain reliable and efficient. Prioritize safety, seek professional help when needed, and enjoy hassle-free DIY projects.
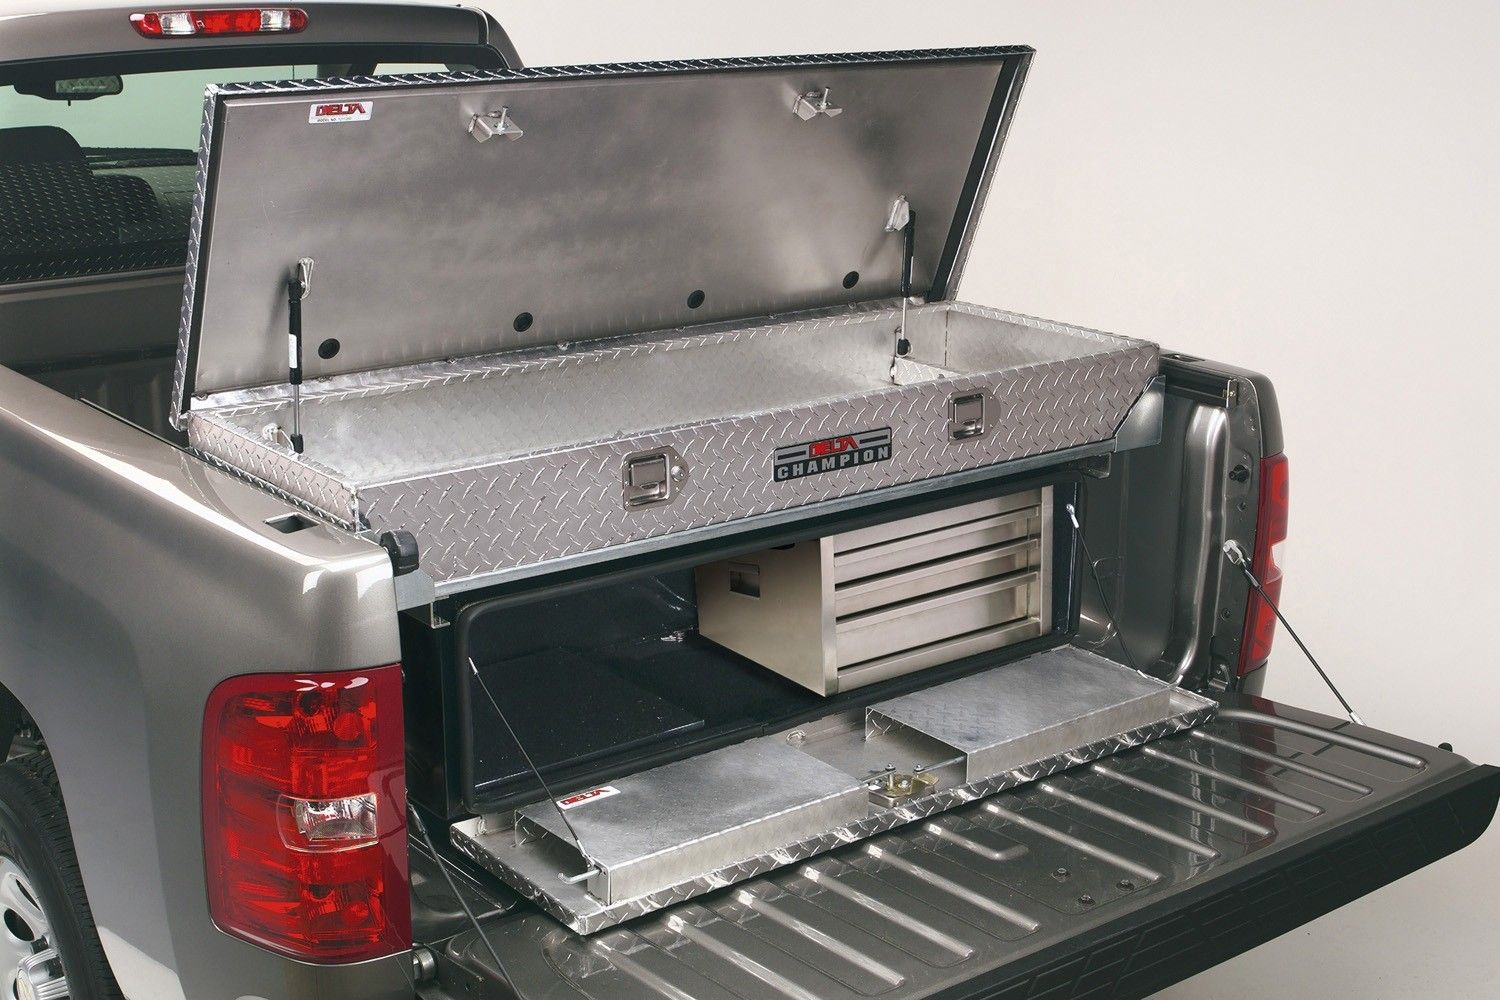
Read more: How To Organize A Truck Tool Box
Step 1: Assess the Tools
The first step in fixing flat hand tools is to assess their condition. Examine each tool carefully to identify any visible damage, wear and tear, or signs of rust and corrosion. Take note of which tools require immediate attention and prioritize them accordingly.
Look for the following issues:
- Bent or misshapen tools: Check for any tools that have become bent or distorted. This can affect their functionality and make them unsafe to use.
- Rust and corrosion: If you notice any signs of rust or corrosion, it’s important to address this issue promptly. Rust not only weakens the tool but can also cause it to become dull and less efficient.
- Broken or cracked handles: Inspect the handles of your tools for any cracks, breaks, or other damage. A damaged handle can compromise your grip and potentially cause accidents.
- Dull blades or edges: Check the sharpness of your cutting tools such as knives, scissors, or chisels. Dull blades can make tasks more difficult and dangerous.
- Moving parts: For tools with moving parts, ensure that they are still functioning smoothly without any sticking or resistance.
By thoroughly assessing your tools, you can determine the scope of the repairs needed and gather the necessary materials and tools for the job. Remember to take your time during this process to avoid missing any potential issues.
Step 2: Gather Necessary Materials
Once you have assessed the condition of your tools, it’s time to gather the necessary materials to complete the repairs. Having all the required items on hand will save you time and make the process more efficient.
Here are some common materials you may need:
- Safety Gear: It’s important to prioritize your safety when working with tools. Make sure you have safety goggles, gloves, and a dust mask to protect yourself from any potential hazards.
- Cleaning Solutions: Depending on the nature of the damage, you may need cleaning solutions such as vinegar, soap, or specialized rust-removing products.
- Brushes and Cloths: Soft-bristled brushes and lint-free cloths are essential for cleaning and removing debris from your tools.
- Oils and Lubricants: To ensure smooth operation and prevent rust, you will need lubricating oils or sprays specifically designed for tools.
- Sharpening Tools: If your blades are dull, you will need sharpening stones, files, or a sharpening system to restore their cutting edge.
- Replacement Parts: If any handles, screws, or other components need to be replaced, make sure you have the appropriate replacements on hand.
- Workbench or Surface: Find a sturdy workbench or surface to work on. It should be well-lit and provide enough space for you to work comfortably.
It’s always a good idea to check the manufacturer’s recommendations or do some research to ensure you gather the right materials for fixing specific tools. This will help you achieve the best results and avoid further damage.
Once you have gathered all the necessary materials, you are ready to begin the repair process. Having everything within reach will make the process smoother and more enjoyable.
Step 3: Clean and Inspect the Tools
After gathering the necessary materials, the next step is to clean and inspect the flat hand tools. Cleaning them thoroughly will remove dirt, grime, and any contaminants that may hinder their functionality. Additionally, inspecting the tools will allow you to identify any hidden damage or issues that need attention.
Here’s a guide to properly clean and inspect your tools:
- Remove any visible dirt or debris: Use a soft-bristled brush or cloth to remove loose dirt and debris from the surface of the tools. Pay special attention to crevices or hard-to-reach areas.
- Use a cleaning solution: Depending on the type of tool and the level of grime or rust, choose an appropriate cleaning solution. For general cleaning, a mixture of warm water and mild soap will suffice. For stubborn rust or corrosion, you may need to use vinegar or a specialized rust-removing product.
- Soak if necessary: For extremely dirty or rusty tools, you may need to soak them in the cleaning solution for a period of time. Follow the manufacturer’s recommendations for soaking duration.
- Scrub and wipe: Using a brush or cloth, scrub the tools gently to remove any remaining dirt or rust. Pay attention to all surfaces, including handles, blades, and moving parts. For delicate tools, be careful not to scrub too vigorously to avoid causing further damage.
- Rinse and dry: Once the tools are clean, rinse them thoroughly with water to remove any residue from the cleaning solution. Use a dry cloth or towel to wipe them dry, ensuring all moisture is eliminated.
- Inspect for damage: While cleaning, closely examine each tool for any hidden damage or issues. Check for cracks, dents, loose handles, or any other signs of deterioration. If you identify any problems, make a note of them for the subsequent repair steps.
By cleaning and inspecting your tools, you can remove dirt, prevent further damage, and identify areas that require attention. This step sets the foundation for the subsequent repair process and ensures that your tools are in the best possible condition.
Step 4: Straighten Bent Tools
If you have come across any tools that are bent or misshapen during the inspection process, it’s important to straighten them before continuing with the repairs. Using bent tools can compromise their functionality and pose a safety risk. Luckily, with the right techniques, you can often restore them to their original shape.
Follow these steps to straighten bent tools:
- Assess the severity: Determine the extent of the bend or misshape in the tool. If it’s a minor bend, you may be able to correct it by simply applying pressure. However, if it’s a more severe bend, you may need to use additional tools or techniques.
- Apply gradual pressure: For minor bends, use your hands or pliers to apply gradual pressure in the opposite direction of the bend. Gently bend the tool back into its original shape, taking care not to overdo it or exert excessive force that could cause further damage.
- Apply heat if necessary: Some tools, especially those made of metal, can be easier to straighten when heated. Use a heat source, such as a propane torch or a heat gun, to warm up the affected area of the tool. Heat it until it becomes malleable, then use pliers or a vice to manipulate and straighten the tool. Be cautious when using heat and wear protective gloves to avoid burns.
- Check for uniformity: After straightening the tool, inspect it carefully to ensure that it is uniformly straight. Use a straightedge or your eye to check for any remaining deformities. Make any necessary adjustments to achieve the desired shape.
- Test for functionality: Once the tool is straightened, test its functionality. Make sure it moves smoothly, handles as intended, and performs its intended task efficiently. If you notice any issues, reassess the tool and make further adjustments as needed.
Remember, if you are unsure about straightening a particular tool or don’t have the necessary skills or tools, it’s best to seek professional help to avoid causing further damage.
Straightening bent tools allows you to restore their functionality and improve their usability. By taking the time to fix bent tools, you can ensure they are safe and reliable for future use.
Read more: How To Attach Tool Box To Truck
Step 5: Remove Rust and Corrosion
Rust and corrosion can greatly affect the performance and durability of flat hand tools. It’s important to eliminate these issues to ensure the tools function properly and last longer. Fortunately, there are several effective methods to remove rust and corrosion from your tools.
Follow these steps to remove rust and corrosion:
- Prepare the tools: Ensure that the tools are clean and dry before proceeding. Removing any dirt or debris will allow you to focus solely on treating the rust and corrosion.
- Choose a rust removing method: There are various methods to remove rust, each suitable for different levels of rust and personal preferences. Here are three common approaches:
- Vinegar: Submerge the rusted tools in white vinegar and let them soak for several hours or overnight. The acidic nature of vinegar helps dissolve the rust. After soaking, scrub the tools with a brush or cloth to remove the loosened rust. Rinse the tools with water and dry them thoroughly.
- Baking soda paste: Create a paste by mixing baking soda with water. Apply the paste to the rusted areas of the tools and let it sit for a few hours. Scrub the paste and rust off using a brush or cloth. Rinse the tools with water and dry them completely.
- Rust remover products: Rust remover solutions or sprays can effectively dissolve rust. Follow the instructions provided on the product packaging, as different products may have specific application methods and durations. Use a brush or cloth to scrub away the dissolved rust and rinse the tools thoroughly.
- Remove stubborn rust: For tools with stubborn rust that doesn’t come off easily, you may need to use additional tools such as steel wool or a wire brush. Scrub the rusted areas gently to remove the remaining rust. Be careful not to scratch the surfaces or remove any protective coatings.
- Dry and protect the tools: After removing the rust, thoroughly dry the tools to prevent any moisture from causing further rust. Use a clean cloth to remove excess moisture and ensure the tools are completely dry before moving on to the next steps. To protect against future rusting, consider applying a thin layer of lubricating oil to the tools’ surfaces.
By effectively removing rust and corrosion from your flat hand tools, you can restore their appearance and performance. Regular maintenance and prevention, such as oiling and proper storage, can also help prevent future rusting.
Regularly check and maintain the air pressure in your truck’s tires to ensure they are properly inflated, which can help prevent flat tires while transporting hand tools.
Step 6: Sharpen Dull Blades
Dull blades can hinder the effectiveness and precision of your flat hand tools. Sharpening them is an essential step to restore their cutting power and ensure optimal performance. Whether it’s a knife, chisel, or scissors, sharpening the blades will make your tasks easier and safer.
Follow these steps to sharpen dull blades:
- Secure the blade: Depending on the type of tool and its blade, you may need to secure it in a vice or use a sharpening tool with a built-in clamp. This will provide stability and make it easier to sharpen the blade.
- Choose the right sharpening method: There are various methods to sharpen blades, including using sharpening stones, files, or specialized sharpening systems. Choose the method that is most appropriate for the specific tool and its blade.
- Angle the blade: In most cases, blades are sharpened at an angle. The specific angle depends on the type of tool and its intended purpose. Refer to the manufacturer’s recommendations or do research to determine the correct angle.
- Start sharpening: Begin the sharpening process by running the sharpening tool along the blade’s edge, applying light and even pressure. Maintain a consistent motion, ensuring that the entire edge is being sharpened evenly.
- Check the progress: Periodically stop to assess the progress of the sharpening. Look for a shiny and even edge to indicate that the blade is being sharpened properly. If necessary, adjust the angle or continue sharpening until the desired sharpness is achieved.
- Hone the blade: Once the blade is sharpened, use a honing tool or leather strop to remove any burrs and further refine the edge. This will enhance the cutting efficiency and smoothness of the blade.
- Clean and test: After sharpening, clean off any metal shavings or debris from the blade. Test the sharpness by making a few controlled cuts with the tool. If necessary, repeat the sharpening process to achieve the desired sharpness.
Sharpening dull blades is a skill that may require practice and patience. It’s always recommended to follow the manufacturer’s instructions or seek guidance from experienced individuals if you are unsure about sharpening a particular blade.
Properly sharpened blades will greatly improve the performance of your flat hand tools and make your various tasks more efficient and enjoyable.
Step 7: Replace Broken Handles
A broken handle can render a flat hand tool unusable and even pose a safety risk. If you come across a tool with a broken or cracked handle during the inspection process, it’s important to replace it to ensure the tool’s functionality and your safety.
Follow these steps to replace broken handles:
- Assess the damage: Examine the extent of the damage to determine if the handle can be repaired or needs a complete replacement. In most cases, it’s best to opt for a replacement to ensure a strong and reliable handle.
- Find a replacement handle: Look for a replacement handle that is compatible with the tool. You can find replacement handles at hardware stores or online. Ensure that the replacement handle is of the appropriate size, material, and design for your specific tool.
- Remove the old handle: Depending on the tool, removing the old handle may involve unscrewing it, prying it off, or cutting it. Follow the manufacturer’s instructions or consult a professional if you are unsure about the removal process.
- Clean and prepare the tool: After removing the old handle, clean the tool to remove any adhesive residue or debris. Ensure that the tool is dry and free from any substances that may affect the adhesion of the new handle.
- Attach the new handle: Apply adhesive, such as epoxy or wood glue, to the end of the replacement handle and carefully attach it to the tool. Follow the adhesive manufacturer’s instructions for application and curing time. Make sure the handle is securely and firmly in place.
- Let it cure: Allow the adhesive to fully cure according to the specified time. This ensures a strong bond between the handle and the tool.
- Test the handle: Once the adhesive has cured, test the handle by gripping the tool firmly and performing a few controlled movements. Ensure that the handle is stable, comfortable, and allows for proper control during use.
- Make any necessary adjustments: If needed, make any adjustments to the handle, such as sanding or shaping, to enhance comfort and usability. Be cautious not to weaken the handle or affect its structural integrity.
Replacing a broken handle will extend the life of your flat hand tool and make it safe to use once again. Remember to choose a high-quality replacement handle that is suitable for the specific tool and its intended purpose.
Step 8: Lubricate Moving Parts
Lubricating the moving parts of your flat hand tools is crucial for ensuring smooth operation and preventing premature wear and tear. Over time, dust, dirt, and friction can cause these parts to become stiff or even seize up. Applying lubrication will reduce friction, protect against rust, and prolong the lifespan of your tools.
Follow these steps to lubricate the moving parts:
- Clean the parts: Before applying any lubricant, make sure the moving parts are clean and free from dirt, debris, or old lubrication. Use a cloth or brush to gently remove any residue or build-up.
- Select the right lubricant: Choose a lubricant that is appropriate for the specific application and material of your tools. There are various types of lubricants available, such as silicone-based lubricants for plastic or rubber parts, or general-purpose oil or grease for metal parts.
- Apply the lubricant: Use a small amount of lubricant and apply it directly to the moving parts. Be careful not to over-lubricate, as excess lubricant can attract dirt and result in a messy application. Follow the specific instructions provided by the manufacturer for the appropriate amount of lubricant to use.
- Distribute the lubricant: Move the tool’s moving parts back and forth or rotate them to help distribute the lubricant evenly. This ensures that all areas requiring lubrication are covered and protected.
- Wipe off excess lubricant: After applying the lubricant, use a clean cloth or paper towel to wipe off any excess. This prevents the accumulation of dirt and debris on the tool during use.
- Repeat periodically: Lubrication is not a one-time task. Depending on the frequency of use and the nature of the tool, moving parts may require regular lubrication. Consult the manufacturer’s recommendations or establish a maintenance schedule to ensure the moving parts remain properly lubricated.
Regularly lubricating the moving parts of your flat hand tools will keep them operating smoothly and efficiently. This simple maintenance step can significantly extend the tool’s lifespan and improve overall performance.
Read more: How to Get a Tool Chest In A Truck?
Step 9: Store the Tools Properly
Proper storage of your flat hand tools is essential for maintaining their condition and prolonging their lifespan. Storing them correctly not only prevents damage but also ensures that they are easily accessible and ready for use when needed. By following these proper storage practices, you can keep your tools in optimal condition for years to come.
Here are some guidelines for storing your tools properly:
- Clean the tools: Before storing your tools, make sure they are clean and dry. Remove any dirt, debris, or excess lubricant. Cleaning and drying the tools prevent the accumulation of grime, which can lead to corrosion or damage over time.
- Organize and categorize: Group similar tools together and organize them in a way that makes sense to you. Whether it’s by function, size, or type of project, having a systematic approach to organizing your tools will make it easier to find what you need quickly.
- Use appropriate storage solutions: Invest in storage solutions that suit your needs and the size of your tool collection. Toolboxes, tool cabinets, pegboards, or wall-mounted racks are effective options for keeping your tools organized and protected. Consider using foam inserts or tool rolls within your storage to provide added cushioning and prevent any tools from bumping into each other.
- Secure and lock tools: If you have valuable or expensive tools, consider using locks or security measures to prevent theft or unauthorized access. This is especially important if you store your tools in a shared or communal space.
- Avoid moisture and humidity: Moisture and humidity can cause rust and corrosion. Store your tools in a dry and well-ventilated area, away from direct exposure to water or extreme temperature fluctuations. Consider using silica gel packets or other moisture-absorbing materials to further protect against humidity.
- Maintain a proper temperature: Extreme temperatures can also damage your tools. Avoid storing them in areas that experience excessive heat or cold, such as garages or attics. Optimum temperature ranges are typically around 55-75°F (13-24°C).
- Regularly inspect and maintain: Periodically inspect your stored tools for any signs of damage or deterioration. Check for rust, loose handles, or any other issues that may require repair or replacement. Expeditiously address any concerns to prevent further damage.
By storing your flat hand tools properly, you protect them from damage and ensure their longevity. A well-organized and maintained tool storage system will save you time and frustration, allowing you to focus on your projects without the hassle of searching for misplaced or damaged tools.
Conclusion
Fixing flat hand tools is an essential skill for any DIY enthusiast or professional tradesperson. By following the step-by-step guide outlined in this article, you can revitalize your tools and ensure they remain in excellent condition for years to come.
Assessing the tools’ condition, gathering the necessary materials, and cleaning and inspecting them are crucial initial steps. Straightening bent tools, removing rust and corrosion, and sharpening dull blades are important repair tasks that will restore the tools’ functionality. Additionally, replacing broken handles, lubricating moving parts, and storing the tools properly will further enhance their performance and longevity.
Throughout the repair process, always prioritize safety by wearing appropriate protective gear and following manufacturer’s instructions. If you encounter complex repairs or lack confidence in your abilities, don’t hesitate to seek the assistance of a professional.
By taking the time to fix and maintain your flat hand tools, you not only save money on replacements but also ensure that your tools are reliable, efficient, and safe to use. Properly maintaining your tools enables you to tackle various projects with ease and confidence.
Remember, prevention is key. Regularly cleaning, inspecting, and maintaining your tools will minimize the need for extensive repairs in the future. Treat your tools with care, store them properly, and keep them organized to prolong their lifespan and make your DIY endeavors a breeze.
Frequently Asked Questions about How To Fix Flat Truck With Hand Tools
Was this page helpful?
At Storables.com, we guarantee accurate and reliable information. Our content, validated by Expert Board Contributors, is crafted following stringent Editorial Policies. We're committed to providing you with well-researched, expert-backed insights for all your informational needs.


0 thoughts on “How To Fix Flat Truck With Hand Tools”