
Articles
How To Fix Pressure Washer Hose
Modified: October 20, 2024
Learn valuable tips and tricks from our comprehensive articles on how to fix your pressure washer hose. Get the most out of your equipment and ensure optimal performance.
(Many of the links in this article redirect to a specific reviewed product. Your purchase of these products through affiliate links helps to generate commission for Storables.com, at no extra cost. Learn more)
Introduction
A pressure washer is an essential tool for cleaning a variety of outdoor surfaces, from sidewalks and decks to vehicles and home exteriors. The pressure washer hose is a crucial component of this equipment, as it delivers high-pressure water to effectively remove dirt, grime, and debris.
Unfortunately, pressure washer hoses are prone to wear and tear, which can lead to issues such as leaks or damage. If you’re experiencing problems with your pressure washer hose, fixing it can save you time and money compared to purchasing a new one.
In this article, we will guide you through the process of fixing a pressure washer hose, whether it’s repairing minor leaks or replacing a damaged hose. We will also provide some preventive maintenance tips to help prolong the life of your pressure washer hose and keep it in optimal condition.
Before we jump into the steps to fix a pressure washer hose, it’s important to understand the different types of hoses and the common issues they may encounter.
Key Takeaways:
- Regularly inspect, properly store, and avoid dragging your pressure washer hose to prevent common issues like leaks, kinks, and damage. Implementing preventive maintenance measures can extend the life of your hose and ensure optimal performance.
- Assess the damage, gather the necessary tools and materials, and follow the appropriate steps to repair or replace a damaged pressure washer hose. By taking proactive steps and following safety guidelines, you can maintain a reliable and effective cleaning tool for outdoor surfaces.
Read more: How To Connect Hose To Pressure Washer
Understanding Pressure Washer Hoses
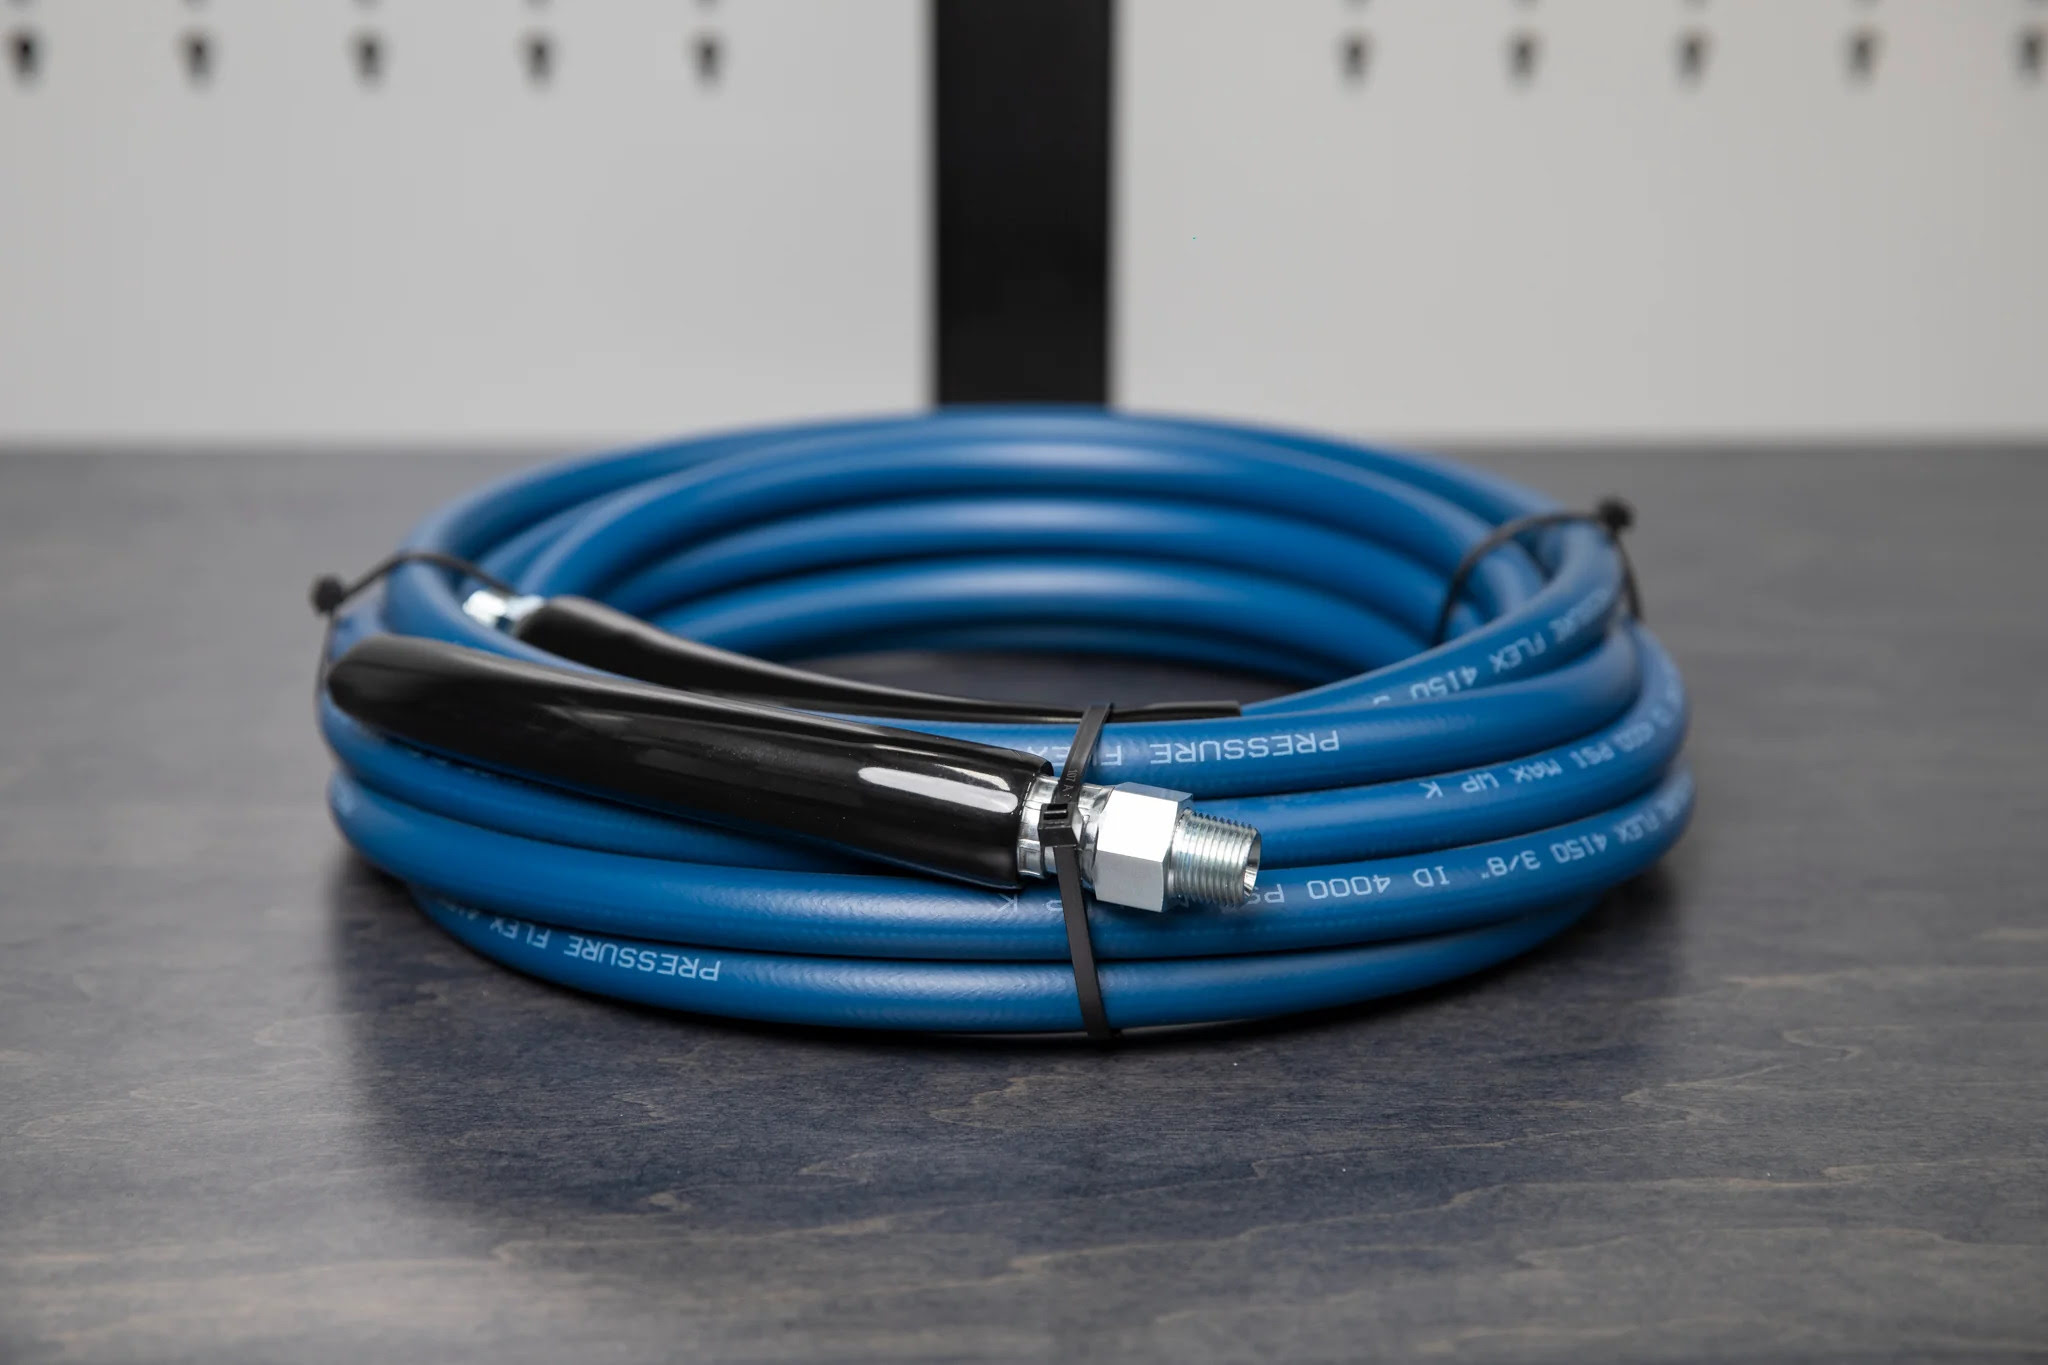
Pressure washer hoses come in various materials, lengths, and diameters. Understanding the differences between these hoses will help you choose the right one for your needs and better address any problems you may encounter.
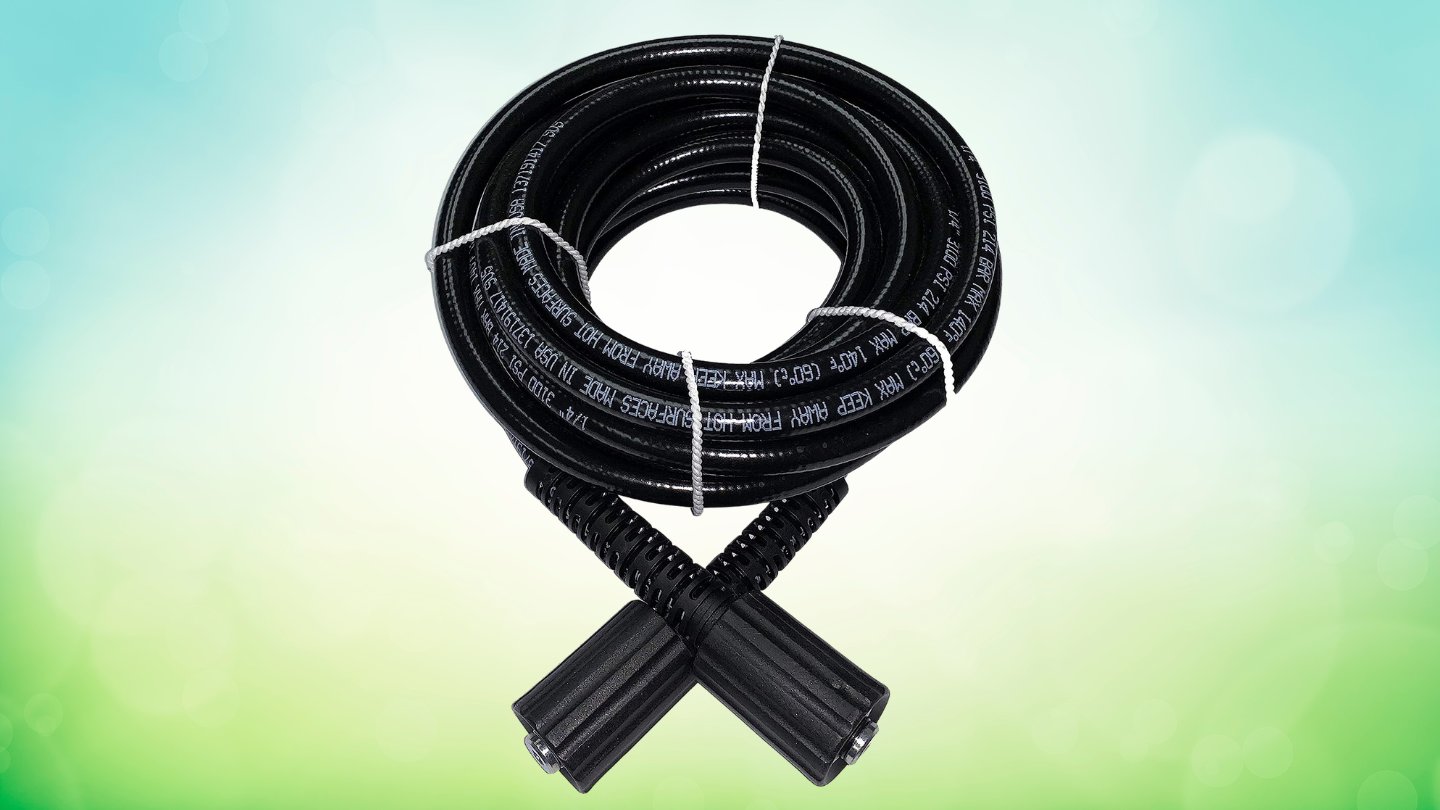
The most common types of pressure washer hoses are made of either rubber or PVC (polyvinyl chloride). Rubber hoses are more flexible and durable, making them suitable for heavy-duty applications. PVC hoses, on the other hand, are lighter, more affordable, and easier to maneuver, but they may not withstand high pressure as well as rubber hoses.
Another important factor to consider is hose length. Pressure washer hoses typically range from 20 to 100 feet in length. Longer hoses allow for greater mobility, especially when cleaning large outdoor areas, but they may result in reduced water pressure. Shorter hoses are ideal for smaller projects or when higher water pressure is required.
In addition to the hose material and length, diameter is an essential consideration. Most pressure washer hoses have diameters of either 1/4 inch or 3/8 inch. A larger diameter allows for higher water flow, which can be advantageous for tackling stubborn dirt and grime. However, keep in mind that larger diameter hoses require more power from the pressure washer to maintain adequate pressure.
Now that you have a better understanding of pressure washer hoses, it’s time to identify common issues that may arise and how to address them.
Identifying Common Hose Issues
Pressure washer hoses can develop various problems over time due to regular use, exposure to elements, or accidental damage. Here are some common hose issues you may encounter:
- Leaks: One of the most common problems with pressure washer hoses is leaks. Leaks can occur at the connections between the hose and the pressure washer or the spray gun, as well as along the length of the hose. Leaks can be minor or severe, resulting in reduced water pressure or even a complete loss of water flow.
- Damaged Outer Cover: The outer cover of the hose can get worn out or damaged due to prolonged exposure to sunlight, sharp objects, or abrasion. A damaged outer cover not only compromises the aesthetics but also exposes the inner layers of the hose to potential damage.
- Kinks: Kinks in the hose can restrict the water flow and lead to pressure buildup, reducing the effectiveness of your pressure washer. Kinks commonly occur when the hose is not properly stored or when it gets tangled during use.
- Bursts or Cracks: Over time, pressure washer hoses can develop weak spots that result in bursts or cracks. This can happen due to excessive pressure, exposure to extreme temperatures, or general wear and tear.
- Clogging: If you have been using your pressure washer to clean surfaces with debris or dirty water, there is a possibility that the hose may get clogged. Clogging can significantly impact the water flow and overall performance of your pressure washer.
By being aware of these common hose issues, you can quickly identify and address any problems that may arise. In the next section, we will discuss the tools and materials you’ll need to fix your pressure washer hose.
Tools and Materials Needed
Before you start fixing your pressure washer hose, it’s important to gather the necessary tools and materials. Having these items on hand will ensure a smooth and efficient repair process. Here’s what you’ll need:
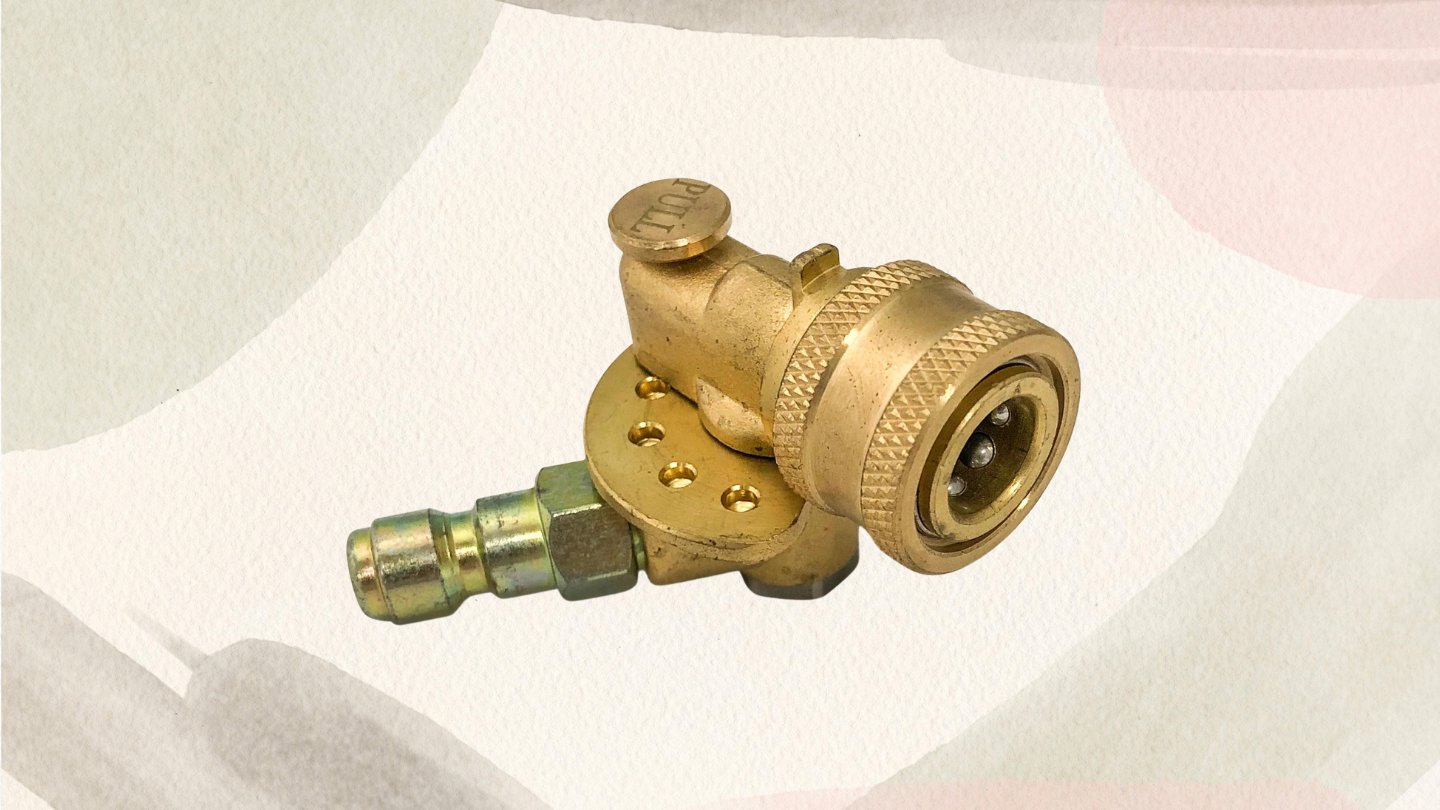
- Replacement Parts: Depending on the specific issue with your pressure washer hose, you may need replacement parts such as hose connectors, clamps, or O-rings. Assess the damage to determine the appropriate parts required for the repair.
- Hose Repair Kit: Hose repair kits are readily available and contain everything you need to fix minor leaks in your pressure washer hose, including tape, clamps, and fittings. A hose repair kit can be a cost-effective solution for small repairs.
- Gloves and Safety Glasses: Safety should always be a priority when working with pressure washer hoses. Gloves and safety glasses will protect your hands and eyes from any potential hazards during the repair process.
- Pliers or Adjustable Wrench: Pliers or an adjustable wrench will come in handy when tightening or loosening hose connections. These tools will help ensure a secure and leak-free connection.
- Scissors or Utility Knife: Scissors or a utility knife will be needed to trim the damaged portion of the hose or cut through any tape or clamps during the repair process.
- Tape or Sealant: Depending on the type of repair needed, you may require tape or sealant to create a watertight seal on your pressure washer hose. Make sure to choose tape or sealant that is specifically designed for outdoor use and is resistant to water and pressure.
- Rag or Towel: Keep a rag or towel handy to clean up any water or dirt that may be present during the repair process. This will help prevent any slipping hazards and ensure a clean work area.
- Owner’s Manual: It’s always a good idea to refer to your pressure washer’s owner’s manual. The manual will provide specific instructions for repairing and maintaining your pressure washer hose, and it may include troubleshooting tips tailored to your machine.
Once you have gathered these tools and materials, you’ll be well-prepared to tackle the repair of your pressure washer hose. In the following sections, we will guide you through the step-by-step process of assessing the damage and fixing both minor leaks and more significant issues.
Step 1: Assessing the Damage
Before you can begin the repair process for your pressure washer hose, it’s essential to assess the extent of the damage. This will help you determine the best course of action and the specific steps required to fix the hose.
Start by thoroughly inspecting the hose for any visible signs of damage such as leaks, cracks, or kinks. It’s a good idea to run water through the hose while conducting the inspection to identify any leaks or weak areas.
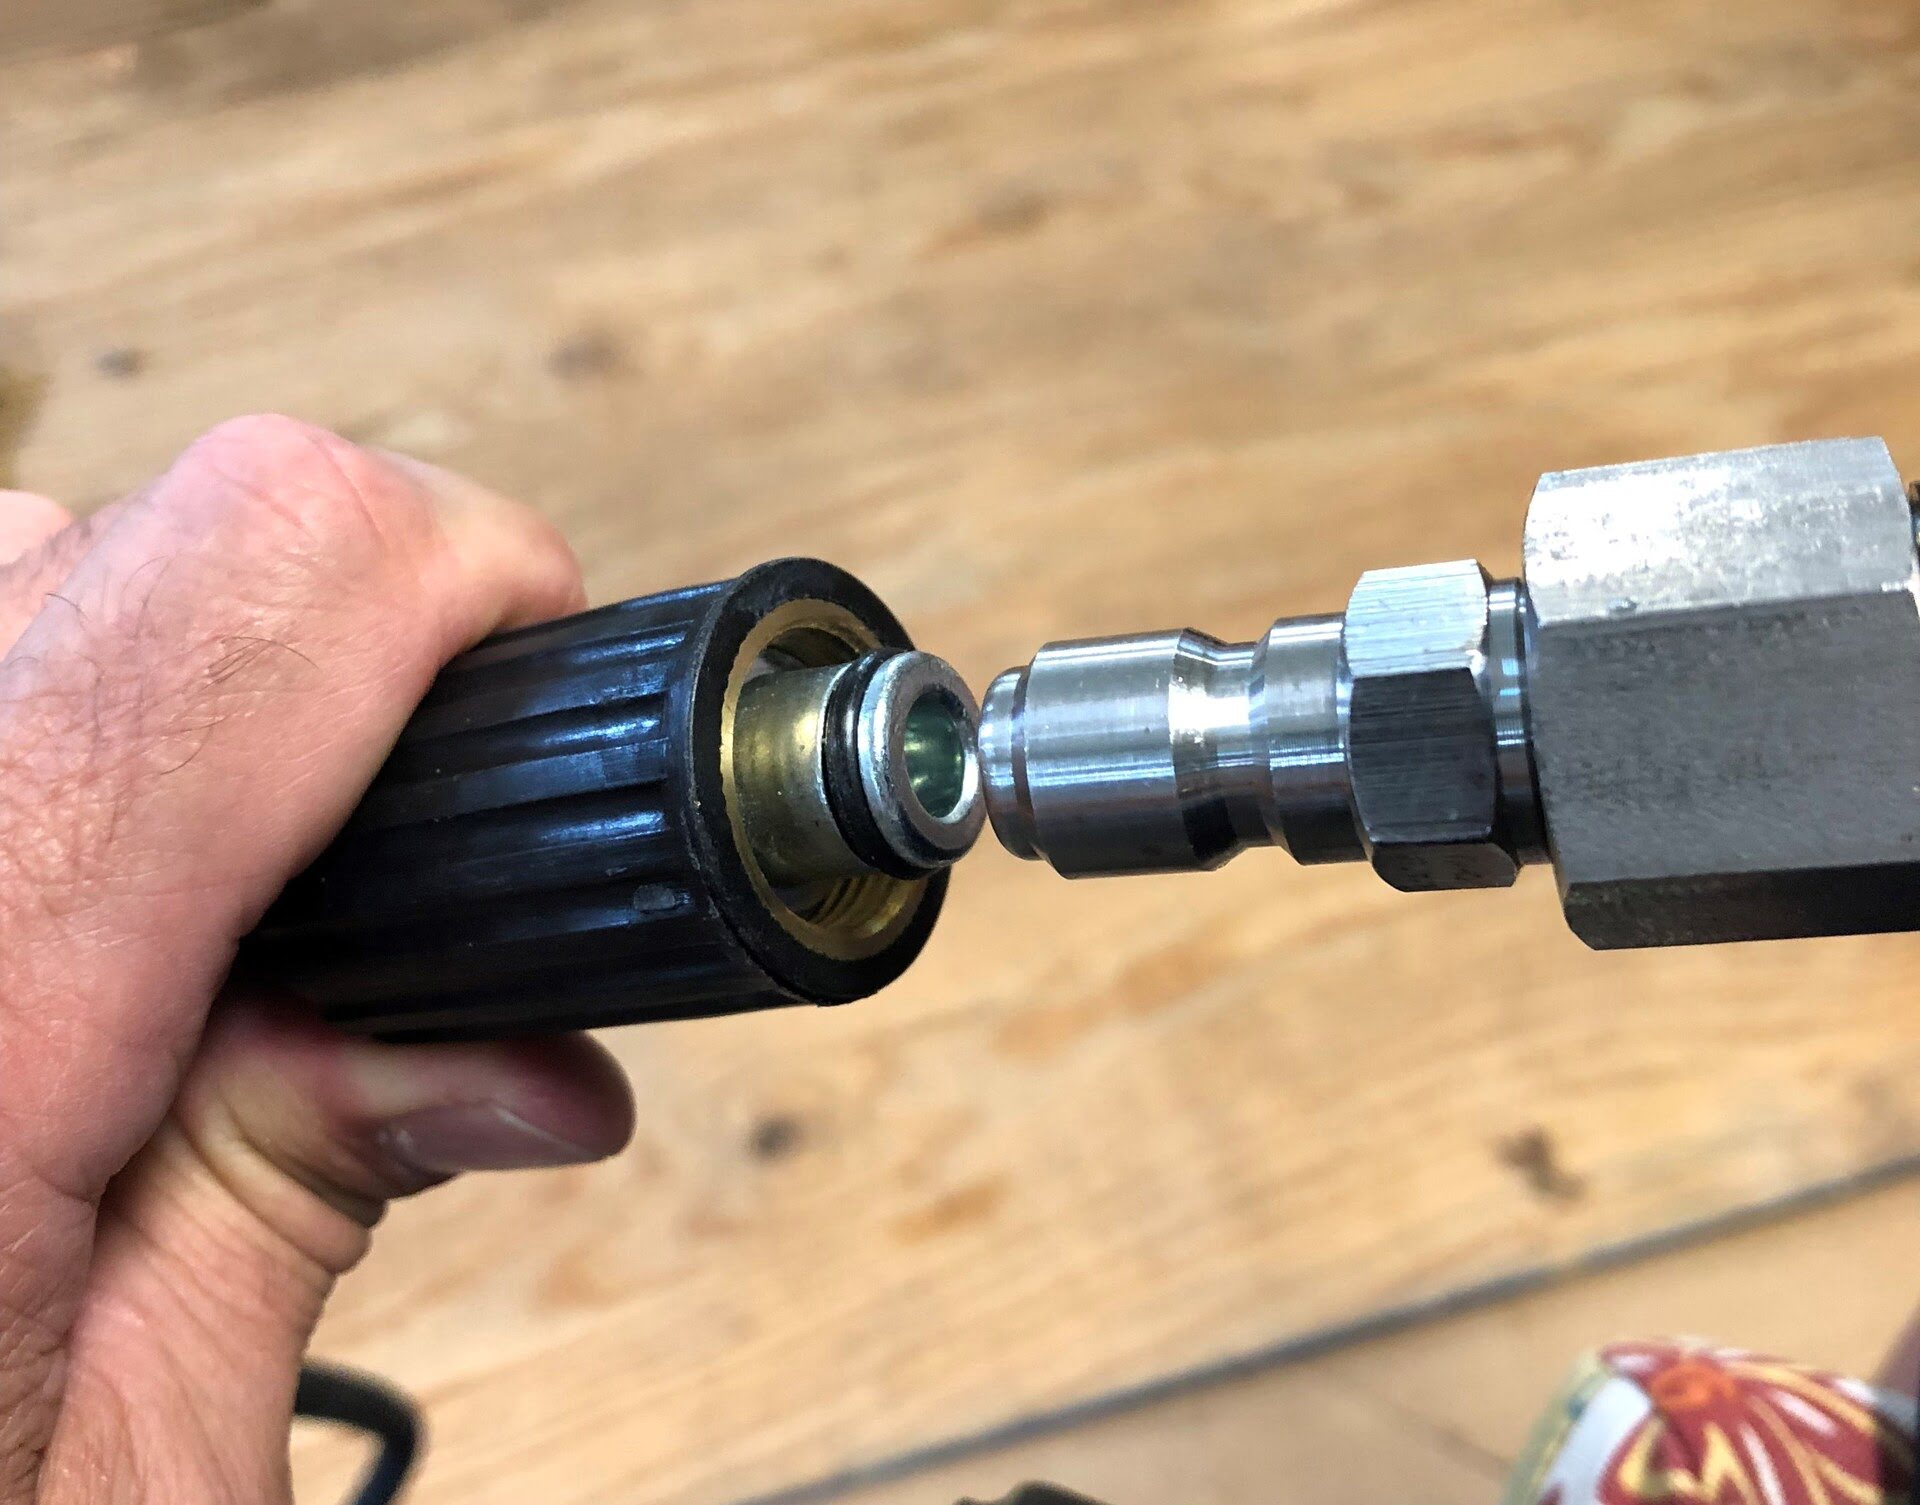
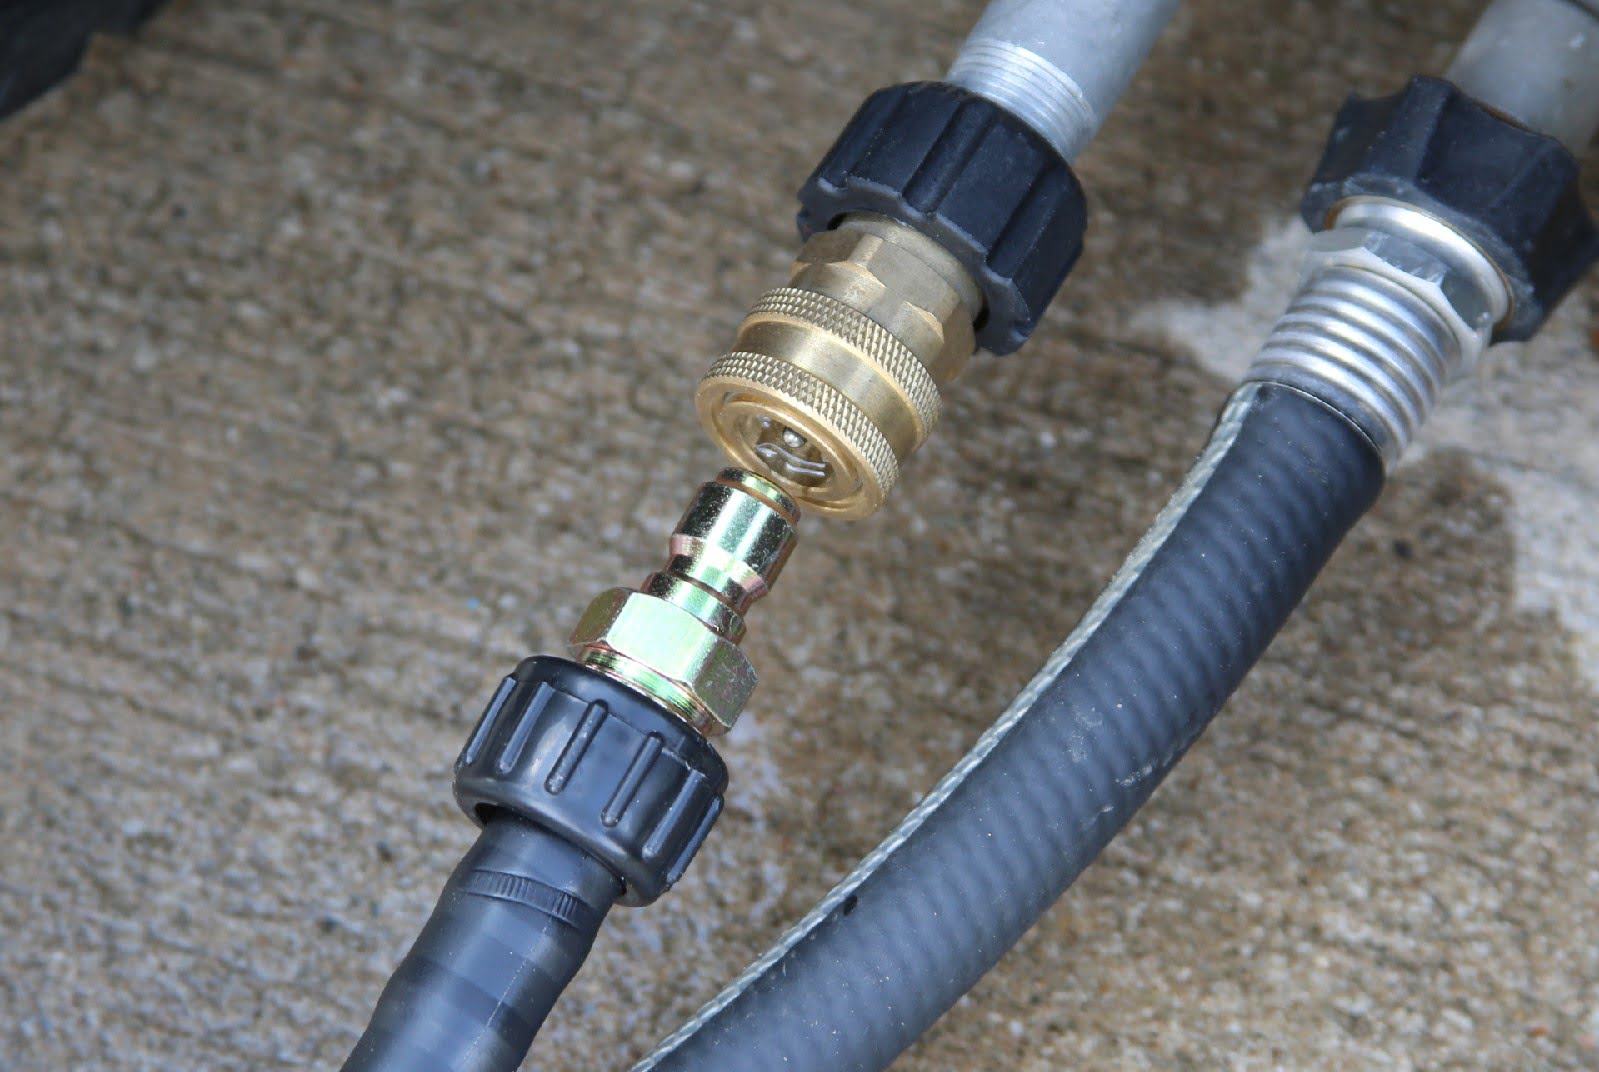
If you notice a leak, carefully examine the hose fittings, connections, and the length of the hose to pinpoint the exact location of the leak. Leaks at the connectors may indicate loose fittings or worn-out O-rings. Leaks along the length of the hose may be due to punctures, cracks, or worn-out areas.
Next, check for any signs of damage to the outer cover of the hose. Look for abrasions, cuts, or signs of wear, as these can potentially compromise the integrity of the hose. Additionally, check for any kinks or bends that could restrict water flow.
Once you have assessed the damage, determine whether the issue is repairable or if a replacement hose is necessary. Minor leaks, kinks, and small punctures can often be repaired, while larger cracks or significant damage may require replacing the hose entirely.
By carefully evaluating the condition of your pressure washer hose, you’ll be able to make an informed decision on the appropriate course of action. In the upcoming sections, we will guide you through repairing minor leaks and replacing a damaged hose.
When fixing a pressure washer hose, start by identifying the location of the leak or damage. Cut out the damaged section and use hose repair connectors to reattach the hose. Make sure to use the appropriate size and type of connectors for a secure and leak-free repair.
Read more: How To Connect Hose To Ryobi Pressure Washer
Step 2: Repairing a Leaking Hose
If your pressure washer hose has a minor leak, you can often fix it with a few simple steps. Follow these instructions to repair a leaking hose:
- Prepare the Hose: Start by turning off the pressure washer and disconnecting the hose from both the pressure washer and the spray gun. Make sure the hose is completely empty of water before proceeding.
- Locate the Leak: Thoroughly inspect the hose to locate the exact location of the leak. Look for any visible punctures or cracks, as well as any loose fittings or worn-out O-rings at the connections. It may be helpful to mark the leak with a pen or piece of tape for easier identification later.
- Trim the Damaged Area: Use a pair of scissors or a utility knife to carefully trim away the damaged portion of the hose. Make sure to create a clean and straight cut to ensure a proper seal later on. If the leak is near a fitting, you may need to remove the fitting before trimming the hose.
- Repair the Leak: Depending on the size and location of the leak, there are a few options for repair. For small punctures or cracks, you can use a hose repair kit. Follow the instructions on the kit to apply the tape or fitting provided to seal the leak. If the leak is near a fitting, you may need to replace the O-ring or tighten the fitting to create a secure seal.
- Check for Leaks: Once you have repaired the leak, reconnect the hose to the pressure washer and the spray gun. Turn on the pressure washer and check for any remaining leaks. If you notice any additional leaks, repeat the repair process or consider replacing the hose if the damage is extensive.
By following these steps, you should be able to successfully repair a leaking pressure washer hose. However, if the damage is severe or the repair does not hold up, it may be necessary to replace the hose entirely. In the next section, we will guide you through the process of replacing a damaged hose.
Step 3: Replacing a Damaged Hose
If your pressure washer hose has significant damage that cannot be repaired, it’s time to replace the hose. Follow these steps to replace a damaged hose:
- Turn off the Pressure Washer: Before removing the damaged hose, make sure to turn off the pressure washer and disconnect it from the power source. This will ensure your safety throughout the replacement process.
- Disconnect the Hose: Disconnect the damaged hose from both the pressure washer and the spray gun. Loosen any hose clamps or fittings that are securing the hose in place. You may need pliers or an adjustable wrench to help with disconnecting the fittings.
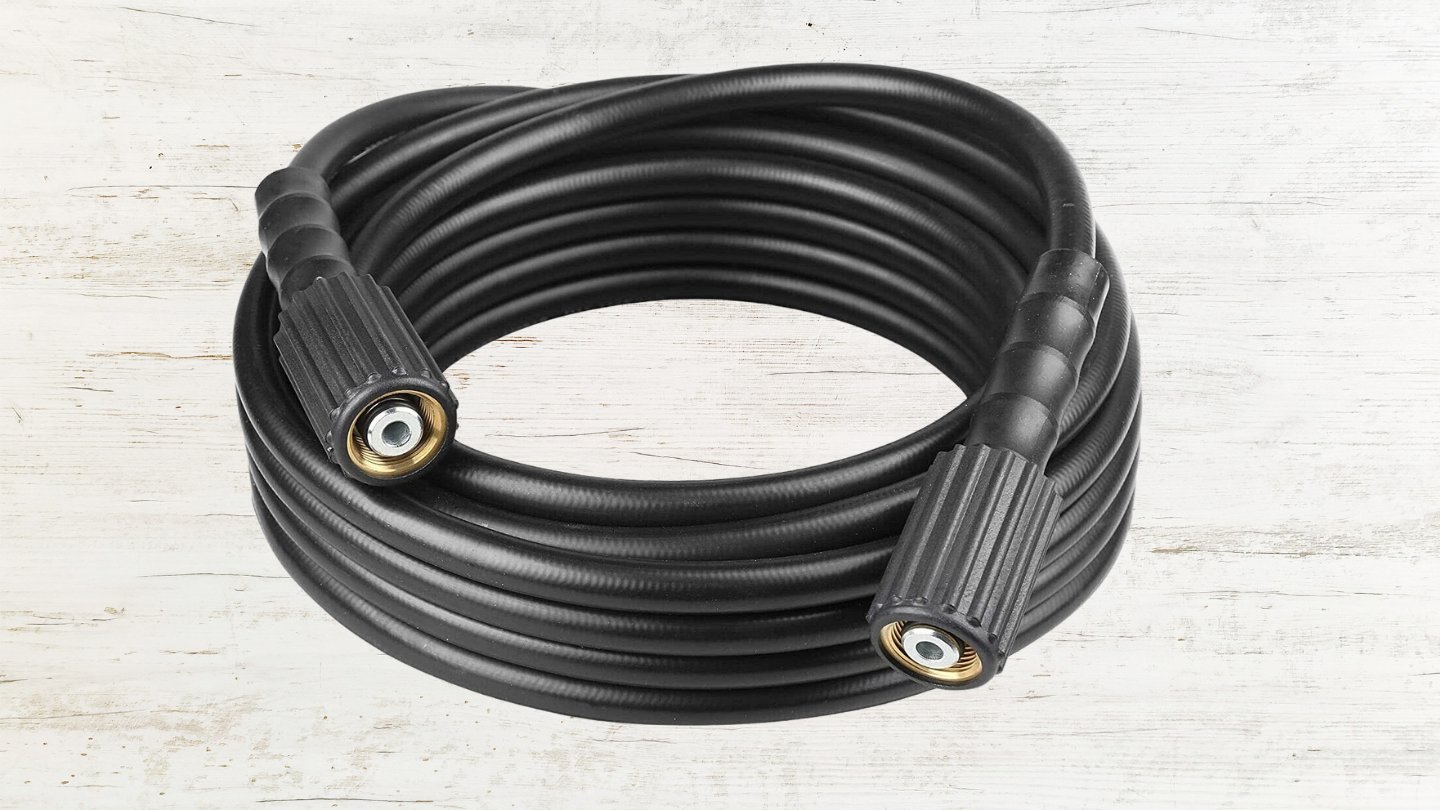
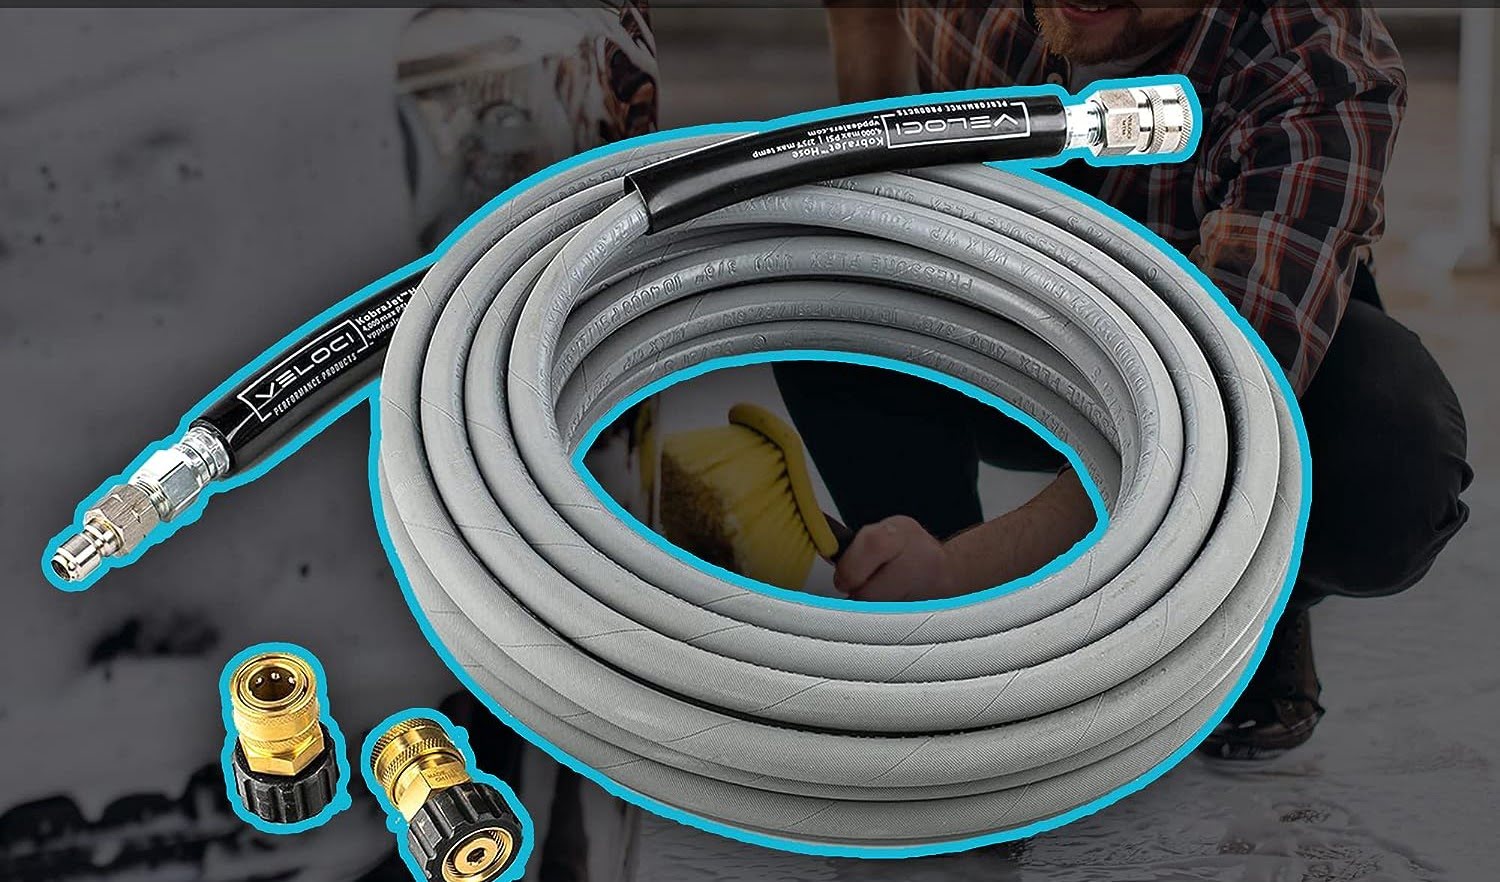
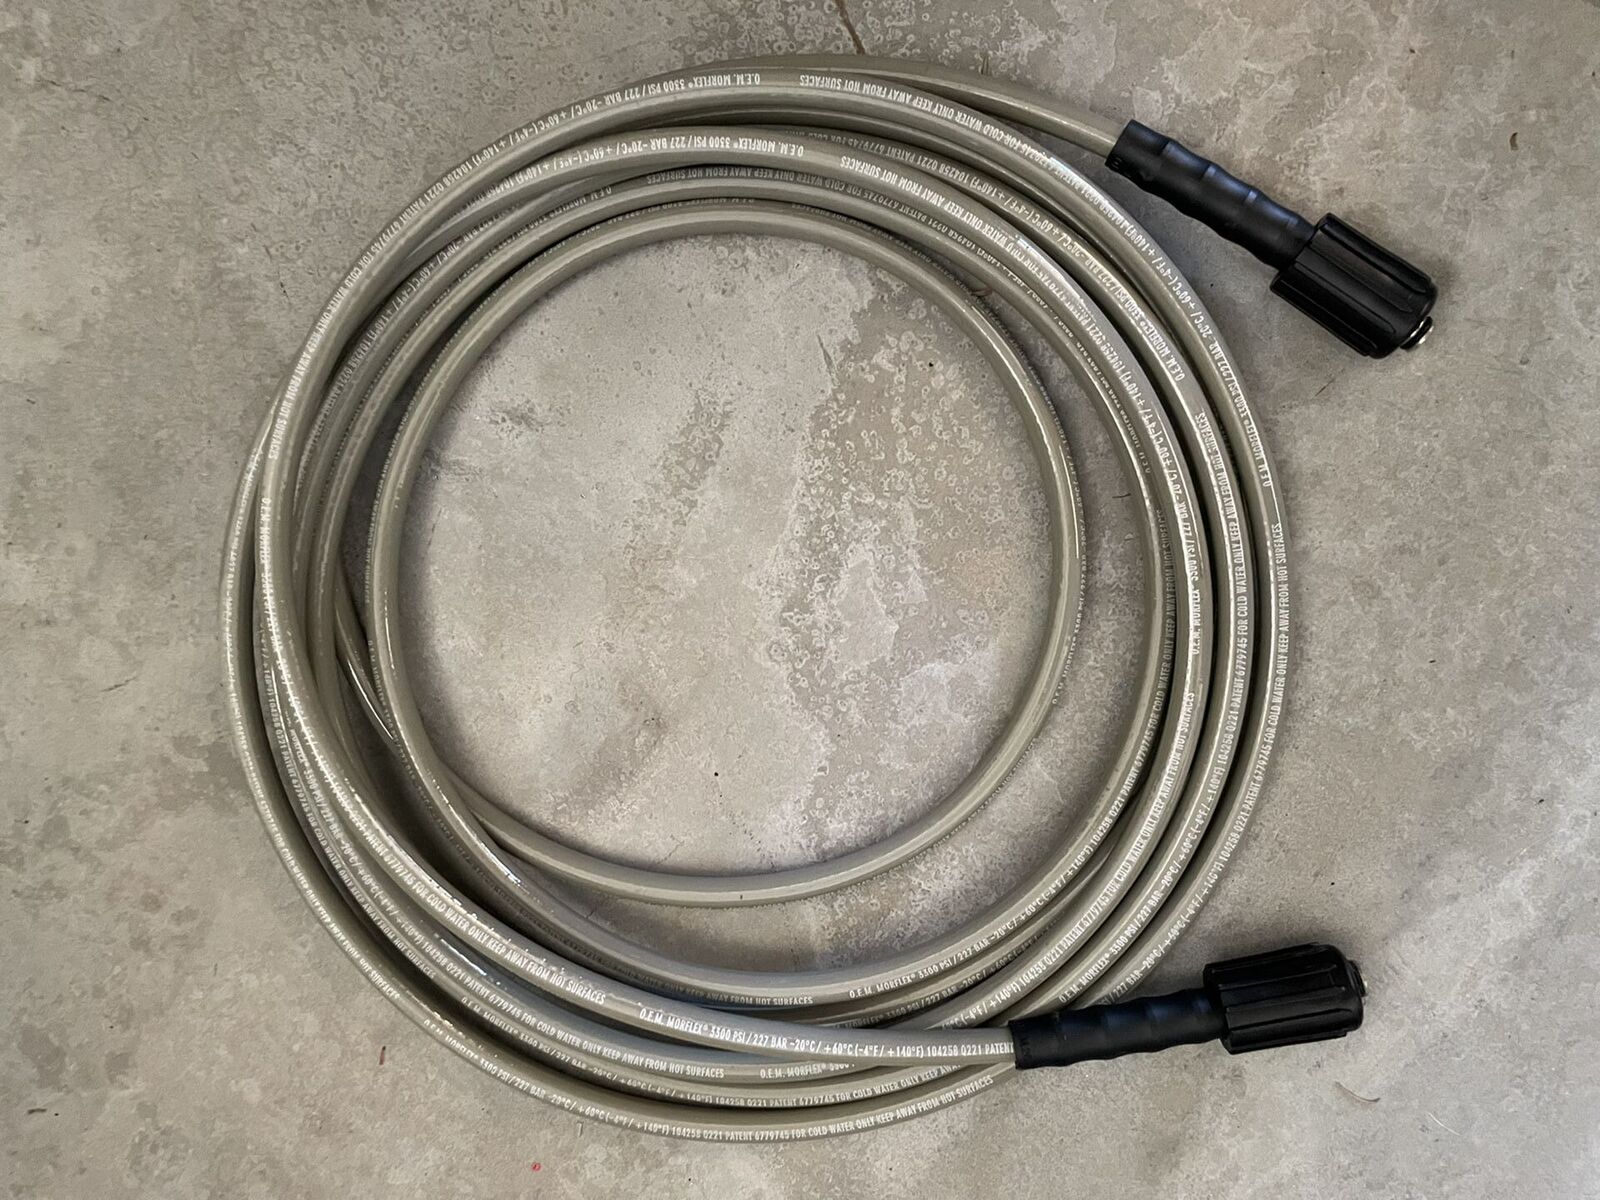
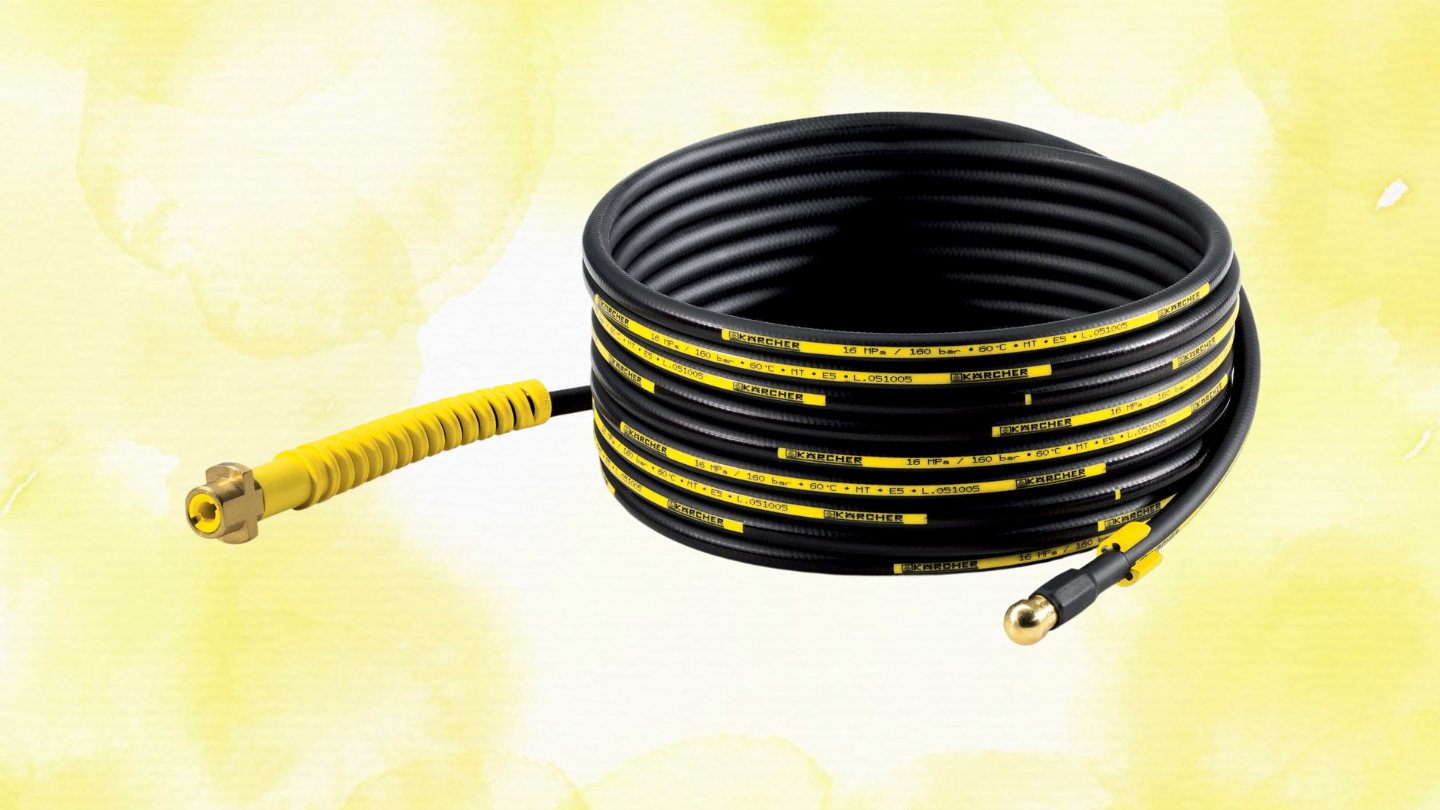
- Measure the Length: If you don’t already have a replacement hose, measure the length of the damaged hose to determine the size you need. Take note of the diameter and whether it’s a 1/4 inch or 3/8 inch hose.
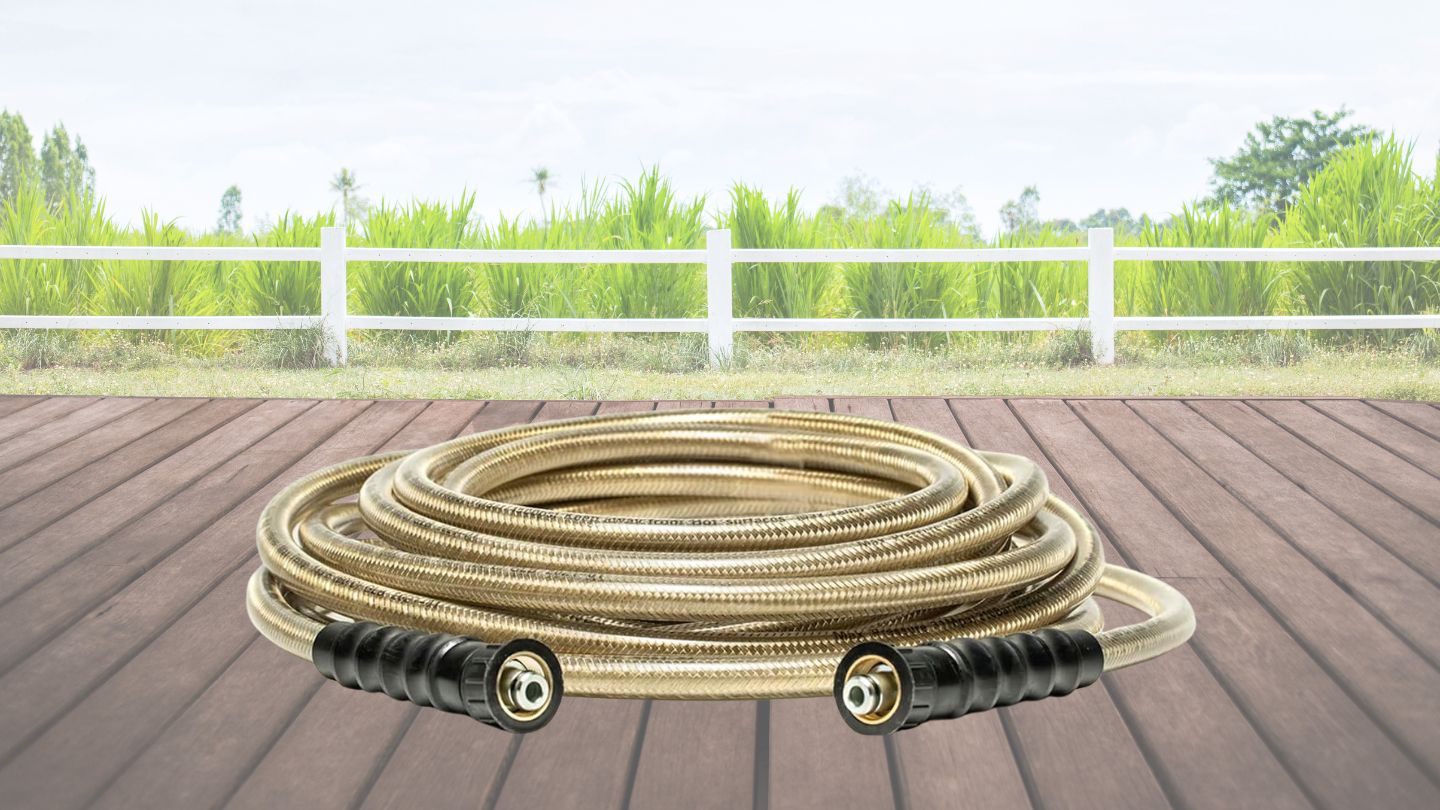
- Purchase a Replacement Hose: Visit a local hardware store or browse online to purchase a replacement hose that matches the length, diameter, and material of your old hose. Consider the quality and durability of the hose to ensure optimal performance.
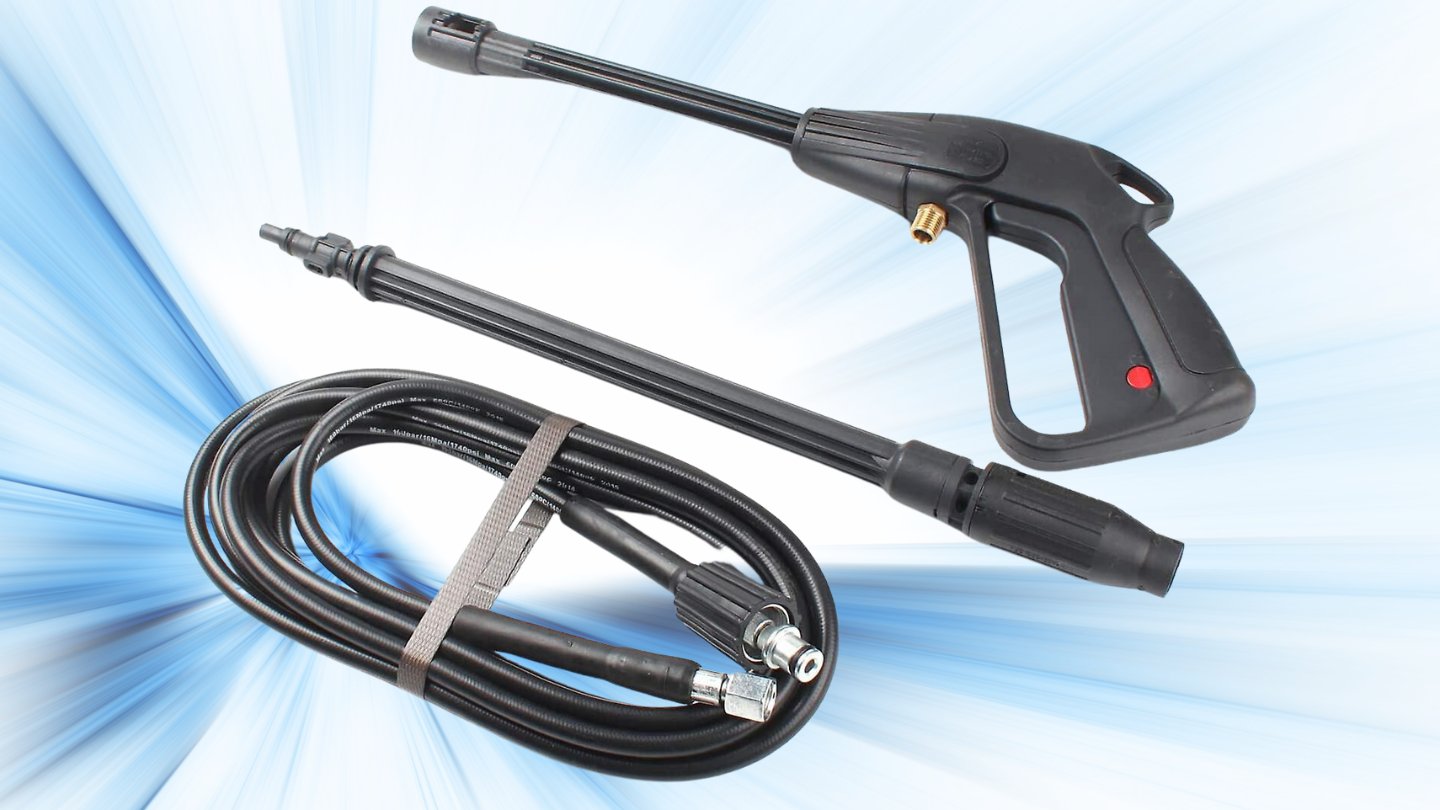
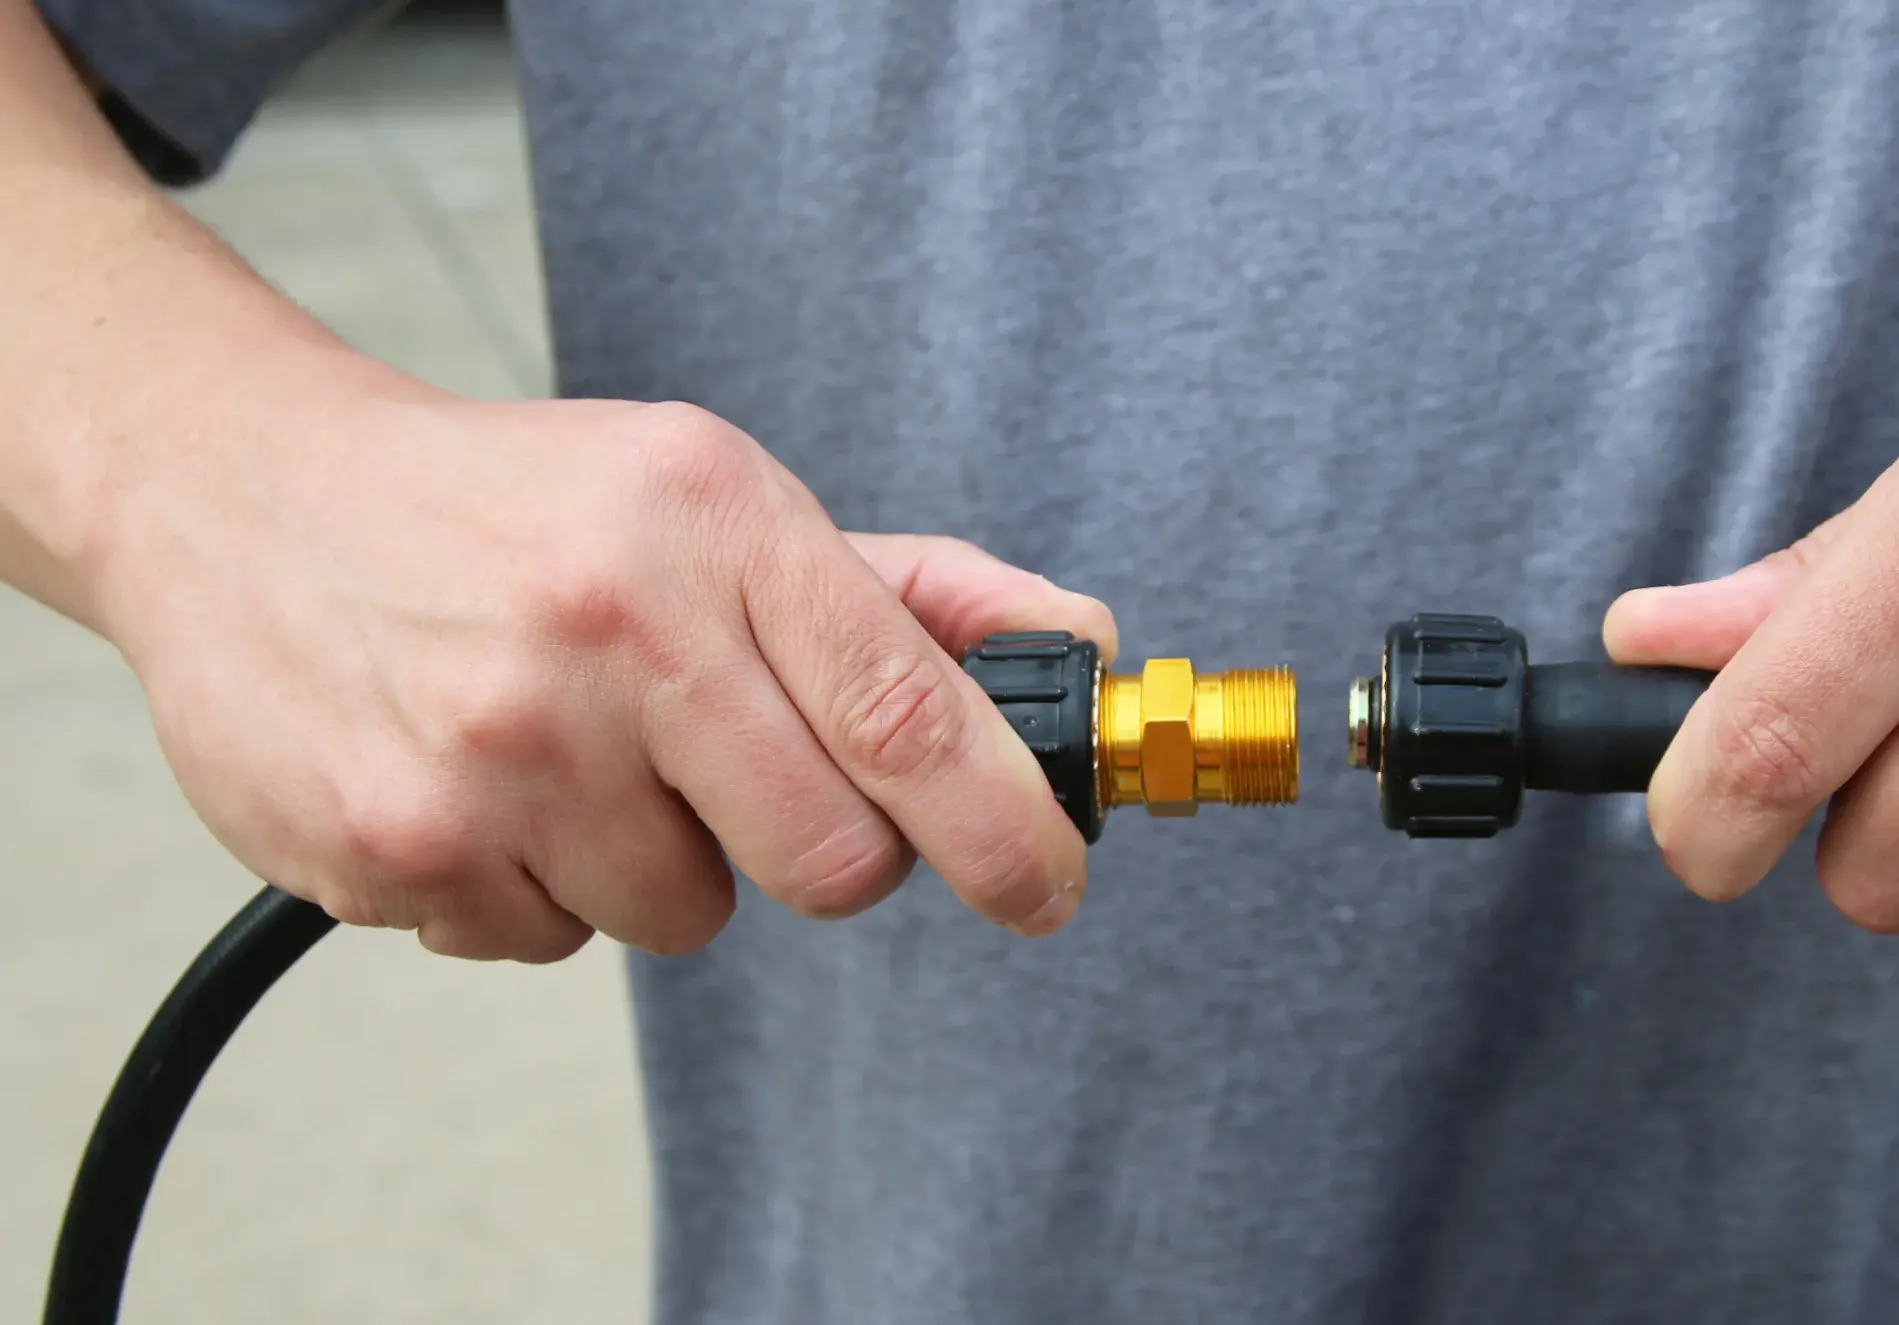
- Attach the New Hose: Begin by attaching one end of the new hose to the pressure washer by securing the hose clamp or fitting. Make sure the connection is tight to prevent leaks. Then, attach the other end of the hose to the spray gun, ensuring a secure and tight connection.
- Test the Connection: Once the new hose is properly attached, turn on the pressure washer and test the connection for leaks. Inspect the entire length of the hose and the connections to ensure there are no leaks or issues with water flow. Adjust the fittings if necessary.
- Properly Store the Old Hose: Dispose of the damaged hose responsibly. If it’s still in relatively good condition, consider keeping it as a backup or for spare parts. Properly store it to minimize any potential hazards or damage.
By following these steps, you can successfully replace a damaged pressure washer hose with a new one. Remember to always follow the manufacturer’s guidelines and recommendations for your specific pressure washer model. In the next section, we will provide some preventive maintenance tips to help prolong the life of your pressure washer hose.
Step 4: Preventive Maintenance Tips
Taking proactive steps to maintain your pressure washer hose can help prolong its lifespan and prevent potential issues from arising. Here are some preventive maintenance tips to keep your pressure washer hose in optimal condition:
- Inspect Regularly: Regularly inspect your pressure washer hose for any signs of wear, damage, or leaks. By catching and addressing issues early on, you can prevent them from escalating into more significant problems.
- Proper Storage: After each use, properly store your pressure washer hose. This includes coiling it neatly to prevent kinks, avoiding sharp bends or twists, and protecting it from extreme temperatures and direct sunlight. Consider using hose reels or hangers to keep the hose organized and off the ground.
- Avoid Dragging: Avoid dragging the pressure washer hose over rough surfaces or sharp edges. This can cause abrasions and cuts, leading to premature damage. Instead, carefully guide the hose to prevent unnecessary strain and potential wear.
- Clear Debris: Before connecting your pressure washer hose, check for any debris or blockages that may be present. Clearing any dirt, leaves, or other objects from the hose will prevent clogging and maintain optimal water flow.
- Adjust Water Pressure: Be mindful of the water pressure used with your pressure washer. Excessive pressure can put strain on the hose and potentially cause damage. Adjust the pressure to an appropriate level for the task at hand, keeping in mind the limitations of your hose.
- Use the Right Nozzle: Choosing the right nozzle for your pressure washer can prevent unnecessary stress on the hose. Different nozzles provide varying spray patterns and pressures. Select the nozzle that is suitable for the surface you are cleaning to avoid excessive force on the hose.
- Regular Cleaning: After each use, flush clean water through the pressure washer hose to remove any leftover soap or chemicals. This will help prevent buildup and corrosion, keeping the hose in optimal condition.
- Follow Manufacturer’s Instructions: Always refer to the manufacturer’s instructions and guidelines for your specific pressure washer model. The manufacturer will provide specific maintenance recommendations and tips tailored to your equipment.
By following these preventive maintenance tips, you can extend the life of your pressure washer hose and minimize the need for repairs or replacements. Remember, a well-maintained hose will contribute to the overall efficiency and effectiveness of your pressure washer.
Conclusion
A properly functioning pressure washer hose is crucial for effective and efficient cleaning. By understanding the different types of hoses, identifying common issues, and knowing how to fix or replace a damaged hose, you can keep your pressure washer in optimal condition.
Whether you’re dealing with minor leaks, kinks, or more significant damage, the steps outlined in this article will guide you through the repair process. Taking the time to assess the damage, gather the necessary tools and materials, and follow the appropriate steps will help restore your pressure washer hose to its full functionality.
Additionally, by implementing preventive maintenance measures such as regular inspections, proper storage, and mindful usage, you can prolong the life of your pressure washer hose and prevent future issues from arising.
Remember, safety should always be a priority when working with pressure washers and hoses. Follow the manufacturer’s instructions, wear appropriate protective gear, and exercise caution throughout the repair and maintenance process.
By taking proactive steps to care for your pressure washer hose, you’ll ensure that it remains a reliable and effective tool for all your outdoor cleaning needs. With proper maintenance and timely repairs, your pressure washer hose will continue to serve you well for many seasons to come.
Ready to up your game with your pressure washer? Dive into our fresh guide on Pressure Washer Tips, brimming with smart strategies to maximize efficiency and effectiveness in 2024. Also, maintaining your home shouldn't be a chore. Check out our insightful piece on Home Maintenance for easy-to-follow routines that keep your space in top shape year-round. Both articles are packed with practical advice!
Frequently Asked Questions about How To Fix Pressure Washer Hose
Was this page helpful?
At Storables.com, we guarantee accurate and reliable information. Our content, validated by Expert Board Contributors, is crafted following stringent Editorial Policies. We're committed to providing you with well-researched, expert-backed insights for all your informational needs.


0 thoughts on “How To Fix Pressure Washer Hose”