Articles
How To Remove Washer Hose
Modified: October 20, 2024
Learn how to remove a washer hose with these helpful articles. Gain the knowledge you need to complete the task safely and efficiently.
(Many of the links in this article redirect to a specific reviewed product. Your purchase of these products through affiliate links helps to generate commission for Storables.com, at no extra cost. Learn more)
Introduction
Welcome to this guide on how to remove a washer hose! Whether you’re dealing with a broken hose or simply need to replace it for maintenance purposes, knowing how to properly remove a washer hose is a valuable skill to have. This step-by-step guide will walk you through the process, ensuring that you can tackle this task with confidence.
Removing a washer hose may seem like a daunting task, especially if you’re not familiar with the inner workings of your washing machine. However, with the right tools and a little bit of know-how, you’ll be able to complete this job in no time.
Before we dive into the steps, it’s important to note that safety should always be a top priority. Make sure to turn off the water supply and unplug the washer before starting. Additionally, if you’re unsure about any step or encounter any difficulties along the way, don’t hesitate to consult a professional.
Now, let’s gather our supplies and get started on removing that washer hose!
Key Takeaways:
- Safely and efficiently remove a washer hose by following a step-by-step guide, ensuring a smooth process from gathering supplies to reattaching the hose, promoting confidence and peace of mind.
- Prioritize safety, regular maintenance, and inspection to prolong the lifespan of your washer hose, avoiding potential leaks and ensuring optimal washing machine performance.
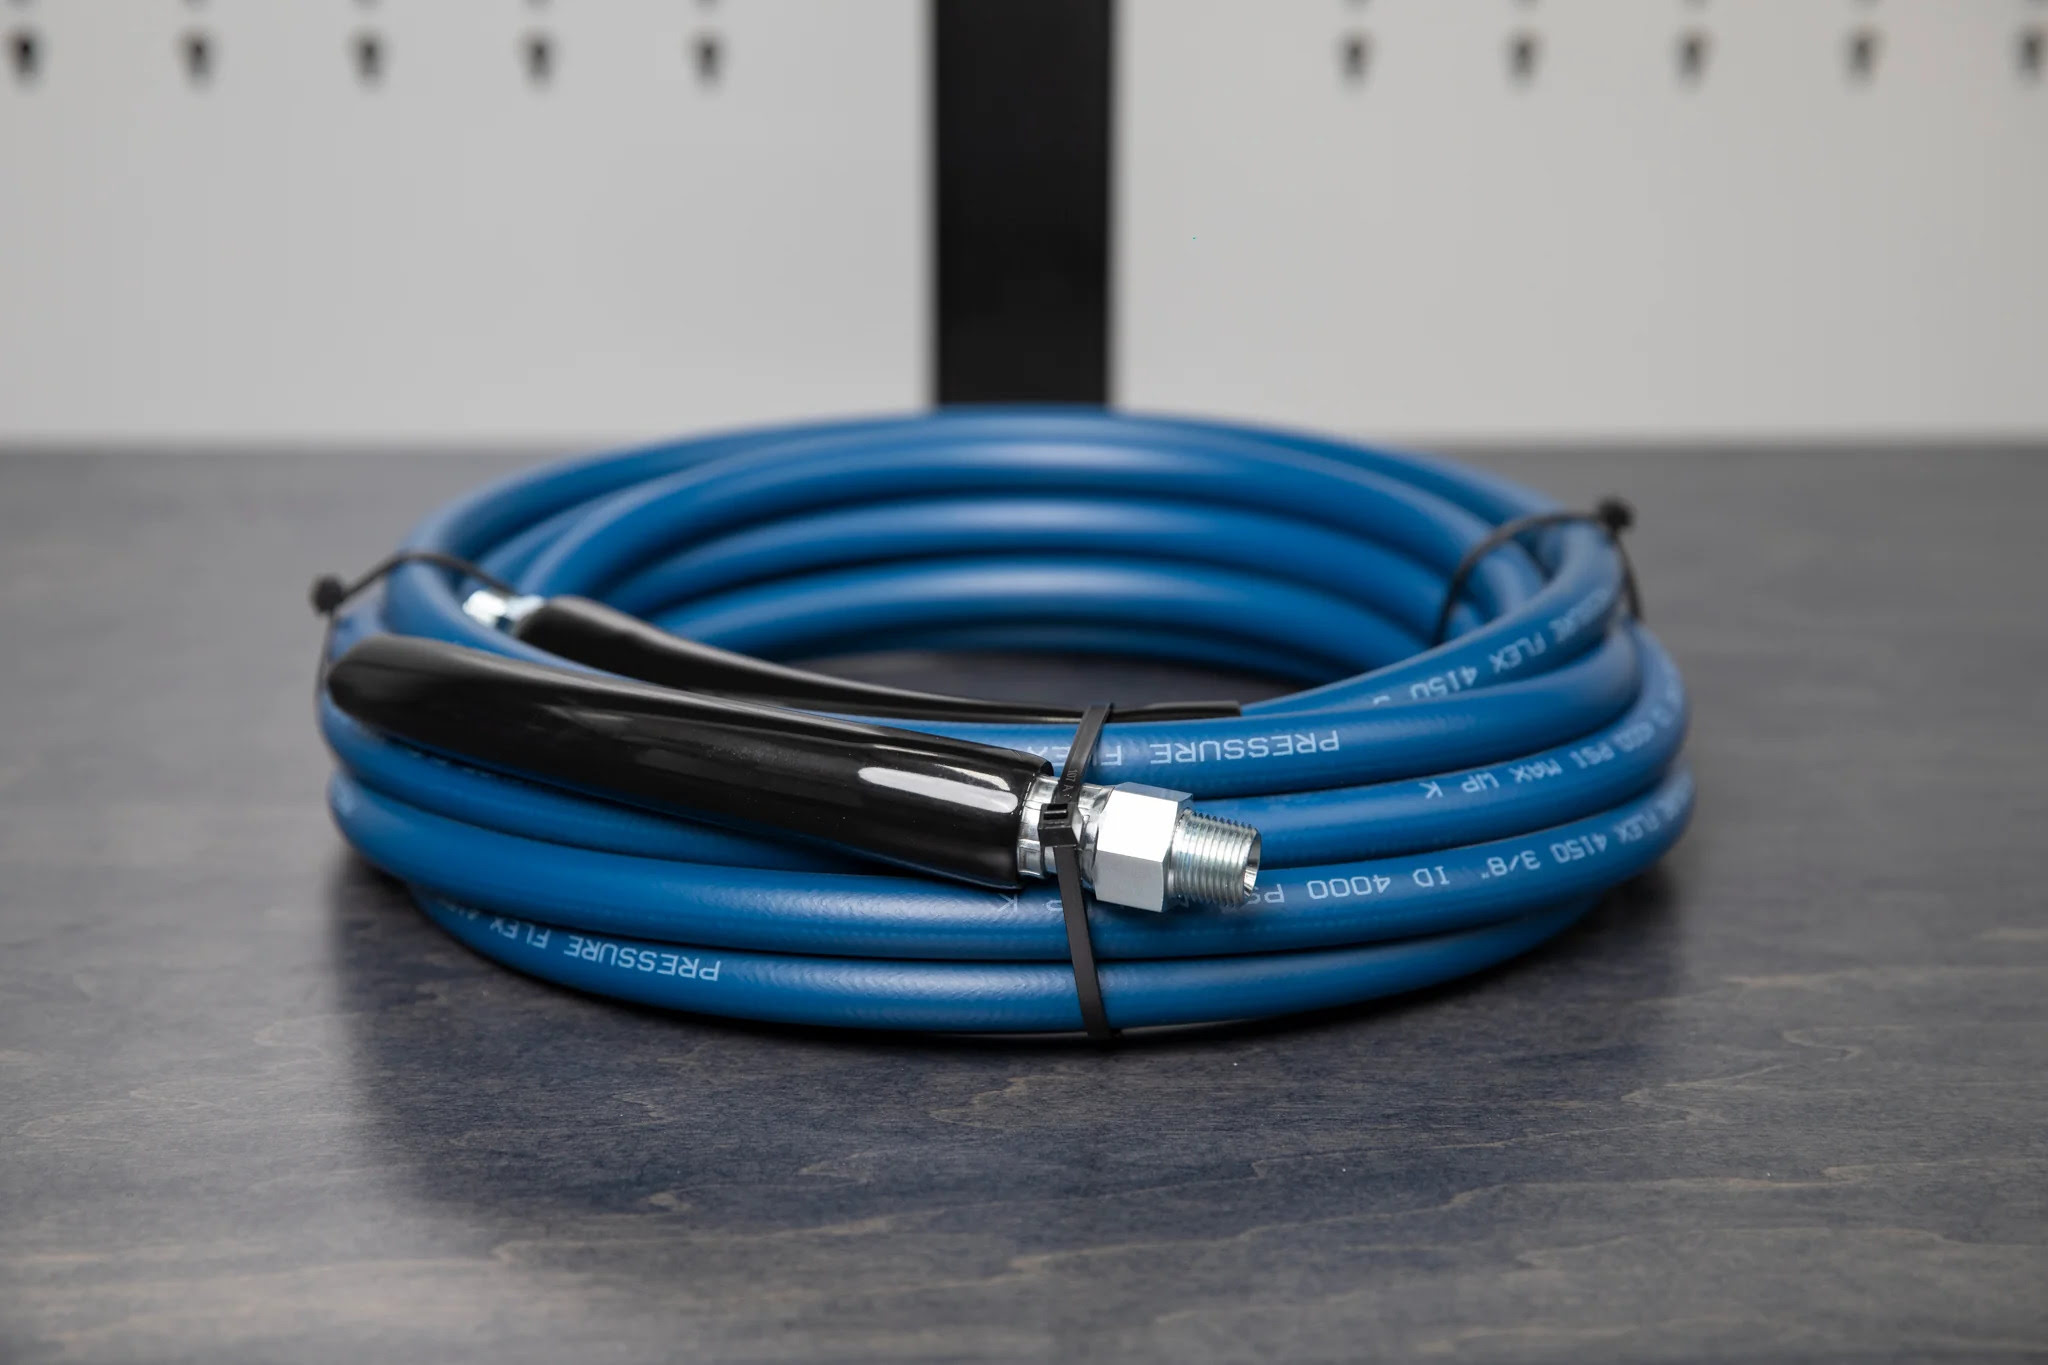
Read more: How To Fix Pressure Washer Hose
Tools and Materials Needed
Before you begin removing the washer hose, you’ll want to make sure you have the necessary tools and materials on hand. Here’s a list of what you’ll need:
- Adjustable wrench or pliers: These tools will be used to loosen and tighten the hose connections.
- Bucket or a towel: This will come in handy to catch any water that may spill during the process.
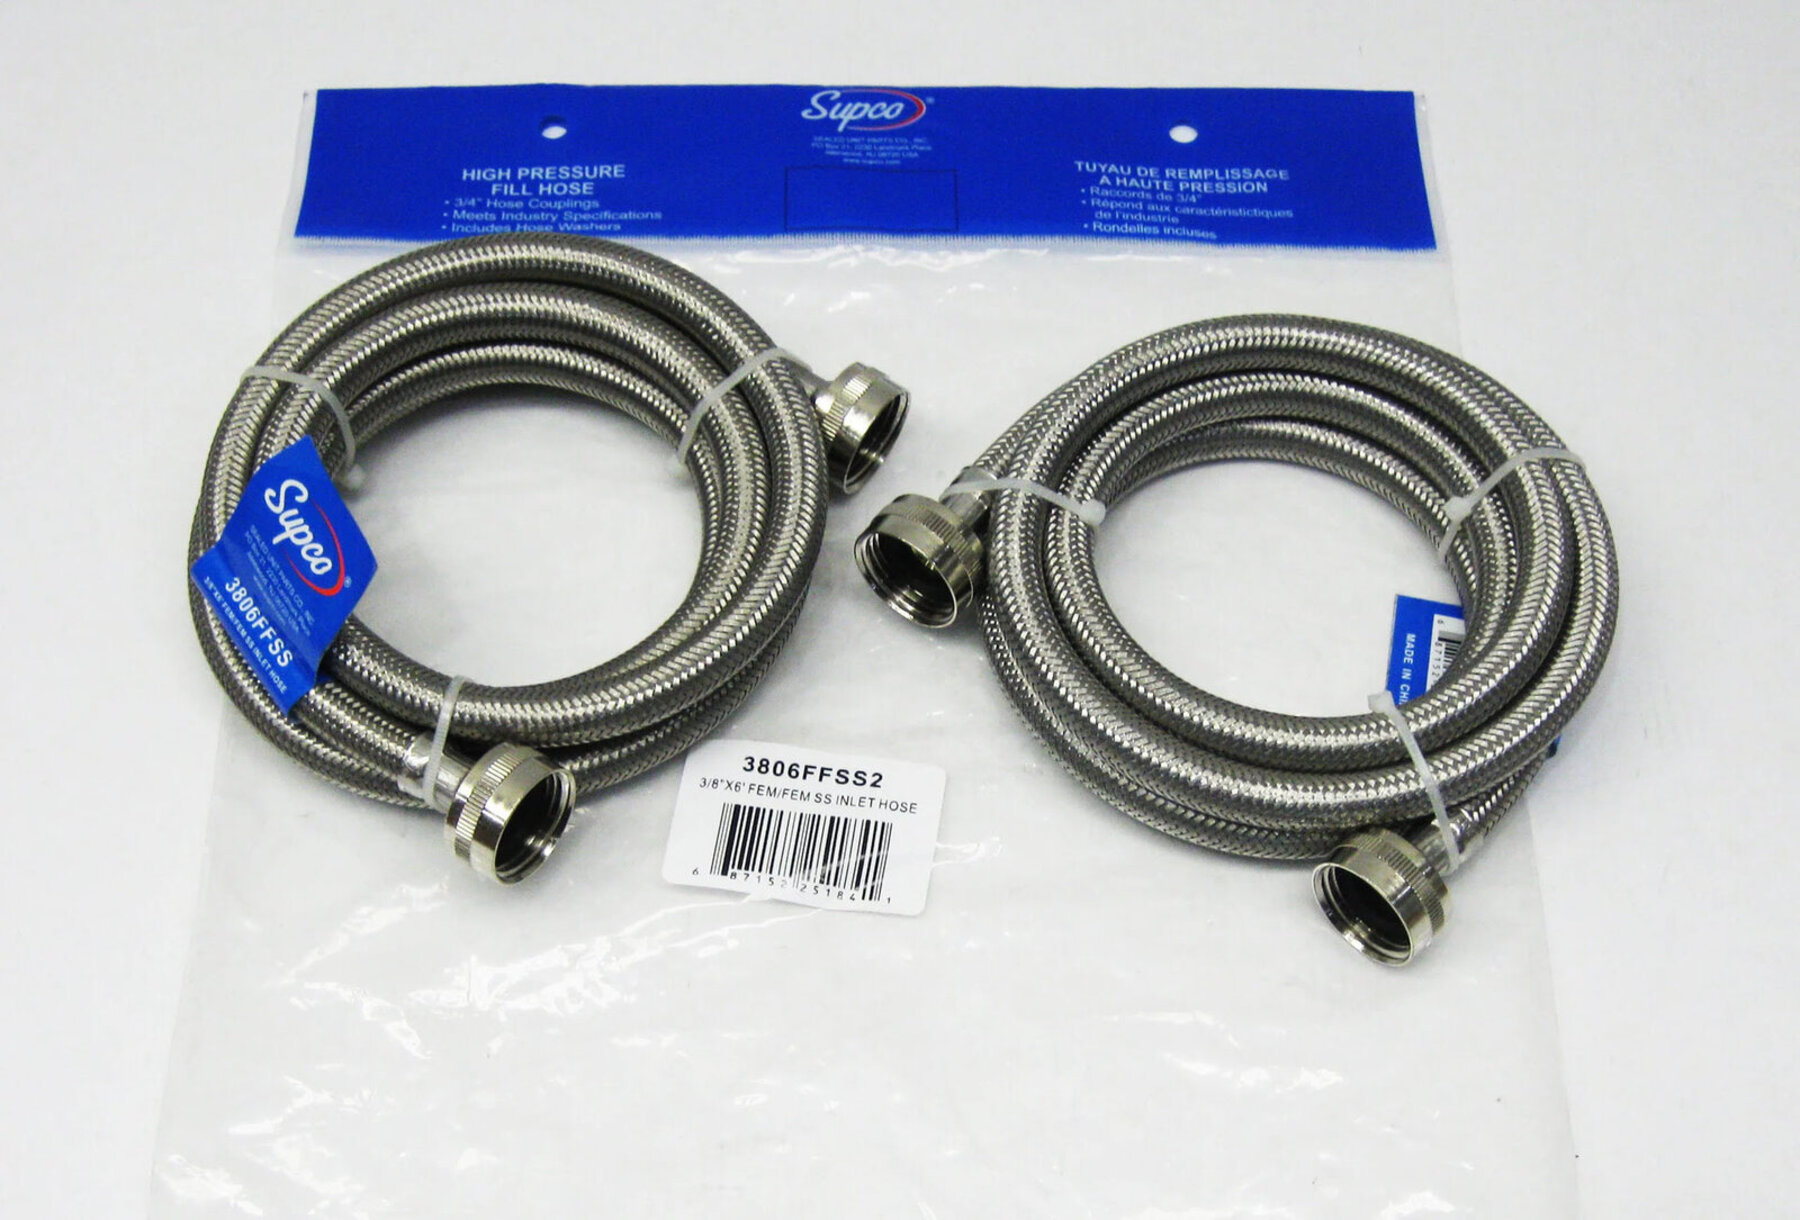
- New washer hose (if necessary): If you’re planning to replace the old hose, make sure you have a new one ready to install.
- Teflon tape: This can be used to create a watertight seal when reconnecting the hose.
- Clean cloth or sponge: You’ll need this to clean the hose, connections, and surrounding area.
Having all these tools and materials at your disposal will ensure a smooth and efficient process. If you don’t have any of the tools mentioned, you can find them at your local hardware store or online.
Now that you have everything you need, let’s move on to the step-by-step process of removing the washer hose.
Step 1: Gather the Supplies
Before you begin the process of removing the washer hose, it’s important to gather all the necessary supplies. This will ensure that you have everything you need within reach, saving you time and ensuring a smooth workflow. Here’s what you need to do:
- Locate the necessary tools and materials: Refer to the “Tools and Materials Needed” section above to make sure you have everything on hand.
- Make sure the water supply is turned off: Before proceeding, ensure that the water supply to the washing machine is turned off. This will prevent any water from spilling when you disconnect the hose.
- Prepare a workspace: Clear any clutter around the washing machine and create a workspace that allows easy access to the hose connections.
- Put on protective gear (optional): Although not mandatory, you may choose to wear gloves and eye protection to safeguard yourself during the process.
Once you have gathered these supplies and taken the necessary precautions, you’re ready to move on to the next step: turning off the water supply. This will allow you to disconnect the hose without any water leakage.
Now that you’re all set, let’s proceed to the next step: turning off the water supply.
Step 2: Turn Off the Water Supply
Now that you have gathered the necessary supplies, it’s time to turn off the water supply to your washing machine. This step is crucial to prevent any water leakage or damage during the hose removal process. Here’s how to do it:
- Locate the water shut-off valve: The shut-off valve is typically located behind or near the washing machine. It may be in the form of a handle or lever.
- Turn off the water supply: Rotate the handle or lever clockwise to shut off the water supply. You should feel some resistance as you turn it.
- Once the water supply is turned off, you can verify that it’s properly closed by attempting to run water in the sink or another faucet nearby. If no water comes out, then you have successfully shut off the water supply.
By turning off the water supply, you’re ensuring that there won’t be any water flowing into the washing machine while you’re working on removing the hose. This prevents any potential spillage or mess.
Now that you have successfully turned off the water supply, you can proceed to the next step: disconnecting the hose from the washer.
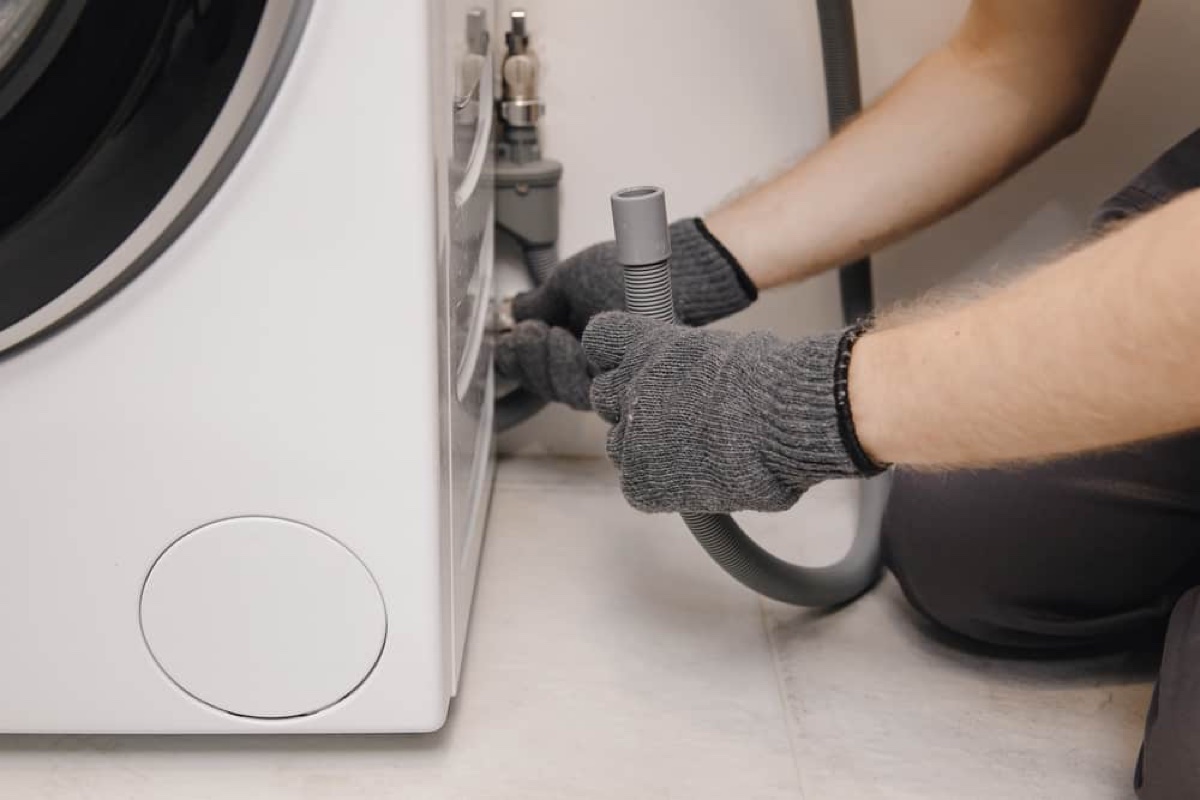
Step 3: Disconnect the Hose from the Washer
With the water supply turned off, it’s time to disconnect the washer hose from the machine. This step requires careful handling to avoid any damage to the hose or surrounding components. Here’s how to go about it:
- Locate the hose connection: Depending on the type of washing machine you have, the hose connection may be at the back of the machine or on the side. Look for a threaded connector where the hose is attached.
- Loosen the hose connection: Using an adjustable wrench or pliers, gently turn the connector counterclockwise to loosen it. Be mindful not to apply excessive force, as it may damage the threads or other components.
- Once the connector is loosened, you should be able to unscrew it by hand. Rotate it counterclockwise until it is completely detached from the washing machine.
- Once the hose connection is disconnected, there may be some residual water in the hose. Position a bucket or place a towel underneath to catch any water that may drip out.
- Inspect the hose and connections for any signs of damage, such as cracks, leaks, or corrosion. If you notice any issues, it may be necessary to replace the hose.
- Set aside the disconnected hose in a safe place. You can also take this opportunity to clean the hose before reinstalling it or replacing it with a new one.
By following these steps, you can safely disconnect the hose from the washing machine without any mishaps. Remember to handle the hose with care and take note of any damage that may require attention.
With the hose disconnected, it’s time to move on to the next step: removing the hose from the faucet.
Read more: How To Connect Hose To Pressure Washer
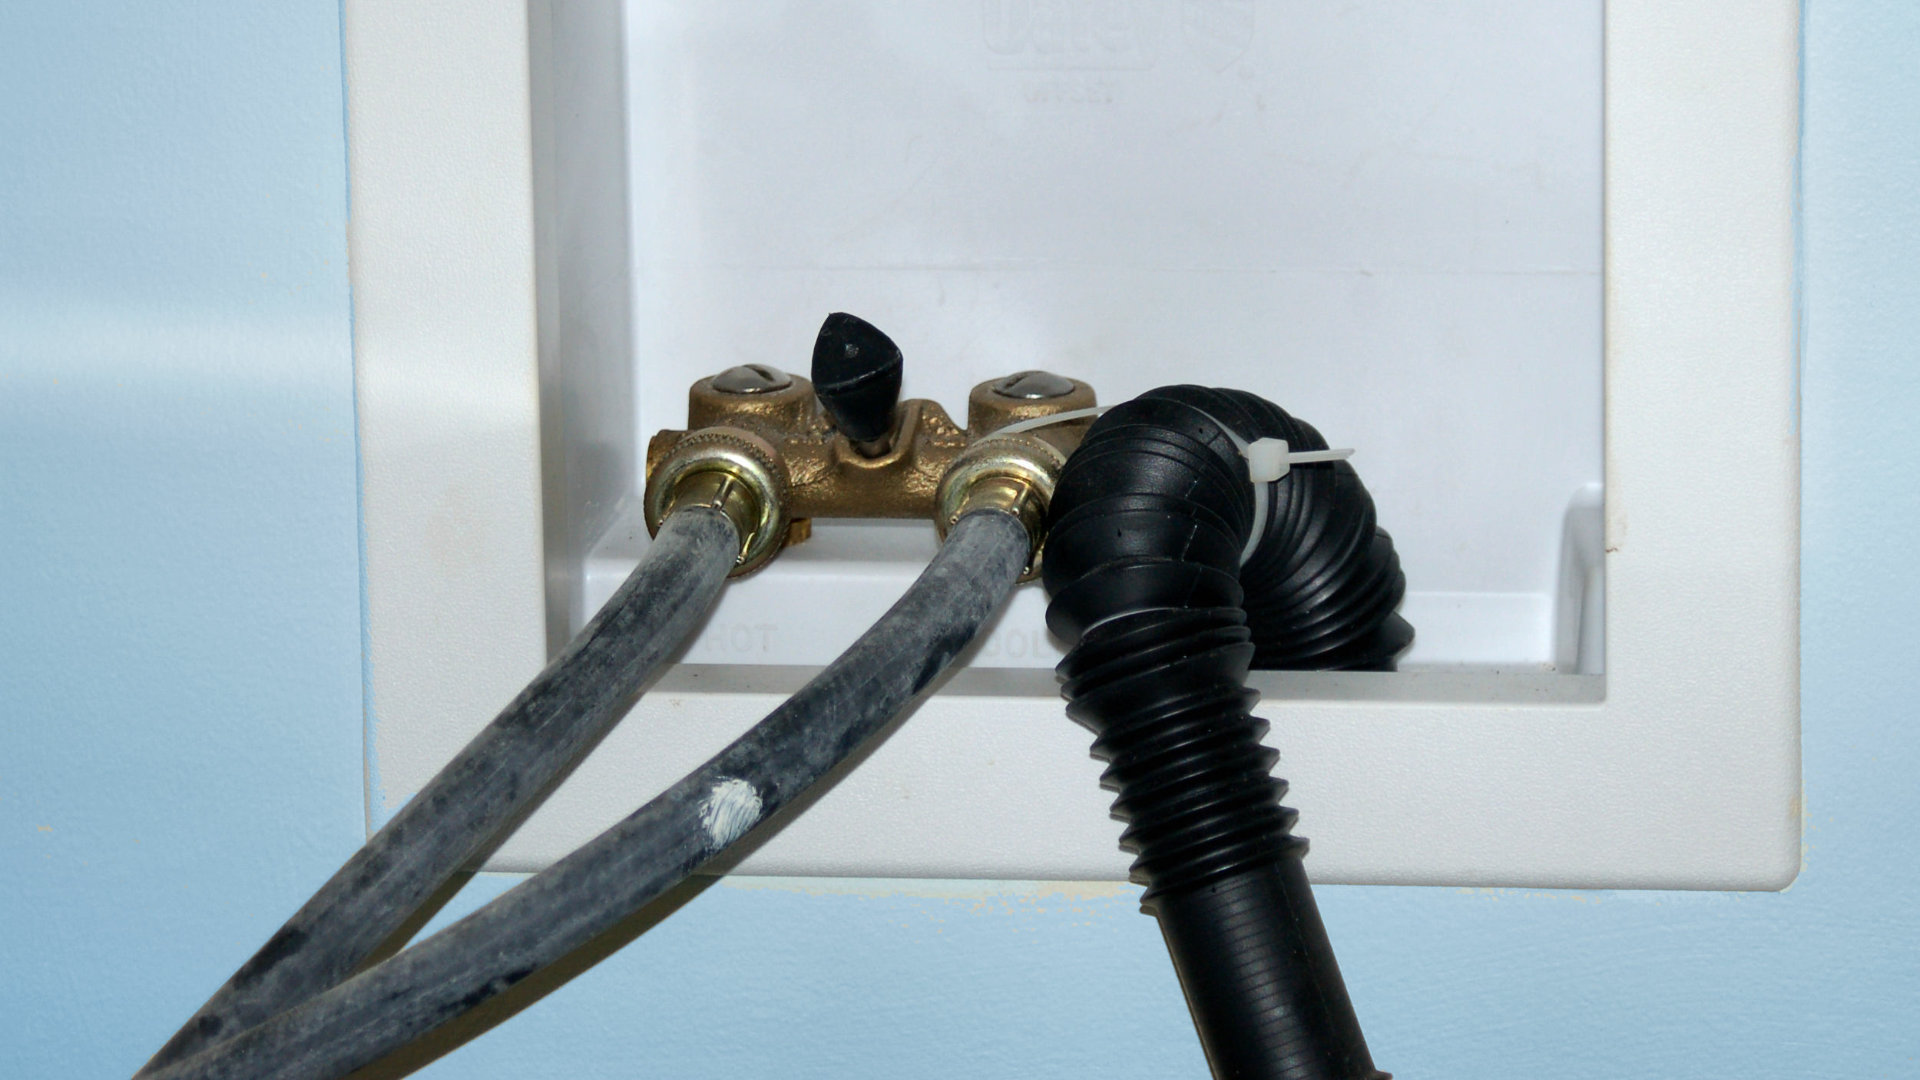
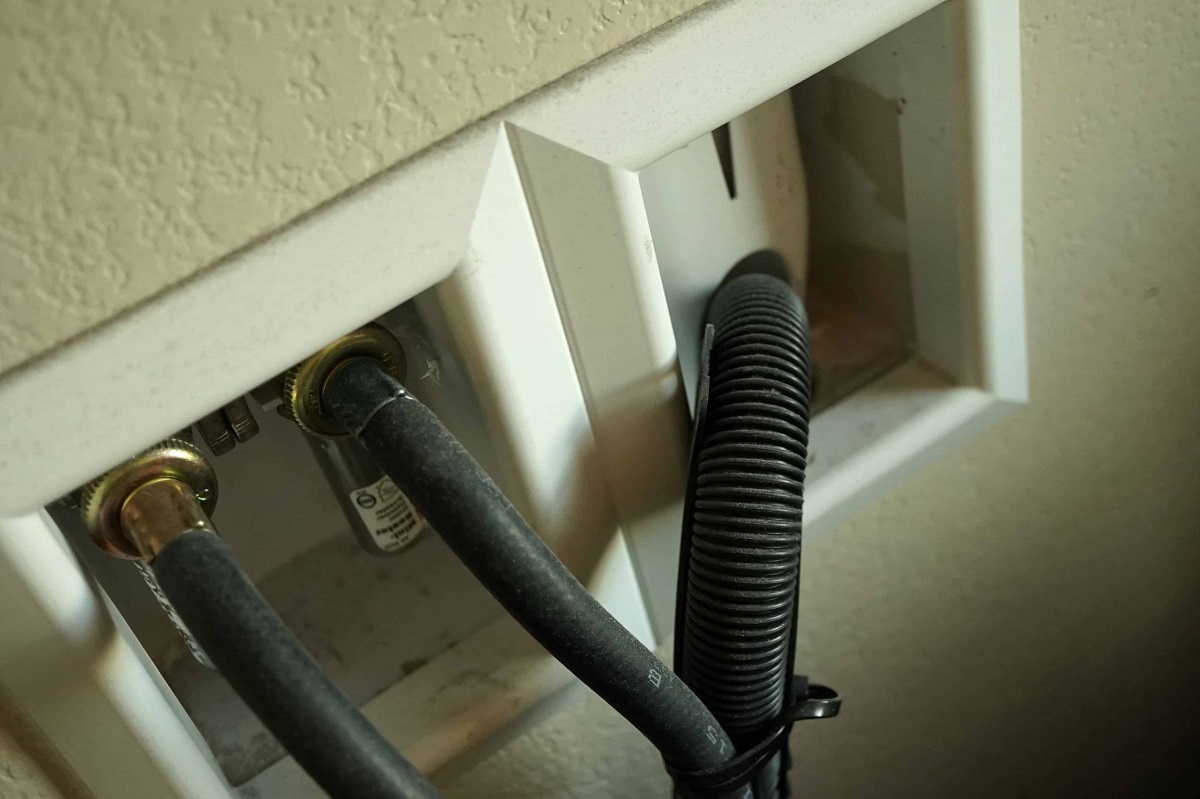
Step 4: Remove the Hose from the Faucet
Now that you have successfully disconnected the washer hose from the machine, it’s time to remove it from the faucet. This step requires a similar approach to ensure a smooth removal process. Here’s what you need to do:
- Locate the end of the hose connected to the faucet. It should have a threaded connector similar to the one on the washing machine.
- Using an adjustable wrench or pliers, gently turn the connector counterclockwise to loosen it. Be careful not to apply too much force, as it can cause damage to the threads or the faucet itself.
- Once the connector is loosened, you should be able to unscrew it by hand. Rotate it counterclockwise until it is completely detached from the faucet.
- As you remove the hose from the faucet, be prepared for any residual water in the hose. Position a bucket or place a towel underneath to catch any water that may spill.
- Once the hose is removed, examine both the hose and the faucet for any signs of damage or wear. Clean the threads on the faucet using a clean cloth or sponge.
- If you’re planning to reuse the same hose, inspect it for any cracks, leaks, or wear and tear. If the hose is damaged, it’s advisable to replace it with a new one.
- Set aside the removed hose in a safe place or discard it if you’re replacing it.
By following these steps, you can safely remove the hose from the faucet without any difficulties. Just like with the previous step, remember to handle the hose and the connectors with care to prevent any damage.
With the hose successfully removed from the faucet, you’re now ready for the next step: inspecting the hose for any damage.
When removing a washer hose, make sure to turn off the water supply and disconnect the hose from the faucet and the washer. Use pliers to loosen any tight connections and be prepared for some water to spill out.
Step 5: Inspect the Hose for Damage
Now that you have removed the washer hose from both the machine and the faucet, it’s essential to inspect it for any signs of damage. This step is crucial to ensure the optimal functioning of your washing machine and to prevent any potential leaks. Here’s how to inspect the hose:
- Thoroughly examine the entire length of the hose for any visible signs of damage, such as cracks, leaks, bulges, or wear and tear. Pay particular attention to the ends and connection points.
- If you notice any damage, it’s advisable to replace the hose with a new one. A damaged hose can lead to water leakage or improper water flow, which can impact the performance of your washing machine.
- If the hose appears to be in good condition, inspect the hose connections for any signs of wear or corrosion. Replace any damaged or worn-out connectors to ensure a secure and leak-free connection.
- If you’re reusing the same hose, inspect the threads on both ends. Clean the threads using a clean cloth or sponge to remove any dirt or debris accumulated during the removal process.
- After inspecting and cleaning the hose, set it aside in a safe place until you’re ready to reconnect it.
By conducting a thorough inspection of the hose, you can identify any potential issues and address them promptly. Remember, it’s better to replace a damaged hose or connectors now rather than risking water leakage or damage to your washing machine in the future.
Now that you have inspected the hose, it’s time to move on to the next step: cleaning the hose and the connections.
Step 6: Clean the Hose and Connections
After inspecting the washer hose for any damage and ensuring it is in good condition, it’s important to clean both the hose and the connections before reinstallation. This step helps remove any dirt, debris, or residue that may have accumulated over time. Here’s how to clean the hose and connections:
- Prepare a clean cloth or sponge and dampen it with water.
- Gently wipe down the entire length of the hose, removing any dirt or visible debris. Pay extra attention to the ends and connection points.
- If there are any stubborn stains or buildup, you can use a mild detergent or soap solution to scrub the hose gently. Rinse thoroughly to remove any soap residue.
- Next, clean the hose connections on both the washing machine and the faucet. Use the damp cloth or sponge to wipe away any dirt or residue.
- If there is any mold or mildew growth on the hose or connections, you can create a solution of equal parts vinegar and water. Dip a cloth or sponge in the solution and wipe down the affected areas. Rinse thoroughly afterward.
- Once cleaned, inspect the hose and connections once again to ensure they are free from any debris or residue.
- Allow the hose and connections to air dry completely before proceeding to the next step.
By cleaning the hose and connections, you’re promoting optimal hygiene and functionality. This step helps maintain a reliable and efficient washing machine setup.
With the hose and connections thoroughly cleaned and dried, you’re now ready to move on to the next step: reconnecting the hose to the faucet.
Step 7: Reconnect the Hose to the Faucet
With the washer hose and connections cleaned and dried, it’s time to reattach the hose to the faucet. This step requires a careful and precise approach to ensure a secure and leak-free connection. Here’s how to reconnect the hose:
- Position the hose end with the threaded connector towards the faucet.
- Align the threads on the hose connector with those on the faucet.
- Gently hand-tighten the connector onto the faucet in a clockwise direction. Be careful not to cross-thread or overtighten the connection.
- Once the connector is hand-tightened, use an adjustable wrench or pliers to give it a firm but gentle final turn. This helps ensure a secure and watertight connection.
- If you’re reusing the same hose, apply a few wraps of Teflon tape to the hose threads. This tape helps create a tight seal and prevents any potential leaks.
- Repeat the above steps to reconnect the other end of the hose to the washing machine. Make sure to align the threads and tighten the connector securely.
- Check both connections to ensure they are tight and leak-free.
By following these steps, you can successfully reconnect the washer hose to the faucet. Remember to take care not to overtighten the connections, as this can cause damage or leaks.
Now that the washer hose is securely reattached to both the faucet and the washing machine, it’s time to move on to the final step: turning on the water supply.
Read more: How To Remove A Washing Machine Hose
Step 8: Turn On the Water Supply
With the washer hose securely reconnected to both the faucet and the washing machine, you’re ready to turn on the water supply. This final step ensures proper water flow and allows you to test the connections for any potential leaks. Here’s how to turn on the water supply:
- Locate the water shut-off valve that you previously turned off in Step 2.
- Turn the shut-off valve counterclockwise to gradually open it and restore the water supply.
- Monitor the hose connections and the surrounding area closely as the water begins to flow. Look for any signs of leakage or drips.
- If you notice any leaks, immediately turn off the water supply and check the connections. Tightly secure any loose connections or replace any faulty components.
- If there are no leaks or issues, you can proceed to run a test cycle on your washing machine to ensure everything is functioning properly.
- Observe the hose connections during the test cycle to confirm that they remain secure and leak-free.
By turning on the water supply and testing the connections, you can verify the successful reinstallation of the washer hose. It provides peace of mind knowing that your washing machine is ready to use without any water leakage.
Congratulations! You have now completed the process of removing and reattaching a washer hose. Regular maintenance and inspection of the hose will help ensure its longevity and optimal performance.
Thank you for following this step-by-step guide. If you encounter any difficulties or have any further questions, don’t hesitate to seek professional assistance.
Happy washing!
Conclusion
Removing and replacing a washer hose may seem like a daunting task, but with the right knowledge and tools, it can be a straightforward process. By following the step-by-step guide outlined in this article, you have learned how to safely and efficiently remove a washer hose.
Starting with gathering the necessary supplies, turning off the water supply, and disconnecting the hose from both the washing machine and the faucet, each step was designed to ensure a smooth and successful removal. Inspecting the hose for damage, cleaning it, and reattaching it to the faucet, and finally, turning on the water supply instills confidence in the process.
Remember, safety should always be a priority. Before starting any work, make sure to turn off the water supply and unplug the machine. If at any point you feel unsure or encounter difficulties, it’s best to consult a professional for assistance.
Regular inspection and maintenance of your washer hose are essential to avoid potential leaks and ensure the proper functioning of your washing machine. By keeping an eye out for signs of damage, cleaning the hose and connections, and performing routine checks, you can prolong the lifespan of your washer hose.
We hope this guide has provided you with valuable insights into removing a washer hose and has equipped you with the knowledge needed to tackle this task with confidence. With proper care and maintenance, your washer hose will continue to serve you well for years to come.
Thank you for reading, and happy washing!
Frequently Asked Questions about How To Remove Washer Hose
Was this page helpful?
At Storables.com, we guarantee accurate and reliable information. Our content, validated by Expert Board Contributors, is crafted following stringent Editorial Policies. We're committed to providing you with well-researched, expert-backed insights for all your informational needs.


0 thoughts on “How To Remove Washer Hose”