Articles
How To Connect Hose To Pressure Washer
Modified: October 20, 2024
Learn how to connect a hose to a pressure washer with our helpful articles. Find step-by-step instructions and tips for a seamless connection.
(Many of the links in this article redirect to a specific reviewed product. Your purchase of these products through affiliate links helps to generate commission for Storables.com, at no extra cost. Learn more)
Introduction
Welcome to our guide on how to connect a hose to a pressure washer. If you own a pressure washer, you know how essential it is for various cleaning tasks around the house, from washing your car to cleaning your patio or driveway. However, before you can start using the pressure washer, you need to correctly connect the hose to ensure optimal performance.
In this article, we will walk you through the step-by-step process of connecting a hose to a pressure washer. We will provide you with all the information you need, including the tools and equipment required and tips to ensure a secure connection. By following these simple steps, you’ll be ready to tackle any cleaning job with your pressure washer in no time.
As with any DIY project, safety should always be a top priority. Before connecting the hose, make sure you read the user manual provided by the manufacturer of your pressure washer. It’s important to familiarize yourself with the specific instructions and guidelines for your particular model. Additionally, always wear protective gear such as gloves and safety glasses when handling the equipment.
Now, let’s dive into the step-by-step process of connecting a hose to a pressure washer.
Key Takeaways:
- Properly preparing and securing the hose connection to your pressure washer is crucial for efficient and safe cleaning. Follow the step-by-step guide to ensure a leak-free and effective setup.
- Testing the connection and safely disconnecting the hose after use are essential steps to verify its effectiveness and maintain the longevity of your equipment. Always prioritize safety and proper storage.
Read more: How To Connect Hose To Ryobi Pressure Washer
Step 1: Gather Necessary Tools and Equipment
Before you can start connecting the hose to the pressure washer, it’s crucial to gather all the necessary tools and equipment. Having everything prepared and within reach will make the process much smoother and more efficient. Here are the items you’ll need:
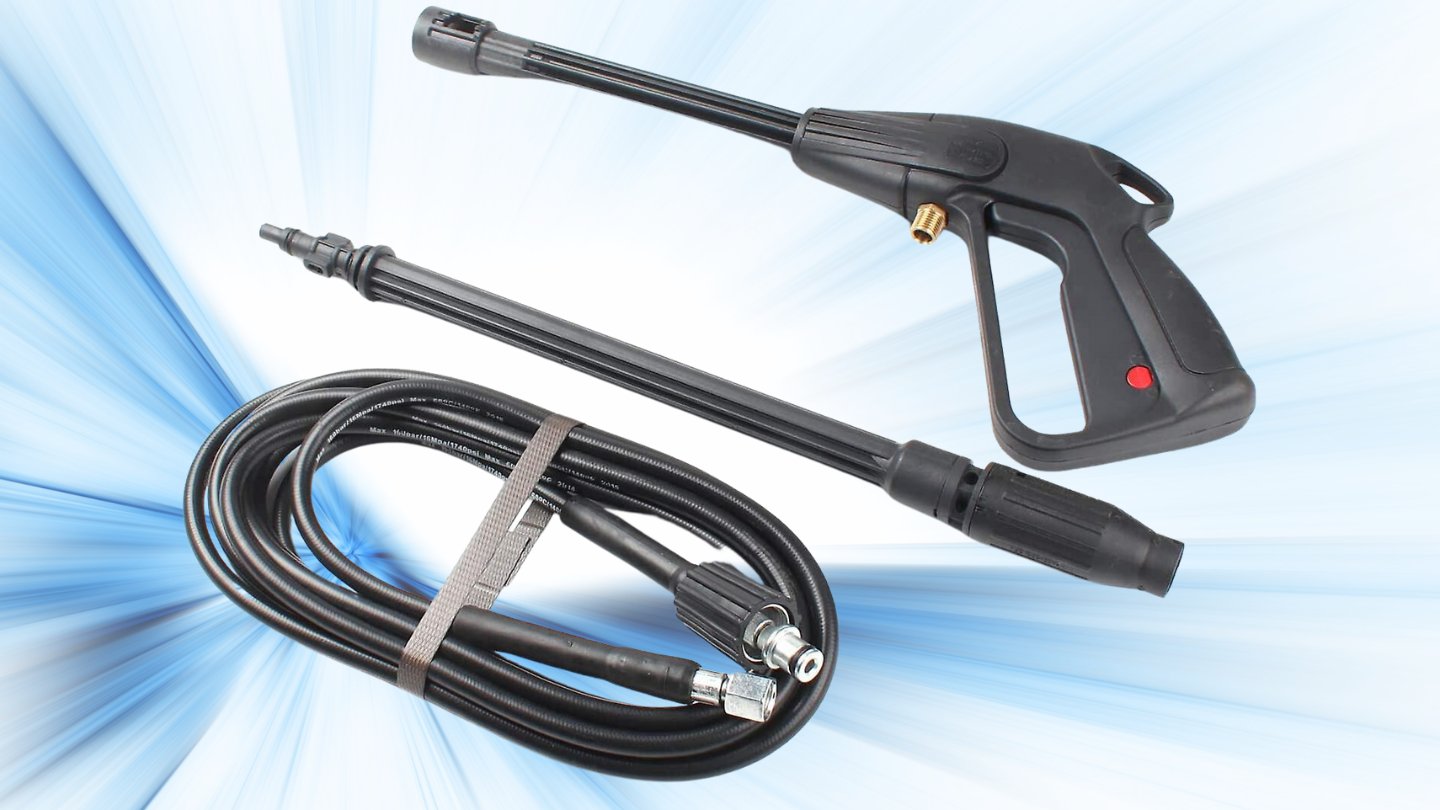
- A pressure washer: This is the main piece of equipment you’ll be connecting the hose to. Make sure it’s in proper working condition and that you have read and understood the user manual.
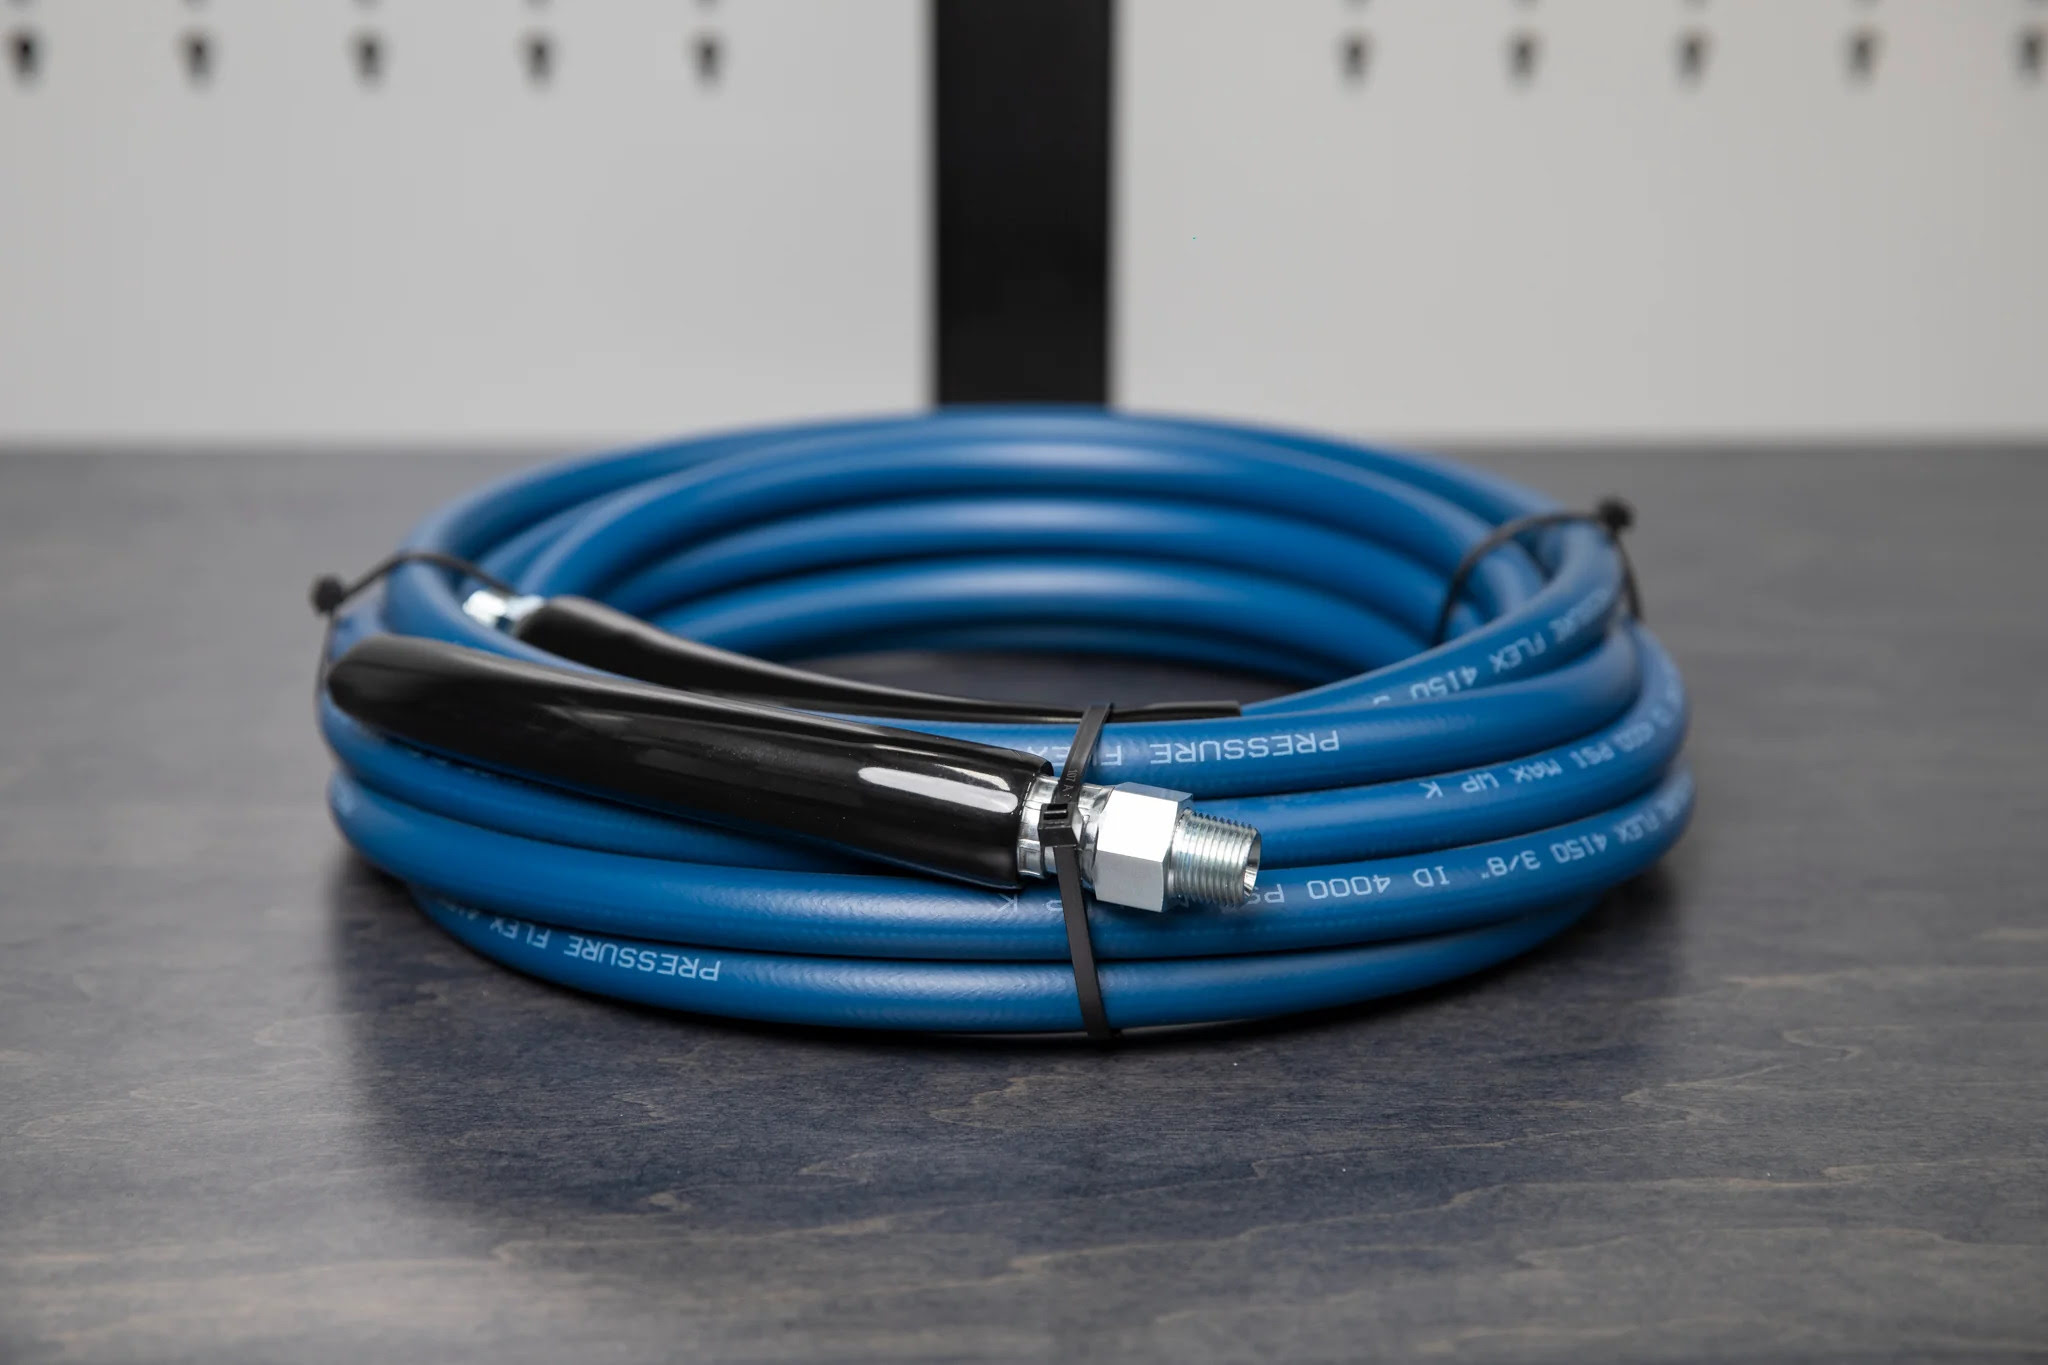
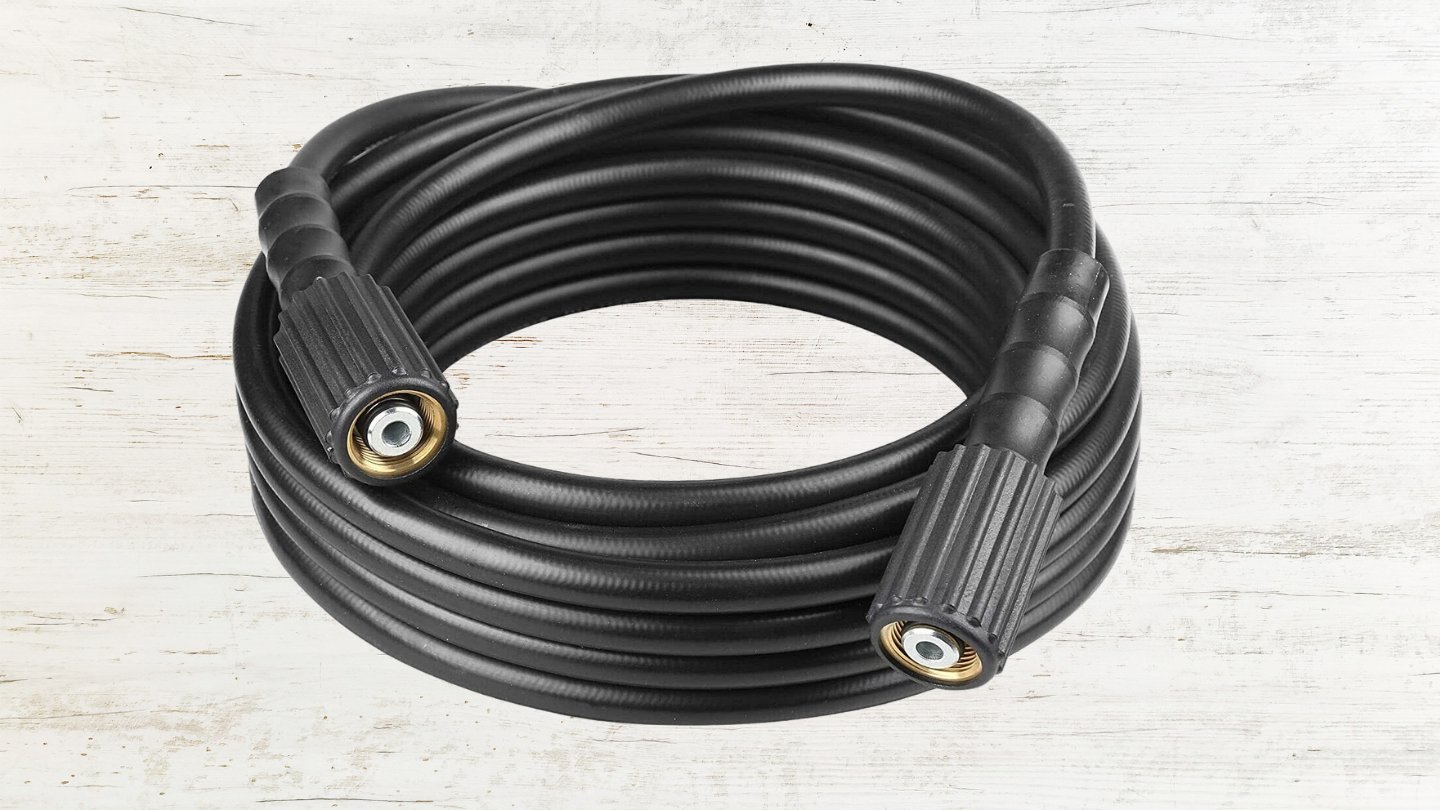
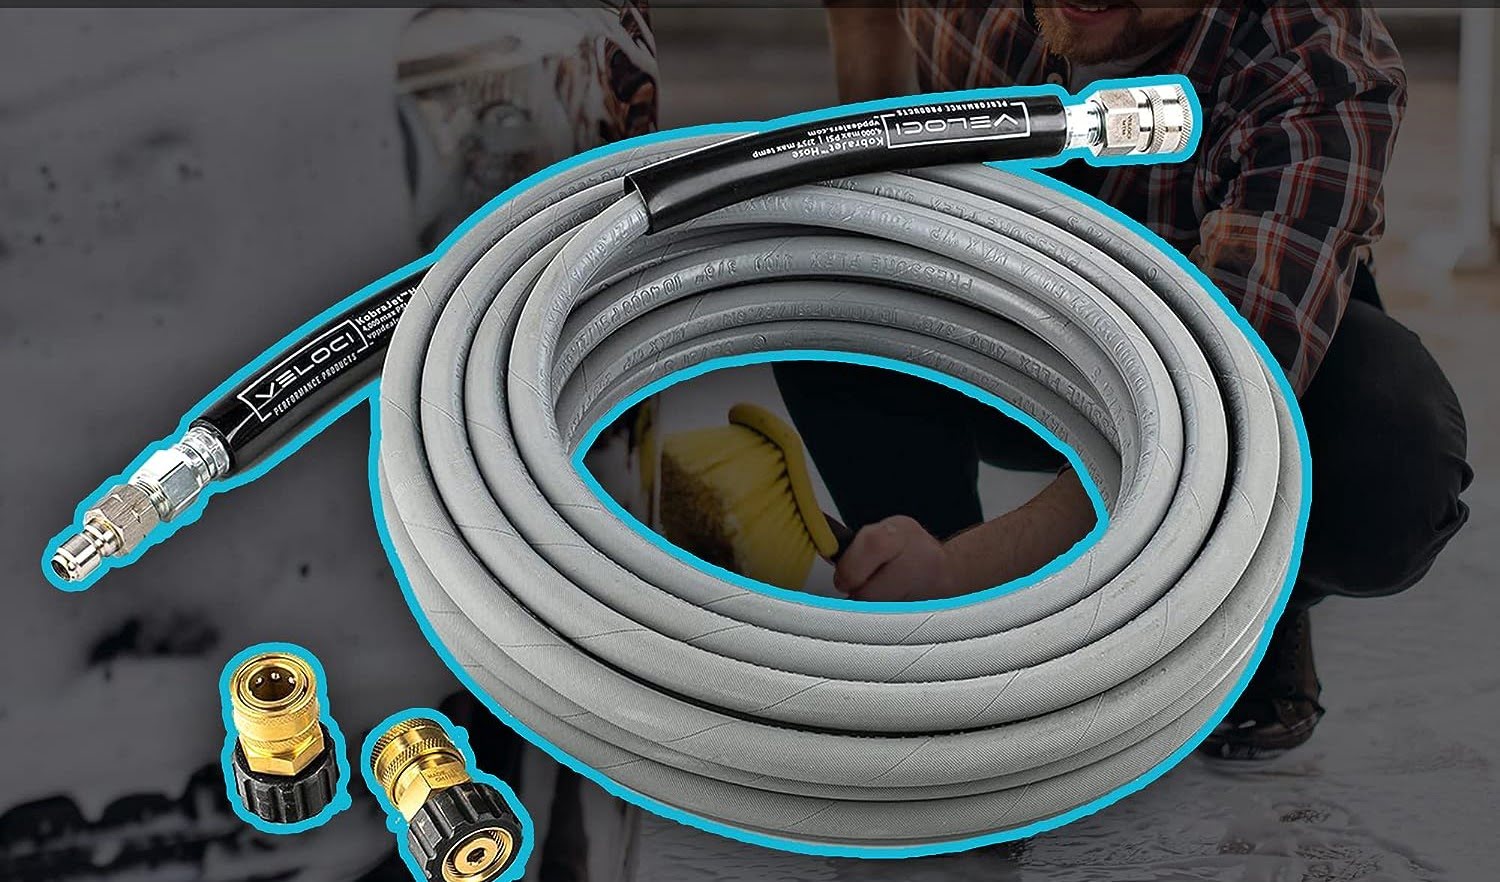
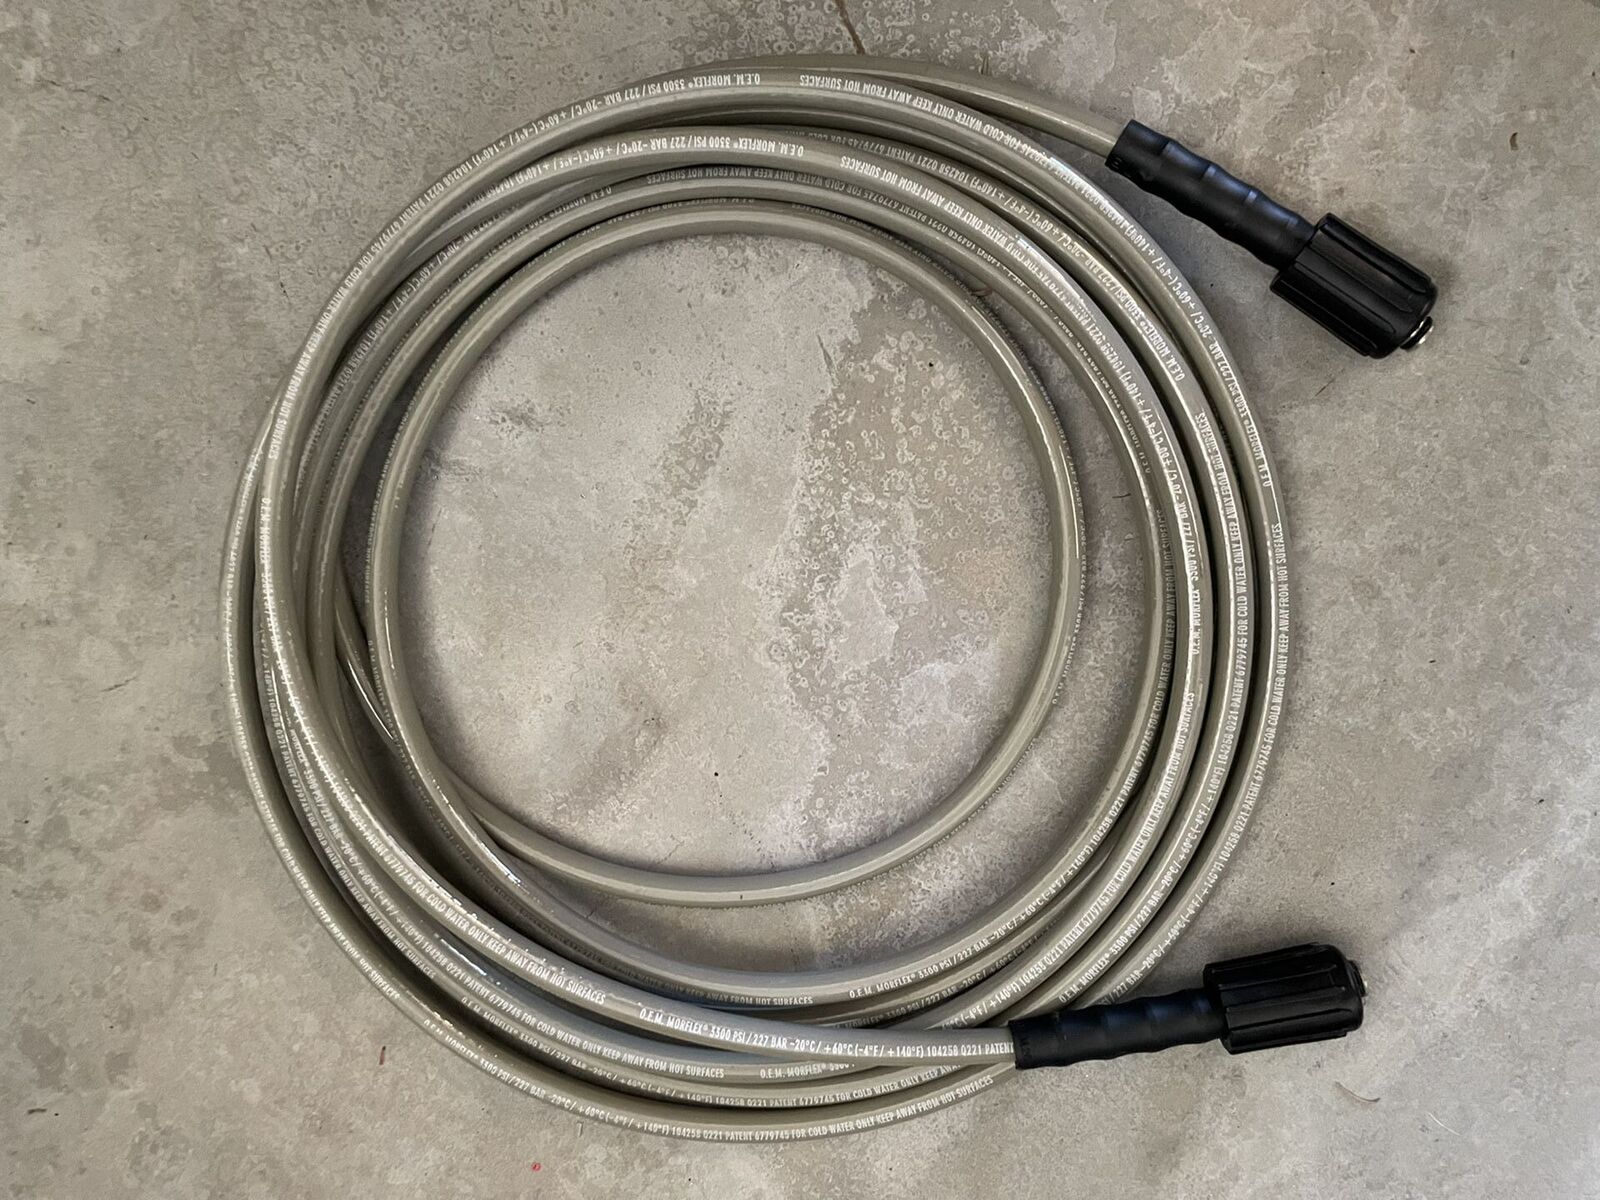
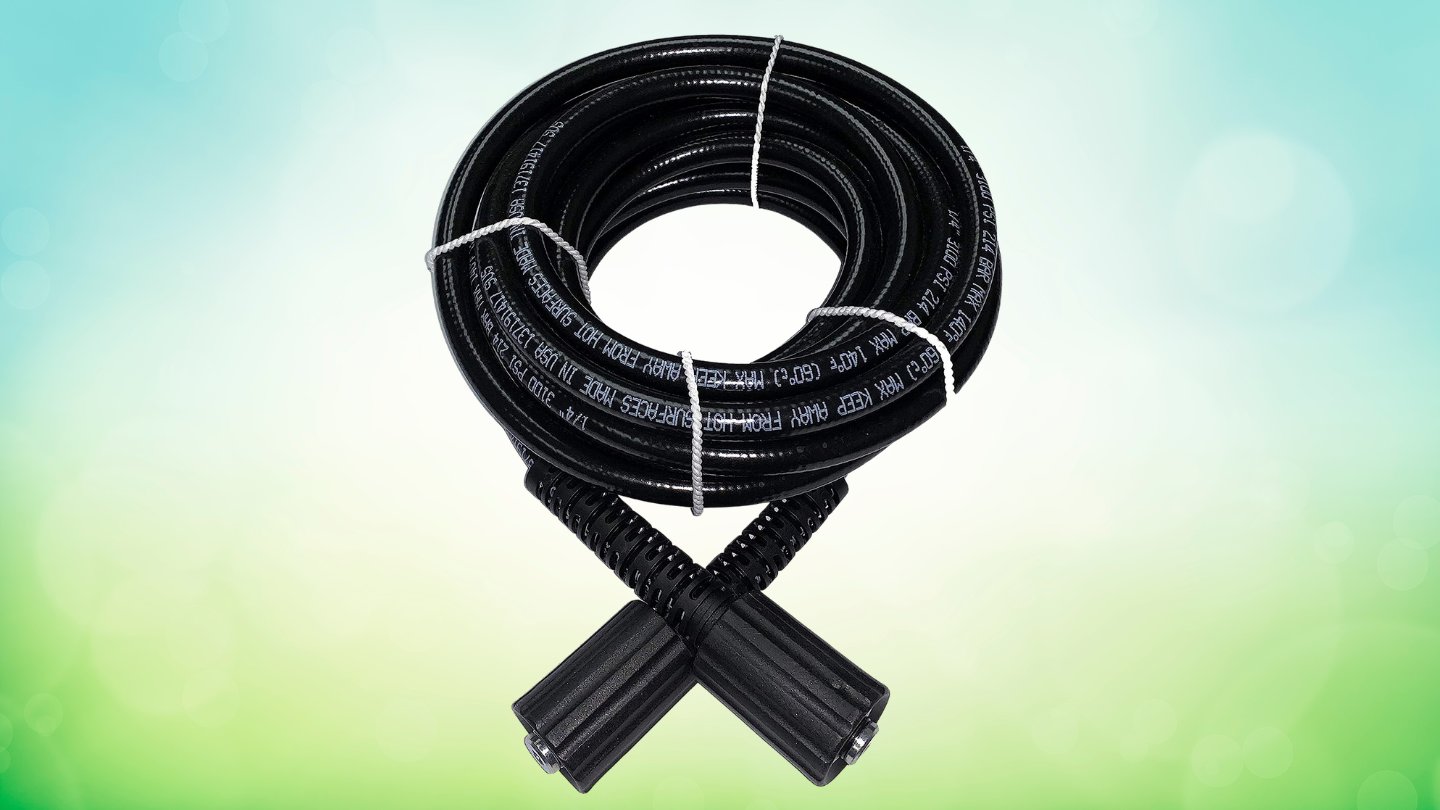
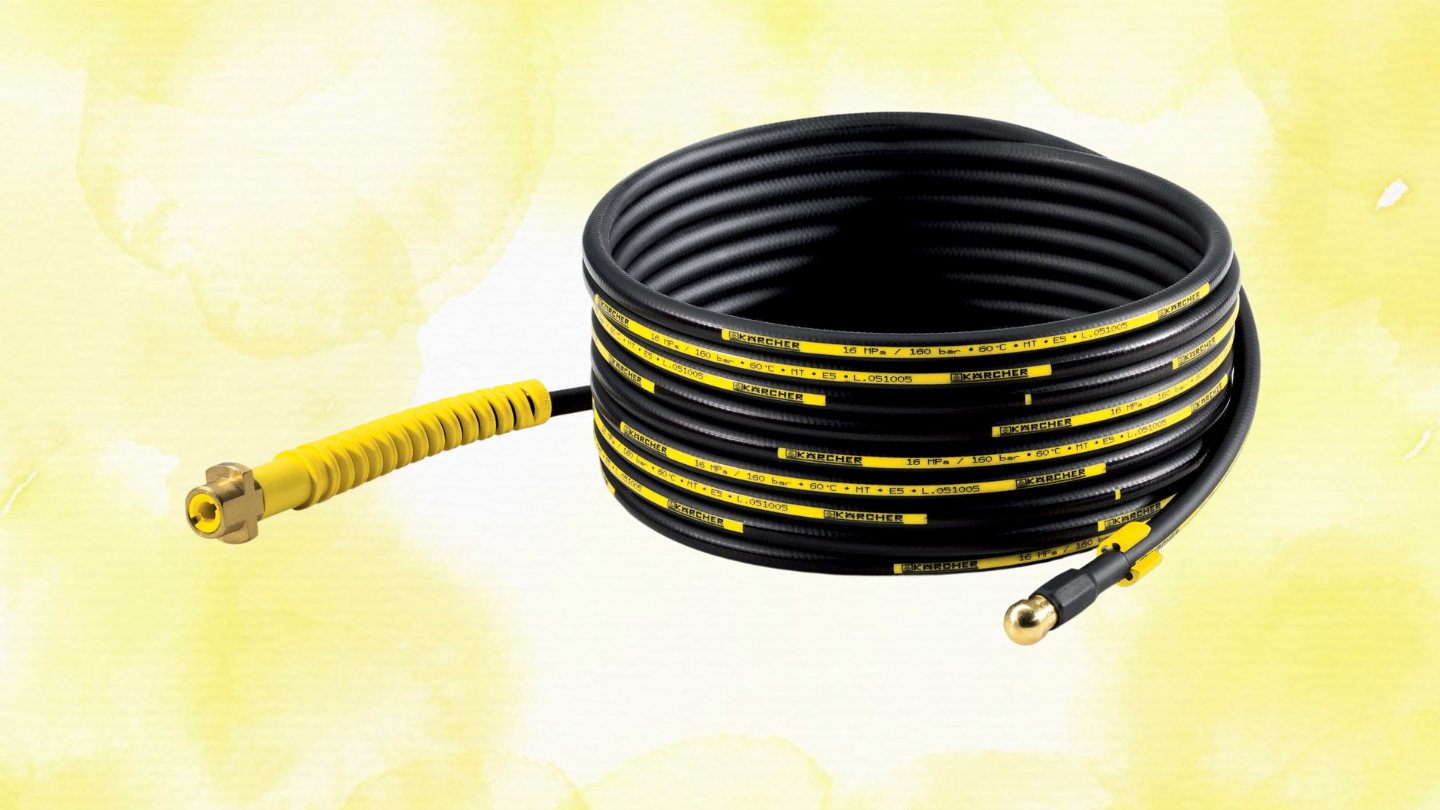
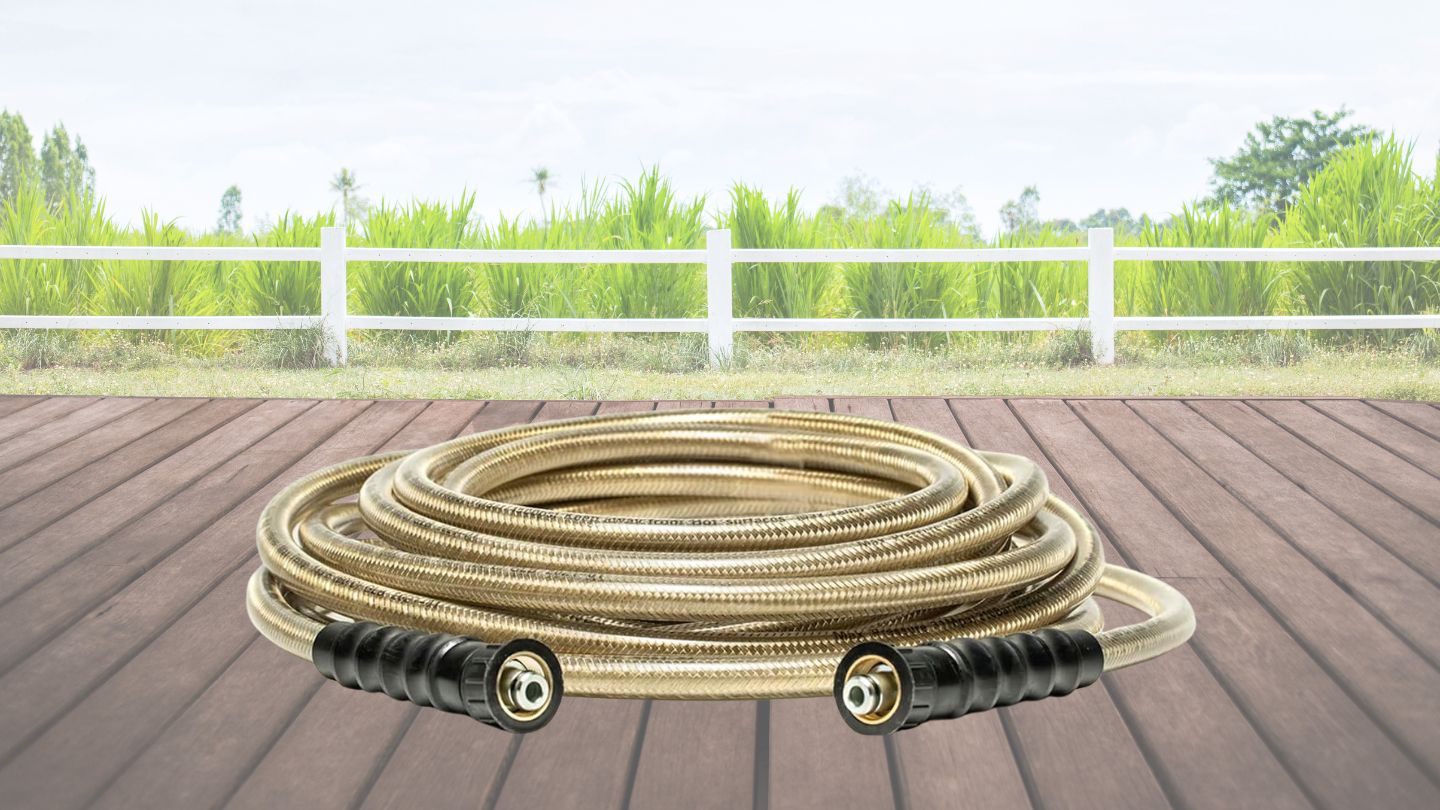
- A garden hose: Choose a high-quality garden hose that is compatible with your pressure washer. Look for a hose with a suitable length that can reach the areas you need to clean without any difficulty.
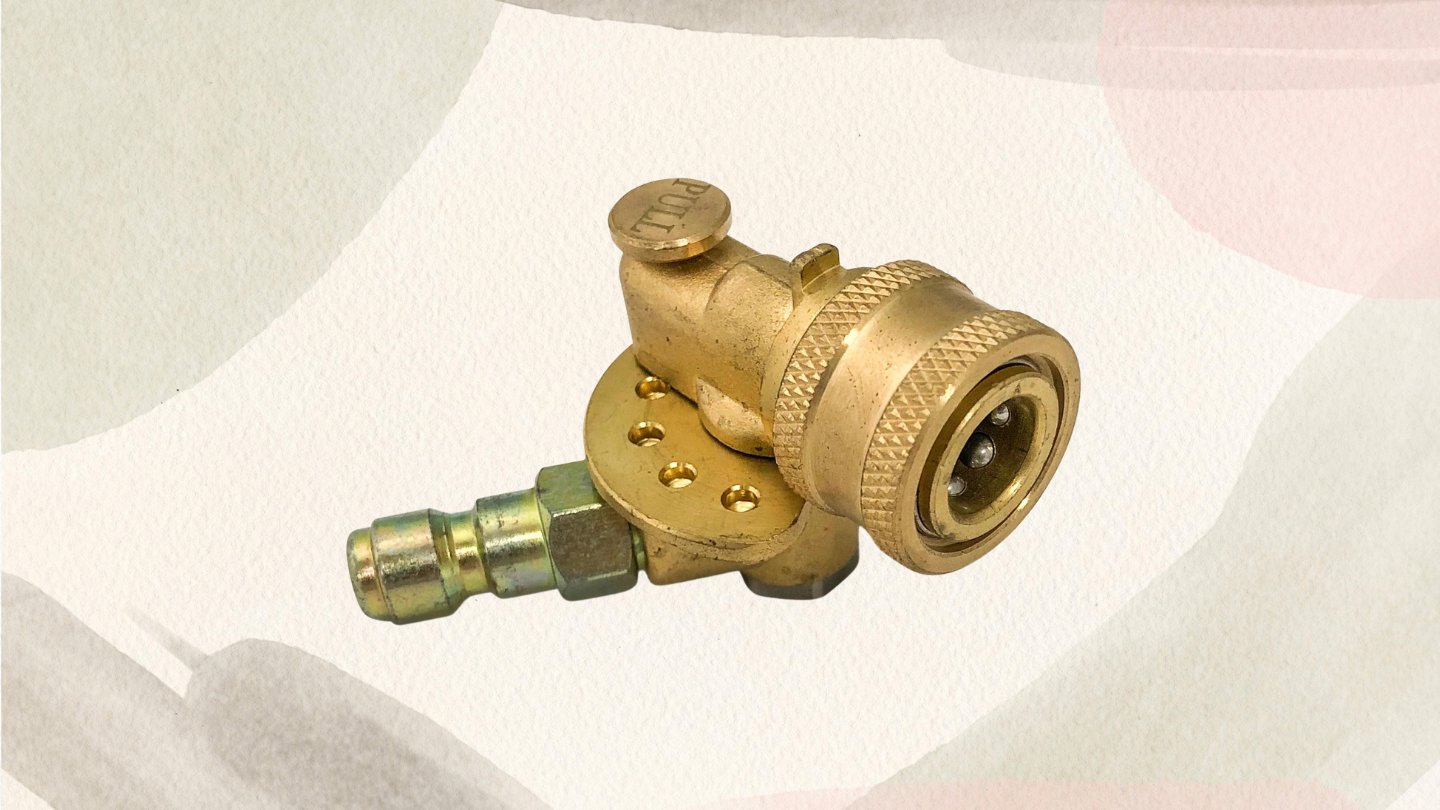
- Hose connectors: Depending on your pressure washer and hose, you may need adapters or connectors to ensure a proper and secure connection. Check the user manual or consult a hardware store for the right connectors for your equipment.
- Adjustable wrench or pliers: These tools will come in handy for tightening the hose connectors and ensuring a leak-free connection.
- Thread seal tape: Also known as plumber’s tape, this thin white tape will help create a watertight seal between the hose and the pressure washer. It’s a simple but effective way to prevent any leaks.
Once you have gathered all the necessary tools and equipment, you’re ready to move on to the next step: preparing the pressure washer and hose.
Step 2: Prepare the Pressure Washer and Hose
Before connecting the hose to the pressure washer, it’s important to properly prepare both the pressure washer and the hose for the connection. Follow these steps to ensure a smooth process:
- Inspect the pressure washer: Carefully examine the pressure washer for any visible damages or leaks. Check the hose connection point on the pressure washer and ensure it is clean and free from debris.
- Inspect the hose: Inspect the entire length of the hose for any signs of wear, cracks, or leaks. If you notice any damages, it’s recommended to replace the hose to avoid any potential issues during operation.
- Secure the pressure washer: Place the pressure washer on a stable and level surface. Ensure it is securely positioned, as the force generated by the water can cause the machine to move if not properly stabilized.
- Prepare the water source: Ensure that the water source, such as an outdoor faucet, is turned off. This is crucial to prevent any water flow while connecting the hose.
- Connect any required adapters: If your pressure washer or hose requires any adapters or connectors to ensure compatibility, now is the time to attach them. Refer to the user manual or consult a hardware store for the correct adapters for your specific equipment.
Once you have completed these steps and ensured that both the pressure washer and hose are in proper condition, it’s time to proceed to the next step: attaching the hose to the pressure washer.
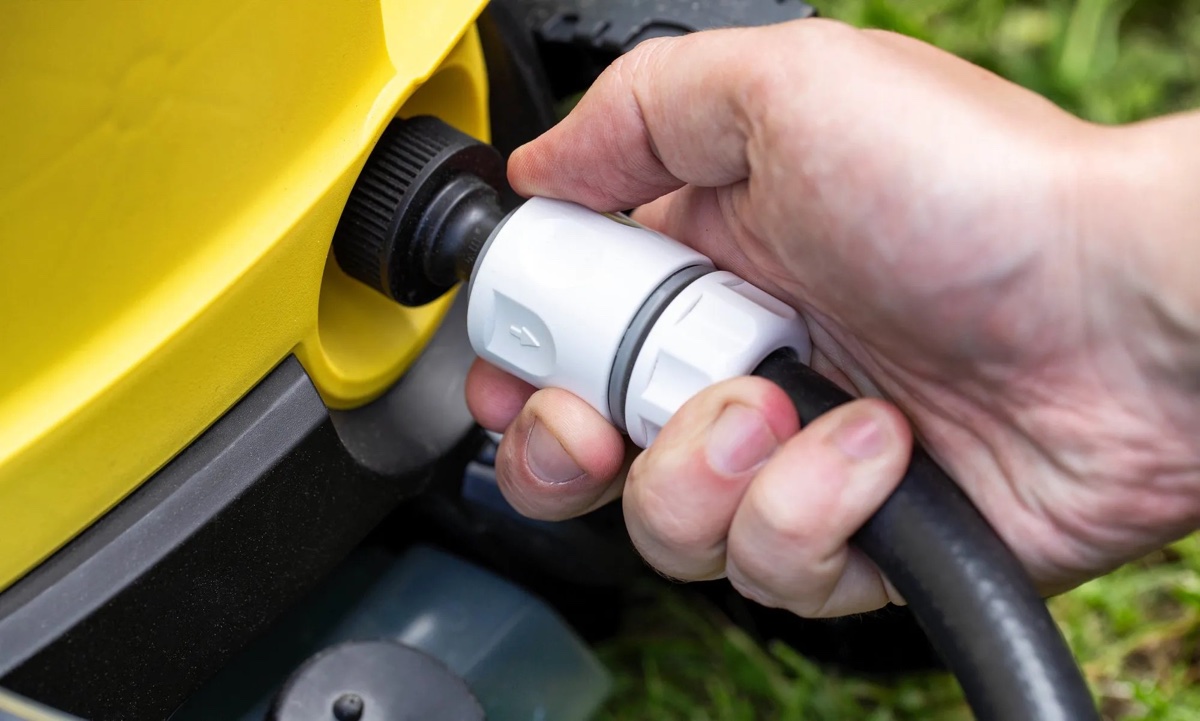
Step 3: Attach the Hose to the Pressure Washer
Now that you have prepared the pressure washer and hose, it’s time to connect them together. Follow these steps to attach the hose to the pressure washer:
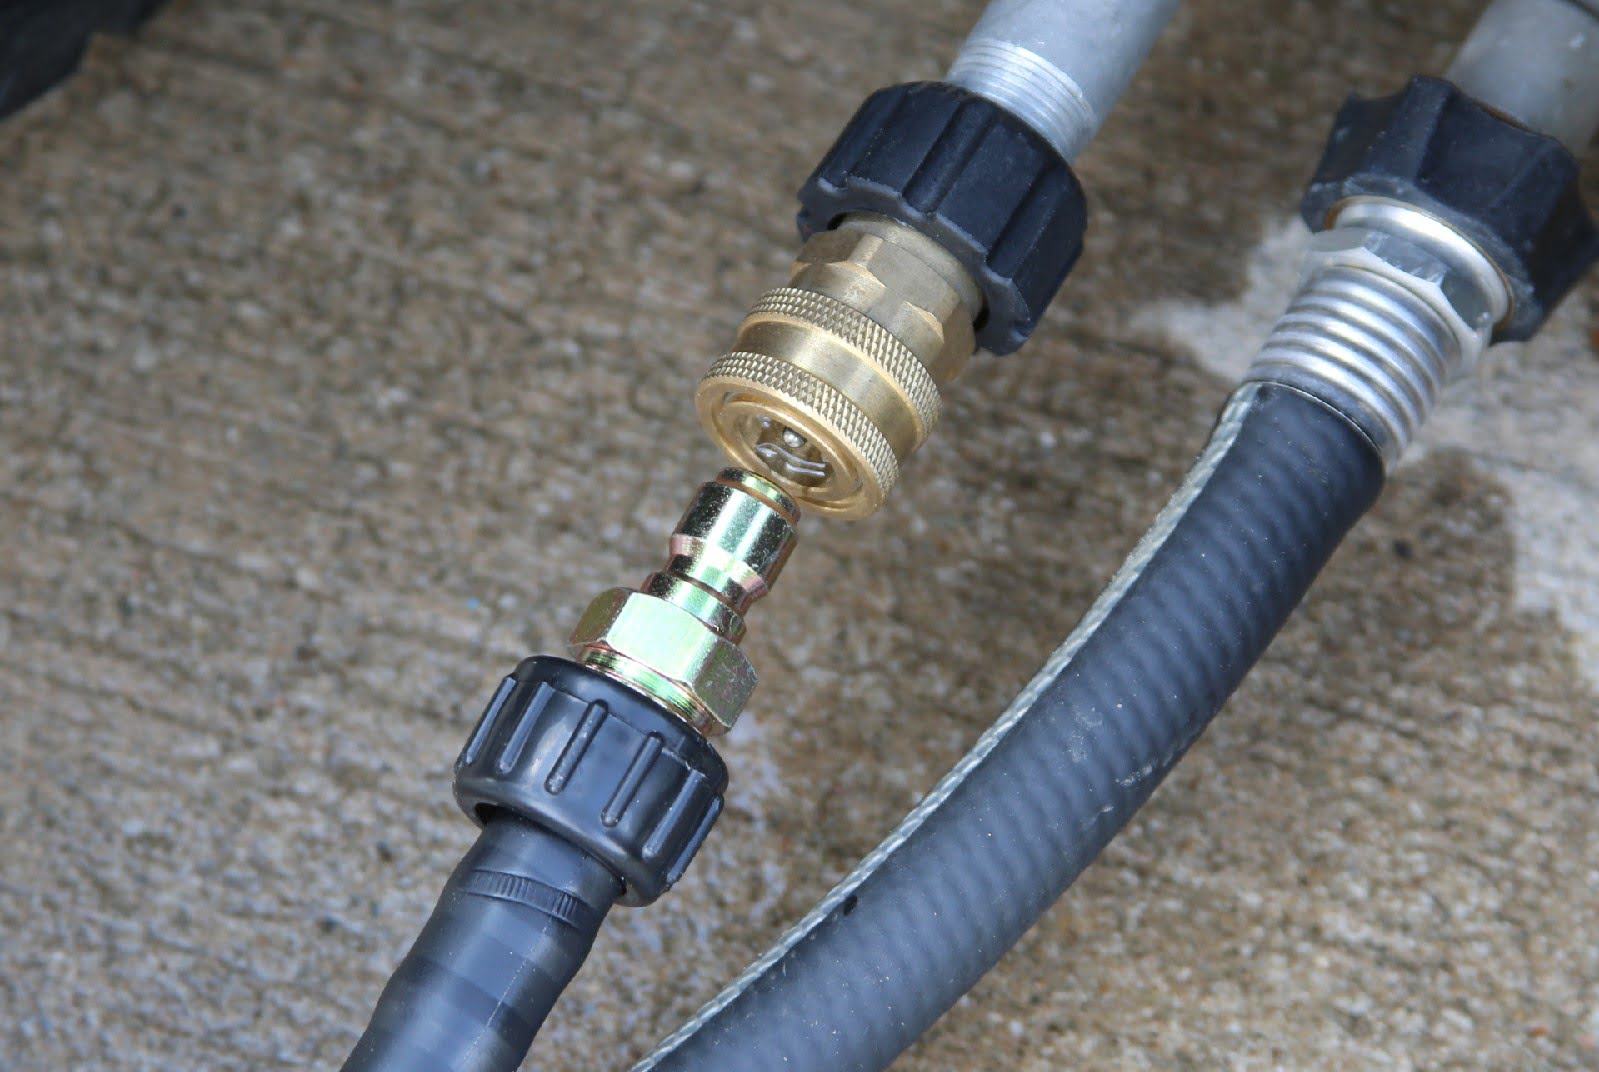
- Locate the hose connection point: On the pressure washer, locate the hose connection point. It is usually marked with a label or symbol indicating where the hose should be attached.
- Apply thread seal tape: Take the thread seal tape and wrap it around the threads of the pressure washer’s hose connection point. This tape will help create a watertight seal and prevent any leaks.
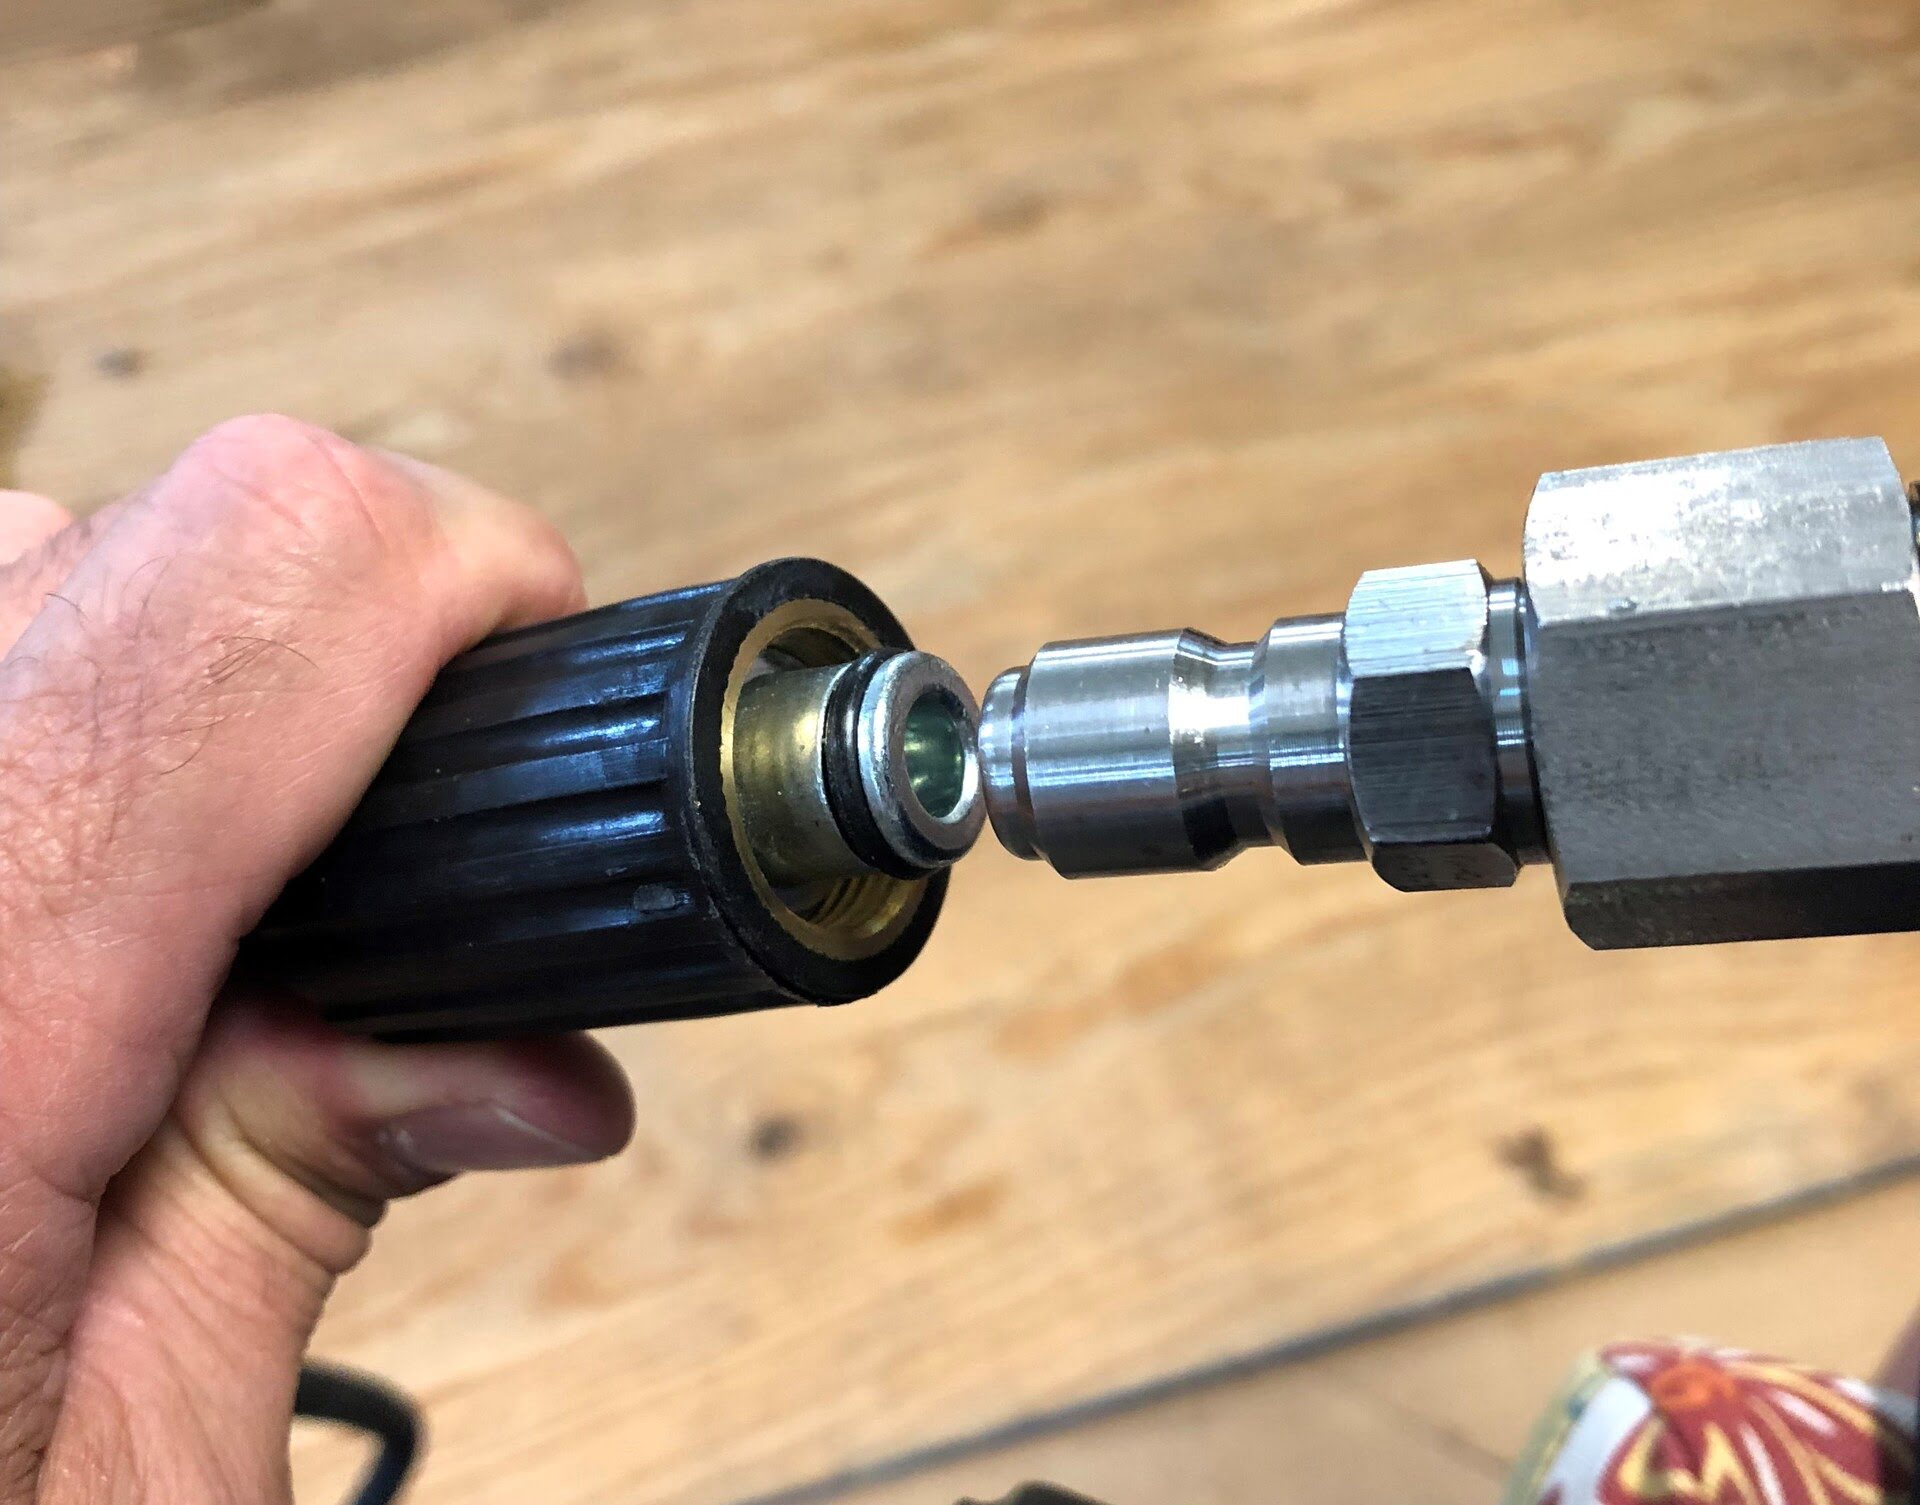
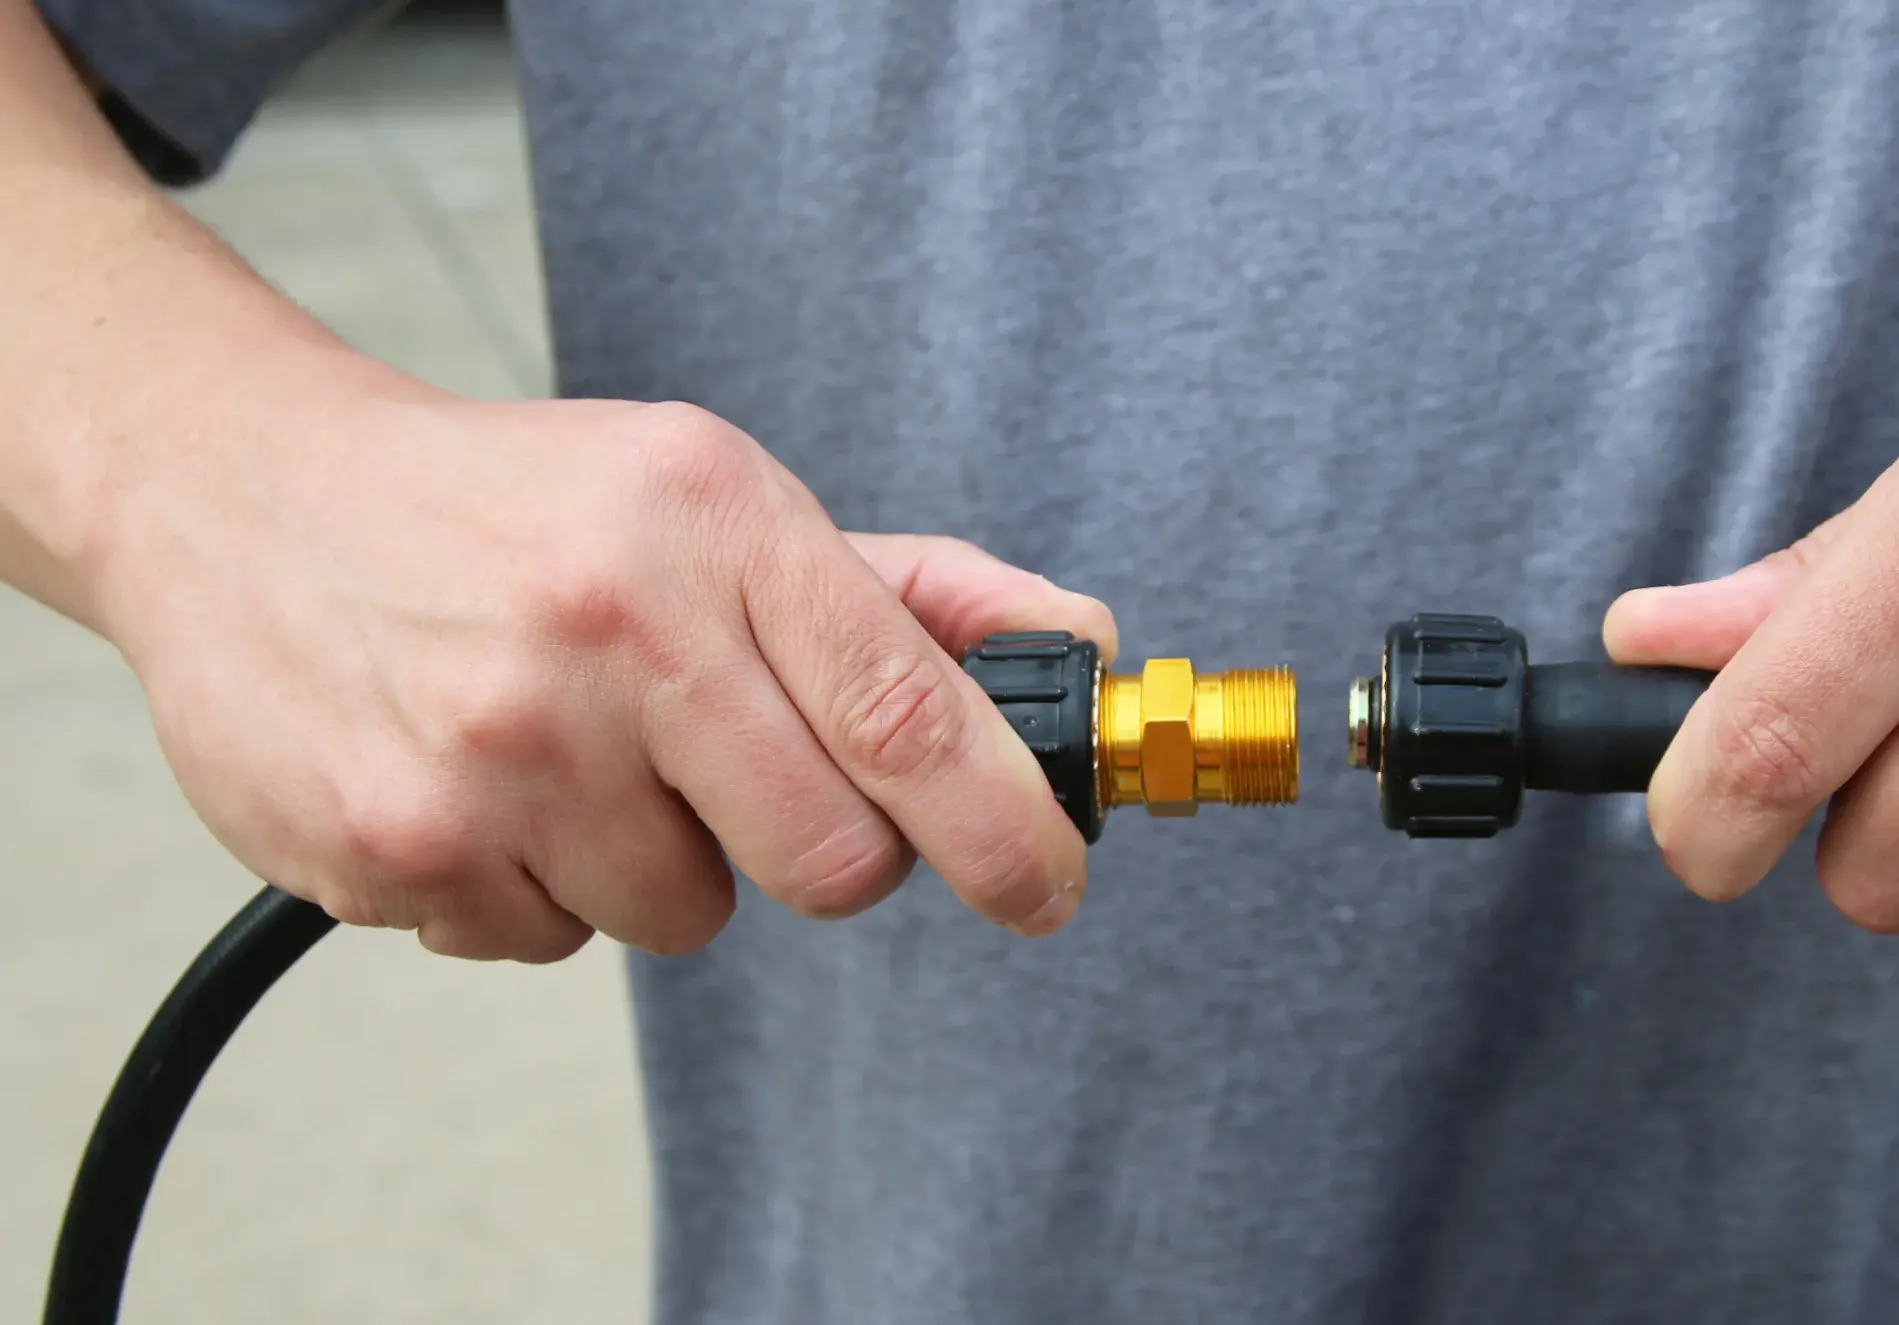
- Screw on the hose connector: Take one end of the hose and attach a hose connector to it. Make sure the connector’s threads match the threads on the pressure washer’s connection point. Twist the hose connector clockwise to tighten it onto the pressure washer.
- Tighten the connection: Once the hose connector is secured, use an adjustable wrench or pliers to tighten it further. Be careful not to overtighten, as it may damage the threads or cause leaks.
- Attach the other end of the hose: Take the other end of the hose and attach any required adapters or connectors if necessary. Ensure a proper fit and tighten them securely.
By following these steps, you have successfully attached the hose to the pressure washer. The next step is to secure the connection to ensure it stays in place during operation.
Before connecting the hose to the pressure washer, make sure to check the hose for any kinks or damage. Then, attach the hose to the water outlet on the pressure washer and tighten it securely to prevent leaks.
Step 4: Secure the Connection
After attaching the hose to the pressure washer, it is important to secure the connection to prevent any accidental disconnections or leaks. Follow these steps to ensure a secure connection:
- Check for leaks: Before securing the connection, turn on the water supply and check for any leaks around the hose connection point. If you notice any leaks, tighten the connections further or consider using additional thread seal tape.
- Position the hose properly: Ensure that the hose is positioned in a way that allows for smooth and unrestricted water flow. Avoid any sharp bends or kinks in the hose that may hinder the water flow or cause damage.
- Use hose clamps or zip ties: If your pressure washer and hose have provisions for it, you can use hose clamps or zip ties to further secure the connection. Place a clamp or zip tie around the hose and tighten it to provide extra stability.
- Check for movement: Give the hose a gentle tug to check if it is firmly secured to the pressure washer. If you notice any movement or looseness, tighten the connections or adjust the clamps or zip ties as needed.
Ensuring a secure connection is crucial for the proper functioning and safety of your pressure washer. Take the time to double-check everything and make necessary adjustments to minimize the risk of accidents or leaks during use.
With the connection secured, it’s time to move on to the next step: testing the connection to verify its effectiveness.
Read more: How To Fix Pressure Washer Hose
Step 5: Test the Connection
Once you have securely connected the hose to the pressure washer, it’s important to test the connection to ensure that everything is working properly. Follow these steps to test the connection:
- Turn on the water supply: Open the outdoor faucet or water source to allow water to flow into the pressure washer.
- Check for leaks: As the water starts flowing through the hose and pressure washer, inspect all connections for any signs of leaks. Pay close attention to the hose connection point and any additional connectors or adapters you have used.
- Inspect water flow: Carefully observe the water flow from the pressure washer nozzle. Ensure that it is steady and strong, indicating that water is properly flowing through the hose and pressure washer.
- Test different spray patterns: Adjust the pressure washer nozzle to different spray patterns, such as a wide fan or a pinpoint stream. Make sure that each spray pattern is working correctly, without any disruptions or irregularities.
- Monitor for any issues: While testing the connection, keep an eye out for any unusual sounds, vibrations, or fluctuations in water pressure. These could be indicators of a problem with the connection or pressure washer, and further investigation may be needed.
By testing the connection, you can identify any potential issues or leaks and address them before starting your cleaning tasks. A fully functioning and secure connection will ensure efficient and effective use of your pressure washer.
If you encounter any problems during the testing process or notice any persistent leaks or malfunctions, refer to the instruction manual or consult a professional for assistance.
With the connection successfully tested, the final step is to safely disconnect the hose from the pressure washer after use, which will be covered in the next step.
Step 6: Disconnect the Hose
After completing your cleaning tasks or when you’re finished using the pressure washer, it’s important to properly disconnect the hose to ensure safety and longevity of the equipment. Follow these steps to safely disconnect the hose:
- Turn off the pressure washer: Before disconnecting the hose, turn off the pressure washer and ensure it is completely powered down. This will prevent any accidental engagement of the pressure washer while disconnecting the hose.
- Turn off the water supply: Close the outdoor faucet or water source to stop the water flow to the pressure washer. This will relieve any pressure within the hose and minimize the risk of water spraying out during disconnecting.
- Release any residual pressure: To release any residual pressure remaining in the hose, simply squeeze the trigger on the pressure washer nozzle. This will allow any trapped water to escape and relieve pressure in the system.
- Loosen the hose connection: Using an adjustable wrench or pliers, loosen the hose connector from the pressure washer by turning it counterclockwise. Be careful not to apply excessive force, as this may damage the connection or threads.
- Remove the hose: Once the hose connection is loose, carefully remove the hose from the pressure washer. Gently pull the hose away from the pressure washer, taking care not to bend or damage it during the process.
- Properly store the hose: After disconnecting the hose, ensure it is properly coiled and stored in a clean and dry area. This will help maintain the hose’s longevity and prevent any damage or tangling.
By following these steps and safely disconnecting the hose, you ensure the equipment is ready for future use and minimize the risk of any mishaps or damage during storage. Remember to always handle the hose with care and store it in a suitable location to protect it from any potential wear and tear.
With the hose safely disconnected and stored, you have successfully completed the process of connecting and disconnecting a hose from a pressure washer. Following these steps will help you maintain your equipment, ensure optimal performance, and make your cleaning tasks a breeze. As always, refer to the instruction manual provided by the manufacturer for any specific guidelines or recommendations pertaining to your pressure washer.
Now that you've mastered connecting a hose to your pressure washer, why stop there? For those moments when you need to attach a hose directly to your home's faucet, we've got just the guide for you. Our detailed instructions on hose connection make this task quick and straightforward. Whether you're filling a pool, watering your garden, or setting up an outdoor sink, knowing how to make secure and efficient connections will save you time and trouble. Check out our latest guide and keep your water flowing where you need it most.
Frequently Asked Questions about How To Connect Hose To Pressure Washer
Was this page helpful?
At Storables.com, we guarantee accurate and reliable information. Our content, validated by Expert Board Contributors, is crafted following stringent Editorial Policies. We're committed to providing you with well-researched, expert-backed insights for all your informational needs.


0 thoughts on “How To Connect Hose To Pressure Washer”