Articles
How To Fix A Pressure Washer
Modified: February 19, 2024
Learn how to fix a pressure washer with these informative articles. Get step-by-step instructions and expert tips to troubleshoot and repair common issues.
(Many of the links in this article redirect to a specific reviewed product. Your purchase of these products through affiliate links helps to generate commission for Storables.com, at no extra cost. Learn more)
Introduction
Welcome to our comprehensive guide on how to fix a pressure washer. Pressure washers are undoubtedly handy tools for cleaning various surfaces, from outdoor decks to driveways and even vehicles. However, like any mechanical device, they may encounter issues that require troubleshooting and repair. The good news is that many common pressure washer problems can be resolved with a few simple steps.
In this article, we will walk you through the process of fixing a pressure washer, providing you with the knowledge and guidance you need to get your machine back up and running in no time. Before we dive into the details, it’s important to note that while some repairs can be easily done by homeowners, others may require the assistance of a professional. Use your best judgment and only attempt repairs that you feel comfortable with.
Before we start troubleshooting, it’s crucial to ensure your safety. Pressure washers work with pressurized water, which can cause serious injuries if mishandled. Always wear protective gear, including goggles and gloves, and read the manufacturer’s safety guidelines before operating or making any repairs.
You’ll also need a few tools and materials for the repair process. These may include a screwdriver set, pliers, an adjustable wrench, a pressure gauge, replacement parts (if necessary), and cleaning solutions. Make sure you have everything you need before you begin.
Now that we’ve covered the safety precautions and necessary tools, let’s proceed to the first step in fixing a pressure washer – inspecting the machine.+
Key Takeaways:
- Prioritize safety by wearing protective gear and following manufacturer’s guidelines when fixing a pressure washer. Regular maintenance and thorough inspections can prevent common issues and ensure optimal performance.
- Understanding the troubleshooting steps, from inspecting the machine to testing its functionality, empowers you to address pressure washer issues effectively. Remember to consult professionals for complex repairs.
Read more: How To Fix Pressure Washer Hose
Safety Precautions
When working with a pressure washer, it’s essential to prioritize safety to prevent any accidents or injuries. Follow these safety precautions before you start repairing or operating your pressure washer:
- Read the user manual: Familiarize yourself with the manufacturer’s instructions and safety guidelines. Each pressure washer model may have specific requirements and precautions.
- Wear protective gear: Always wear safety goggles to protect your eyes from debris and water splashes. Additionally, wear gloves to safeguard your hands and non-slip shoes to prevent accidents.
- Inspect the power cord: Ensure that the power cord is in good condition, without any frays or cuts. A damaged power cord can lead to electrical shocks.
- Use a Ground Fault Circuit Interrupter (GFCI): Plug your pressure washer into a GFCI outlet to prevent electric shock in case of a malfunction.
- Keep a safe distance: Maintain a safe distance from the spray nozzle when operating the pressure washer. This will prevent any accidental injuries from the forceful spray.
- Turn off the unit before making any adjustments: Always turn off the pressure washer and disconnect it from the power source before making any repairs or adjustments.
- Use proper cleaning solutions: If you are using cleaning solutions, ensure they are specifically designed for pressure washers. Avoid using flammable or toxic substances.
- Work on a stable surface: Place your pressure washer on a flat and stable surface to prevent it from tipping or falling during operation.
- Never aim the spray at people or animals: Direct the spray away from yourself, others, and animals to avoid causing injuries or distress.
- Store the pressure washer safely: Keep your pressure washer in a dry, well-ventilated area, away from children and pets.
Following these safety precautions will help you avoid accidents and ensure a safer repair and operating experience with your pressure washer. Now that we understand the importance of safety, let’s move on to the next section – the tools and materials needed for the repair process.
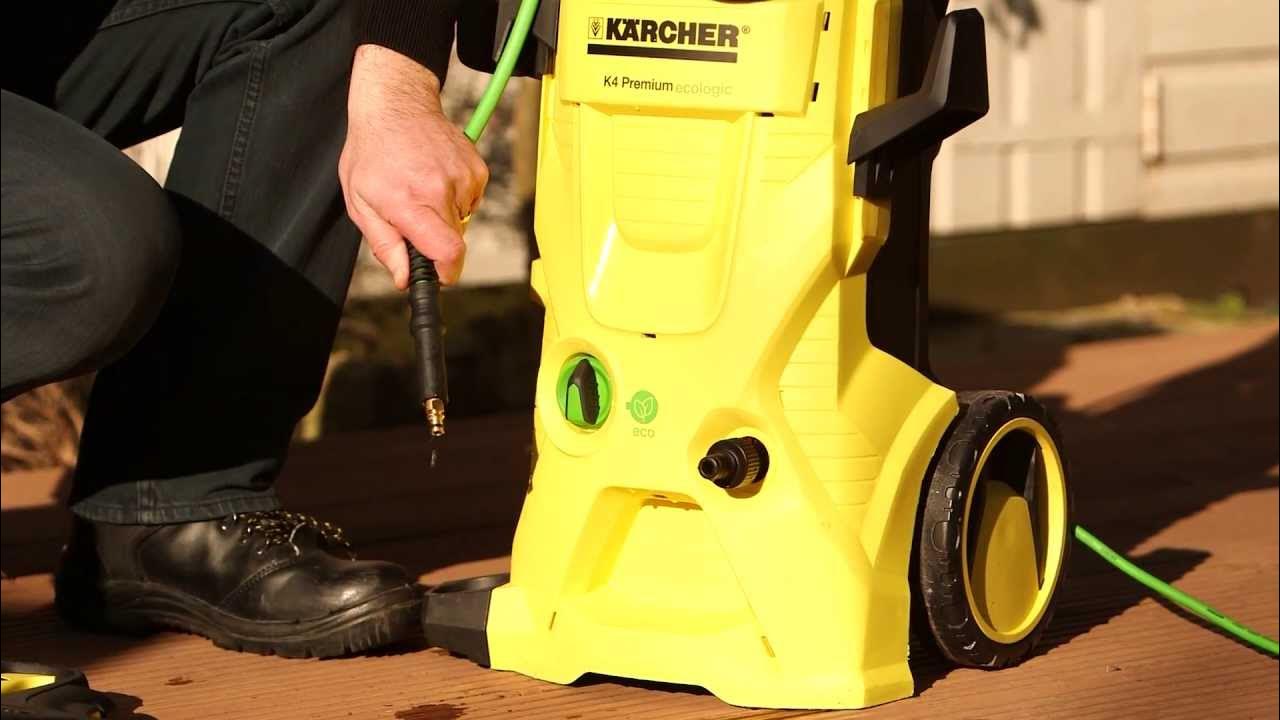
Tools and Materials Needed
Before starting the process of fixing your pressure washer, there are a few essential tools and materials that you should gather. These items will assist you in diagnosing and resolving common issues with your machine. Here is a list of what you will need:
- Owner’s Manual: Keep your pressure washer’s owner’s manual on hand. It will provide you with important information specific to your model and guide you through the troubleshooting process.
- Safety Gear: Protect yourself by wearing safety goggles and gloves to prevent any injuries while working on your pressure washer.
- Adjustable Wrench: An adjustable wrench will come in handy for loosening and tightening various nuts and bolts on your pressure washer.
- Screwdriver Set: A set of screwdrivers with different sizes and types – both flathead and Phillips – will allow you to remove screws and access different components of your pressure washer.
- Plumber’s Tape: Plumber’s tape, also known as Teflon tape, is used to create a watertight seal on threaded connections. It can help prevent leaks in your pressure washer’s fittings.
- Hose Repair Kit: If your pressure washer’s hose is damaged, a hose repair kit that includes replacement fittings and clamps will be necessary for fixing any leaks.
- Pressure Gauge: A pressure gauge will help you measure the output pressure of your pressure washer. This is useful for diagnosing issues related to water pressure.
- Nozzle Cleaning Kit: A nozzle cleaning kit will help you remove any debris or blockages that may be affecting the spray pattern of your pressure washer.
- Cleaning Solution: Depending on the cleaning task at hand, you may need specific cleaning solutions designed for pressure washers. Refer to your owner’s manual for recommended cleaning solutions.
- Replacement Parts: If you have identified specific issues with your pressure washer, you may need to purchase replacement parts, such as seals, valves, or pump components. Refer to your owner’s manual or consult with a professional to determine the exact parts you need.
Having these tools and materials ready will ensure that you are prepared to tackle any repairs or maintenance tasks that may arise with your pressure washer. With everything in place, we are now ready to move on to the troubleshooting steps. In the next section, we will discuss how to inspect the pressure washer and identify potential issues.
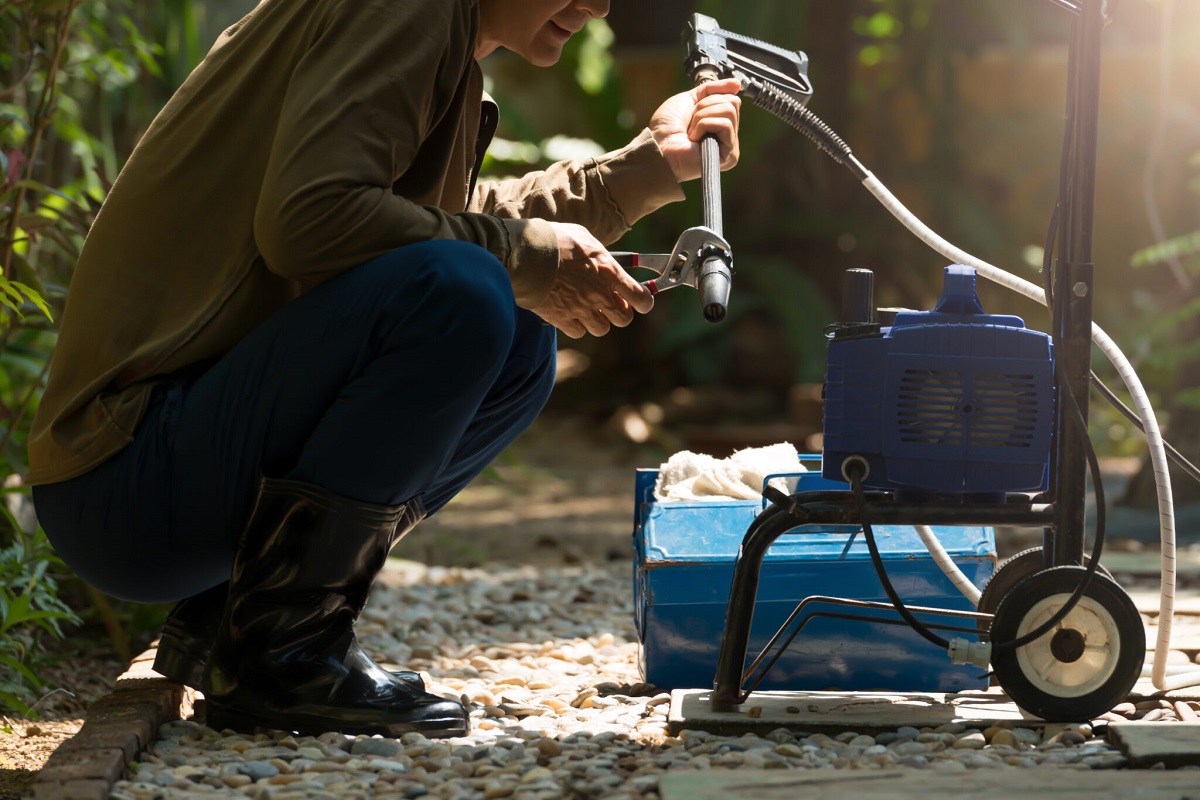
Step 1: Inspect the Pressure Washer
The first step in fixing a pressure washer is to carefully inspect the machine and identify any visible issues or signs of damage. This initial inspection will help determine the possible causes of the problem and guide you in the subsequent troubleshooting steps. Follow these steps to inspect your pressure washer:
- Power Off: Before inspecting your pressure washer, make sure it is turned off and disconnected from the power source to avoid any accidental start-up.
- Remove Debris: Inspect the exterior of the pressure washer for any dirt, debris, or obstructions. Clean the surface of the machine using a cloth or brush to ensure clear visibility.
- Check Hoses and Connections: Inspect the hoses, fittings, and connections for any signs of damage, such as cracks, leaks, or loose connections. Tighten any loose connections and replace any damaged hoses or fittings.
- Inspect the Pump: Examine the pump for any oil leaks or noticeable damage. If you detect an oil leak, it may indicate a faulty pump seal that needs to be replaced.
- Inspect the Spray Gun and Wand: Check the spray gun and wand for any clogs, blockages, or damage. Remove any debris or obstructions and ensure that the trigger and nozzle are working properly.
- Check the Water Inlet Filter: Locate the water inlet filter, usually located near the water connection point, and inspect it for any debris or blockages. Clean or replace the filter if necessary.
- Inspect the Pressure Relief Valve: Locate the pressure relief valve, typically located on or near the pump, and check for any visible damage or leaks. If the valve is damaged or leaking, it may need to be replaced.
- Examine the Drive Belt (if applicable): If your pressure washer has a drive belt, check it for any signs of wear or damage. A worn or damaged drive belt may need to be replaced to restore proper functioning.
- Inspect Electrical Connections (if applicable): If your pressure washer is electric, check the electrical connections for any loose or damaged wires. Ensure that all connections are secure and free from corrosion.
By thoroughly inspecting your pressure washer, you will be able to identify any visible issues that may be causing the problem. If you encounter any damaged or faulty components during the inspection, take note of them as they may need to be repaired or replaced later in the troubleshooting process. Once you have completed the inspection, you can proceed to the next step – checking the water supply.
Step 2: Check the Water Supply
One of the common issues that can affect the performance of a pressure washer is inadequate water supply. Insufficient water flow can result in reduced pressure and cause the pressure washer to underperform. Follow these steps to check the water supply:
- Water Source: Ensure that you have a sufficient water source available, such as a garden hose connected to a faucet. The water source should provide a constant flow of water.
- Water Pressure: Check the water pressure of your supply. Most pressure washers require a minimum water pressure range of 40-80 PSI (pounds per square inch) for optimal performance. You can use a pressure gauge to measure the water pressure from the hose.
- Remove any Obstructions: Inspect the water inlet hose for any kinks, twists, or blockages. Straighten the hose and remove any obstructions that may be restricting the water flow.
- Check the Water Filters: Some pressure washers have built-in filters at the water inlet. Check these filters for any debris or blockages and clean or replace them if necessary.
- Verify Water Flow: Turn on the water supply and verify that water is flowing freely through the pressure washer. If there is a weak or irregular flow, it may indicate a problem with the water source or a blockage within the pressure washer.
- Check Hose Length: Ensure that the length of your hose is suitable for your pressure washer. Using a hose that is too long or too short can disrupt water flow and affect performance. Refer to your owner’s manual for the recommended hose length.
- Avoid using Hot Water: Pressure washers are designed to work with cold water. Using hot water can damage the pressure washer’s internal components, so always ensure that the water supply is cold.
By checking the water supply, you can ensure that your pressure washer is receiving adequate water flow and pressure for optimal performance. If you identify any issues during this step, address them accordingly before proceeding to the next troubleshooting step. In the next section, we will discuss how to clean the nozzle and spray gun, which can help improve the performance of your pressure washer.
Read more: How To Adjust Pressure On Pressure Washer
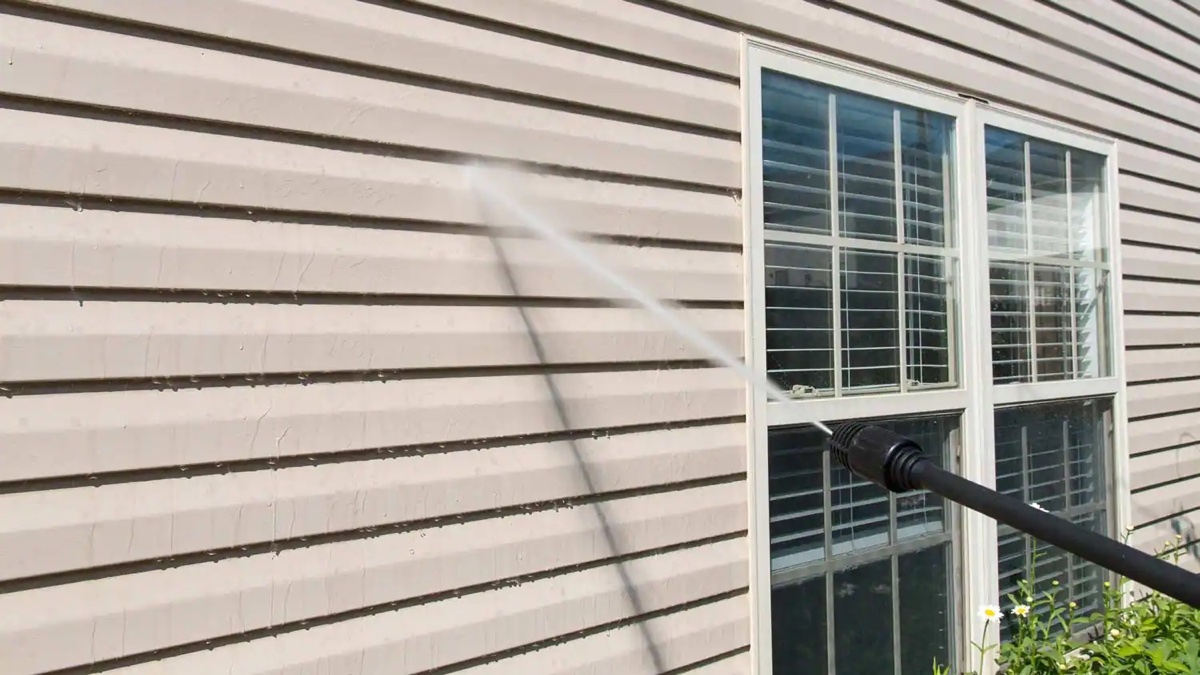
Step 3: Clean the Nozzle and Spray Gun
The nozzle and spray gun of your pressure washer play a crucial role in delivering a powerful and consistent spray. Over time, they can become clogged with debris, reducing the performance of your pressure washer. Cleaning the nozzle and spray gun is a simple yet effective way to improve the spray pattern and pressure. Follow these steps to clean the nozzle and spray gun:
- Power Off: Before cleaning the nozzle and spray gun, ensure that your pressure washer is turned off and disconnected from the power source.
- Remove the Nozzle: Unscrew the nozzle from the end of the spray gun. Different pressure washer models may have different nozzle attachment mechanisms, so refer to your owner’s manual for specific instructions.
- Inspect the Nozzle: Examine the nozzle for any dirt, debris, or clogs. Use a small brush or toothpick to remove any obstructions from the nozzle’s openings. Be careful not to damage the nozzle while cleaning.
- Soak the Nozzle: If the nozzle is heavily clogged, you can soak it in a cleaning solution, such as white vinegar or a nozzle cleaning solution, for a few minutes. This will help dissolve any stubborn debris.
- Rinse the Nozzle: After soaking, rinse the nozzle thoroughly with clean water to remove any remaining residue or cleaning solution. Ensure that all openings are clear and free from obstructions.
- Clean the Spray Gun: While the nozzle is soaking or being rinsed, inspect the spray gun for any dirt or debris. Wipe the exterior of the spray gun with a damp cloth and use a small brush or toothpick to clean the trigger mechanism and any other accessible parts.
- Reattach the Nozzle: Once the nozzle and spray gun are clean and dry, screw the nozzle back onto the spray gun securely. Ensure it is tightened properly to prevent any leaks during operation.
By cleaning the nozzle and spray gun, you can restore the proper spray pattern and pressure to your pressure washer. This simple maintenance step should be performed regularly to prevent clogs and maintain optimal performance. If you still experience issues with the spray pattern after cleaning, proceed to the next step – clearing any clogs in the hose.
Check the inlet filter for any blockages and clean it if necessary. A clogged filter can restrict water flow and cause pressure washer issues.
Step 4: Clear any Clogs in the Hose
A common issue that can affect the performance of a pressure washer is a clogged hose. Clogs can restrict water flow and lead to reduced pressure or uneven spraying. Clearing any clogs in the hose is an important step in maintaining the optimal functioning of your pressure washer. Follow these steps to clear any clogs in the hose:
- Power Off: Before clearing any clogs, make sure your pressure washer is turned off and disconnected from the power source.
- Remove the Hose: Detach the hose from both the pump outlet and the spray gun inlet. Depending on your pressure washer model, you may need to use pliers or an adjustable wrench to loosen and remove any fittings holding the hose in place.
- Inspect the Hose: Examine the hose for any visible clogs or blockages. Look for any debris or foreign objects that may be obstructing the water flow.
- Clear the Clog: To clear the clog, you can try a few different methods:
- If the clog is visible near the hose ends, use a small brush or toothpick to dislodge and remove the debris.
- If the clog is further inside the hose, use compressed air or a high-pressure nozzle attachment to force the clog out. Be cautious when using compressed air and ensure that you follow safety guidelines.
- If the clog persists and cannot be cleared manually, consider replacing the hose with a new one.
- Reattach the Hose: Once the clog is cleared, reattach the hose to the pump outlet and the spray gun inlet. Ensure that all fittings are tightened securely to prevent any leaks.
Clearing any clogs in the hose will help restore proper water flow and pressure to your pressure washer. Regular maintenance, such as checking for and removing debris from the hose, can help prevent future clogs. If you’ve cleared the hose and are still experiencing issues with water flow or pressure, it may be necessary to move on to the next step – replacing or repairing the pump.
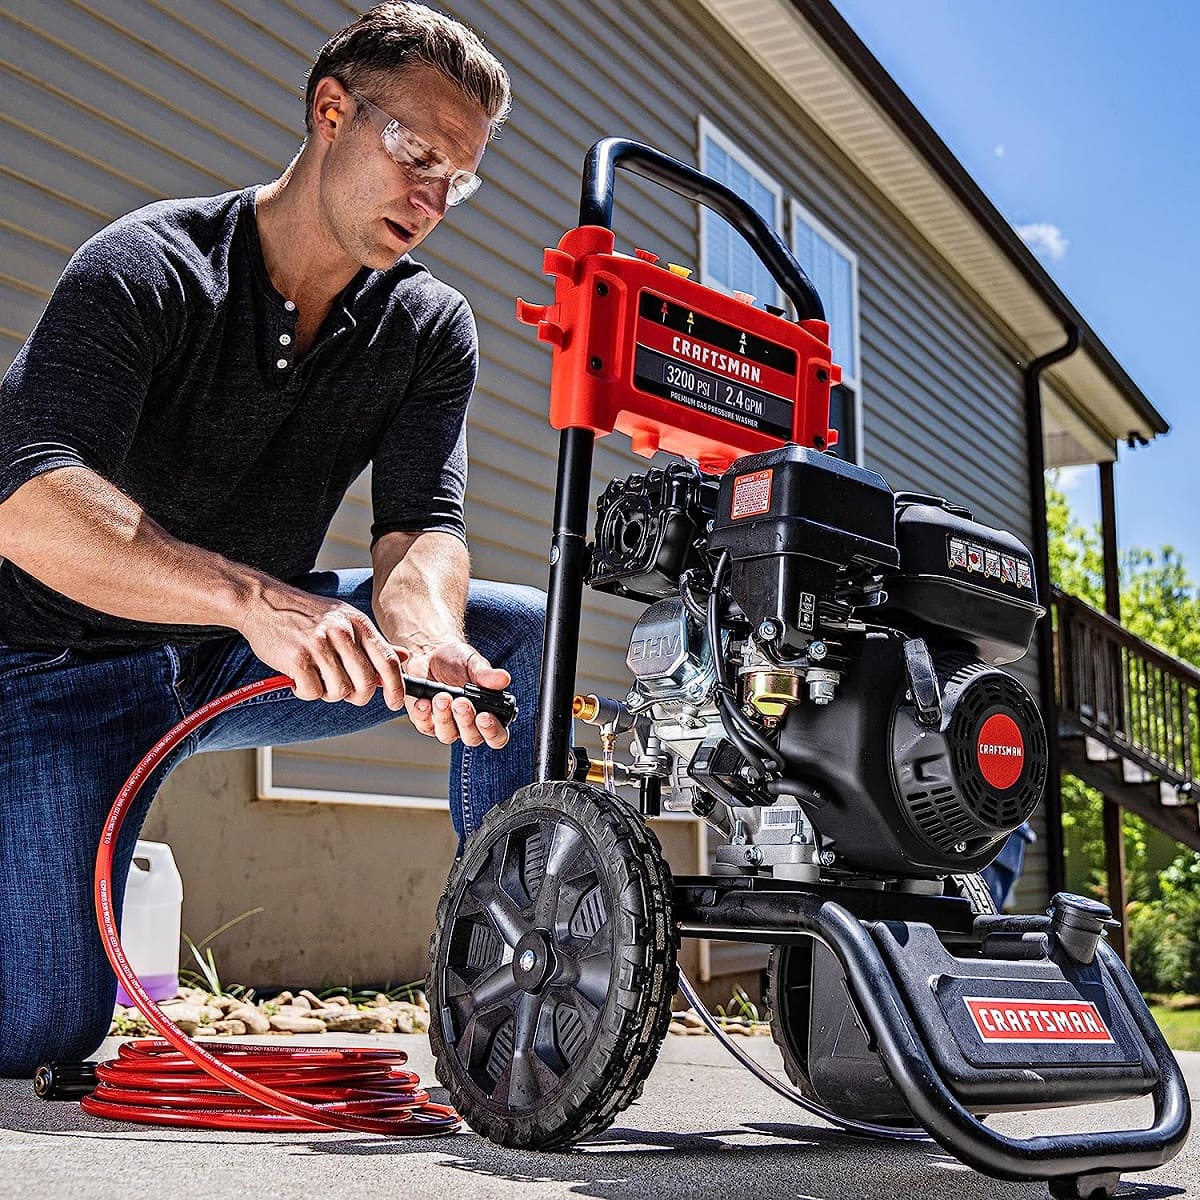
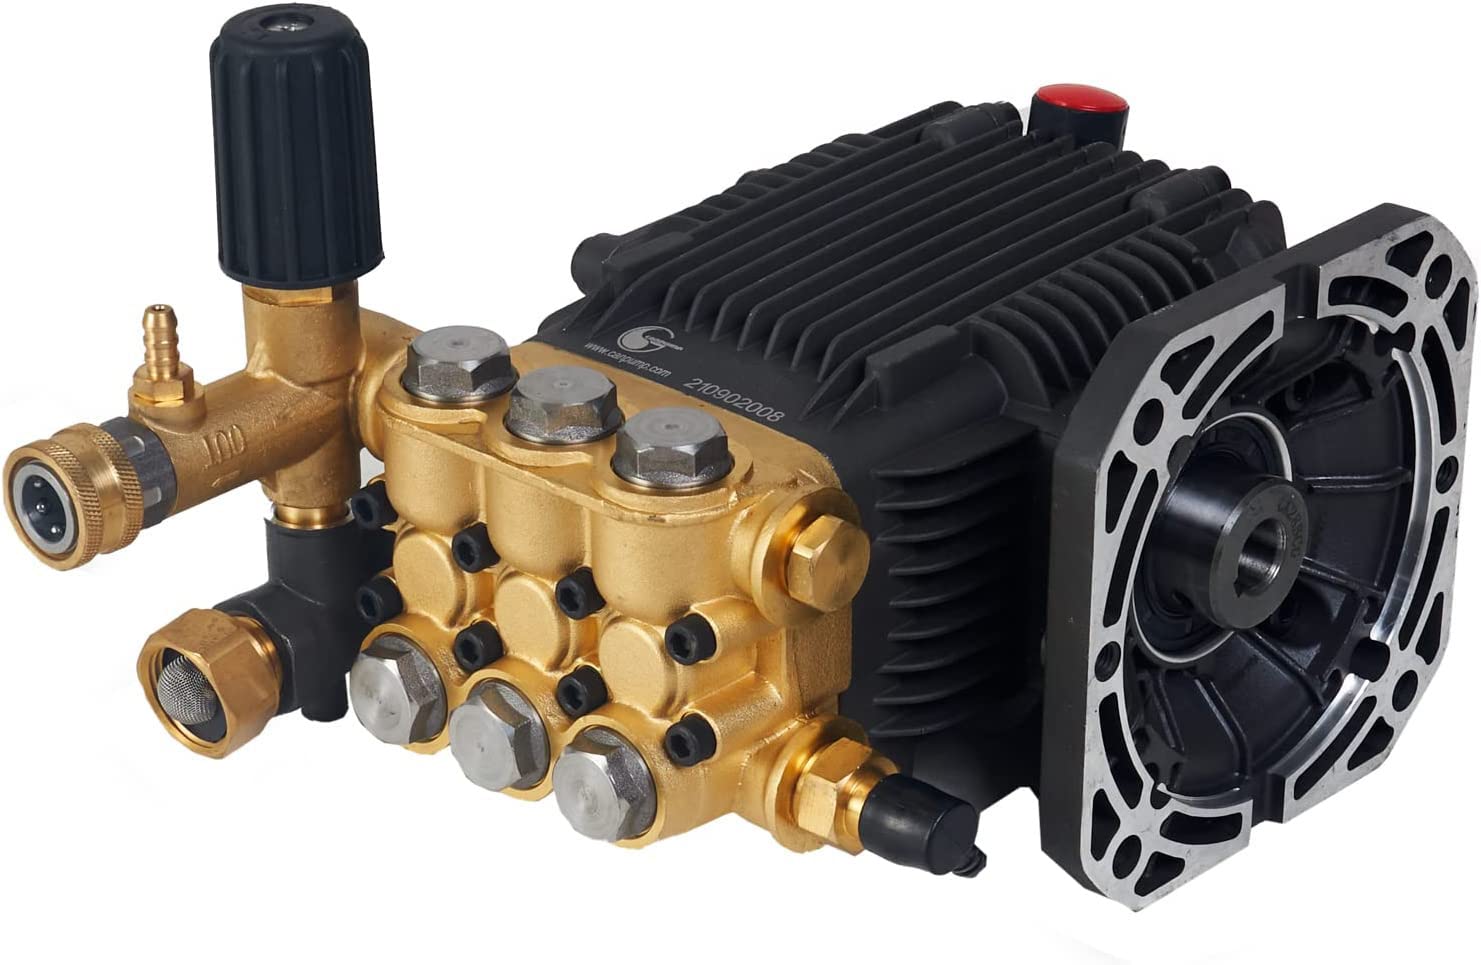
Step 5: Replace or Repair the Pump
If you’ve gone through the previous troubleshooting steps and are still experiencing problems with your pressure washer, the issue may lie with the pump. The pump is a vital component of the pressure washer that pressurizes the water for effective cleaning. If the pump is damaged or malfunctioning, it may need to be replaced or repaired. Here’s what you can do:
- Power Off: Before working on the pump, make sure your pressure washer is turned off and disconnected from the power source.
- Inspect the Pump: Examine the pump for any visible signs of damage or leaks. Check the connections, seals, and valves for any wear or cracks.
- Test the Pressure: Use a pressure gauge to measure the output pressure of the pump. Compare the pressure reading to the manufacturer’s specifications to determine if the pump is functioning within the recommended range.
- Check for Prime Issues: If your pressure washer uses a gas engine, make sure the pump is properly primed. Inspect the oil level in the pump and ensure it is at the correct level. Refer to your owner’s manual for instructions on priming the pump.
- Repair or Replace: If you notice any significant damage or issues with the pump, it may need to be repaired or replaced. Depending on the extent of the problem, you may be able to repair specific components (such as seals or valves) or need to replace the entire pump.
- Consult a Professional: If you are unsure about how to repair or replace the pump yourself, or if the damage is severe, it’s recommended to consult a professional or contact the manufacturer for assistance.
- Follow Proper Replacement Procedures: If you decide to replace the pump yourself, follow the manufacturer’s guidelines for proper removal and installation. Make sure you have the necessary tools and replacement parts before proceeding.
Replacing or repairing the pump can be a more complex task and may require technical expertise. If you are not confident in your abilities, it’s best to seek professional help to avoid causing further damage. The pump is a critical component of the pressure washer, and ensuring its proper functioning is important for optimal performance.
If you have successfully replaced or repaired the pump, you can now move on to the next step – checking the pressure regulator. If the pump is functioning fine and you want to ensure the pressure is regulated correctly, proceed to step 6.
Step 6: Check the Pressure Regulator
The pressure regulator is responsible for controlling and maintaining the desired pressure level of your pressure washer. If the pressure regulator is not functioning correctly, it can lead to inconsistent pressure or loss of pressure altogether. Follow these steps to check the pressure regulator:
- Power Off: Before checking the pressure regulator, make sure your pressure washer is turned off and disconnected from the power source.
- Locate the Pressure Regulator: Refer to your owner’s manual to locate the pressure regulator. It is typically located near the pump or on the control panel of your pressure washer.
- Inspect the Pressure Regulator: Examine the pressure regulator for any visible damage, such as cracks or leaks. Ensure that all connections to and from the pressure regulator are secure.
- Adjust the Pressure Setting: Some pressure regulators have an adjustable knob or dial that allows you to control the pressure output. Check if the pressure setting is at the desired level and make any necessary adjustments.
- Clean or Replace: If the pressure regulator is clogged or not functioning properly, you may need to clean or replace it. Use a small brush or cloth to clean any debris or buildup. If cleaning doesn’t resolve the issue, consider replacing the pressure regulator.
- Test the Pressure: After cleaning or replacing the pressure regulator, start your pressure washer and test the pressure output. Ensure that the pressure is consistent and at the desired level.
The pressure regulator plays a vital role in maintaining consistent pressure during operation. If you notice any issues with pressure fluctuation or difficulty adjusting the pressure, it’s important to check and address the pressure regulator. Once you have verified that the pressure regulator is functioning correctly, you can proceed to the final step – testing the pressure washer to ensure proper operation.
Read more: How To Use A Pressure Washer
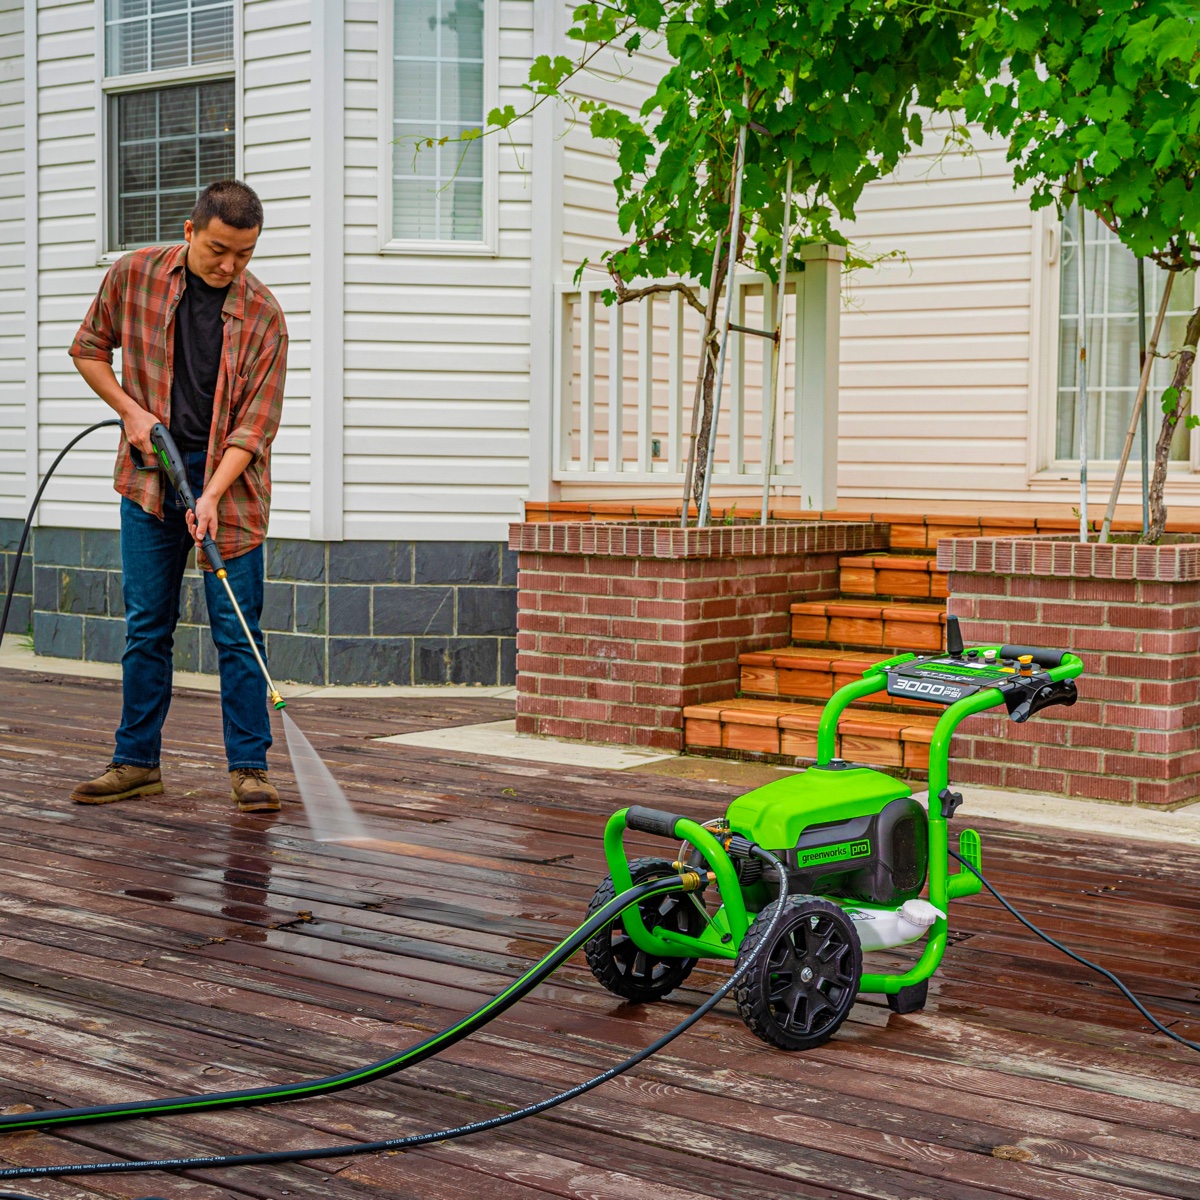
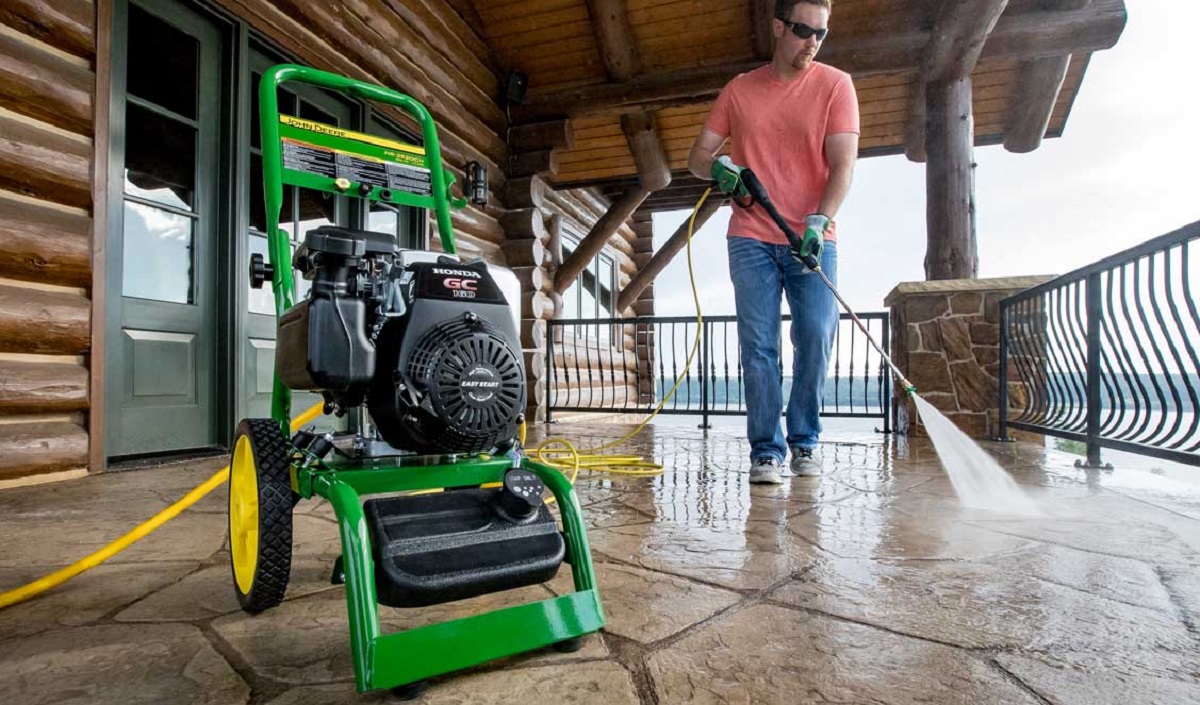
Step 7: Test the Pressure Washer
After completing the necessary repairs and maintenance steps, it’s time to test your pressure washer to ensure that it is functioning properly. Testing the pressure washer will help you determine if the issues have been resolved and if it is delivering the desired pressure and performance. Follow these steps to test your pressure washer:
- Power On: Connect the pressure washer to the power source and turn it on according to the manufacturer’s instructions.
- Inspect for Leaks: While the pressure washer is running, inspect all connections, hoses, and fittings for any signs of leaks. Address any leaks immediately by tightening connections or replacing damaged components.
- Check Spray Gun Trigger: Test the spray gun trigger by squeezing it and releasing it. Ensure that the trigger operates smoothly and there are no issues with sticking or malfunctioning.
- Verify Spray Pattern and Pressure: Point the spray gun in a safe direction and test the spray pattern and pressure by pulling the trigger. Check if the spray is consistent, uniform, and at the desired pressure level. If you notice any irregularities, go back to the previous troubleshooting steps to identify and address the issue.
- Check for Proper Functioning: Engage different features and settings of your pressure washer, such as adjustable nozzles or detergent injection, to confirm that they are working correctly.
- Observe Overall Performance: Run the pressure washer through various cleaning tasks, such as spraying a surface or washing a vehicle, to assess its overall performance and effectiveness. Pay attention to any unexpected noise, vibration, or unusual behavior.
Testing your pressure washer will give you confidence in its functionality and ensure that the repairs and maintenance were successful. By carefully observing its performance, you will be able to identify and address any lingering issues. If you encounter any persistent problems or concerns during the testing process, it may be necessary to seek professional assistance.
Remember, regular maintenance is key to keeping your pressure washer in optimal condition. Performing routine checks, cleaning, and maintenance tasks will help prevent issues and prolong the lifespan of your machine. Enjoy the use of your fully functional pressure washer!
Conclusion
In conclusion, knowing how to fix a pressure washer can save you time and money by addressing common issues that may arise during its lifespan. By following the steps outlined in this guide, you can troubleshoot and repair your pressure washer to restore its optimal performance. However, always prioritize safety by wearing protective gear and consulting a professional if you are unsure about any repairs.
Remember to start with a thorough inspection of your pressure washer, checking for any visible damage or obstructions. Ensure that you have a proper water supply and clear any clogs in the hose to maintain good water flow and pressure. Cleaning the nozzle and spray gun will help improve the spray pattern and performance.
If these steps don’t resolve the issue, it may be necessary to inspect, repair, or replace the pump, pressure regulator, or other components. Take care to follow proper procedures and consult professional help if needed.
Finally, testing the pressure washer after repairs will give you confidence in its functionality and ensure a job well done. Regular maintenance and care will help prevent future problems, so be sure to clean and inspect your pressure washer on a regular basis.
By following these guidelines and taking proper care of your pressure washer, you’ll be able to enjoy its powerful cleaning capabilities for years to come. Now, armed with the knowledge and skills to fix a pressure washer, you can tackle any issues that may arise and keep your outdoor spaces looking their best.
Frequently Asked Questions about How To Fix A Pressure Washer
Was this page helpful?
At Storables.com, we guarantee accurate and reliable information. Our content, validated by Expert Board Contributors, is crafted following stringent Editorial Policies. We're committed to providing you with well-researched, expert-backed insights for all your informational needs.
0 thoughts on “How To Fix A Pressure Washer”