Articles
How To Fix Dead Ryobi 18V Battery
Modified: May 6, 2024
Learn how to revive your dead Ryobi 18V battery with these helpful articles. Discover step-by-step instructions to extend its lifespan and save money.
(Many of the links in this article redirect to a specific reviewed product. Your purchase of these products through affiliate links helps to generate commission for Storables.com, at no extra cost. Learn more)
Introduction
Welcome to this comprehensive guide on how to fix a dead Ryobi 18V battery. If you’re a DIY enthusiast or a professional who relies on power tools for your work, you know how frustrating it can be when your battery dies in the middle of a project. However, before you rush out to buy a new battery, it’s worth exploring some troubleshooting and repair options.
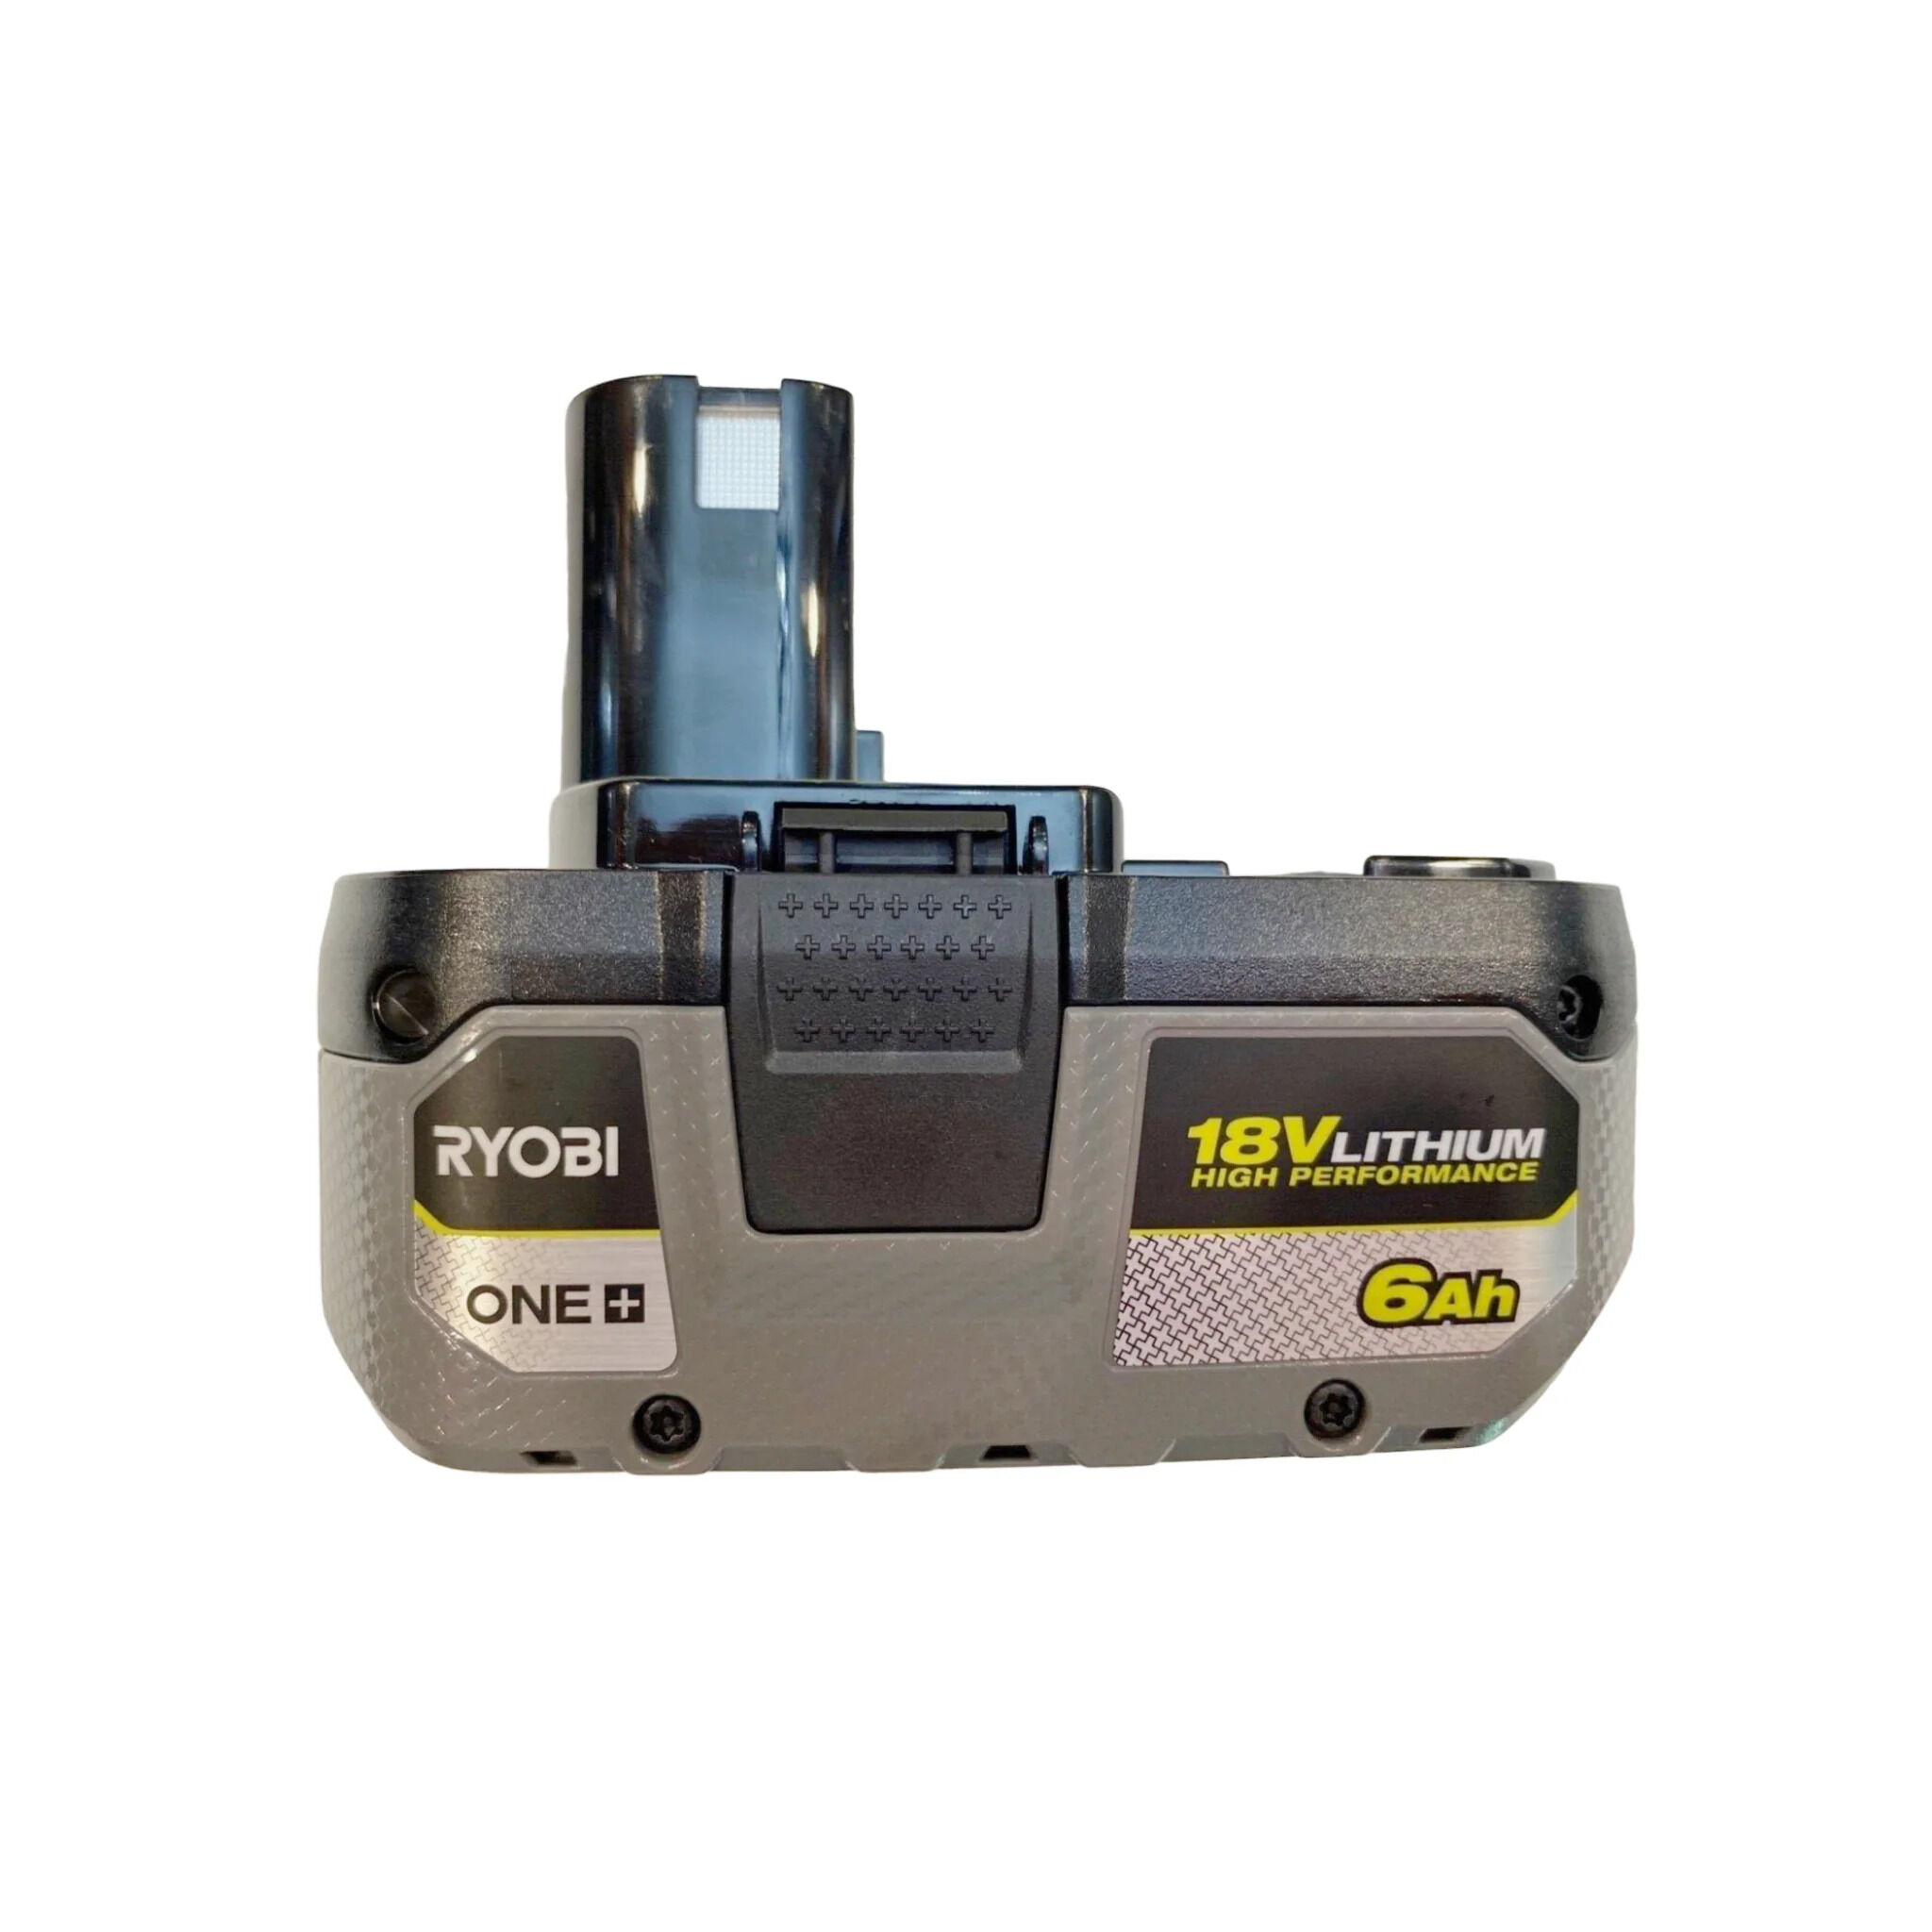
Ryobi is a well-known brand that offers a wide range of power tools, and their 18V batteries are widely used in these tools. These batteries are known for their durability and long-lasting performance. But over time, even the best batteries can lose their charge-holding capacity and eventually become dead or completely unresponsive. Fortunately, there are several steps you can take to revive your Ryobi 18V battery and get it working like new again.
This guide will walk you through the process of identifying the signs of a dead battery, the tools and materials you’ll need for the repair, and the step-by-step instructions to fix the issue. Whether you’re a seasoned DIYer or a novice, don’t worry – this guide will provide you with all the information you need to revive your dead Ryobi 18V battery and save you the cost of purchasing a new one.
Before we dive into the repair steps, it’s important to note that safety should always be your top priority. We’ll start by discussing some safety precautions you should take before attempting any repairs on your Ryobi 18V battery. So, grab your safety goggles and let’s get started!
Key Takeaways:
- Revive your dead Ryobi 18V battery by performing a deep discharge, charging it properly, and reconditioning it. If needed, consider replacing individual cells or the entire battery pack for reliable power tool performance.
- Prioritize safety, gather the right tools, and follow a systematic process to repair your Ryobi 18V battery. Whether you revive it or opt for a replacement, proper maintenance is key for long-lasting performance.
Read more: How To Reset Ryobi 18V Battery
Understanding Ryobi 18V Batteries
Before we delve into the process of fixing a dead Ryobi 18V battery, it’s helpful to have a basic understanding of how these batteries work. Ryobi 18V batteries are lithium-ion (Li-ion) batteries, which are known for their high energy density and long-lasting performance. These batteries are rechargeable and provide power to a wide range of Ryobi power tools, such as drills, saws, and sanders.
Each Ryobi 18V battery consists of a series of individual cells that are connected in a specific configuration to provide the desired voltage and capacity. These cells are responsible for storing and releasing electrical energy to power your tools. The cells inside a Ryobi 18V battery are typically cylindrical and contain a positive electrode (cathode), a negative electrode (anode), and an electrolyte that facilitates the movement of ions between the electrodes.
The voltage of a Ryobi 18V battery is determined by the number of cells connected in series. Each cell typically has a nominal voltage of 3.6 volts, so a battery pack with five cells connected in series will have a total voltage of 18 volts. Additionally, the capacity of the battery is measured in ampere-hours (Ah) and represents the amount of energy the battery can store.
Ryobi 18V batteries are equipped with a built-in battery management system (BMS) that helps regulate the charging and discharging process. The BMS prevents overcharging, overheating, and over-discharging of the battery, which can prolong its lifespan and ensure safe operation.
It’s important to note that over time, the capacity of a Ryobi 18V battery can diminish due to regular use, improper charging practices, or exposure to extreme temperatures. This can lead to a decrease in runtime and overall performance. However, in some cases, a dead battery might not be a result of normal wear and tear, but rather a malfunction or internal fault.
Now that you have a basic understanding of Ryobi 18V batteries, let’s move on to identifying the signs of a dead battery, so you can determine if yours can be revived or if a replacement is necessary.
Signs of a Dead Ryobi 18V Battery
Before you begin the repair process, it’s important to verify that your Ryobi 18V battery is indeed dead. Here are some common signs that indicate a dead or non-functioning battery:
- No power output: When you insert the battery into your Ryobi power tool, there is no power or the tool does not turn on.
- Rapid discharging: The battery discharges quickly, even when not in use, and cannot hold a charge for an extended period of time.
- Unusual behavior: The battery does not charge properly or displays erratic behavior, such as sudden power loss or inconsistent performance.
- LED indicators: If your battery has LED indicators, they may not light up or show incorrect charging levels.
- Noisy charger: The charger emits strange noises while attempting to charge the battery.
If you’re experiencing any of these signs, there’s a good chance that your Ryobi 18V battery is dead or has significant issues that need to be addressed. Fortunately, many of these issues can be fixed with some basic troubleshooting and repair techniques.
However, it’s important to note that not all batteries can be revived. If your battery shows signs of physical damage, such as leaks, swelling, or corroded connectors, it may be irreparable and should be replaced. Additionally, if your battery is several years old and has reached the end of its expected lifespan, it may be more cost-effective to invest in a new battery rather than attempting repairs.
Now that you know the signs of a dead Ryobi 18V battery, let’s move on to the tools and materials you’ll need for the repair process.
Tools and Materials Needed
Before you begin the process of fixing your dead Ryobi 18V battery, it’s important to gather the necessary tools and materials. Here’s a list of what you’ll need:
- Needle-nose pliers: These will be useful for removing small screws or connectors.
- Screwdriver set: A set of screwdrivers with various head types and sizes will be needed to disassemble the battery pack.
- Multimeter: This tool will allow you to measure the voltage of the battery and diagnose any electrical issues.
- Safety goggles and gloves: Safety should always be a priority when working with power tools and batteries.
- Battery charger: A compatible Ryobi charger will be necessary for testing and charging the battery.
- Replacement cells (if needed): If individual cells in the battery pack are faulty, you may need to replace them with new ones.
- Soldering iron and solder: In case you need to solder any connections during the repair process.
- Heat shrink tubing: This can be used to insulate and protect soldered connections.
- Electrical tape: Handy for securing wires or providing additional insulation.
- Isopropyl alcohol and cotton swabs: These can be used for cleaning battery contacts and connectors.
These tools and materials should be readily available at most hardware stores or online retailers. It’s important to note that not all repairs require every item on this list. The specific tools and materials needed will depend on the extent of the repair and the issues you encounter.
Now that you have all the necessary tools and materials, it’s time to move on to the step-by-step repair process. But before diving in, we’ll cover some important safety precautions to keep in mind throughout the process.
Step 1: Safety Precautions
Before you begin working on your dead Ryobi 18V battery, it’s crucial to prioritize safety. Batteries can pose potential risks, including electrical hazards and the release of harmful chemicals. By taking the following safety precautions, you can ensure a safe repair process:
- Protective gear: Wear safety goggles and gloves to shield your eyes and hands from any potential hazards, such as battery acid or debris during the repair process.
- Work in a well-ventilated area: If possible, work in an area with proper ventilation to minimize the risk of inhaling any fumes or gases that may be released from the battery.
- Disconnect from power source: Ensure that all power tools and chargers are disconnected from any power source before working on the battery. This will prevent accidental electrical shocks.
- Handle with care: Treat the battery with care and avoid dropping it or subjecting it to any excessive force, as this can cause physical damage to the battery pack.
- Avoid short circuits: Be cautious when handling battery terminals or any exposed wires, as contact between them can result in short circuits and potential injury.
- Follow manufacturer instructions: Refer to the user manual or instructions provided by the manufacturer for specific guidelines and precautions related to your Ryobi 18V battery model.
- Properly dispose of damaged batteries: If you identify that your battery is irreparable or has physical damage, dispose of it in accordance with local regulations or take it to designated recycling centers.
By following these safety precautions, you can minimize the risk of accidents and injuries during the repair process. Safety should always be your top priority when working with power tools and batteries.
Now that you’re aware of the necessary safety precautions, it’s time to move on to the next step: checking the voltage of your Ryobi 18V battery.
Read more: How Long Does A Ryobi 18V Battery Last
Step 2: Check the Battery Voltage
Before you proceed with any repairs, it’s essential to check the voltage of your dead Ryobi 18V battery. This will help you determine if the battery is completely drained or if there are any electrical issues that need to be addressed.
To check the battery voltage, you’ll need a multimeter. Here’s how you can do it:
- Ensure that the battery pack is disconnected from any power source, such as the charger or power tool.
- Set your multimeter to the DC voltage setting. Typically, you’ll want to select a voltage range higher than 18V to accommodate the battery’s output.
- Attach the multimeter probes to the positive and negative terminals of the battery. The positive terminal is usually marked with a (+) symbol, while the negative terminal is marked with a (-) symbol.
- Read the voltage displayed on the multimeter. A fully charged Ryobi 18V battery should ideally have a voltage reading in the range of 18V to 20V.
If the voltage reading is significantly lower than this range, it could indicate a dead battery or a fault within the battery pack.
However, before concluding that the battery is completely dead, ensure that it has been disconnected from any power source and left unused for some time. In some cases, a battery with low voltage can recover over time if it has been deeply discharged or subjected to incorrect charging practices.
If the battery voltage reads zero or there is no voltage response, it may indicate a faulty battery or a severe internal issue. In such cases, the battery may require more in-depth repairs, which we will cover later in this guide.
Now that you’ve determined the voltage of your Ryobi 18V battery, it’s time to move on to the next step: performing a deep discharge.
Step 3: Perform a Deep Discharge
If your Ryobi 18V battery is not holding its charge or showing signs of a dead battery, performing a deep discharge can sometimes help revive it. A deep discharge involves completely draining the battery’s remaining charge to reset its internal circuits and restore its capacity. Here’s how you can do it:
- Ensure that the battery pack is disconnected from any power source and remove it from the power tool.
- Identify the positive and negative terminals on the battery pack. The positive terminal is usually marked with a (+) symbol, while the negative terminal is marked with a (-) symbol.
- With the help of a wire or a metal object, short the positive and negative terminals of the battery pack together. This will create a direct current path and allow the battery to discharge.
- Leave the battery in this shorted state for at least 24 hours to fully discharge it. It’s important to monitor the battery during this process and ensure that it’s not getting too hot or damaged.
- After the discharge period, remove the shorting wire and let the battery rest for a few hours to allow any residual charge to dissipate.
Performing a deep discharge can help recalibrate the battery’s internal circuits and potentially revive its capacity to hold a charge. However, keep in mind that this method may not work for all dead batteries, as there could be underlying issues beyond a simple discharge. If your battery remains unresponsive after the deep discharge, further steps will be necessary to fix it.
Remember, it’s crucial to handle the battery with care during the deep discharge process to avoid any accidental short circuits or damage. If you’re unsure about performing this step or are uncomfortable working with batteries, it’s always recommended to seek assistance from a professional or contact the manufacturer for guidance.
Now that you’ve performed a deep discharge, it’s time to move on to the next step: charging the battery properly.
You can try reviving a dead Ryobi 18V battery by using a battery reconditioning method. This involves fully discharging the battery and then recharging it multiple times to help restore its capacity.
Step 4: Charge the Battery Properly
After performing a deep discharge on your Ryobi 18V battery, the next step is to charge it properly. Charging the battery correctly is crucial for restoring its capacity and ensuring optimal performance. Follow these steps to charge your battery:
- Ensure that the battery pack is clean and free from any dirt or debris. Use isopropyl alcohol and cotton swabs to clean the battery contacts and connectors if necessary.
- Insert the battery into a compatible Ryobi charger. Make sure the charger is in good working condition and has no visible damage.
- Plug the charger into a power outlet. Ensure that the outlet is functioning properly and provides a stable power supply.
- Observe the charging indicator on the charger. Most Ryobi chargers have LED lights that indicate the charging status. Typically, a solid red light indicates that the battery is charging, while a solid green light indicates that the battery is fully charged.
- Allow the battery to charge fully. This may take several hours, depending on the battery’s capacity and the charger’s charging rate. Refer to the manufacturer’s instructions for specific charging times.
- Once the battery is fully charged, unplug the charger from the power outlet and remove the battery from the charger.
It’s important to note that charging time may vary depending on the battery’s condition. If your battery has been fully discharged or has a diminished capacity, it may take longer to charge compared to a brand-new battery. Be patient and allow the battery to charge completely to restore its optimal performance.
Remember to always use the appropriate charger designed for your Ryobi 18V battery. Using incompatible chargers can lead to improper charging, reduced battery life, or potential safety risks.
Once the battery is fully charged, it’s time to move on to the next step: testing the battery to ensure it’s functioning correctly.
Step 5: Test the Battery
After charging your Ryobi 18V battery, it’s important to test it to ensure that it’s functioning correctly. Testing the battery will give you an idea of its capacity and overall performance. Here’s how you can test your battery:
- Insert the fully charged battery into a compatible Ryobi power tool.
- Turn on the power tool and observe its performance. Check if the tool runs smoothly and provides the expected power output.
- Engage the power tool in various tasks, such as drilling or cutting, and see if the battery holds its charge and provides consistent power throughout the task.
- Monitor the battery discharge. If you notice a rapid discharge or the power tool unexpectedly shuts off, it may indicate that the battery still has issues and needs further attention.
Paying close attention to the battery’s performance during testing will help you determine if it has been successfully revived or if additional repairs are required.
If your battery performs well during testing and provides the expected power output, it’s a positive indication that the repair process has been successful. However, it’s important to monitor the battery’s performance over time to ensure it continues to hold its charge and operate effectively.
However, if you notice any issues or the battery fails to perform as expected, it may indicate that there are underlying problems that need to be addressed. In such cases, you can move on to the next step: battery reconditioning.
Now that you’ve tested the battery, it’s time to evaluate if reconditioning will further improve its performance or if more advanced repairs are necessary.
Step 6: Battery Reconditioning
If your Ryobi 18V battery still has issues after the previous steps, reconditioning might help revive its performance. Reconditioning involves a few additional steps that can potentially improve the battery’s capacity and extend its lifespan. Here’s how you can recondition your battery:
- Ensure that the battery is charged to its maximum capacity using the proper charging process mentioned earlier.
- Disconnect the battery from the charger and insert it into a Ryobi power tool.
- Turn on the power tool and let it run until the battery is completely drained and the power tool stops operating.
- Allow the battery to rest for a few minutes to cool down.
- Repeat steps 2 to 4 at least two more times, cycling the battery through complete discharge and recharge.
Reconditioning the battery through this discharge and recharge cycle can help recalibrate the battery’s internal circuits and potentially improve its capacity. However, keep in mind that reconditioning doesn’t guarantee a complete recovery, especially if the battery has significant internal faults or wear.
After reconditioning, test the battery again by using it in a power tool and checking its performance. If the battery shows noticeable improvement or meets your expectations, you can continue using it with confidence. However, if the battery still underperforms or exhibits issues, it may be necessary to explore more advanced repair options or consider replacing it.
Reconditioning should generally be seen as a temporary solution and not a long-term fix. It may provide a temporary boost in battery performance, but it’s important to monitor the battery’s performance over time and be prepared to replace it if necessary.
Now that you’ve reconditioned the battery, we’ll move on to the next step: replacing individual cells, which is a more advanced repair option.
Step 7: Replace Individual Cells
If your Ryobi 18V battery is still not functioning properly after reconditioning, there’s a possibility that one or more individual cells within the battery pack are faulty. In this case, replacing the faulty cells can help restore the battery’s performance. Here’s how you can replace individual cells:
- Identify the faulty cell(s) within the battery pack. This can be done by visually inspecting the cells for any signs of physical damage, leaks, or swelling. You can also use a multimeter to check the voltage of each cell. If you identify a cell with significantly lower voltage or no voltage response, it’s likely the faulty one.
- Using a soldering iron, desolder the faulty cell(s) from the battery pack carefully. Take note of the connections and ensure that you have the correct replacement cell(s) that match the specifications of the existing cells.
- Insert the new cell(s) into the battery pack, making sure they are aligned correctly and in the same orientation as the original cells.
- Solder the connections between the new cell(s) and the existing battery pack, ensuring secure and reliable connections. Be cautious not to overheat the cells during soldering, as excessive heat can damage them.
- Protect the soldered connections by applying heat shrink tubing or electrical tape over them. This will provide insulation and prevent short circuits.
It’s important to note that replacing individual cells requires some technical skill and knowledge of soldering. If you’re unsure or uncomfortable with this process, it’s recommended to seek assistance from a professional or a battery repair specialist.
After replacing the faulty cells, test the battery again by charging it fully and using it in a power tool. Monitor its performance to ensure that the new cells have resolved the issues and improved the battery’s functionality. If the battery performs well, you can continue utilizing it with confidence. However, if you still encounter problems or notice no significant improvement, it may be necessary to consider replacing the entire battery pack.
Now that you’ve learned about replacing individual cells, we’ll move on to the final step: replacing the entire battery pack, which is a more comprehensive repair option.
Step 8: Replace the Battery Pack
If all previous attempts to revive or repair your Ryobi 18V battery have been unsuccessful, it may be necessary to replace the entire battery pack. This is a more comprehensive repair option that ensures reliable performance and eliminates any underlying issues within the battery. Here’s how you can replace the battery pack:
- Research and purchase a compatible replacement battery pack for your Ryobi 18V power tools. Ensure that the replacement battery pack matches the specifications and voltage of your original battery pack.
- Make sure the power tools are disconnected from any power source.
- Locate the battery release button or latch on your Ryobi power tool. Press the release button or lift the latch to remove the existing battery pack.
- Insert the new replacement battery pack into the power tool, ensuring that it is inserted fully and securely.
- Confirm that the battery pack is properly installed by checking for a click or latch engagement.
Replacing the battery pack with a new one guarantees that you have a reliable power source for your Ryobi 18V power tools. It eliminates the need for further troubleshooting and repairs, saving you time and effort.
When purchasing a replacement battery pack, it’s recommended to choose a genuine Ryobi battery pack or a high-quality aftermarket option. These provide the best compatibility and ensure optimal performance for your power tools.
Once you have successfully replaced the battery pack, test your power tool to ensure that it operates as expected. Confirm that the new battery pack provides adequate power output and holds its charge effectively during use.
By replacing the entire battery pack, you can enjoy the convenience and reliable performance of a brand-new battery in your Ryobi 18V power tools.
Now that you have completed all the steps, you’ve either successfully repaired your dead Ryobi 18V battery or replaced it with a new one. It’s important to remember good battery maintenance practices to extend the overall lifespan of your battery and ensure its optimal performance.
Conclusion
Repairing a dead Ryobi 18V battery can save you money and extend the lifespan of your power tools. Through the steps outlined in this guide, you’ve learned how to identify the signs of a dead battery, gather the necessary tools and materials, and follow a systematic process to fix the issue.
Starting with safety precautions, you ensured that you were protected throughout the repair process. By checking the battery voltage, you assessed the extent of the battery’s condition. Performing a deep discharge and charging the battery properly were essential steps to revive its capacity. If necessary, reconditioning the battery or replacing individual cells were additional methods to improve its performance.
However, in some cases, a complete replacement may be required. By replacing the battery pack with a new one, you guarantee reliable power for your Ryobi 18V power tools.
Whether you were able to successfully repair the battery or replaced it, it’s important to note that proper battery maintenance and usage practices will help prolong the life of your new or repaired battery. This includes storing the battery in a cool, dry place, avoiding overcharging or over-discharging, and using the battery regularly to prevent self-discharge.
Remember to follow the manufacturer’s guidelines and recommendations for your specific Ryobi 18V battery model, as proper care can significantly impact its performance and lifespan.
By applying the knowledge and techniques from this guide, you can maintain your Ryobi 18V batteries and ensure they continue to power your projects effectively for years to come. Happy DIYing!
Reviving your Ryobi 18V battery is just the beginning. If you're curious about which tools will work best with your newly fixed battery, don't miss our detailed guide on power tools. We've got all the insights to help you choose wisely and make your projects easier. From drills to saws, find out which ones stand out in terms of performance and durability. Ready to upgrade your toolkit? Dive into our next read for all the info you need!
Frequently Asked Questions about How To Fix Dead Ryobi 18V Battery
Was this page helpful?
At Storables.com, we guarantee accurate and reliable information. Our content, validated by Expert Board Contributors, is crafted following stringent Editorial Policies. We're committed to providing you with well-researched, expert-backed insights for all your informational needs.
0 thoughts on “How To Fix Dead Ryobi 18V Battery”