Articles
How To Charge Ryobi Battery Without Charger
Modified: May 6, 2024
Learn how to charge your Ryobi battery without a charger in this informative article. Discover alternative methods to keep your Ryobi tools powered up and ready to go!
(Many of the links in this article redirect to a specific reviewed product. Your purchase of these products through affiliate links helps to generate commission for Storables.com, at no extra cost. Learn more)
Introduction
Are you in a bind and need to charge your Ryobi battery, but don’t have access to a charger? Don’t worry, because there are several alternative methods you can use to get your battery back up and running. Whether you’re at home or on the go, these methods will help you charge your Ryobi battery without a charger.
It’s important to note that while these methods are convenient in emergency situations, it’s always recommended to use a Ryobi charger for optimal performance and safety. However, in situations where you don’t have access to a charger, these alternatives can be a lifesaver.
Before we dive into the methods, it’s important to understand that the effectiveness of each method may vary depending on factors such as battery capacity, voltage requirements, and the equipment you have at hand. It’s always a good idea to consult the manufacturer’s guidelines and take necessary precautions when attempting any of these methods.
Now, let’s explore several methods you can use to charge your Ryobi battery without a charger:
Key Takeaways:
- When in a pinch without a Ryobi charger, alternative methods like using a power supply, jumper cables, a car battery, a universal charger, an inverter, a solar panel, or a USB charger can help charge your Ryobi battery, but caution and compatibility are crucial.
- While alternative charging methods can be lifesavers in emergencies, they may not match the efficiency of a dedicated Ryobi charger. Prioritize safety, follow manufacturer guidelines, and aim to obtain a suitable charger for long-term battery maintenance.
Read more: How Do You Charge A Ryobi Battery
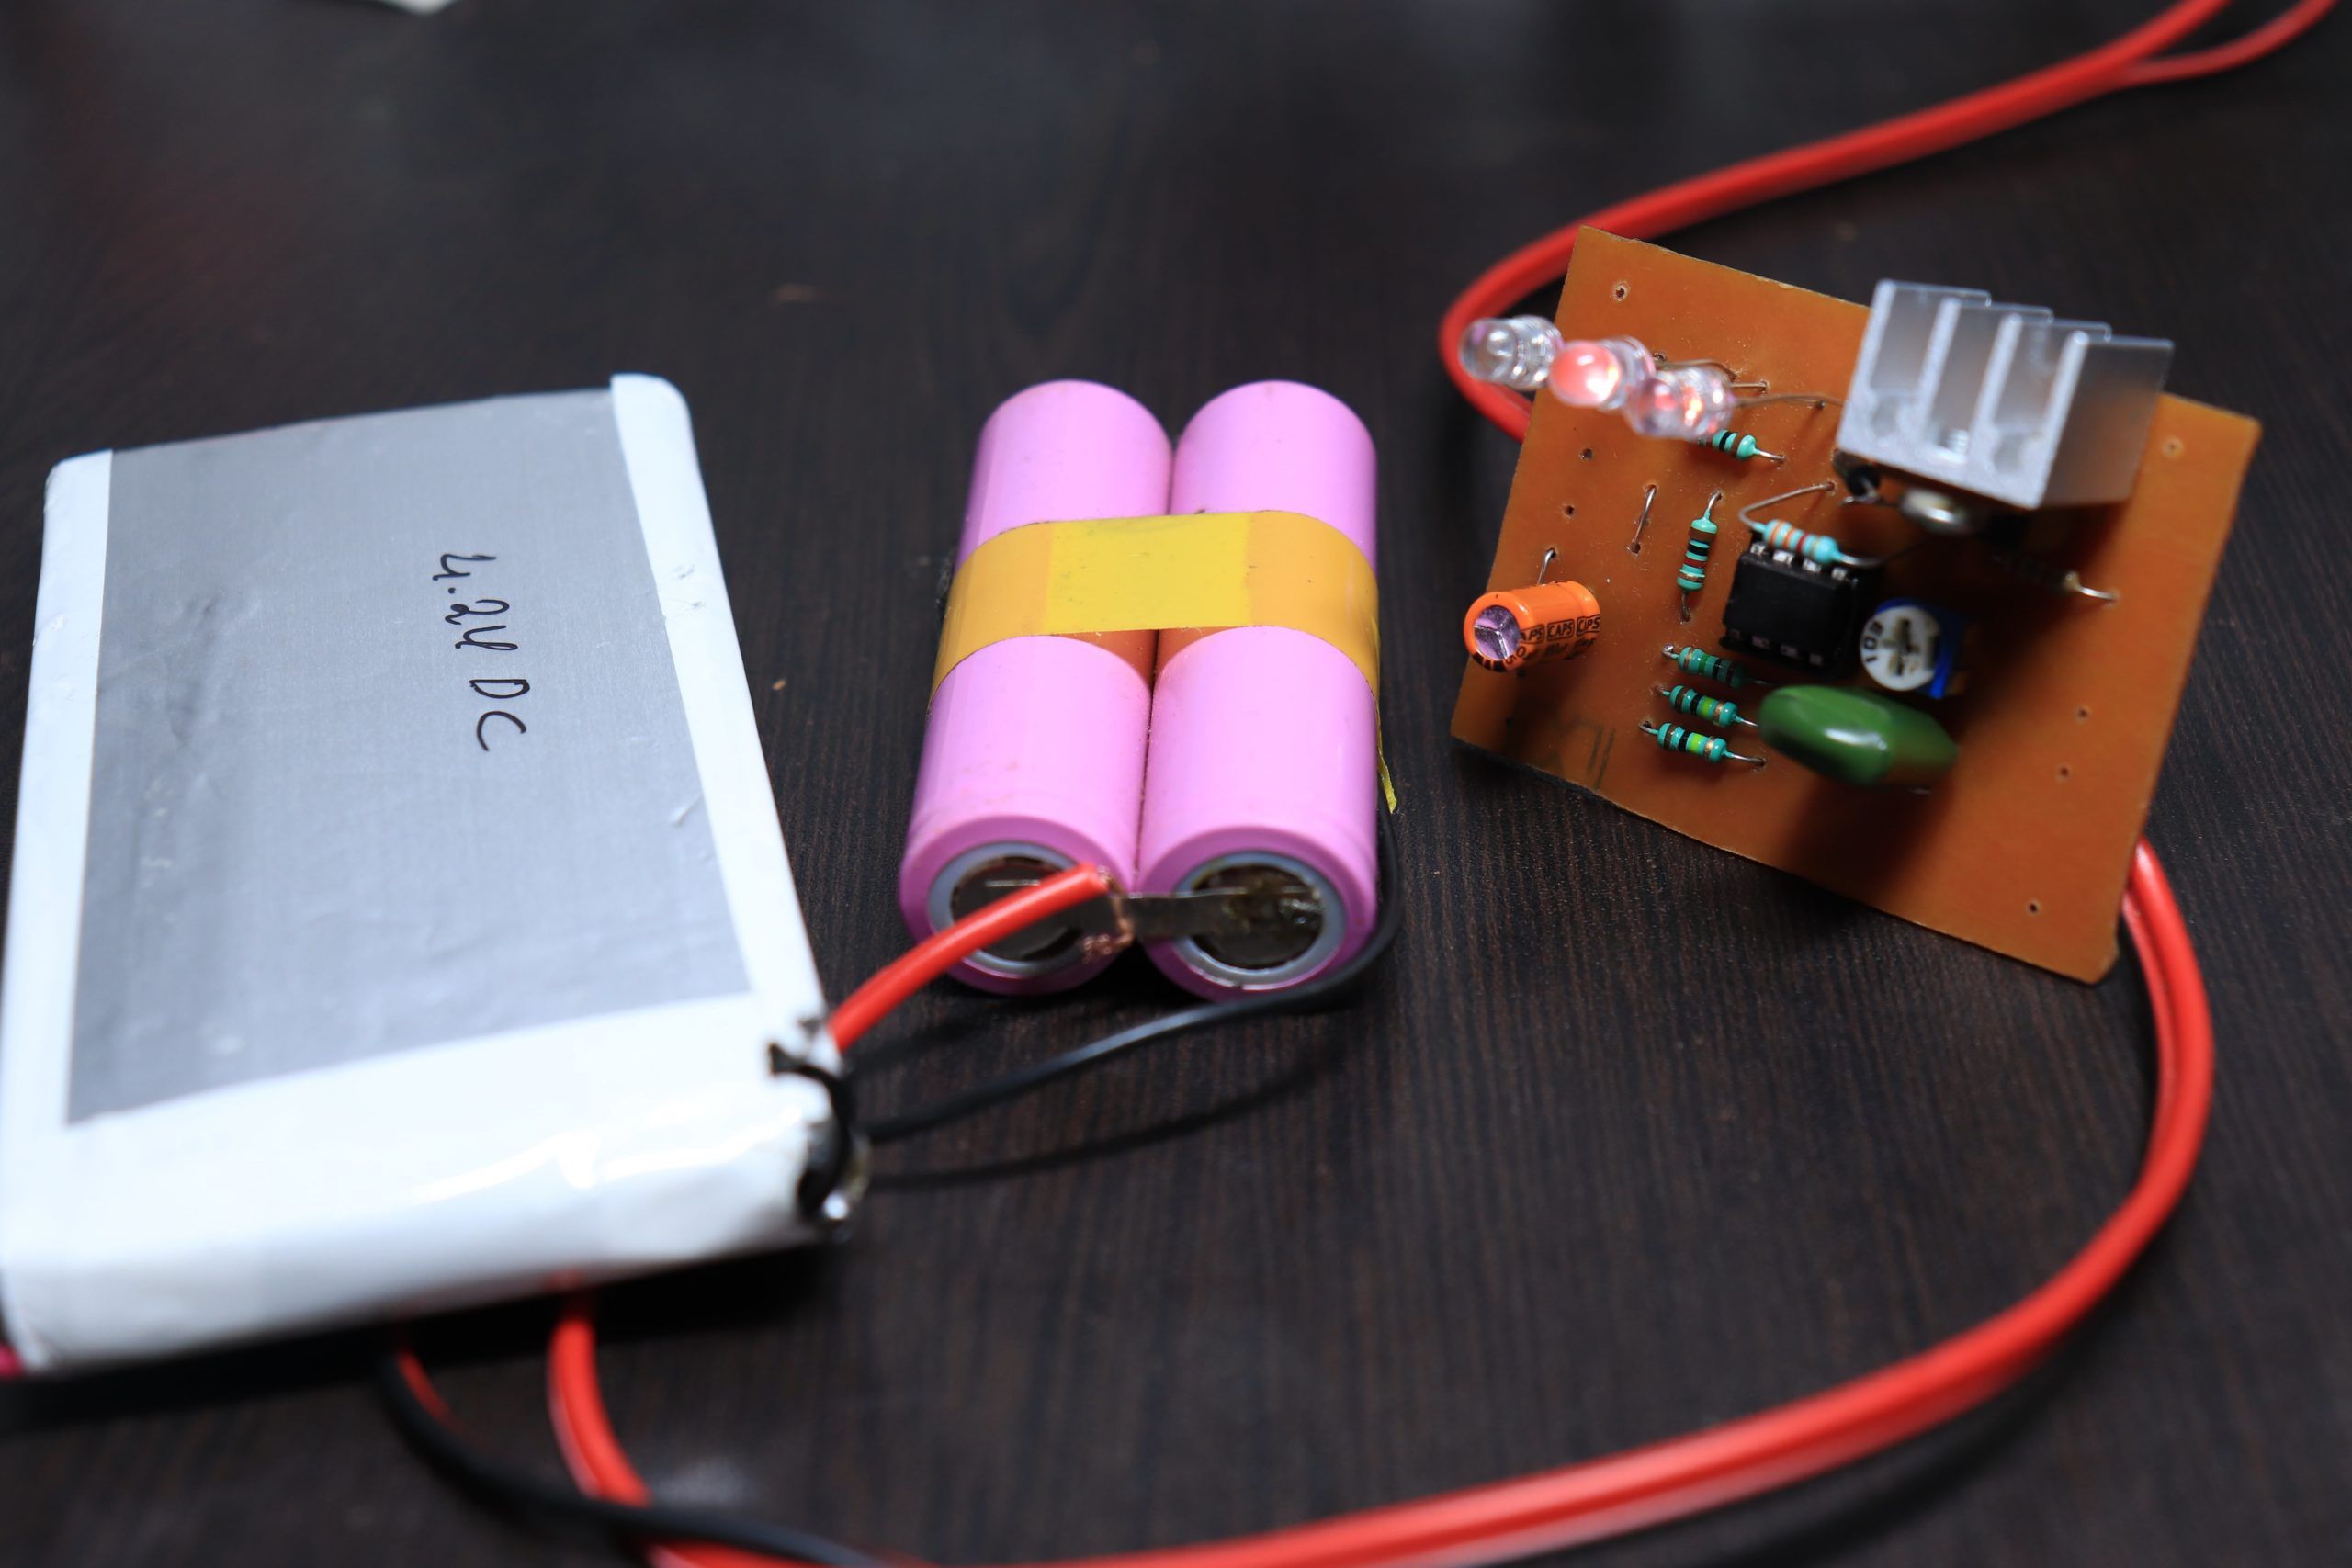
Method 1: Using a Power Supply
If you have a power supply with the right specifications, you can use it to charge your Ryobi battery. Here’s how:
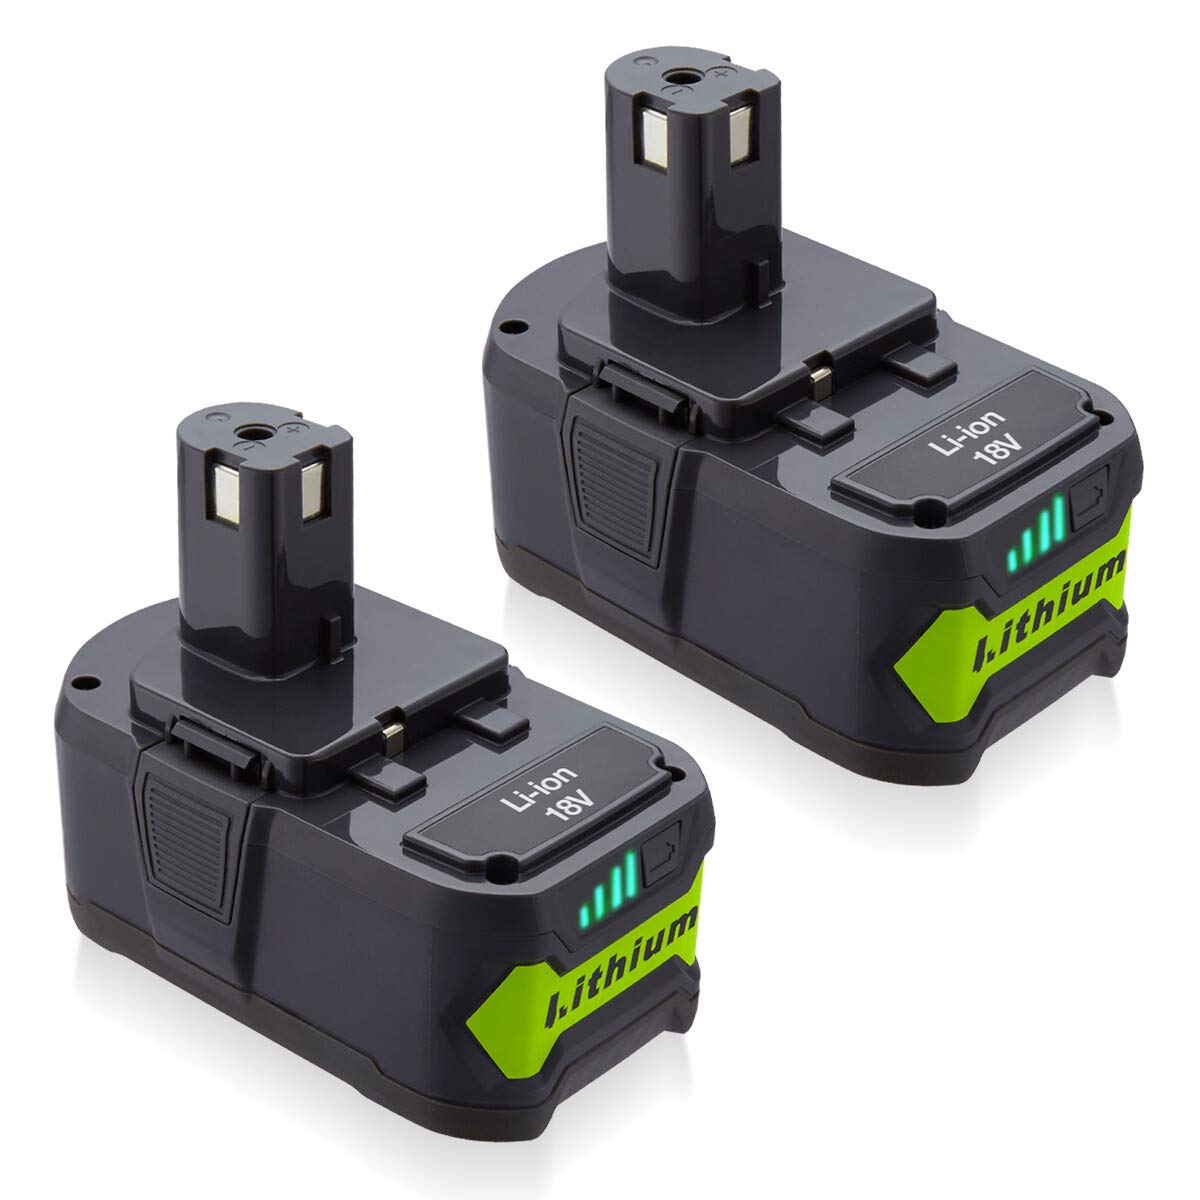
- First, check the voltage and current requirements of your battery. Ryobi batteries typically require a voltage of 18V or 40V, so ensure that your power supply can deliver the necessary voltage.
- Next, find a connector that matches the charging port of your Ryobi battery. You may need to purchase an adapter or make one yourself depending on the type of power supply and battery you have.
- Connect the positive and negative terminals of the power supply to the corresponding terminals on the battery. Make sure to double-check the polarity to avoid any damage to the battery or power supply.
- Once the connections are secure, plug in the power supply and turn it on. The charging process should commence, and the battery’s indicator lights may indicate the charging progress.
- Monitor the charging process closely and disconnect the power supply once the battery is fully charged. It’s essential not to overcharge the battery as it can lead to damage or reduced battery life.
It’s worth noting that using a power supply to charge your Ryobi battery may not provide the same efficiency as using a dedicated Ryobi charger. The charging process might take longer, and the battery may not reach its maximum capacity. However, in situations where a charger is not accessible, this method can be a viable option.
Remember to exercise caution when handling electrical equipment and ensure the compatibility between the power supply and your Ryobi battery to avoid any potential damage or safety hazards.
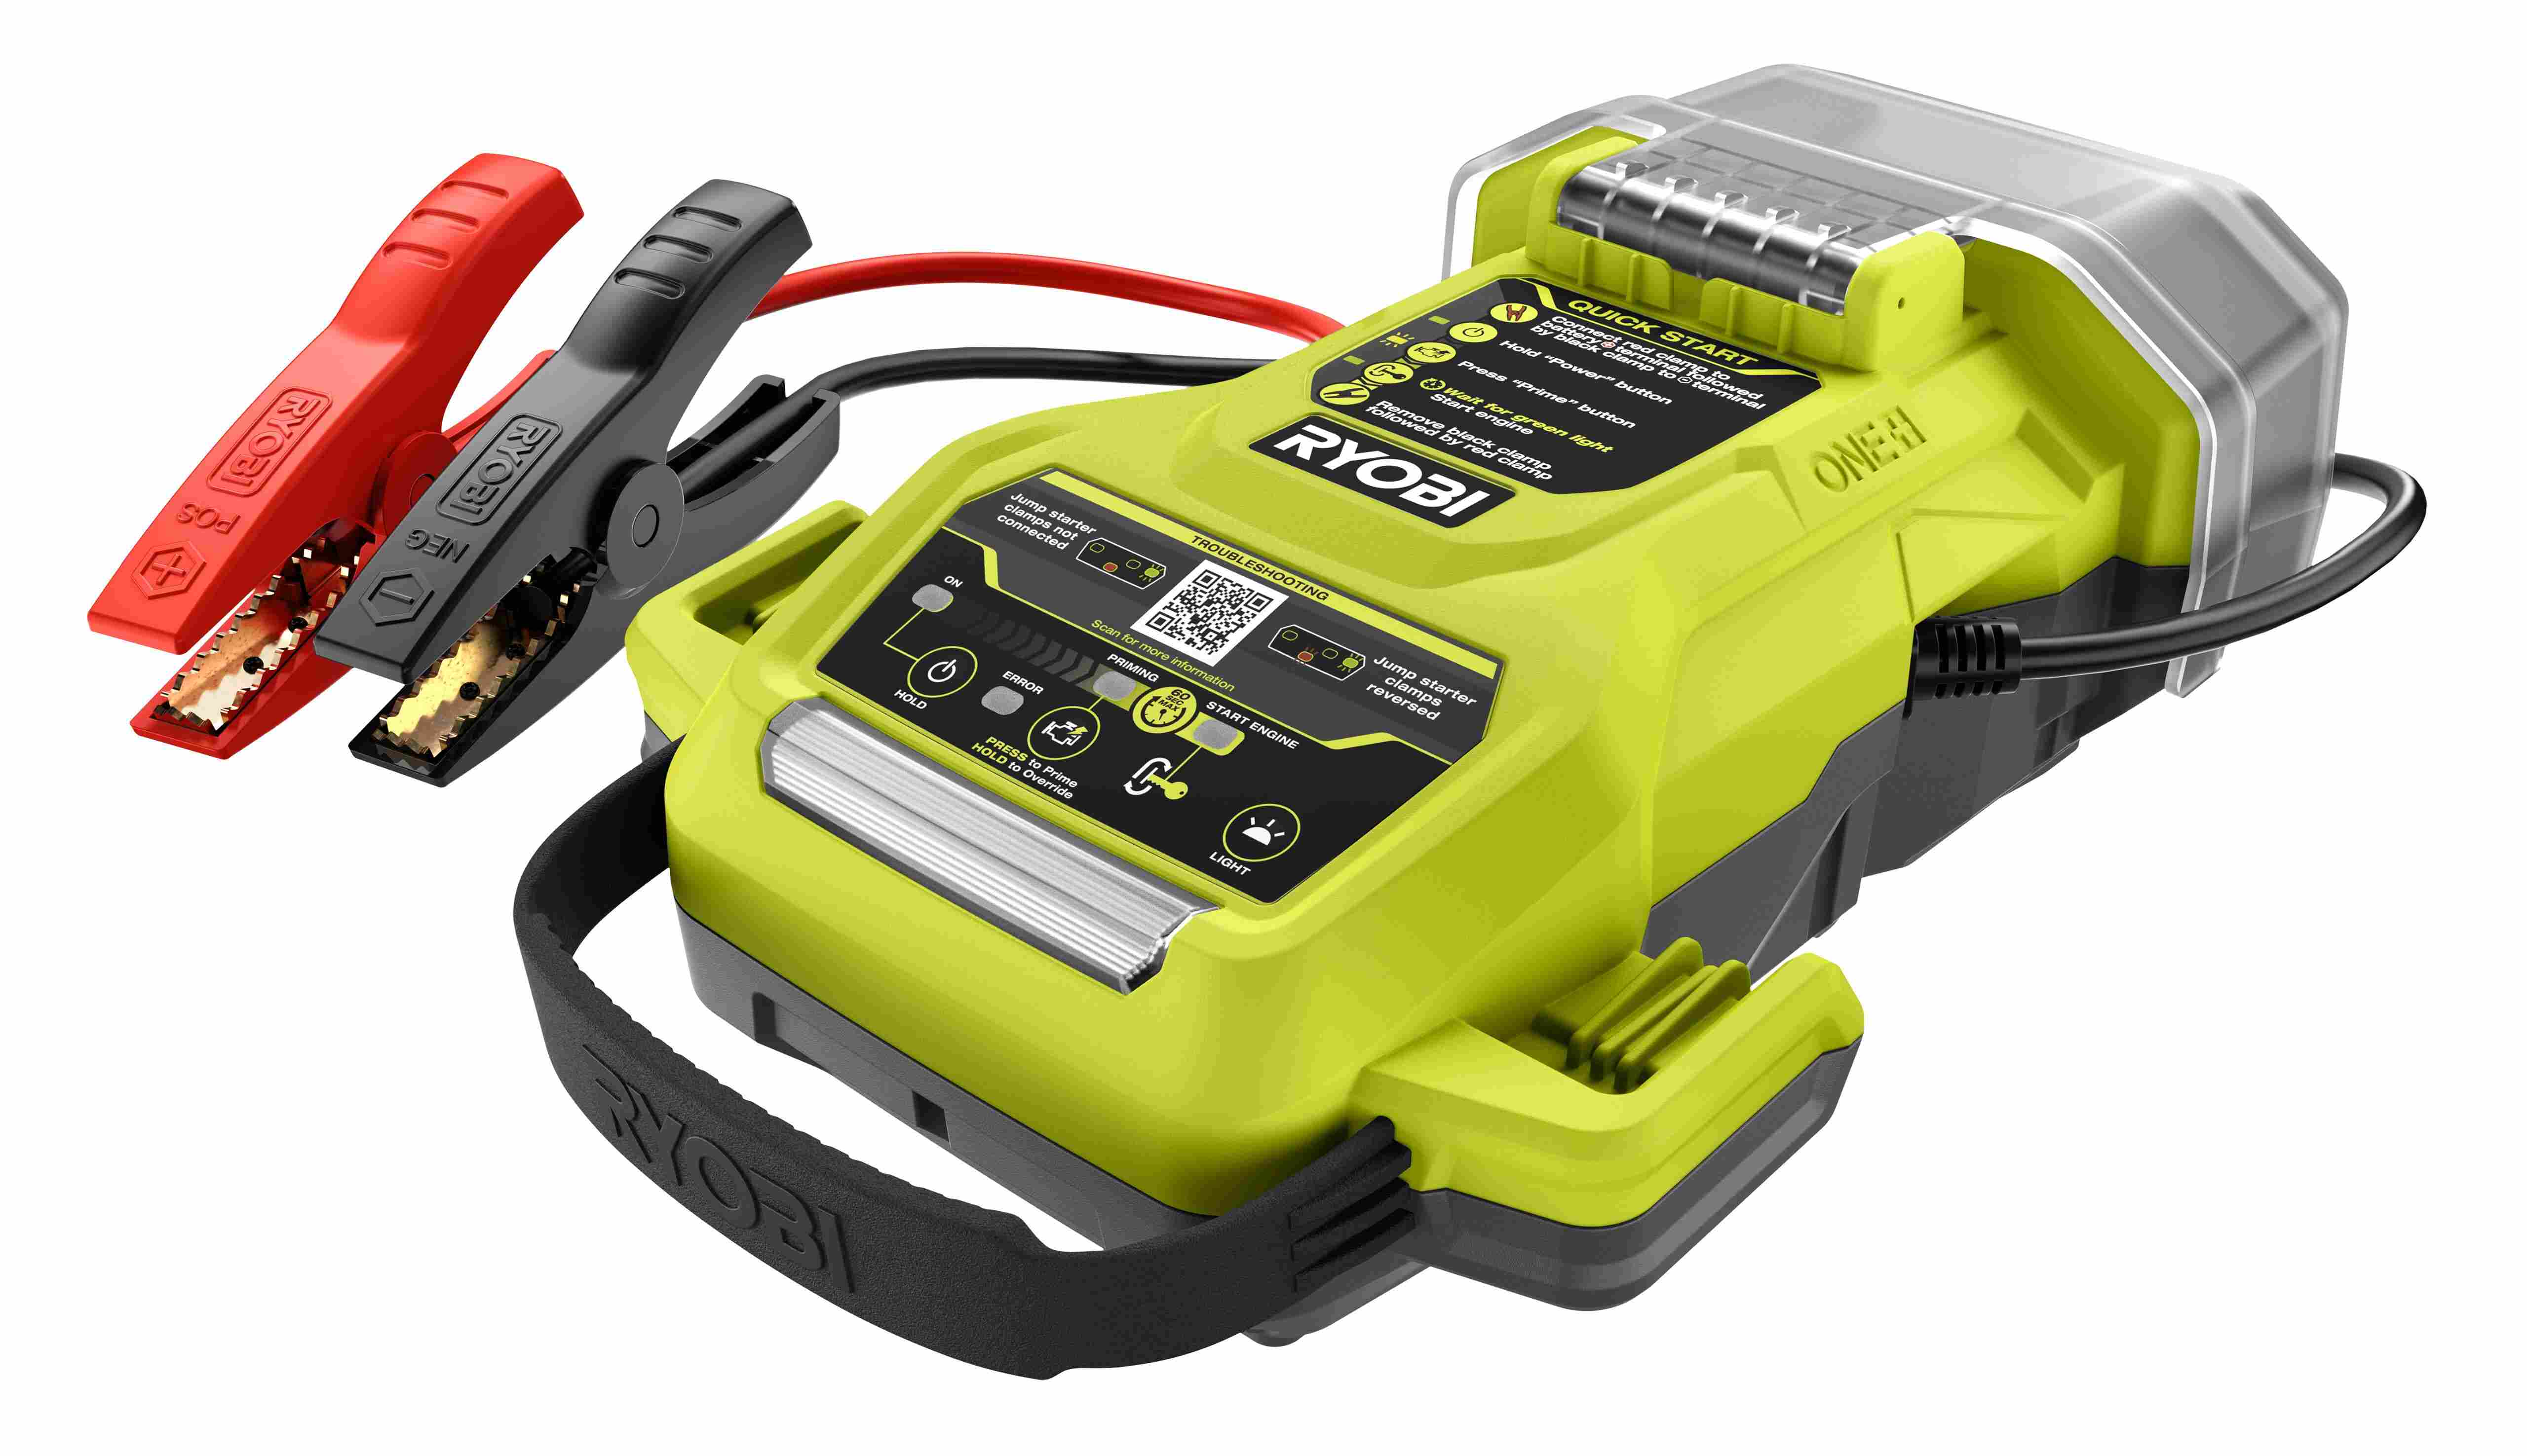
Method 2: Using Jumper Cables
If you have a set of jumper cables and access to a car with a charged battery, you can utilize this method to charge your Ryobi battery. Follow these steps:
- First, ensure that both the car battery and the Ryobi battery are of the same voltage, typically 12V or 24V. Using jumper cables with mismatched voltages can damage the batteries.
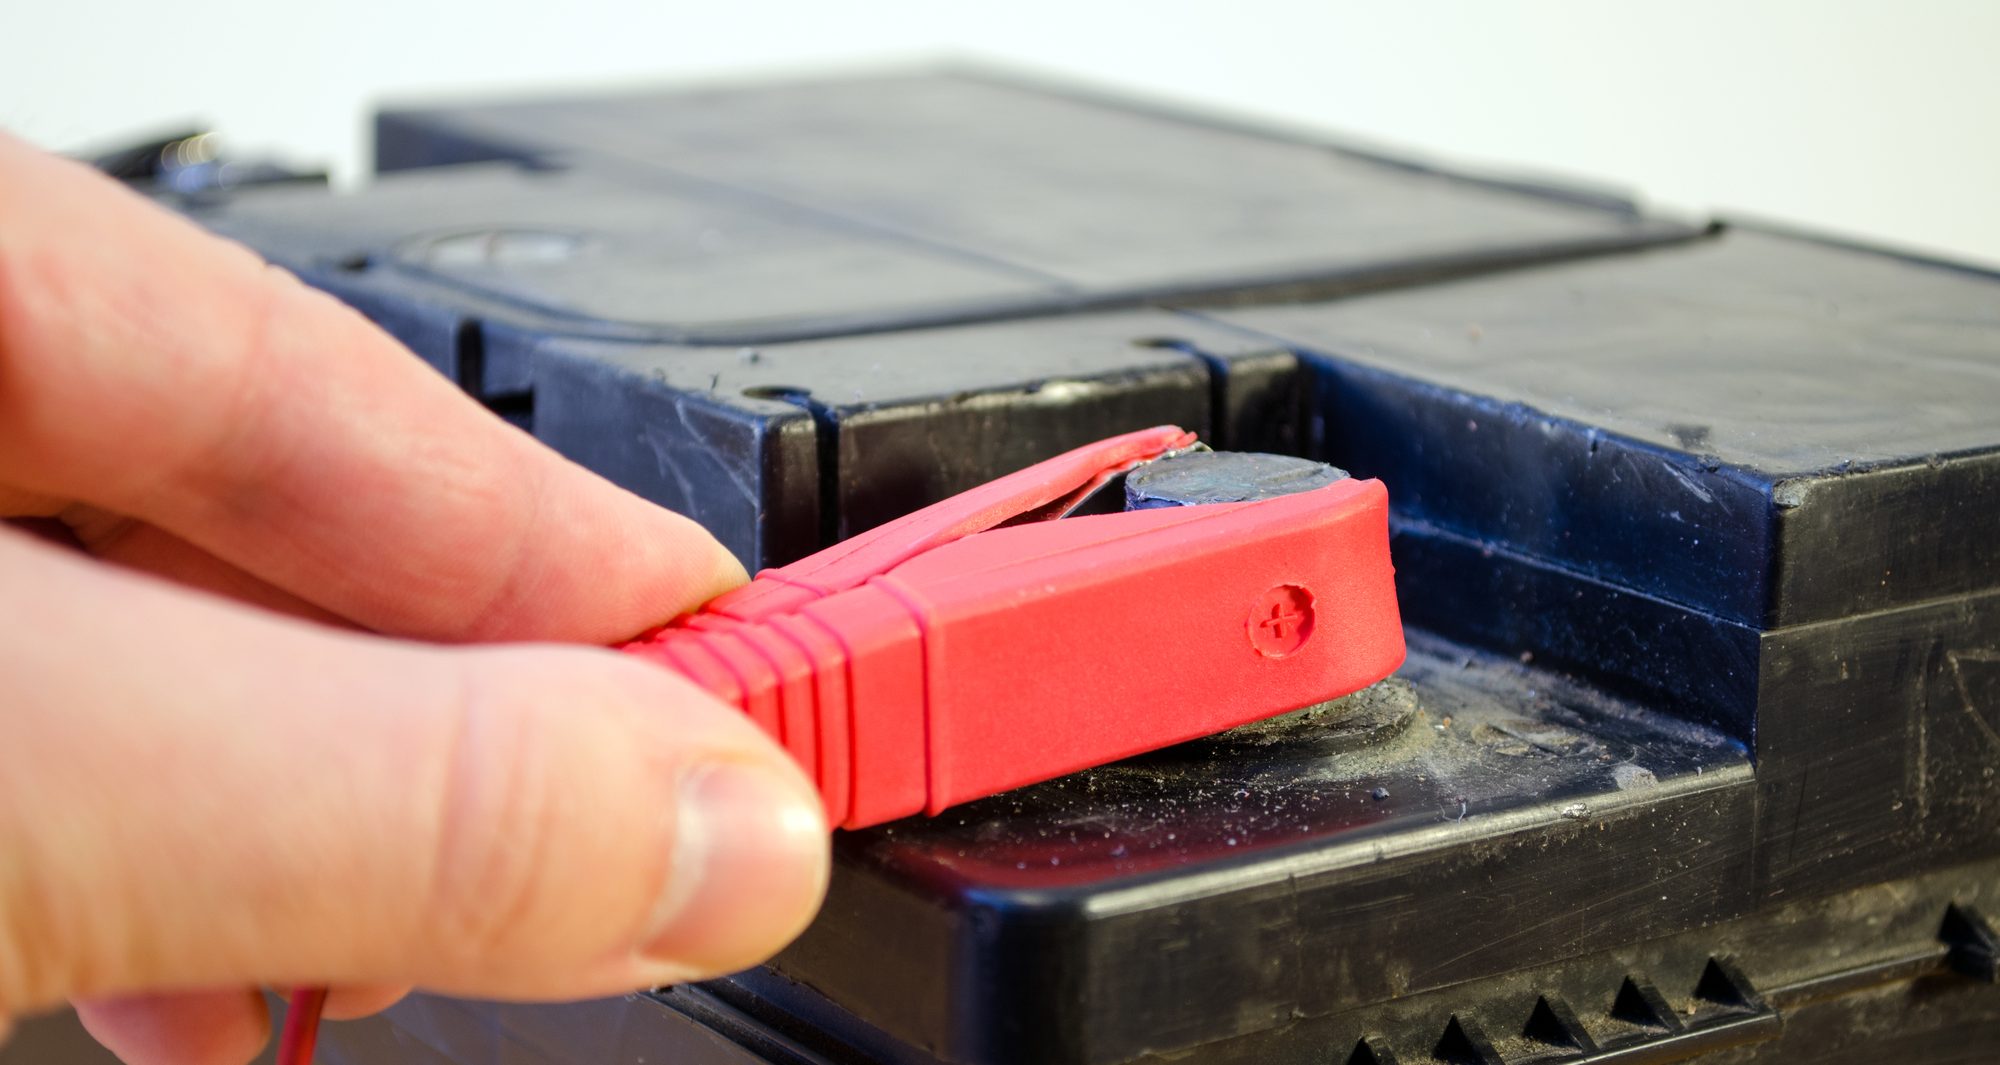
- Locate the positive and negative terminals of both batteries. The positive terminal is usually marked with a “+,” and the negative terminal with a “-“.
- Connect the positive (+) jumper cable clamp to the positive terminal of the car battery.
- Take the other end of the positive jumper cable and connect it to the positive terminal of the Ryobi battery.
- Next, connect the negative (-) jumper cable clamp to the negative terminal of the car battery.
- Finally, attach the other end of the negative jumper cable to a metal part of the Ryobi tool or any unpainted metal surface on the tool. This will serve as the ground connection.
- Once the connections are secure, start the car engine. The electrical current from the car battery will flow into the Ryobi battery, charging it.
- Allow the Ryobi battery to charge for a sufficient amount of time. The charging time will depend on the capacity and level of depletion of the battery.
- Disconnect the jumper cables in the reverse order: negative clamp from the Ryobi battery, negative clamp from the car battery, positive clamp from the Ryobi battery, and finally, positive clamp from the car battery.
It’s vital to exercise caution when using jumper cables, as they carry electrical current and can cause injury or damage if mishandled. Ensure the proper sequence of connections, the correct polarity, and firm connections to prevent any accidents.
While this method can be effective in a pinch, it’s important to note that it may not provide the same charging efficiency as using a dedicated Ryobi charger. Additionally, it’s recommended to fully charge the Ryobi battery using a suitable charger as soon as one becomes available.
Method 3: Using a Car Battery
If you don’t have access to a charger or jumper cables, but you have a car with a charged battery nearby, you can use the car battery directly to charge your Ryobi battery. Here’s how:
- Begin by ensuring that both the car battery and the Ryobi battery are of the same voltage. Most car batteries operate at 12V, but always double-check to confirm.
- Locate the positive and negative terminals on both batteries. The positive terminal is usually marked with a “+,” and the negative terminal with a “-“.
- Connect a set of wires with alligator clips to the positive terminal of the car battery.
- Securely connect the other end of the positive wire to the positive terminal of the Ryobi battery.
- Attach another set of wires with alligator clips to the negative terminal of the car battery.
- Connect the other end of the negative wire to a metal part of the Ryobi tool or any unpainted metal surface on the tool to serve as the ground connection.
- With the connections secured, start the car engine. The electrical current from the car battery will flow into the Ryobi battery, initiating the charging process.
- Allow the Ryobi battery to charge for an appropriate amount of time. The charging time will depend on the capacity and level of depletion of the battery.
- Once the Ryobi battery is sufficiently charged, disconnect the wires from both batteries starting with the negative wire, followed by the positive wire.
While this method can be a temporary solution, it is important to note that using a car battery to charge your Ryobi battery is not the most efficient or recommended method. It can put a strain on the car battery and can potentially damage either battery if not done correctly. Therefore, it’s advisable to use this method only in urgent situations and charge the Ryobi battery fully using a proper charger as soon as possible.
Additionally, exercise caution during the process and ensure that the connections are secure and the polarities are correct. Failure to do so can lead to electrical mishaps or damage to the batteries.
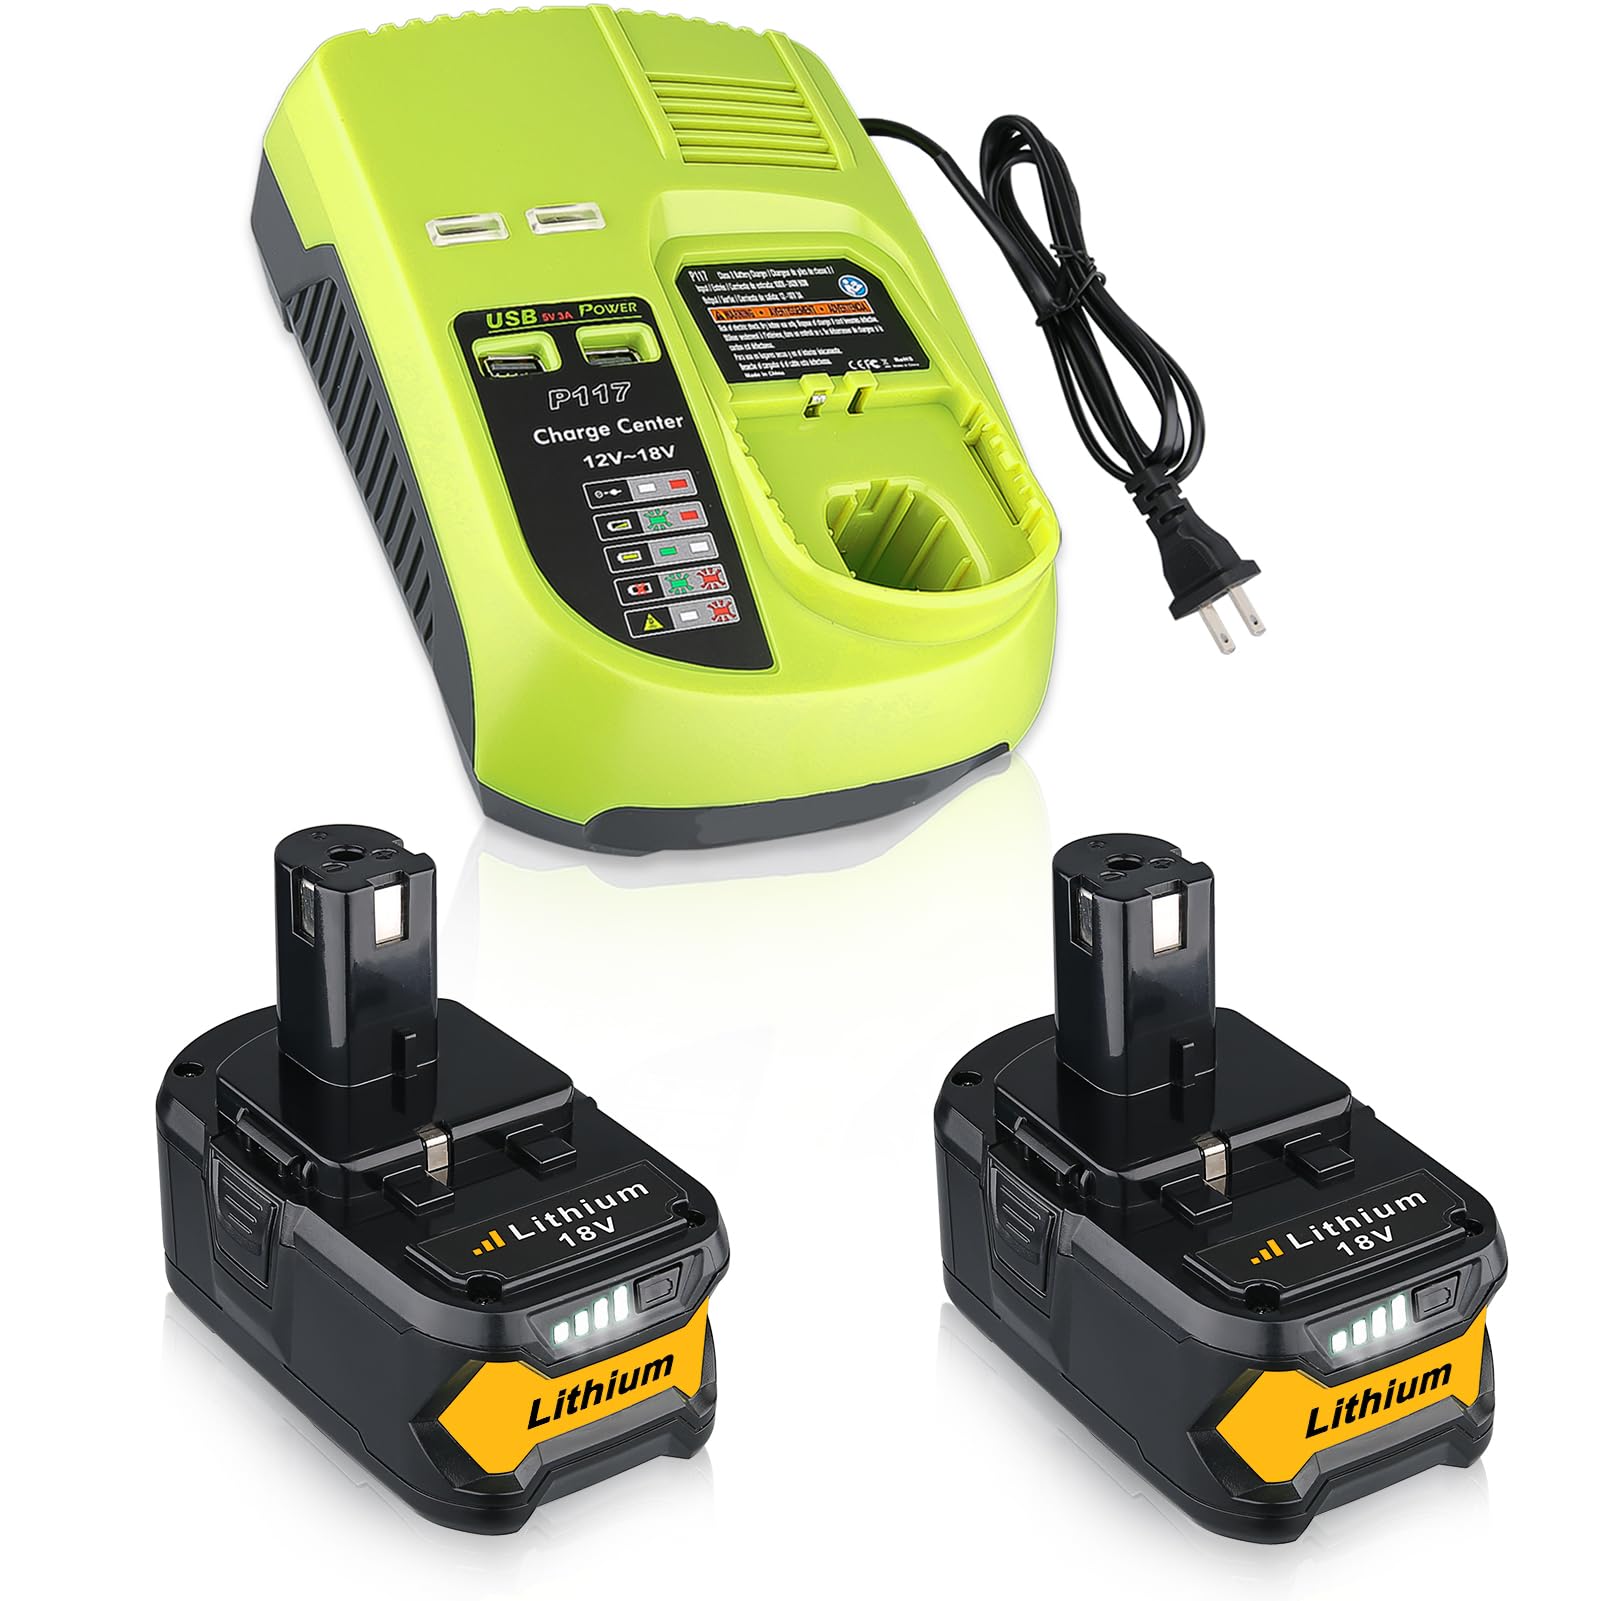
Method 4: Using a Universal Charger
If you have access to a universal charger that supports the voltage and battery type of your Ryobi battery, you can utilize it to charge your battery. Here’s how:
- Start by reading the user manual of your universal charger to understand its specifications and compatibility with your Ryobi battery.
- Ensure that the voltage settings on the universal charger match the voltage requirements of your Ryobi battery. Ryobi batteries generally require either 18V or 40V.
- If necessary, select the appropriate battery type setting on the charger to match your Ryobi battery. Some universal chargers have adjustable settings for different battery chemistries, such as lithium-ion or nickel-cadmium.
- Insert the Ryobi battery into the charging slot of the universal charger, ensuring a secure fit.
- Plug the universal charger into a power outlet and turn it on.
- Monitor the charging progress by checking the indicator lights or the display on the universal charger. The charging time will vary depending on the capacity and level of depletion of the battery.
- Once the battery is fully charged, remove it from the universal charger.
Using a universal charger can provide a reliable and efficient method for charging your Ryobi battery without the need for a dedicated Ryobi charger. However, it’s important to note that not all universal chargers are compatible with Ryobi batteries, so ensure that you have a charger that supports your specific battery model.
Additionally, always follow the manufacturer’s guidelines and safety precautions when using a universal charger to avoid any potential damage to the battery or accidents during the charging process.
You can use a car battery and a set of jumper cables to charge a Ryobi battery without a charger. Connect the positive and negative terminals of the car battery to the corresponding terminals on the Ryobi battery for a few minutes to give it a quick boost.
Method 5: Using an Inverter
If you have access to an inverter and a power source such as a generator or a car battery, you can use this method to charge your Ryobi battery. Here’s how:
- Start by ensuring that your inverter has the appropriate specifications to support the voltage and power requirements of your Ryobi battery. Ryobi batteries typically require 18V or 40V.
- Connect the inverter to the power source, whether it’s a generator or a car battery. Follow the instructions provided with the inverter to make the proper connections.
- Plug the Ryobi charger into the inverter’s AC outlet.
- Insert your Ryobi battery into the charger, making sure it is securely in place.
- Turn on the inverter to supply power to the charger.
- Monitor the charging process by observing the indicator lights on the charger. The charging time will depend on the capacity and level of depletion of the battery.
- Once the battery is fully charged, remove it from the charger and turn off the inverter.
Using an inverter can be a practical solution for charging your Ryobi battery when you don’t have access to a dedicated charger. It allows you to convert DC power from a generator or a car battery into AC power to run your charger.
It’s important to note that the effectiveness of this method may depend on the quality and capacity of the inverter you’re using. Ensure that the inverter can provide a stable power supply and meets the voltage requirements of your Ryobi battery.
Always exercise caution when working with inverters and power sources to prevent any electrical mishaps or damage to the battery. Follow the manufacturer’s guidelines and safety precautions when using an inverter for charging purposes.
Method 6: Using a Solar Panel
If you find yourself in an outdoor setting without access to a power source, using a solar panel can be an environmentally friendly and sustainable way to charge your Ryobi battery. Here’s how:
- Start by selecting a solar panel that is compatible with the voltage and power requirements of your Ryobi battery. Ryobi batteries typically require 18V or 40V.
- Place the solar panel in an area with direct sunlight, ensuring that it is positioned at an optimal angle to maximize sunlight exposure.
- Connect the solar panel to a solar charge controller. The charge controller acts as a regulator to ensure that the battery receives the appropriate charge and protects it from overcharging.
- Connect the solar charge controller to your Ryobi battery, following the instructions provided by the manufacturer. Ensure that the positive and negative terminals are connected correctly.
- Monitor the charging process by checking the charge controller’s display or indicator lights. The charging time will vary depending on factors such as the solar panel’s output and the battery’s capacity.
- Once the battery is fully charged, disconnect it from the solar charge controller and remove the solar panel from sunlight.
Charging a Ryobi battery with a solar panel not only provides a sustainable and environmentally friendly option but also allows for flexibility in outdoor settings where traditional power sources may not be available.
It’s important to note that the charging time will depend on the sunlight conditions, so it may take longer to charge the battery compared to using a conventional charger. Additionally, the effectiveness of this method may vary depending on the quality and capacity of the solar panel you’re using.
Follow the manufacturer’s guidelines and safety precautions when working with solar panels and solar charge controllers to ensure a safe and efficient charging process.
Method 7: Using a USB Charger
If you have a USB charger and a USB cable, you can use this method to charge your Ryobi battery. Here’s how:
- Start by checking if your Ryobi battery has a USB port. Some newer Ryobi models come with a built-in USB port for charging convenience.
- If your Ryobi battery doesn’t have a USB port, you can use a USB adapter or USB converter that is compatible with your battery’s charging port. These adapters are readily available and can be purchased online or at electronic stores.
- Connect the USB cable to the USB port or adapter on your Ryobi battery.
- Plug the USB cable into the USB charger. Ensure that the USB charger provides the appropriate voltage and current for your Ryobi battery. Ryobi batteries typically require 5V for USB charging.
- Plug the USB charger into a wall outlet or a power source.
- Monitor the charging process by observing the battery’s indicator lights or status. The charging time will depend on the capacity and level of depletion of the battery.
- Once the battery is fully charged, unplug the USB charger from the power source and disconnect the USB cable from the battery.
Using a USB charger can be a convenient method to charge your Ryobi battery, especially if you have access to a power source with USB ports or an external USB power bank. It provides flexibility and portability for charging your battery on the go.
It’s important to ensure that the USB charger and cable you use are of high quality to avoid any issues or potential damage to the battery. Use reputable brands and products that meet the necessary safety standards.
Keep in mind that USB charging may not be as fast or efficient as using a dedicated charger, especially for larger Ryobi batteries. Consequently, it’s advisable to use this method when you have sufficient time for charging or in situations where a conventional charger is not available.
Conclusion
Charging your Ryobi battery without a charger is possible with the various methods discussed above. While these alternative methods can be effective in emergencies or situations where a dedicated charger is not accessible, it’s important to note that they may not provide the same level of efficiency or optimal charging performance as using a Ryobi charger.
Each method has its own set of requirements, precautions, and potential limitations. It’s crucial to ensure that you follow the manufacturer’s guidelines, confirm the compatibility of the equipment used, and pay attention to safety measures. Mishandling or using incompatible equipment may result in damage to the battery, reduced performance, or even safety hazards.
If possible, it’s recommended to always use a Ryobi charger for optimal charging performance and the preservation of the battery’s lifespan. However, in situations where a charger is not available, using alternative methods such as a power supply, jumper cables, a car battery, a universal charger, an inverter, a solar panel, or a USB charger can help you get through the immediate need to charge your Ryobi battery.
Remember, these methods may not be ideal for regular or long-term use, and it’s advisable to obtain a suitable charger as soon as possible to maintain the longevity and reliability of your Ryobi battery.
Lastly, prioritize your safety throughout the charging process. Ensure that you have a clear understanding of the method you choose, take necessary precautions, double-check connections, and monitor the charging progress closely to prevent any mishaps or accidents.
By having an understanding of these alternative charging methods, you can confidently handle situations where accessing a Ryobi charger is not possible and keep your Ryobi tools and batteries powered up when you need them the most.
Curious about keeping your gadgets fueled up even when traditional methods fall short? From charging Ryobi batteries with unconventional tools to unique power solutions, our guides cover it all. Next up, discover how to maintain your home security devices with off-grid solutions. Dive into our guide on removing and charging your Ring Doorbell when conventional power sources aren't available. You'll find practical, easy-to-follow advice for ensuring your devices never run out of juice, no matter where you are.
Frequently Asked Questions about How To Charge Ryobi Battery Without Charger
Was this page helpful?
At Storables.com, we guarantee accurate and reliable information. Our content, validated by Expert Board Contributors, is crafted following stringent Editorial Policies. We're committed to providing you with well-researched, expert-backed insights for all your informational needs.

0 thoughts on “How To Charge Ryobi Battery Without Charger”