Articles
How To Jump Start Ryobi Battery
Modified: August 16, 2024
Discover the best step-by-step articles on how to jump start your Ryobi battery. Explore expert tips and tricks to quickly revive and power up your tools.
(Many of the links in this article redirect to a specific reviewed product. Your purchase of these products through affiliate links helps to generate commission for Storables.com, at no extra cost. Learn more)
Introduction
Welcome to this comprehensive guide on how to jump start a Ryobi battery. If you’ve found yourself in a situation where your Ryobi battery has drained and you need to get it up and running again quickly, don’t worry – we’ve got you covered. Whether you’re using a Ryobi power tool or a Ryobi outdoor power equipment, this step-by-step guide will walk you through the process of jump starting your Ryobi battery, so you can get back to tackling your important projects or tasks.
Jump starting a Ryobi battery is a simple process that requires a few basic tools and precautions. By following the steps outlined in this guide, you’ll be able to safely and effectively jump start your Ryobi battery without any hassle. So, without further ado, let’s get started!
Key Takeaways:
- Jump starting a Ryobi battery requires gathering the right tools, prioritizing safety, and correctly connecting jumper cables. By following the step-by-step process, you can effectively revive your battery and get back to your tasks.
- Testing the Ryobi battery after jump starting is crucial for ensuring functionality. Additionally, maintaining and caring for the battery, along with considering a portable jump starter, can help prevent future issues and extend the battery’s lifespan.
Read more: How To Recycle Ryobi Batteries
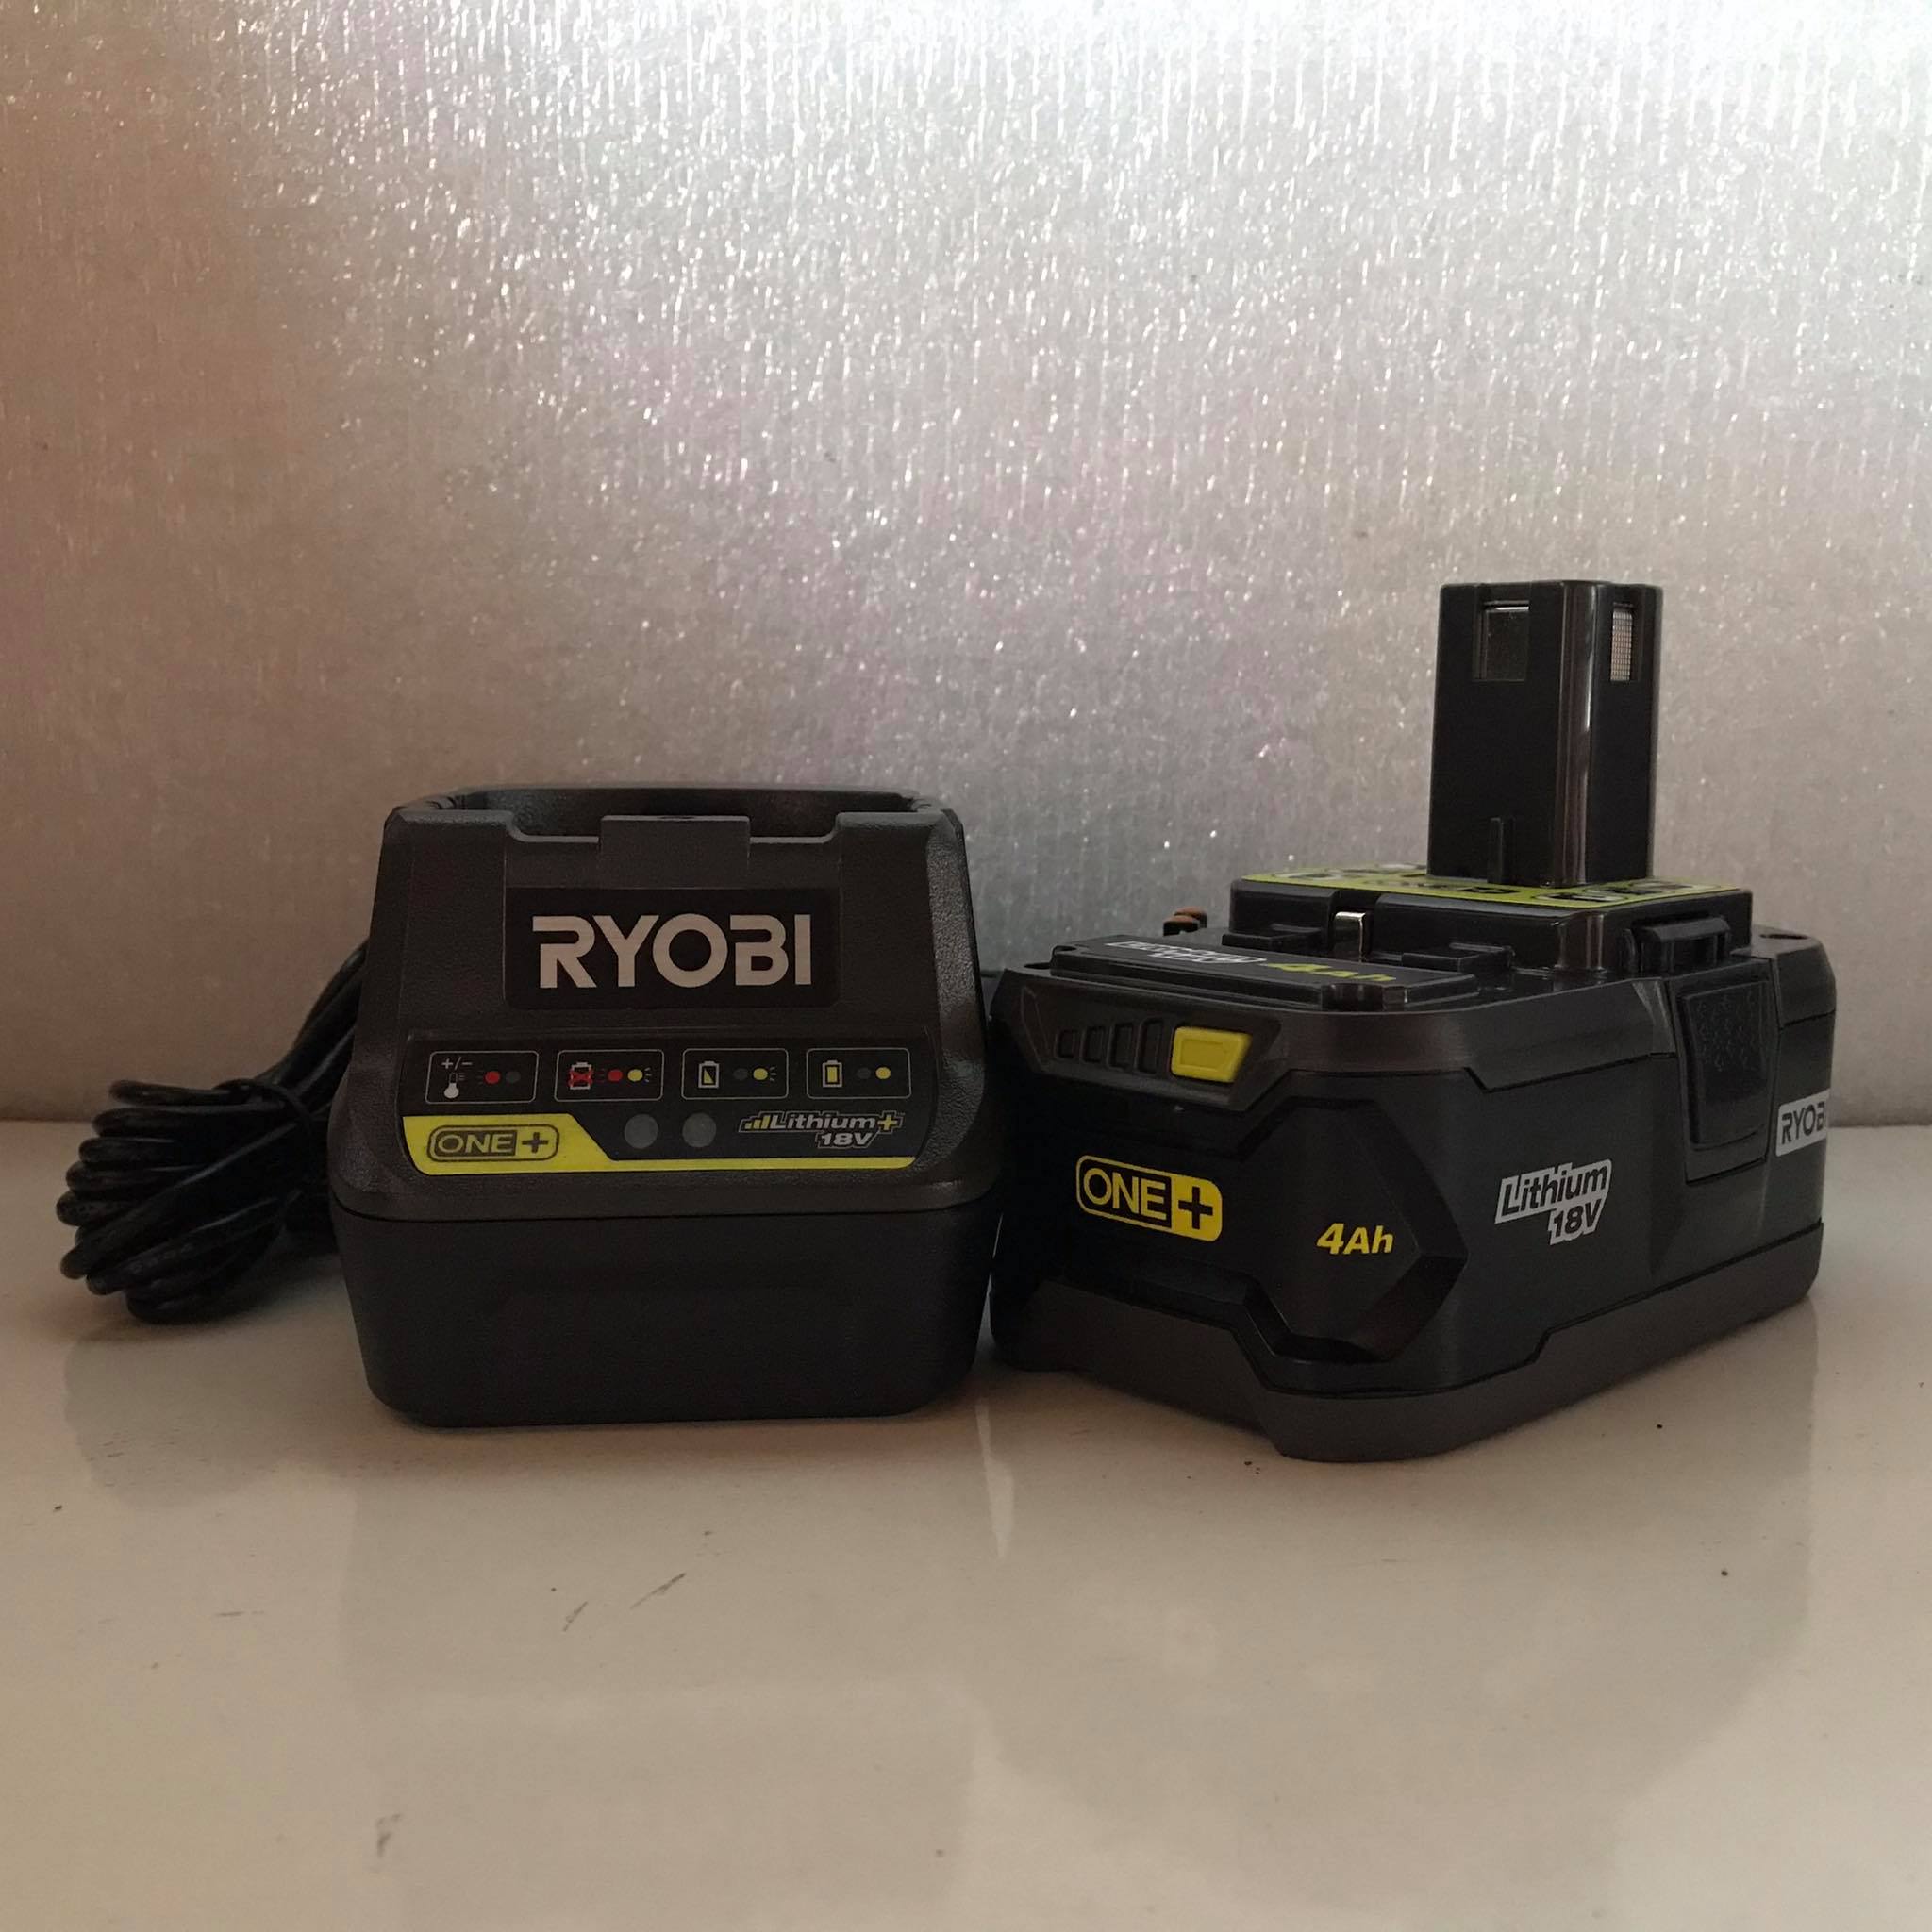
Step 1: Gather the necessary tools and equipment
Before you begin jump starting your Ryobi battery, it’s essential to gather all the necessary tools and equipment. Here’s what you’ll need:
- Jumper cables: Ensure that you have a set of good quality jumper cables that are long enough to reach the battery of both the donor vehicle and your Ryobi battery.
- Donor vehicle: You’ll need a vehicle with a fully charged battery to serve as the donor vehicle. Make sure it is parked close enough to your Ryobi battery so that the jumper cables can reach both batteries.
- Safety gear: It’s important to prioritize safety when working with batteries. Wear safety glasses and protective gloves to protect yourself from any potential accidents.
- Owner’s manual: Always consult the owner’s manual for your Ryobi power tool or outdoor equipment to ensure you’re following the manufacturer’s instructions and guidelines.
Once you have all the necessary tools and equipment ready, you can proceed to the next step of the jump starting process. It’s important to note that jumper cables come in different colors. The most common are red and black. The color coding is standardized, with red representing the positive terminal (+) and black representing the negative terminal (-). Remember this when connecting the cables during the jump starting process.
Step 2: Ensure safety precautions
Before you begin the jump starting process, it’s crucial to take the necessary safety precautions to protect yourself and prevent any potential damage to the batteries. Here are some important safety measures to keep in mind:
- Wear safety glasses and protective gloves: It’s essential to protect your eyes and hands from any potential sparks or debris that may occur during the jump starting process. Safety glasses and gloves will help minimize the risk of injury.
- Ensure both vehicles are turned off: Before connecting the jumper cables, make sure that both the donor vehicle and your Ryobi battery-powered tool or equipment are turned off. This will help prevent any electrical mishaps or accidents.
- Inspect the batteries: Before jump starting, visually inspect both the donor vehicle battery and your Ryobi battery for any signs of damage, such as leaks, cracks, or corrosion. If you notice any issues, do not attempt to jump start the battery and consult a professional.
- Keep the area well-ventilated: Jump starting a battery can produce potentially harmful gases. Make sure you are in a well-ventilated area or open the garage doors to allow for proper air circulation.
- Avoid smoking or open flames: To reduce the risk of sparks, it is crucial to avoid smoking or having any open flames in the vicinity while jump starting the battery.
By following these safety precautions, you can minimize the risk of accidents and ensure a safe jump starting process.
Step 3: Identify the battery terminals
Before you can connect the jumper cables and jump start your Ryobi battery, it’s important to identify the battery terminals on both the donor vehicle and your Ryobi battery. Each battery has two terminals – positive (+) and negative (-).
Identifying the battery terminals is crucial because connecting the jumper cables incorrectly can result in damage to the batteries or even electrical hazards. Here’s how you can identify the battery terminals:
- Look for the (+) and (-) signs: On most batteries, you’ll find markings indicating the positive (+) and negative (-) terminals. They may be labeled directly on the battery itself or on the battery terminals.
- Color coding: In addition to the markings, the battery terminals are often color-coded. The positive terminal is usually red, and the negative terminal is black. Remember to match the colors when connecting the jumper cables.
- Inspect the battery cables: If you’re unable to find the markings or color coding, you can follow the battery cables from the battery itself. The positive cable usually leads to the starter or alternator, while the negative cable is connected to the vehicle’s frame or engine block.
Take your time to ensure that you have correctly identified the positive and negative terminals on both the donor vehicle and your Ryobi battery. This will help ensure a successful jump start without any damage or safety risks.
Step 4: Connect the jumper cables
With the battery terminals identified, it’s time to connect the jumper cables properly. Follow these steps to ensure a secure and effective connection:
- Position the vehicles: Park the donor vehicle close enough to your Ryobi battery-powered tool or equipment, so the jumper cables can reach both batteries. Make sure both vehicles are turned off.
- Open the hoods: Open the hoods of both vehicles and locate the battery compartments.
- Connect the positive cable: Take one end of the jumper cable and attach it to the positive terminal (+) of the Ryobi battery. Ensure a tight and secure connection.
- Connect the positive cable to the donor vehicle: Attach the other end of the positive cable to the positive terminal (+) of the donor vehicle’s battery.
- Connect the negative cable: Take the other jumper cable and connect one end to the negative terminal (-) of the donor vehicle’s battery.
- Connect the negative cable to a grounding point: Instead of connecting the negative cable directly to the Ryobi battery, it’s safer to connect it to a sturdy grounding point on the vehicle with the dead battery. This can be an unpainted metal surface on the engine block or the vehicle’s frame.
Ensure that the jumper cables are not tangled or touching any moving parts of the vehicles. Double-check all connections to make sure they are secure and properly attached to the correct terminals.
Remember, it’s vital to connect the positive and negative terminals correctly to prevent any electrical mishaps or damage to the batteries. Always refer to the owner’s manual for both the donor vehicle and your Ryobi battery-powered tool or equipment for specific instructions on connecting jumper cables.
Read more: How To Start Ryobi Generator
Step 5: Start the donor vehicle
After connecting the jumper cables, it’s time to start the donor vehicle. This will provide the power necessary to jump start your Ryobi battery. Follow these steps:
- Ensure both vehicles are in neutral or park: Before starting the donor vehicle, make sure it is in either neutral (for manual transmission) or park (for automatic transmission). This will prevent any unintended movement during the jump starting process.
- Start the donor vehicle: Turn the key in the ignition of the donor vehicle and start the engine. Let the engine run for a few minutes to charge the Ryobi battery.
- Observe the donor vehicle’s RPM: While the donor vehicle is running, pay attention to its RPM (revolutions per minute). Ensure that the RPM stays at a steady level. If it fluctuates or drops significantly, there may be an issue with the charging system, and it’s best to stop the process and seek professional assistance.
- Keep the donor vehicle running: Keep the donor vehicle running throughout the jump starting process. This will provide a continuous flow of power to your Ryobi battery.
By starting the donor vehicle and allowing it to run, you are effectively transferring power to your Ryobi battery, which will help recharge it and prepare it for use.
It’s worth noting that if the donor vehicle’s battery is also weak or dead, jump starting may not be successful. In such cases, it’s advisable to seek alternative methods or consult a professional.
When jump starting a Ryobi battery, make sure to use a compatible jump starter or another 12V battery. Connect the positive (+) and negative (-) terminals correctly to avoid damaging the battery or the tool.
Step 6: Jump start the Ryobi battery
With the donor vehicle running and providing power, it’s time to jump start your Ryobi battery. Follow these steps:
- Wait for a few minutes: Allow the donor vehicle to run for a few minutes to ensure that the Ryobi battery receives a sufficient charge.
- Attempt to start your Ryobi battery-powered tool or equipment: Once you’ve waited for a few minutes, try starting your Ryobi battery-powered tool or equipment. Turn the ignition or switch on, and see if the battery has regained enough power to start. If it starts, you’ve successfully jump started the Ryobi battery.
- If it doesn’t start, wait a bit longer: In some cases, the Ryobi battery may need more time to charge. Give it a few more minutes by keeping the donor vehicle running and then attempt to start your tool or equipment again.
- Keep the donor vehicle running: Throughout the jump starting process, it’s important to keep the donor vehicle running. This ensures a continuous flow of power to the Ryobi battery and increases the chances of a successful jump start.
If your Ryobi battery-powered tool or equipment starts after jump starting, it’s a good sign that the battery is now charged and ready to use. However, if it still doesn’t start after multiple attempts, there may be an issue with the battery or the tool itself. In such cases, it’s recommended to consult the owner’s manual or seek professional assistance.
Remember to exercise caution during the jump starting process and pay attention to any warning signs or unusual noises. Safety is paramount, and if you encounter any problems or concerns, it’s best to stop the process and seek help.
Step 7: Disconnect the jumper cables
Once you have successfully jump started your Ryobi battery and it is running smoothly, it’s time to disconnect the jumper cables. Properly disconnecting the cables is important to ensure safety and prevent any damage to the batteries. Follow these steps:
- Turn off the donor vehicle: Before disconnecting any cables, turn off the engine of the donor vehicle. This will help avoid any electrical hazards during the disconnection process.
- Remove the negative cable: Begin by removing the negative cable from the grounding point on the Ryobi battery-powered tool or equipment. Be careful not to touch any metal surfaces with the cable clamps to prevent sparks.
- Remove the negative cable from the donor vehicle: Next, detach the negative cable from the negative terminal (-) of the donor vehicle’s battery.
- Remove the positive cable: Now, remove the positive cable from the Ryobi battery’s positive terminal (+).
- Remove the positive cable from the donor vehicle: Lastly, detach the positive cable from the positive terminal (+) of the donor vehicle’s battery.
Remember to always remove the cables in the reverse order that they were connected. This ensures a safe and efficient disconnection process. Take your time and be gentle when removing the jumper cables to avoid any accidental sparks or damage.
Once the cables are all removed, double-check that they are clear of any moving parts or surfaces. Close the hoods of both vehicles securely and make sure everything is in its proper place.
With the jumper cables disconnected, you have successfully completed the jump starting process.
Step 8: Test the Ryobi battery
After jump starting your Ryobi battery, it’s important to test it to ensure that it is functioning properly and holding a charge. Here’s how you can test the battery:
- Turn off your Ryobi battery-powered tool or equipment: If your tool or equipment is running, turn it off before conducting the battery test.
- Let the battery rest: Allow the Ryobi battery to rest for a few minutes after jump starting. This will give it time to stabilize and fully charge.
- Use a battery tester or voltmeter: A battery tester or voltmeter can give you an accurate reading of the battery’s charge level. Connect the tester or voltmeter to the battery terminals and follow the instructions provided with the device to obtain a reading.
- Check the voltage reading: The voltage reading will indicate the current charge level of the battery. A fully charged battery typically measures around 12.6 volts. If the reading is significantly lower, it may indicate that the battery needs further charging or may require replacement.
- Repeat the test if necessary: If the initial voltage reading is low, you can repeat the test after charging the battery for a longer period. This will give you a more accurate measurement of its charge level.
By testing the Ryobi battery, you can determine whether it has gained enough charge to continue using your tool or equipment. If the battery is showing a healthy charge level, you can proceed with your intended tasks. However, if the battery is not holding a charge or showing a significantly low voltage reading, it may be time to consider replacing the battery.
Remember to consult your Ryobi tool or equipment’s owner’s manual for specific instructions on testing the battery, as different models may have varying recommendations.
Read more: How To Store Ryobi Batteries
Step 9: Additional tips and precautions
As you wrap up the jump starting process for your Ryobi battery, here are some additional tips and precautions to keep in mind:
- Avoid revving the engine excessively: While the donor vehicle is running, avoid revving the engine excessively. Excessive revving can potentially damage the donor vehicle’s alternator or other electrical components.
- Charge the Ryobi battery fully: After jump starting, it’s recommended to charge the Ryobi battery fully as soon as possible. Using a battery charger specifically designed for your Ryobi battery will help ensure optimal charging and longevity.
- Regularly maintain and care for your Ryobi battery: Proper maintenance and care can extend the lifespan of your Ryobi battery. Follow the manufacturer’s guidelines for storage, charging, and usage to keep your battery in good condition.
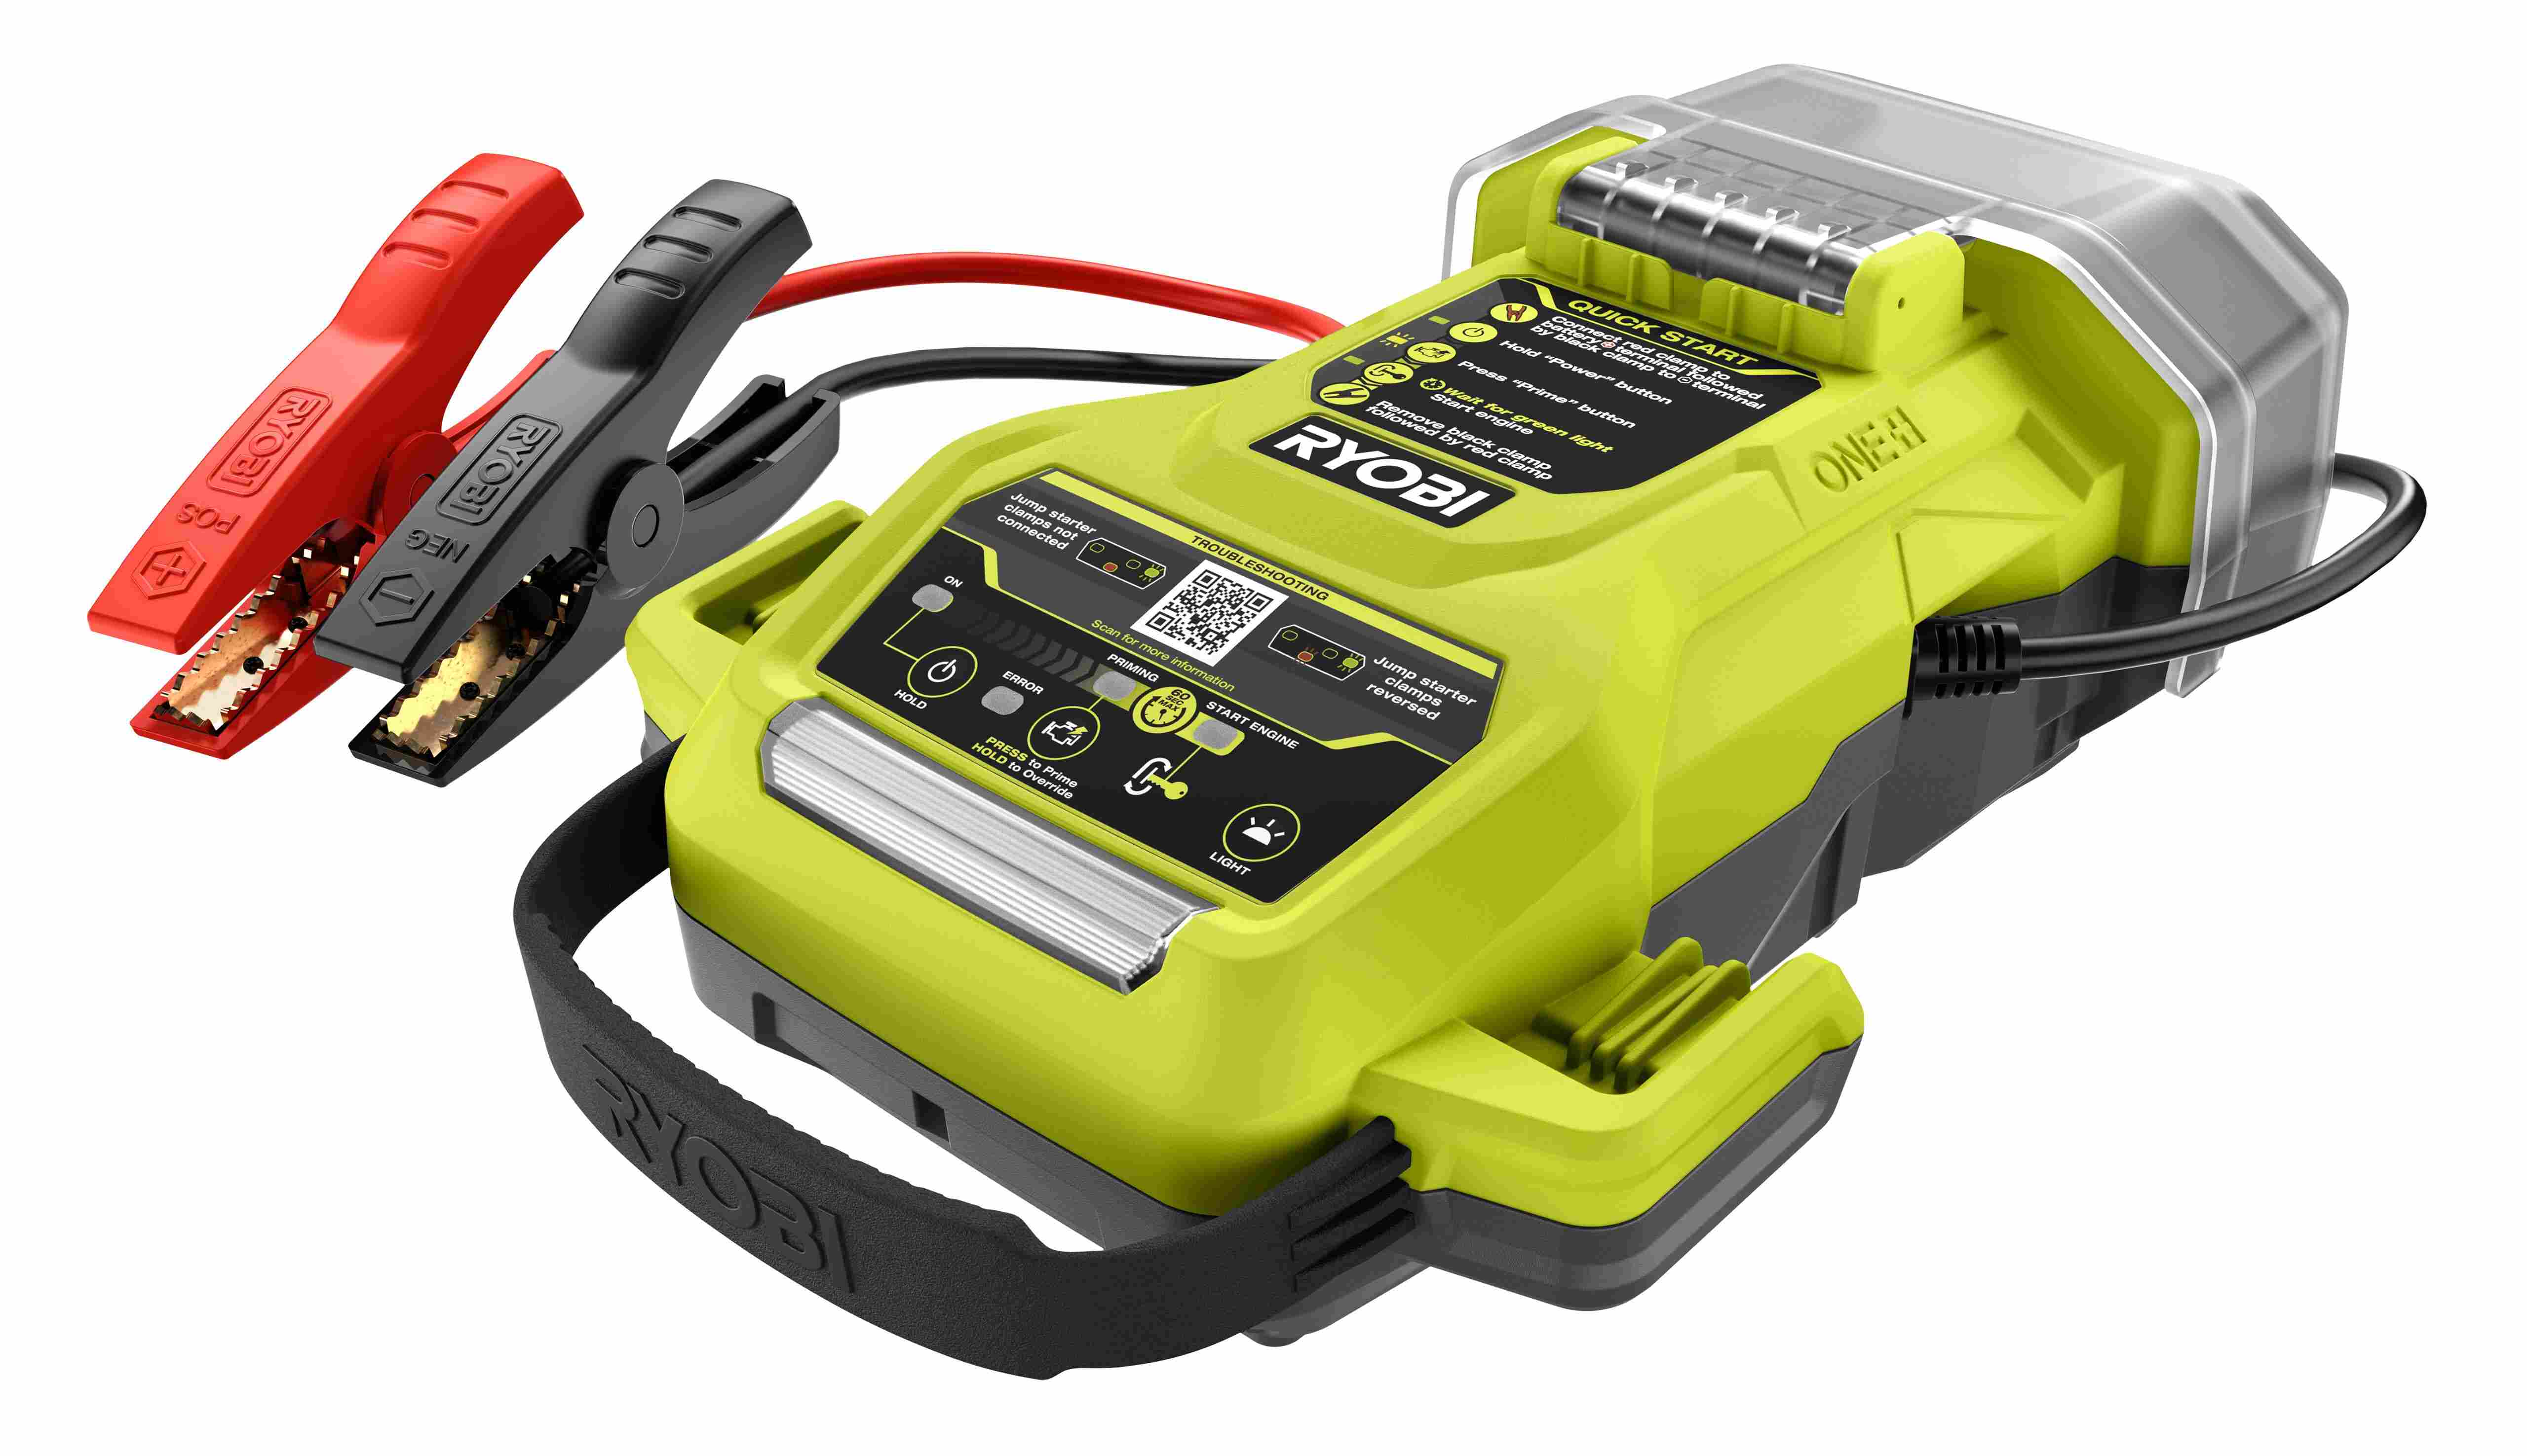
- Consider investing in a portable jump starter: A portable jump starter can be a handy tool to have in case of emergencies. It eliminates the need for a donor vehicle and provides a convenient and safe way to jump start your Ryobi battery.
- Seek professional help if needed: If you encounter any issues during the jump starting process or if your Ryobi battery continues to have problems, it’s best to seek professional assistance. They can diagnose any underlying issues and provide the necessary solutions.
Remember, safety should always be a priority when working with batteries. Be cautious, follow the proper steps, and take necessary precautions to minimize the risk of accidents or damage.
Congratulations! By following these steps and tips, you have successfully jump started your Ryobi battery and are now ready to resume your tasks with a fully functioning battery-powered tool or equipment.
Conclusion
Jump starting a Ryobi battery doesn’t have to be a daunting task. With the right tools, precautions, and step-by-step guidance, you can successfully bring your dead or drained battery back to life. By following the nine steps outlined in this comprehensive guide, you’ve learned how to jump start a Ryobi battery safely and effectively.
We started by gathering the necessary tools and equipment, ensuring our safety by taking precautions, and identifying the battery terminals. We then connected the jumper cables correctly and started the donor vehicle to provide the necessary power. After waiting for the battery to charge, we successfully jump started the Ryobi battery and tested it to confirm its functionality. Finally, we discussed additional tips and precautions to help you maintain your battery and handle any future jump starting needs.
Remember to always prioritize safety when working with batteries. Wear protective gear, pay attention to your surroundings, and follow the manufacturer’s instructions and guidelines. If you encounter any difficulties during the jump starting process or if your Ryobi battery continues to have issues, it’s best to seek professional assistance.
By mastering the skill of jump starting your Ryobi battery, you can save time, money, and frustration. You’ll be able to get back to your important tasks and projects without any interruptions. So, go ahead and confidently tackle your next endeavor, knowing that you have the knowledge and skills to jump start your Ryobi battery whenever needed.
Now that you've mastered jump-starting a Ryobi battery, why not delve deeper into your toolkit? Our next guide on the best power tools will help you choose reliable equipment that meets your home improvement needs. From drills to saws, understanding which tools excel can save you time and money. So, gear up for more insightful advice that will make tackling any project a breeze!
Frequently Asked Questions about How To Jump Start Ryobi Battery
Was this page helpful?
At Storables.com, we guarantee accurate and reliable information. Our content, validated by Expert Board Contributors, is crafted following stringent Editorial Policies. We're committed to providing you with well-researched, expert-backed insights for all your informational needs.


0 thoughts on “How To Jump Start Ryobi Battery”