Articles
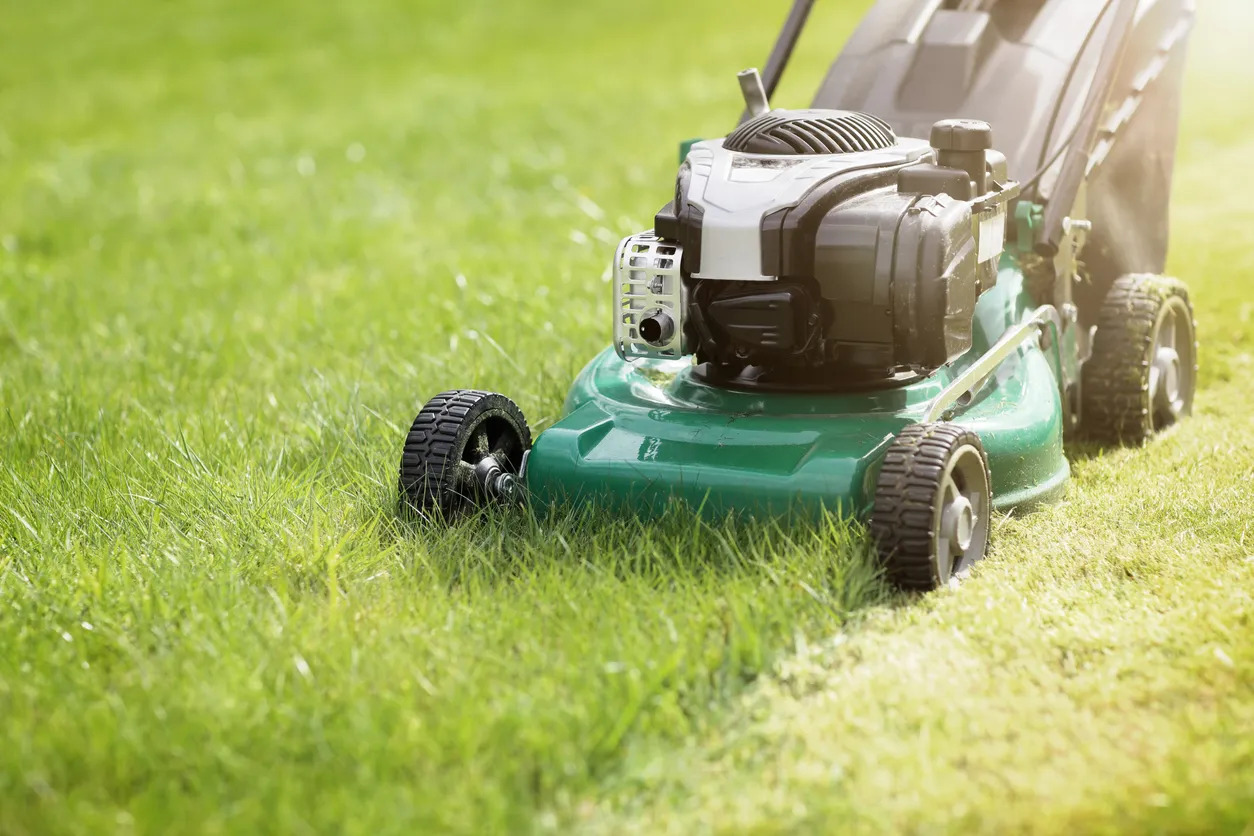
How To Start Ryobi 40V Lawn Mower
Modified: August 16, 2024
Looking for articles on how to start your Ryobi 40V lawn mower? Find step-by-step instructions and tips to get your mower up and running smoothly.
(Many of the links in this article redirect to a specific reviewed product. Your purchase of these products through affiliate links helps to generate commission for Storables.com, at no extra cost. Learn more)
Introduction
Welcome to this comprehensive guide on how to start the Ryobi 40V lawn mower. Whether you’re a seasoned gardener or a first-time user, this article will walk you through the step-by-step process of starting and operating your Ryobi 40V lawn mower with ease and confidence.
The Ryobi 40V lawn mower is a versatile and efficient tool that provides a clean and precise cut to your lawn. Powered by a 40-volt lithium-ion battery, it offers the convenience of cordless operation without compromising on performance. By following the instructions outlined in this guide, you’ll be able to get your lawn mower up and running in no time.
However, before we dive into the process of starting the mower, it’s important to note that safety should always be your top priority. Please take a few moments to familiarize yourself with the safety precautions associated with operating the Ryobi 40V lawn mower.
Key Takeaways:
- Prioritize safety by following the essential precautions before starting the Ryobi 40V lawn mower. From wearing protective gear to inspecting the mower, ensure a secure and accident-free mowing experience.
- Master the art of starting and maintaining your Ryobi 40V lawn mower with ease. From checking the battery to adjusting the cutting height, follow the step-by-step guide for a well-maintained lawn.
Read more: What Size Trimmer Line For Ryobi 40V
Safety Precautions
Before starting the Ryobi 40V lawn mower, it’s crucial to prioritize your safety to prevent accidents or injuries. Here are some important safety precautions to keep in mind:
- Read the user manual: Familiarize yourself with the user manual provided by Ryobi. It contains essential safety instructions and guidelines specific to your lawn mower model.
- Wear protective gear: Always wear protective gear such as safety goggles, gloves, and sturdy footwear to protect yourself from flying debris or accidental contact with the blades.
- Ensure a clear work area: Before operating the lawn mower, clear the area of any obstacles, such as rocks, toys, or debris, that could be thrown by the blades and potentially cause harm.
- Check for a level surface: Make sure to mow on a flat and even surface to enhance stability and minimize the risk of tipping over.
- Inspect the mower: Before starting the mower, carefully inspect it for any damage or loose parts. If you notice any issues, repair or replace them before use.
- Use the safety features: Ensure that the safety features of the lawn mower, such as the blade control lever and the motor brake, are functioning properly.
- Keep children and pets away: When operating the lawn mower, keep children and pets at a safe distance to prevent accidents or injuries.
- Store the battery safely: When not in use, remove the battery from the lawn mower and store it in a cool and dry place away from flammable materials.
- Never override safety features: Do not attempt to modify or disable any of the safety features on the lawn mower, as they are designed to protect you during operation.
By adhering to these safety precautions, you can ensure a secure and accident-free mowing experience. Now, let’s move on to the first step of starting the Ryobi 40V lawn mower: checking the battery.
Step 1: Check the Battery
Before you start using the Ryobi 40V lawn mower, it’s important to ensure that the battery is fully charged and in good condition. Follow these steps to check the battery:
- Check the battery indicator: Locate the battery indicator on the lawn mower. It will show the current charge level of the battery. If the indicator shows a low charge, you may need to charge the battery before proceeding.
- Inspect the battery: Carefully examine the battery for any signs of damage or wear. Look for cracks, leaks, or corrosion. If you notice any issues, do not use the battery and contact Ryobi for assistance.
- Clean the battery terminals: If there is any dirt or debris on the battery terminals, use a clean cloth or a soft brush to gently clean them. Ensure that the terminals are free from any obstructions that may affect the battery’s performance.
- Charge the battery if necessary: If the battery is not fully charged, connect it to the charger provided by Ryobi. Follow the manufacturer’s instructions to safely charge the battery until it reaches its full capacity.
- Keep spare batteries: It’s always a good idea to have spare batteries on hand, especially for larger lawns that require extended mowing sessions. Having a spare battery will allow you to swap it out when one battery runs low, allowing you to continue uninterrupted.
Once you have checked the battery and ensured that it is in good condition and fully charged, you can proceed to the next step: inserting the battery into the lawn mower.
Step 2: Insert the Battery
Now that you have checked and charged the battery, it’s time to insert it into the Ryobi 40V lawn mower. Follow these steps to properly insert the battery:
- Locate the battery compartment: Find the battery compartment on the lawn mower. It is usually located near the rear of the machine.
- Open the battery compartment: Depending on the model, the battery compartment may have a latch or a release button. Use the designated mechanism to open the compartment.
- Align the battery: Hold the battery in an upright position with the contacts facing the corresponding terminals in the battery compartment. Make sure the battery is properly aligned before inserting it.
- Insert the battery: Gently slide the battery into the compartment until it is securely seated. Ensure that it fits snugly and that the contacts on the battery are making proper contact with the terminals.
- Close the battery compartment: Once the battery is inserted correctly, close the battery compartment securely. Ensure that it clicks or latches into place.
By following these steps, you have successfully inserted the battery into the Ryobi 40V lawn mower. Now that the battery is securely in place, you can move on to the next step: adjusting the cutting height of the mower.
Step 3: Adjust the Cutting Height
Adjusting the cutting height of your Ryobi 40V lawn mower is essential to achieve the desired length of grass. Follow these steps to properly adjust the cutting height:
- Locate the cutting height adjustment lever: Look for the cutting height adjustment lever on the lawn mower. It is usually located near the wheels.
- Identify the cutting height options: The lawn mower will have multiple cutting height options, ranging from low to high. The specific range of cutting height settings may vary depending on the model.
- Select the desired cutting height: Determine your desired grass length and choose the appropriate cutting height setting on the adjustment lever. Lower settings are ideal for a shorter, well-maintained lawn, while higher settings are suitable for longer or uneven grass.
- Adjust the cutting height: Move the cutting height adjustment lever to the selected setting. Ensure that it locks into place securely to prevent accidental changes during mowing.
- Check the cutting height: Once you have adjusted the cutting height, visually inspect the distance between the cutting blade and the ground. Make sure it aligns with your desired grass length.
By following these steps, you have successfully adjusted the cutting height of your Ryobi 40V lawn mower. Now that the cutting height is set, you’re ready to move on to the next step: priming the engine.
Before starting your Ryobi 40V lawn mower, make sure the battery is fully charged and properly inserted. Check the grass catcher and blade for any debris or damage before use.
Read more: How Long Does A 40V Ryobi Battery Last
Step 4: Prime the Engine
Before starting the engine of your Ryobi 40V lawn mower, it’s important to prime it to ensure smooth and easy ignition. Follow these steps to prime the engine:
- Locate the primer bulb: Look for the primer bulb on the lawn mower’s engine. It is typically a small, rubber bulb that is easy to press.
- Press the primer bulb: Press the primer bulb repeatedly for about 3-5 times to force fuel into the carburetor. This process is essential to create the right fuel-air mixture for ignition.
- Watch for fuel in the bulb: As you prime the engine, keep an eye on the primer bulb. You should be able to see fuel flowing into the bulb, indicating that the carburetor is getting properly primed.
- Release the primer bulb: Once you have primed the engine, release the primer bulb and allow it to return to its original position.
Priming the engine ensures that an adequate amount of fuel is delivered to the carburetor, making it easier to start the lawn mower. With the engine primed and ready, you can move on to the next step: pulling the starter cord.
Step 5: Pull the Starter Cord
Now that you have primed the engine, it’s time to start your Ryobi 40V lawn mower by pulling the starter cord. Follow these steps to start the engine:
- Position the lawn mower: Ensure that the lawn mower is on a level surface with the cutting blade clear of any obstacles.
- Apply the necessary safety measures: Make sure that the blade control lever is disengaged, and the motor brake is released. Additionally, ensure that you are in a safe position with a firm grip on the handle.
- Locate the starter cord: Find the starter cord near the top of the lawn mower’s engine. It is typically brightly colored and easily accessible.
- Hold the handle and pull the cord: Firmly hold onto the starter cord handle and give it a quick, strong pull. This action will engage the engine and initiate the starting process.
- Repeat if necessary: If the engine does not start on the first pull, repeat the process for a few more attempts. Be sure to follow proper pulling technique and allow the cord to fully retract before pulling again.
Once the engine starts, you can carefully and gradually engage the blade control lever to begin mowing. Remember to maintain a steady and comfortable grip on the handle while maneuvering the lawn mower.
If you are unable to start the engine after several attempts, refer to the troubleshooting section in your Ryobi 40V lawn mower’s user manual or seek professional assistance.
Now that the engine is running, you can move on to the next step: adjusting the handle height for optimal comfort.
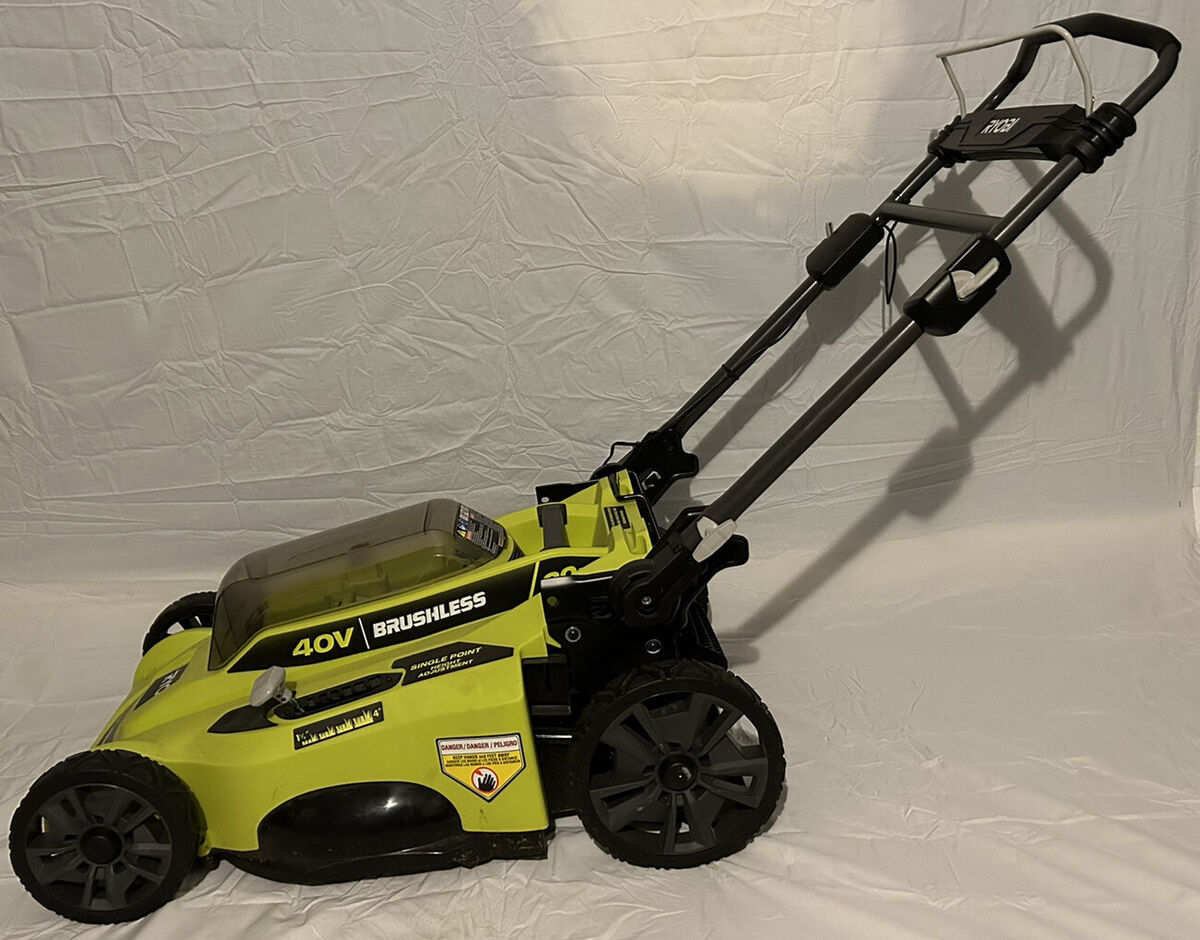
Step 6: Adjust the Handle Height
It’s important to have a comfortable grip and proper posture while using your Ryobi 40V lawn mower. By adjusting the handle height, you can customize the mower to suit your individual height and mowing preference. Follow these steps to adjust the handle height:
- Locate the handle adjustment mechanism: Look for the handle adjustment mechanism on the lawn mower. It is usually located near the connection point where the handle meets the mower’s body.
- Identify the handle height options: The mower’s handle will have multiple height options to choose from. These options allow you to raise or lower the handle to your desired position.
- Choose the desired handle height: Consider your height and comfort level while choosing the appropriate handle height setting. Adjust it based on your preference to ensure a comfortable mowing experience.
- Adjust the handle height: Use the handle adjustment mechanism to raise or lower the handle to the selected height. Some mowers may have lever mechanisms, while others may require the use of tools or release buttons.
- Lock the handle into place: Once you have adjusted the handle to the desired height, securely lock it into place. Ensure that it is stable and does not wobble when you grip it.
By following these steps, you can adjust the handle height of your Ryobi 40V lawn mower to a comfortable position that suits your needs. This will help reduce strain on your back and arms during mowing, allowing you to work efficiently.
Now that the handle is properly adjusted, you can move on to the next step: starting the mowing process and enjoying a well-maintained lawn.
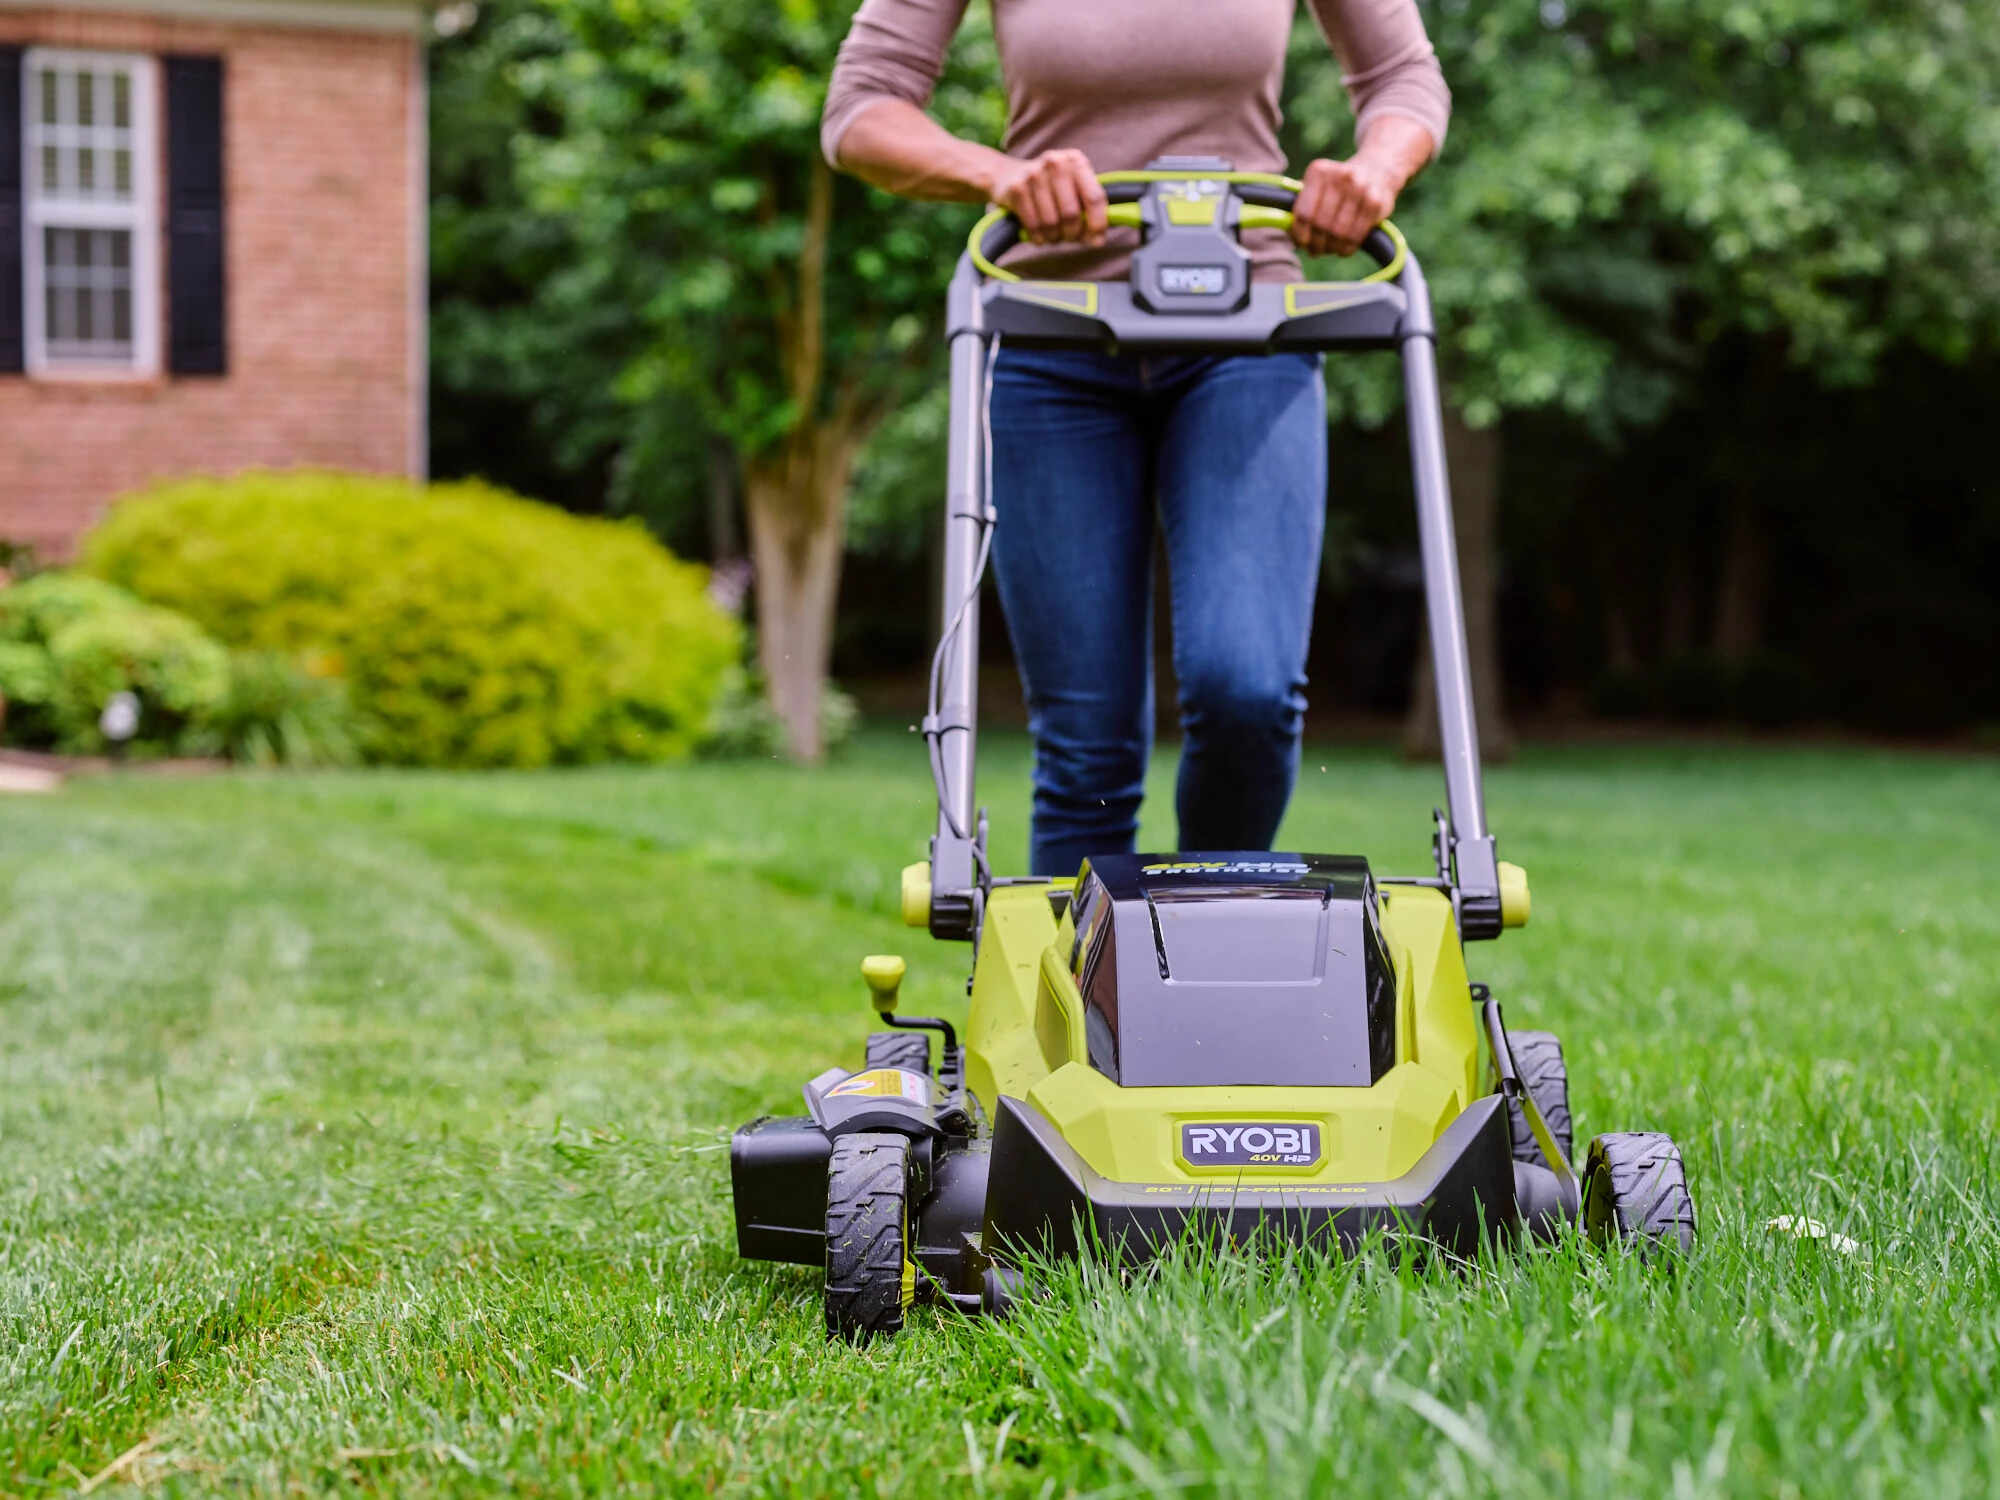
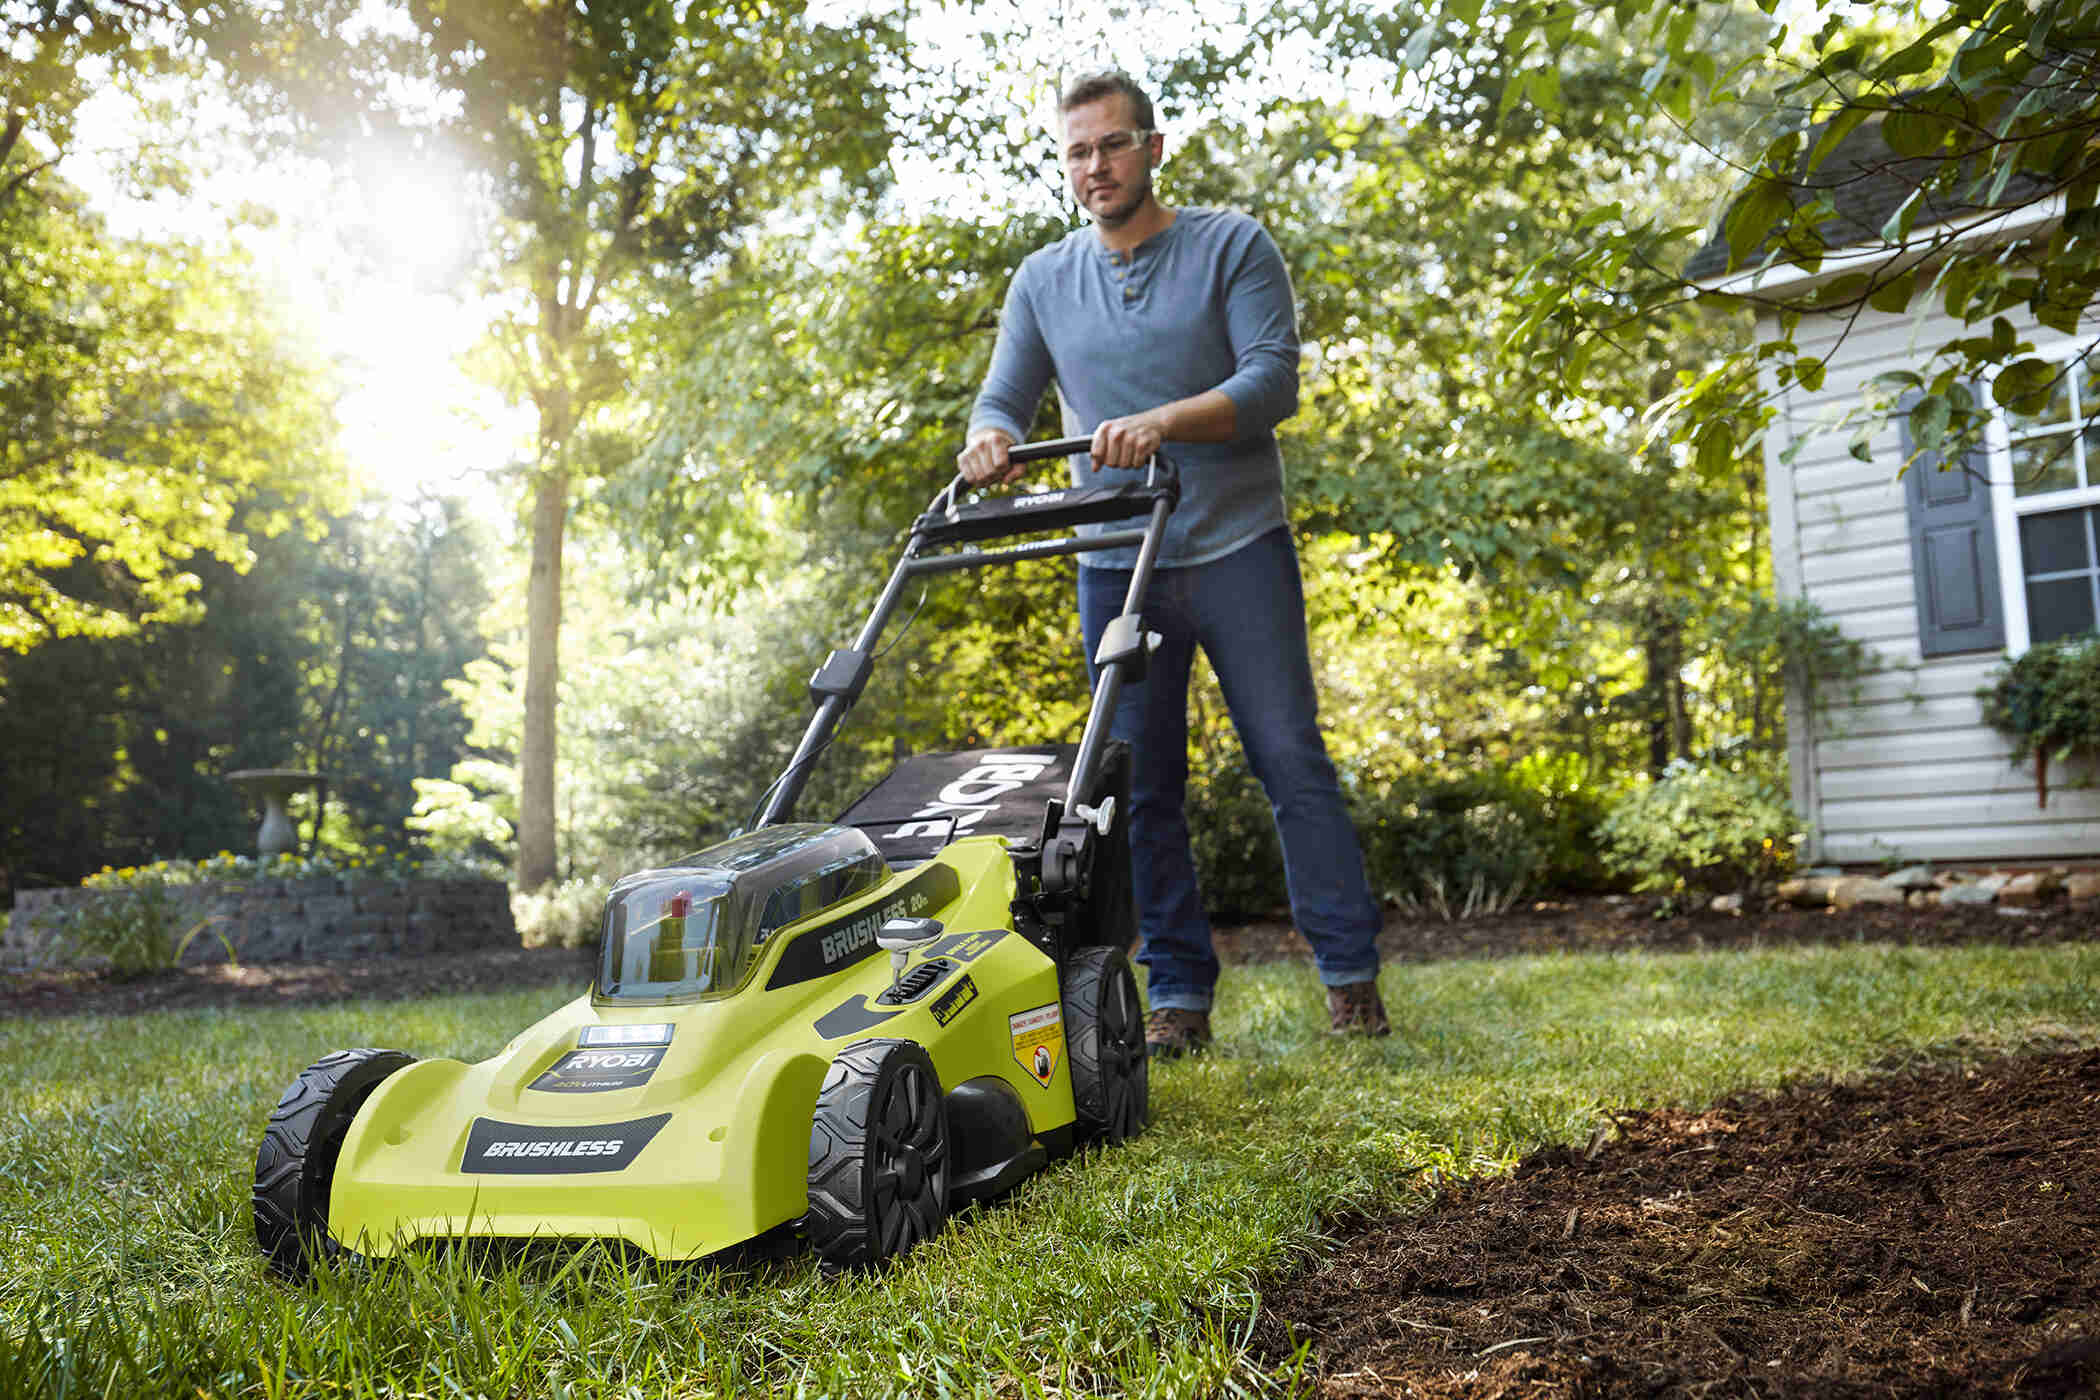
Step 7: Start Mowing
With all the necessary preparations complete, it’s time to start mowing your lawn with the Ryobi 40V lawn mower. Follow these steps to begin the mowing process:
- Position the lawn mower: Make sure the lawn mower is on a level surface at the edge of the area you want to begin mowing.
- Engage the blade control lever: Slowly engage the blade control lever to lower the cutting blade. This will allow the mower to start cutting grass as you move forward.
- Start walking forward: Begin walking forward at a steady pace, pushing the mower along the desired mowing path. Maintain a gripping position on the handle for optimal control.
- Maintain a consistent mowing pattern: To achieve an evenly mowed lawn, try to maintain a consistent mowing pattern, such as mowing in straight lines or overlapping rows.
- Be mindful of obstacles: Pay attention to any obstacles in the lawn, such as rocks, tree roots, or garden decorations. Take care to navigate around them to prevent damage to the lawn mower or the objects themselves.
- Keep an eye on the grass catcher: If your Ryobi 40V lawn mower is equipped with a grass catcher, regularly check and empty it as needed to prevent it from becoming overly full.
- Monitor cutting height: Periodically check the cutting height to ensure that it is adjusted to your desired length. If necessary, make adjustments using the cutting height adjustment lever.
- Take breaks and stay hydrated: Mowing can be physically demanding, so take breaks as needed and stay hydrated to maintain your energy level throughout the process.
Follow these steps and enjoy the satisfying sound of a well-operating Ryobi 40V lawn mower as it leaves behind a trimmed and neat lawn. Continue mowing until you have covered the entire area, making any necessary adjustments along the way.
Now that you are familiar with starting and mowing with your Ryobi 40V lawn mower, let’s move on to the final step: maintaining the lawn mower for optimal performance and longevity.
Read more: How To Start Ryobi Electric Lawn Mower
Step 8: Maintain the Lawn Mower
Maintaining your Ryobi 40V lawn mower is essential to ensure its longevity and optimal performance. By following these maintenance steps, you can keep your lawn mower in great shape for years to come:
- Clean the lawn mower after each use: Remove any grass clippings, dirt, or debris from the lawn mower’s deck, wheels, and blades. Use a brush or a damp cloth to wipe down the surfaces.
- Check and sharpen the blades: Regularly inspect the cutting blades for any signs of damage or dullness. If necessary, sharpen or replace the blades according to the manufacturer’s instructions.
- Inspect the wheels: Examine the wheels for any wear or damage. Ensure that they are properly mounted and can spin freely. If needed, lubricate the wheel bearings or replace worn-out wheels.
- Clean or replace the air filter: Refer to the user manual to locate and access the air filter. Clean it regularly or replace it if it is dirty or clogged. A clean air filter ensures proper air intake for the engine.
- Check and top up the oil: Consult the user manual to locate the oil fill cap and check the oil level. If needed, add the recommended type and amount of oil to maintain proper lubrication. Only perform this step if your Ryobi model has an oil compartment.
- Inspect and tighten fasteners: Regularly check all the nuts, bolts, and screws on the lawn mower. If any are loose, tighten them to ensure the stability and safety of the machine during operation.
- Store the lawn mower properly: When not in use, store the lawn mower in a cool, dry place. Make sure to remove the battery and store it separately according to the manufacturer’s instructions.
- Follow the maintenance schedule: Refer to the user manual for the recommended maintenance schedule and follow it diligently. This includes tasks such as spark plug replacement, oil changes, and other routine maintenance procedures.
By following these maintenance steps, you can prolong the life of your Ryobi 40V lawn mower and ensure its continued performance. Regular maintenance will also help prevent costly repairs and ensure that the mower is ready to use whenever you need it.
With the proper care and maintenance, your Ryobi 40V lawn mower will continue to provide efficient and reliable mowing for many seasons to come.
That concludes our guide on how to start and operate the Ryobi 40V lawn mower. We hope this comprehensive article has provided you with the information you need to confidently and successfully maintain your lawn. Happy mowing!
Frequently Asked Questions about How To Start Ryobi 40V Lawn Mower
Was this page helpful?
At Storables.com, we guarantee accurate and reliable information. Our content, validated by Expert Board Contributors, is crafted following stringent Editorial Policies. We're committed to providing you with well-researched, expert-backed insights for all your informational needs.

0 thoughts on “How To Start Ryobi 40V Lawn Mower”