Articles
How To Flush Navien Tankless Water Heater
Modified: October 22, 2024
Learn how to properly flush your Navien tankless water heater with these informative articles. Ensure a longer-lasting and more efficient unit with regular maintenance.
(Many of the links in this article redirect to a specific reviewed product. Your purchase of these products through affiliate links helps to generate commission for Storables.com, at no extra cost. Learn more)
Introduction
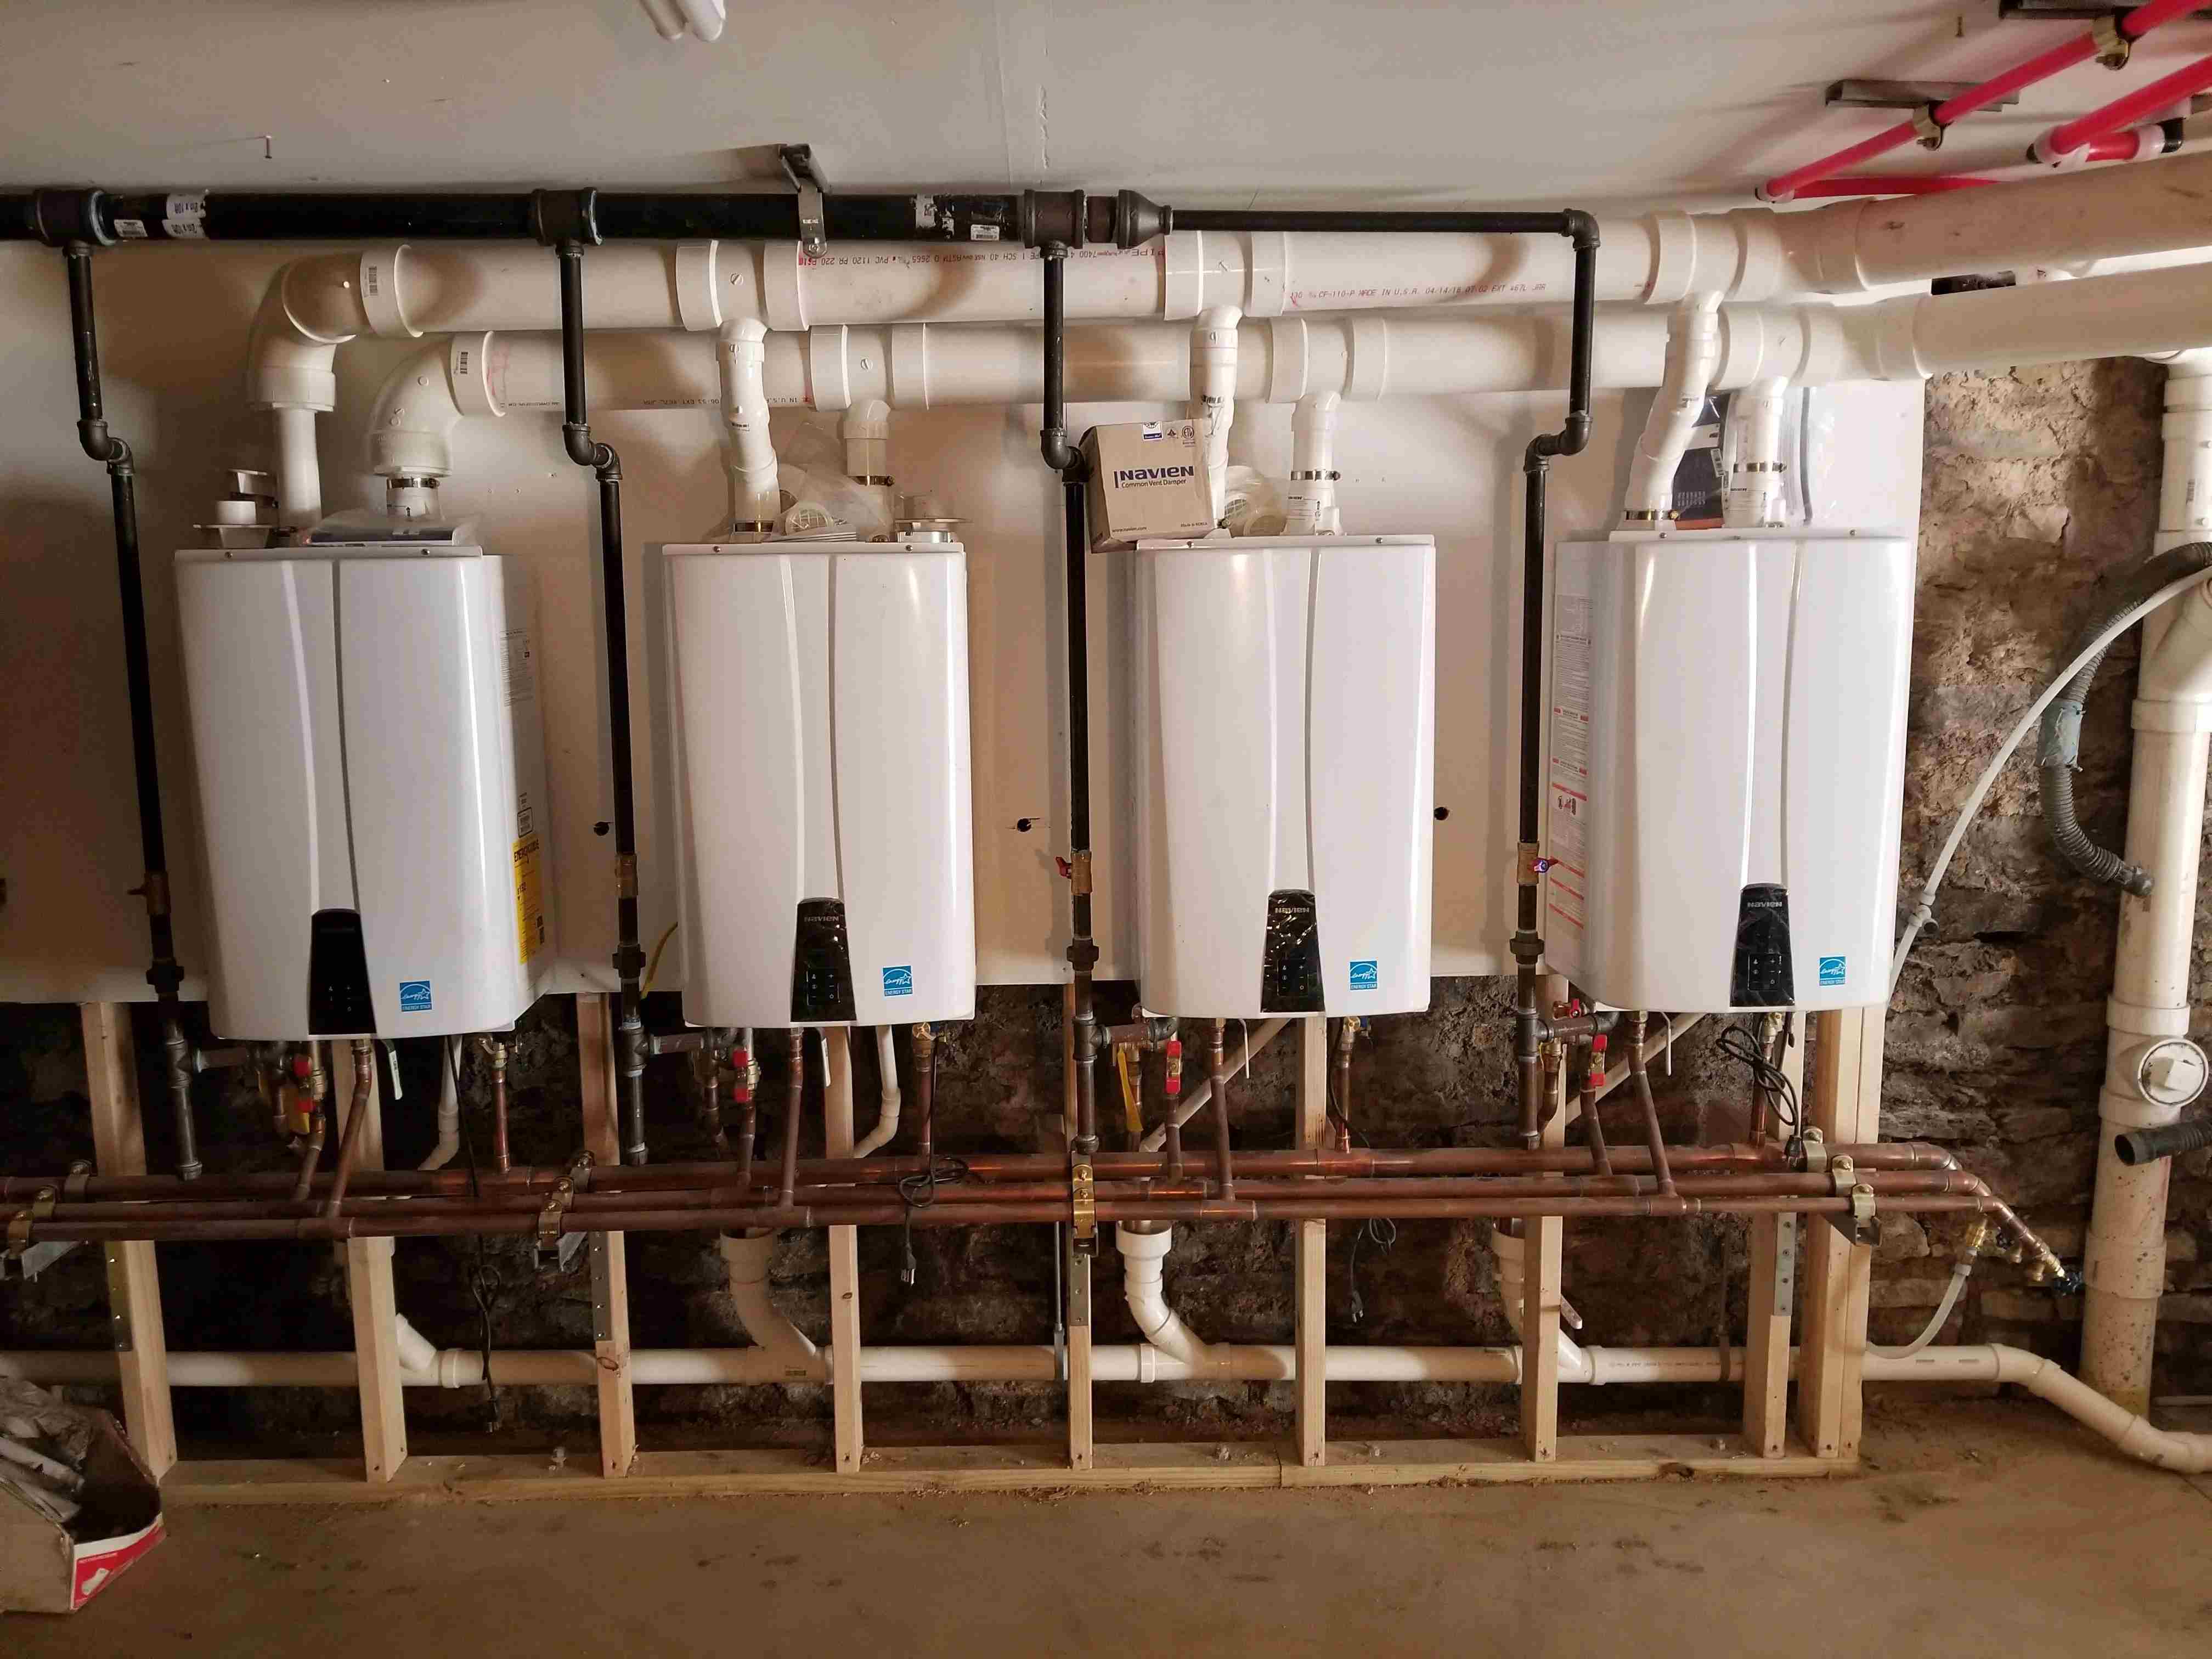
Navien tankless water heaters have become increasingly popular for their efficiency, convenience, and cost-saving benefits. These advanced water heating systems are designed to provide hot water on demand, eliminating the need for a traditional storage tank. While Navien tankless water heaters offer many advantages, it is crucial to understand the importance of regular maintenance, specifically flushing the system.
Flushing your Navien tankless water heater is a vital maintenance task that helps remove mineral buildup, sediment, and debris that can accumulate over time. This buildup can lead to reduced performance, inefficiency, and even potential system failure. By flushing your Navien tankless water heater regularly, you can ensure optimal performance, extend its lifespan, and maintain the quality of your hot water.
In this article, we will guide you through the step-by-step process of flushing your Navien tankless water heater, providing you with the necessary tools and materials needed, as well as the reasons why this maintenance task is crucial for the longevity of your system.
Key Takeaways:
- Regularly flushing your Navien tankless water heater is crucial to prevent mineral buildup, preserve energy efficiency, and extend the lifespan of the unit, ensuring a continuous supply of clean, hot water.
- Prioritize safety and caution when flushing your Navien tankless water heater, gather the necessary tools and materials, and follow the step-by-step process meticulously to maintain optimal performance and efficiency.
Understanding Navien Tankless Water Heaters
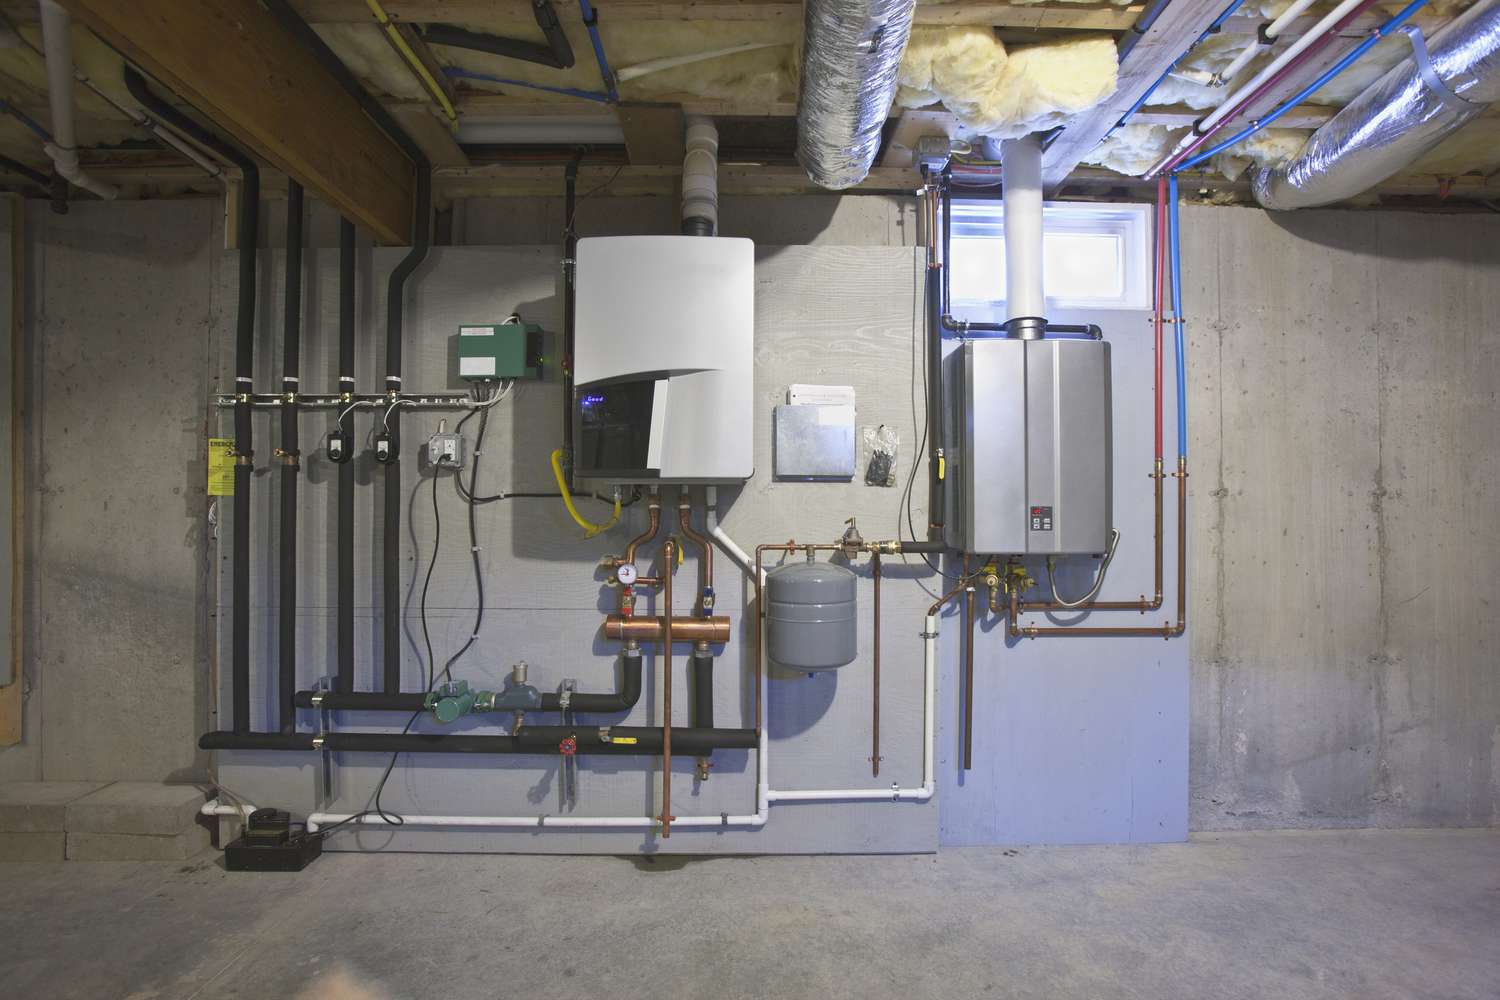
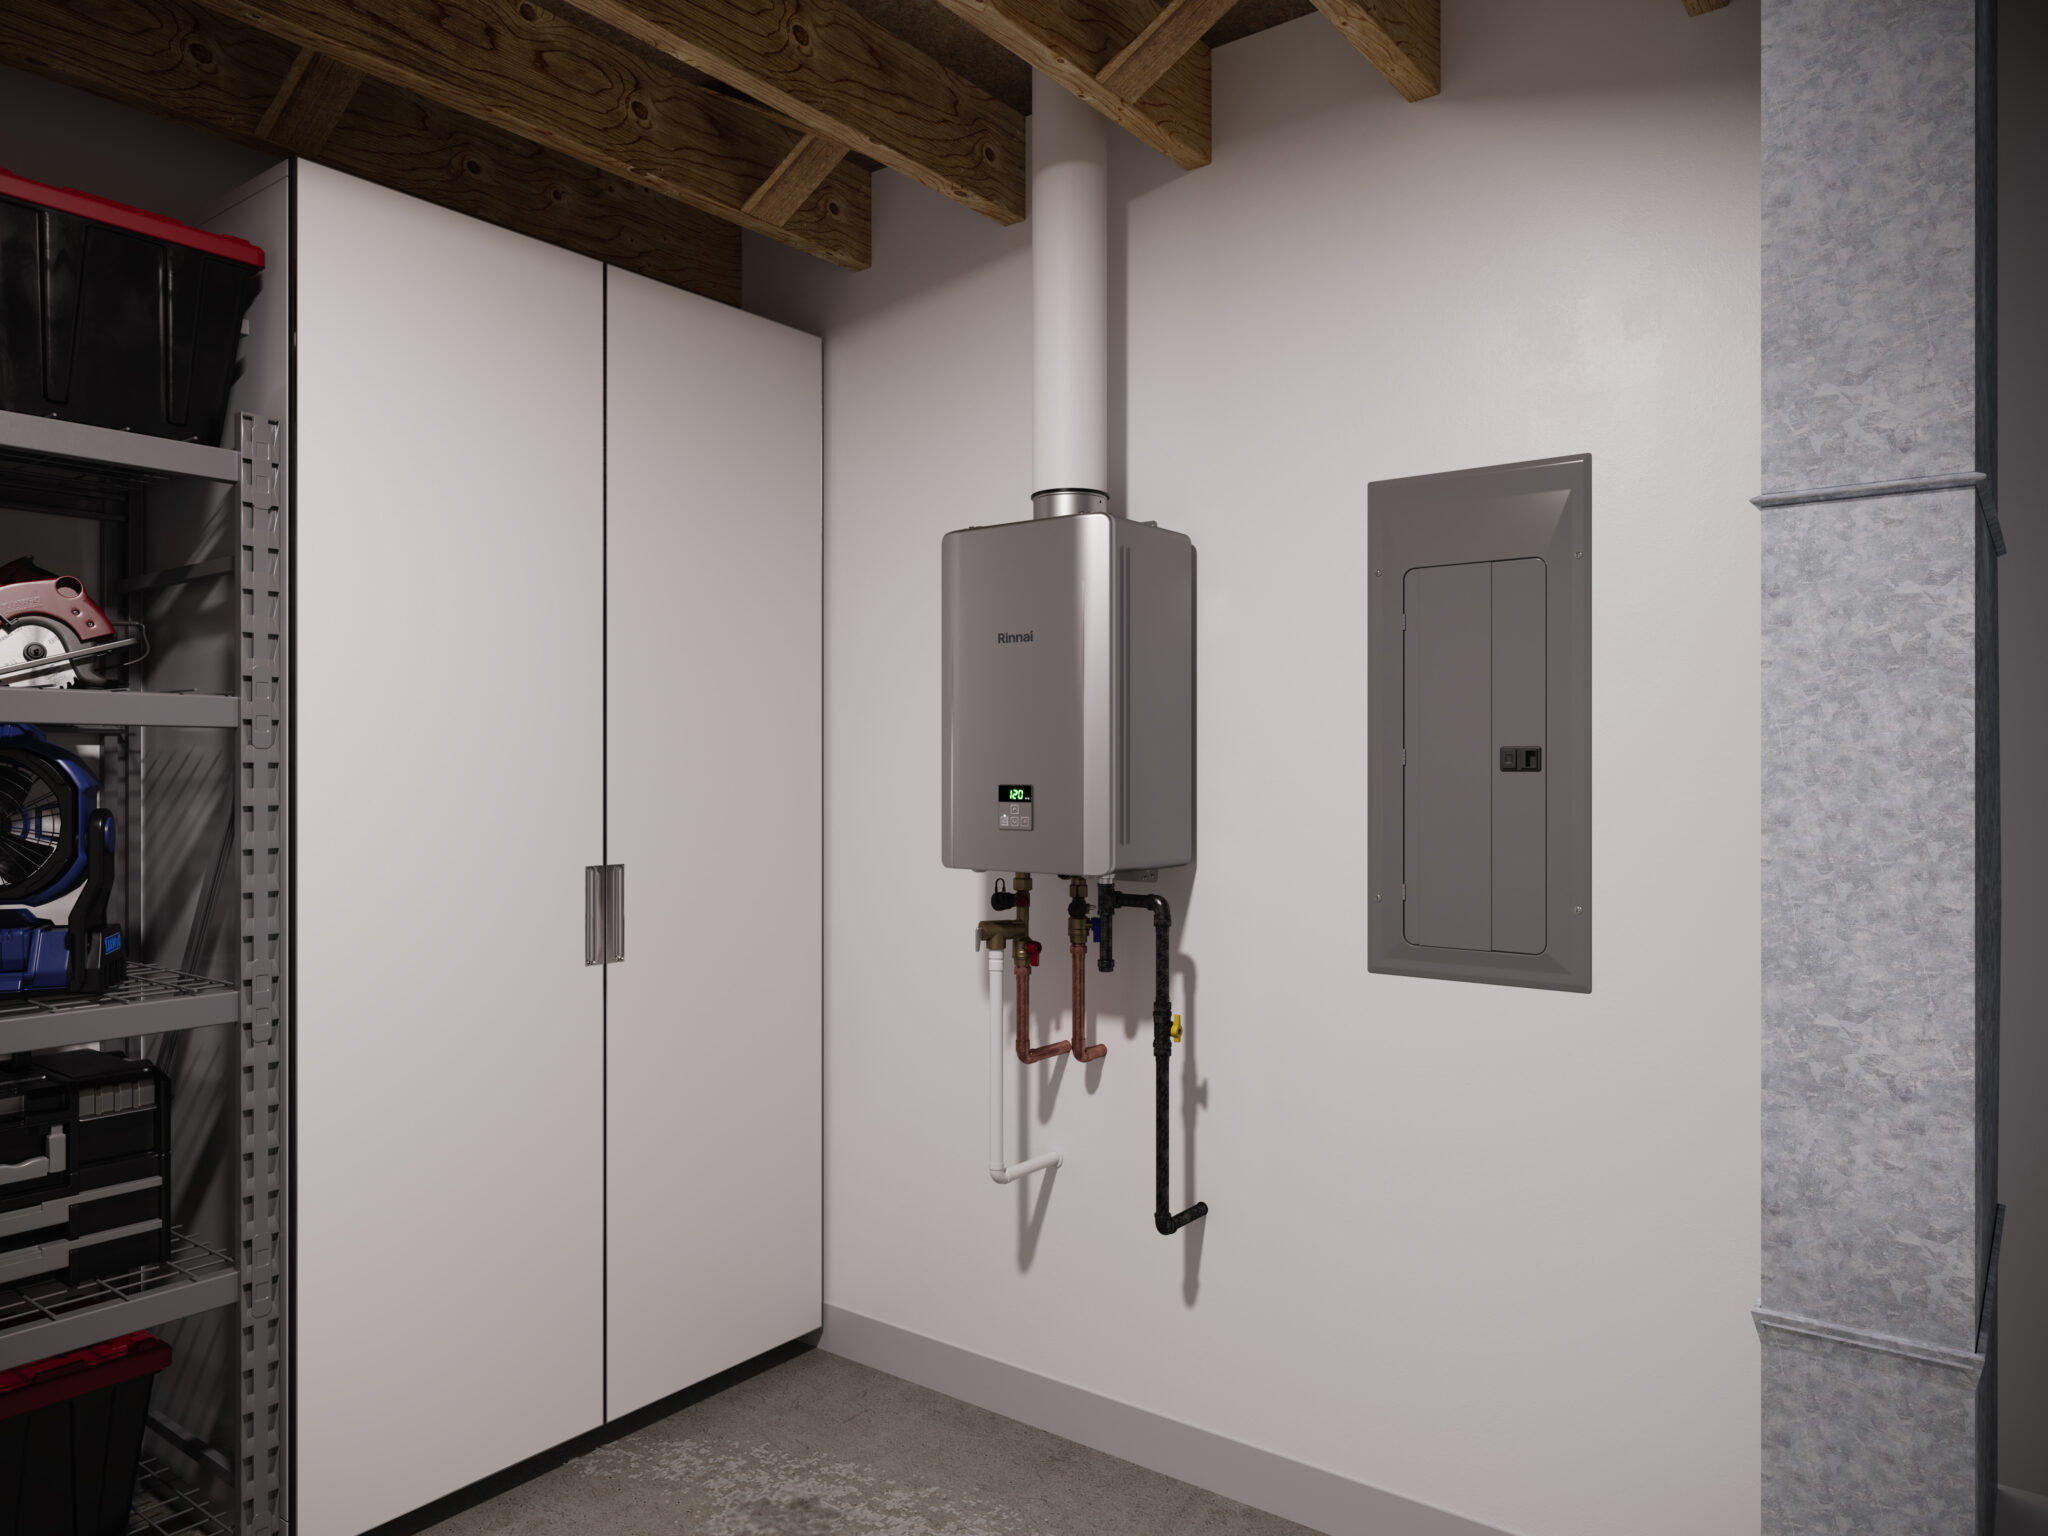
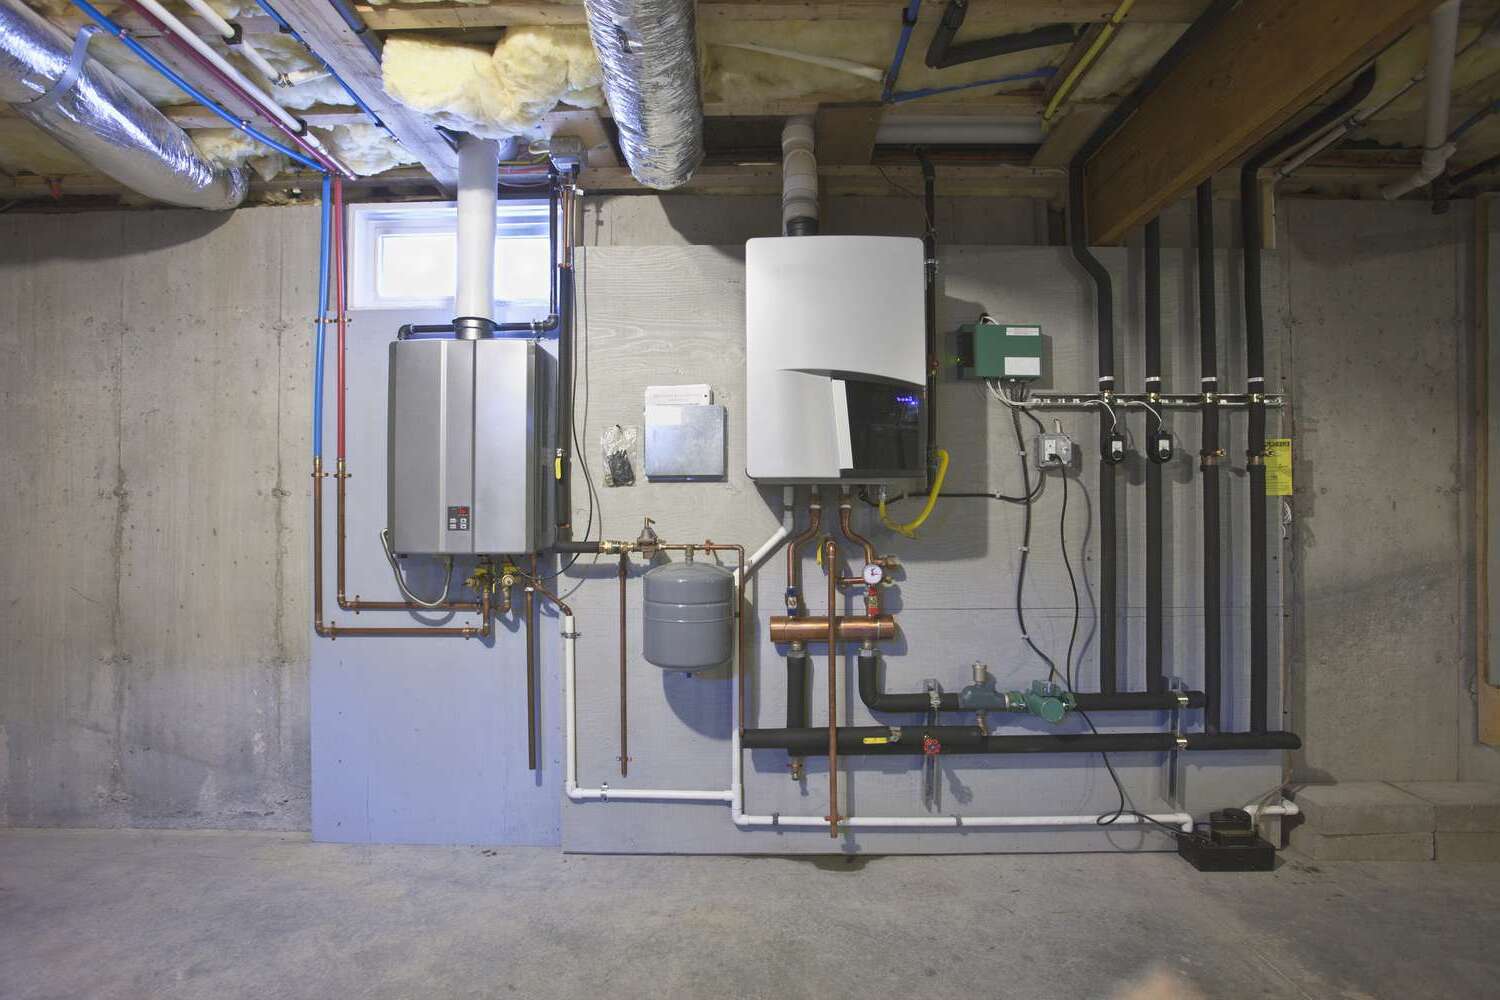
Before we dive into the process of flushing your Navien tankless water heater, let’s take a moment to understand how these innovative systems work. Unlike traditional water heaters that store and heat a large quantity of water, Navien tankless water heaters heat water on demand. When you turn on a hot water faucet, cold water enters the unit and passes through a heat exchanger, where it is rapidly heated to the desired temperature. This continuous process allows for a constant supply of hot water without the need for a bulky storage tank.
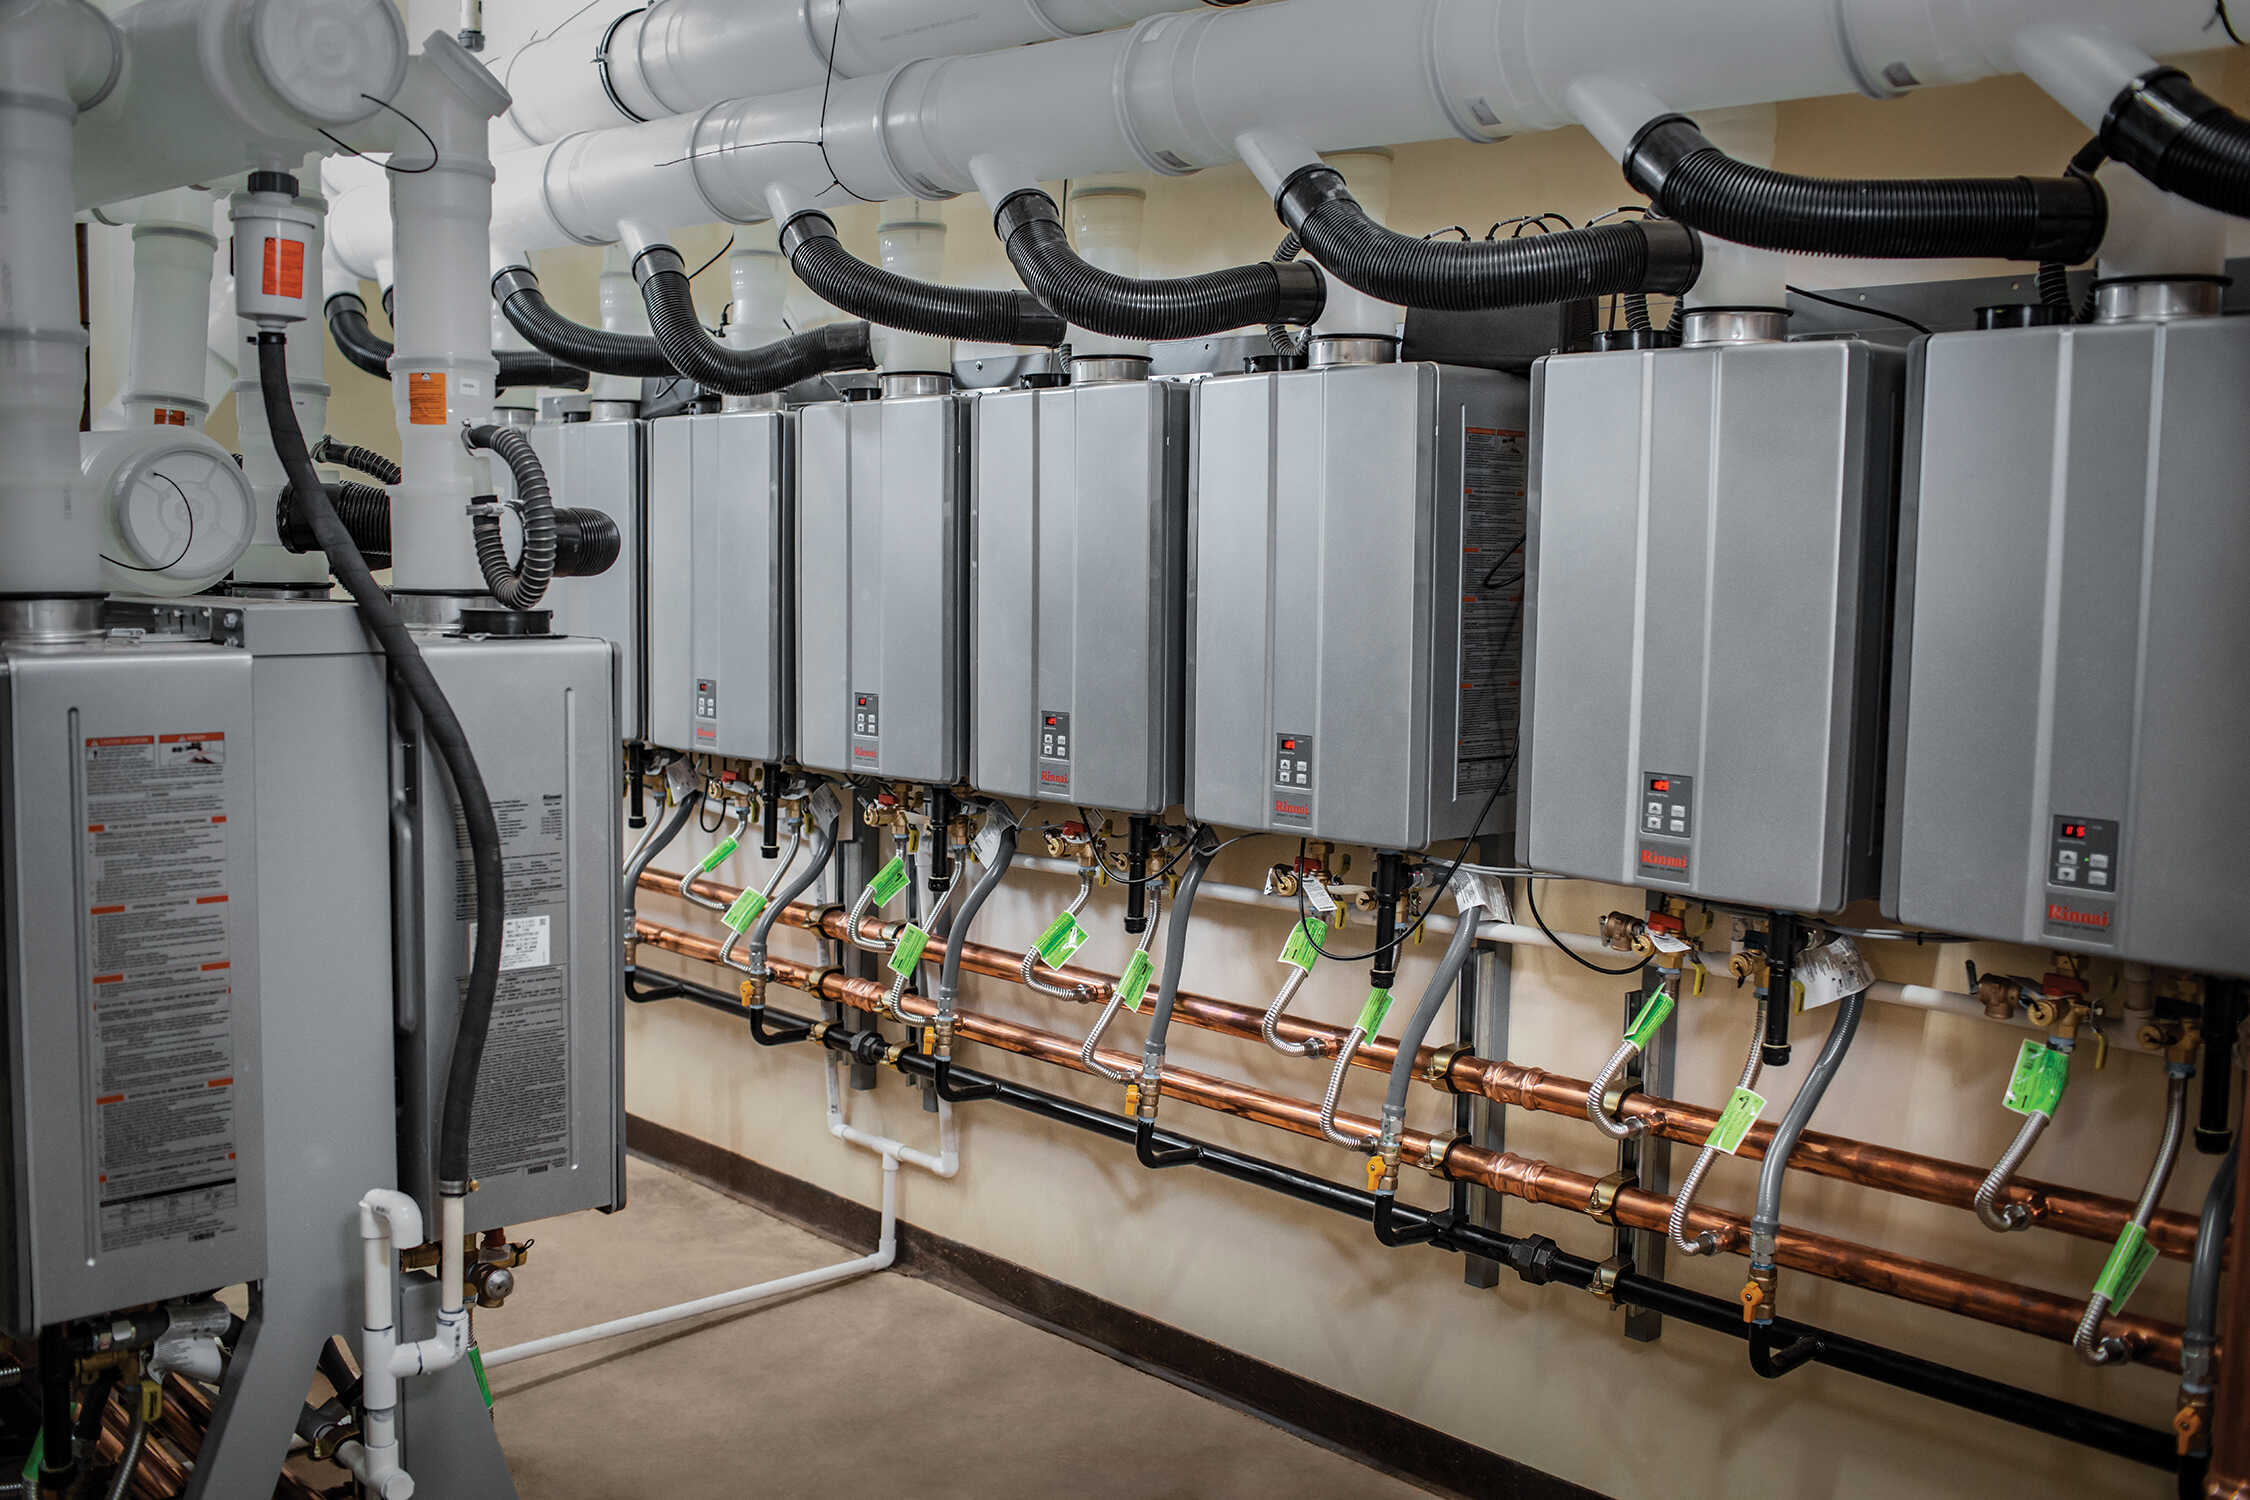
Navien tankless water heaters are known for their energy efficiency. By only heating water when it is needed, these systems eliminate the energy loss associated with storing and reheating water, resulting in significant energy and cost savings. Navien tankless water heaters are also compact and space-saving, making them an excellent choice for homeowners with limited space.
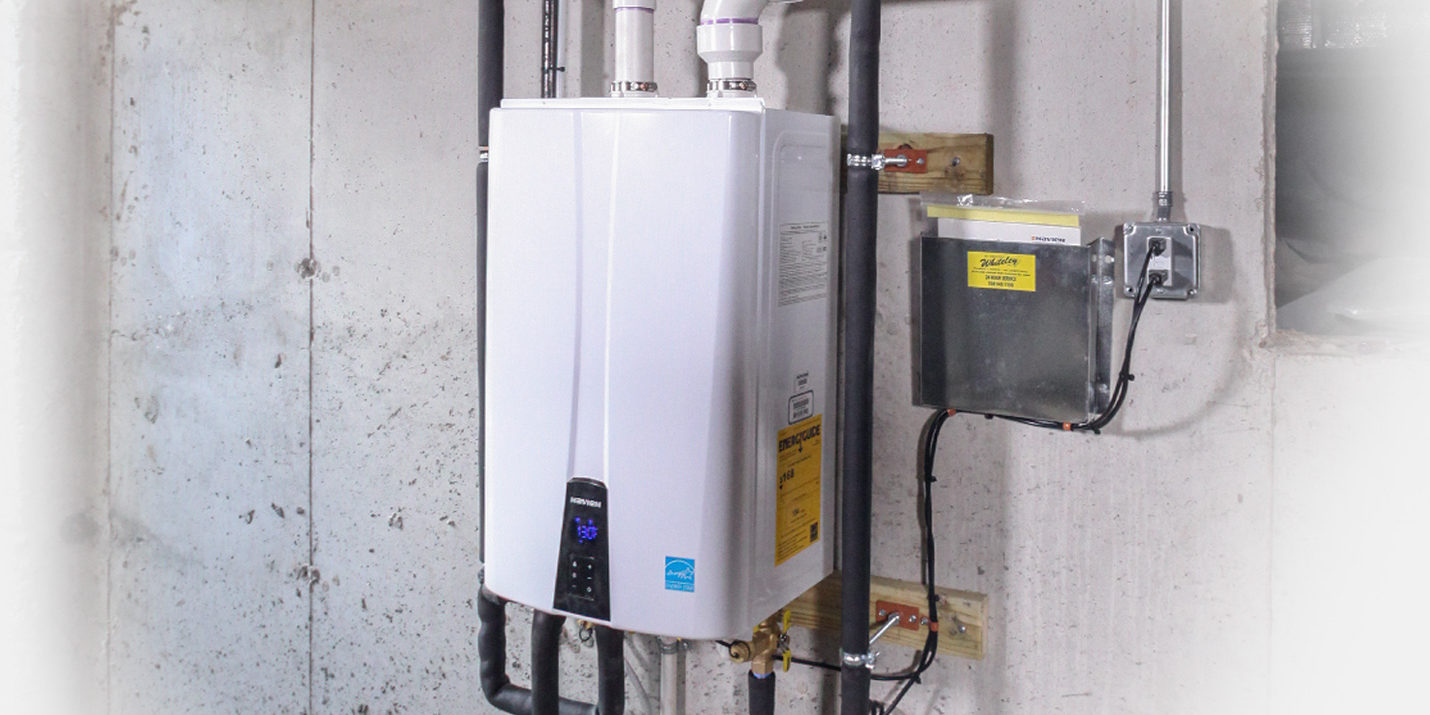
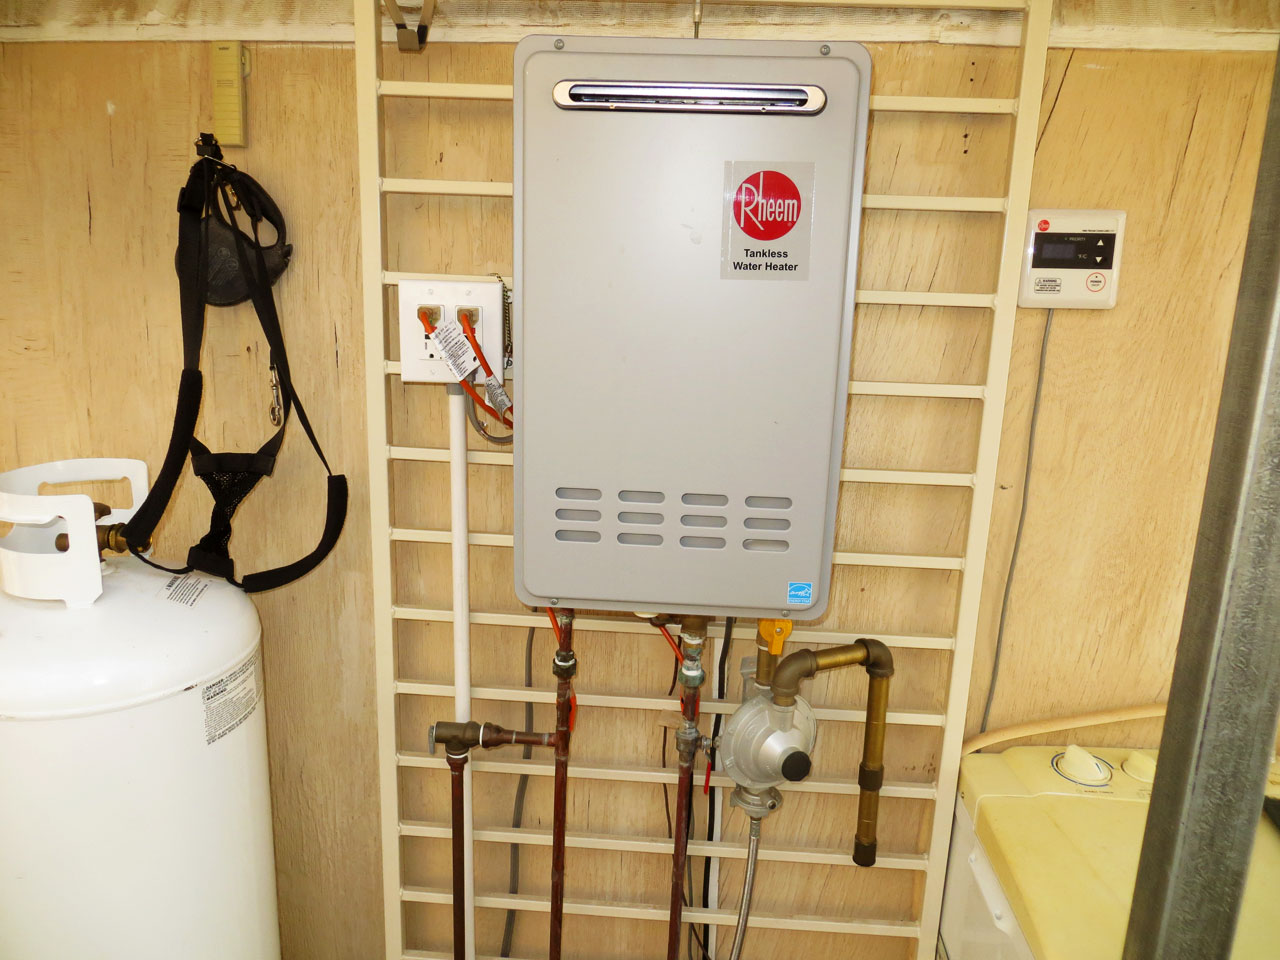
Another reason why Navien tankless water heaters are a popular choice is their advanced technology. These units come equipped with built-in sensors, self-diagnostic capabilities, and advanced controls that allow for precise temperature adjustment and efficient water heating. Navien tankless water heaters are also designed to be compatible with both natural gas and propane, offering flexibility to homeowners.
It is essential to note that while Navien tankless water heaters are durable and reliable, regular maintenance is crucial to ensure their optimal performance. Flushing the system is a key maintenance task that should be performed periodically to prevent mineral buildup and sediment accumulation, which can compromise the efficiency and function of your water heater.
Now that you have a better understanding of Navien tankless water heaters, let’s explore the reasons why flushing your system is so important.
Reasons to Flush Your Navien Tankless Water Heater
Flushing your Navien tankless water heater on a regular basis offers numerous benefits to ensure the longevity and efficiency of your system. Here are the key reasons why flushing is essential:
- Preventing Mineral Buildup: Over time, minerals such as calcium and magnesium can accumulate inside the heat exchanger of your Navien tankless water heater. This mineral buildup, known as scaling, can restrict water flow and decrease the efficiency of your system. Flushing helps remove these mineral deposits, ensuring unobstructed water flow and preventing potential damage.
- Removing Sediment and Debris: Sediment and debris can also find their way into your tankless water heater, especially if your water supply contains impurities. These particles can settle in the unit, leading to clogs, reduced performance, and potential system failure. Flushing your system eliminates sediment and debris, maintaining optimal performance and preventing costly repairs.
- Preserving Energy Efficiency: A clean Navien tankless water heater operates at maximum efficiency, minimizing energy waste and reducing your utility bills. As mineral buildup and sediment accumulate, your system must work harder to heat the water, resulting in decreased energy efficiency. Regular flushing keeps your unit clean and efficient, helping you save energy and money.
- Extending Lifespan: By flushing your Navien tankless water heater, you can significantly extend its lifespan. The buildup of minerals and sediment can cause corrosion and damage to the internal components over time. Flushing removes these harmful substances, preventing premature wear and tear and ensuring the long-term durability of your system.
- Maintaining Water Quality: Flushing your system helps maintain the quality of your hot water. If minerals and sediment are allowed to accumulate, they can affect the taste, odor, and appearance of your water. Regular flushing ensures that your water remains clean, clear, and free of any unpleasant characteristics.
Now that you understand the importance of flushing your Navien tankless water heater, let’s move on to the next section where we will discuss the tools and materials you will need for the flushing process.
Tools and Materials Needed
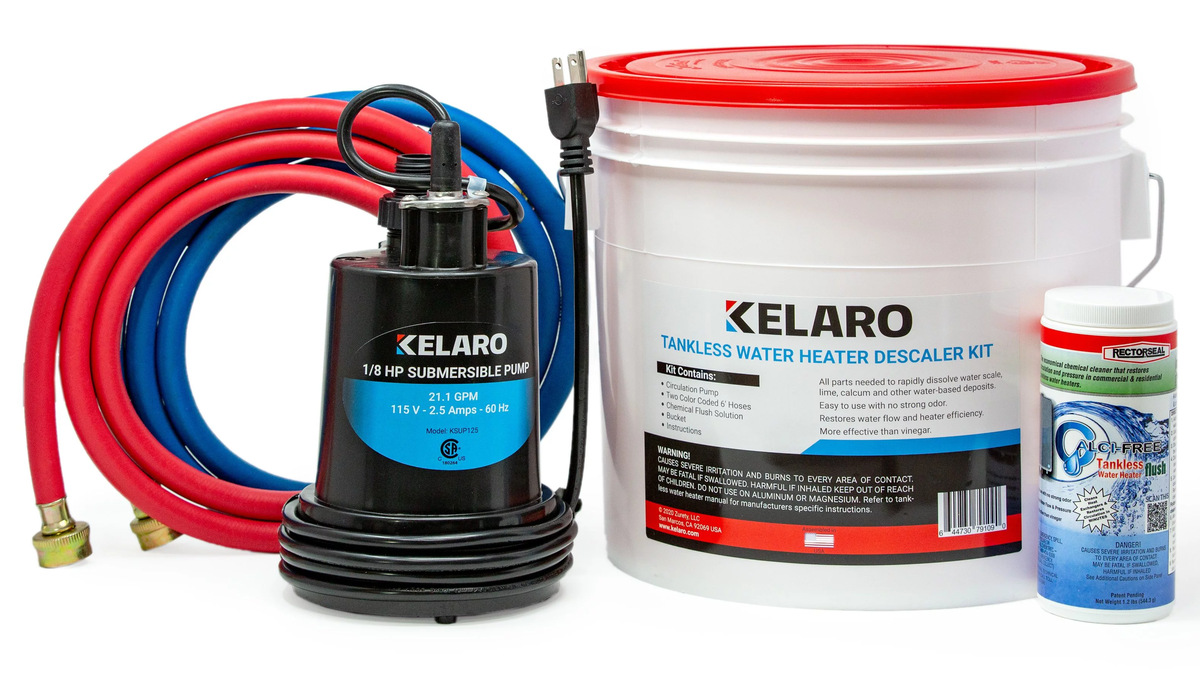
Before you begin flushing your Navien tankless water heater, it is important to gather the necessary tools and materials. Here’s a list of what you will need:
- Bucket or Drain Pan: You will need a bucket or drain pan to collect the water and debris that will be flushed from the system.
- Garden Hose: You will need a garden hose long enough to reach a drain or suitable location where you can safely dispose of the water.
- Wrenches: Depending on your specific Navien model, you may need wrenches to disconnect and reconnect the water and gas supply lines.
- Descaling Solution: To remove mineral buildup from the heat exchanger, you will need a suitable descaling solution. Check your Navien owner’s manual or consult with a professional to determine the appropriate descaling product.
- Soft Brush or Cloth: A soft brush or cloth will be useful for cleaning any debris or residue that may be present around the heat exchanger or other components.
- Teflon Tape: Teflon tape is used to create a watertight seal when reconnecting the water supply lines. Make sure to have some on hand for the reassembly process.
It is essential to have all the necessary tools and materials ready before you begin the flushing process. This will ensure a smooth and efficient operation, allowing you to properly maintain your Navien tankless water heater.
Next, we will guide you through the step-by-step process of flushing your Navien tankless water heater. Follow along carefully to ensure a successful maintenance task.
Step 1: Turn Off the Water Heater
Before you start the flushing process, it is crucial to turn off the power supply to your Navien tankless water heater. This will ensure your safety and prevent any accidents or damage to the system. Follow these steps to turn off the water heater:
- Locate the power outlet or circuit breaker that supplies electricity to your Navien tankless water heater.
- If your unit is plugged into a power outlet, simply unplug it.
- If your unit is connected to a circuit breaker, find the breaker switch that controls the water heater and turn it off.
- Verify that the power is indeed turned off by attempting to turn on hot water from a faucet. There should be no warm or hot water flowing.
Turning off the power supply to your Navien tankless water heater is an important safety precaution. It ensures that there is no electricity running through the unit while you perform the flushing process. With the water heater safely powered off, you can proceed to gather the necessary tools and materials for the next steps.
In the next section, we will discuss the tools and materials you will need for the flushing process.
Read more: How To Reset A Navien Tankless Water Heater
Step 2: Gather the Necessary Tools and Materials
Now that you have turned off the power supply to your Navien tankless water heater, it’s time to gather the tools and materials you will need to carry out the flushing process. Here is a list of what you will need:
- Bucket or Drain Pan: Having a bucket or drain pan is essential for collecting the water that will be flushed from the system. Make sure it is large enough to hold a sufficient amount of water.
- Garden Hose: You will need a garden hose to connect to the water heater and facilitate the flushing process. Ensure that the garden hose is long enough to reach a suitable drainage area outside.
- Wrenches: Depending on your specific Navien model, you may need wrenches to loosen and secure connections. Check your owner’s manual to determine the appropriate size of wrenches needed.
- Descaling Solution: A descaling solution is necessary to remove any mineral buildup inside the tankless water heater. Refer to your owner’s manual or consult with a professional to find the right descaling solution for your specific model.
- Soft Brush or Cloth: A soft brush or cloth can come in handy for cleaning any residue or debris around the heat exchanger or other components. Ensure that the brush or cloth is non-abrasive to avoid damaging the surfaces.
- Teflon Tape: You will need Teflon tape to create a watertight seal when reassembling the water heater. Make sure you have enough Teflon tape for the connections.
Having all the necessary tools and materials ready before starting the flushing process will make the task more efficient and ensure a successful outcome. Take a moment to gather everything you need, and then move on to the next step.
In the following section, we will discuss how to disconnect the water and gas supply lines for the flushing process.
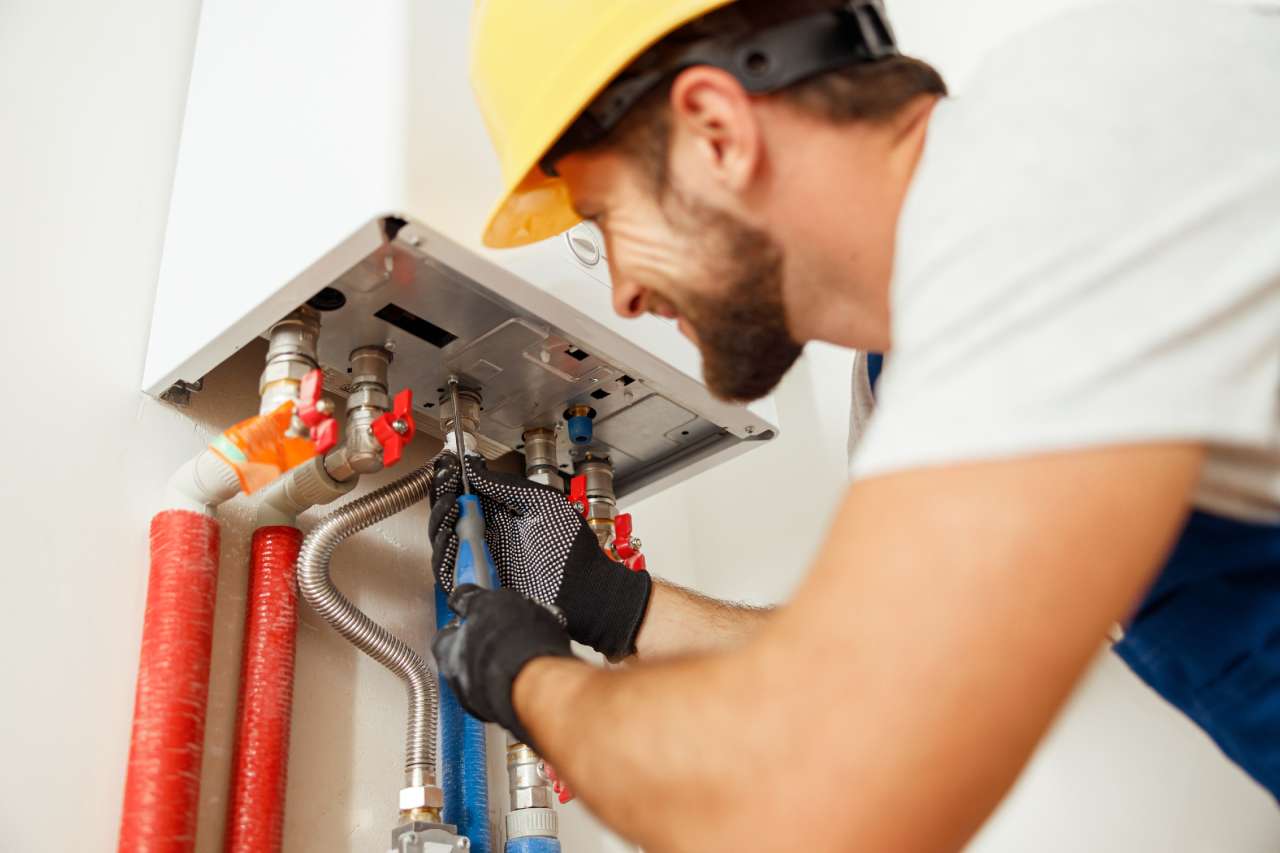
Step 3: Disconnect Water and Gas Supply
Now that you have gathered the necessary tools and materials, it’s time to disconnect the water and gas supply lines from your Navien tankless water heater. Follow these steps:
- Locate the water inlet and outlet valves on the water heater. These valves control the flow of water into and out of the unit.
- Using the appropriate wrench, carefully loosen the nuts or connectors on both the water inlet and outlet valves. Be cautious not to apply too much force to avoid damaging the connections.
- Once the nuts or connectors are loosened, gently pull the water supply lines away from the water heater.
- Next, locate the gas supply valve on the water heater. This valve controls the flow of gas to the unit.
- Using a wrench, carefully turn off the gas supply by turning the valve in a clockwise direction. Ensure that the valve is completely closed to prevent any gas leakage.
- Once the gas supply is turned off, disconnect the gas supply line from the water heater. Again, use the appropriate wrench to loosen the nuts or connectors and gently pull the gas supply line away from the unit.
By disconnecting the water and gas supply lines, you are ensuring that there is no flow of water or gas into the Navien tankless water heater during the flushing process. This step is crucial for your safety and to prevent any damage to the unit.
In the next section, we will discuss how to drain the water heater to prepare it for flushing.
Regularly flushing your Navien tankless water heater can help remove mineral buildup and maintain its efficiency. Follow the manufacturer’s instructions for flushing, and consider using a descaling solution for stubborn deposits.
Step 4: Drain the Water Heater
Now that you have disconnected the water and gas supply lines, it’s time to drain the water from your Navien tankless water heater. Follow these steps:
- Locate the drain valve at the bottom of the water heater. This valve allows you to empty the water from the unit.
- Place a bucket or drain pan underneath the drain valve to catch the water that will be released.
- Using a wrench, carefully open the drain valve by turning it counterclockwise. As you turn the valve, water will begin to flow out of the unit and into the bucket or drain pan.
- Allow the water to drain completely from the water heater. Depending on the amount of water inside the system, this may take several minutes.
- Once all the water has been drained, close the drain valve by turning it clockwise. Ensure that the valve is tightly closed to prevent any leaks.
Draining the water heater is an essential step in preparing it for the flushing process. By removing all the water from the system, you are creating a clean slate for the next steps of descaling and cleaning. Remember to use caution during this step as the released water may be hot.
In the following section, we will discuss how to descale the heat exchanger of your Navien tankless water heater.
Step 5: Descale the Heat Exchanger
With the water heater drained, it’s time to descale the heat exchanger of your Navien tankless water heater. Follow these steps:
- Dilute the descaling solution as per the manufacturer’s instructions. Different descaling solutions may have different recommended dilution ratios, so be sure to follow the instructions carefully.
- Using a funnel, pour the diluted descaling solution into the water inlet of the water heater. Ensure that the descaling solution fills the heat exchanger completely.
- Allow the descaling solution to sit in the heat exchanger for the specified amount of time mentioned in the manufacturer’s instructions. This will typically be around 30 minutes to an hour, but it may vary depending on the specific descaling product.
- While the descaling solution is sitting in the heat exchanger, you can use a soft brush or cloth to clean the exterior of the unit, removing any dirt or debris that may have accumulated.
- After the specified amount of time has elapsed, open the water inlet valve to allow fresh water to flow into the heat exchanger. This will help flush out the descaling solution and remove any loosened mineral deposits.
- Allow the fresh water to flow through the heat exchanger for a few minutes, ensuring that all traces of the descaling solution are rinsed out.
It is important to follow the manufacturer’s instructions for the descaling solution and the specific steps for descaling your Navien tankless water heater. Taking the time to properly descale the heat exchanger will help remove any mineral buildup, ensuring the efficient operation and longevity of your system.
In the next section, we will discuss how to reassemble the water heater after descaling.
Step 6: Reassemble the Water Heater
After descaling the heat exchanger, it’s time to reassemble your Navien tankless water heater. Follow these steps:
- Carefully reconnect the water inlet and outlet lines to the appropriate valves on the water heater. Use the wrenches to tighten the nuts or connectors securely but avoid over-tightening.
- Make sure to apply Teflon tape to the threaded ends of the water supply line connections to create a watertight seal. Wrap the tape tightly around the threads in a clockwise direction.
- Reconnect the gas supply line to the gas valve on the water heater. Again, use the wrenches to tighten the nuts or connectors securely.
- Inspect all the connections to ensure they are properly tightened and there are no leaks.
It is crucial to ensure that all the connections are secure and tightly sealed to prevent any water or gas leaks. Take your time during this step and ensure that everything is properly reassembled.
Now that you have reassembled the water heater, it’s time to move on to the next step of restoring the water and gas supply.
Step 7: Restore Water and Gas Supply
With the water heater reassembled, it’s time to restore the water and gas supply to your Navien tankless water heater. Follow these steps:
- Ensure that all the water supply valves are closed.
- Turn on the main water supply valve to allow water to flow into the water heater.
- Check for any leaks at the water inlet and outlet connections. If you notice any leaks, tighten the connections further using the wrenches.
- Turn on the gas supply valve and check for any gas leaks. Use a gas leak detector or a mixture of soapy water to check for any bubbling or hissing sounds around the gas connection. If you detect a gas leak, immediately turn off the gas supply and consult a professional.
Restoring the water and gas supply to your Navien tankless water heater will ensure that it can function properly and provide hot water when needed. It is important to check for any leaks before proceeding to the next step.
In the final step, we will guide you on how to turn on the water heater and confirm that it is operating correctly.
Step 8: Turn On the Water Heater
After completing the previous steps, it’s time to turn on your Navien tankless water heater and verify that it is operating correctly. Follow these steps:
- Ensure that all faucets and hot water outlets in your home are closed.
- Restore the power supply to the water heater by plugging it back into the power outlet or flipping the circuit breaker switch.
- Wait for the water heater to initiate the startup sequence. This may take a few moments as the system goes through its self-diagnostic process.
- Once the water heater is fully operational, open a hot water faucet in your home to check if hot water is flowing consistently and without interruptions.
- Monitor the water heater for any unusual noises, leaks, or error codes. Refer to your owner’s manual or contact a professional if you encounter any issues or concerns.
By following these steps, you can ensure that your Navien tankless water heater is functioning properly after the flushing and maintenance process. If you experience any problems or notice any issues, it is important to address them promptly to avoid further complications.
Congratulations! You have successfully flushed and maintained your Navien tankless water heater. By performing this regular maintenance task, you can help prolong the lifespan of your system, maintain its efficiency, and enjoy a continuous supply of hot water whenever you need it.
Remember to consult your owner’s manual and follow the manufacturer’s instructions specific to your Navien model for the most accurate and detailed information. Regular maintenance, including flushing, is essential for keeping your tankless water heater in optimal condition.
If you have any questions or are unsure about any steps during the flushing process, it is always recommended to seek the assistance of a professional or contact Navien’s customer support for guidance.
Thank you for taking the time to maintain your Navien tankless water heater. Enjoy the benefits of efficient and reliable hot water for years to come!
Conclusion
Regular maintenance, including the flushing of your Navien tankless water heater, is essential for ensuring optimal performance, efficiency, and durability. By following the step-by-step process outlined in this guide, you can successfully flush your water heater and remove mineral buildup, sediment, and debris that can compromise its function.
Flushing your Navien tankless water heater offers several benefits. It helps prevent mineral buildup, remove sediment and debris, preserve energy efficiency, extend the lifespan of the unit, and maintain the quality of your hot water. By investing time and effort into this maintenance task, you can enjoy a continuous supply of hot water while saving on energy costs.
Remember to gather the necessary tools and materials before starting the flushing process. Ensure that you have a bucket or drain pan, a garden hose, wrenches, descaling solution, a soft brush or cloth, and Teflon tape. These items will facilitate the process and help you complete the task efficiently.
Throughout each step of the flushing process, prioritize safety and caution. Turn off the power supply and gas supply, drain the water heater, descale the heat exchanger, and reassemble the unit meticulously. Carefully inspect all connections to ensure they are secure and free from leaks. Finally, restore the water and gas supply and turn on the water heater to verify proper operation.
We hope this guide has provided you with valuable insights and guidance on how to flush your Navien tankless water heater effectively. Remember to refer to your owner’s manual or consult a professional for model-specific instructions or if you encounter any difficulties or concerns.
Regular maintenance, such as flushing, will help keep your Navien tankless water heater running smoothly, efficiently, and reliably for years to come. Take pride in being proactive in the care and maintenance of your water heating system, and enjoy uninterrupted access to hot water whenever you need it.
Thank you for taking the time to properly maintain your Navien tankless water heater, and we wish you continued satisfaction with your hot water supply.
Now that you've learned how to maintain your Navien tankless water heater, why stop there? Keeping your appliance in tip-top shape is just the start. If you're considering upgrading or just curious about the latest models, our detailed guide on the best tankless water heaters available next year will surely catch your interest. Packed with insights on top models that promise efficiency and durability, it's a must-read for any savvy homeowner. Don't miss out on finding your perfect hot water solution!
Frequently Asked Questions about How To Flush Navien Tankless Water Heater
Was this page helpful?
At Storables.com, we guarantee accurate and reliable information. Our content, validated by Expert Board Contributors, is crafted following stringent Editorial Policies. We're committed to providing you with well-researched, expert-backed insights for all your informational needs.
0 thoughts on “How To Flush Navien Tankless Water Heater”