
Articles
How To Install Electric Tankless Water Heater
Modified: May 6, 2024
Learn how to install an electric tankless water heater with our comprehensive articles. Get step-by-step instructions and expert tips for a hassle-free installation process!
(Many of the links in this article redirect to a specific reviewed product. Your purchase of these products through affiliate links helps to generate commission for Storables.com, at no extra cost. Learn more)
Introduction
Welcome to the comprehensive guide on how to install an electric tankless water heater. Are you tired of running out of hot water during your showers or dealing with the inconvenience of waiting for the water to heat up? A tankless water heater might be the perfect solution for you.
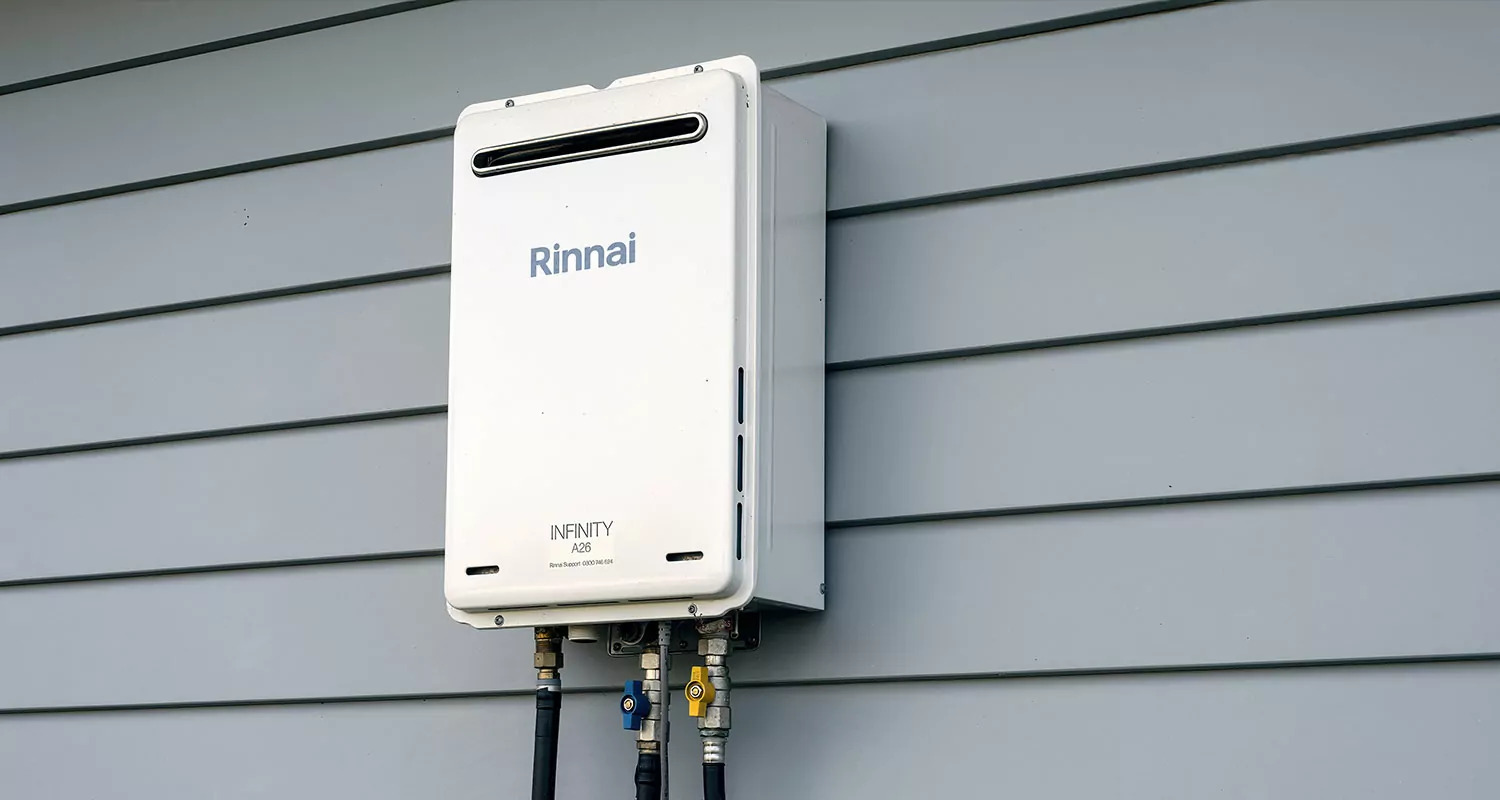
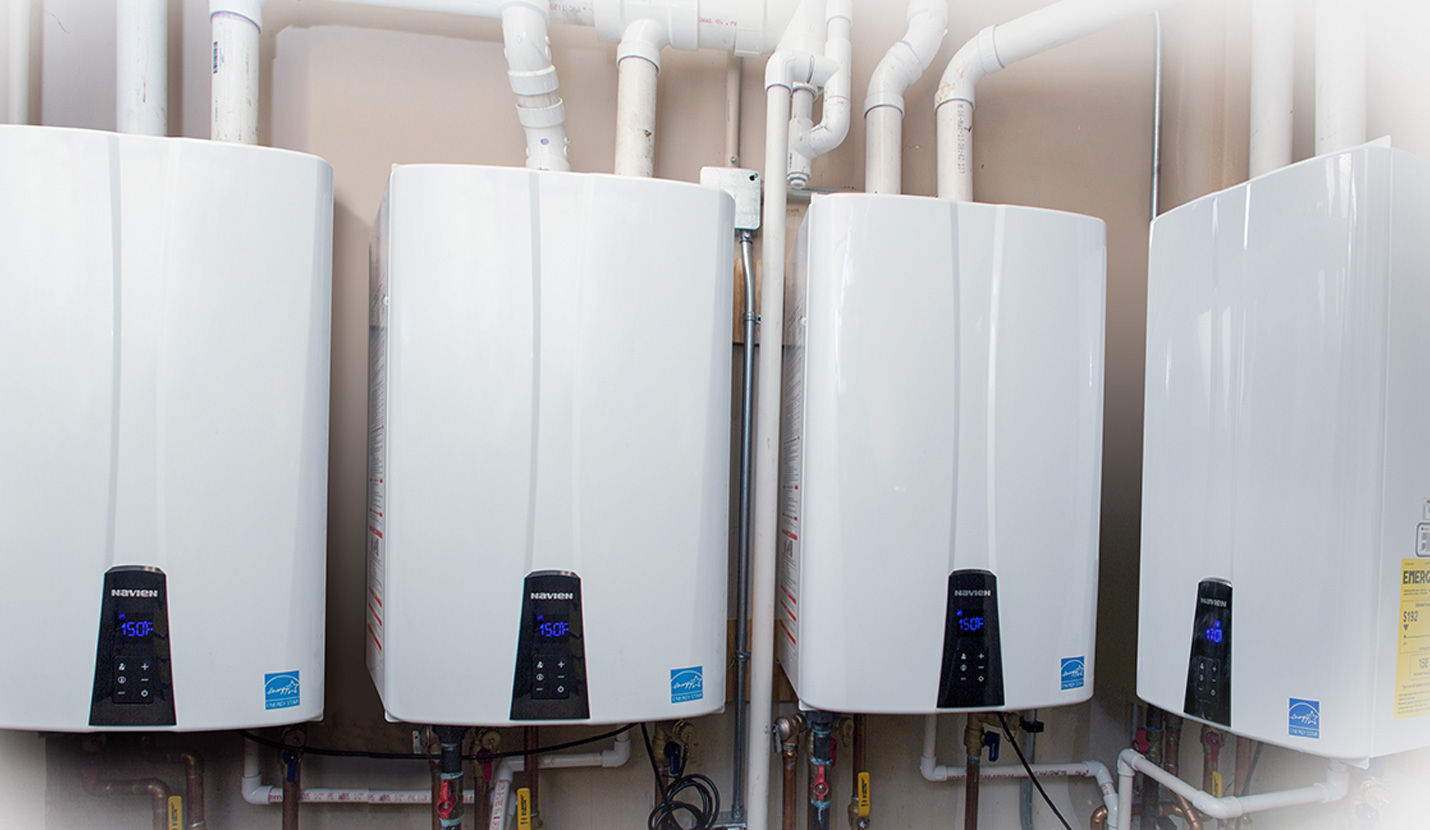
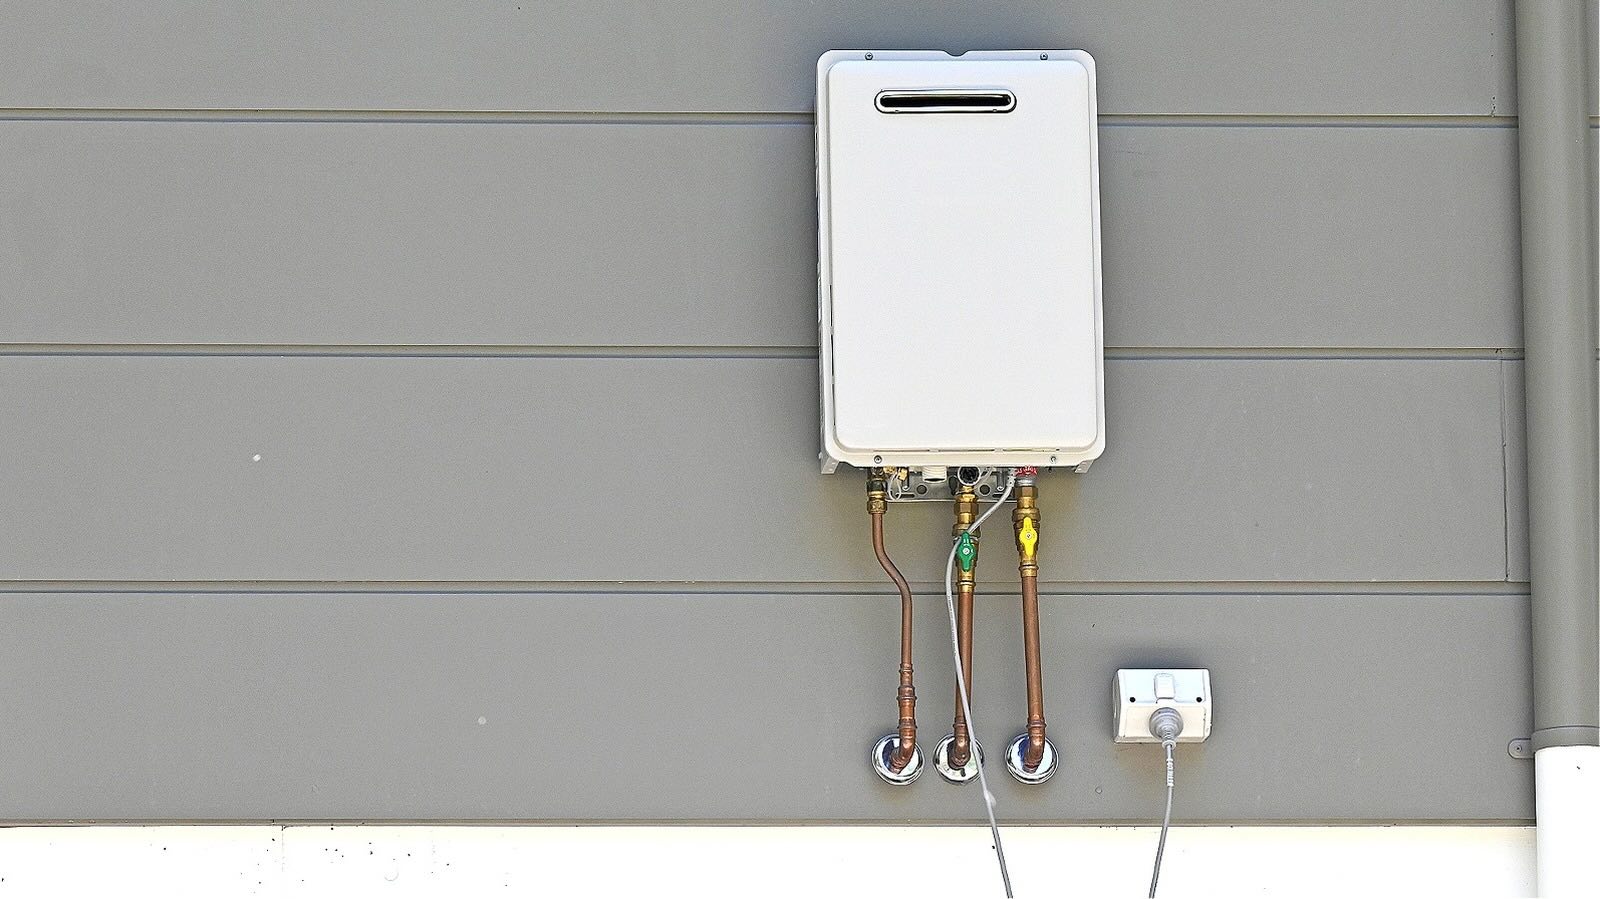
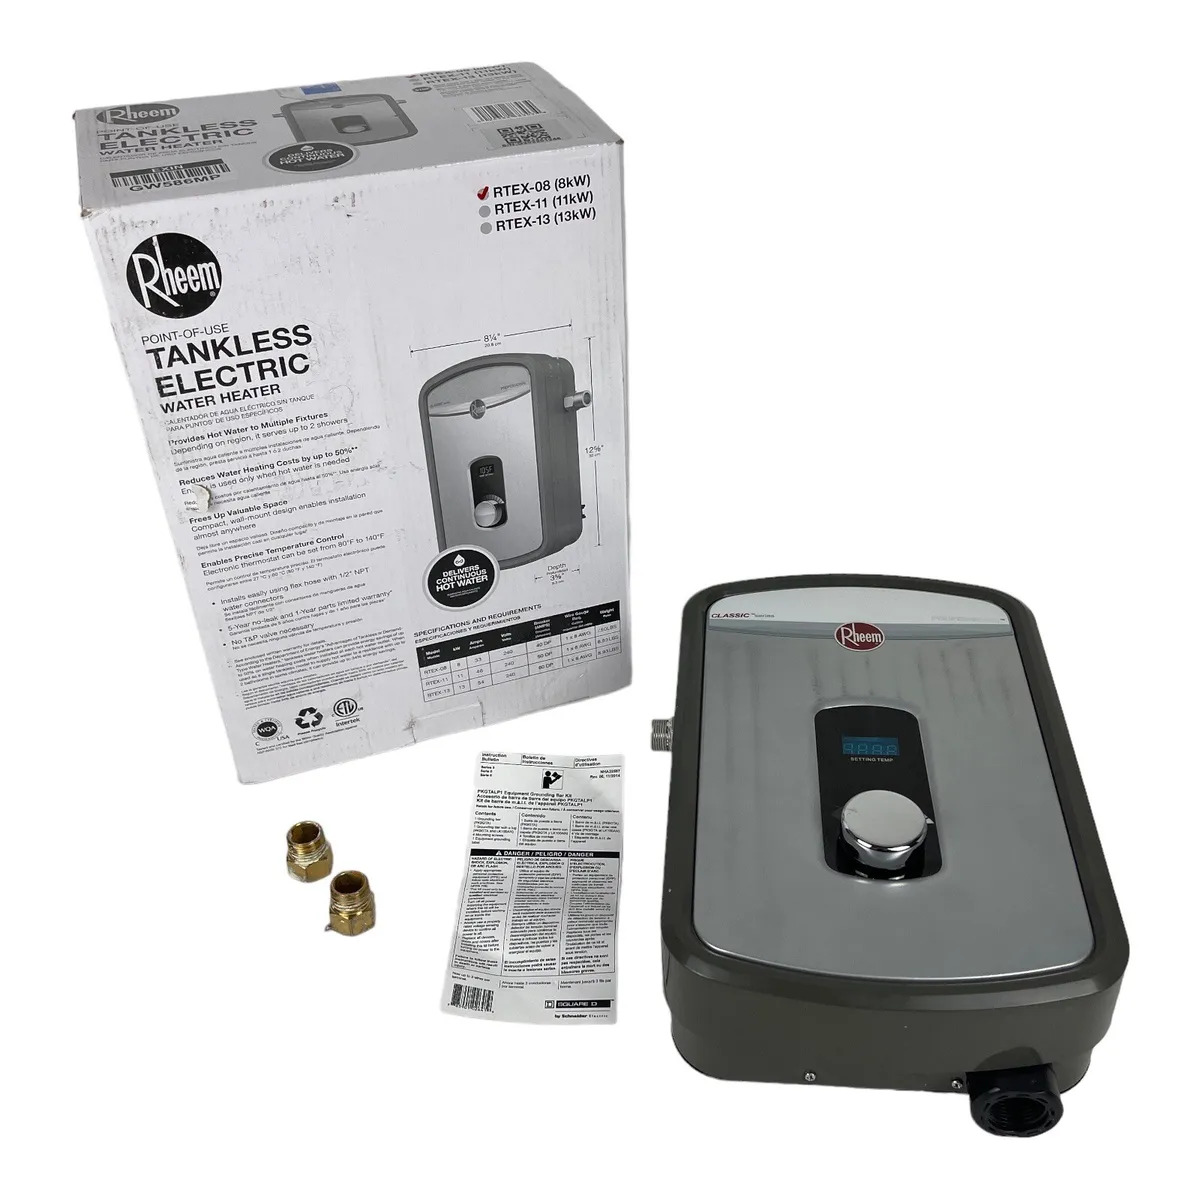
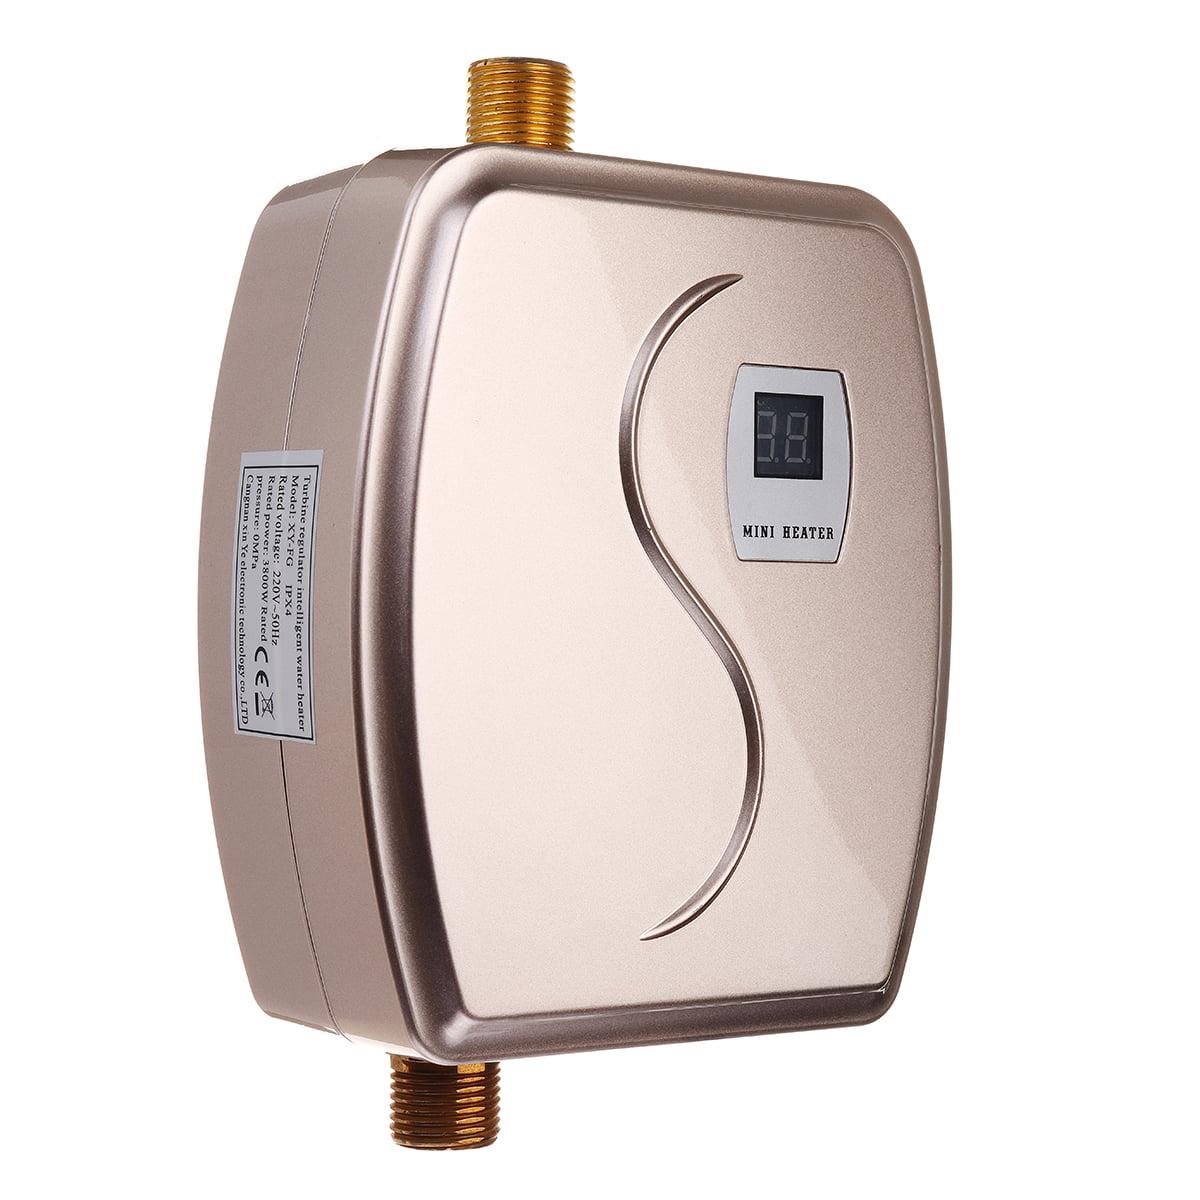
Tankless water heaters, also known as on-demand water heaters, provide hot water instantly without the need for a storage tank. They are energy-efficient, space-saving, and can provide a continuous supply of hot water for your household needs. Installing an electric tankless water heater can be a great way to upgrade your home and improve your daily routine.
Although the installation process may seem daunting at first, with the right tools and some basic knowledge, you can easily install an electric tankless water heater yourself. In this article, we will guide you through the step-by-step process to ensure a successful installation.
Before we get started, it’s important to note that while the installation of an electric tankless water heater can be done by most DIY enthusiasts, if you are not comfortable working with electrical or plumbing systems, it’s best to consult a professional for assistance.
Now, let’s dive into the installation process and get you on your way to enjoying endless hot water.
Key Takeaways:
- DIY enthusiasts can easily install an electric tankless water heater with the right tools and guidance, but safety is paramount. Enjoy endless hot water and energy efficiency while following local building codes.
- Regular maintenance and troubleshooting tips ensure optimal performance of your tankless water heater. Enjoy convenience, comfort, and efficiency while prioritizing safety and proper care.
Read more: How Much To Install A Tankless Water Heater
Step 1: Gather the necessary tools and materials
Before you begin the installation process, it’s important to gather all the necessary tools and materials. Having everything prepared in advance will make the installation smoother and more efficient. Here are the tools and materials you will need:
- Electric tankless water heater
- Screwdriver
- Adjustable wrench
- Pipe cutter or hacksaw
- Teflon tape
- Electrical connectors
- Wire strippers
- Measuring tape
- Safety goggles
- Gloves
Make sure to read the manufacturer’s instructions and specifications for the specific model of tankless water heater you have purchased. This will provide important details on any additional tools or materials that may be required for your specific installation.
It’s also crucial to ensure that you have the required electrical capacity for your new electric tankless water heater. Check the specifications to determine the voltage, amperage, and breaker size required. If needed, consult an electrician to make any necessary upgrades to your electrical system.
Additionally, consider the location of the installation. Ensure there is enough space around the water heater for proper ventilation and maintenance. It’s also helpful to have access to a nearby electrical outlet or circuit breaker panel for appropriate electrical connections.
Once you have gathered all the necessary tools and materials, you’re ready to move on to the next step: turning off the power supply.
Step 2: Turn off the power supply
Before you start working on the installation of your electric tankless water heater, it’s important to ensure your safety by turning off the power supply. This step is crucial to avoid any electrical hazards during the installation process. Here’s how to turn off the power supply:
- Locate the circuit breaker panel in your home.
- Identify the circuit breaker that controls the power to your water heater. It is usually labeled accordingly.
- Switch the circuit breaker to the “Off” position to cut off the power supply to the water heater.
- For added safety, use a non-contact voltage tester to verify that there is no electricity flowing to the water heater.
Once you have successfully turned off the power supply and confirmed that there is no electricity, you can proceed with the installation process without any risk of electrical accidents.
It’s important to note that if you’re not confident in working with electrical systems, it’s best to contact a qualified electrician to handle this step for you. Electrical work should always be done by a professional to ensure safety and compliance with local codes.
Now that the power supply is turned off, you can move on to the next step: disconnecting the old water heater (if applicable).
Step 3: Disconnect the old water heater (if applicable)
If you are replacing an existing water heater, it’s important to disconnect and remove it before installing the new electric tankless water heater. Here’s how to safely disconnect the old water heater:
- Shut off the water supply to the old water heater. You can usually find a shut-off valve near the water heater or at the main water supply line.
- Turn off the gas supply or completely disconnect the power supply to the old water heater, depending on the type of water heater you have.
- Allow the water heater to cool down before proceeding with the disconnection.
- Using a wrench or pliers, disconnect the hot and cold water supply lines from the water heater. Place a bucket or a towel underneath to catch any residual water.
- Disconnect the gas line or electrical connections from the water heater, if applicable.
- Carefully remove the old water heater from its location. It might be heavy, so it’s recommended to have someone assist you with this step.
If you’re not replacing an existing water heater and installing the electric tankless water heater in a new location, you can skip this step and proceed to the next step.
Once the old water heater is disconnected and removed, you’re ready to move on to the next step: choosing a suitable location for the new tankless water heater.
Step 4: Choose a suitable location for the new tankless water heater
Choosing the right location for your new tankless water heater is essential for optimal installation and efficient operation. Here are a few factors to consider when selecting the location:
- Accessibility: Ensure that the chosen location allows easy access to the water heater for maintenance and repairs in the future. Adequate space around the unit is necessary for proper ventilation.
- Proximity to the main water supply line: Position the water heater in close proximity to the main water supply line to minimize plumbing work and increase efficiency.
- Placement on a sturdy wall: Mount the tankless water heater on a sturdy wall capable of supporting the weight of the unit. The wall should be able to withstand the heat emitted during operation.
- Avoidance of exposure to freezing temperatures: If you live in an area with freezing temperatures, avoid installing the water heater in an unheated space or where it may be exposed to freezing conditions. Extreme cold can damage the unit.
- Enough clearance space: Ensure there is sufficient clearance space around the water heater for proper ventilation. Manufacturers typically provide specifications for the required clearance.
It’s also important to account for the electrical connection and the availability of an electrical outlet or access to the circuit breaker panel for the necessary wiring.
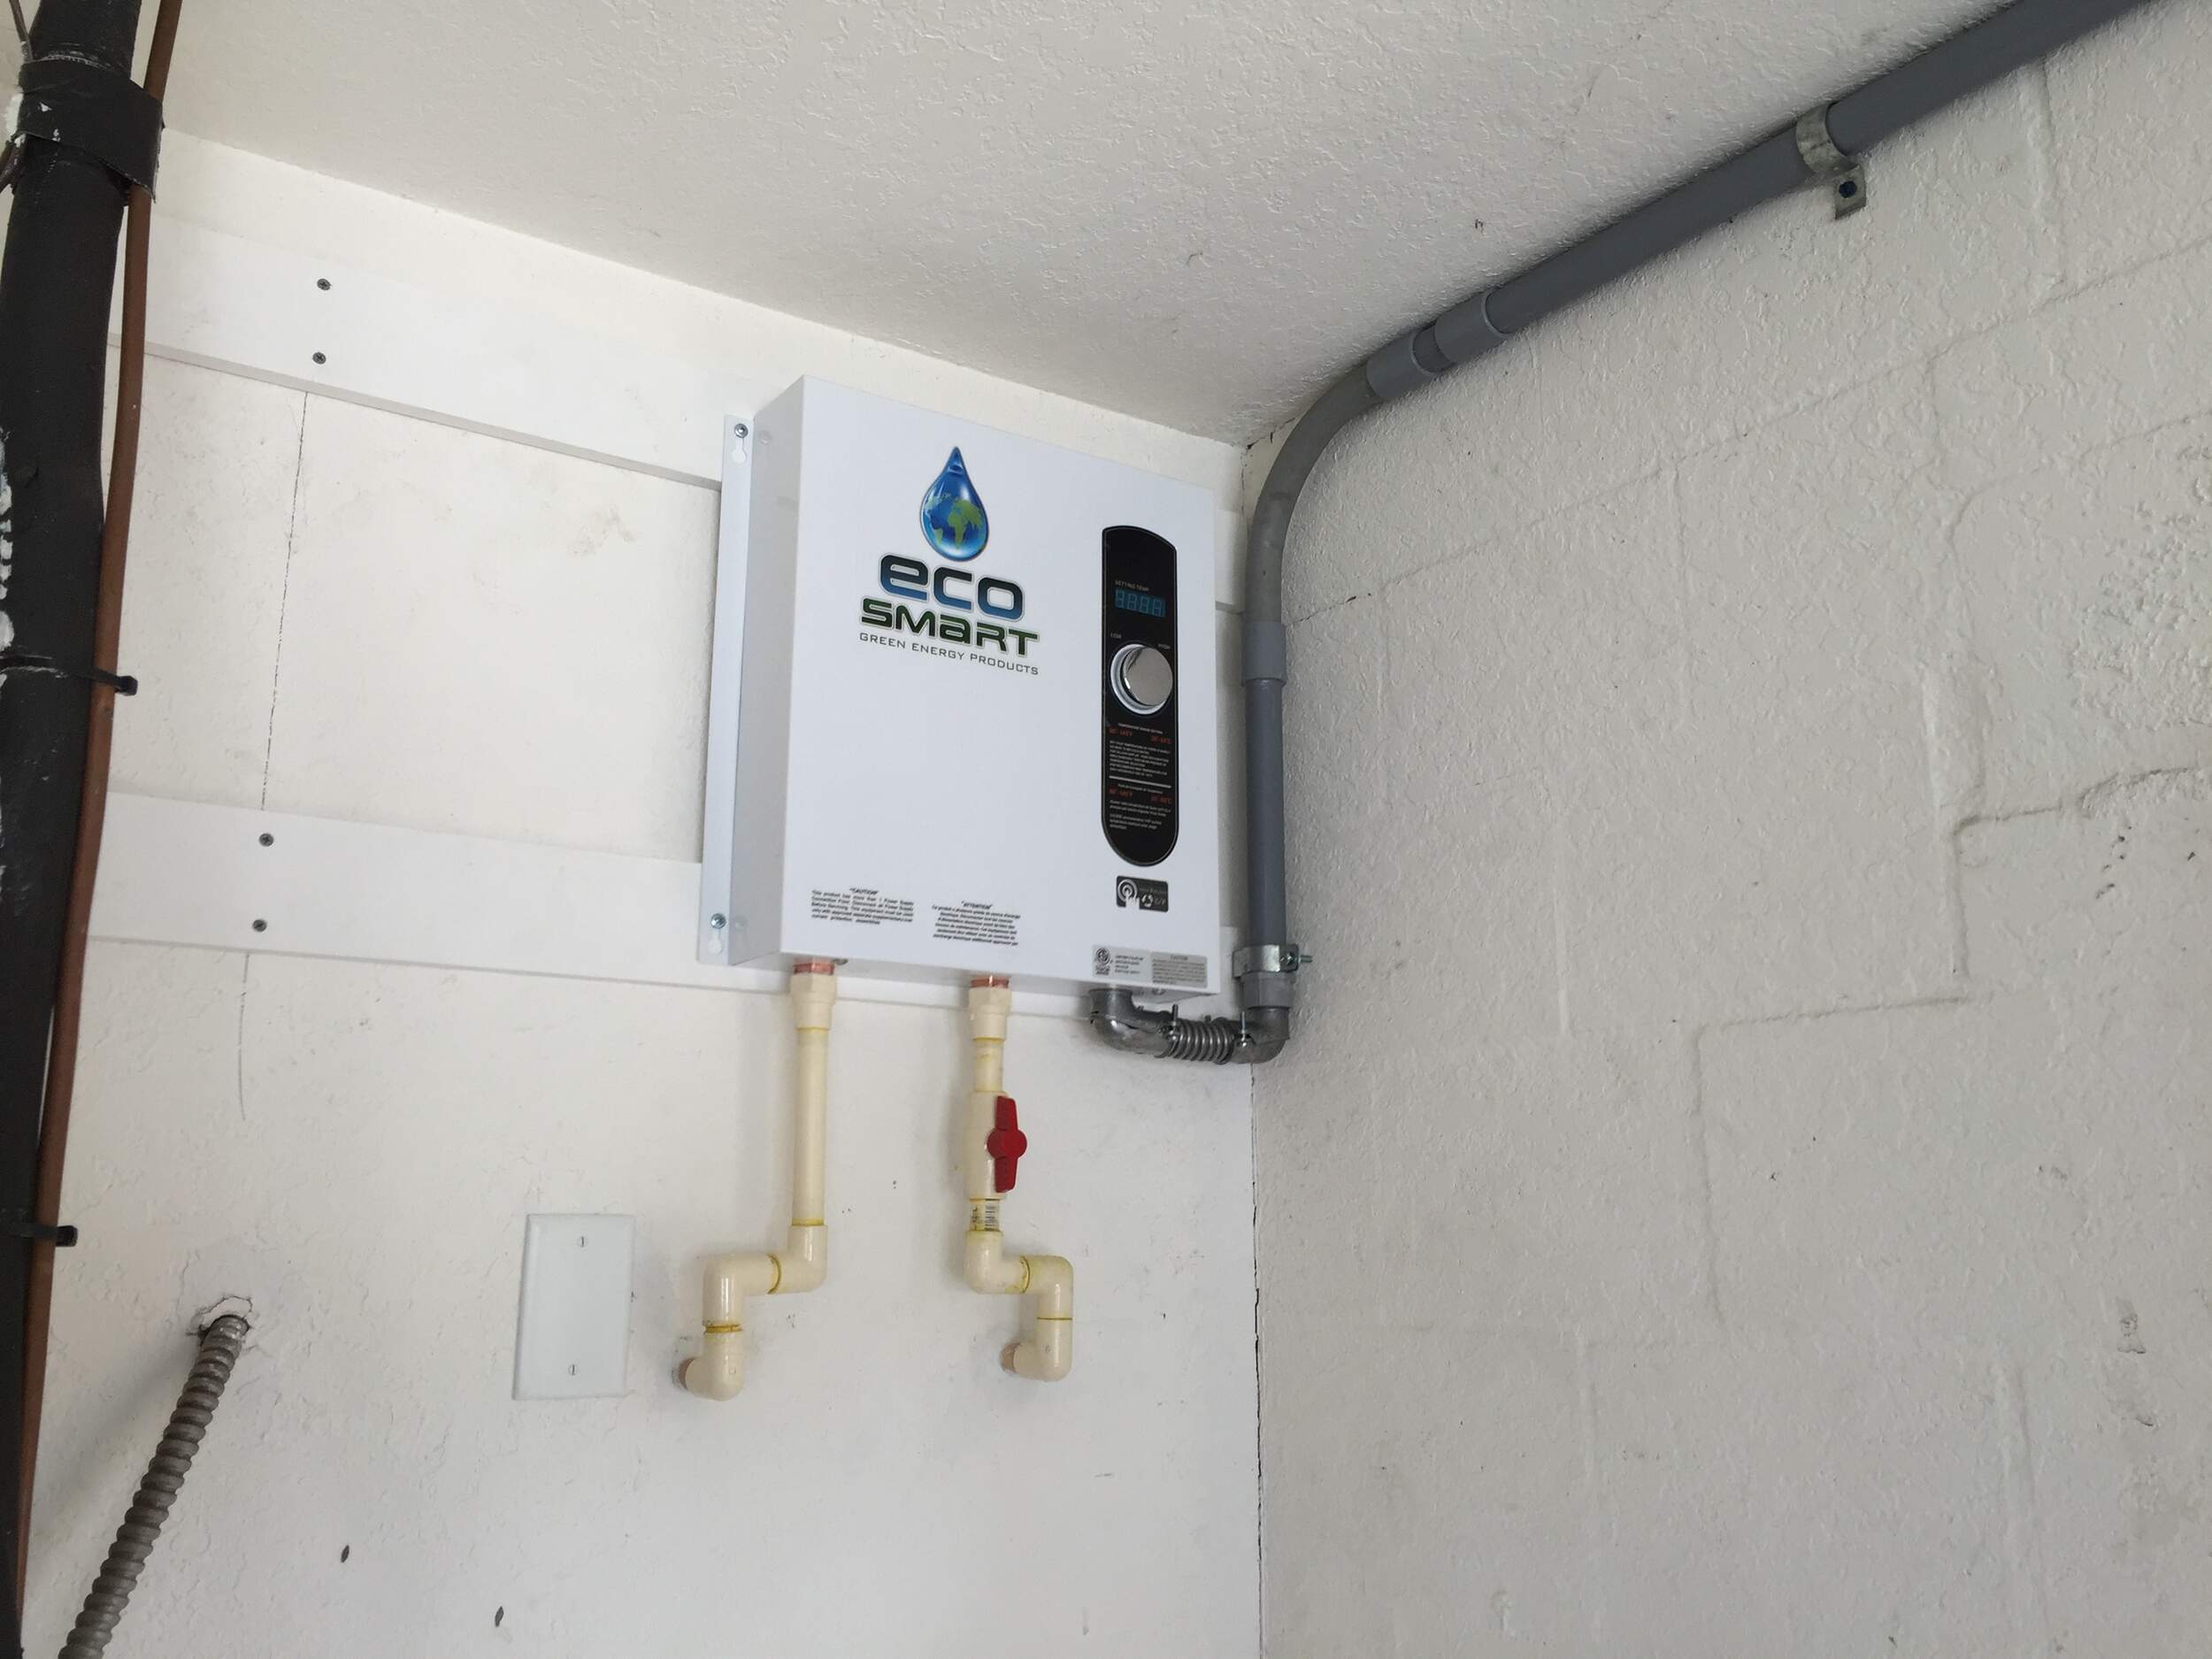
Once you have chosen a suitable location for the tankless water heater, mark the mounting points on the wall. Ensure the unit is level when mounting it to ensure proper functioning.
With the location chosen and marked, you’re ready to proceed to the next step: mounting the tankless water heater.
Read more: How To Install A Rheem Tankless Water Heater
Step 5: Mount the tankless water heater
Now that you have selected a suitable location for your new tankless water heater, it’s time to mount it securely on the wall. Follow these steps to ensure a proper installation:
- Refer to the manufacturer’s instructions for specific mounting guidelines and requirements for your tankless water heater model.
- Using the marked mounting points on the wall, securely attach the mounting bracket or brackets using appropriate screws and anchors. Make sure the bracket is level and securely fastened to provide adequate support for the water heater.
- If the tankless water heater is equipped with adjustable legs, adjust them to ensure the unit is level.
- Place the tankless water heater onto the mounting bracket, ensuring it is securely seated in place.
- Double-check that the unit is level and properly aligned with the water and electrical connections.
When mounting the tankless water heater, consider that there should be enough space around the unit for proper ventilation. Ensure that there is a minimum clearance distance as specified by the manufacturer to prevent overheating and allow adequate airflow.
It’s important to note that if you’re not confident in mounting the water heater, it’s best to seek the assistance of a professional plumber or installer to ensure a secure and safe installation.
With the tankless water heater securely mounted, you’re ready to move on to the next step: connecting the electrical wiring.
Step 6: Connect the electrical wiring
Connecting the electrical wiring is a crucial step in the installation process of your electric tankless water heater. Follow these steps to ensure safe and proper electrical connections:
- Refer to the manufacturer’s instructions and specifications for the specific wiring requirements of your tankless water heater model.
- Ensure the power supply is still turned off at the circuit breaker panel.
- If required, install an electrical junction box near the tankless water heater, following local electrical codes and regulations.
- Run the appropriate electrical wiring from the electrical junction box to the water heater’s electrical connection point. Use the appropriate gauge wire and follow electrical codes and regulations for your area.
- Strip the insulation off the wires using wire strippers, exposing the bare copper ends.
- Connect the black wire (hot) to the black wire of the water heater, and the white wire (neutral) to the white wire of the water heater. If there is a green or bare copper wire, connect it to the grounding screw or wire of the water heater.
- Securely fasten the wire connections with electrical connectors or wire nuts, ensuring a tight and secure connection.
- Double-check all the connections to ensure they are properly connected and insulated.
- If required, install a GFCI (Ground Fault Circuit Interrupter) outlet near the water heater for added safety.
It’s important to follow local electrical codes and regulations and, if necessary, consult a licensed electrician to ensure compliance and safety.
With the electrical wiring connected, you’re one step closer to enjoying your new electric tankless water heater. Now, let’s move on to the next step: installing the water connections.
When installing an electric tankless water heater, make sure to properly size the unit based on your household’s hot water demand to ensure it can meet your needs efficiently.
Step 7: Install the water connections
Installing the water connections is the next important step in the installation process of your electric tankless water heater. Follow these steps to ensure proper water connections:
- Refer to the manufacturer’s instructions and specifications for the specific water connection requirements of your tankless water heater model.
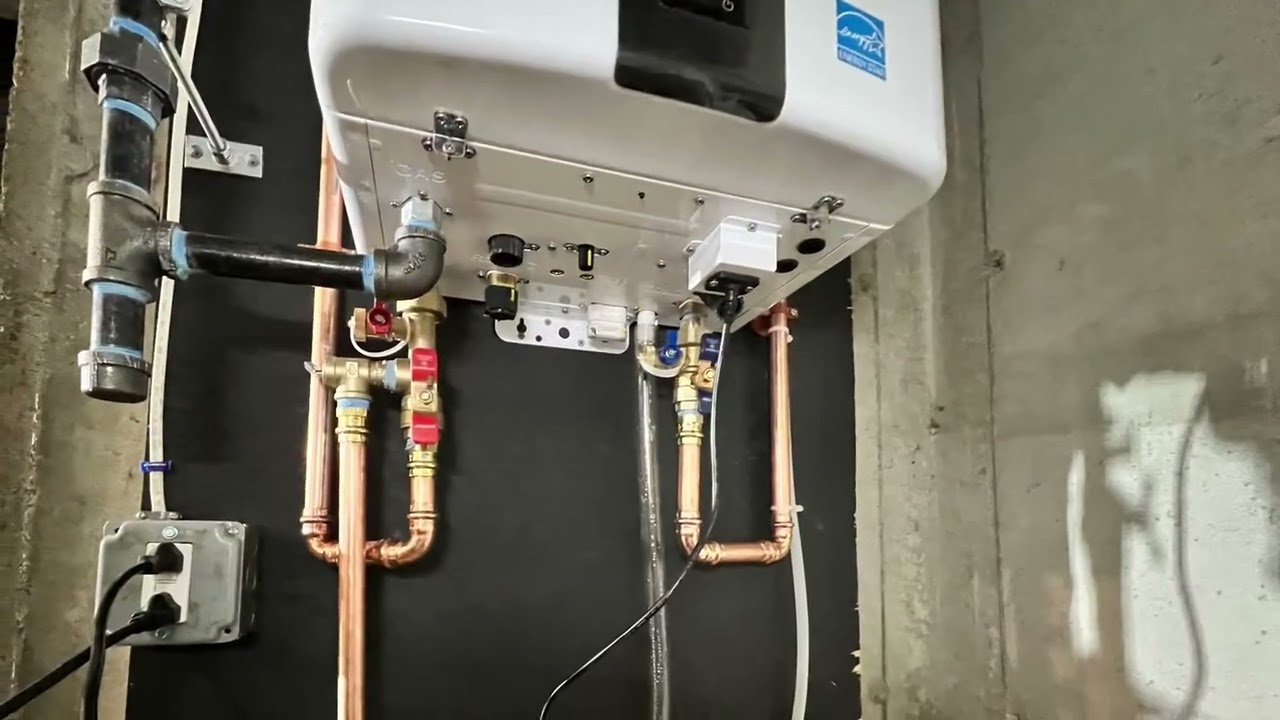
- Locate the water inlet and outlet connections on the water heater.
- Using a pipe cutter or hacksaw, cut the existing hot and cold water supply lines near the location of the water heater.
- Thoroughly clean the cut ends of the existing pipes to remove any debris or burrs.
- Wrap Teflon tape around the threaded ends of the water inlet and outlet connections on the water heater.
- Securely attach the hot water supply line to the water heater’s hot water outlet and the cold water supply line to the water heater’s cold water inlet. Use adjustable wrenches to tighten the connections, ensuring they are snug and leak-free.
- If necessary, install shut-off valves on the hot and cold water supply lines for easy future maintenance.
- Inspect all the water connections to ensure they are properly sealed and tightened.
It’s important to note that if you are unfamiliar with plumbing work or if you encounter any difficulties during the installation of the water connections, it’s best to consult a professional plumber for assistance.
With the water connections installed, you’re almost there! The next step is to turn on the water supply.
Step 8: Turn on the water supply
Now that you have successfully installed the water connections for your electric tankless water heater, it’s time to turn on the water supply. Follow these steps to ensure a smooth and proper water supply:
- Double-check that all the water connections are securely tightened and there are no visible leaks.
- If you had shut off the main water supply earlier, turn it back on.
- Allow the water to flow through the pipes and into the tankless water heater. Check for any leaks at the connections or around the unit. If you notice any leaks, immediately turn off the water supply and address the issue before proceeding.
- Once you have confirmed that there are no leaks, proceed to the next step: turning on the power supply.
It’s important to note that the initial water flow may be slightly discolored or have some air bubbles due to the disturbance of the plumbing system. This is normal and should clear out after a short period of time.
With the water supply turned on and properly flowing, you’re almost ready to enjoy the benefits of your new electric tankless water heater. The next step is to turn on the power supply.
Step 9: Turn on the power supply
Turning on the power supply is a crucial step to complete the installation of your electric tankless water heater. Follow these steps to safely restore power:
- Ensure that the water heater’s power switch or any other built-in power controls are set to the “Off” position.
- If you had turned off the circuit breaker for the water heater earlier, proceed to the circuit breaker panel.
- Locate the circuit breaker that controls the power supply to the water heater.
- Switch the circuit breaker to the “On” position to restore power to the water heater.
- Monitor the water heater for any signs of unusual sounds, smells, or behavior. It’s normal for the unit to make some noise during operation, such as the sound of water flowing and elements activating.
- Refer to the manufacturer’s instructions to set the desired temperature on the water heater’s control panel, if applicable.
It’s important to note that it may take a short period of time for the tankless water heater to reach the set temperature and start providing hot water. The time may vary depending on the model and size of the unit.
It’s crucial to follow all safety precautions and manufacturer’s instructions when restoring power to the water heater. If you have any doubts or concerns, consult a licensed electrician for assistance.
With the power supply turned on, your electric tankless water heater is now fully operational. The final step is to test the water heater to ensure proper functionality.
Step 10: Test the tankless water heater
Testing the tankless water heater is the final step in the installation process to ensure that it is functioning properly and delivering hot water as expected. Follow these steps to conduct a thorough test:
- Open a hot water faucet at a sink or shower closest to the tankless water heater.
- Allow the water to run for a few minutes to ensure a steady flow and purge any air from the system.
- Check if hot water is being delivered consistently from the faucet. The water should reach the desired temperature indicated on the water heater’s control panel or temperature settings.
- Monitor the water heater for any signs of abnormal behavior, such as fluctuating temperatures, unusual noises, or leaks.
- Test different faucets and showers throughout the house to ensure that hot water is being delivered consistently and efficiently.
- If you encounter any issues, refer to the troubleshooting tips outlined in the next step or consult a professional plumber or the manufacturer’s customer support for assistance.
It’s important to note that during the initial use of a tankless water heater, there may be some fluctuations in the water temperature as the unit adjusts to the hot water demand. However, if you notice persistent issues or drastic temperature fluctuations, it’s best to seek professional help to diagnose and resolve the problem.
Congratulations! If the tankless water heater successfully delivers hot water without any issues, you have completed the installation process. You can now enjoy the benefits of endless hot water and the energy efficiency that electric tankless water heaters offer!
However, if you encounter any issues or need further assistance, move on to the next step for troubleshooting tips.
Step 11: Troubleshooting tips
While installing and testing your electric tankless water heater, you may encounter some common issues. Here are a few troubleshooting tips to help address potential problems:
- No hot water: Check if the water heater is receiving power and that the circuit breaker is not tripped. Make sure the water supply valves are fully open and there are no obstructions in the water lines.
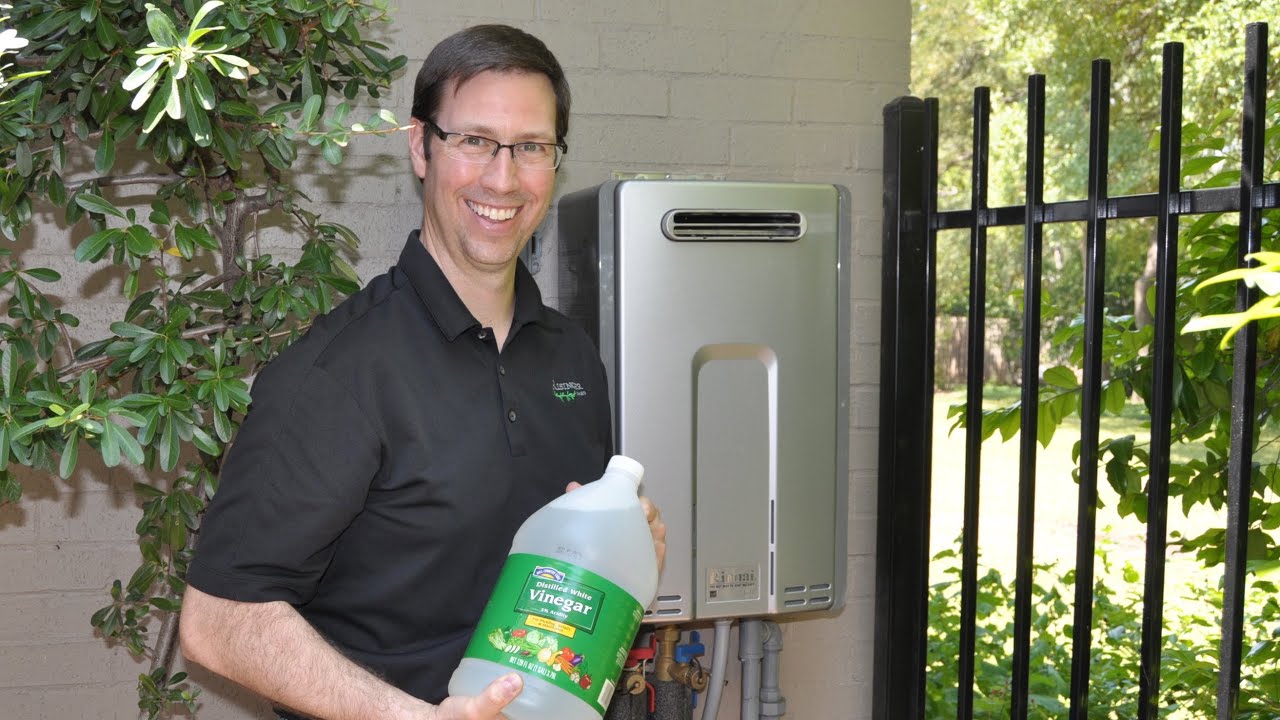
- Temperature fluctuations: If the water temperature is inconsistent, check if there are any scale deposits on the heating elements. If so, follow the manufacturer’s instructions to descale the unit. Additionally, ensure that the water flow rate is within the recommended range for optimal temperature control.
- Low water pressure: If you’re experiencing low water pressure, check for any clogged filters or debris in the water lines. Clean or replace the filters as necessary and ensure the water supply valves are fully open.
- Leakage: Inspect all the water connections and fittings for any signs of leaks. Tighten any loose connections or replace damaged components to fix the leakage issue. If the problem persists, consult a professional plumber for assistance.
- Unexpected shutdowns: If the water heater shuts off unexpectedly, check if the ventilation openings are blocked or obstructed. Ensure that there is proper clearance around the unit and that the ventilation system is clean and functioning effectively.
- Error codes: If your tankless water heater displays error codes on the control panel, refer to the manufacturer’s manual or contact their customer support for specific troubleshooting instructions related to the error code displayed.
It’s important to note that troubleshooting should be done with caution. If you’re unsure about any aspect of the troubleshooting process or if the issue persists, it’s always recommended to consult a professional plumber or contact the manufacturer’s customer support for assistance.
By following these troubleshooting tips, you can resolve common issues that may arise with your electric tankless water heater and ensure its optimal performance and reliability.
With the troubleshooting tips in mind, you’re now equipped with the knowledge to address any potential issues that may arise during the operation of your electric tankless water heater. Enjoy the benefits of continuous hot water and increased energy efficiency!
Thank you for following this comprehensive guide on how to install an electric tankless water heater. We hope it has been informative and helpful in your installation process.
Remember, safety is paramount. If you are not comfortable with any aspect of the installation, always consult a professional for assistance.
Now, go ahead and enjoy the convenience and efficiency of your newly installed electric tankless water heater!
Conclusion
Congratulations on successfully completing the installation of your electric tankless water heater! By following the step-by-step instructions and troubleshooting tips provided in this guide, you have taken a significant step towards enjoying endless hot water and increased energy efficiency in your home.
Installing an electric tankless water heater may initially seem like a daunting task, but with the right tools, materials, and guidance, it can be accomplished by most DIY enthusiasts. However, if at any point you feel unsure or uncomfortable, it’s always best to consult a professional plumber or contact the manufacturer’s customer support for assistance.
Remember to adhere to local building codes and regulations throughout the installation process, ensuring both your safety and the compliance of your water heating system. Safety precautions, such as turning off the power supply and carefully working with electrical and plumbing connections, are essential to avoid accidents and ensure a successful installation.
Once your electric tankless water heater is installed and operational, you’ll enjoy the benefits of instant hot water, increased energy efficiency, and a space-saving design. No more running out of hot water during showers or waiting for the water to heat up. Your daily routine will be improved, providing you with convenience and comfort.
Regular maintenance of your electric tankless water heater is important to ensure its longevity and efficient performance. Refer to the manufacturer’s guidelines for recommended maintenance tasks, such as descaling, filter cleaning or replacement, and periodic inspections.
If you ever encounter any issues or have questions about the operation or maintenance of your tankless water heater, don’t hesitate to reach out to the manufacturer’s customer support. They are there to assist you and provide the necessary guidance to address any concerns.
Once again, congratulations on your successful installation! Enjoy the benefits of your new electric tankless water heater and the convenience of on-demand hot water in your home. Stay safe, be mindful of energy usage, and always prioritize proper maintenance for optimal performance.
Thank you for choosing an electric tankless water heater and for following this comprehensive guide. We hope it has been valuable in assisting you throughout the installation process. Here’s to a future filled with efficiency, comfort, and endless hot water!
Now that you've mastered installing your electric tankless water heater, why stop there? Dive into our latest articles to keep your home innovations rolling. Discover the most efficient electric water heaters on the market, perfect for enhancing your energy savings. Or, if you prefer, check out our roundup of top tankless models designed for seamless integration and optimal performance. For DIY enthusiasts, don't miss our guide on running electrical wiring to your garage—a handy skill for expanding your workspace capabilities. Keep your home at the forefront of efficiency and convenience with these must-read articles!
Frequently Asked Questions about How To Install Electric Tankless Water Heater
Was this page helpful?
At Storables.com, we guarantee accurate and reliable information. Our content, validated by Expert Board Contributors, is crafted following stringent Editorial Policies. We're committed to providing you with well-researched, expert-backed insights for all your informational needs.

0 thoughts on “How To Install Electric Tankless Water Heater”