Articles
How To Install A Rheem Tankless Water Heater
Modified: October 20, 2024
Learn how to install a Rheem tankless water heater with our helpful articles. Get step-by-step instructions and expert tips to ensure a successful installation.
(Many of the links in this article redirect to a specific reviewed product. Your purchase of these products through affiliate links helps to generate commission for Storables.com, at no extra cost. Learn more)
Introduction
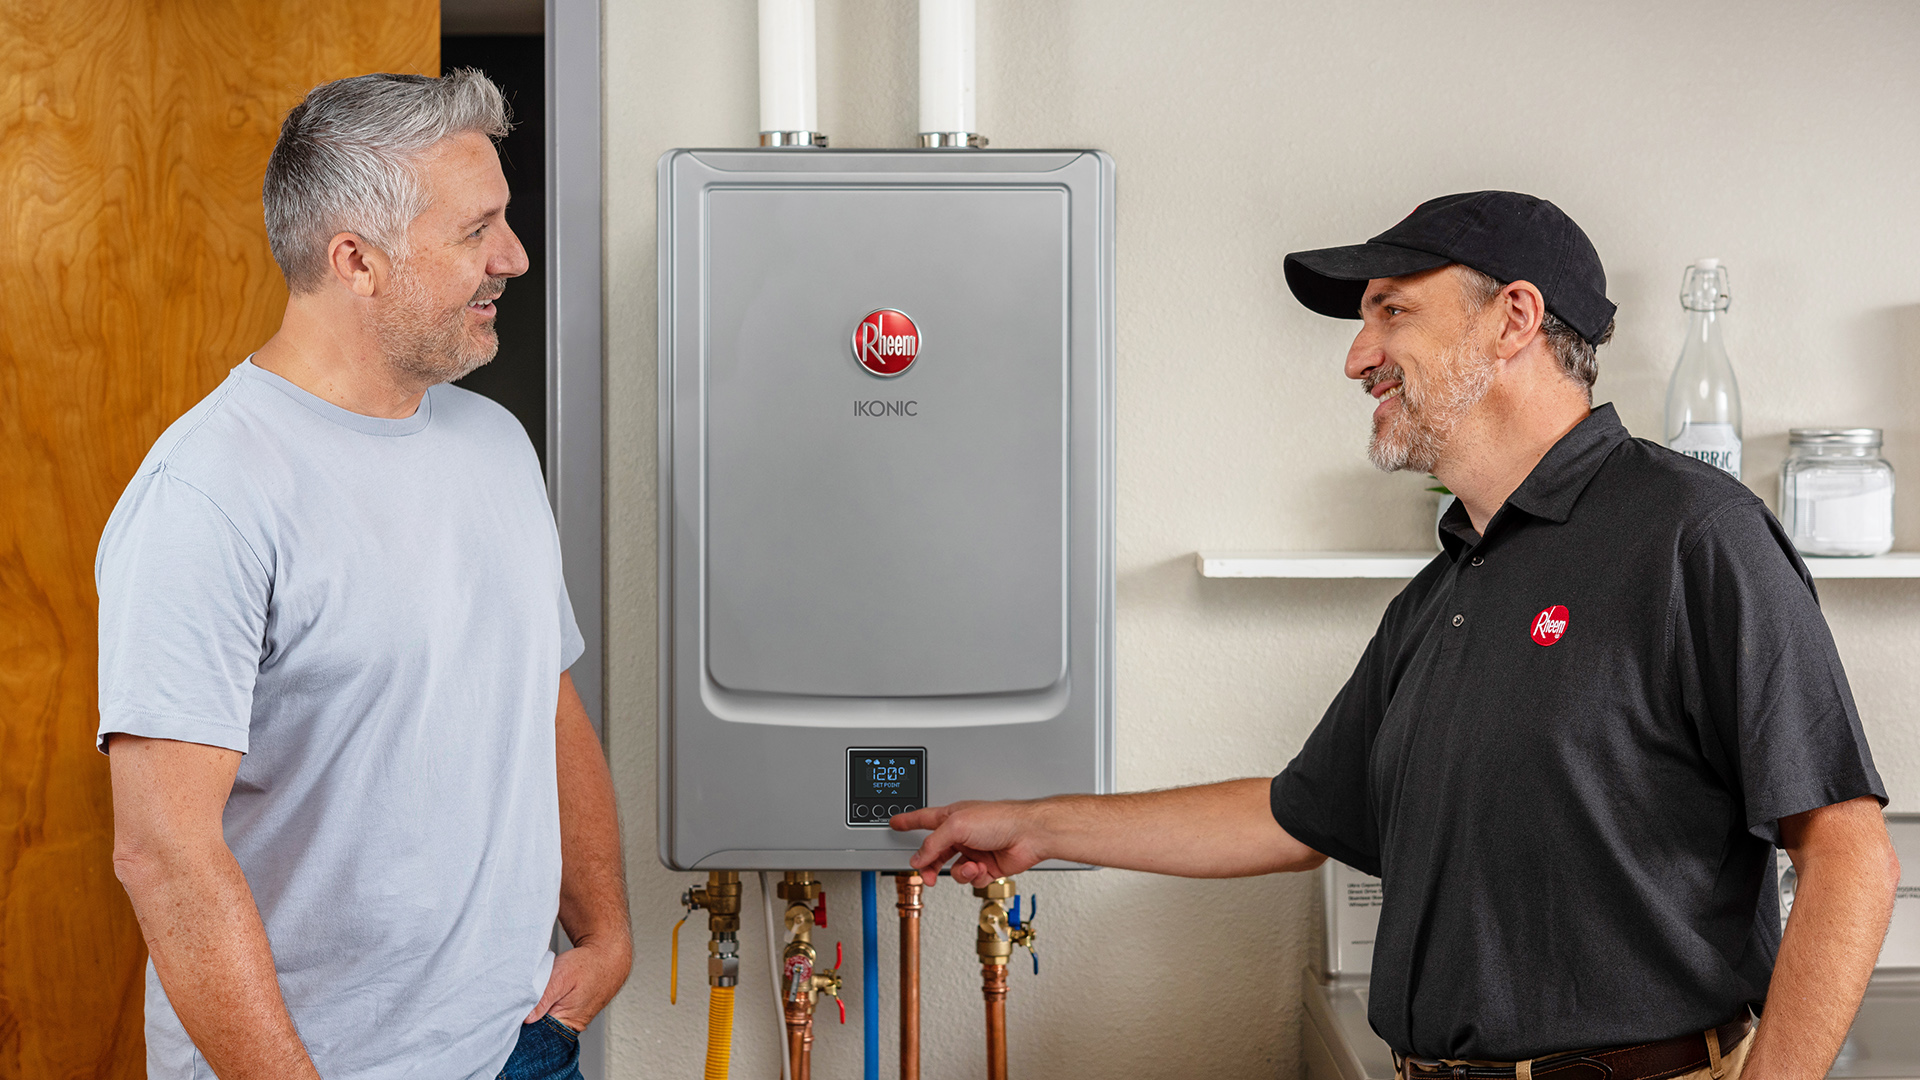
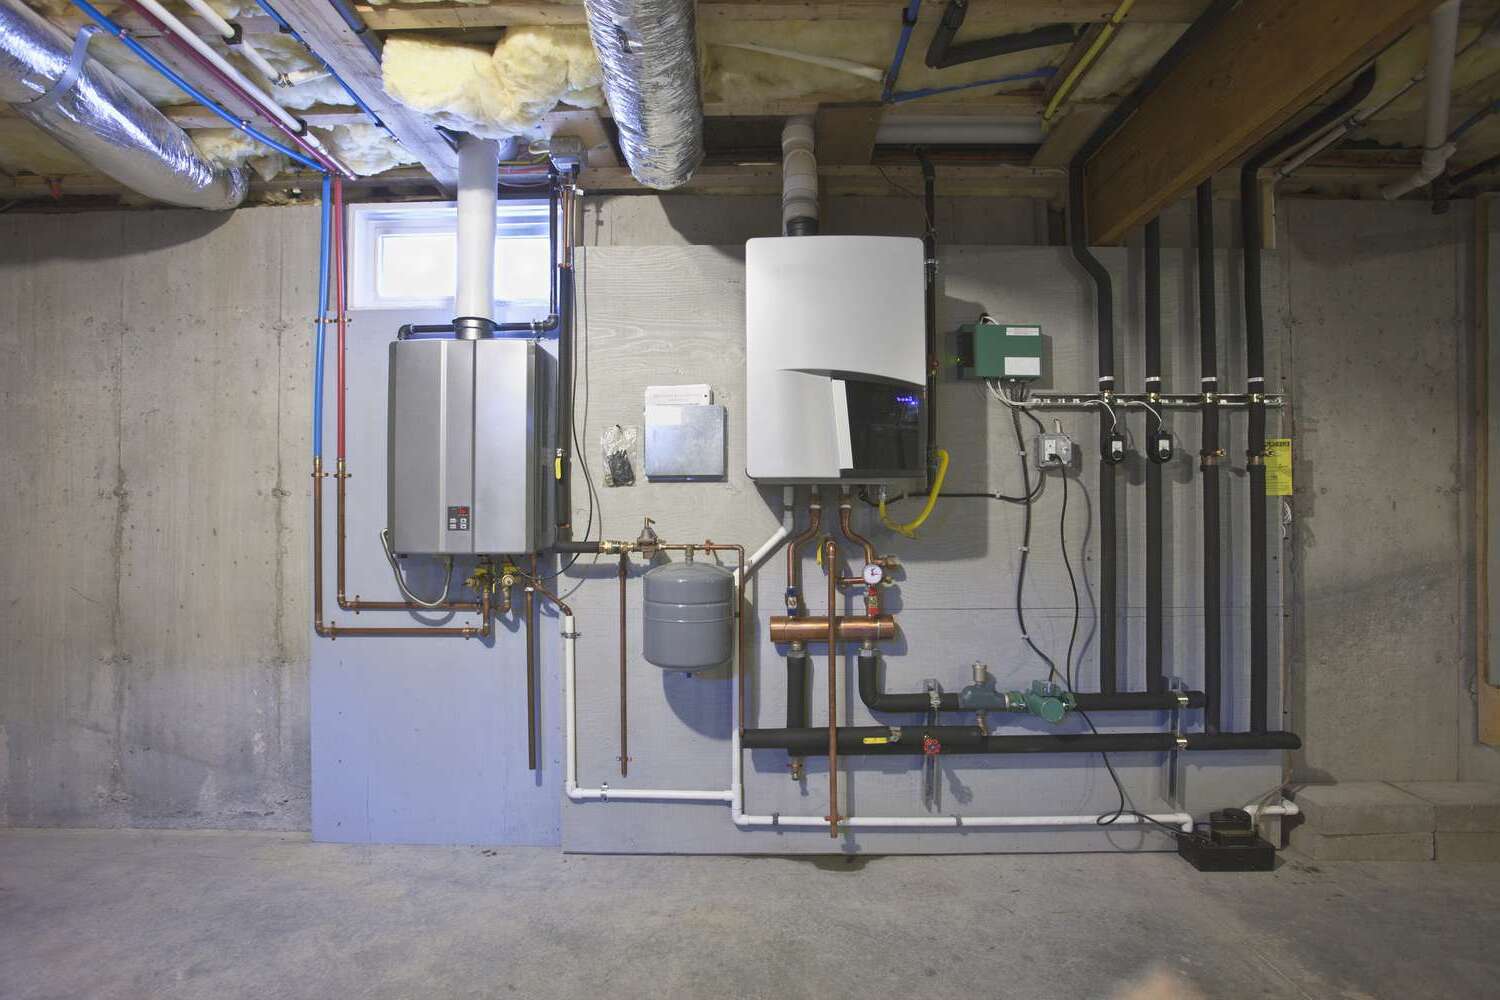
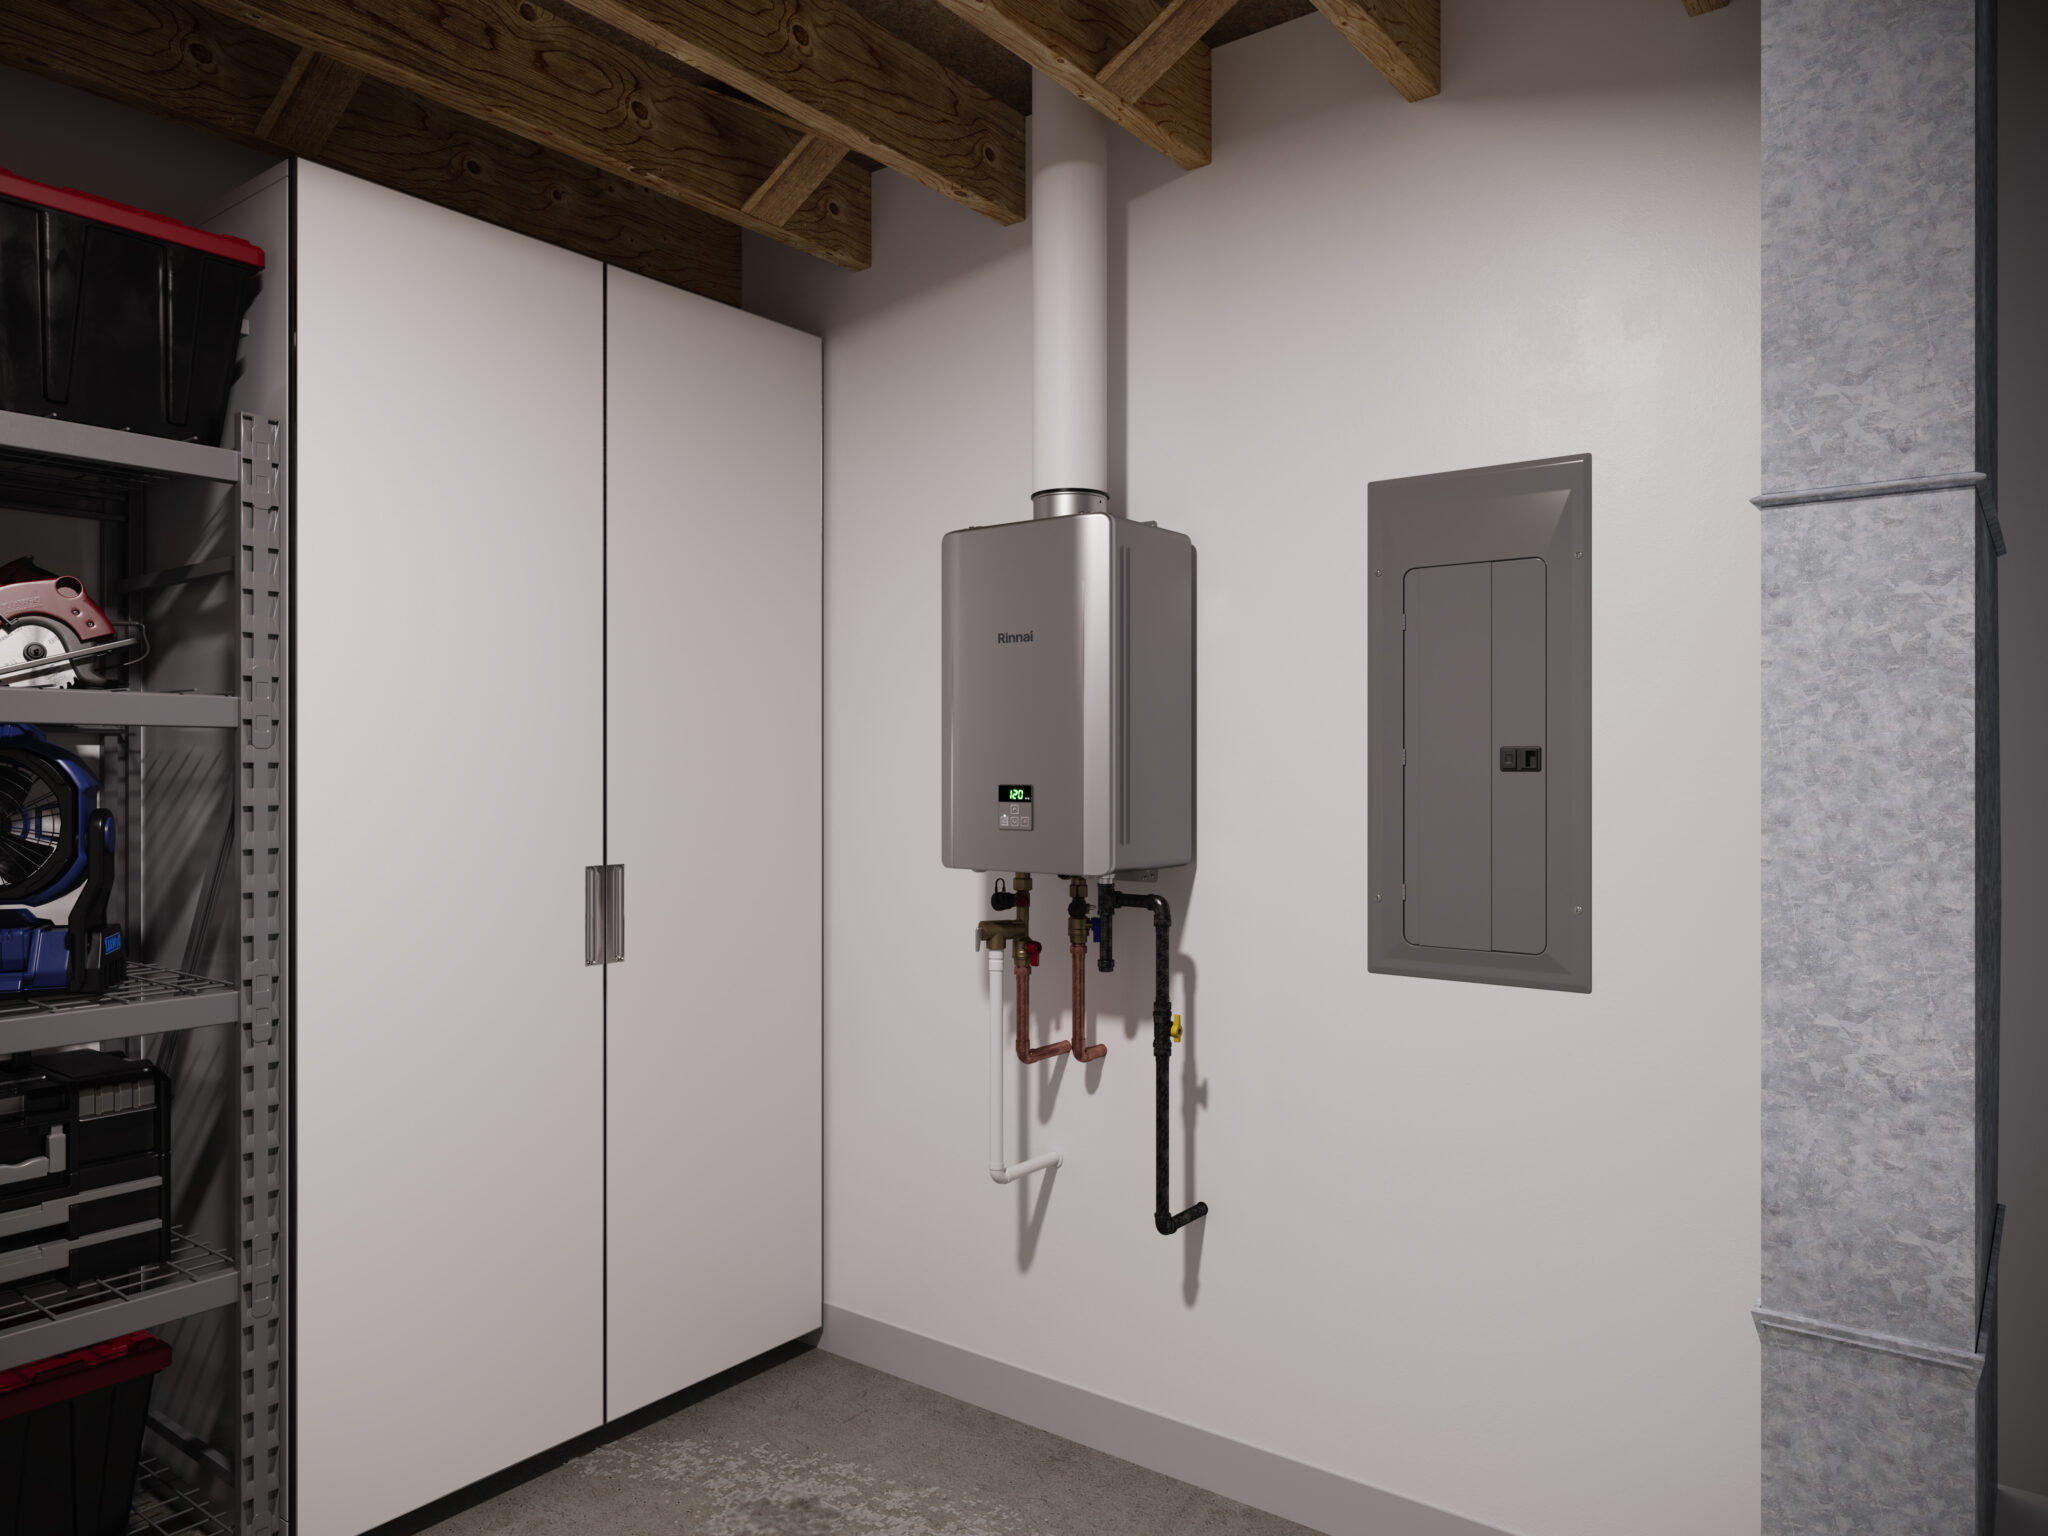
Installing a Rheem tankless water heater in your home can provide numerous benefits, including energy savings, endless hot water supply, and a compact design that saves space. Whether you’re replacing an old water heater or installing a new one, this article will guide you through the step-by-step process of installing a Rheem tankless water heater.
Before diving into the installation process, it’s important to understand the basics of a tankless water heater. Unlike traditional water heaters that store and heat a large amount of water in a tank, tankless water heaters heat the water on demand. This means that hot water is instantly available whenever you need it, eliminating the need for a storage tank.
In addition to the convenience of on-demand hot water, tankless water heaters are more energy-efficient, as they only heat the water you use. This can result in significant cost savings on your monthly utility bills.
Now that you have a basic understanding of what a tankless water heater is and its benefits, let’s jump into the installation process. But before we do, it’s important to note that this guide provides a general overview of the installation process. It’s always recommended to consult the manufacturer’s instructions and follow all safety guidelines specific to your Rheem tankless water heater model.
So, without further ado, let’s get started on how to install a Rheem tankless water heater in your home.
Key Takeaways:
- Installing a Rheem tankless water heater offers energy savings, endless hot water, and space efficiency. Prioritize safety, follow local codes, and consult the manufacturer’s instructions for a successful installation.
- Proper preparation, including gathering tools, shutting off water and gas supply, and testing the unit, is crucial for a smooth and safe installation. Regular maintenance and care will ensure optimal performance and longevity.
Step 1: Gather the necessary tools and materials
Before you begin the installation process, it’s important to gather all the necessary tools and materials. Having everything prepared beforehand will make the installation smoother and more efficient. Here’s a list of the tools and materials you’ll need:
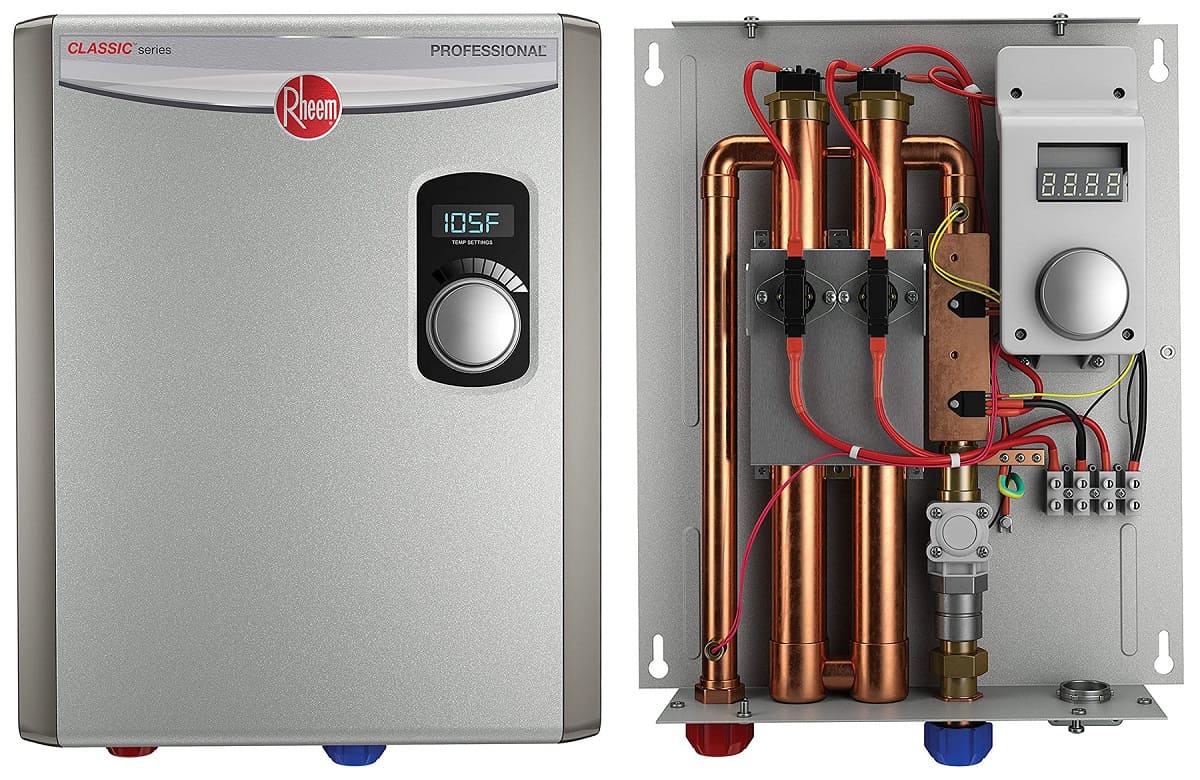
1. Rheem tankless water heater unit – Ensure you have the correct model and size for your home’s hot water needs. Consult the manufacturer’s specifications for guidance.
2. Mounting brackets – These brackets will be used to secure the tankless water heater unit to the wall or another sturdy surface.
3. Venting kit – Tankless water heaters require proper ventilation to remove exhaust gases. The venting kit should include pipes, elbows, termination caps, and other necessary components.
4. Pipe fittings – Depending on your existing plumbing setup, you may need pipe fittings such as couplers, reducers, and adapters to connect the water supply lines to the tankless water heater.
5. Gas supply line – If you’re installing a gas-powered tankless water heater, you’ll need a gas supply line to connect to the unit. Consult local codes and regulations for proper sizing and materials.
6. Water supply lines – You’ll need flexible water supply lines with the appropriate connectors for connecting the tankless water heater to the existing plumbing.
7. Pipe wrench or adjustable wrench – These tools will be necessary for tightening and connecting the various plumbing fittings.
8. Screwdriver – A screwdriver will be needed to secure the mounting brackets and other components.
9. Level – Use a level to ensure that the tankless water heater unit is installed straight and level.
10. Drill and anchors – You may need to drill holes in the wall for mounting the brackets. Anchors will provide additional support and stability.
11. Gas leak detector solution – Safety is paramount when working with gas lines. Use a gas leak detector solution to check for any potential gas leaks during the installation process.
12. Flashlight – A flashlight will come in handy for inspecting tight spaces and ensuring proper installation.
Once you have gathered all the necessary tools and materials, you’ll be well-prepared to begin the installation process. Make sure to double-check that you have everything before proceeding to the next step. This will help prevent any delays or interruptions during the installation process.
Step 2: Prepare the installation area
Before you start installing the Rheem tankless water heater, it is essential to properly prepare the installation area. Taking the time to prepare the area will ensure a smooth installation process and minimize any potential issues down the line. Follow these steps to prepare the installation area:
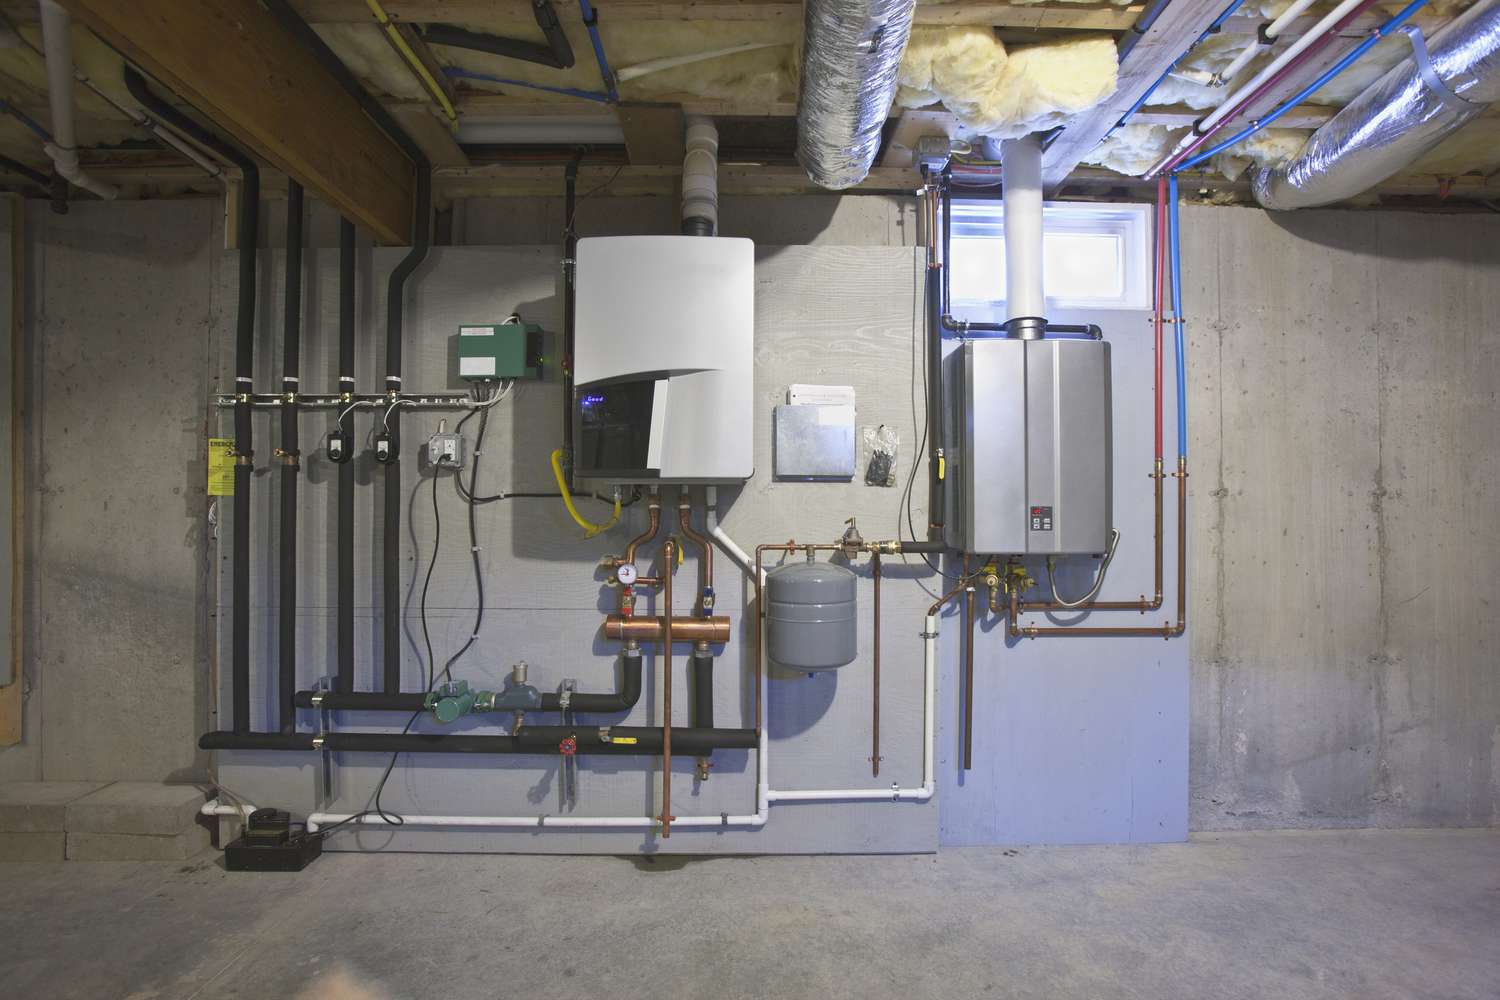
1. Select the location: Choose a suitable location for installing the tankless water heater. It should be near the main water supply and gas lines to minimize the distance between the unit and the source. Ensure there is enough space around the unit for maintenance and servicing.
2. Check local codes and regulations: Research local building codes and regulations regarding the installation of tankless water heaters. Different areas may have specific requirements, such as clearance distances from walls or combustible materials. Make sure to adhere to these guidelines for a safe and compliant installation.
3. Clear the area: Remove any obstacles or clutter from the installation area. This includes boxes, furniture, or any other items that might interfere with the installation process or access to the unit. Ensure there is enough workspace around the water heater for easy installation and maintenance.
4. Level the surface: Use a level to check if the installation surface is even and level. If necessary, use shims to adjust any unevenness. A level surface will ensure proper installation and prevent any issues related to water flow or stability.
5. Install mounting brackets: If required by your model, attach the mounting brackets to the wall or a sturdy surface. Use a drill and appropriate anchors to securely fasten the brackets. Ensure the brackets are level and properly aligned for a stable installation.
6. Consider ventilation requirements: Tankless water heaters require proper ventilation to eliminate exhaust gases. Evaluate the ventilation requirements specified by the manufacturer. Install the venting kit accordingly, ensuring that it is properly aligned and securely connected to the water heater. Consult the manual for specific instructions on venting installation.
7. Ensure adequate clearance: Check the manufacturer’s instructions for the required clearance around the tankless water heater. This includes clearance from walls, ceilings, and any nearby combustible materials. Adhering to these clearance guidelines is crucial for the safe and efficient operation of the unit.
By adequately preparing the installation area, you’ll create a solid foundation for a successful Rheem tankless water heater installation. Taking the time to clear the area, level the surface, and adhere to local codes and regulations will ensure a safe and efficient installation process. Once the area is prepared, you’re ready to move on to the next step: shutting off the water and gas supply.
Step 3: Shut off the water and gas supply
Before you start disconnecting and installing the Rheem tankless water heater, it is crucial to shut off the water and gas supply to your home. This step is essential to ensure safety and prevent any accidents or damage during the installation process. Follow these steps to properly shut off the water and gas supply:
1. Locate the main water shut-off valve: The main water shut-off valve is typically located near the water meter or where the main water line enters your home. It is essential to know the exact location of this valve for emergencies and maintenance purposes. Turn the valve clockwise to shut off the water supply to your home.
2. Drain the water lines: After shutting off the main water supply, drain any remaining water from the plumbing lines. You can do this by opening the faucets at the lowest point in your home (such as a basement or outdoor faucet). Let the water flow until it stops completely, ensuring that the water lines are emptied.
3. Locate the gas shut-off valve: The gas shut-off valve is usually found near the gas meter or where the main gas line enters your home. Identify the valve and ensure that it is easily accessible. Rotate the valve clockwise to shut off the gas supply.
4. Test the gas supply: After shutting off the gas supply, it is crucial to verify that the flow has stopped completely. You can do this by attempting to light a gas appliance, such as a stove or a furnace. If there is no flame or the flame goes out immediately, it signifies that the gas supply has been successfully shut off.
It is important to note that if you are uncomfortable or unsure about shutting off the water and gas supply yourself, it is recommended to seek professional assistance. This ensures that the process is done safely and correctly.
By shutting off the water and gas supply, you are taking necessary precautions to ensure the safety of both yourself and the installation process. Once you have completed this step, you can proceed to the next step of the installation, which is disconnecting the old water heater (if applicable).
Step 4: Disconnect the old water heater (if applicable)
If you are replacing an existing water heater with the Rheem tankless water heater, you’ll need to disconnect the old unit before proceeding with the installation. Follow these steps to properly disconnect the old water heater:
1. Turn off the power: If the old water heater is electric, turn off the power supply at the circuit breaker. Locate the breaker that controls the water heater and switch it to the “Off” position. If the water heater is gas-powered, ensure that the gas supply has been shut off, as mentioned in the previous step.
2. Turn off the water supply: Locate the cold water inlet pipe connected to the old water heater. Close the valve on this pipe to shut off the water supply. This valve is typically a lever or a handle that needs to be turned clockwise to shut off the water.
3. Drain the old water heater: Connect a hose to the drain valve located near the bottom of the old water heater. Ensure that the other end of the hose is positioned to drain the water away safely. Open the drain valve and allow the water to completely drain from the old unit. This may take some time, depending on the size of the tank.
4. Disconnect the plumbing connections: Use a pipe wrench or an adjustable wrench to disconnect the plumbing connections from the old water heater. Start by disconnecting the hot water outlet pipe and then the cold water inlet pipe. Place a bucket or a towel underneath to catch any residual water.
5. Disconnect the gas supply (if applicable): If the old water heater is gas-powered, use a wrench to disconnect the gas supply line from the unit. Ensure that the gas supply valve has been turned off before attempting to disconnect the line.
6. Remove the old water heater: Once all the plumbing and gas connections have been disconnected, carefully remove the old water heater from its installation area. This may require the assistance of another person, as water heaters can be heavy.
It’s important to safely dispose of the old water heater according to local regulations and guidelines. Depending on your location, there may be specific procedures for recycling or disposing of old appliances.
By following these steps, you’ll be able to properly disconnect and remove the old water heater, making way for the installation of the new Rheem tankless water heater. With the old unit out of the way, you can now move on to the next step, which is installing the Rheem tankless water heater unit.
Read more: How To Install Rheem Water Heater
Step 5: Install the Rheem tankless water heater unit
Now that you have prepared the installation area and disconnected the old water heater (if applicable), it’s time to install the Rheem tankless water heater unit. Follow these steps to properly install the unit:
1. Position the unit: Carefully position the Rheem tankless water heater in the desired location. Ensure that the unit is level and aligned with the mounting brackets (if applicable).
2. Secure the unit: If your tankless water heater model requires mounting brackets, use screws and a screwdriver to secure the unit to the wall or another sturdy surface. Make sure the screws are tight enough to provide stability but not too tight to damage the unit.
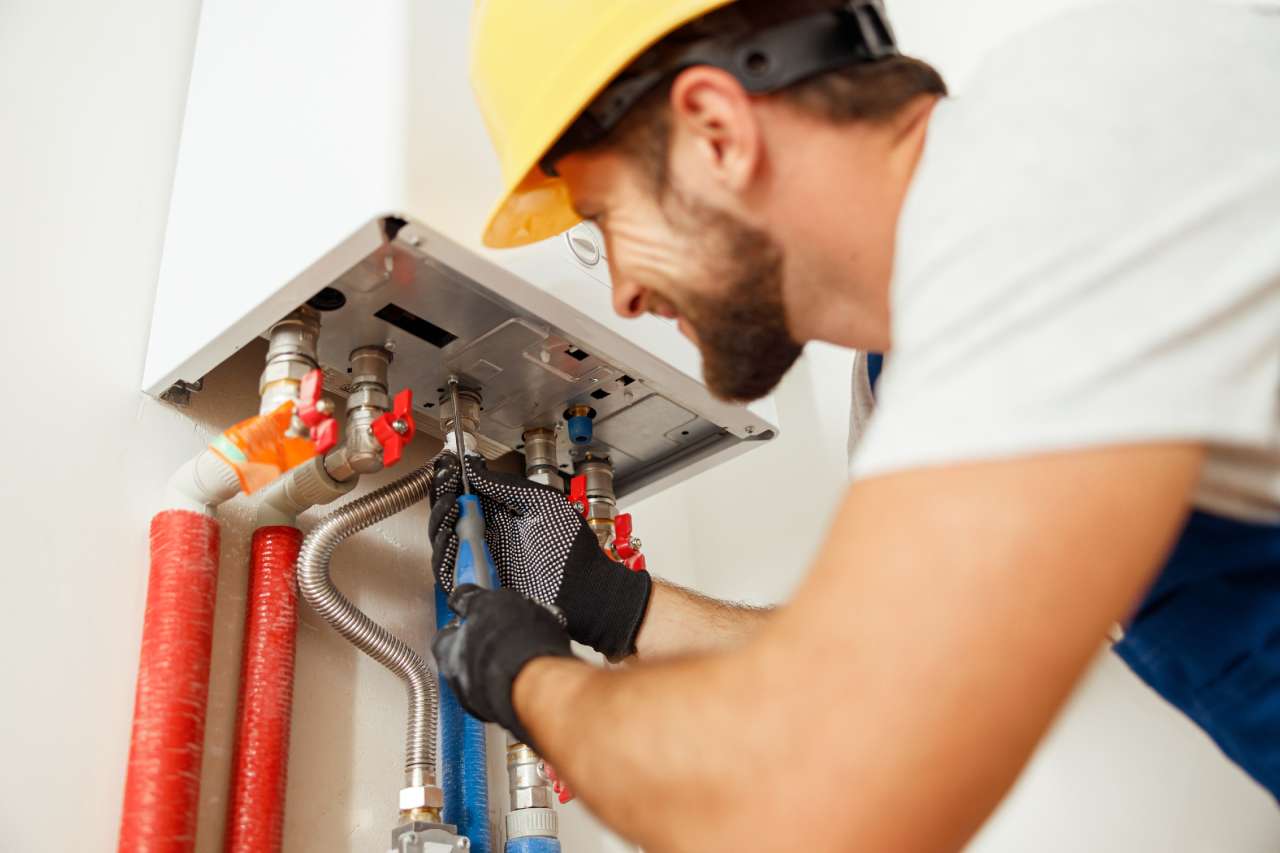
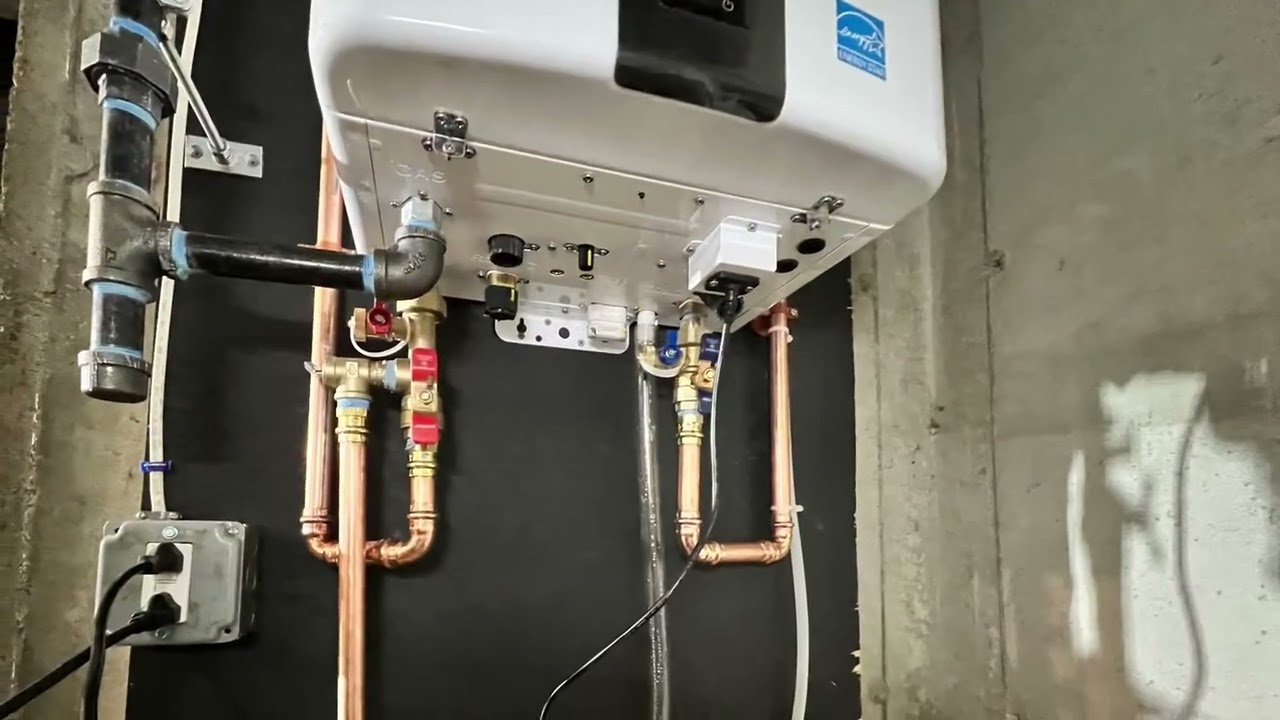
3. Connect the plumbing: Use flexible water supply lines to connect the hot water outlet and cold water inlet on the tankless water heater unit. Ensure that the connections are secure but not over-tightened. Follow the manufacturer’s instructions for guidance on which connection goes where.
4. Connect the gas supply (if applicable): If your tankless water heater is gas-powered, use appropriate fittings and a wrench to connect the gas supply line to the unit. Apply a gas leak detector solution to the gas connections to check for any potential leaks. If a leak is detected, tighten the connection or seek professional assistance to rectify the issue.
5. Vent the unit: Connect the venting kit to the tankless water heater unit, following the manufacturer’s instructions. Ensure that the venting is properly aligned and securely connected. This step is crucial for the safe and efficient operation of the unit, as it allows for the proper exhaust of combustion gases.
6. Check the connections: Double-check all the connections to ensure they are secure and leak-free. This includes both the plumbing connections and the gas connections. Take the time to visually inspect each connection and use the appropriate tools if any adjustments are needed.
7. Electrical connection (if applicable): If your tankless water heater requires an electrical connection, consult the manufacturer’s instructions for the specific wiring requirements. Ensure that the power is turned off before making any electrical connections and follow all safety guidelines and local electrical codes.
Once you have completed the installation process and checked all the connections, you are ready to move on to the next steps, which involve connecting the water supply lines and the gas supply line.
Note: It is important to follow the manufacturer’s instructions and consult a professional if you are unsure about any aspect of the installation process. Improper installation can lead to safety hazards and may void any warranties associated with the Rheem tankless water heater unit.
Before installing a Rheem tankless water heater, make sure to check the manufacturer’s guidelines for proper installation requirements, including venting, gas supply, and electrical connections.
Step 6: Connect the water supply lines
Now that you have installed the Rheem tankless water heater unit, it’s time to connect the water supply lines. Follow these steps to ensure a proper and secure connection:
1. Identify the cold water inlet and hot water outlet: Locate the cold water inlet and hot water outlet on the tankless water heater unit. The cold water inlet is where the fresh water will enter, and the hot water outlet is where the heated water will be distributed.
2. Prepare the water supply lines: Measure the distance between the water inlet and the water outlet on the tankless water heater unit. Cut the flexible water supply lines to the appropriate lengths, leaving some extra length for flexibility and ease of installation.
3. Apply thread seal tape: Wrap thread seal tape clockwise around the male threads of each water supply line. This will help create a watertight seal and prevent any leaks.
4. Connect the cold water inlet: Attach one end of the cold water supply line to the cold water inlet on the tankless water heater unit. Use an adjustable wrench or a pipe wrench to tighten the connection. Ensure that the connection is secure but not overly tightened, as this could cause damage.
5. Connect the hot water outlet: Attach the other end of the hot water supply line to the hot water outlet on the tankless water heater unit. Again, use an adjustable wrench or a pipe wrench to tighten the connection, making sure it is secure but not over-tightened.
6. Inspect for leaks: After connecting both water supply lines, visually inspect the connections for any signs of leaks. Keep an eye out for any drips or moisture around the fittings. If a leak is detected, tighten the connections slightly or consult a professional to address the issue.
7. Verify water flow: Once the connections are secure, turn on the main water supply valve that you previously shut off. Allow the water to flow through the tankless water heater unit and check for any irregularities in the water flow. Adjust the water flow by slightly opening or closing the supply valve if needed.
By properly connecting the water supply lines, you ensure a steady and reliable flow of water into the Rheem tankless water heater unit. It’s important to regularly inspect the connections for any leaks and make any necessary adjustments to maintain the integrity of the system. With the water supply lines connected, you’re ready to move on to the next step: connecting the gas supply line (if applicable).
Step 7: Connect the gas supply line
If you are installing a gas-powered Rheem tankless water heater, it is important to properly connect the gas supply line. Follow these steps to ensure a secure and safe gas connection:
1. Check local codes and regulations: Before connecting the gas supply line, familiarize yourself with all local codes and regulations regarding gas installations. These regulations may cover factors such as gas pipe sizing, materials, and safety precautions. Adhering to these guidelines is essential for a safe and compliant installation.
2. Turn off the gas supply: Ensure that the main gas supply valve is turned off before attempting to connect the gas supply line. The valve is typically located near the gas meter or where the main gas line enters your home. Rotate the valve clockwise to shut off the gas supply.
3. Apply joint compound or gas-rated tape: Before connecting the gas supply line, apply a joint compound or gas-rated tape to the male threads of the gas fittings. This will help create a secure and leak-free connection.
4. Connect the gas supply line: Attach one end of the gas supply line to the gas inlet on the Rheem tankless water heater unit. Use an adjustable wrench or a pipe wrench to tighten the connection, ensuring it is secure. Avoid over-tightening, as it may damage the fittings.
5. Inspect for leaks: Once the gas supply line is connected, inspect the fittings for any signs of leaks. Apply a gas leak detector solution to the connections and check for any bubbling or hissing sounds. If a leak is detected, tighten the connection slightly or consult a professional to address the issue.
6. Ventilate the area: Gas-powered tankless water heaters require proper ventilation to remove exhaust gases. Ensure that the venting components are securely connected and aligned with the manufacturer’s instructions. This will help ensure the safe operation of the unit and prevent the buildup of harmful gases.
7. Verify gas flow: Before proceeding, turn on the main gas supply valve and ensure that the gas flow to the Rheem tankless water heater is restored. Check for any irregularities in the gas flow and ensure that there are no leaks or unusual smells. If you suspect a gas leak, immediately turn off the gas supply and seek professional assistance.
It is crucial to prioritize safety when connecting the gas supply line. If you are uncertain or uncomfortable working with gas lines, it is recommended to consult a professional plumber or HVAC technician for assistance. They can ensure that the connection is done properly and safely.
With the gas supply line securely connected, you have successfully completed this step of the installation process. The next step involves setting the desired temperature on the Rheem tankless water heater unit.
Step 8: Set the desired temperature
With the Rheem tankless water heater unit properly installed and the water and gas supply connected, it’s time to set the desired temperature. Follow these steps to adjust the temperature setting:
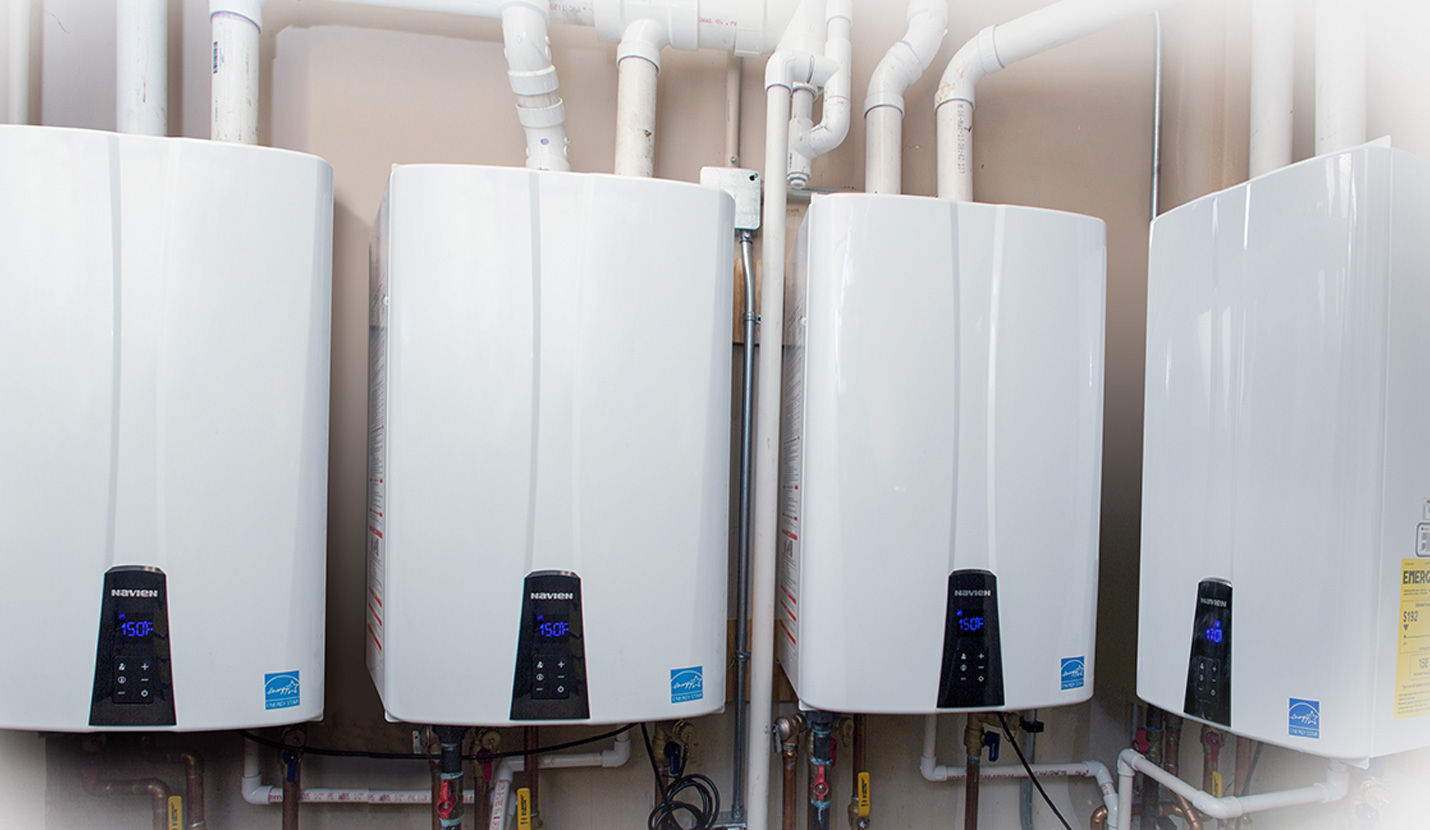
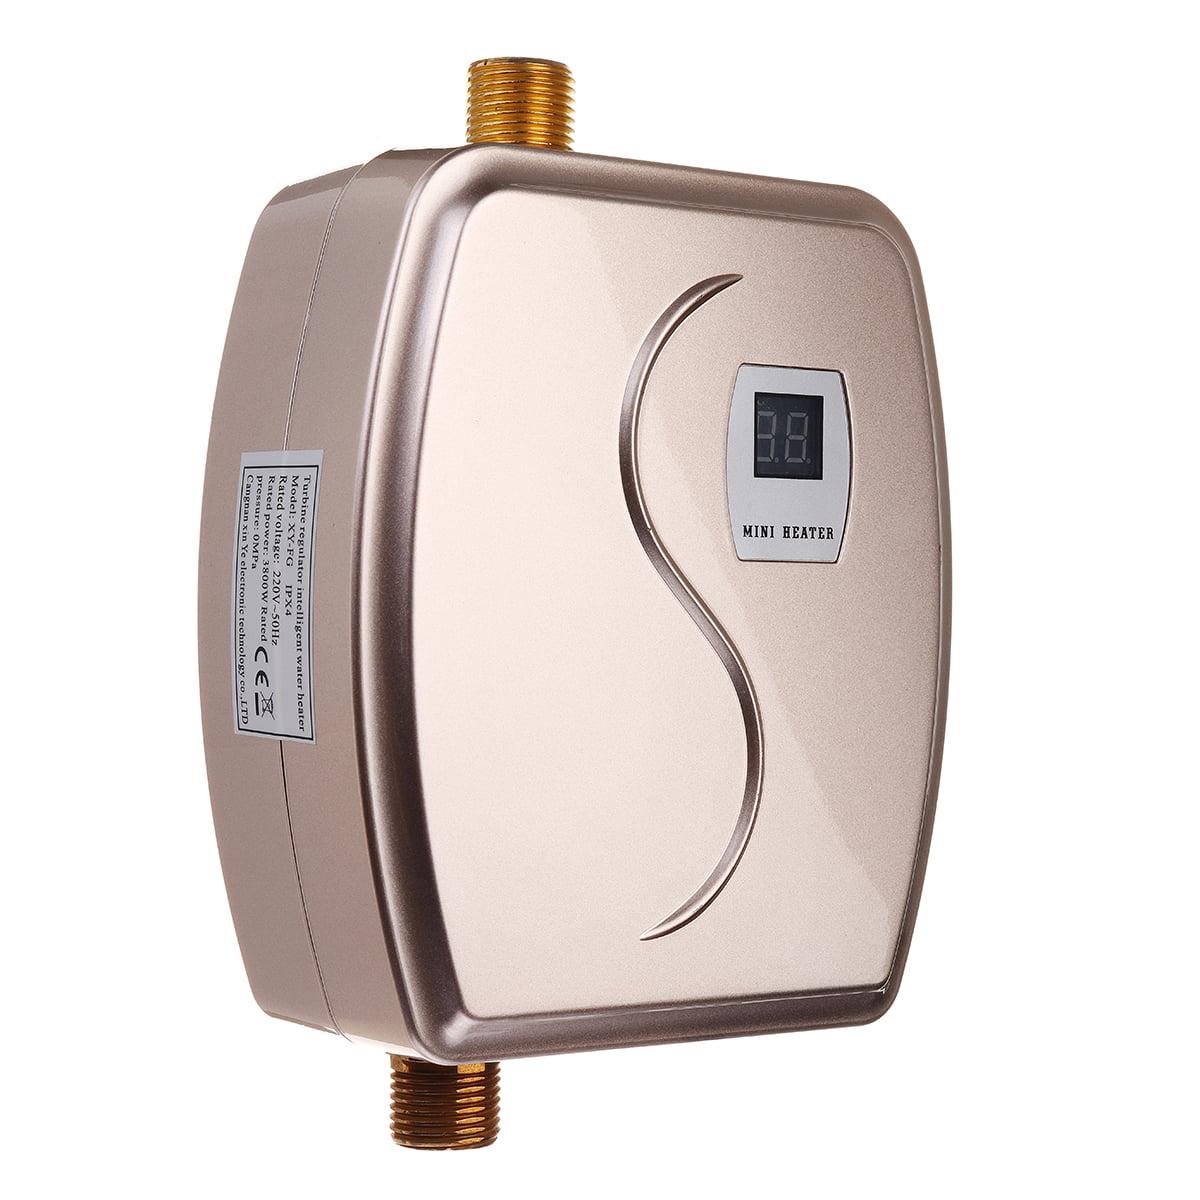
1. Locate the temperature controls: The location of the temperature controls may vary depending on the model of the Rheem tankless water heater unit. Typically, they can be found on the front panel or on a digital display near the unit. Refer to the manufacturer’s instructions for the exact location and operation of the temperature controls.
2. Understand the temperature range: Tankless water heaters usually allow you to set the desired temperature within a specific range, such as 100°F to 140°F (37°C to 60°C). This range can be adjusted to meet your personal preferences and household needs. Keep in mind that the recommended temperature for most uses is around 120°F (approximately 49°C) to prevent scalding and conserve energy.
3. Adjust the temperature: Use the controls provided to adjust the temperature setting within the allowable range. This can be done through buttons, dial adjustments, or on a digital interface. Follow the instructions provided by the manufacturer to navigate the temperature settings and make the necessary adjustments.
4. Monitor the display: While making temperature adjustments, keep an eye on the display to ensure that the changes are being accurately reflected. Some units may display the current temperature, while others may provide a numerical value or use indicator lights to show the temperature range.
5. Test the water temperature: After setting the desired temperature, turn on the hot water tap in one or more locations in your home and let the water run for a few minutes. Use a thermometer or your hand to check the water temperature. Adjust the temperature setting if necessary to achieve the desired hot water temperature.
6. Allow for temperature stabilization: Tankless water heaters may take a few moments to reach and stabilize at the set temperature. Allow the unit sufficient time to adjust and deliver hot water at the desired temperature.
It is important to note that some Rheem tankless water heater models may offer additional features such as remote temperature control or programmable settings. Consult the manufacturer’s instructions or user manual for specific details related to your model’s temperature control capabilities.
By setting the desired temperature on your Rheem tankless water heater, you can enjoy hot water that is customized to your preference and needs. With this step completed, you’re now ready to move on to the next step: testing the water heater for proper functionality.
Read more: How Much To Install A Tankless Water Heater
Step 9: Test the water heater
After setting the desired temperature on your Rheem tankless water heater, it’s important to test the unit to ensure proper functionality. Follow these steps to test the water heater:
1. Open hot water faucets: Open one or more hot water faucets in your home to activate the tankless water heater. This will allow the water to flow through the system and help remove any air pockets.
2. Observe the water flow: Pay attention to the water flow from the faucets. Initially, you may experience a slight delay in receiving hot water as the tankless water heater heats up the water. However, once the unit reaches its operating temperature, hot water should flow consistently and without any fluctuations.
3. Check for any unusual sounds or smells: Listen for any abnormal sounds coming from the water heater, such as banging or rattling noises. These may indicate issues with the unit. Additionally, be attentive to any peculiar smells, such as the odor of gas, which could indicate a gas leak. If you notice anything unusual, immediately turn off the water heater and contact a professional for further inspection.
4. Verify the water temperature: Test the hot water flowing from the faucets and verify that it reaches the set temperature. Use a thermometer or your hand to confirm that the water is at the desired temperature. Adjust the temperature setting if necessary.
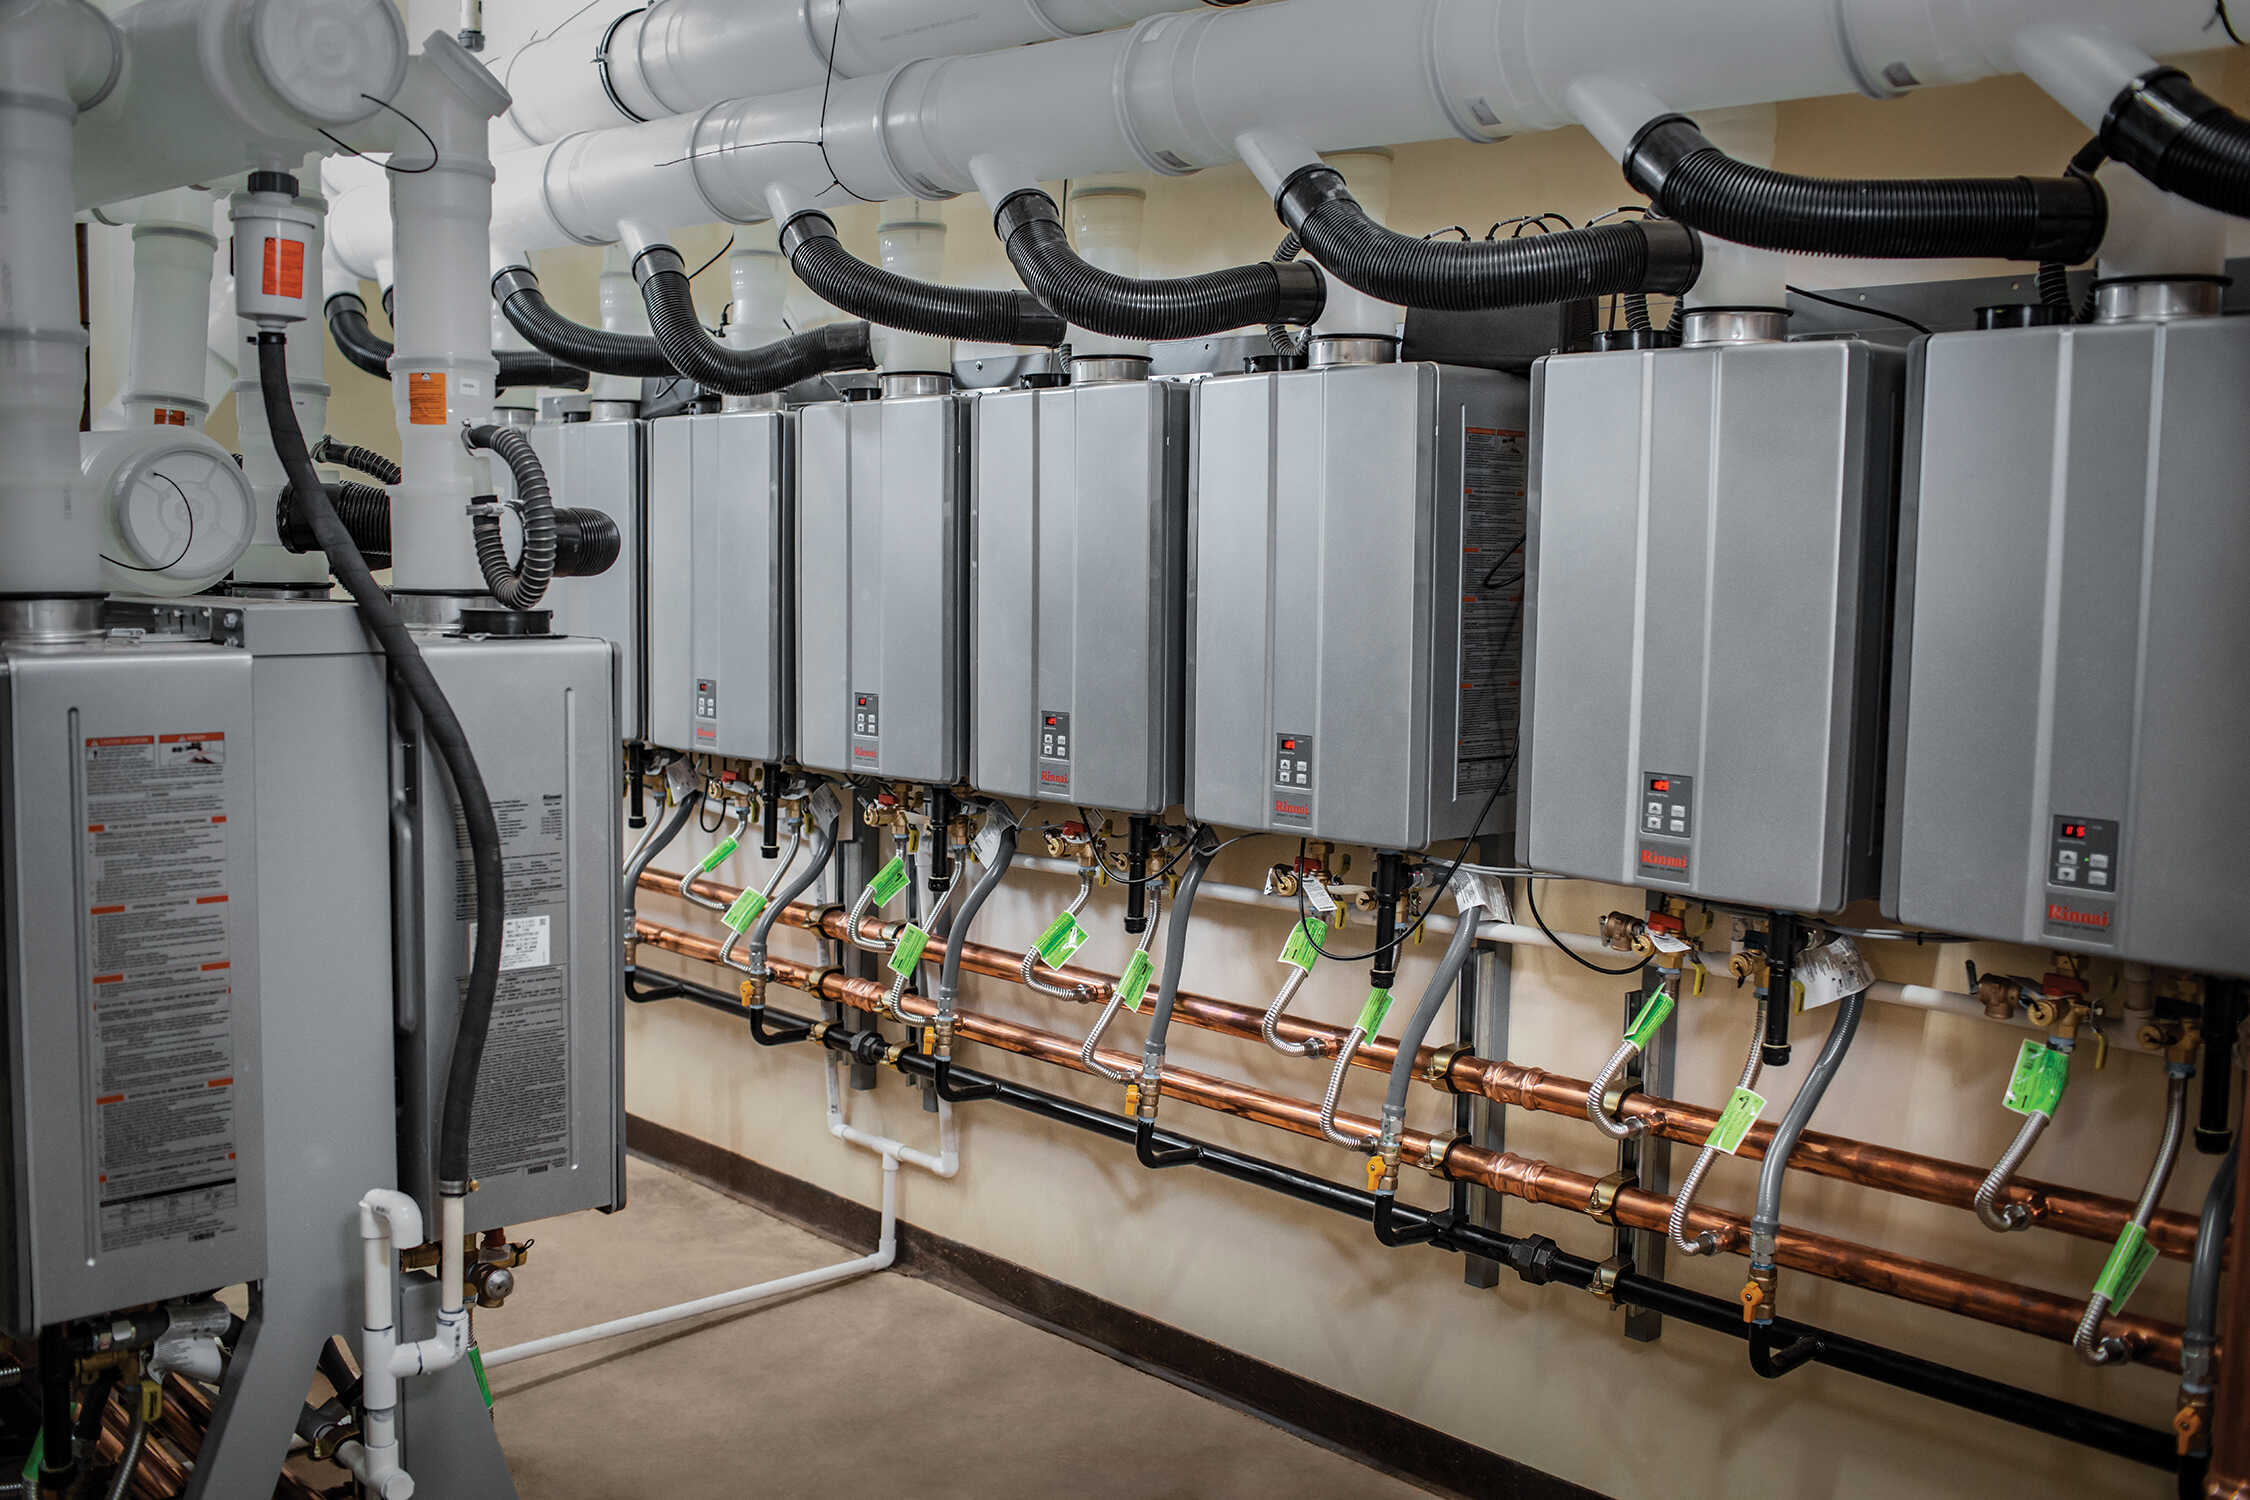
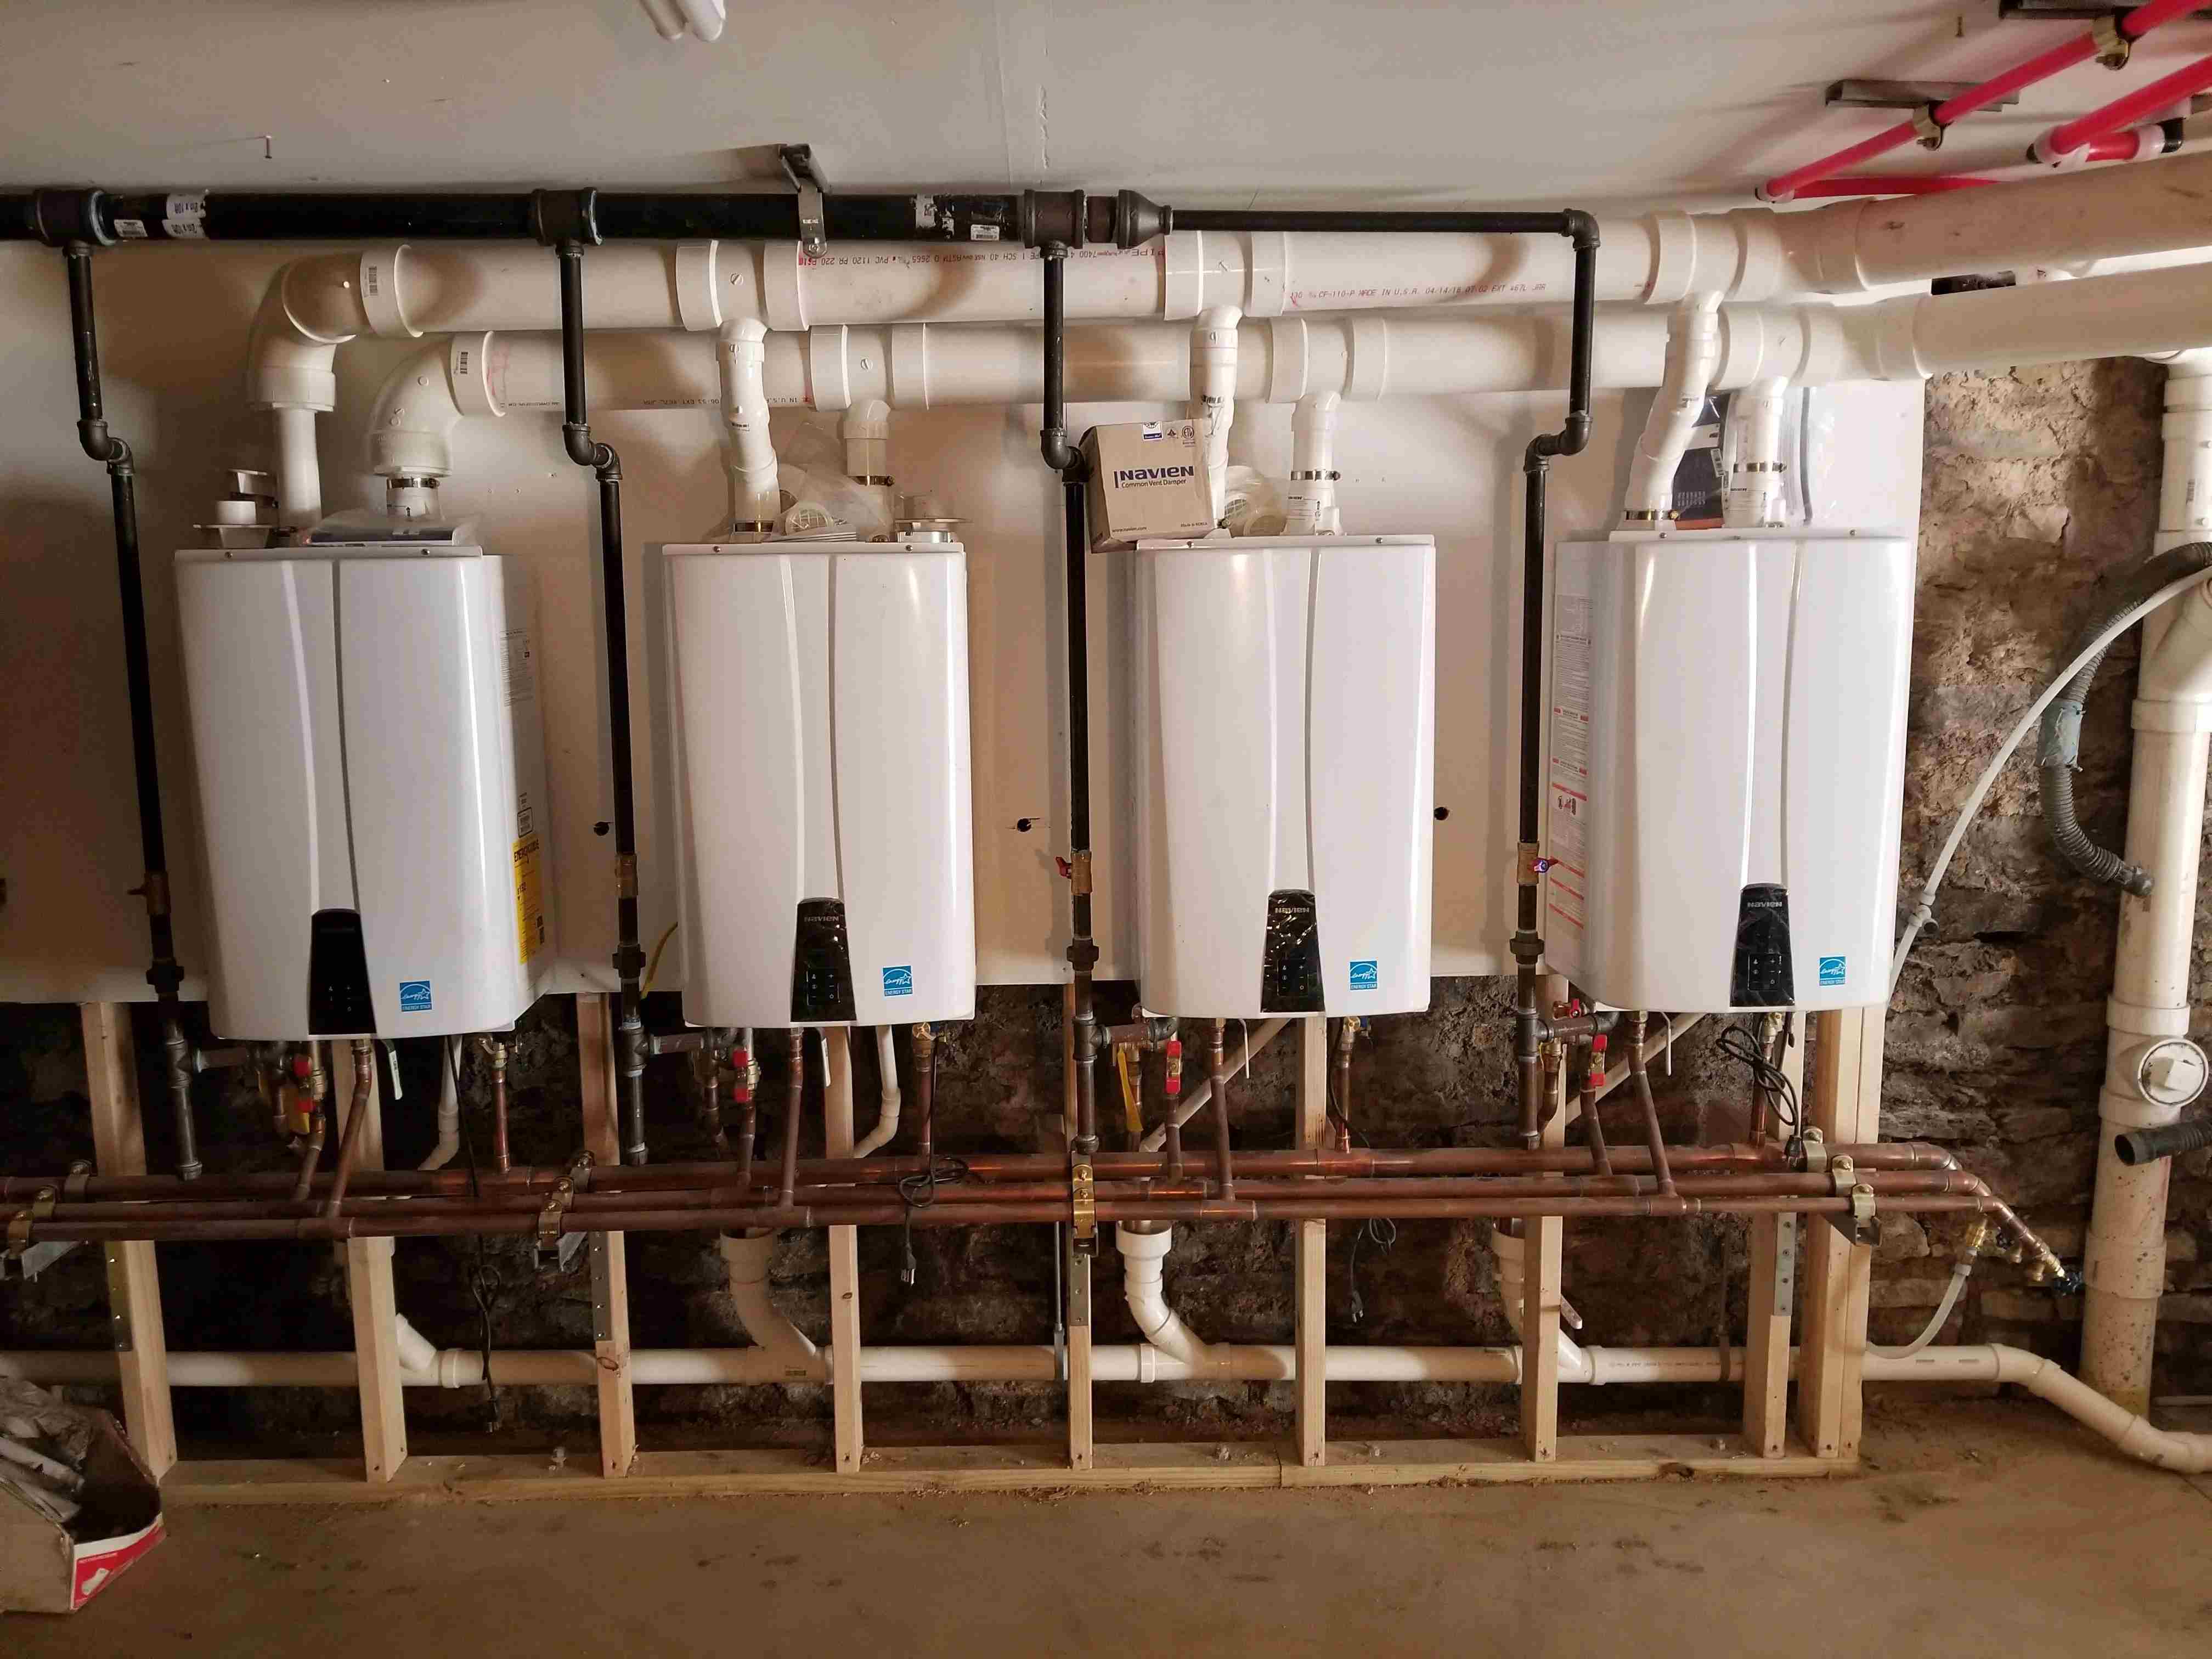
5. Monitor for consistent hot water supply: Run hot water from different faucets simultaneously to ensure that the tankless water heater can provide a continuous supply of hot water. This will help determine if the unit can meet the demand of multiple water outlets in your home.
6. Pay attention to any error codes or indicators: Some Rheem tankless water heater models may have built-in diagnostic features that display error codes or indicators to alert you of any issues. Familiarize yourself with the meaning of these codes or indicators in the manufacturer’s instructions and consult them if necessary.
By thoroughly testing your Rheem tankless water heater, you can ensure that it is functioning correctly and providing the hot water supply you need. Any irregularities or concerns should be addressed promptly to prevent further problems and maintain the efficiency of the unit.
With the testing phase completed successfully, you can proceed to the final step: finalizing the installation of your Rheem tankless water heater.
Step 10: Finalize the installation
Congratulations! You’ve reached the final step of installing your Rheem tankless water heater. Here are the last few tasks to properly finalize the installation:
1. Double-check connections: Take a final look at all the connections on the tankless water heater, including the water supply lines, gas supply line (if applicable), and venting. Ensure that everything is securely connected, tightened, and properly aligned. Inspect for any signs of leaks or loose fittings.
2. Secure any loose cables or wires: If your Rheem tankless water heater has electrical components or wiring, double-check that all cables and wires are securely and neatly fastened. Make sure they are safely out of the way of any moving parts or potential hazards.
3. Clean up the installation area: Remove any debris, tools, or packaging materials from the installation area. Wipe down the tankless water heater unit and the surrounding area to ensure a clean and tidy finished installation.
4. Review the user manual: Take some time to review the user manual provided by Rheem for your specific tankless water heater model. Familiarize yourself with any specific maintenance requirements, troubleshooting tips, or other important information. This will help you effectively operate and maintain your water heater going forward.
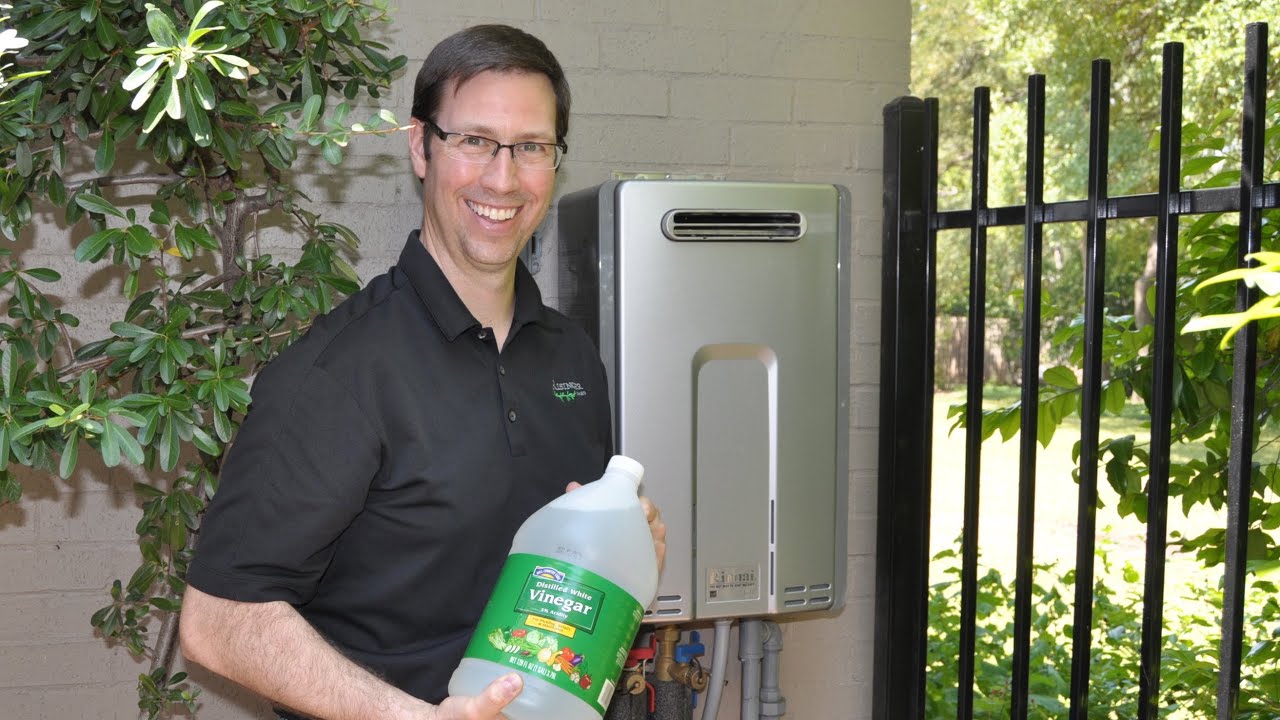
5. Schedule regular maintenance: Tankless water heaters, like any other appliance, require regular maintenance to ensure optimal performance and longevity. Consult the user manual or manufacturer’s recommendations for maintenance tasks such as descaling, flushing the unit, or scheduling professional inspections.
6. Keep the warranty information: Safely store the warranty information and any related documents provided with your Rheem tankless water heater. This will come in handy if you encounter any issues covered by the warranty in the future.
By completing these final steps, you have successfully finalized the installation of your Rheem tankless water heater. Enjoy the benefits of efficient, on-demand hot water and the space-saving design of your new water heating system.
Remember, if you encounter any issues or have concerns about the functionality of the unit, it is always recommended to consult a professional plumber or contact Rheem’s customer support for assistance. Regular maintenance and proper care will ensure that your Rheem tankless water heater operates optimally for years to come.
Conclusion
Installing a Rheem tankless water heater in your home can be a great investment that provides you with endless hot water and energy savings. By following the step-by-step process outlined in this guide, you can successfully install your Rheem tankless water heater and enjoy its many benefits.
From gathering the necessary tools and materials to finalizing the installation, each step is crucial in ensuring a proper and safe installation. By preparing the installation area, shutting off the water and gas supply, disconnecting the old water heater (if applicable), and connecting the new tankless water heater, you set the foundation for a successful installation.
Setting the desired temperature, testing the water heater, and finalizing the installation are the final steps that ensure the unit is functioning correctly. It’s important to monitor for any leaks, unusual sounds, or odors during the testing phase and make any necessary adjustments or seek professional assistance if needed.
Throughout the installation process, it is essential to prioritize safety, follow local codes and regulations, and consult the manufacturer’s instructions. If you ever feel unsure or uncomfortable with any step, it is always best to seek professional help.
Remember to schedule regular maintenance for your Rheem tankless water heater to keep it in optimal condition. By following the recommended maintenance tasks and keeping the warranty information handy, you can ensure the longevity and efficient operation of your water heater.
Installing a Rheem tankless water heater is a worthwhile investment that provides you with a continuous supply of hot water while maximizing energy efficiency. Enjoy the convenience, space-saving design, and energy savings that come with your new tankless water heater.
Stay safe, follow the guidelines, and enjoy the benefits of your Rheem tankless water heater in your home for many years to come.
Frequently Asked Questions about How To Install A Rheem Tankless Water Heater
Was this page helpful?
At Storables.com, we guarantee accurate and reliable information. Our content, validated by Expert Board Contributors, is crafted following stringent Editorial Policies. We're committed to providing you with well-researched, expert-backed insights for all your informational needs.
0 thoughts on “How To Install A Rheem Tankless Water Heater”