
Articles
How To Get Drywall Dust Off Floor
Modified: October 20, 2024
Learn effective methods for removing drywall dust from your floor with these helpful articles.
(Many of the links in this article redirect to a specific reviewed product. Your purchase of these products through affiliate links helps to generate commission for Storables.com, at no extra cost. Learn more)
Introduction
Drywall dust is a common byproduct of home renovation or construction projects. It can settle on various surfaces, including floors, and be quite challenging to remove. This fine, powdery substance can not only be unsightly but also pose potential health hazards if left unaddressed.
If you’re dealing with drywall dust on your floors, don’t worry – we’ve got you covered! In this article, we’ll outline the step-by-step process to effectively and efficiently get drywall dust off your floors. By following these tips, you can restore the cleanliness and beauty of your floors without struggle.
Before we dive into the step-by-step guide, it’s important to gather the necessary supplies. You’ll need a vacuum cleaner with a brush attachment, a microfiber cloth or mop, a broom and dustpan, and some water and mild detergent. These items will be essential in helping you achieve a pristine floor surface.
Now that you have your supplies ready, let’s proceed to the next step and prepare your floor for cleaning.
Key Takeaways:
- Easily remove drywall dust from floors by following a step-by-step process using basic supplies like a vacuum cleaner, microfiber cloth, and mild detergent. Restore the cleanliness of your floors hassle-free!
- Take extra care when dealing with delicate or hardwood surfaces to avoid damage. Consider using specialized cleaning products for specific floor types to effectively remove drywall dust.
Step 1: Gather necessary supplies
Before you start cleaning the drywall dust off your floor, it’s important to gather all the necessary supplies. Having the right tools and materials will make the cleaning process easier and more effective. Here’s what you’ll need:
- Vacuum cleaner with brush attachment: A vacuum cleaner with a brush attachment will help you remove the majority of the drywall dust from your floor. The brush attachment is designed to loosen and lift the dust, making it easier to suck it up.
- Microfiber cloth or mop: A microfiber cloth or mop is essential for wiping away any remaining dust particles that the vacuum might have missed. Microfiber is highly effective in capturing fine particles and won’t leave streaks or scratches on your floor.
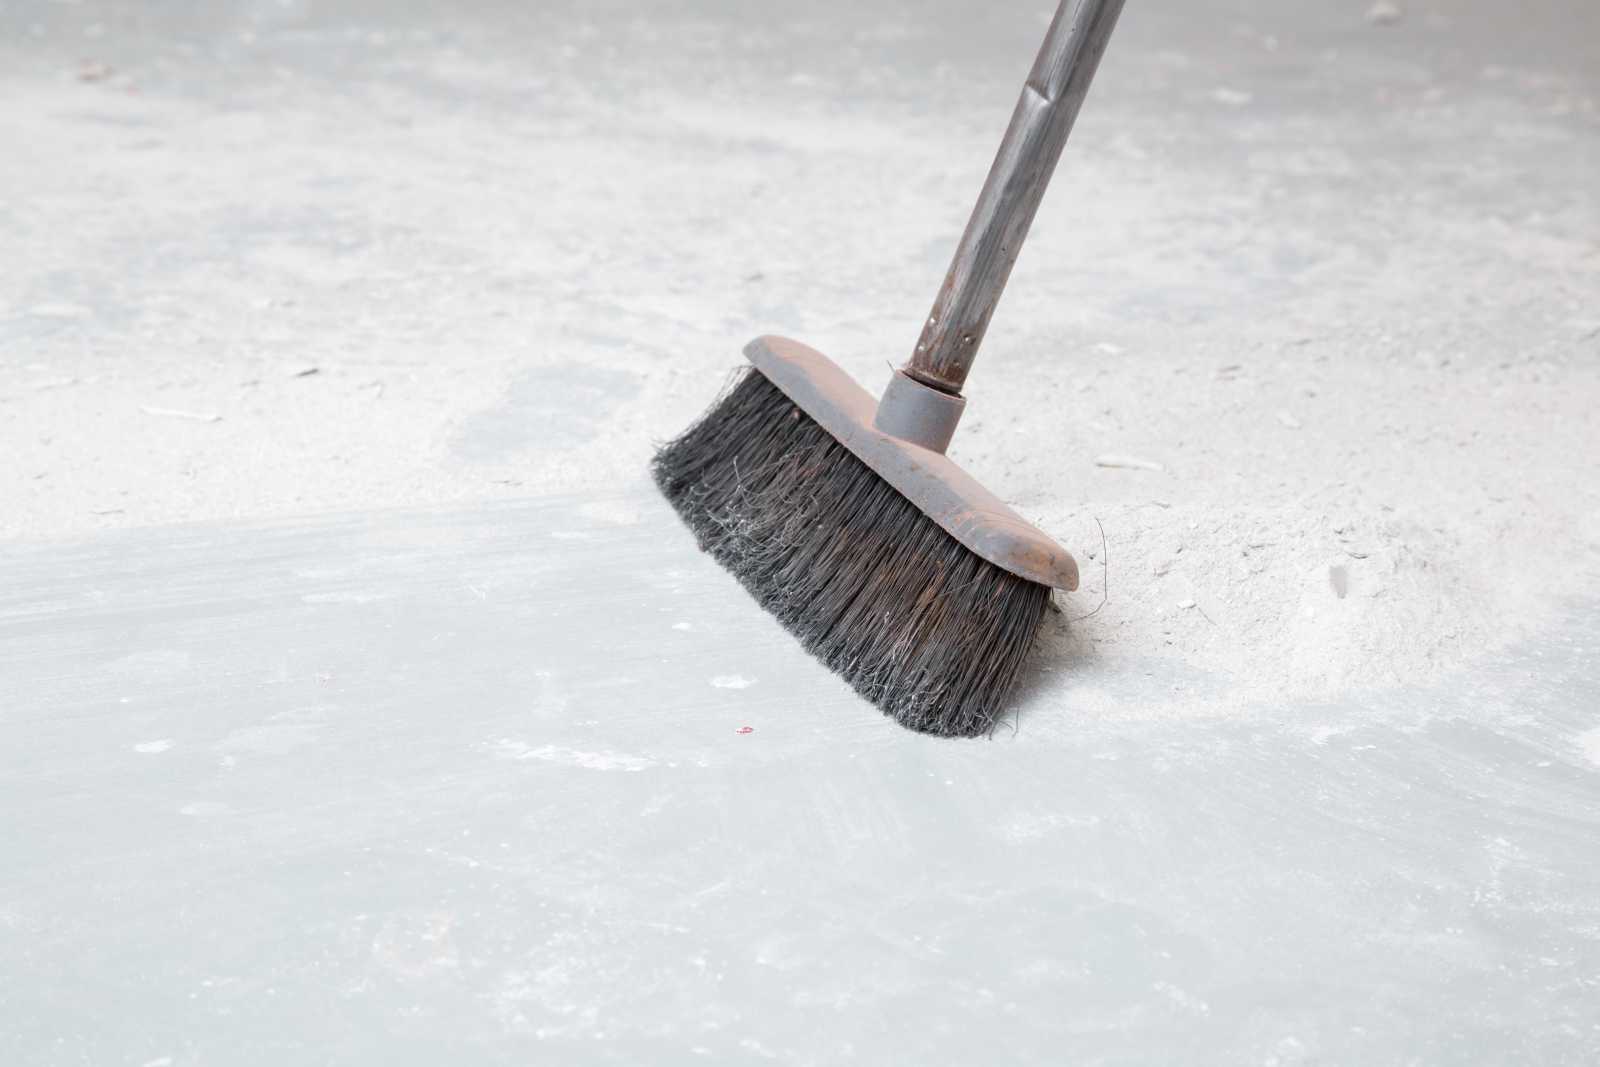
- Broom and dustpan: Before you start using the vacuum cleaner, it’s a good idea to sweep the floor with a broom and dustpan to remove any large debris or loose dirt. This will prevent unnecessary clogging of the vacuum cleaner and ensure a more thorough cleaning.
- Water and mild detergent: In some cases, drywall dust can leave a residue on your floor that requires more than just vacuuming. Mixing water with a mild detergent will help you remove any sticky or stubborn dust particles.
Once you have gathered all these supplies, you are ready to move on to the next step and prepare your floor for cleaning.
Step 2: Prepare the floor
Before you start the actual cleaning process, it’s important to prepare the floor by removing any large debris or loose dirt. This will ensure that the cleaning process is more effective and efficient. Follow these steps to prepare your floor:
- Remove any large debris or loose dirt with a broom and dustpan: Start by using a broom and dustpan to sweep the floor and remove any visible debris, such as small pieces of drywall or chunks of dust. Be thorough in your sweeping to ensure that all the larger particles are cleared away.
- Clear the area of any furniture or objects: If you have any furniture or objects on the floor, it’s important to clear them away before you start cleaning. This will give you more space to work with and prevent any mishaps or damage to your belongings. Move the furniture to a different room or temporarily store them in a safe place to give yourself unrestricted access to the floor.
By taking these preparatory steps, you’ll create a clean and clear surface that is ready for the actual cleaning process. With the floor cleared and debris removed, you can now proceed to the next step and start vacuuming the floor to remove the drywall dust.
Step 3: Vacuum the floor
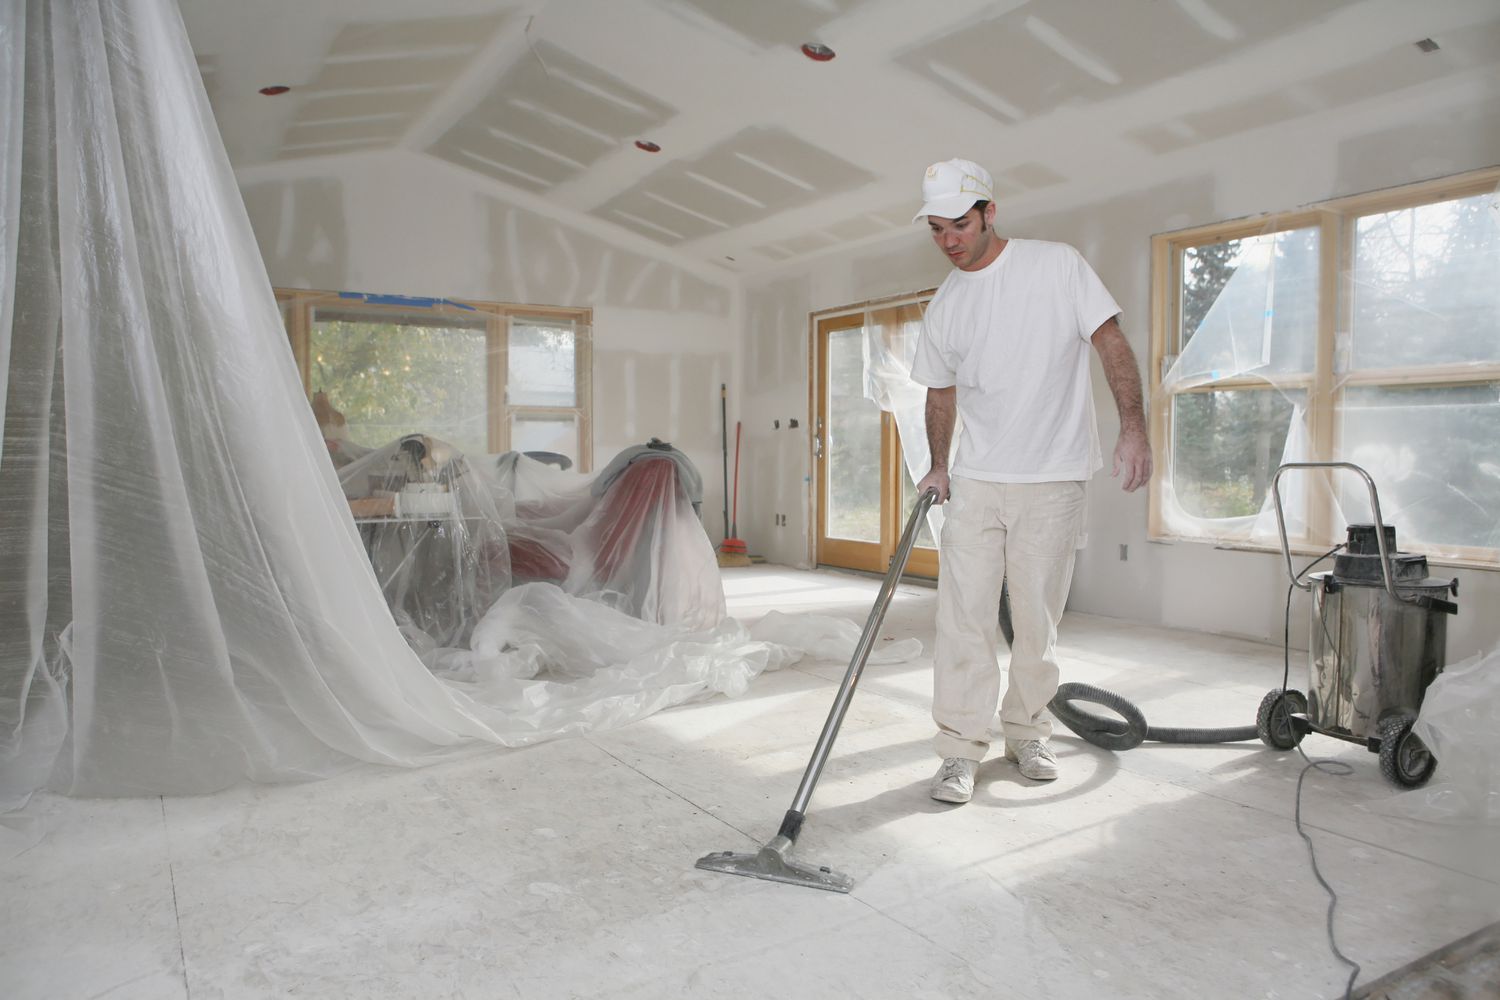
Now that the floor is prepared, it’s time to start removing the drywall dust using a vacuum cleaner. Follow these steps to effectively vacuum the floor and eliminate the majority of the dust:
- Attach the brush attachment to the vacuum cleaner: Most vacuum cleaners come with a brush attachment specifically designed for cleaning floors. This attachment is ideal for capturing fine dust particles without scratching or damaging the surface. Make sure to secure the brush attachment firmly in place before starting.
- Vacuum the entire floor surface: Begin vacuuming the floor by starting at one end of the room and working your way towards the other end. Use smooth and steady strokes, moving the vacuum cleaner in a back-and-forth or side-to-side motion. Pay special attention to areas with visible dust or high traffic areas, as these may require additional passes.
While vacuuming, make sure to cover the entire floor surface, including corners, edges, and hard-to-reach areas. Take your time and be thorough in your vacuuming, as this will help remove the majority of the drywall dust from the floor.
It’s important to note that drywall dust can be fine and easily become airborne, so it’s a good idea to wear a dust mask while vacuuming to protect yourself from inhaling any lingering particles.
Once you’ve completed the vacuuming process, proceed to the next step to further clean up the remaining dust on the floor.
Use a damp microfiber cloth or mop to gently wipe the drywall dust off the floor. Avoid using a vacuum as it can spread the dust further.
Step 4: Damp mop the floor
After vacuuming the floor to remove the majority of the drywall dust, it’s time to give it a thorough cleaning by damp mopping. This step will help to remove any remaining dust particles and leave your floor looking clean and fresh. Follow these steps to damp mop your floor:
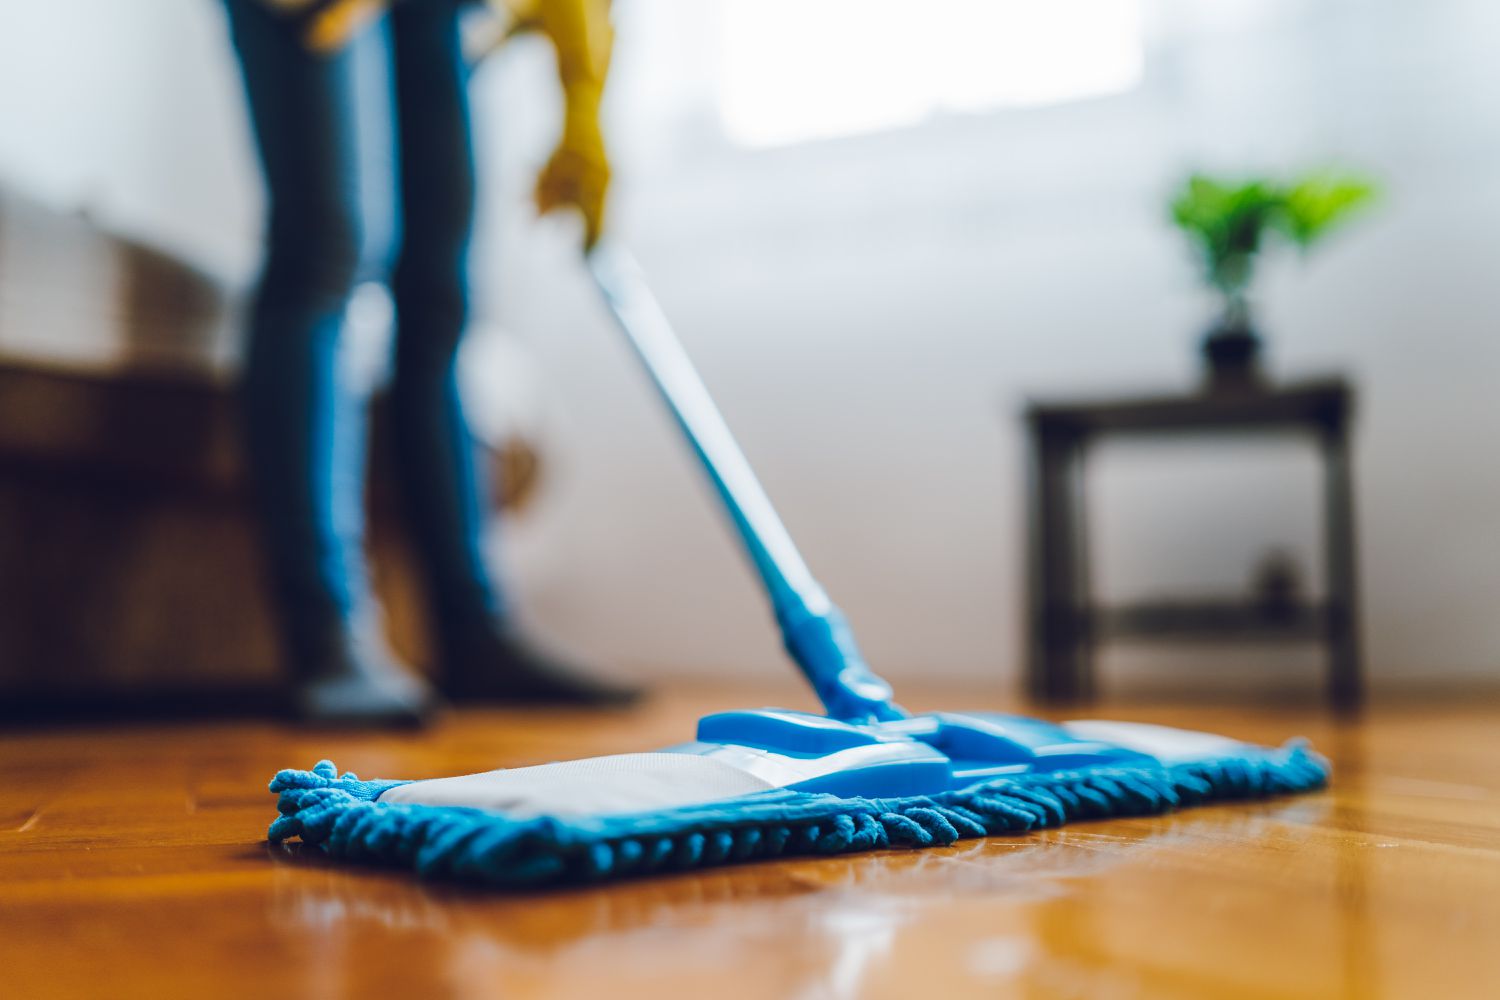
- Dampen a microfiber cloth or mop with water and mild detergent: Fill a bucket with warm water and add a small amount of mild detergent. Dip a microfiber cloth or mop into the solution and wring out any excess liquid. The cloth or mop should be damp, not dripping wet.
- Gently mop the floor to remove any remaining dust particles: Starting from one end of the room, gently mop the floor using smooth and even strokes. Work in small sections, overlapping your strokes to ensure thorough coverage. Be careful not to scrub too hard, as this can potentially damage certain types of flooring.
As you mop, pay attention to any stubborn or heavily soiled areas. You may need to apply a bit more pressure or use a gentle scrubbing motion to effectively remove the dust. Rinse the cloth or mop frequently in the water and detergent solution to prevent spreading dirt and dust around.
Keep in mind that different types of flooring may have specific cleaning requirements. Be sure to follow the manufacturer’s recommendations for your particular flooring material to prevent any potential damage.
Once you have damp mopped the entire floor, proceed to the next step to ensure a thorough clean and remove any residue left behind.
Read more: How To Get Glue Off Floor
Step 5: Rinse and dry the floor
After damp mopping the floor to remove the remaining dust particles, it’s important to rinse and dry the floor to ensure a thorough clean. This step will help remove any detergent residue and leave your floor looking spotless. Follow these steps to rinse and dry your floor:
- Rinse the floor with clean water to remove any detergent residue: Fill a bucket with clean water and use a clean sponge or mop to rinse the floor. Wring out the sponge or mop to remove excess water and gently go over the entire floor surface. This will help remove any lingering detergent residue and leave your floor squeaky clean.
- Use a clean and dry microfiber cloth or mop to dry the floor thoroughly: After rinsing, use a dry microfiber cloth or mop to carefully dry the floor. Microfiber is highly absorbent and will effectively soak up any remaining moisture, leaving your floor dry and ready to use. Pay attention to any wet spots or corners that may have been missed during the initial drying process.
Ensure that the floor is completely dry before walking on it or placing any furniture or objects back in the room. This will prevent any potential slip hazards and help maintain the cleanliness of your freshly cleaned floor.
By following these steps to rinse and dry your floor, you’ll achieve a pristine surface, free from drywall dust and any cleaning residue.
Now that you’ve completed the rinsing and drying process, let’s move on to the final step, where we’ll provide you with some additional tips and precautions to keep in mind when dealing with drywall dust on your floors.
Step 6: Additional tips and precautions
While the previous steps outlined the main process of getting drywall dust off your floors, it’s important to keep in mind some additional tips and precautions to ensure the best results. Here are some key points to consider:
- Use caution when removing drywall dust from hardwood or delicate surfaces: Drywall dust can be abrasive and may scratch or damage certain types of flooring, particularly hardwood and delicate surfaces. When cleaning these types of floors, be extra gentle and avoid using harsh brushes or scrubbing tools that can cause harm. Instead, opt for soft microfiber cloths or mops to minimize the risk of damage.
- Consider using specialized cleaning products for specific floor types: Depending on the type of flooring you have, there may be specialized cleaning products available that are specifically designed to remove drywall dust or clean certain floor materials. Consult the manufacturer’s guidelines or speak with a flooring expert to determine if there are any recommended cleaning solutions or methods for your particular floor type.
By taking these additional tips and precautions into account, you can protect your floors while effectively removing drywall dust. Remember to always prioritize the safety and integrity of your floors when performing any cleaning tasks.
With these steps and tips, you’re now equipped with the knowledge to successfully get drywall dust off your floors. Following the proper cleaning techniques will not only restore the cleanliness of your floors but also ensure their longevity and appearance.
Remember to always adapt the cleaning process to suit the specific requirements of your floors and prioritize safety in your cleaning endeavors. Now, you can enjoy your clean and dust-free floors hassle-free!
Conclusion
Dealing with drywall dust on your floors can be a daunting task, but with the right knowledge and tools, it doesn’t have to be a difficult process. By following the step-by-step guide outlined in this article, you can effectively remove drywall dust and restore the cleanliness of your floors.
Starting with gathering the necessary supplies, such as a vacuum cleaner with a brush attachment, a microfiber cloth or mop, a broom and dustpan, and water with mild detergent, you can be well-prepared for the cleaning process.
Preparing the floor by removing any large debris or loose dirt and clearing the area of furniture or objects will ensure better access and effectiveness during cleaning.
Vacuuming the floor with a brush attachment will help eliminate the majority of the drywall dust, while damp mopping will further remove any remaining particles. Rinsing the floor with clean water and thoroughly drying it will leave your floor spotless and dust-free.
Remember to take additional precautions when dealing with delicate or hardwood surfaces, being cautious not to cause any damage or scratches. Using specialized cleaning products for specific floor types can also be beneficial.
By following these steps and tips, you can ensure that your floors are clean and free from drywall dust. Not only will this enhance the appearance of your home, but it will also promote a healthier living environment by reducing allergens and potential respiratory irritants.
So go ahead, tackle that drywall dust with confidence and enjoy the pristine beauty of your floors. With proper care and maintenance, your floors will continue to shine and add value to your home for years to come.
Frequently Asked Questions about How To Get Drywall Dust Off Floor
Was this page helpful?
At Storables.com, we guarantee accurate and reliable information. Our content, validated by Expert Board Contributors, is crafted following stringent Editorial Policies. We're committed to providing you with well-researched, expert-backed insights for all your informational needs.



0 thoughts on “How To Get Drywall Dust Off Floor”