Home>diy>Building & Construction>How To Clean Construction Dust Off Vinyl Floors
Building & Construction
How To Clean Construction Dust Off Vinyl Floors
Modified: October 21, 2024
Learn effective ways to clean construction dust off vinyl floors with our step-by-step guide. Transform your building construction site with sparkling clean and polished surfaces.
(Many of the links in this article redirect to a specific reviewed product. Your purchase of these products through affiliate links helps to generate commission for Storables.com, at no extra cost. Learn more)
Introduction
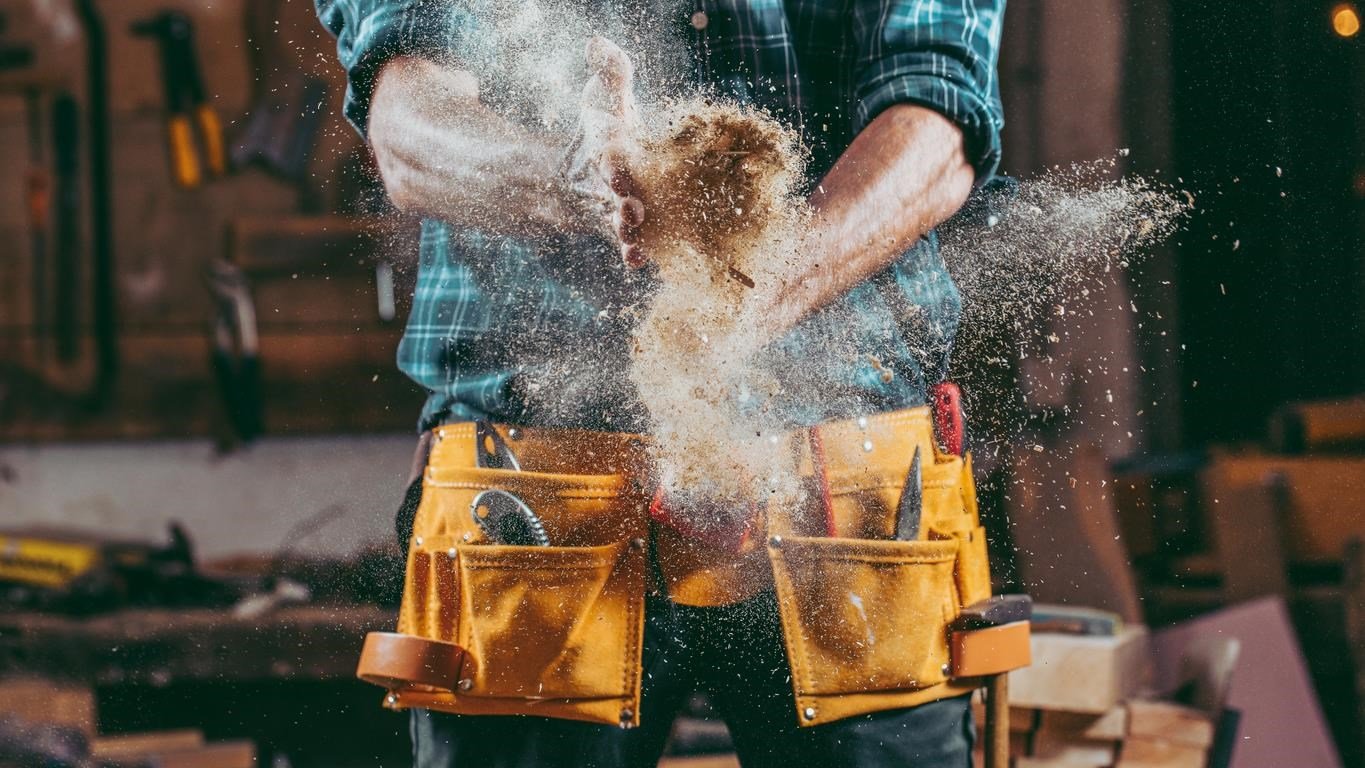
Welcome to the ultimate guide on how to clean construction dust off vinyl floors. If you’ve recently completed a construction or renovation project, you know how quickly dust and debris can accumulate on your beautiful vinyl floors. Cleaning construction dust requires some extra care and attention to ensure that your floors remain clean and undamaged.
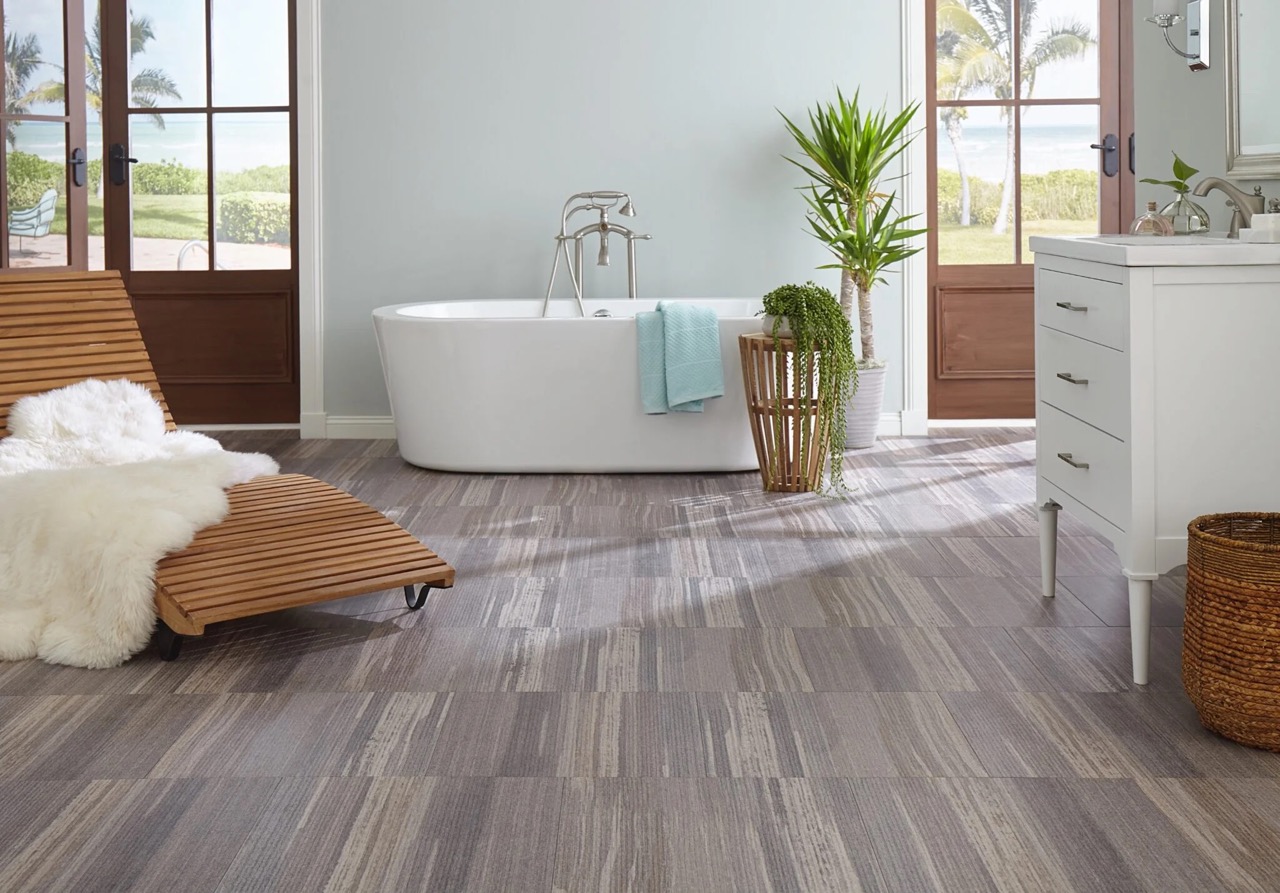
Vinyl floors are a popular choice for their durability, versatility, and easy maintenance. However, they are not immune to the dust and fine particles that are produced during construction or remodeling. These particles can settle on your vinyl floors and diminish their appearance over time if not properly removed.
In this article, we will walk you through the step-by-step process of effectively and safely cleaning construction dust off vinyl floors. We will also provide you with essential tips and tricks to prevent scratching or damaging your floors during the cleaning process.
Before diving into the cleaning process, let’s gather the supplies you will need:
Key Takeaways:
- Keep your vinyl floors clean and undamaged after construction by following a systematic cleaning process, using the right tools, and taking precautions to protect the surface from scratching and damage.
- Regular maintenance, proper drying, and preventative measures such as using protective pads on furniture legs will help prolong the life and beauty of your vinyl floors, keeping them clean and inviting for years to come.
Read more: How To Clean Paint Off Vinyl Floor
Supplies Needed
- Soft-bristle broom or vacuum cleaner with a brush attachment
- Microfiber mop or soft mop
- Bucket
- Mild detergent or vinegar
- Warm water
- Clean, lint-free cloths
- Rubber gloves (optional)
Now that you have the necessary supplies, let’s go through the cleaning preparation phase.
Key Takeaways:
- Keep your vinyl floors clean and undamaged after construction by following a systematic cleaning process, using the right tools, and taking precautions to protect the surface from scratching and damage.
- Regular maintenance, proper drying, and preventative measures such as using protective pads on furniture legs will help prolong the life and beauty of your vinyl floors, keeping them clean and inviting for years to come.
Read more: How To Clean Paint Off Vinyl Floor
Supplies Needed
Before you begin the process of cleaning construction dust off your vinyl floors, it’s important to gather the necessary supplies. Having the right tools and cleaning agents will make the task more efficient and ensure that your floors are properly cleaned. Here are the supplies you will need:
- Soft-bristle broom or vacuum cleaner with a brush attachment: A soft-bristle broom or a vacuum cleaner with a brush attachment is ideal for removing loose dust and debris from your vinyl floors. Ensure that the bristles are soft to prevent scratching the surface.
- Microfiber mop or soft mop: A microfiber mop or a soft mop is essential for dry dusting and wet mopping your vinyl floors. Microfiber material attracts dust particles and provides a gentle cleaning action.
- Bucket: A bucket will be useful for preparing your cleaning solution and for rinsing your mop during the wet mopping process.
- Mild detergent or vinegar: Choose a mild detergent specifically formulated for cleaning vinyl floors. Alternatively, you can use a mixture of vinegar and warm water as a natural cleaning solution.
- Warm water: Warm water will be used to dilute the cleaning solution and provide an effective cleaning action.
- Clean, lint-free cloths: Lint-free cloths are essential for drying your vinyl floors after cleaning and for removing any remaining moisture.
- Rubber gloves (optional): If you have sensitive skin or prefer to protect your hands, rubber gloves can be worn during the cleaning process.
Having these supplies on hand will ensure that you have everything you need to clean construction dust off your vinyl floors effectively. Now that you are ready with the necessary supplies, let’s move on to the next step – cleaning preparation.
Cleaning Preparation
Before you begin the process of cleaning construction dust off your vinyl floors, it’s important to prepare the area and take some precautions to ensure a successful cleaning experience. Follow these steps to ensure an effective cleaning process:
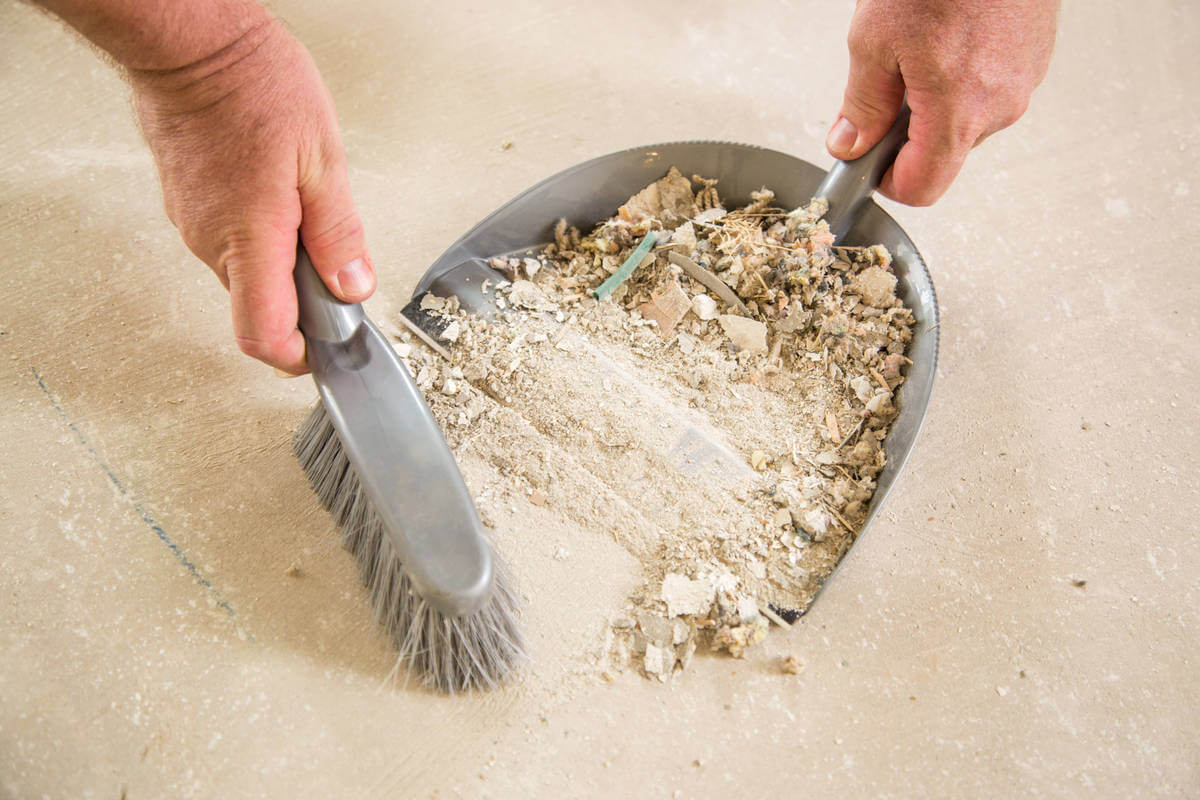
- Remove any loose debris: Start by using a soft-bristle broom or a vacuum cleaner with a brush attachment to remove any loose dust, dirt, or larger debris from the surface of your vinyl floors. This will prevent any scratching or spreading of dust particles during the cleaning process.
- Clear the area: Make sure to remove rugs, furniture, and any other objects from the area you will be cleaning. This will provide you with a clear space to work on and ensure that every corner and crevice of your vinyl floors can be properly cleaned.
- Protect yourself: Consider wearing rubber gloves to protect your hands during the cleaning process. This is especially important if you have sensitive skin or if you will be using cleaning agents that may irritate your skin.
- Ventilate the room: Proper ventilation is essential when using cleaning agents. Open windows and doors to allow fresh air to circulate through the room. This will help dissipate any fumes and prevent them from lingering in the space.
Once you have completed these preparation steps, you are ready to move on to the actual cleaning process. In the next sections, we will guide you through different cleaning techniques to effectively remove construction dust from your vinyl floors.
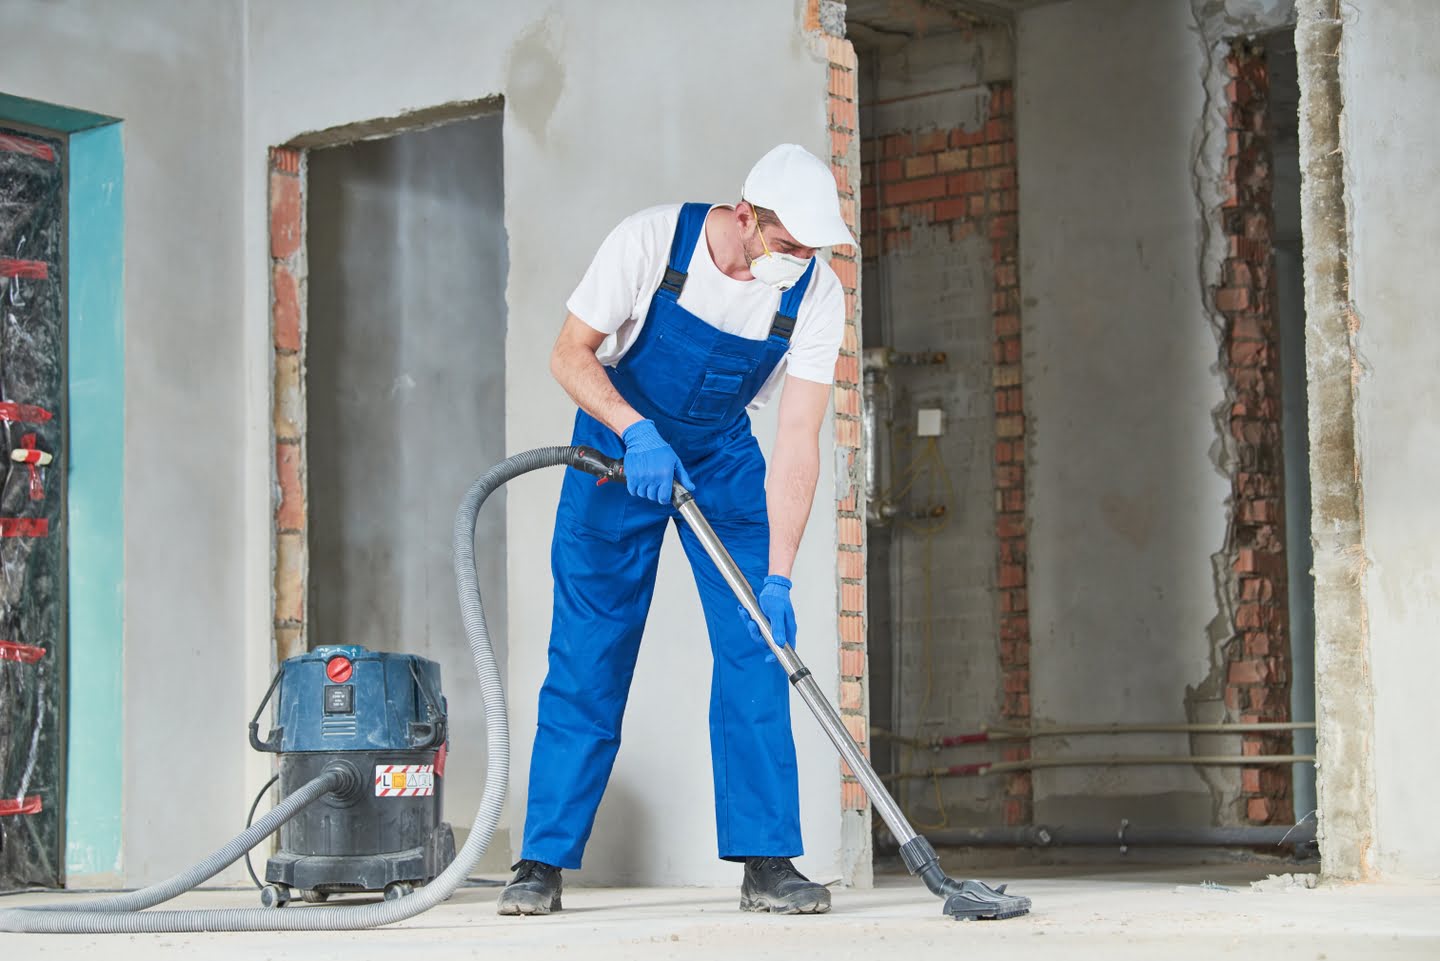
Vacuuming
Once you have completed the cleaning preparation, it’s time to start the actual cleaning process. The first step is to vacuum your vinyl floors to remove any loose dust and debris. Follow these steps for effective vacuuming:
- Select the right attachment: If your vacuum cleaner has a specific attachment for hard surfaces, such as a brush attachment or a soft brush roller, use it. This will help protect the surface of your vinyl floors from potential scratching.
- Adjust the height: Ensure that the vacuum cleaner is set at the appropriate height for your vinyl floors. If the brush roller is too low, it may cause unnecessary friction and potentially damage the flooring.
- Vacuum in the right direction: Start vacuuming from the furthest corner of the room and work your way towards the exit. Use gentle, straight strokes to effectively pick up the dust and debris without pushing them around.
- Paying attention to corners and edges: Make sure to pay special attention to the corners and edges of the room, as dust tends to accumulate in these areas. Use the crevice tool or attachments with smaller brushes to reach these tight spots.
Vacuuming your vinyl floors will help remove the loose dust and debris that can otherwise scratch the surface during the subsequent cleaning steps. Once you have thoroughly vacuumed the area, you can proceed to the next step: dry dusting.
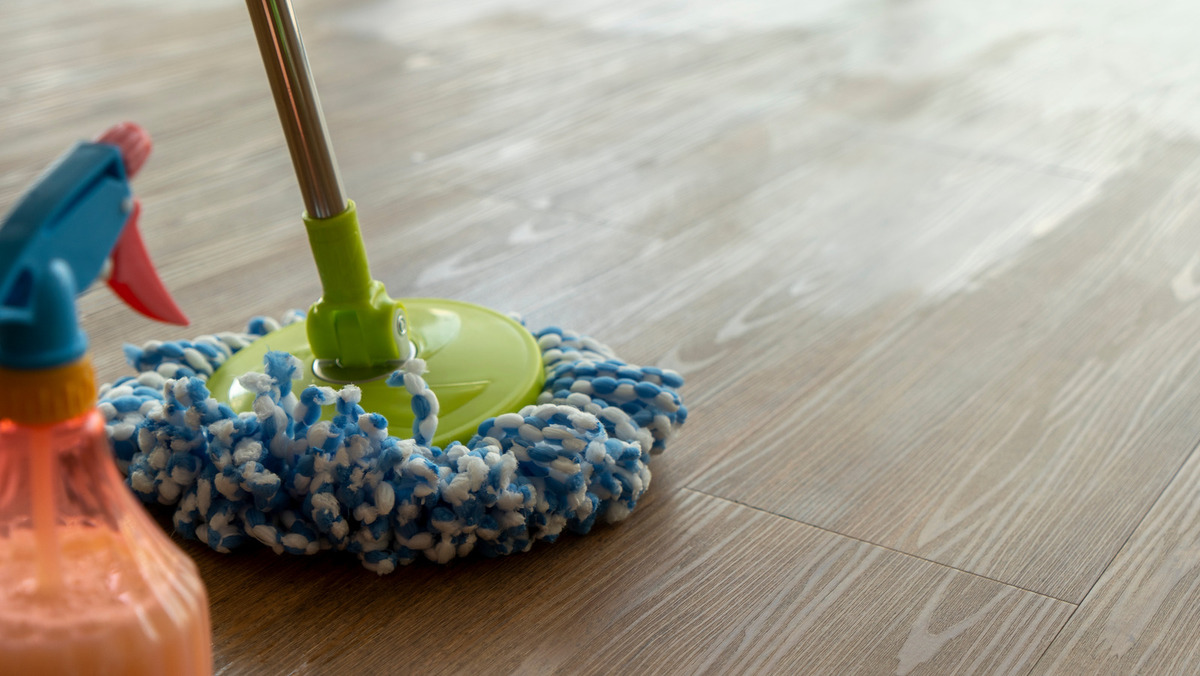
Use a soft-bristle broom or vacuum with a brush attachment to remove construction dust from vinyl floors. Follow up with a damp mop using a mild cleaner.
Read more: How To Get Drywall Dust Off Floor
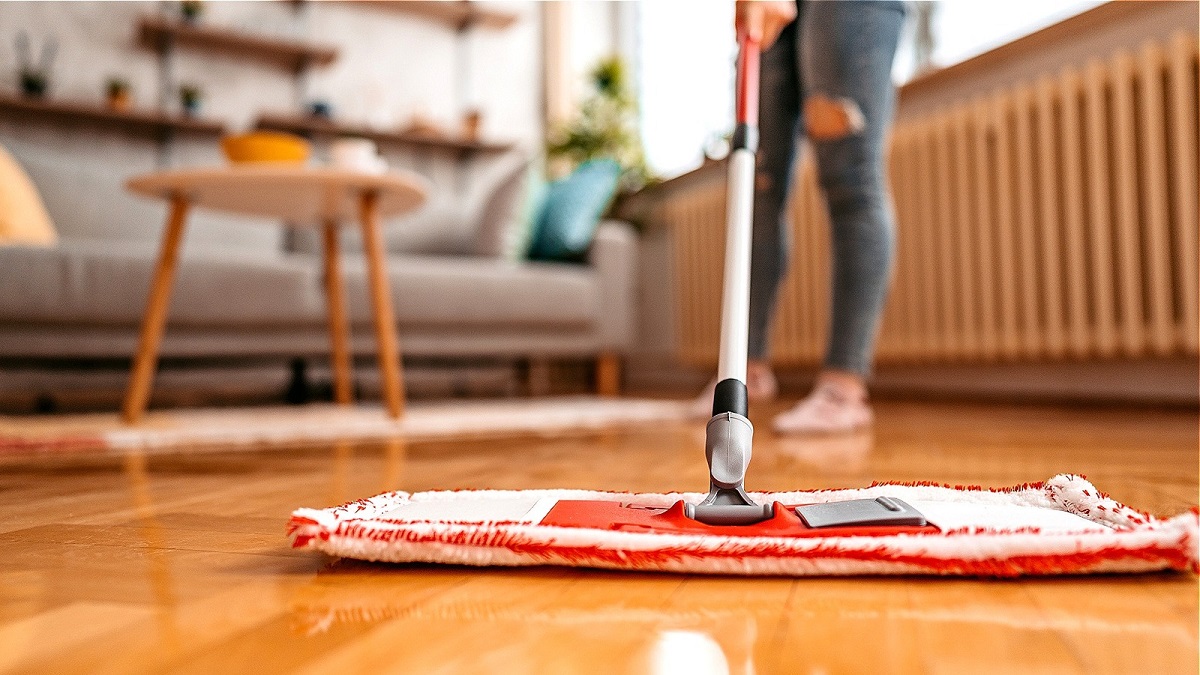
Dry Dusting
After vacuuming your vinyl floors to remove loose debris, the next step is dry dusting. Dry dusting helps to further eliminate fine particles and prepare the surface for wet mopping. Follow these steps for effective dry dusting:
- Use a microfiber mop or soft mop: Select a microfiber mop or a soft mop specifically designed for dry dusting. These types of mops are gentle on vinyl floors and effectively attract dust particles.
- Start in one corner: Begin dry dusting from one corner of the room, working your way towards the exit. This ensures that you cover the entire surface area and leave no section untouched.
- Make smooth, overlapping strokes: Use smooth and overlapping strokes to cover the entire floor surface. This ensures that you pick up as much dust as possible and avoid missing any areas.
- Pay attention to corners and edges: Just like with vacuuming, remember to pay extra attention to the corners and edges of the room. Dust tends to accumulate in these areas, so be thorough in your dry dusting process.
- Regularly shake out the mop: As you go along, periodically shake out the mop to remove collected dust and prevent it from redistributing on the floor. This ensures that you are consistently working with a clean mop surface.
Dry dusting helps to minimize the amount of dust and debris on your vinyl floors before moving on to the wet mopping stage. It sets the foundation for a thorough and effective cleaning process. Once you have completed the dry dusting, it’s time to proceed to the next step: wet mopping.
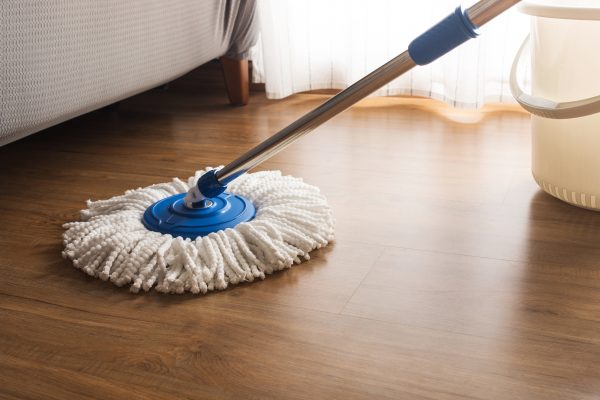
Wet Mopping
After dry dusting your vinyl floors, it’s time to move on to the wet mopping stage. Wet mopping will help remove any remaining dust and dirt, leaving your floors clean and refreshed. Follow these steps for effective wet mopping:
- Prepare the cleaning solution: Fill a bucket with warm water and add a small amount of mild detergent specifically formulated for vinyl floors. Alternatively, you can use a mixture of warm water and vinegar, which serves as a natural cleaning agent. Follow the instructions on the detergent bottle for the correct amount to use.
- Dip the mop into the cleaning solution: Dip the microfiber mop or soft mop into the bucket containing the cleaning solution. Squeeze the mop to remove any excess liquid, as you want the mop to be damp but not dripping wet.
- Mop in a systematic pattern: Start mopping from one side of the room and work your way towards the exit. Use smooth and straight motions, overlapping each stroke to ensure comprehensive coverage of the floor.
- Wring out the mop as needed: As the mop becomes saturated with dirt and cleaning solution, periodically wring it out in the bucket to remove excess moisture. This prevents streaking and ensures that you are using a clean mop throughout the process.
- Pay attention to stubborn areas: Focus on any stubborn spots or stains on your vinyl floors. Gently scrub these areas using a soft cloth or mop, applying a bit of extra pressure if necessary. Avoid using abrasive scrub brushes or harsh chemicals, as they can damage the vinyl surface.
- Change the cleaning solution if needed: If the water in the bucket becomes visibly dirty or cloudy, it’s important to change the cleaning solution to ensure optimal cleaning. Dirty water can leave residue on the floors and diminish the desired results.
Wet mopping effectively removes any remaining dust, dirt, and grime from your vinyl floors, leaving them fresh and clean. Once you have completed the wet mopping process, it’s important to address any stubborn stains or marks that may still be present. We will dive into the process of removing stubborn stains in the next section.
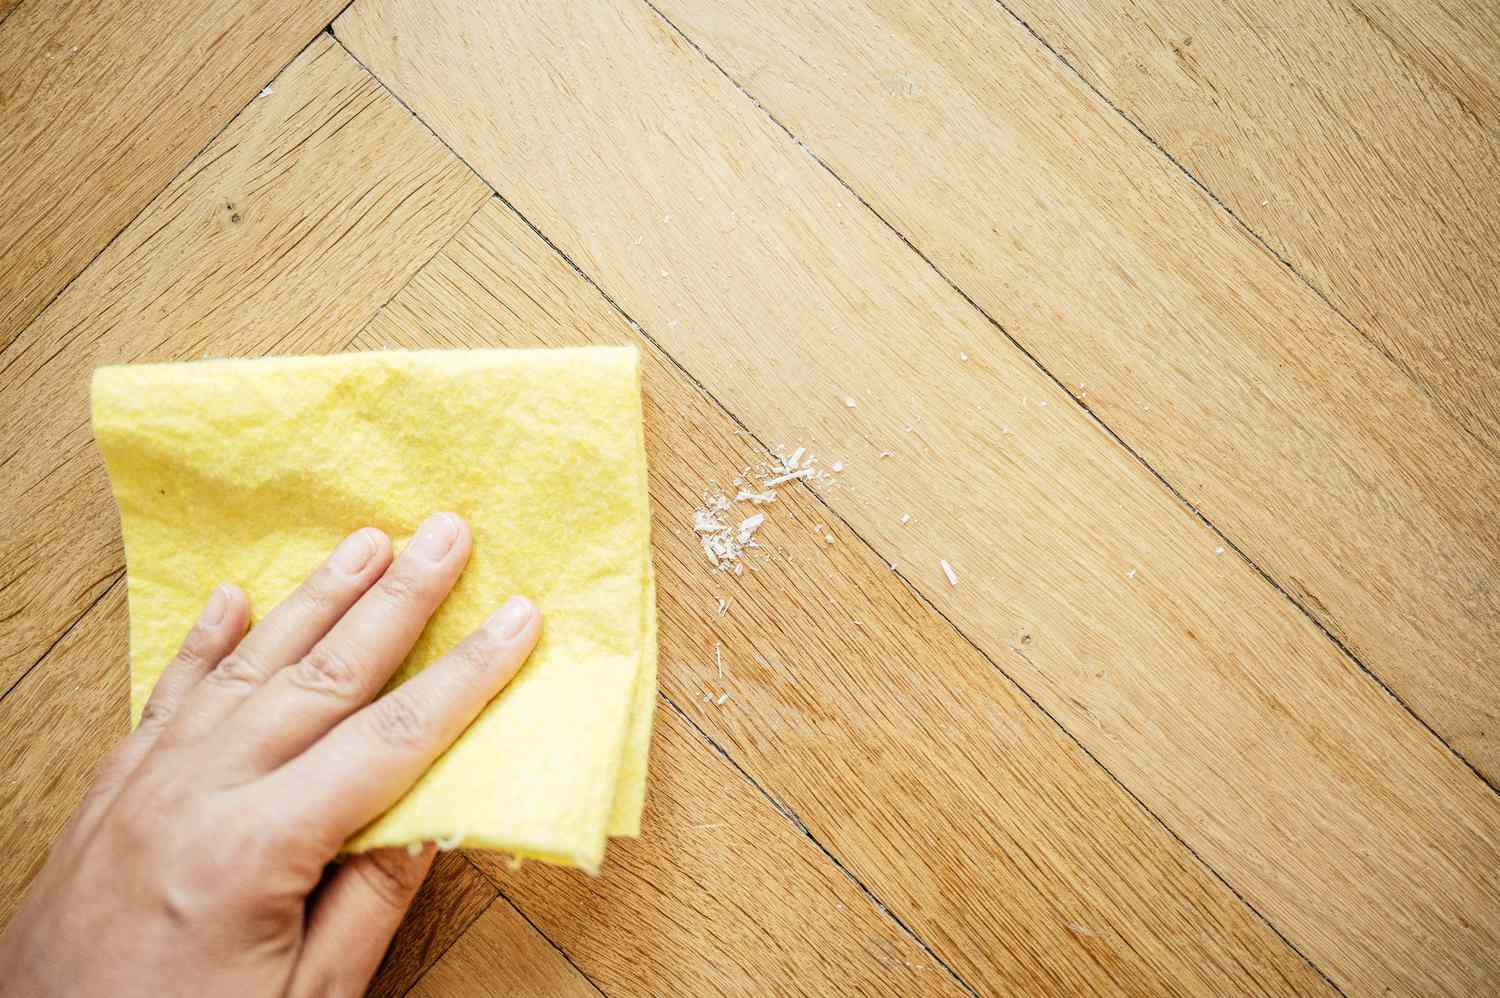
Removing Stubborn Stains
Although wet mopping can effectively remove most dirt and stains from your vinyl floors, certain stubborn stains may require extra attention. Here are some steps you can take to remove stubborn stains from your vinyl floors:
- Identify the type of stain: Before attempting to remove the stain, it’s important to identify its type. Different types of stains may require specific cleaning methods or cleaning agents. Common types of stains on vinyl floors include food stains, ink stains, grease stains, and scuff marks.
- Spot treatment: For small, localized stains, you can use a clean, damp cloth or sponge to target the affected area. Apply a small amount of mild detergent or vinegar directly to the stain and gently scrub in a circular motion. Avoid using abrasive scrub brushes or coarse materials, as they can damage the vinyl surface.
- Allow dwell time: For tougher stains, it may be necessary to allow the cleaning agent to dwell on the stain for a few minutes. This helps break down the stain and makes it easier to remove. Follow the instructions on the cleaning agent’s packaging for the appropriate dwell time.
- Gentle scrubbing: For more stubborn stains, you can use a soft-bristle brush or an old toothbrush to gently scrub the affected area. Be cautious not to scrub too hard as it can cause scratches on the vinyl surface. Continue scrubbing until the stain starts to fade away.
- Rinse with clean water: After treating the stain, rinse the area with clean water to remove any remaining cleaning agent. Wipe the area dry with a clean, lint-free cloth to prevent water spots from forming.
- Repeat if necessary: If the stain persists, you may need to repeat the stain removal process multiple times until the desired results are achieved. Be patient and persistent in your efforts.
- Seek professional help if needed: In some cases, stubborn stains may require professional expertise. If your efforts are not successful or if the stain is particularly difficult, consider consulting a professional cleaner with experience in cleaning vinyl floors.
By following these steps and using the appropriate cleaning methods, you can effectively remove stubborn stains from your vinyl floors and restore their pristine appearance. Once you have addressed any stubborn stains, it’s time to focus on drying the floors and adding the finishing touches.
Drying and Finishing Touches
After completing the cleaning process, it’s important to properly dry your vinyl floors to prevent any potential damage. Additionally, adding some finishing touches can help enhance the appearance of your floors. Follow these steps for drying and adding the finishing touches:
- Use clean, lint-free cloths: Take clean, lint-free cloths and gently wipe the surface of your vinyl floors to remove any remaining moisture. Ensure that the cloths are clean to prevent any abrasive particles from scratching the surface.
- Air drying: Allow your vinyl floors to air dry naturally. Open windows and doors to promote airflow and ventilation, which helps expedite the drying process. Avoid walking on the floors until they are completely dry.
- Apply a vinyl floor sealer (optional): If you want to provide extra protection and shine to your floors, you can consider applying a vinyl floor sealer. Follow the manufacturer’s instructions for application and allow sufficient drying time.
- Replace furniture and rugs: Once your floors are completely dry, you can safely return furniture and rugs to their original positions. Ensure that the legs of the furniture have protective pads to prevent any potential scratches on the floor surface.
- Regular maintenance: To keep your vinyl floors looking their best, establish a regular cleaning routine. This may include dry dusting, sweeping, or vacuuming on a weekly basis, as well as periodic wet mopping to remove any accumulated dirt or grime.
- Protect your floors: Take preventative measures to protect your vinyl floors from potential damage. Place doormats at entryways to trap dirt and moisture. Use felt protectors on furniture legs to prevent scratching when moving items.
By following these drying and finishing touch steps, you can ensure that your vinyl floors are thoroughly cleaned, protected, and ready to shine. Regular maintenance and proper care will help prolong the life and beauty of your floors, allowing you to enjoy them for years to come.
Now that you have learned how to clean construction dust off vinyl floors, you are equipped with the knowledge and techniques to keep your floors in pristine condition. By following these steps and implementing regular maintenance, your vinyl floors will continue to look their best and provide a clean and inviting space in your home or business.
Remember to refer back to this guide whenever you need a refresher or encounter new cleaning challenges. Happy cleaning!
Read more: How To Clean House After Construction Dust
Conclusion
Cleaning construction dust off vinyl floors requires a systematic approach to ensure effective and safe cleaning. By following the step-by-step process outlined in this guide, you can remove dust and debris without causing any damage to your vinyl floors.
Throughout the cleaning process, it is essential to gather the necessary supplies, such as a soft-bristle broom or vacuum cleaner, microfiber mop, mild detergent or vinegar, warm water, and clean, lint-free cloths. These tools will enable you to effectively remove construction dust and leave your vinyl floors looking clean and refreshed.
Starting with the cleaning preparation, it is crucial to clear the area, protect yourself, and ensure proper ventilation. Vacuuming should be the first step to remove loose dust and larger debris from your vinyl floors. Dry dusting follows the vacuuming process and helps eliminate fine particles. Using a microfiber mop or soft mop, make smooth strokes and pay attention to corners and edges.
Wet mopping is the next step, where you prepare a cleaning solution of mild detergent or vinegar and warm water and mop the floors in a systematic pattern. Don’t forget to pay attention to stubborn stains, using spot treatments and gentle scrubbing techniques as needed. Repeat the stain removal process if necessary and seek professional help for particularly stubborn stains.
Afterward, ensure the floors are properly dried using clean, lint-free cloths and allowing for natural air drying. You can optionally apply a vinyl floor sealer for added protection and shine. Once the floors are dry, you can replace furniture and rugs, taking precautions to prevent scratching the surface.
Regular maintenance and preventative measures, such as dry dusting, sweeping, and periodic wet mopping, will help keep your vinyl floors in optimal condition. By following these maintenance routines, you can prolong the life and beauty of your floors.
In conclusion, cleaning construction dust off vinyl floors requires attention to detail, appropriate tools and supplies, and a systematic approach. By following the steps outlined in this guide, you can achieve a thorough and safe cleaning process for your vinyl floors, ensuring they remain clean, beautiful, and inviting for years to come.
Frequently Asked Questions about How To Clean Construction Dust Off Vinyl Floors
Was this page helpful?
At Storables.com, we guarantee accurate and reliable information. Our content, validated by Expert Board Contributors, is crafted following stringent Editorial Policies. We're committed to providing you with well-researched, expert-backed insights for all your informational needs.


0 thoughts on “How To Clean Construction Dust Off Vinyl Floors”